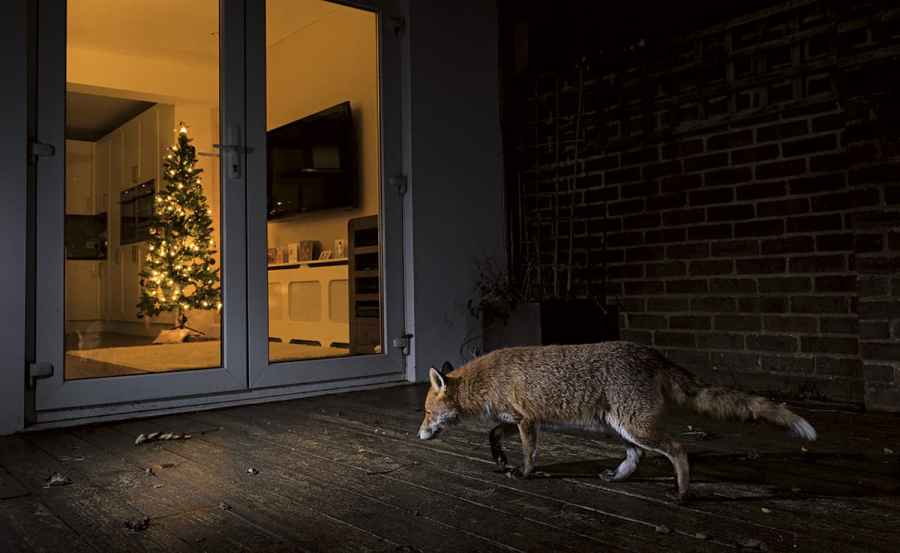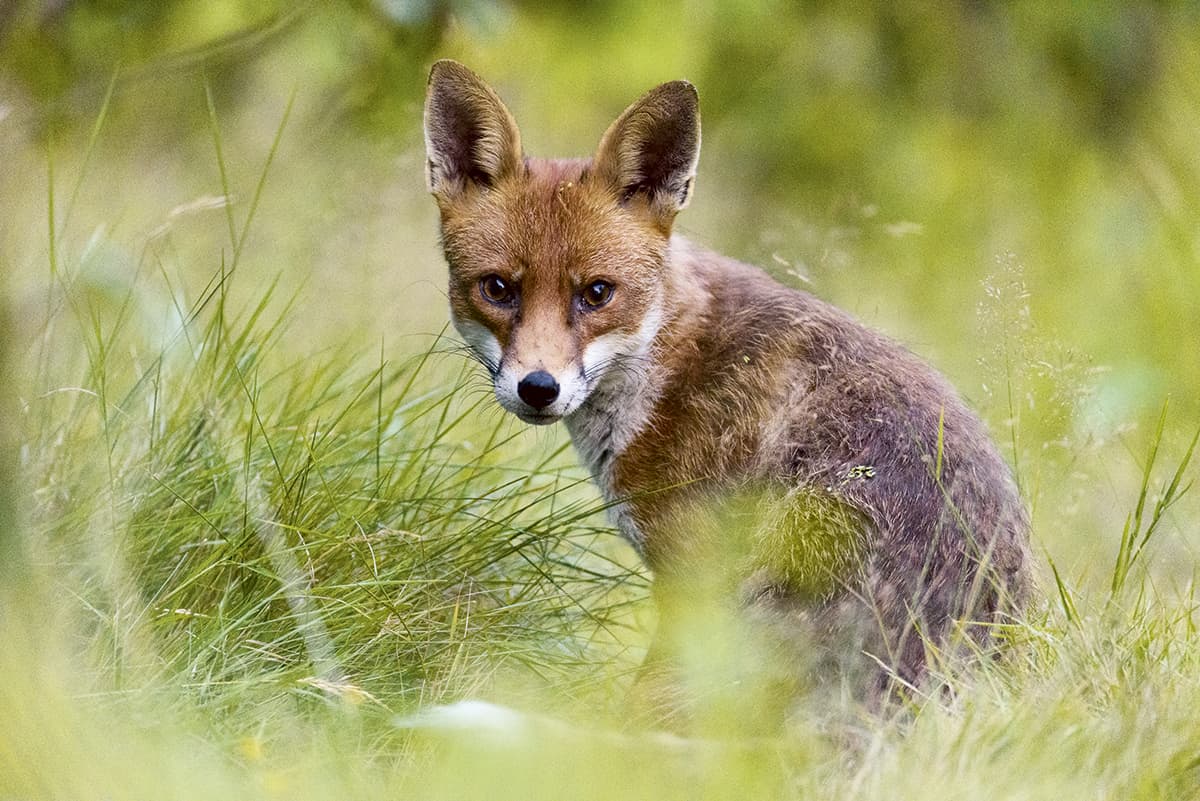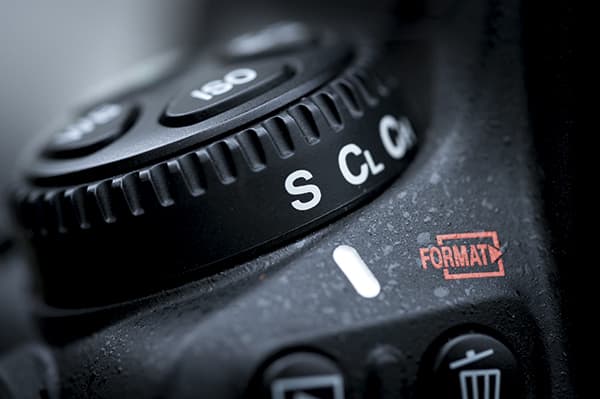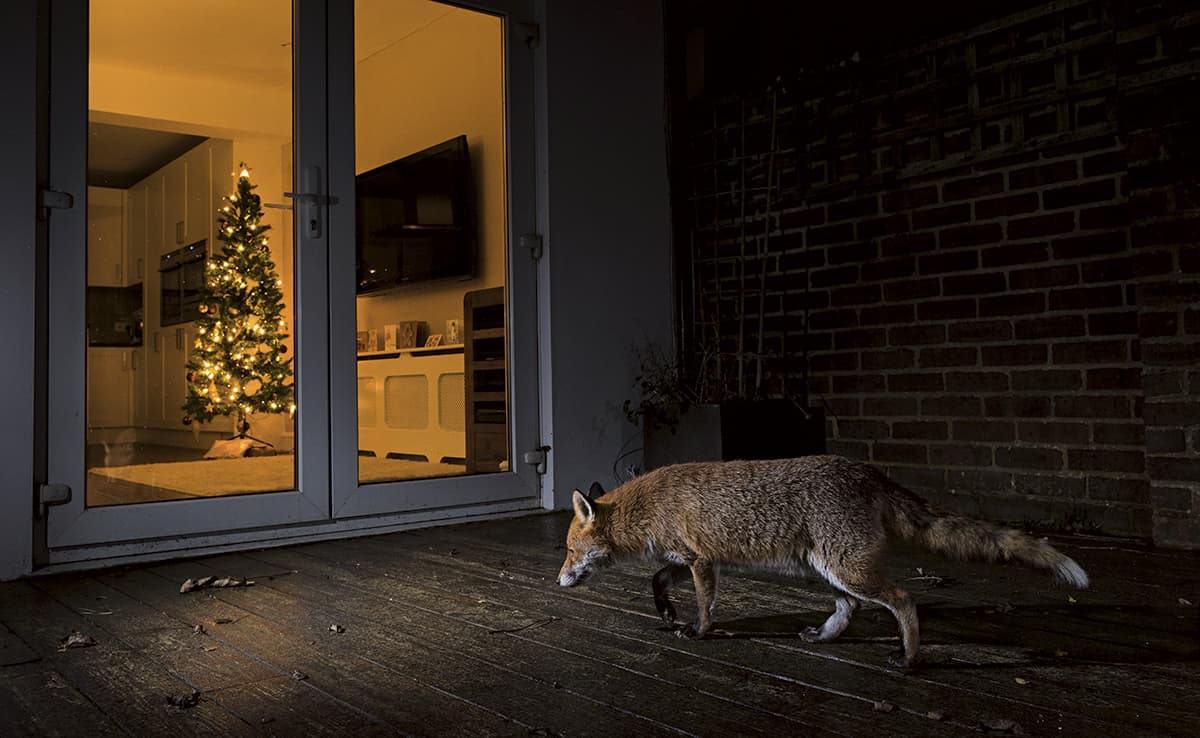
An inquisitive city fox ventures onto my patio to investigate this indoor scene (Nikon D810, 18-35mm, 1sec at f/8, ISO 400, 2x flashguns)
With so many photos of exotic wildlife from around the world filling websites and social media timelines every day, it’s easy to forget that beautiful wildlife photography can be taken anywhere. Our very own gardens are a perfect example of this, with a wealth of photographic opportunities happening right under our noses and all without us even realising it. Once you know it’s there, it just takes a bit of thought and a different approach to reignite your creativity, and capture some great wildlife photography at home.
There are, of course, many ways to take advantage of this wildlife, but to inject a new perspective, camera traps can be a good way of seeing your subjects in a different way. Although this technique can seem a bit daunting at first, once you work through the initial hurdles of connecting up motion sensors and flashguns, it’s actually easier than it first appears and your perseverance will be rewarded with an entirely new vision of the wildlife around you.
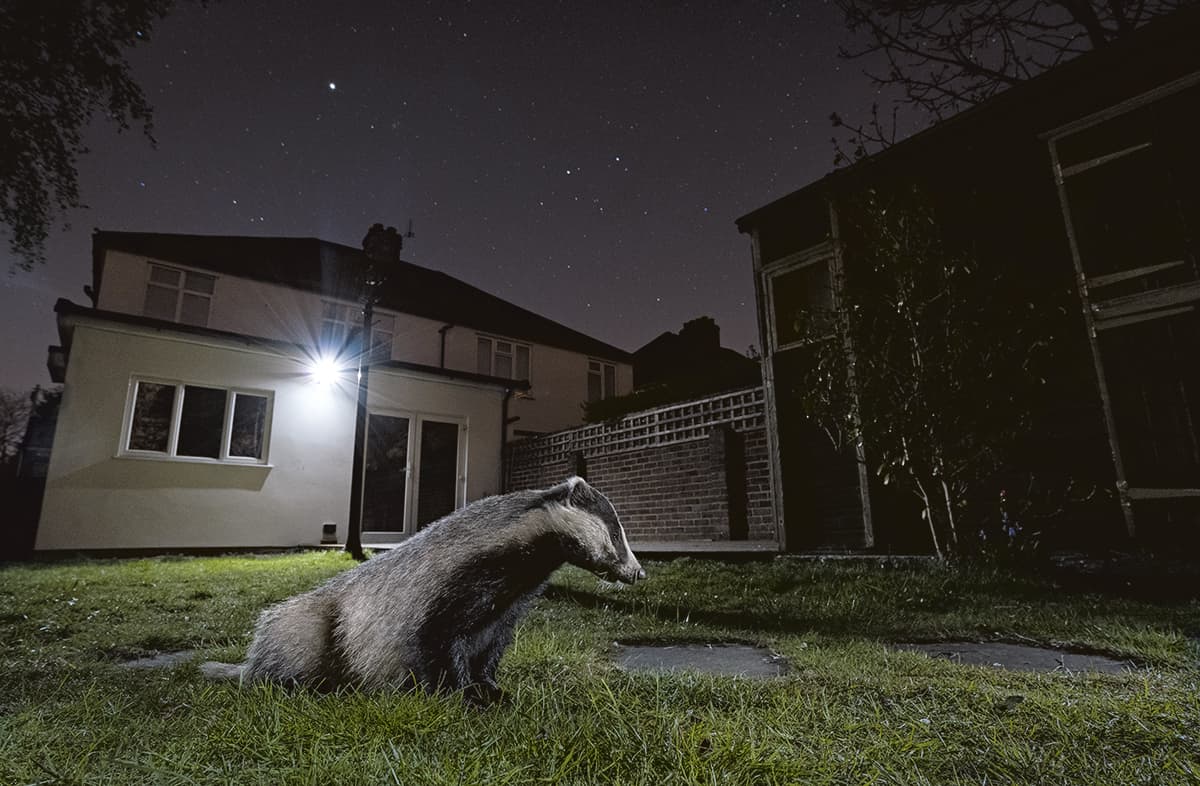
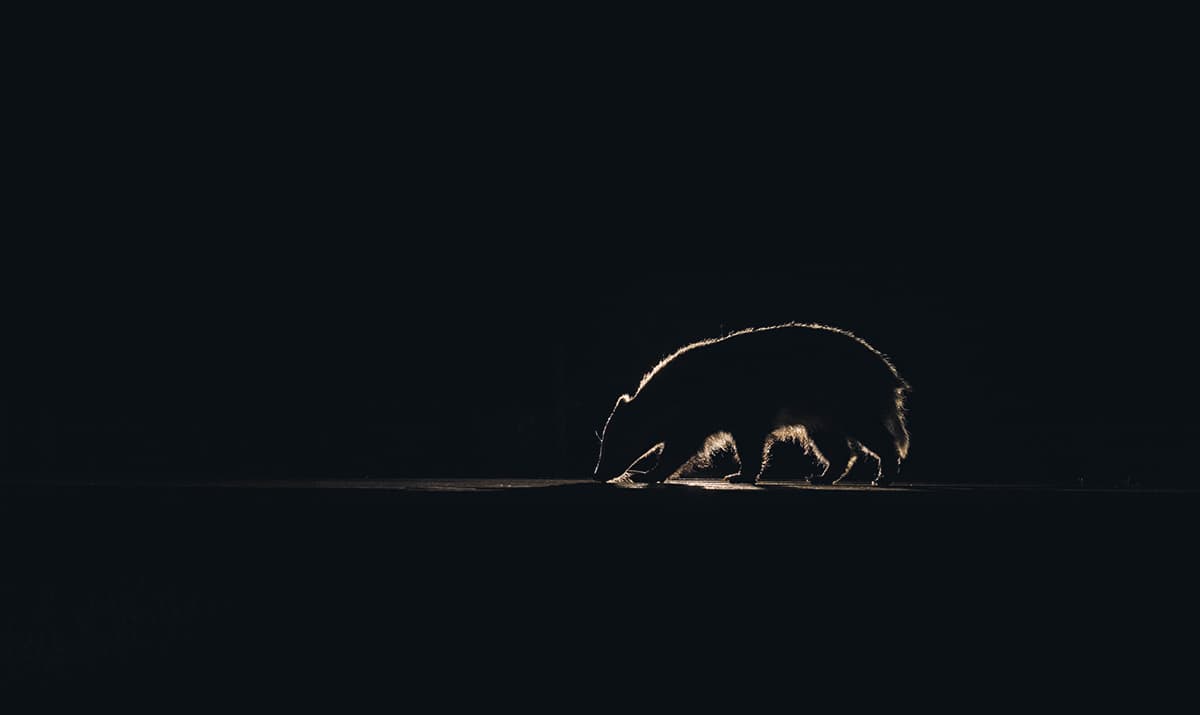
Under a star-filled sky, an urban badger goes on patrol (Nikon D750, 18-35mm, 30secs at f/9, ISO 1600, 3x flashguns)
On your doorstep
You may find yourself looking out of the window and imagining your garden to be a wildlife wasteland. And you’re not alone if that is the case. When I moved to my current house I considered my back garden to be an uninspiring photographic void. But then, a year after moving in, a friend stayed for the weekend. One morning he spotted a fox in my garden, and several weeks later I saw it too. I grabbed a photo of it with my iPhone and straight away I knew this was going to be the start of a long-term project. I had no idea at the time just how big the project would become, nor how it would challenge my technical and creative abilities, but to begin with I simply revelled in the concept of being able to take wildlife photos without having to travel anywhere.
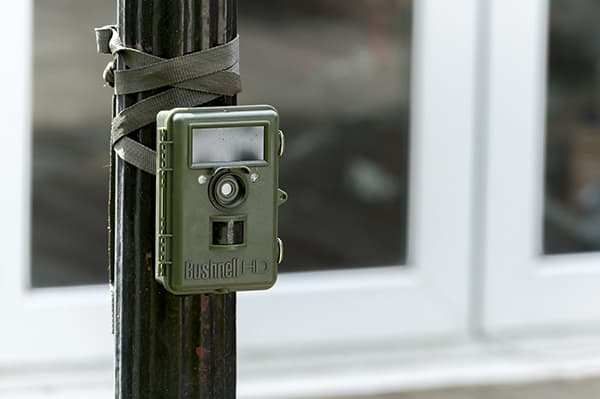
This prompted me to put a handful of peanuts out each night, in order to encourage the foxes and birds into the garden. I made sure not to put out too much, so as to keep it a supplementary source of food only. Alongside this, I set up a trail camera in order to monitor activity 24 hours a day and I could barely believe my eyes when, only a week or so after setting up, I discovered my garden also played host to some local badgers under cover of darkness. At first I simply monitored their activity, but after several weeks I knew I needed to somehow start photographing my new nocturnal visitors.
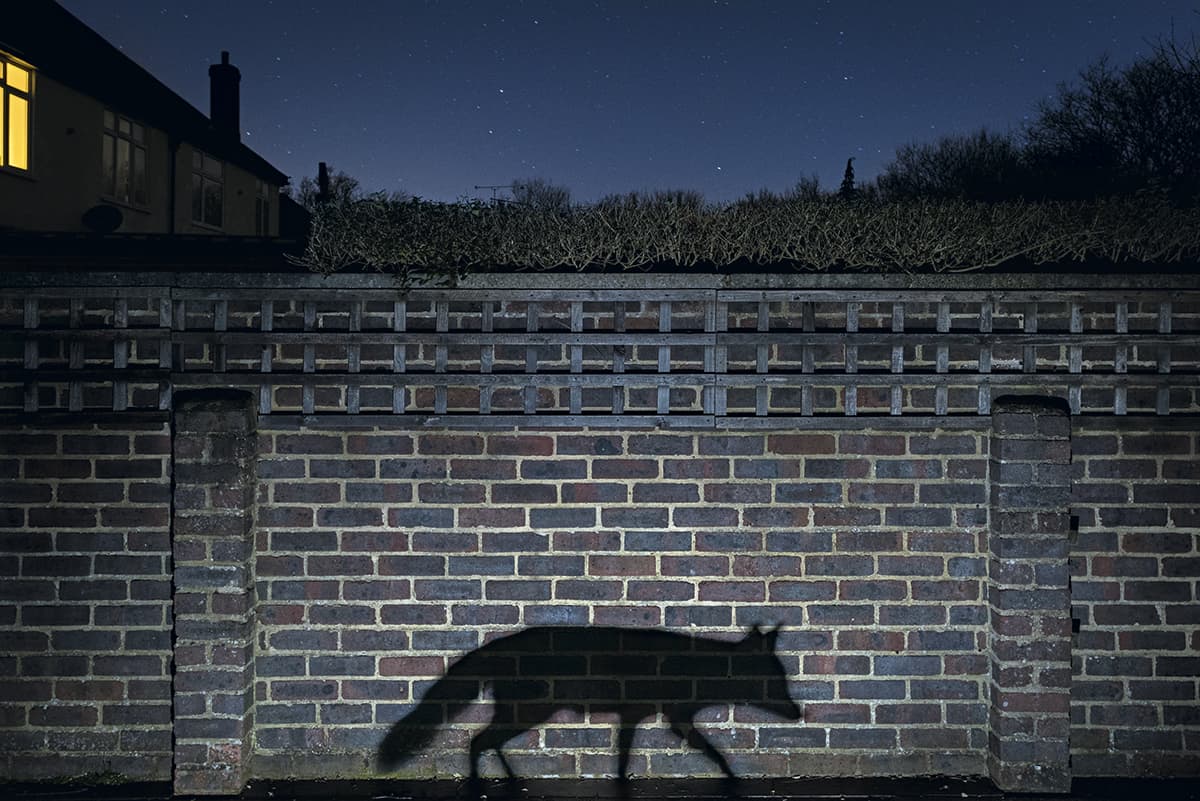
By concentrating only on the shadow, this urban fox photo gained recognition in both the European and Wildlife Photographer of the Year competitions (Nikon D810, 18-35mm, 30 sec at f/8, ISO 1,250, 1x flashgun)
Getting up close
If you’re used to photographing wildlife with a more traditional telephoto lens, switching to using a wideangle can feel a little alien at first. However, doing so is not only essential for working with camera traps, but also it gives you a fresh perspective on the urban world these animals call home. A telephoto lens provides a very narrow view of the world, often disconnecting your subject from the surrounding reality. By using a wideangle, you can give real context to your images and help tell a story that’s impossible with a long focal length. There’s a nice contrast between having an isolated subject popping from a bokeh-filled frame, and a gritty, texture-filled image where even your house or shed could play as important a role in the final image as the animal.
Something that also becomes apparent straight away is that the sound of the camera will, at first, be your biggest enemy. The sound of the shutter firing, especially at night, will be very unusual to any wildlife that comes within range. As such, trying to dampen the noise of the shutter and mirror mechanism will initially help increase your success. Wrapping a couple of T-shirts around the camera, then placing a plastic bag over the top to try to muffle the sound can make a small difference. More so, placing your camera and tripod on grass will dampen the sound quite substantially, as the vibrations are absorbed into the ground. Compare this, for example, with wooden decking, where the vibration is amplified down the tripod legs by the wood and the difference in noise between the camera firing on both surfaces is quite apparent. This is actually one of those times that having a lower-end DSLR is an advantage, because it often offers a far quieter shutter than its more expensive equivalent. Foxes and badgers will require more time to acclimatise to these noises than birds, but before long your local wildlife will learn that the camera means them no harm and they will ignore it.
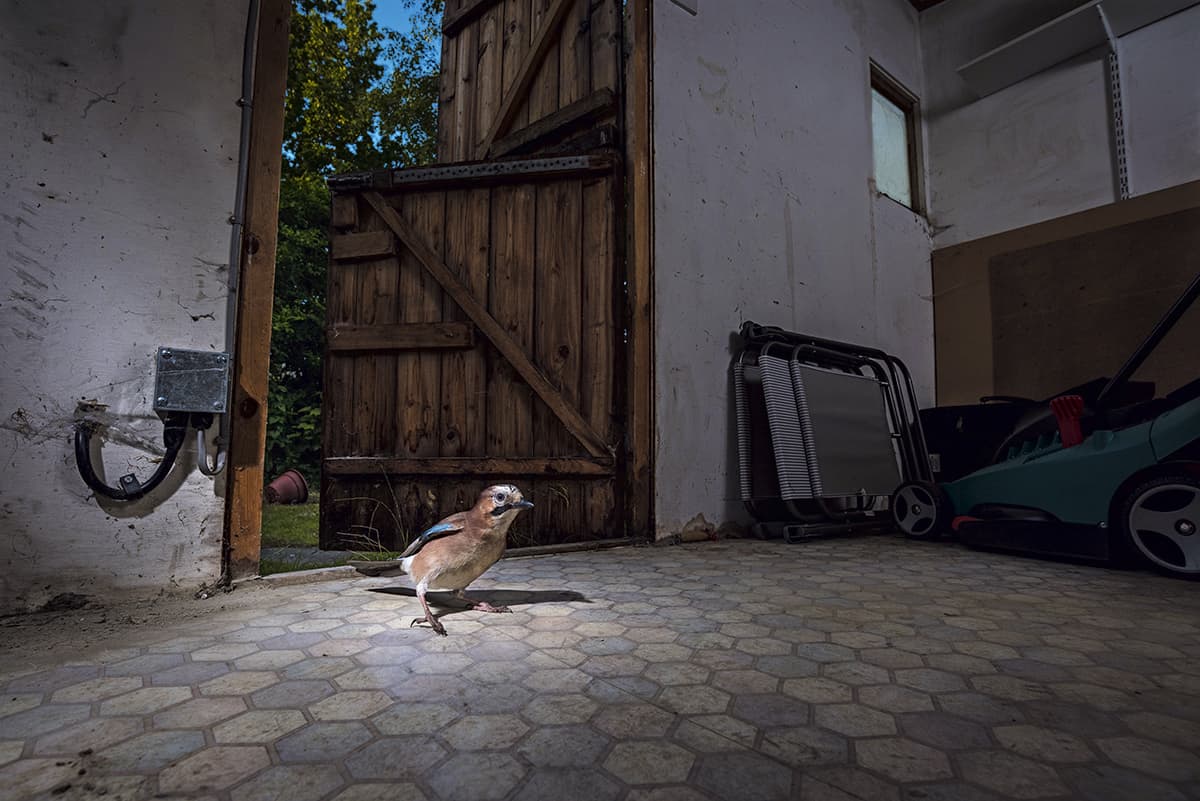
Using wideangle lenses and incorporating the surroundings can help you put a very different twist on familiar subjects (Nikon D810, 18-35mm, 1/250sec at f/8, ISO 200, 2x flashguns)
Working at night
It is possible to use camera traps in daylight, but using them at night makes the most of their potential and offers a chance for very dramatic images. This requires the use of flashguns, advantageously giving you full control of the main light source while opening up a whole new world of creative opportunity. A scene that may appear dull and ordinary by day can suddenly transform into an atmospheric and visually striking image by night. It’s because of this that even the most unphotogenic of outside spaces can lend themselves to this technique, not just those with a beautifully manicured garden. Often, the more messy and urban the surroundings, the more interesting an image becomes, thanks to the way flashguns can be used to light objects by showing off textures and shapes.
Taking it a step further, combining the light of your flashguns with long exposures to capture ambient light can be very dramatic. This is especially the case if you’re lucky enough to live in an area where street lights aren’t too overpowering. Using this method, the light from the flash will freeze the subject in place within the image, then the long exposure will capture the low ambient light and stars in the sky. It’s very effective if you can pull it off, and adds another dimension and point of interest to any resulting photos.
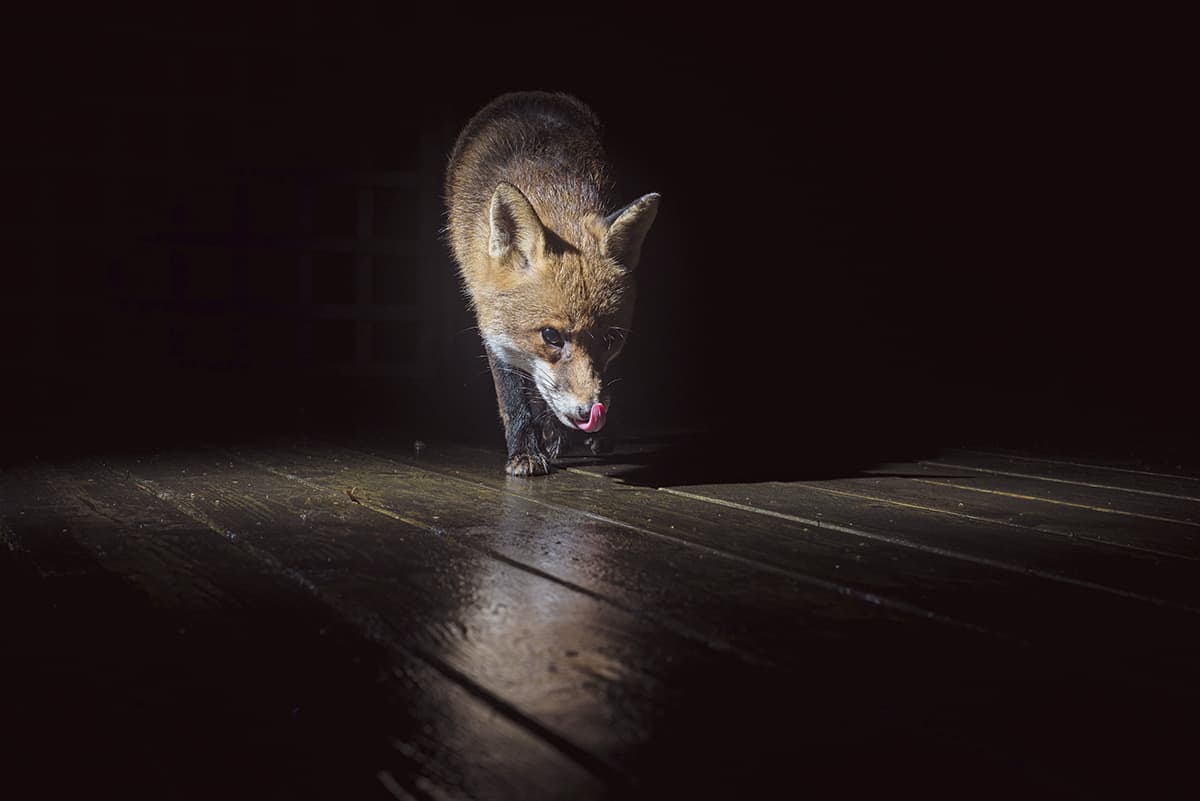
Some subtle lighting and the lick of the lips helped create an interesting portrait of an urban fox walking across the decking (Nikon D810, 50mm, 1/250sec at f/8, ISO 200, 2x flashguns)
Watch the weather
Weather also needs to be taken into account because the very nature of camera traps requires equipment to be left outside, unattended. Even during the summer condensation can be a problem, so it’s always advisable to cover the camera and flashguns. A simple plastic bag will suffice, and in the case of the lights clear zip-seal food bags are perfect. Even when protected, it always pays to monitor the weather forecast. Although a plastic bag will keep the rain off your camera body, the front element needs to be kept dry in order to maintain a usable image. Placing the camera underneath an umbrella can work well, or you can use a custom camera housing if you aren’t quite as keen on the DIY route.
Camera trapping at home is, ultimately, a lot of fun. It allows you to photograph subjects from a new perspective and be as creative as you wish. You can capture images that might ordinarily be tricky to get on a camera and it allows you to do this while you carry on with your everyday life. This means that it’s a technique that, once mastered, lets even those with little spare time improve their wildlife portfolio.
Even a single flashgun can be used to great effect (Nikon D810, 50mm, 1/250sec at f/10, ISO 400, flashgun)
How to set up a camera trap
Don’t be put off by the thought of using a camera trap, as the process of setting one up is very simple. Once you’ve done it a handful of times it becomes second nature and you’ll quickly find yourself able to pre-visualise the image you want to capture, and you’ll know exactly how to set up for it.
Remember, though, that like many aspects of wildlife photography, the more you experiment using camera traps, the more familiar you’ll become with what does and doesn’t work. So, rather than let what appears as initial complexity put you off, follow these simple instructions to get yourself up and running quickly and easily. You don’t even need to invest in a lot of kit, as a wideangle lens (as opposed to a large and expensive telephoto) is the perfect choice here to capture your back-garden visitors.
1 – Frame the camera
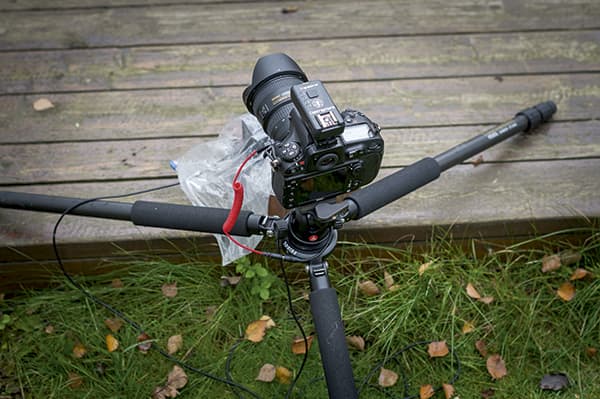
The most obvious element is the framing. Often you’ll be working with wide angles, and low-level perspectives. Try to compose your images to include the environment, not just the subject. Setting the scene for urban wildlife is as an important as the subject itself.
2 – Position the sensor
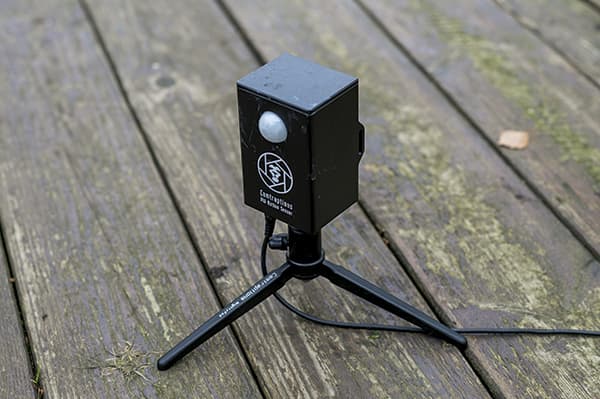
With your framing set, position the sensorso it will trigger the camera when the intended subject walks into the correct partof the frame. A quick tip is to place a hood over the sensor, to help make its detection zone more directional.
3 – Setting exposure
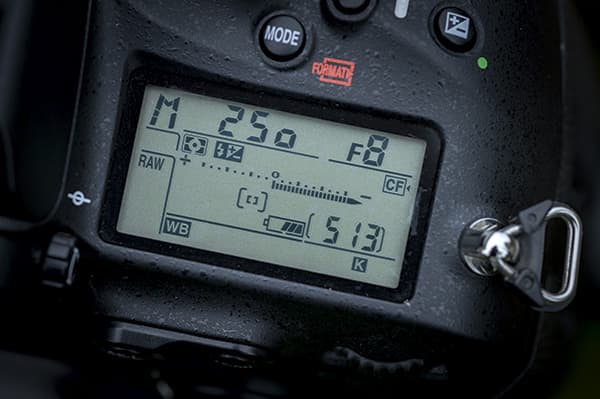
Exposure will vary depending on the type of image you want. If you require no ambient light, use the fastest flash sync speed of your camera, usually around 1/250. If you want to include ambient light, you’ll need a much slower shutter speed, sometimes up to 30secs.
4 – Set the flash
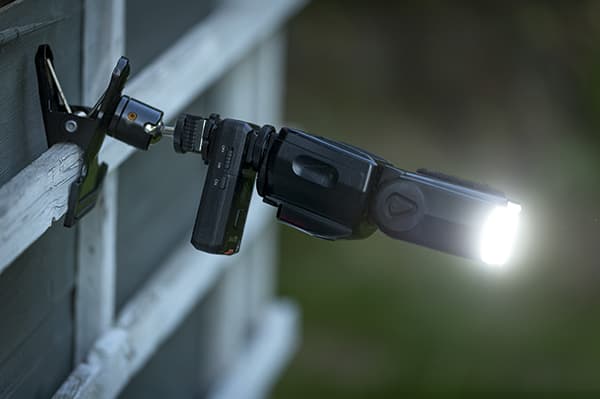
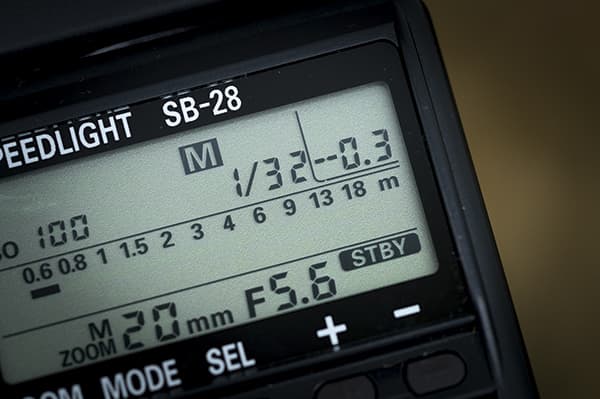
With the camera exposure set, take some photos to set the flashgun output to light the scene as required. If you find yourself needing too high a flash power, open up the aperture and increase the ISO, rather than upping the flash too high.
5 – Test if it works
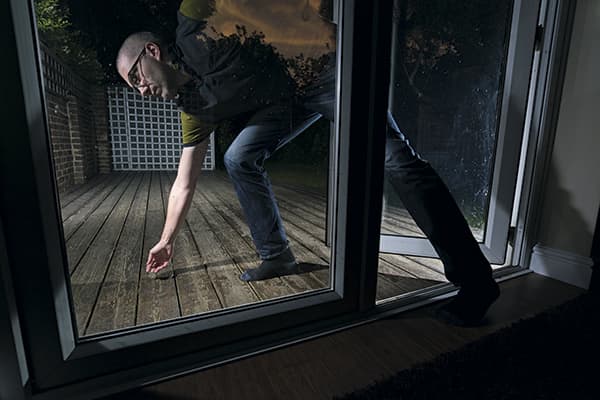
Walk in front of the camera trap to ensure it fires. With so many things to connect and turn on, never walk away unless you’re sure the camera will activate when your subjects walk past. It’s all too easy to fail at the last hurdle because you forgot to turn on the sensor!
Top tips for great wildlife photography at home: Be responsible with flash
When combining flash photography with wildlife, always take precautions. Every situation, subject and implementation is different so it’s essential to work responsibly. This includes stopping immediately if your subject reacts or shows any signs of distress. With that said, it is advisable to work with the following in mind:
Power
Never set flashguns to full power. If more brightness is required, use the aperture and ISO to increase the camera’s sensitivity to the flash output. Working in this way can allow you to get ample illumination of the animal, even with the flashgun set as low as 1/64 of full power in some situations.
Position
Whenever possible, place flashguns at distance. Then position the flash units up above the subjects’ head height, looking back down towards them.
Direction
Angle flashguns in from the extreme sides of the subject, so they’re on the periphery, ensuring there’s never more than one light being picked up per subject’s eye. This also has the visual appeal of not producing multiple catch lights, which can be a distracting element in an image.
Duration
Keep your DSLR in single-shot mode to reduce the amount of frames taken when the trap is activated, which in turn reduces the amount of times the flashgun fires. A flash firing once every five seconds is better than five times a second.
Top tips for great wildlife photography at home: Buy a trail camera
Even if you’re lucky enough to have a garden that’s visited frequently by a variety of subjects by day, it can be a real eye opener to monitor activity at night. You may well find that you have all manner of subjects right on your doorstep, regardless of whether you live in an urban or more rural area. Trail cameras operate by detecting motion and then either taking a photo or recording a video clip. Because they also time-stamp the files they produce, you can quickly build up a picture of what’s visiting and when. To help encourage wildlife, use bird feeders or put out some peanuts and water. Then simply point the trail camera at these food sources and see what visits.
Top tips for great wildlife photgraphy at home: Working on a budget
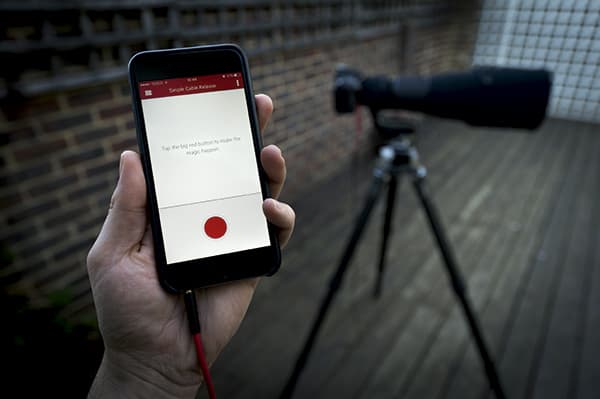
It’s also possible to take photos at night by triggering the camera manually. Although this can make the process a little more time consuming, it does allow you to activate the camera remotely without spending a large amount of money. If you have a smartphone, the TriggerTrap mobile dongle and app is perfect for this as it allows you to tether your phone to your DSLR. Although the supplied cable isn’t very long, it’s possible to buy very cheap extension cables online, which can result in manual camera activation from more than six metres away.

