
A renaissance in black & white has swept through the wildlife photography world. Perhaps brought about by the ease of conversion of a digital image from colour, the Wildlife Photographer of the Year competition added a black & white category giving further encouragement, plus a number of high-profile wildlife and environmental photo books showing off monochrome imagery have all
helped bring it to the fore. Take a look at Sebastião Salgado’s magnificent book Genesis, and it is hard to resist embracing the medium. Many photographers feel it is a way of elevating a picture from something illustrative to a piece of art, which takes on a timeless quality.
My own experience from selling my work through a gallery reflects this idea that a black & white image has an artistic edge over a similar, or the same, image presented in colour. This is perhaps a perception born from a cultural and historical perspective, but removing colour from an image does provide a degree of abstraction which no doubt fuels this perception.
Many cameras allow you to shoot in a black & white mode, however I feel it is better to shoot in colour, as there will be no loss or quality issues in converting your image from colour to monochrome. Furthermore by shooting in colour you preserve the RGB colour channels, which may be used to alter the look of your black & white image when processing.
Strong contrast in a picture is likely to result in a good conversion.
Choosing pictures to convert
But what makes an image originally captured in colour worthy of conversion? Careful consideration needs to be given to what you want to achieve, as not all images will be suitable. You need a good colour image to start with. It has to work in its composition and any other qualities that make it strong. Converting a picture that is a poor picture is likely to result in a far weaker image than if it had been left well alone.
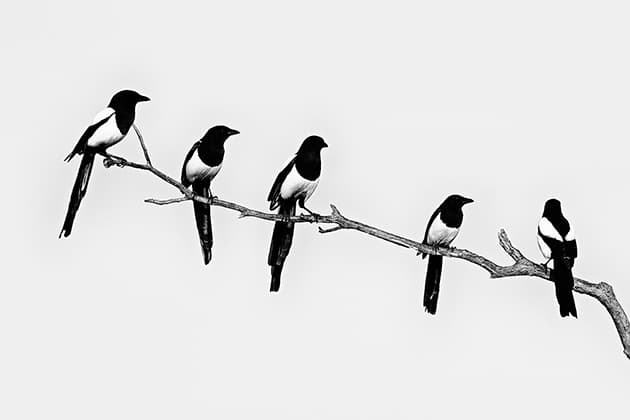
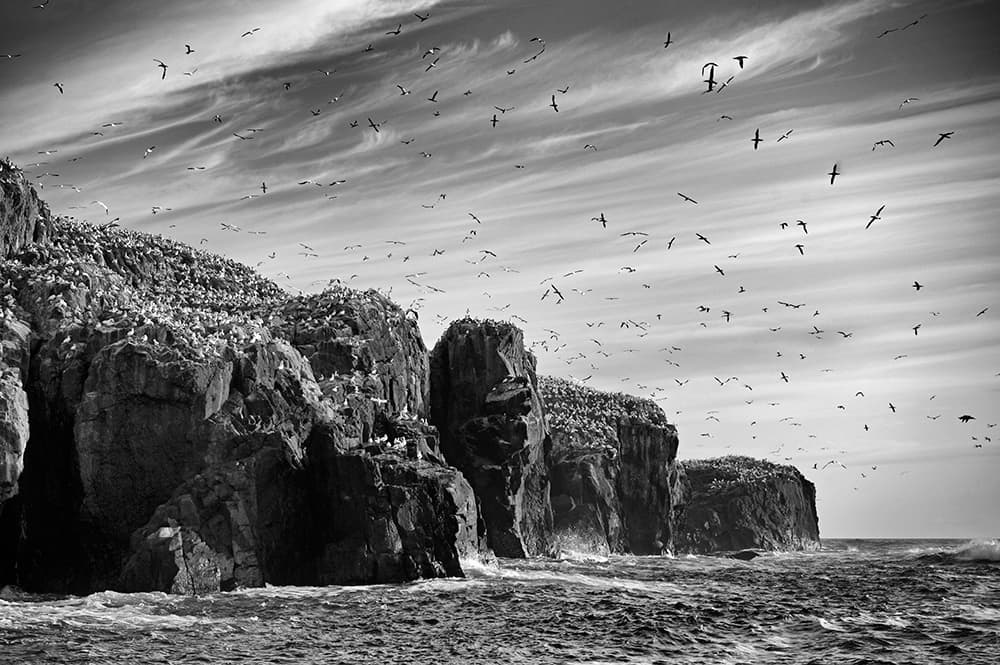
Stripping colour away removes a little of the realism an image may possess. Light and shade become key components, as does texture, which in a colour image may have been overlooked. Tonal contrast and texture however are not the only ingredients that might make for a good candidate to convert. I always consider any image that is largely monochromatic, subjects such as zebras, avocets, many species of seabird, mammals in the snow may all be worthy of the treatment.
Line and shape are further elements worth exploring especially when a subject is photographed against the light, whether in total silhouette or with partial back lighting. The shapes within the image then become an integral part of it – silhouettes can remove individuality while giving a more abstract and symbolic representation of a subject, and an elegant simplicity can emerge. This works best when the animal or bird you are photographing has an easily identifiable profile so the viewer can relate to the subject.
Suitable situations
When shooting I take notice of situations that may make a good black & white image. For example, if I see a subject creating strong shadow I might try and optimise that even more by my shooting angle, with a view that the end result will be in monochrome. Strong contrast in a picture is likely to result in a good candidate for the monochrome treatment.
The more colourful and complex the landscape a subject is depicted in, the more challenging creating a strong black & white image can become. Perhaps that is why some of the most striking examples we see published come from the ends of the earth where the colour palette is limited. After all a picture of the rainbow- coloured scarlet macaw against a verdant rainforest in monochrome can have you longing to see it in all its glory in colour, yet the same reaction is less forthcoming when confronted with a hare against a snowy landscape or an elephant on the African savanna.
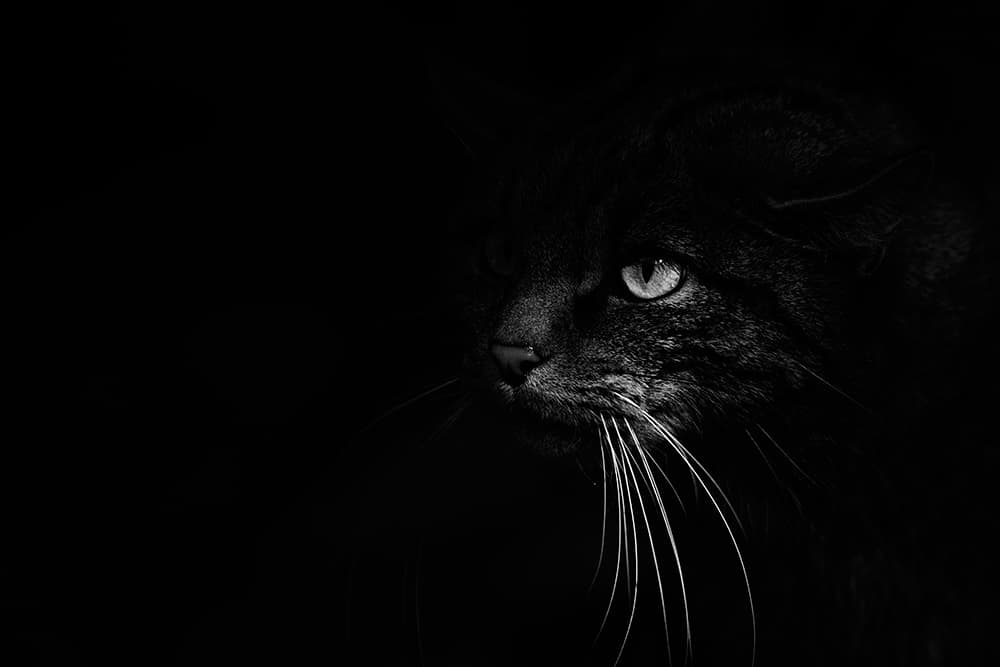
When you strip colour away light and shade become key components.
Post-processing options
Once a candidate for the black & white treatment has been identified, there are myriad ways to make the conversion. My mantra has always been to keep it simple. Where once I fiddled with multi-step conversions in Photoshop, I now use Nik’s Silver Efex Pro 2. A free download from the Nik collection, this software is a plug-in to Photoshop and offers the ability to finally adjust an image to give the exact look you desire. A big attraction is the preset examples provided for each image you open, from very modern to vintage looking results. They give a fast way of assessing whether the image is worth processing.
When using any processing software such as this, the trick is not to get too carried away. It is all too easy to block shadow areas or over-lighten patches of the picture so that detail becomes lost. Beware too of making global adjustments that affect the whole image. To make subtler changes try making local adjustments to part of the image as these are likely to really enhance the finished picture. Dodging and burning specific areas if you want to deepen or lift shadows, darken skies or help create tonal contrast, will make a finished monochrome image more striking.
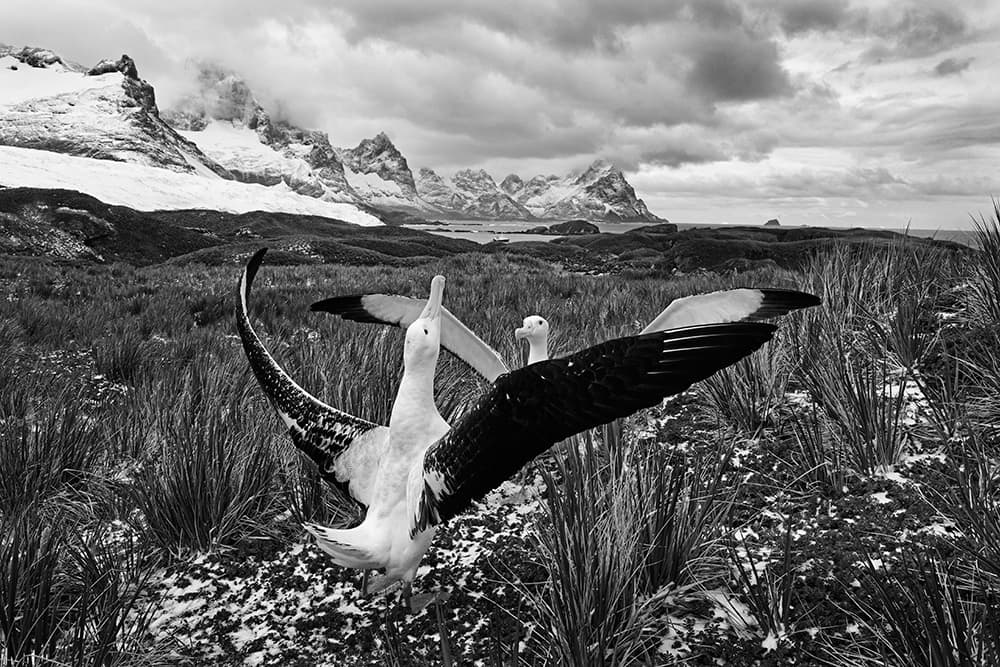
Step-by-step – black and white conversion
In this example, the texture of the surrounding sedge, the monochromatic nature of the colour image and the washed-out sky led to it being a strong candidate for conversion to black & white
Standard adjustments
This picture was shot in raw, so in the raw converter I made a few standard adjustments as I would with a colour image before importing it into Photoshop as a JPEG. In this instance it needed little attention, however if needed I may have adjusted exposure.
Clean and crop
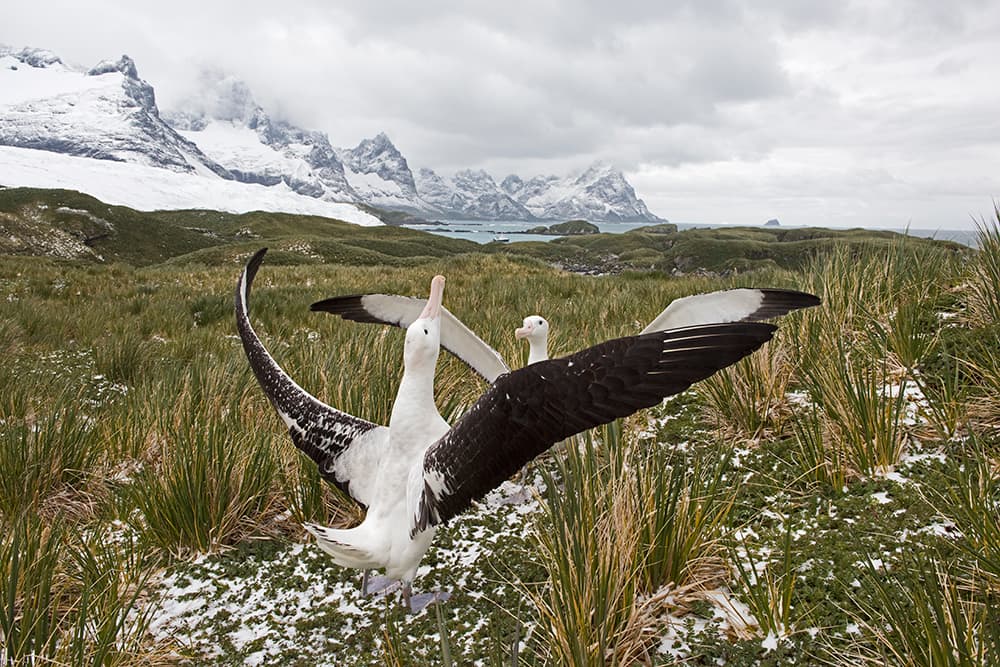
For the the next stage I continued using Photoshop. I cloned out any dust spots and specks. It would be at this stage that I would normally crop the image if required, so I work only on the finished image area. In this example I decided to leave it as it was.
Dodge and burn
While still a colour image I tend to do any dodging and burning needed in Photoshop as opposed to Silver Efex Pro because I find it easier to do, but this is a personal preference. With this image I have darkened the sky with the burn tool to make it a little more moody.
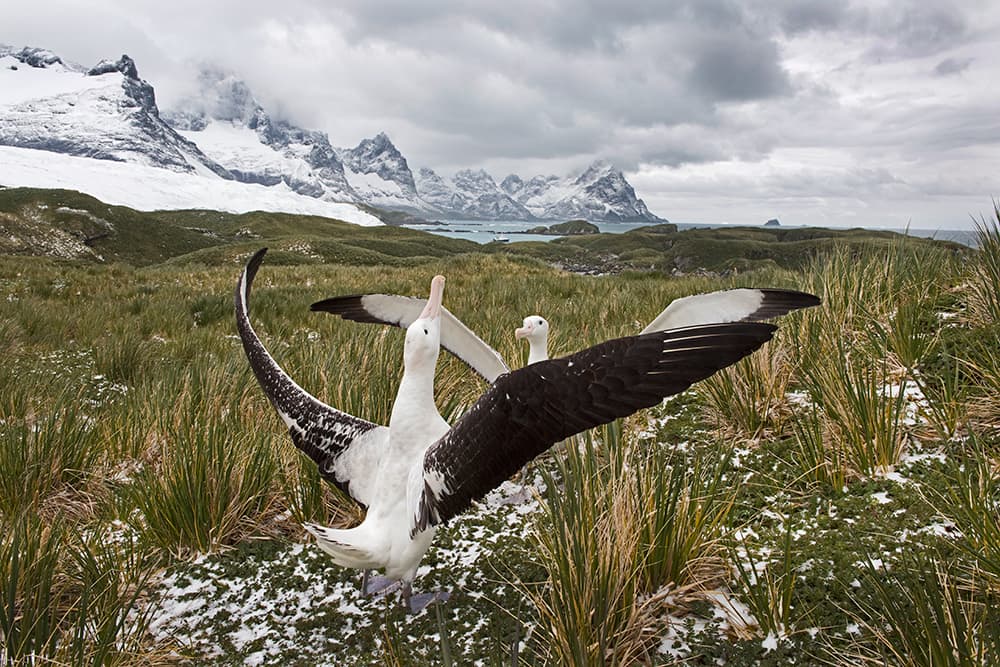
Strip away colour
Now it is time to strip away the colour and import. Here I imported it to Silver Efex Pro 2 – my preferred tool for black & white conversion. I then look at the presets, which give me a good feel for the adjustments I need to make for my desired result.
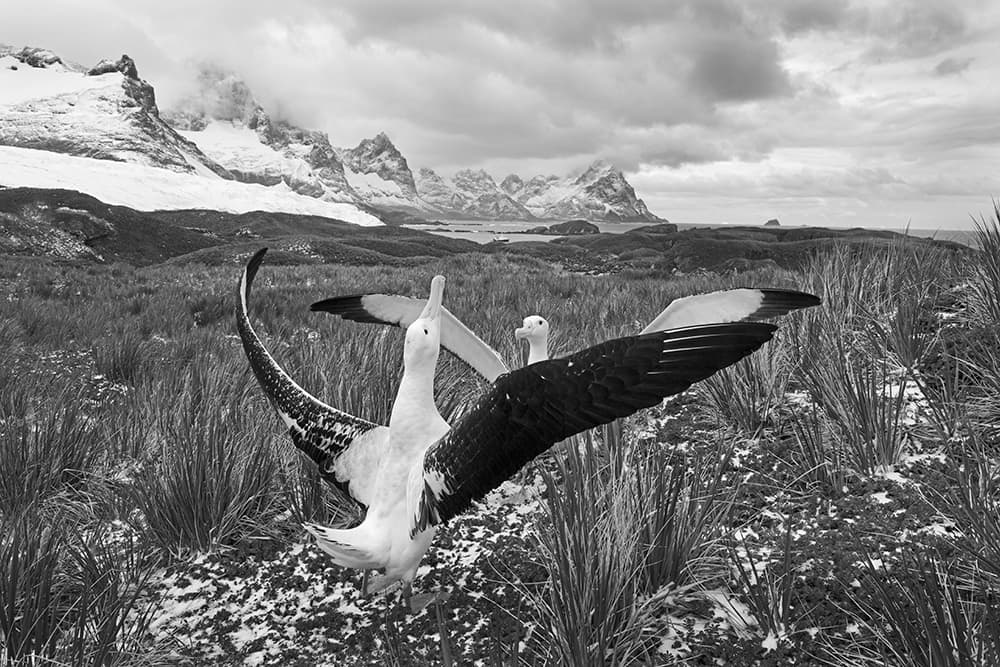
Final adjustments
The final stage. With this image I made global adjustments but you may want to adjust selectively. I increased contrast to 14% and structure to 27%. These adjustments have boosted the texture of the sedge and generally given the image more bite.
One that didn’t work
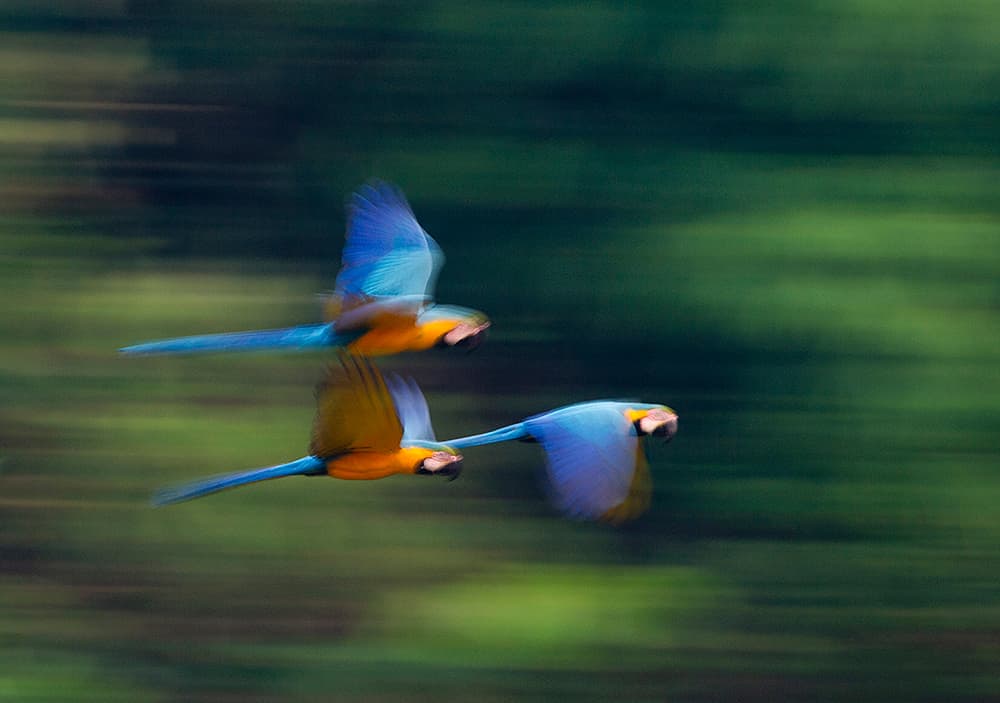
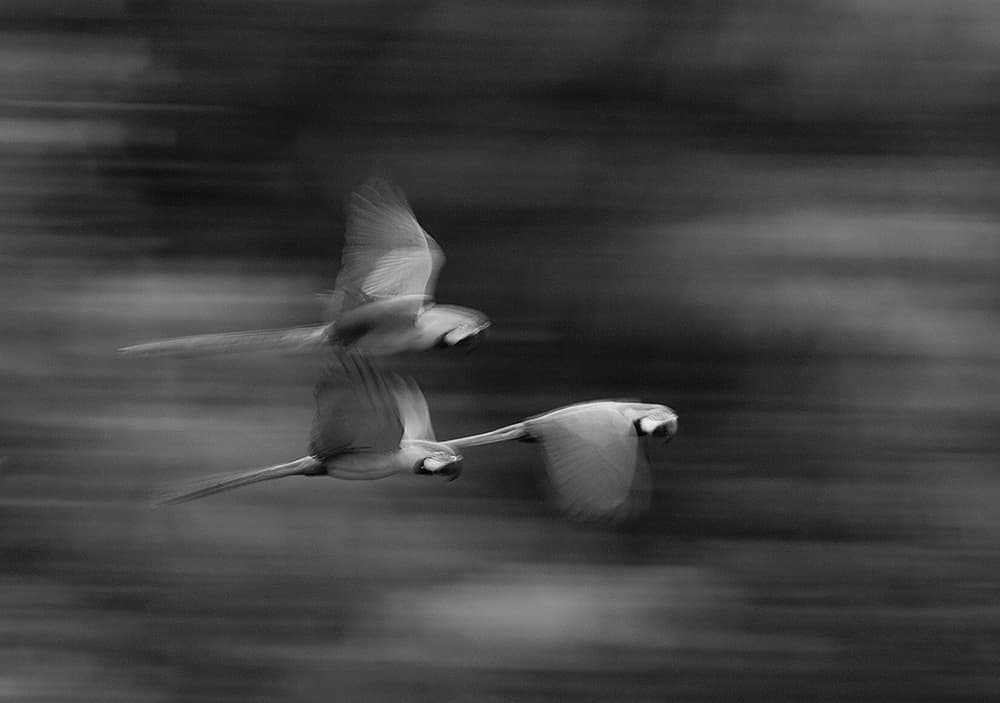 This motion blur image of blue-and-yellow macaws flying against the lush Amazonian rainforest is a vibrant colour image. A macaw’s plumage is a spectacular palette of colour, and stripping away the blues and yellows that contrast with the various tones of green of the forest leaves this image looking quite flat and with less impact than its colour version. The technique used does not sit well as a black & white conversion. When motion blur is used on a colourful subject it is often the colour in the image that helps to make it work. With the colour gone my view is that the image loses interest.
David Tipling is one of the most widely published wildlife photographers in the world. His pictures have been used on hundreds of book and magazine covers, on TV and in just about every other conceivable way from wine labels to being projected in New York’s Times Square. Visit www.davidtipling.com


