
Understanding the huge impact that the direction of light has on your portraits will increase your confidence, technique and ultimately your creativity.
Many years ago, I discovered the importance of the direction of light and its relationship to photography. Understanding that there are essentially three directions, each requiring a different approach to exposure, immediately had a fundamental and long-lasting impact on my work and my confidence.
At its simplest you can categorise light into frontal, side, and backlighting. Each direction of light has a very different effect on the form of the subject – largely due to whether shadows are present and where they fall. I try to deliver all three directions of light on every shoot whether I am working indoors or outdoors. Taking this approach helps me to focus and make decisions with confidence and with speed.
Using continuous lights such as the Rotolight AEOS and NEO, you can see exactly where the light is falling before taking a shot. Sony A9 II, 85mm, 1/800sec at f/1.4, ISO 500 Photo credit: Kate Hopewell-Smith
It is important to recognise that when you work on location it can be much harder to control the light than in a blackout studio set-up, which is the equivalent of starting with a blank sheet of paper. I do not get fixated on ‘perfect’ portrait lighting but still borrow from styles such as Rembrandt or Butterfly.
In all cases my approach is to judge the ambient lighting first, how can I use it to my advantage and how does it help to establish mood and atmosphere. Then I decide on whether I need to modify the light or add additional lighting to further enhance the portrait. Choosing how you want to work with light in terms of direction should help you make critical posing and directing decisions too.
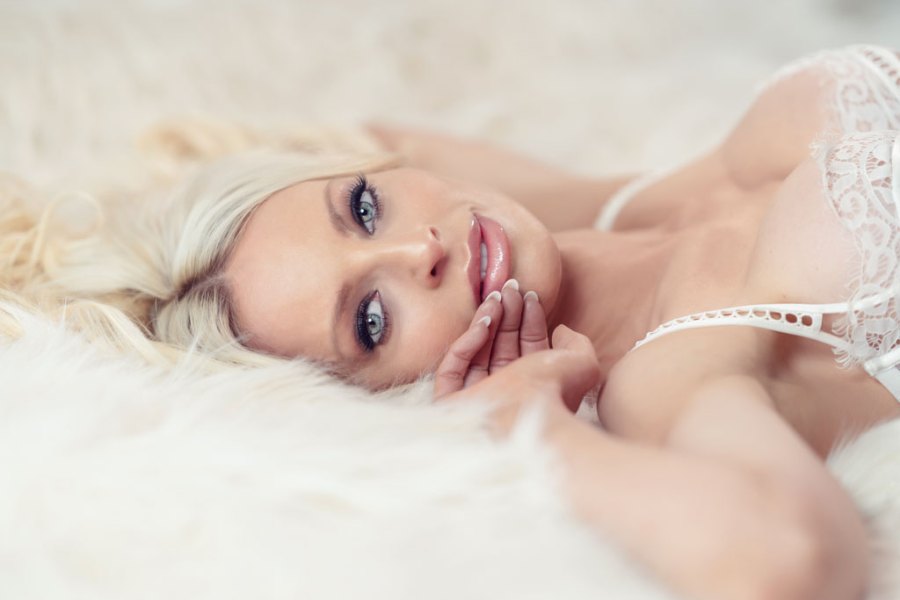
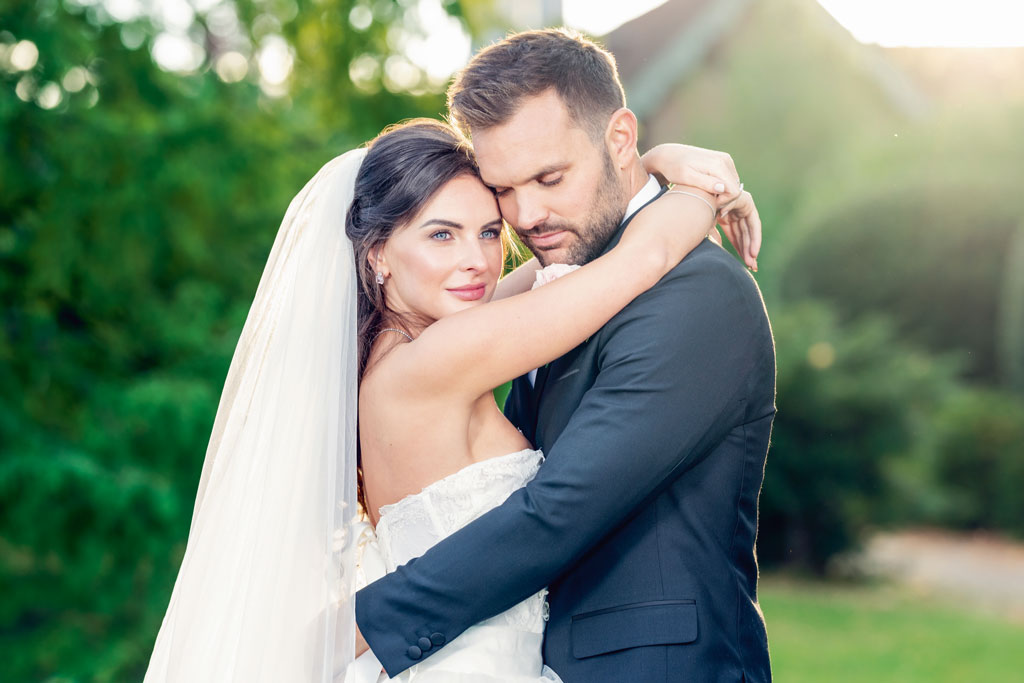
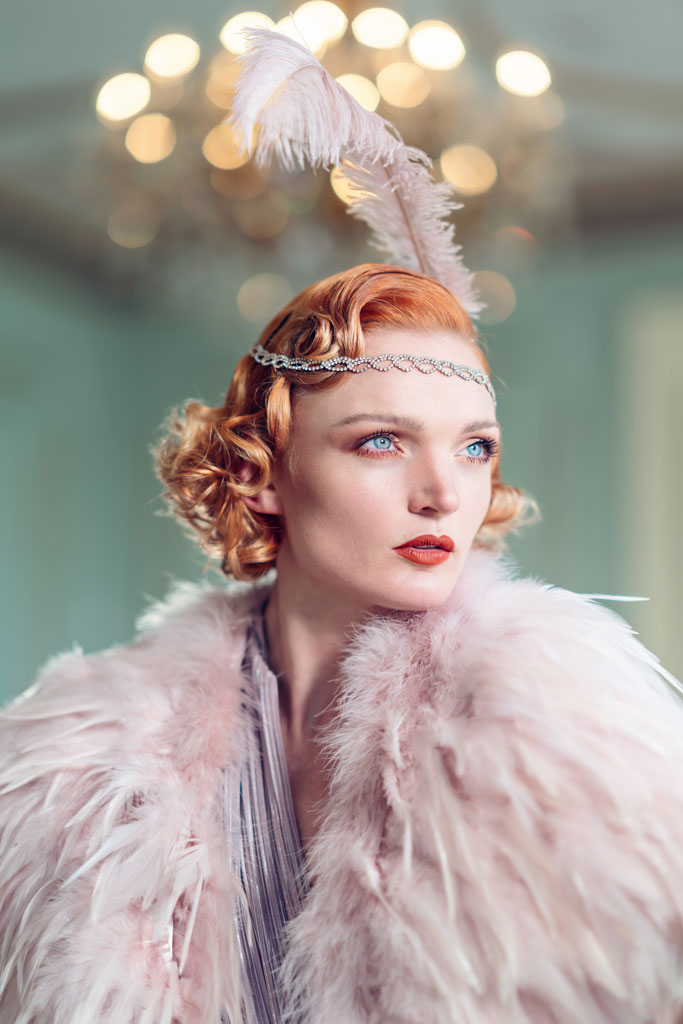
Rotolight AEOS, Stripbox Sony A7 IV, 24-70mm, 1/100sec at f/4, ISO 1250 Photo credit: Kate Hopewell-Smith
Direction of Light: Frontal Lighting
Generally, this is the easiest to work with and you are aiming for a low contrast, frontal light source. This is very easy to achieve indoors with window light (stand with your back to the window but make sure you do not cast any shadows on your subject). Outdoors you would either need the diffusion offered by cloud cover or the best option is to seek out some top shade whereby there is something above the subject that cuts out direct down light and helps to allow the light to fall at more of an angle on the face. In terms of artificial lighting, you need to create the biggest and softest source possible with modifiers like soft boxes or umbrellas.
Since shooting more and more video and taking a hybrid approach I absolutely love the new Rotolight SmartSoft Box which allows you to electronically adjust diffusion, focus and spread of the LED light source. Soft, frontal, lighting will make skin look lovely and enhance eye colour, but it can look very flat and lack drama because any shadows fall behind the subject. If you can move the light, a good starting point is overhead and offset to 45 degrees.
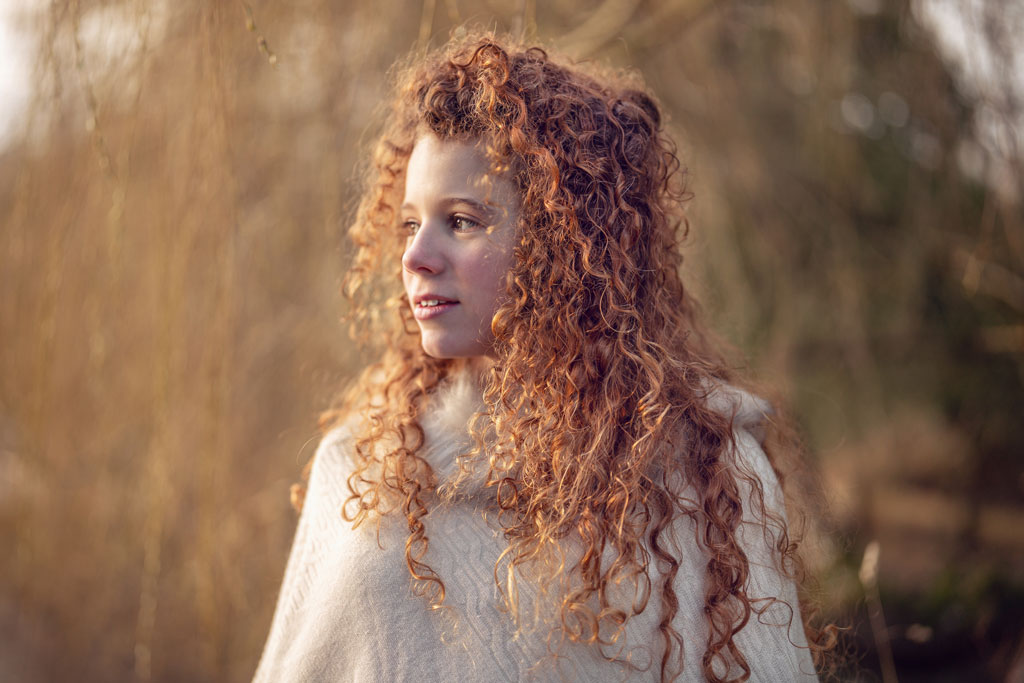
This was shot in natural light with some top shade to help angle the light towards the face. Sony A9 II, 50mm, 1/250sec at f/1.4, ISO 320 Photo credit: Kate Hopewell-Smith
Direction of Light: Backlighting
Having light hitting the subject from the back can instantly improve your portraits – creating some separation from the background, enhancing form, and adding atmosphere and mood. However, it can be hard to get it right as many factors are at play, such as the strength of the light – is it the key light or just a beautiful accent and is the light at a good height and not introducing unwanted flare? Critically as a single light source it will almost certainly throw the subject’s face into shadow and demand some form of fill lighting to ensure it is still a portrait and not a silhouette. Backlight will also trick your metering system into underexposing the image so be prepared to lift your exposure or use exposure compensation.

Natural light with a reflector to bounce some light back into the face Sony A9 II, 50mm, 1/1000sec at f/1.4, ISO 16. Photo credit: Kate Hopewell-Smith
When you are shooting with strong and low backlight I recommend constantly changing the height of the camera and moving from left to right as you shoot. Some images will not work due to excessive flare but you should get some beautiful shots. It is worth using a lens hood but if the sun is very low this won’t stop the flare – I often use one hand to flag the lens.
It’s also worth thinking about the colour of the light as backlight is best early or late and often has a warmer or golden tone. You have many options for lighting your subject’s face such as using simple reflectors or introducing a secondary light source. The back light will add mood and form but make sure you are considering the skin tone and lifting shadows by introducing some additional light from the front.
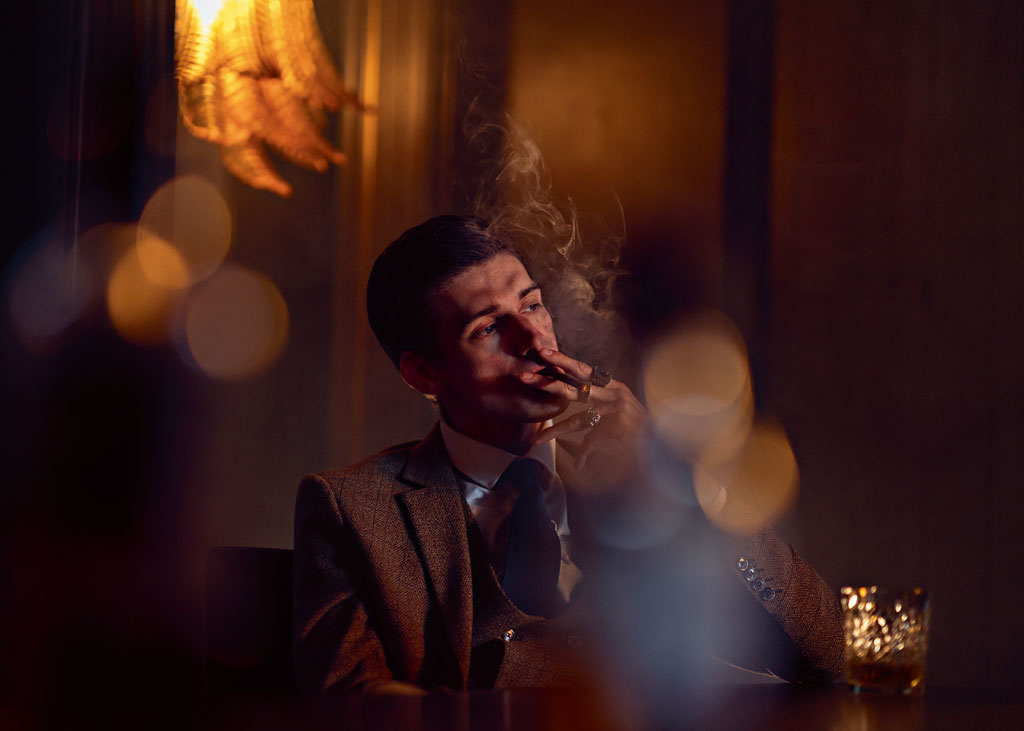
Natural light with 2x Rotolight AEOS in strobe mode. Sony A9 II, 135mm, 1/200sec at f/3.5, ISO 320. Photo credit: Kate Hopewell-Smith
Direction of light: Side Lighting
Due to the light hitting the subject from the side some areas will be lit and some will be in shadow – perfect for exploring the subject’s shape and form. However, human faces can be hard to light well in high contrast: our noses project and cast strong shadows and our eyes, which are recessed, can easily be thrown into shadow by overhead lighting. To prevent harsh facial shadows or split-lighting, I always turn my subject’s nose to the light.
Well-executed high- contrast images are often dramatic and powerful whilst softer shadows can still produce beautiful results that are not as harsh. Side lighting is often used for character portraits but can also produce beautiful boudoir images that celebrate the female form. The subtle addition of some controlled backlight can be beneficial by creating some separation and preventing the shadow areas from completely merging with the background.
Making the most of the golden natural light. Sony A9 II, 50mm, 1/500sec at f/1.4, ISO 125. Photo credit: Kate Hopewell-Smith
Side lighting requires careful control of the light and posing, so working with natural or continuous lighting makes this process much easier, as you can direct according to what you see. Shooting portraits on location using this approach to direction of light works equally well with natural, flash, or continuous lighting and I choose my approach based on the ambient light, environment, and circumstances of the shoot.
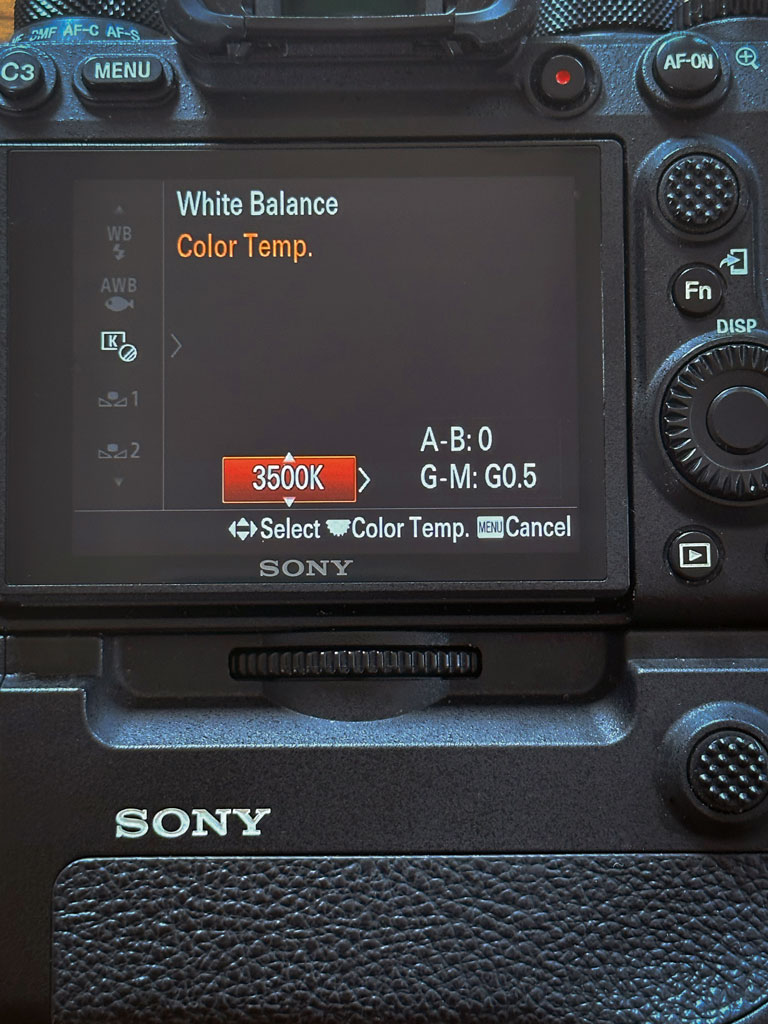
Having the ability to modify light in terms of contrast, speed and colour is very important and in mixed lighting conditions I often set my white balance to a specific Kelvin rather than relying on any presets. Finally, I don’t just work like this for portraits but for all subjects, including food photography.
Using the Rotolight NEO for side lighting to accentuate facial features. Sony A9 II, 85mm, 1/320sec at f/1.6, ISO 500. Photo credit: Kate Hopewell-Smith
How to direct light and pose your portraits
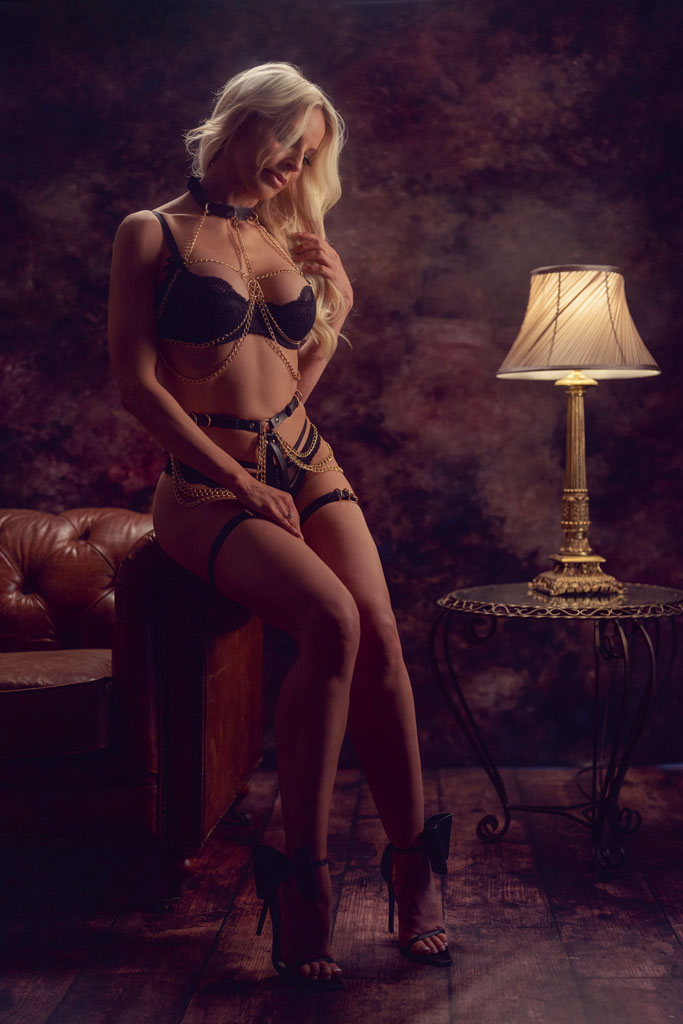
Photo credit: Kate Hopewell-Smith
1. Set the mood
For this image I wanted it to feel like it was shot at night which naturally lends itself to warmer colour temperatures/incandescent lighting. As a result I set the colour temperature of the lamp using the WiZ app on my phone.

2. Position key light
Next, I need to position the key light which is a Rotolight NEO in a gridded strip box. Strip boxes are great for boudoir lighting because they are long and thin in shape, which is ideal for the human body. The soft grid helps keep the light straight and focused. I also match the Kelvin setting to the lamp.
3. Add a second light
I add an accent hair light which is another Rotolight NEO. This time modified with barndoors to ensure that I can minimise the spread of light to a very narrow beam to light only the hair and shoulders. This gives some separation from the background. Like the key light, I match the Kelvin.
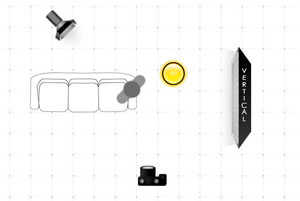
4. Strike a pose
The aim is to pose my subject so that the shadows and light fall in a way that enhances her form. All sources are continuous, and the strip box is positioned to look like the light is coming from the lamp in the frame. The human eye is always drawn to the brightest part of the image so make sure that the light is hitting areas of the subject that you want to enhance. To finish off I asked my subject to turn her face into the key light source – the ‘nose to light’ approach.

Photo credit: Kate Hopewell-Smith
5. Camera settings
I set the Kelvin/WB on my camera to match all light sources and in manual I expose for the brightest areas of the scene (underexposing by about 1-2 stops according to the cameras light meter). I then direct my subject to move within a very limited range which is dictated by the lighting.
Why it works
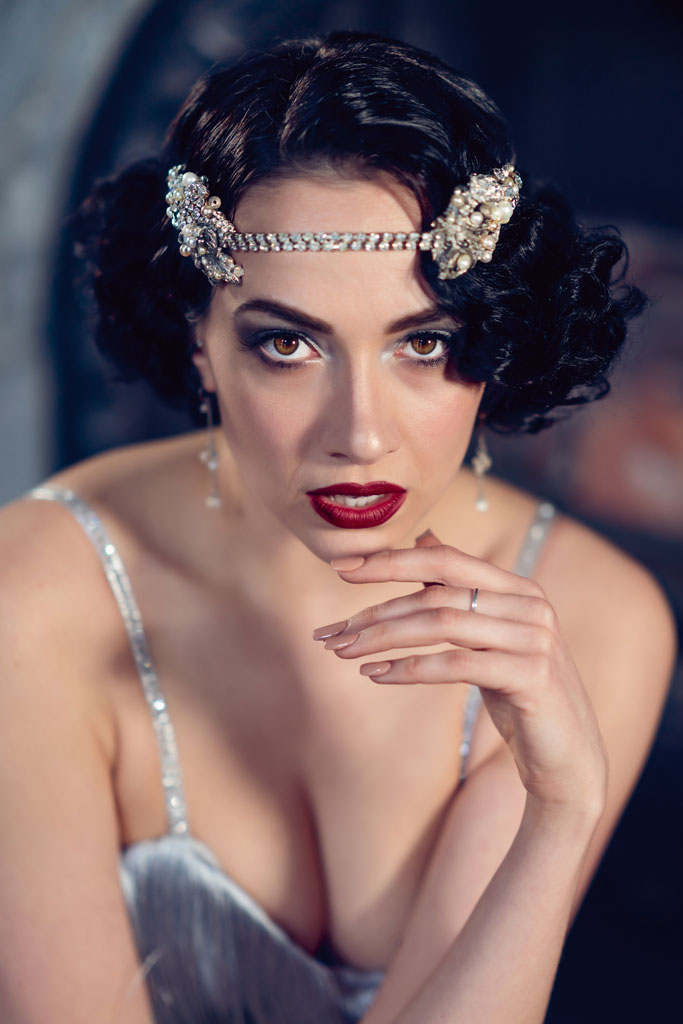
This image demonstrates how lighting setups can be used for both high contrast and low contrast images. The theory of using side light and an accent hair light is the same. In this case the key light is provided by natural window light and the accent is from a Rotolight NEO with barndoors. The key light is used to gently sculpt and enhance the female form and the accent light adds depth and mood to the shot.
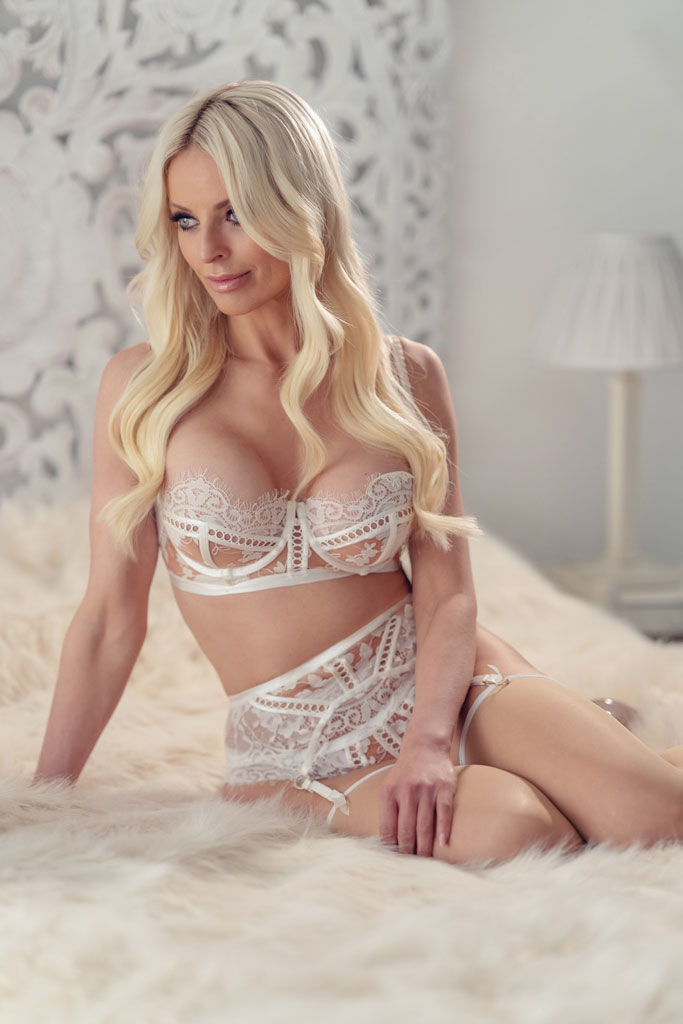
Photo credit: Kate Hopewell-Smith
The posing and directing follows the same ‘rules’ as the step-by-step above, although the soft light is much more forgiving due to very soft shadows. There isn’t one perfect direction of lighting for boudoir; I use all three types across a shoot depending on whether I am focusing on a head or body shot.
Kate’s top ten tips for directing light
1. In terms of posing people in relation to the light direction think ‘nose to light’. This will help remind you that side lighting requires the subject to turn their face towards the light source.
2. Back light almost certainly needs some kind of fill lighting. So, the ‘nose to light’ approach should act as a reminder here to consider this!
3. The contrast of an image often relates to whether the light is hard or soft. You can tell immediately by the edge of the shadows – how hard or soft is the transition from light to dark?
4. You may want to focus the light source to avoid too much spill in the rest of the frame. High and low contrast lighting can be further modified with barndoors or grids.
5. As well as the direction of the light, you need to consider the height of the source. Too high and the eyes will not be lit and cast into shadow by eyebrows.
6. Mix up your sources! I often use a combination of natural and artificial lighting – just make sure you are matching the colour (Kelvin) of each light source.
7. Remember that side light casts shadows – enhancing lines and skin texture – so remember to be kind in post-production with skin softening/retouching.
8. Backlight from the sun varies according to the time of year and day. Try to time it so it isn’t too high/strong or too low because you will struggle with excessive lens flare.
9. Backlight requires you to expose for the shadows so you will probably need to overexpose according to the camera’s light meter.
10. Sidelight is easiest to achieve by starting with a dark frame and introducing a controlled light source by using grids or similar.
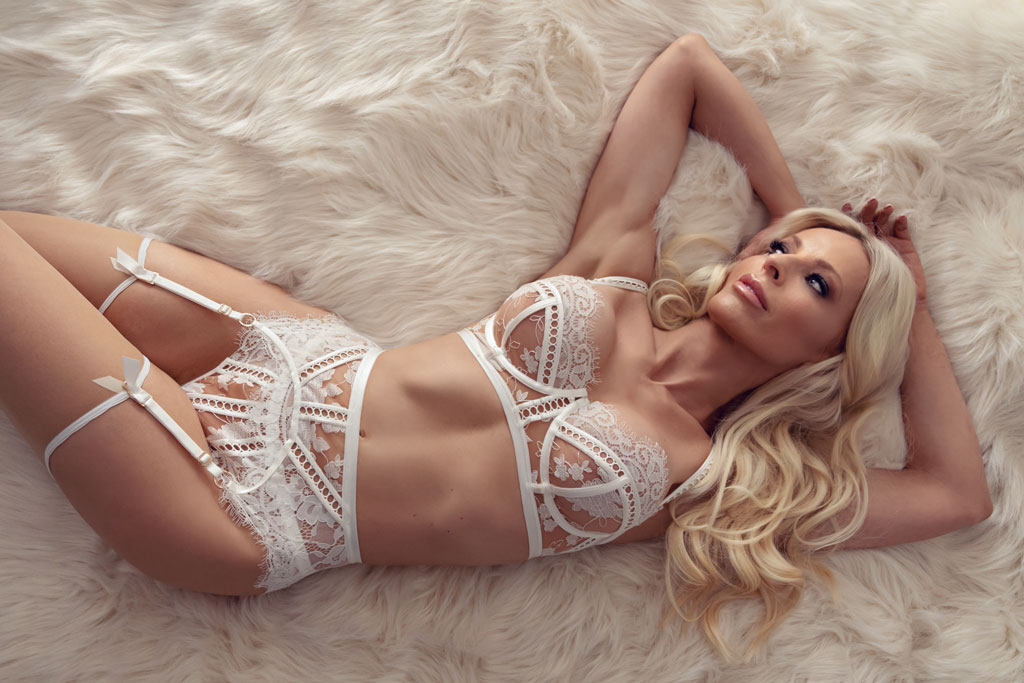
Natural light with the Rotolight AEOS. Sony A9 II, 85mm, 1/320sec at f/1.4, ISO 64. Photo credit: Kate Hopewell-Smith
Kit list
Reflector
For single subject portraits it is best to aim for something easy to handle and transportable. I use collapsible tri-grips and my favourite is a mixture of soft gold and silver.
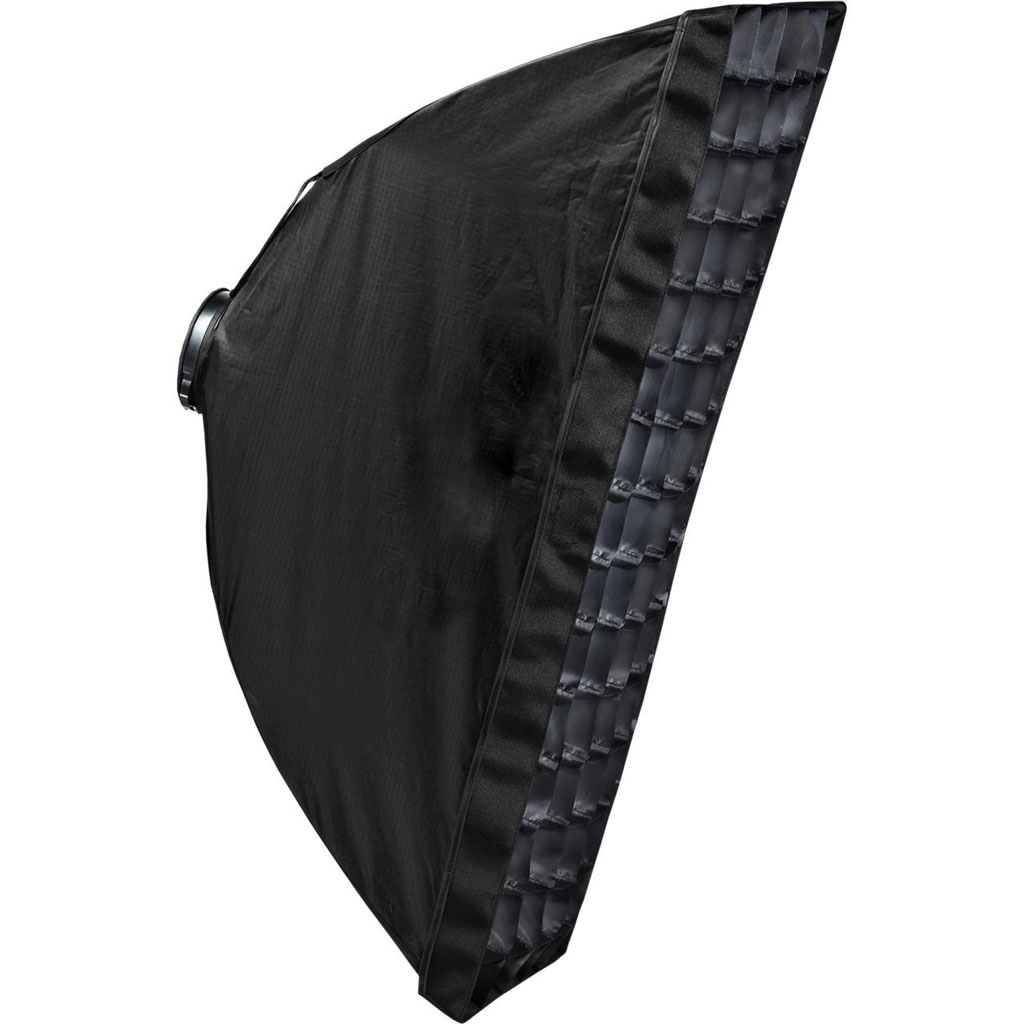
Rotolight AEOS & NEO
Since shooting more video I have become totally reliant on continuous lighting and use the Rotolight system. Outdoors I might use them unmodified and in strobe mode to be able to match strong backlight.
Rotolight NEO 3 and AEOS 2 Review
Rotolight SmartSoft Box
This new piece of technology is amazing – allowing me to control the diffusion, focus and spread of light at the turn of a dial.
Rotolight NEO Barndoors
Being able to tightly control and minimise the light is just as important to my style as being able to soften it. I regularly modify my Rotolights with barndoors and grids.
C Stand
When you are using photographic lighting for front-lit portraits it can be hard to get the light exactly where you need it and be able to shoot from the best angles. I find C-stands with a boom arm robust and practical.
Kate Hopewell-Smith
Kate Hopewell-Smith
Kate has run her photography business since 2010 and along with her cinematographer husband, Brent, represents Sony as a European Imaging Ambassador and Rotolight as a Master of Light. Together, Kate and Brent are directors of wedding brand, byLumiere, commercial content brand, Create, and MUSE, a luxury boudoir business.
Related reading:
The best lenses for portrait photography
Best portrait tips from the pros
How to take better portraits on a budget
Follow AP on Facebook, Twitter, Instagram, and YouTube.


