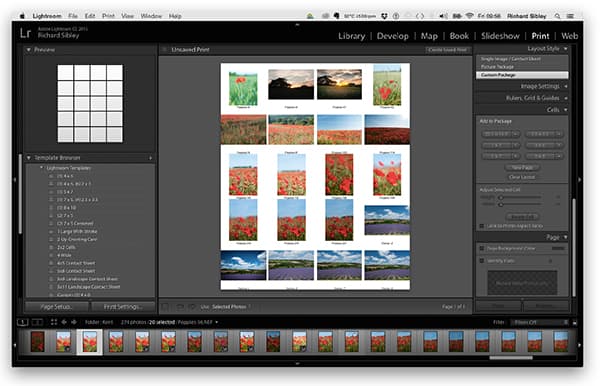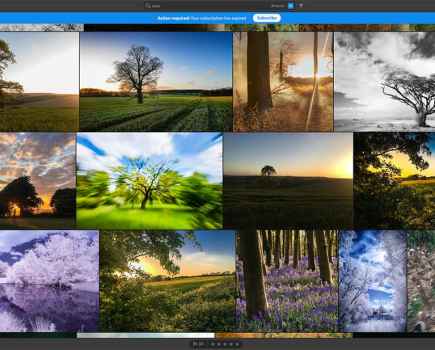
For photographers, Lightroom really can take care of your entire workflow, especially when it comes to print. The Print module lets you specify the page layout and print options for printing photos and contact sheets on your printer. This makes it easy to create a page layout, whether you’d like to print hundreds of images, a single print, a contact sheet or everything in between. Similarly, why not create a book, slideshow or Web gallery? However you want to present your images, Lightroom can help.
Print options in Lightroom allow you to create a book, slideshow or Web gallery.
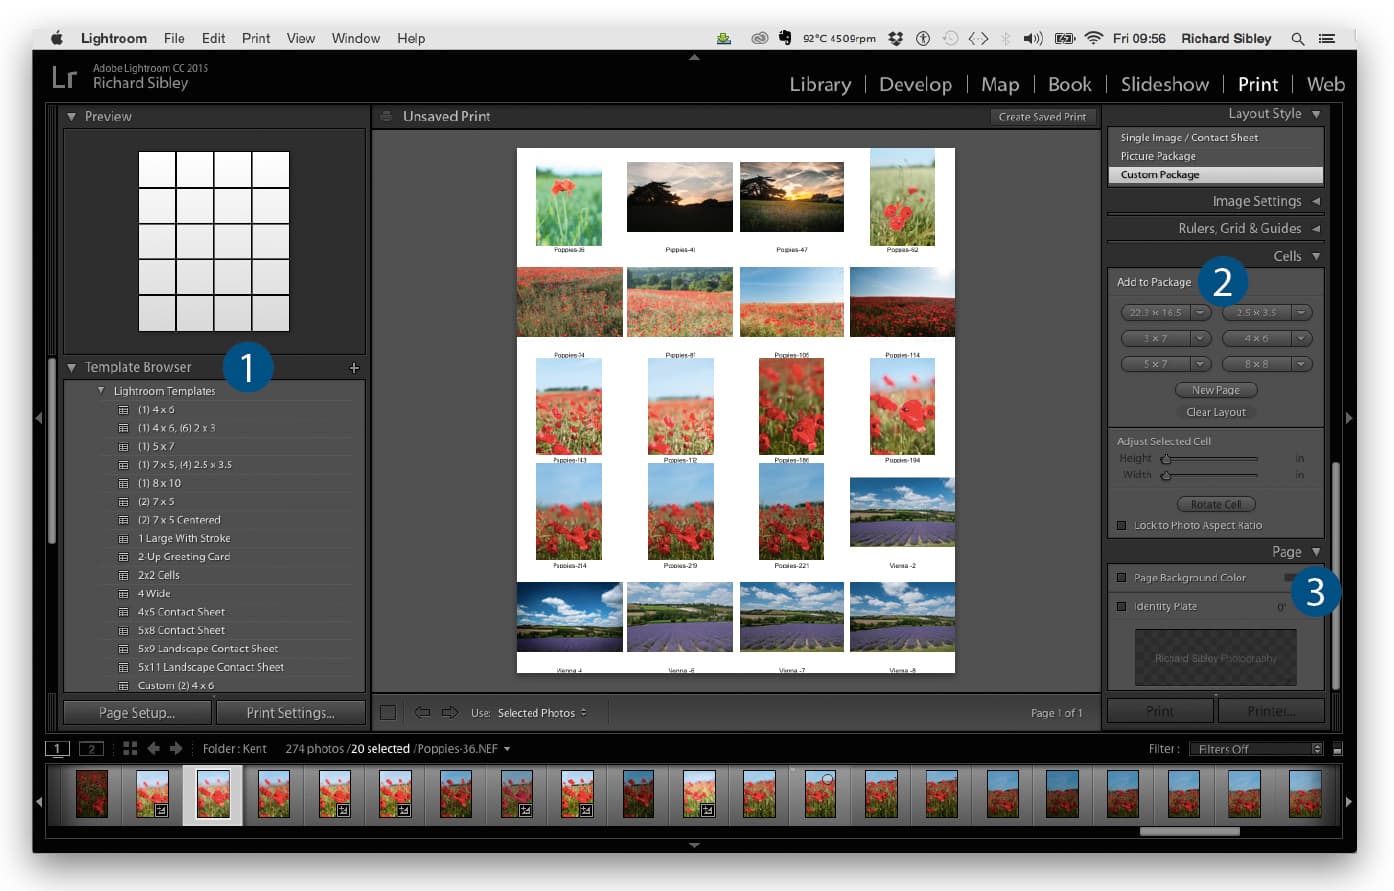
1. Template browser
In practice, most photographers’ print runs will consist of single images. However, if you do wish to make a more advanced type of print, there are many options in the Template browser. One of the most useful templates is the option to print contact sheets. Simply select the photos you wish to add from the filmstrip bar, and then click on the contact sheet template that suits the number of images. Using the Layout and Page options you can then add details such as the image file names, the date and time, or even exposure data. Another useful trick is to maximise the number of prints you have on a single sheet of paper. You can use, or set up, templates for different paper sizes – and then cram as many 6x4in photos on a single sheet of A4 or A3 as you can.
2. Custom Package
If none of the default templates suits your needs, there is the option to create your own. Each image is held within a Cell, and these can be selected from the Cells panel. Once you’ve chosen your page size, the Cells can be dragged onto the template and moved around, with a grid background helping to ensure that everything is neatly lined up. When you’re happy with the layout, it can be saved as a template for future use.
3. Page options
For a more personal finish to your prints, it’s possible to customise the page by adding personalised touches. The background colour can be changed (although bear in mind that setting it to black, for example, will use a lot of black ink) or a polished finish created by setting a colour border. The Identity Plate is another option that allows you to add your name, or business name and promote your brand. Depending on your preferences, the Identity Plate size and opacity can be changed. If you want to protect your images, the watermarking tool is a good option. As you’d expect, this applies a watermark to each image, and furthermore, Lightroom allows you to customise the watermarks or to save different watermarks for different projects.
4. Color management
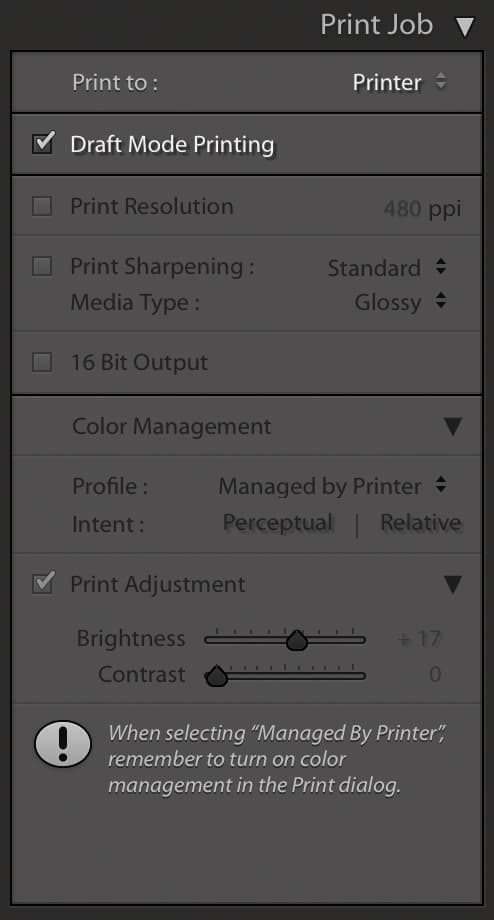
Perceptual and Relative options help to print-match the screen image as closely as possible.
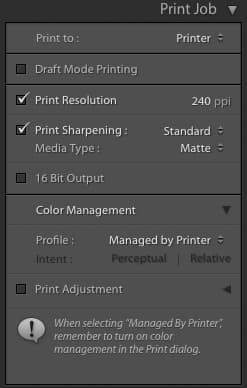
Getting your final print to match the image on your screen is important, and thankfully Adobe Lightroom has the same Color Management settings as Adobe Photoshop. In the Color Management setting you can select a colour printer profile for your printer and paper, and chose from Perceptual or Relative rendering intent. Perceptual creates a print closest to the perception of what you’ve actually seen on screen, while Relative uses a colour range in the print that is relative to the colours on screen. The aim is, of course, to make the print match the screen image as closely as possible, but due to differences like the screen being backlit or the range of the inks in use, there may be a noticeable disparity between the Relative and Perceptual prints.
Martin Evening’s expert tip
In the Print Job panel there is a Draft Mode Printing option. When this is checked it restricts you to managing all the print settings via the system printer driver dialogue, but allows you to make prints in draft mode working from the available Library module previews. The advantage of this is that you can print contact sheets or smaller-sized prints from a shoot really quickly, because Lightroom only needs to read the (already available) preview image data, rather than having to read and render the entire image data for each image. This can make the print data-generation process about 100 times faster compared to normal printing.
Other options
Slideshow
Creating a slideshow is extremely simple. Like the Print module you can choose your background and add an Identity Plate or watermark, but you can also add your own text, star ratings and even place drop shadows. Music can be added from your own collection, and you can create intro and outro titles. Lightroom also allows you to make your slideshow more interesting by adding cross-fade effects between images, where one image slowly fades to another. Another way to add interest is to make use of Lightroom’s new Pan and Zoom options. These use a Ken Burns-style effect (a panning and zooming effect used in video production from still imagery) and will display a slightly enlarged version of the image, which the frame then moves across as a camera would in videography. This small use of motion can really add impact to your slideshow – if used sparingly. In this caseless really is more, so avoid the temptation to set the effect on ‘High’.
Books
The Book Creation module is very similar to the Print module. You can choose from different templates based on the size of the book you have chosen, and there are a number of different page layouts to suit your needs. Text and borders can be added, and the finished books can be saved as PDF or JPEG files.
In the UK, Adobe has partnered with Blurb books, giving you the ability to design a book with Blurb’s different size and finishing options. The final book can then be uploaded to Blurb directly from Lightroom, and you’ll receive the finished product in the post a week or so later.
Web
If you have your own website, or are thinking of creating one, Lightroom is an excellent resource. You can create your own Web galleries without the need to learn complex code, as Lightroom takes care of the work. Once again, select the images that you wish to use in the gallery, then select from one of Lightroom’s Preset Gallery options. From here the default settings can be modified and text added to ensure the gallery fits the look you want. When finished, the gallery is saved to a folder along with the HTML-coded internet pages and resized images. It’s a great way to create a custom Web gallery.

