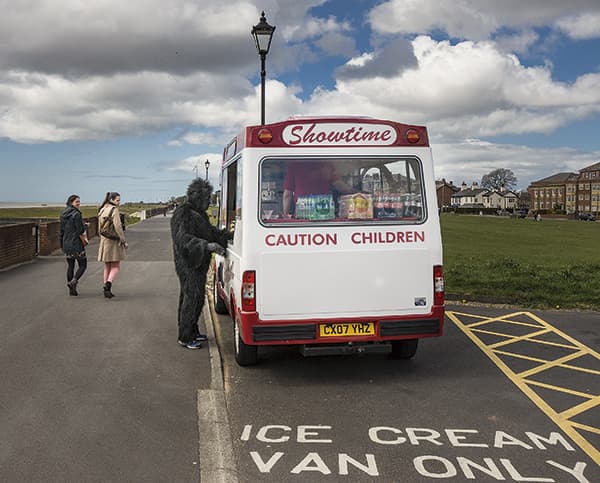
Photographer Jay Maisel is quoted as saying that the three most important aspects of street photography are light, gesture and colour. Steve Campbell’s photograph is certainly strong on ‘gesture’. It is a wonderfully caught moment, further helped by the interaction of the two young women walking past.
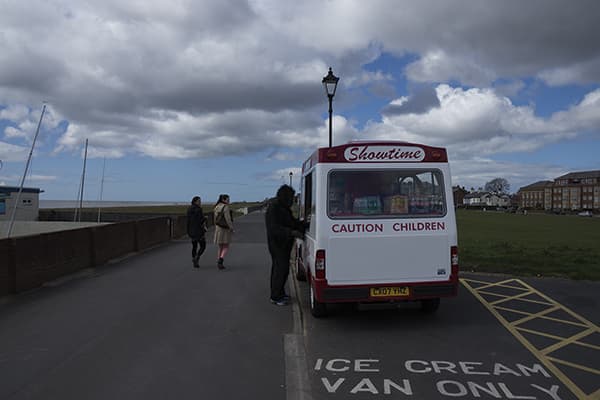
Photographer Jay Maisel is quoted as saying that the three most important aspects of street photography are light, gesture and colour. Steve Campbell’s photograph is certainly strong on ‘gesture’. It is a wonderfully caught moment, further helped by the interaction of the two young women walking past. I recomposed this photograph by selecting a crop that focused on including all the key components: the ice cream van with the person in the gorilla suit, the two women, and the ‘Ice Cream Van Only’ road marking in the foreground. Cropping out the lamp post would have looked odd, so I decided to keep it in. Lighting was an issue, but after localised adjustments I was able to balance the tones to produce a better-exposed version in which the main elements are all nicely highlighted.
1. Lighten the image
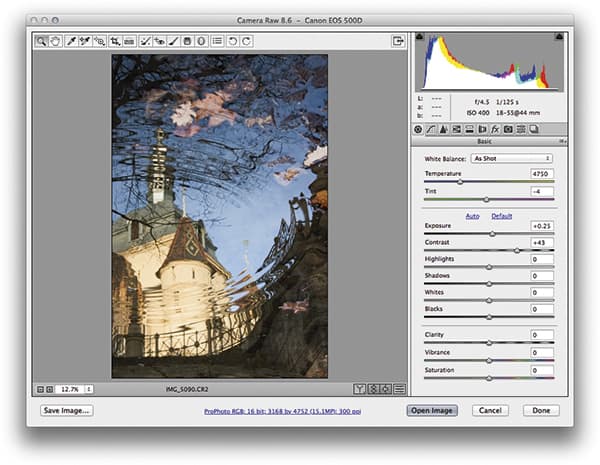 I began by going to the basic panel in Camera Raw to lighten the image and fix the white balance. I also made the photograph warmer in colour and brightened the Exposure setting. I then fine-tuned the other tone sliders to achieve a nice overall tonal balance.
2. Crop to provide focus
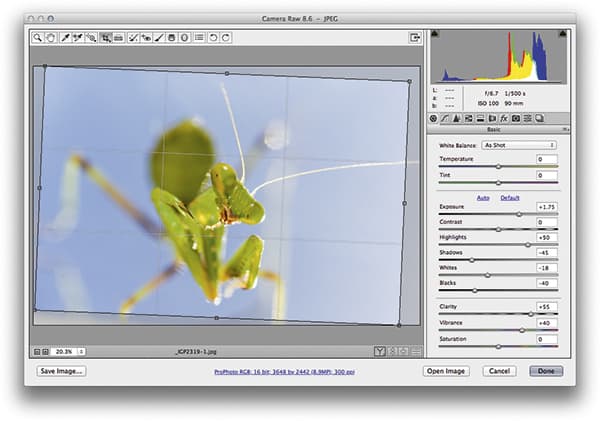 The next step was to crop the photograph. There were several ways I could have cropped this image, but in the end I chose to apply a crop constrained to the main elements of interest in this scene, which resulted in a squarer shape.
3. Apply a Radial Filter
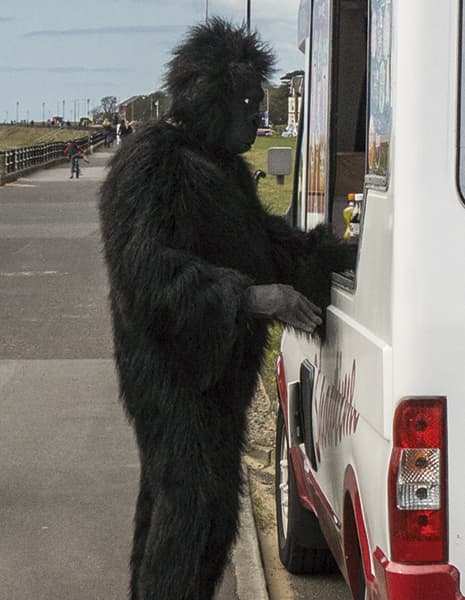
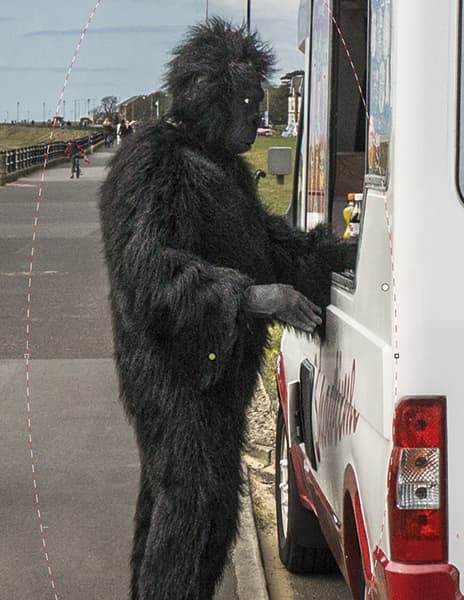
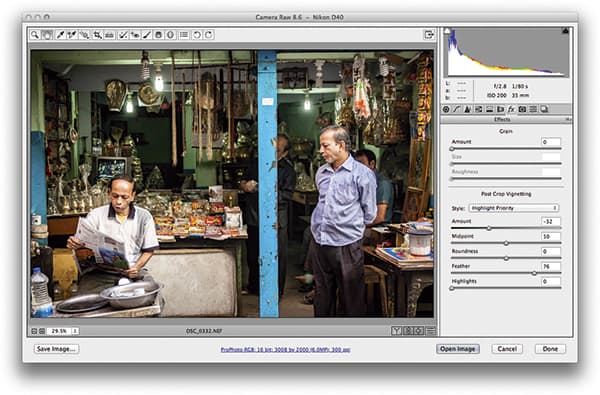 At this stage I did some fine editing to add subtle light and shading. I first applied a Radial Filter adjustment to darken the outer edges slightly, followed by a second Radial Filter adjustment to lighten the ‘gorilla suit’. Finally, I added a couple of Adjustment Brush tweaks to lighten the two young women.
Localised adjustments
Localised adjustments can be used to add emphasis to areas of a picture that need to draw in the viewer’s attention or subdue areas that are distracting. In darkroom terms, this is referred to as dodging and burning, where a darkroom printer would selectively add more or less exposure at the print-exposure stage (and sometimes enhanced through chemical treatment at the post-printing stage). When working on the computer, and especially if editing in Camera Raw, you can target the areas you wish to enhance and fine-tune the localised exposure adjustments. Here’s a close-up of ‘gorilla-suit man’ after masked Radial Filter adjustment in Camera Raw.

