With AI-powered tools and advanced features, raw editing software has come a long way. James Paterson shows how to use some of the best new tools
Raw photo-editing has evolved rapidly over the past few years. Raw software has always been necessary for ‘processing’ our raw files – as in making initial rudimentary changes to enhance tones, crop and sharpen, and so on. But these days even the term ‘raw processor’ seems a bit outdated, because raw editors now offer so much more than just image file handling.
Not only can we make all those initial changes to process the image, we can also take advantage of selection tools powered by artificial intelligence, precise luminosity masks, intelligent resolution-boosting commands and noise-fixing tools so good you never again have to worry about shooting at upwards of ISO 6400.
It’s not just Adobe software that leads the way here.
Although Lightroom and Camera Raw are still excellent choices when it comes to raw, there are equally good options elsewhere. Below, we’ll explore some of the best new ways to work with raw files. We’ll begin by exploring the powerful new features and tools in Adobe Camera Raw, then we’ll take a look at DxO’s innovative PureRaw, the constantly evolving Capture One and the groundbreaking Luminar Neo.
Adobe Camera Raw
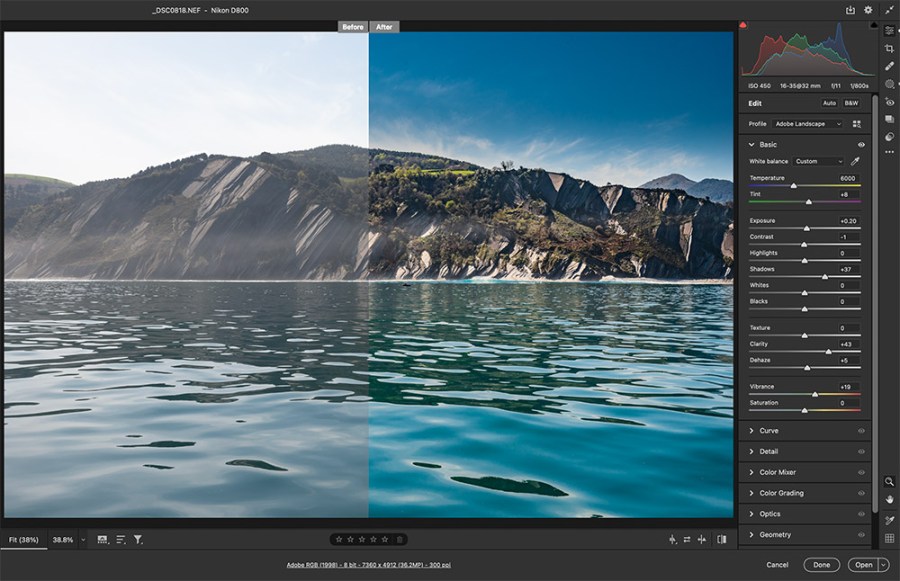
With the advancement of AI in image editing, the masking and selection tools in Adobe Camera Raw and Lightroom have entered an exciting new era. Tools can now detect objects and areas of your photo through intelligent image analysis, then isolate them for you with a single click. The ability to isolate and edit specific parts of your photos has always been vital for raw editing, and with new tools for selecting the sky or subject, the task is now much quicker and easier. Not everyone wants to pay a subscription for these programs, but many do, so read on…
The advantages of raw editing
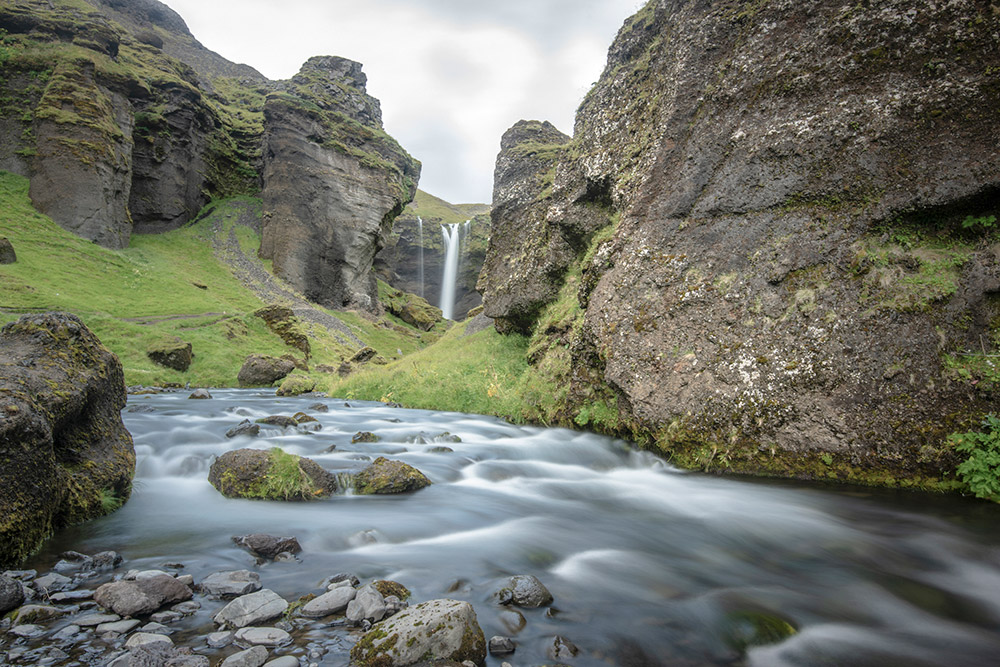
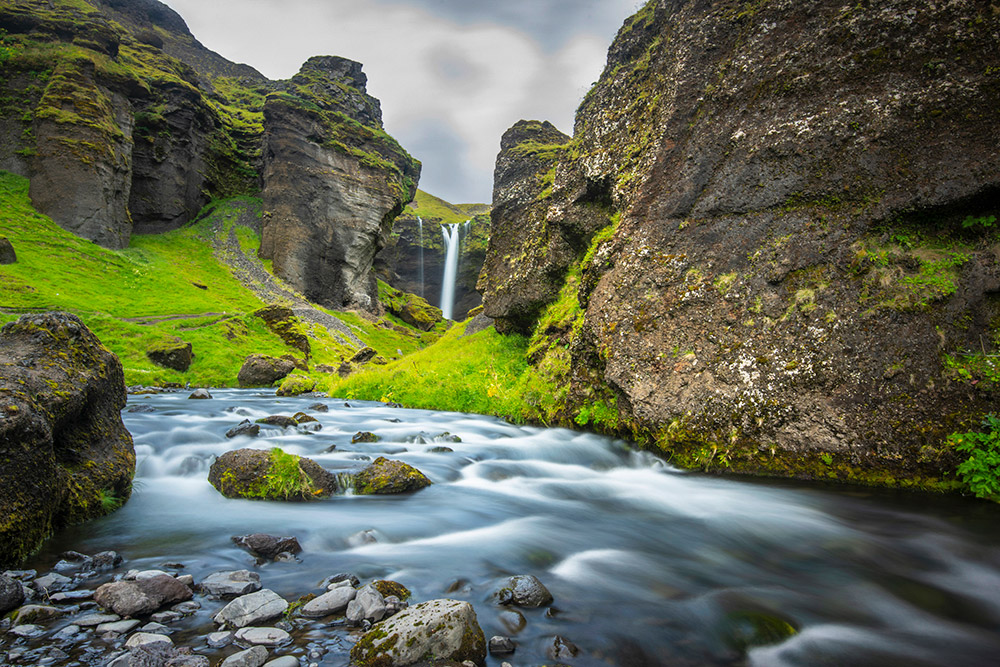
Raw files contain all the ‘raw’ data your camera sensor is capable of recording. By contrast, in JPEG format the image is processed in-camera and any extraneous information discarded. As such, the raw file isn’t so much a single image as a range of image choices, and we get to choose which version we want. We can set a white balance after the fact, or pull detail out of shadows and highlights with far greater headroom than JPEGs.
Because raw files are essentially impossible to open and alter, any changes we make are saved as extra data alongside the file. This not only means we can change any edit at any time, but also makes it easy to copy edits between photos.
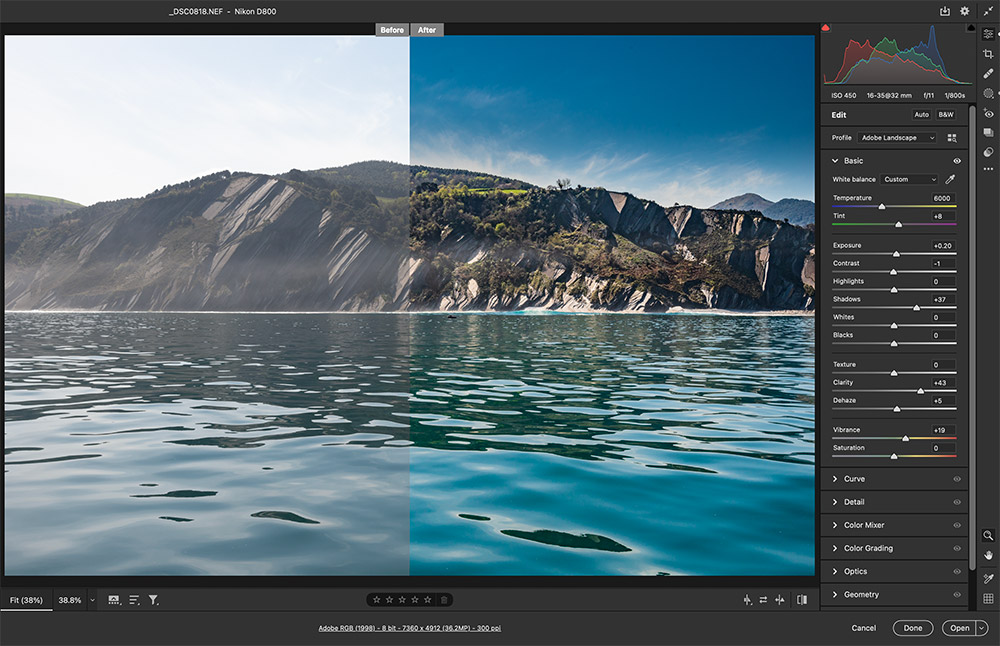
Six of the best new raw tools in Adobe Camera Raw
Preset sliders
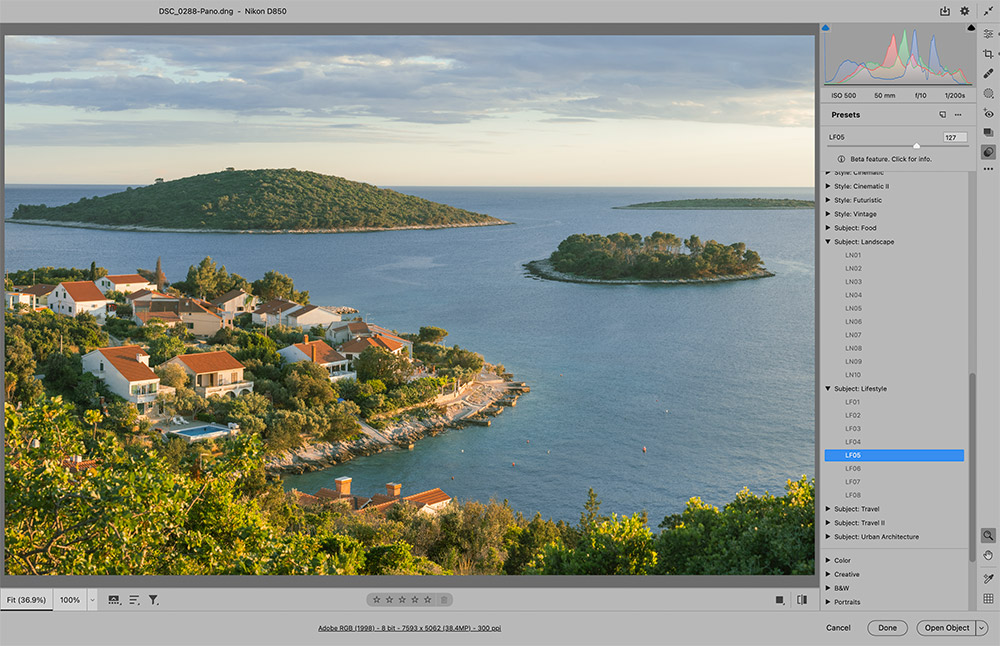
This new feature gives you a handy Amount slider to control the strength of presets. So you can choose a preset tonal treatment – try the new subject-specific sets including food, lifestyle and landscape, then decide whether to make the change in colour stronger or more subtle.
Select Sky
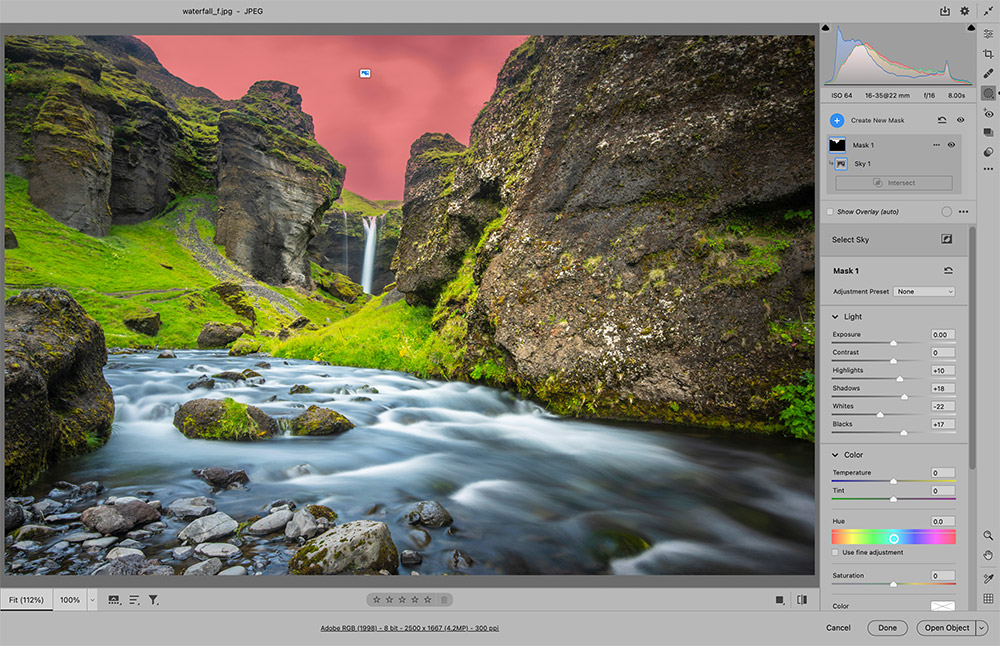
Improving skies – a big reason many of us shoot raw. With the increased dynamic range in a raw file we can rescue highlights in skies, which are often blown out. The Select Sky option in Camera Raw/Lightroom automatically makes a sky mask for us, so we can begin tweaking the area in seconds.
Select Subject
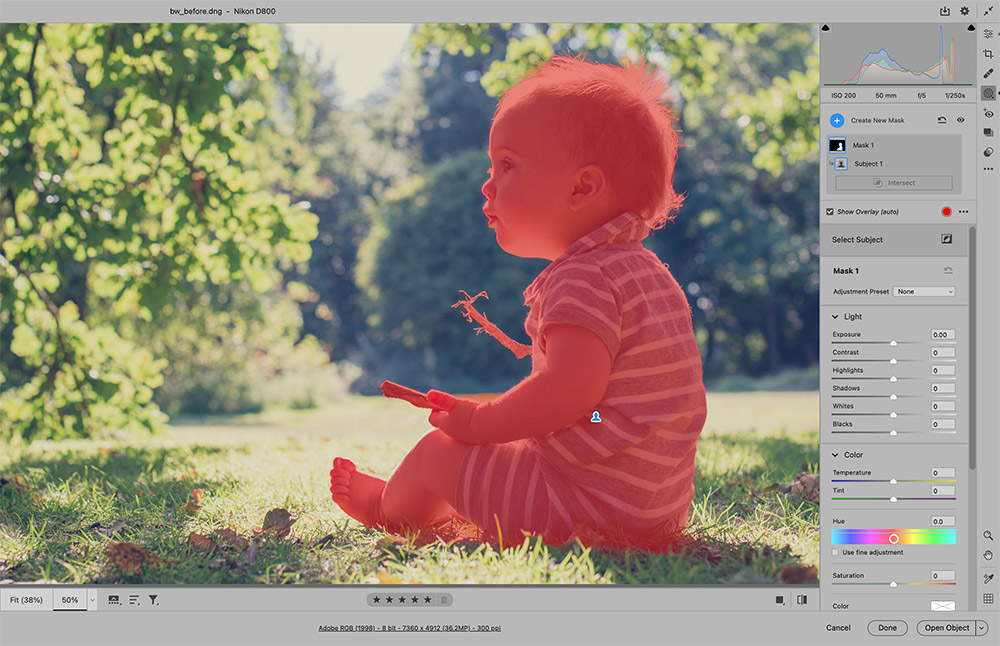
Much like Select Sky, this command employs machine learning to analyse the image, determine the subject then automatically mask it for us, so we can adjust the area immediately. This is a particular choice for outdoor portraits, but a wide range of photographers will find it helpful.
Masks Panel
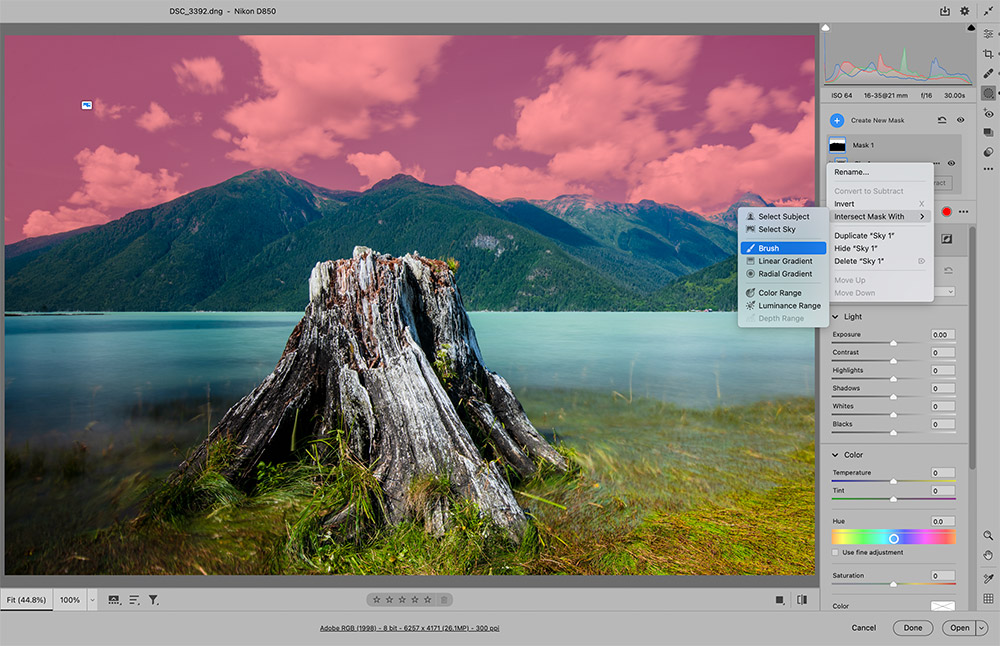
The reworked Masks Panel has made the automated sky and subject selection tools even better. Now you can add sub-masks to subtract, invert or add to the base mask using other tools like the Adjustment Brush. You can also use range masking tools to target a specific colour or brightness range.
Camera matching profiles
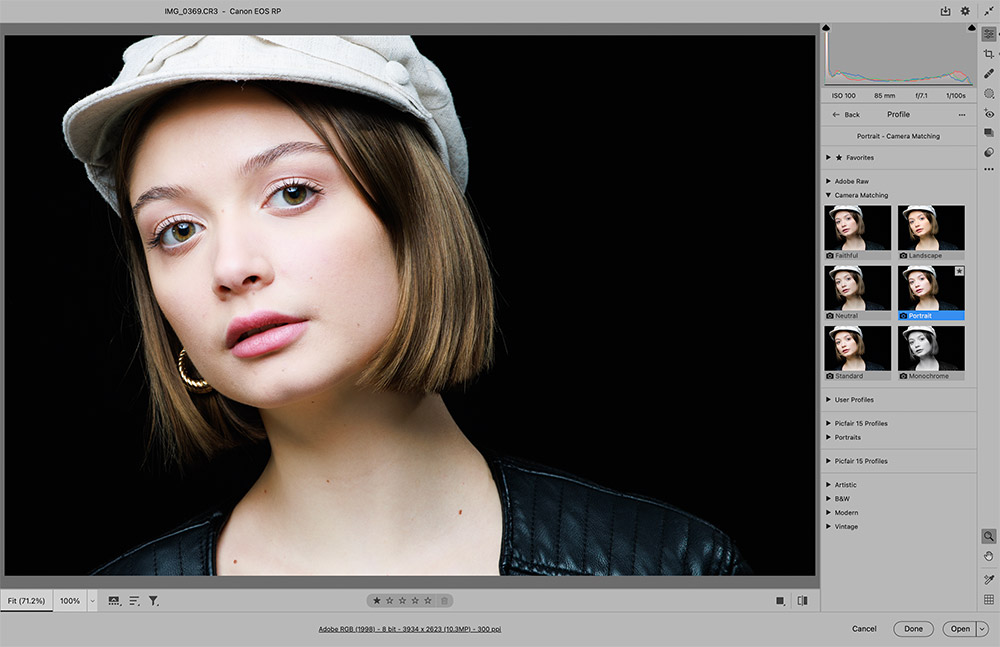
Found in the Camera Raw Basic Panel, Profiles provide some very useful starting points for editing your raw files. There are a range of raw-specific profiles like Adobe Portrait and Landscape, as well as a camera matching set that now includes Canon camera profiles for CR3 raw files.
Super Resolution
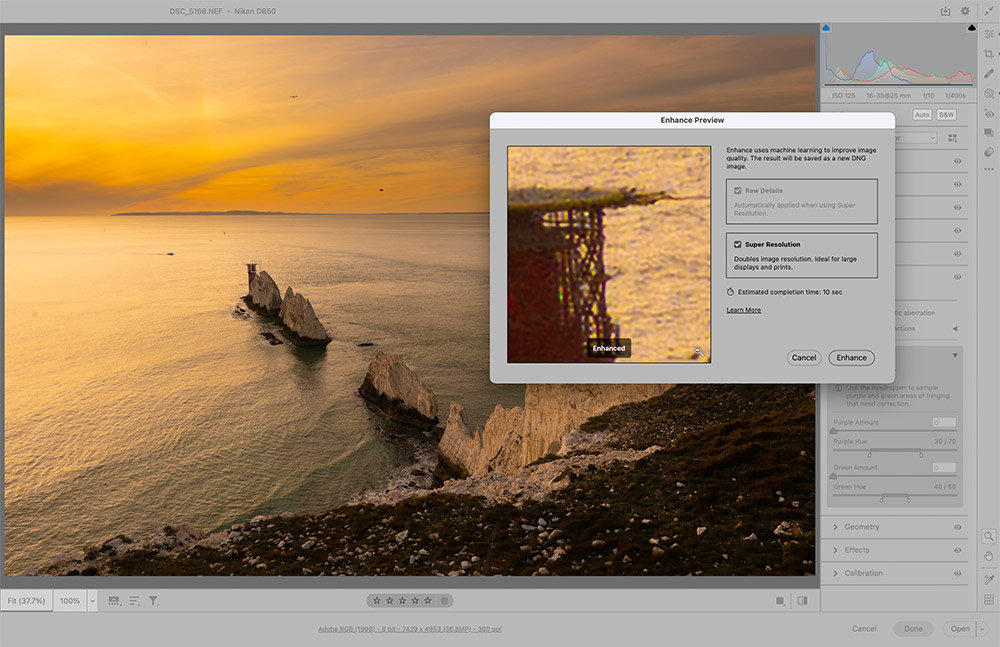
Right-click any image in Camera Raw/Lightroom and choose Enhance, then check Super Resolution and hit OK. This employs machine learning to double the size of your image. A new DNG file will be created alongside the original raw in the same folder when you exit Camera Raw.
Build better raws with DxO PureRaw
Add this innovative raw-enhancing tool to your editing process for higher-quality results
When we make the decision to shoot and edit in raw, we’re effectively committing to a small amount of extra work (and disk space) in exchange for potentially greater image quality. When it comes to unlocking this quality, raw editors can pull detail out of the tonal extremes, correct white balance and much more. But there may be an extra level of quality that we didn’t even know was attainable. This is where DxO PureRaw comes in.
DxO PureRaw is designed to wring the maximum amount of quality out of your raw files before you even begin editing them. The company has a long history of developing imaging tools with an emphasis on fixing optical flaws. Every combination of camera and lens has inherent flaws, and PureRaw’s job is to detect them for you and automatically apply fixes. It does this by drawing upon DxO’s vast data on camera/lens combinations, built up through years of rigorous lab testing.
PureRaw is designed to work in combination with raw editors like Lightroom, Camera Raw and Capture One. The innovative idea behind the software is that those who already use these other editors can take advantage of DxO’s unrivalled automated raw processing and noise reduction, and build it into their existing workflows. So you don’t have to learn a new program. By adding an extra step into your current workflow, you may see a marked improvement in the quality of your photos – PureRaw automates pretty much everything for you.
For more details and a trial, see www.dxo.com/dxo-pureraw/
See also: DxO PureRAW 2 review
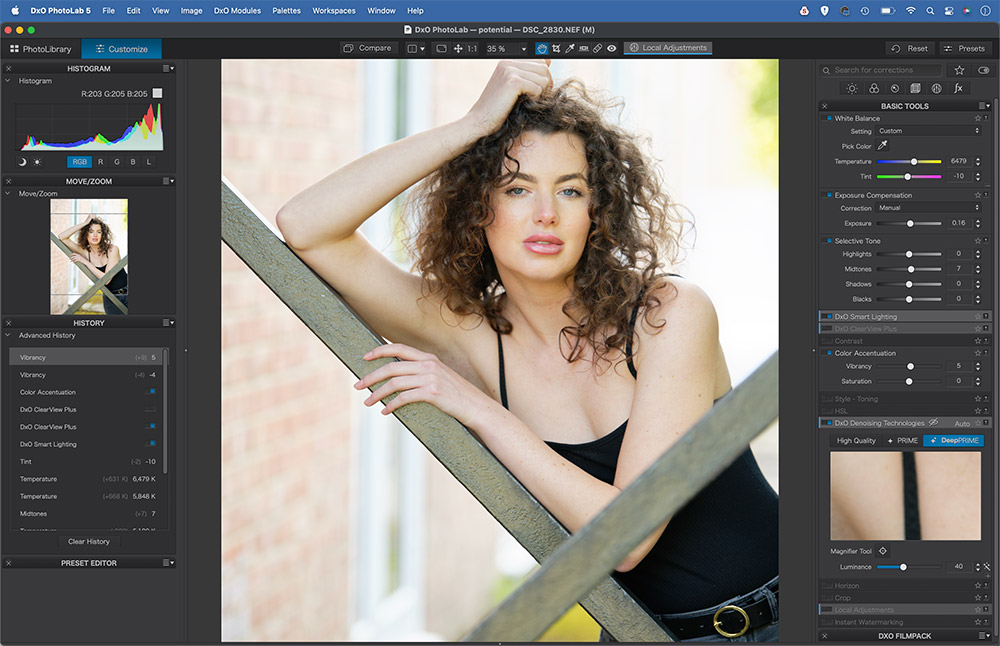
DxO PhotoLab
PhotoLab is DxO’s flagship raw editor. As well as offering automated raw processing features just like PureRaw (in the Elite edition), PhotoLab also gives you a host of powerful editing tools similar to those found in Lightroom or Capture One. As such, while PureRaw is ideal for those who already use other editors, PhotoLab is a good choice for those looking for an all-in-one raw editor. Note that if you already own PhotoLab Elite edition then there’s really no need to get PureRaw, as PhotoLab has the same features and more.
Get to grips with PureRaw
Round-trip from Lightroom
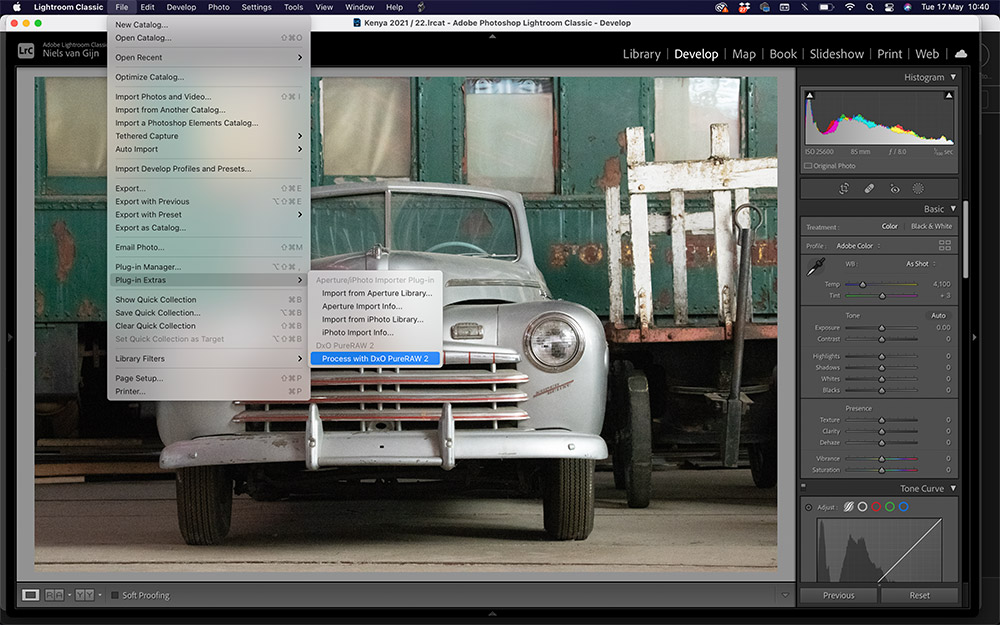
PureRaw is effectively a batch process command that can be launched from within Lightroom, so it’s a way for Lightroom users to take advantage of DxO raw conversion tools to produce potentially superior raws. Simply select images in Lightroom and go to File>Plugin Extras to launch.
Fix lens issues
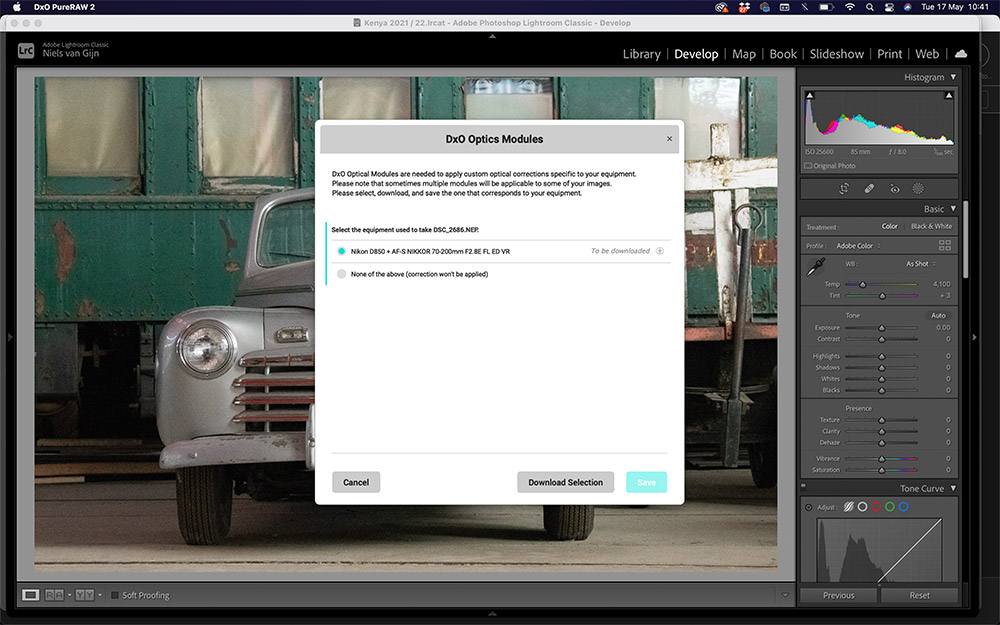
It works by analysing the raw file to determine the camera, lens and settings used. Then it applies dark signal subtraction, demosaicing, denoising and lens corrections tailored to specific camera/lens combinations. You may need to download modules for specific camera and lens combinations.
Set noise reduction
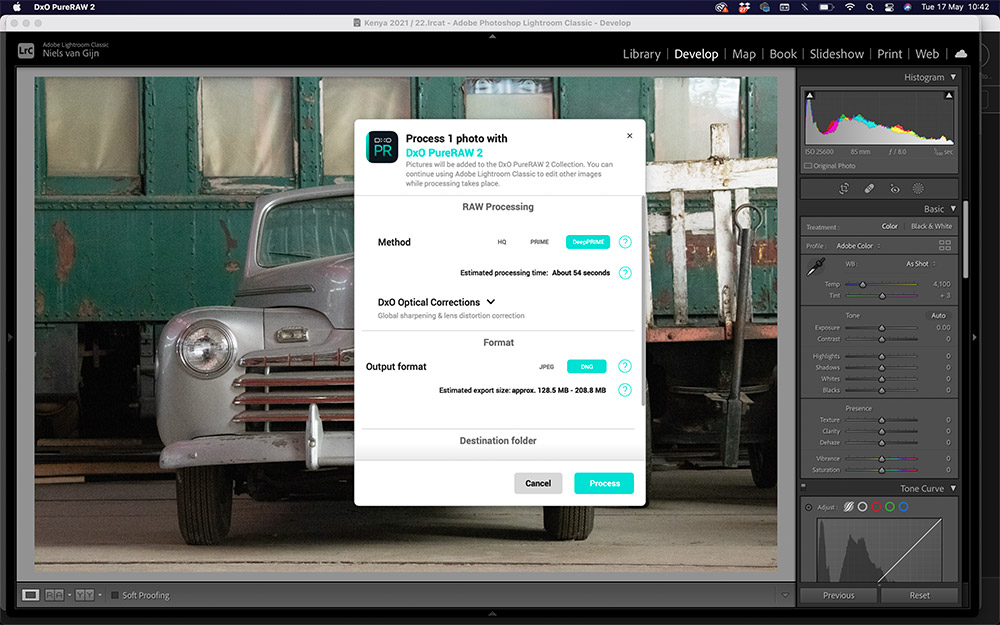
Next you can choose a level of noise reduction. DeepPrime is one of DxO’s star acts. This is noise reduction par excellence. The tool employs AI to target image noise, then corrects it to a level no other editor can match. The downside is that it takes longer to process, but it’s worth the wait.
Check the results
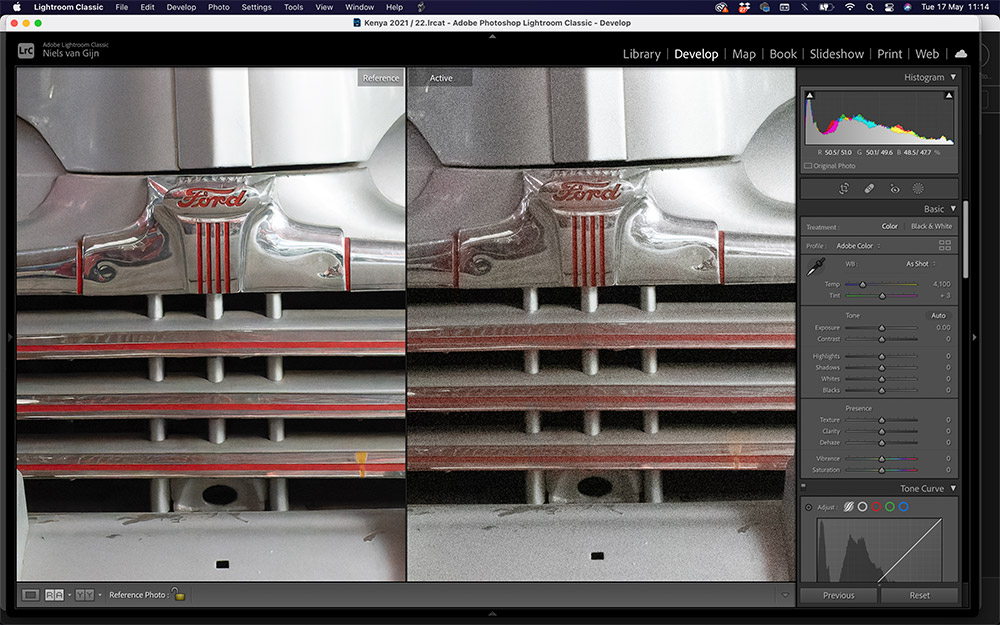
The results of running your raws through PureRaw can vary from impressive to barely noticeable. With low ISO images the difference between the original raw and the DNG created by PureRaw may be negligible. But for high-ISO images like this one shot at ISO 12,800, there’s a vast improvement.
16-bit files
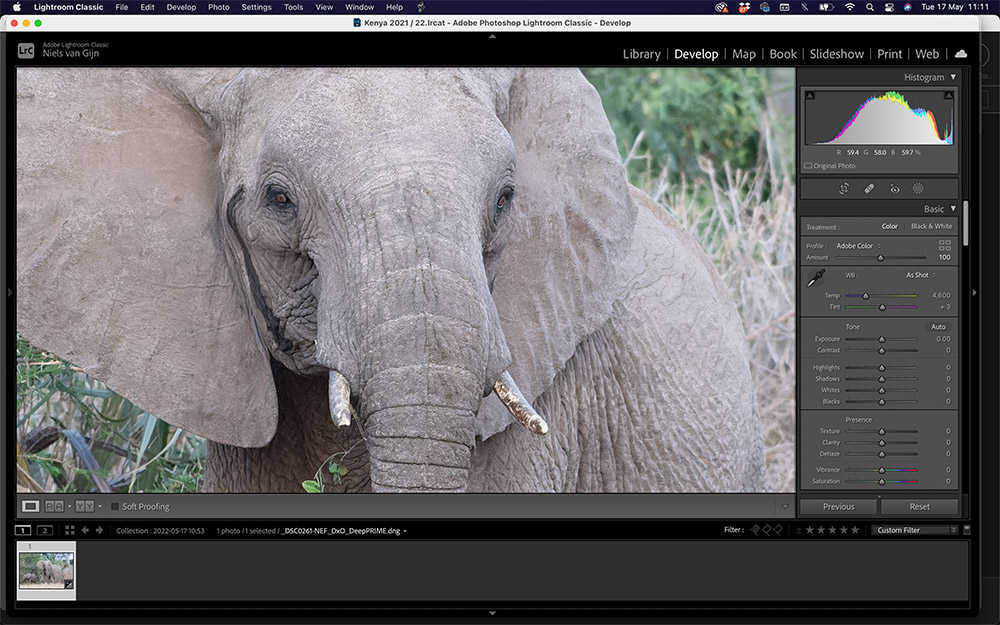
Upon completion – which may take a couple of minutes – a new 16-bit linear DNG raw file will be created alongside the original, and a new collection will be created in Lightroom. If the original raw had existing edits made in Lightroom, then these will be carried over to the newly created DNG too.
Try it on old photos
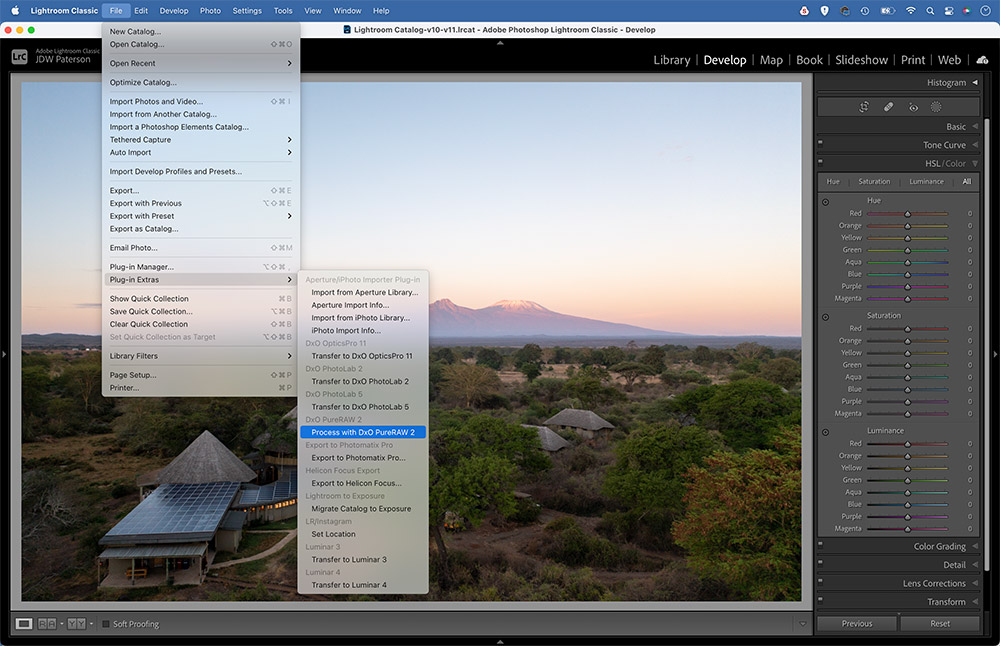
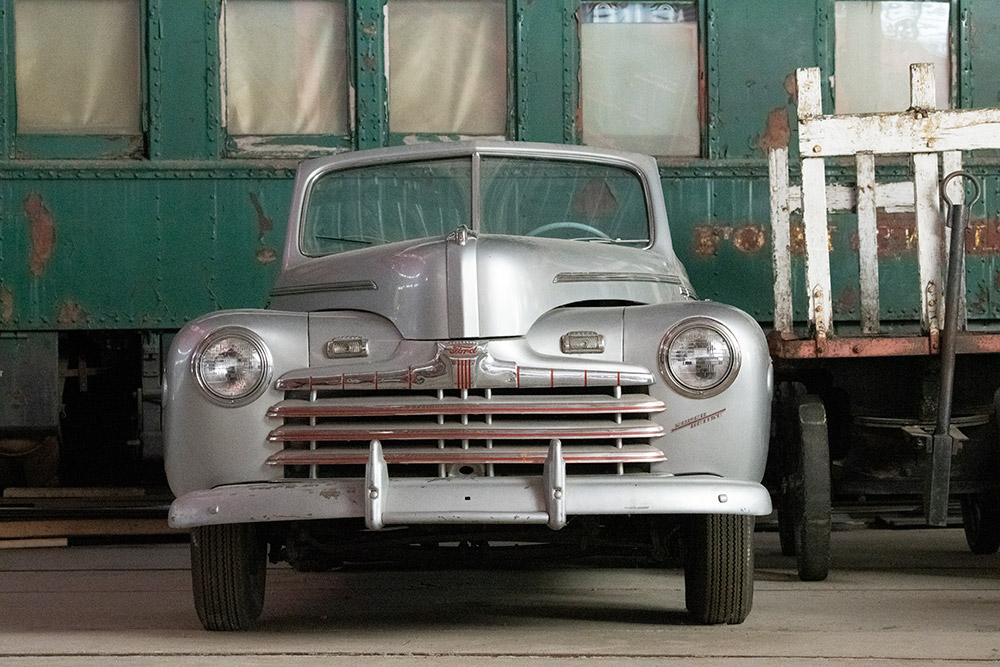
DxO’s database of camera/lens corrections stretches back a couple of decades, so as well as using PureRaw on recently snapped images, it could also potentially breathe new life into older photos or those taken on inferior cameras/sensors. Drone photos are a case in point.
Capture One
The professionals’ choice for raw editing
Capture One’s raw processing engine has always been its great strengths, and many users say it results in smoother, crisper, more natural-looking raws than Lightroom. Like Lightroom, it’s also a fully fledged cataloguing system for your image library, with a dedicated ‘Sessions’ command for housing different jobs. Local adjustments are intuitively laid out, with a layer-based approach that makes it easy to edit and organise them independently of one another. Capture One is available either as a one-time licence payment of £299, or as a subscription service for £24 per month.
Full details are at www.captureone.com/en
Capture One: the best new tools
Wireless tethering
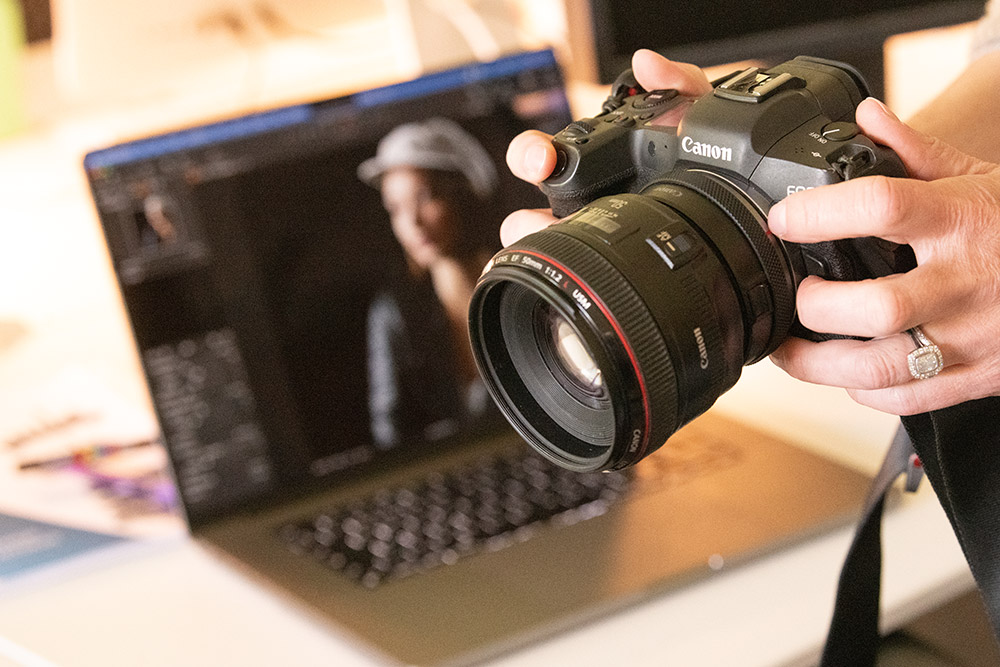
Tethering has always been a strength, which is why it’s the editor of choice for lots of studio pros. Being able to see your photos instantly appear on screen as you shoot can save lots of time. The latest Capture One now lets you tether wirelessly with Canon cameras (other brands are to be added).
Style Brushes
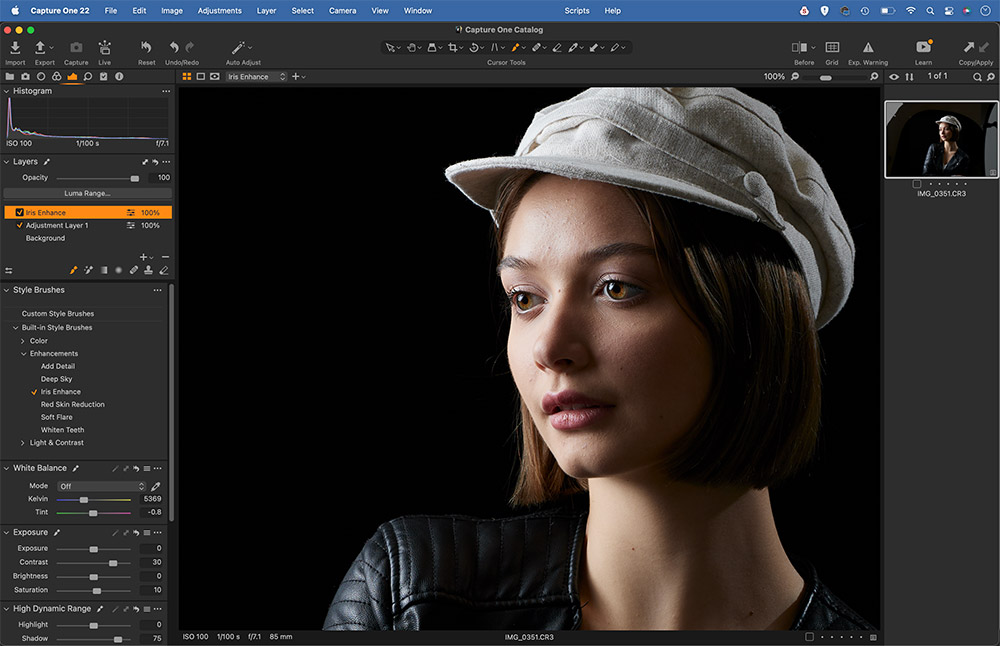
These handy presets let you paint adjustments over areas of your photos to quickly enhance them. Amongst the preset brushes are portrait effects like Iris Enhance or Whiten teeth. Simply choose a style brush then paint over areas to make targeted enhancements.
Speed edits
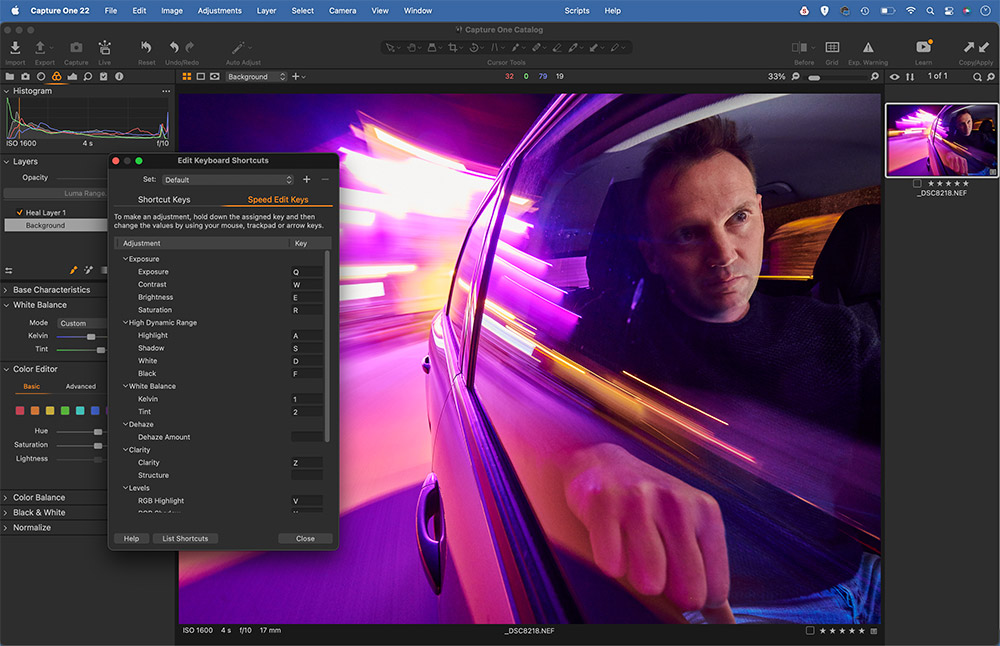
This handy feature works by enabling commonly used tonal tools with hotkeys, so you simply press the keyboard shortcut and then either drag, scroll or use the arrow keys. As such, you don’t have to start dragging sliders to make quick edits to your images.
Luminar Neo
Discover a host of AI-powered tools
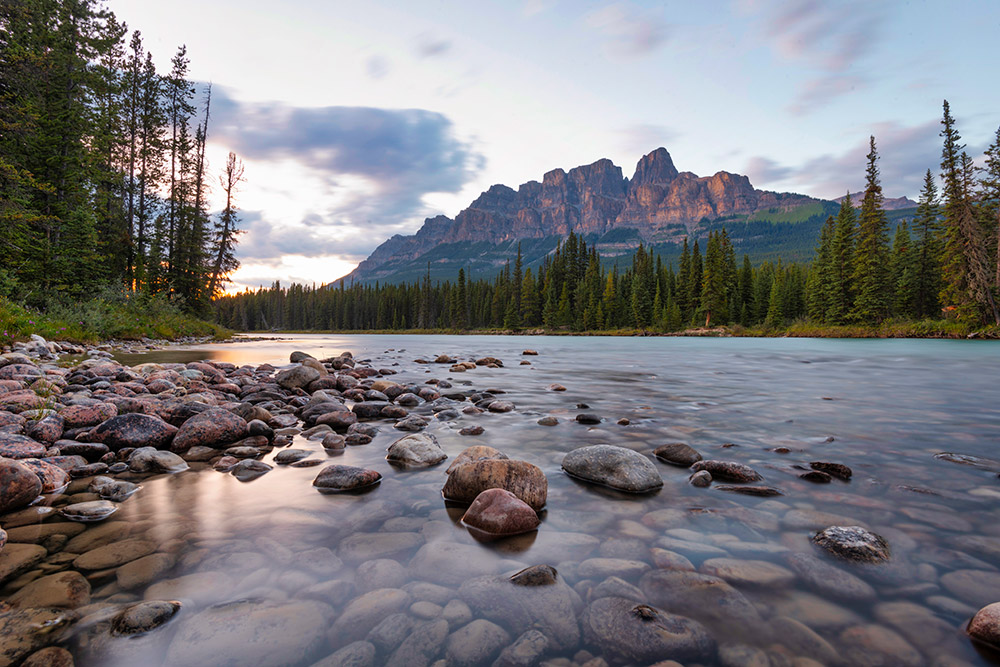
Artificial intelligence has changed image editing, and it’s a great leveller – you no longer need to be a Photoshop whizz to make complex changes to your photos. This beginner-friendly approach is epitomised by Skylum’s Luminar Neo. No other editor has embraced AI quite as wholeheartedly as Skylum, first with its pioneering Luminar AI app, and more recently with Luminar Neo.
While Neo offers similar tonal tools to other editors, there’s a greater emphasis on AI-powered photo editing, one-click edits and powerful auto-masking. Luminar Neo is available to buy for £59 (there is no free trial).
Full details are at skylum.com/luminar
Sky replacement
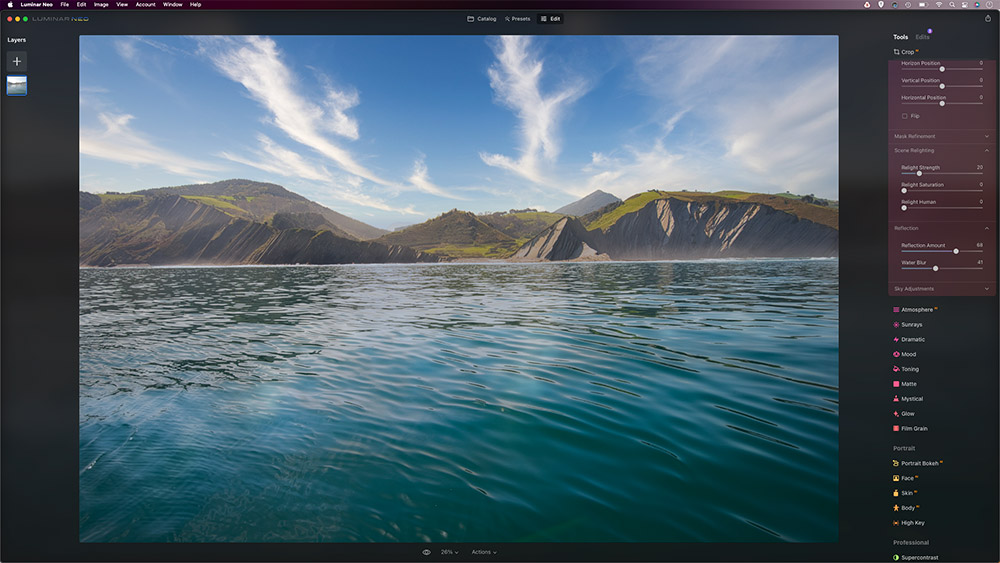
Skylum pioneered the sky replacement tool. Despite Adobe following suit with a similar feature in Photoshop, the version in Luminar Neo is still superior, especially as it detects and replaces reflections of skies in water. Simply choose a sky, tweak the position and fine-tune the tones to suit.
Auto-fix power lines
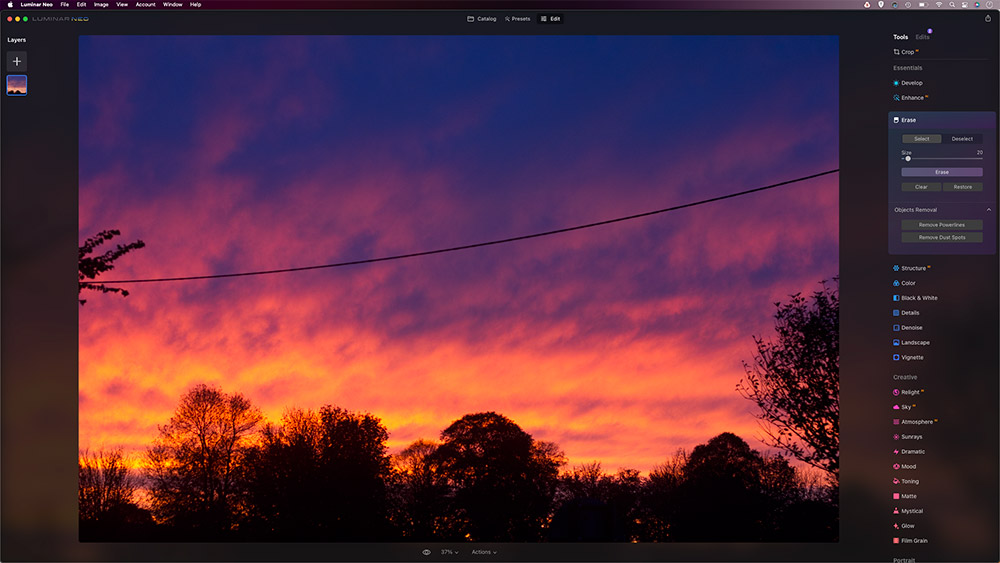
Power lines are annoying to fix, so why bother? This tool employs AI to detect and remove them for you. There’s a similar Sensor Mark tool that detects and fixes those too. Even if it doesn’t work perfectly every time you can simply finish off with the erase tool, so it’s a huge timesaver.
AI masking
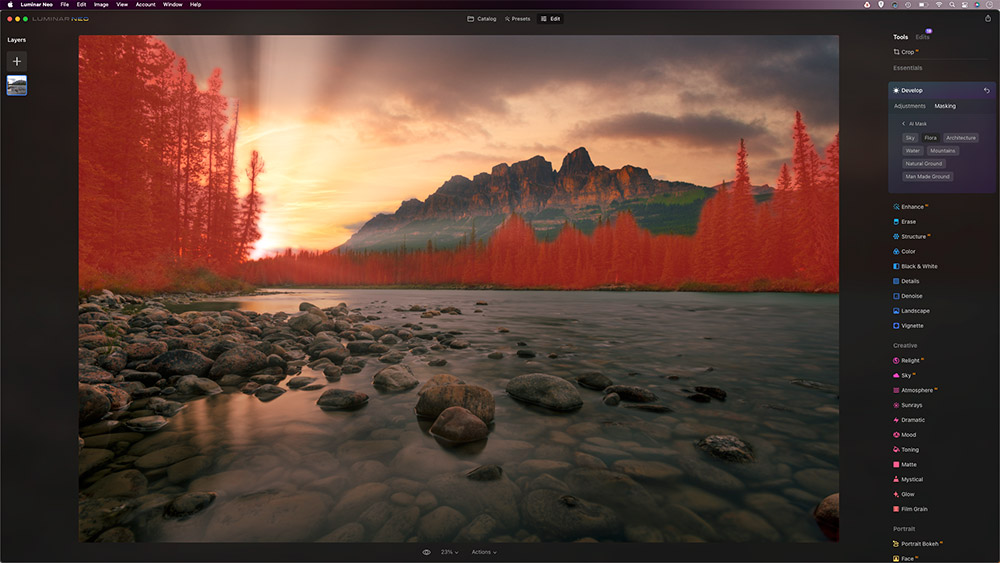
Several tools in Luminar Neo feature AI masking. This analyses the image and creates masks for every object or area it detects. Here it has made masks for the sky, water, mountains and flora. Once chosen, we can go on to enhance these areas using Luminar tools.
Related articles:
RAW Vs JPEG – Pros and Cons of raw and JPEG

