

The infrared look remains as popular as ever, whether you favour ‘false colour’ – think surreal-looking red or bronze foliage – or the deep black skies and white trees you get with a monochrome conversion. Not everyone wants to get their camera converted, however, so what are the options when it comes to editing software or filters and presets?
There are a range of possibilities, some better and easier than others, but one of the simplest and most effective solutions we have seen recently comes courtesy of VSCO – a pioneer in film-emulation presets and filters which has done an Instagram and gone smartphone-only.
In other words, if you are looking for a quick and easy way to convert images on your phone to infrared, the new VSCO tools are well worth a try. You can download the VSCO app from the Google Play or Apple App Store.
Importing images into VSCO
Although VSCO is not free, it’s relatively cheap – the app works out at $19.99 a year, or $1.99 a month (which is less than £1.50). You can, however, try it before buying with a seven-day trial, so this is a good way to get started.
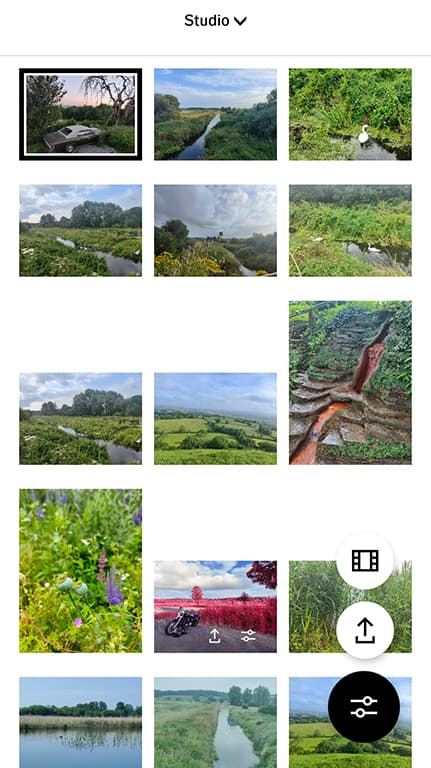
The first step is to add an image to the VSCO Studio using the + icon – Studio is where you import and store photos and videos from images already on your phone, or captured with the VSCO in-app camera. It is the starting point for editing media, in other words. Once you have selected your image there is a black border around it, as can be seen above.
Add the filter
To start editing, select a photo or video and tap on the Edit icon which looks like this (it has to be said, some of VSCO’s icons and interfaces are a bit ambiguous):

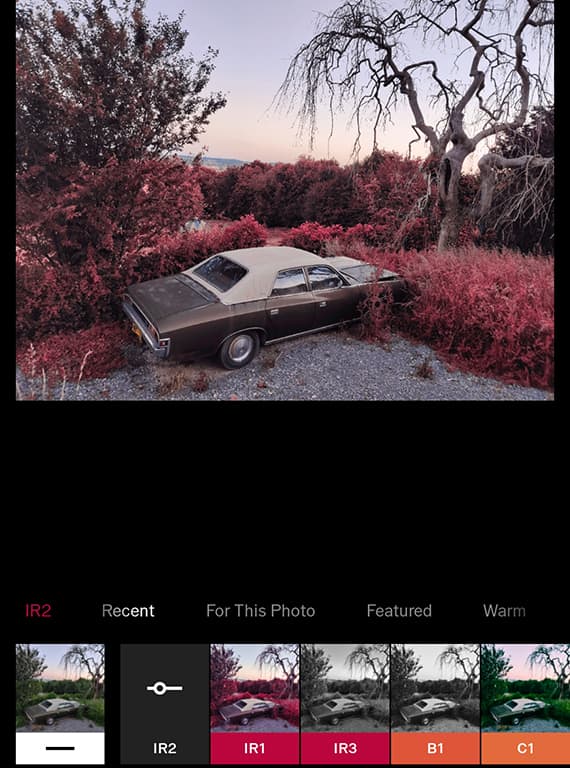
You can then find the IR filters amongst the filter list, and apply it to your image. As VSCO explains, the filters “are an approximation of the most common visual features of real infrared photos without actually having access to infrared information. Greens and yellows are turned to pink and red, blue skies are darkened, and brightness is especially influenced by the red channel.” The three relevant IR filters here are IR 1-3 – as can be seen above. Let’s start with IR1.
Make further edits
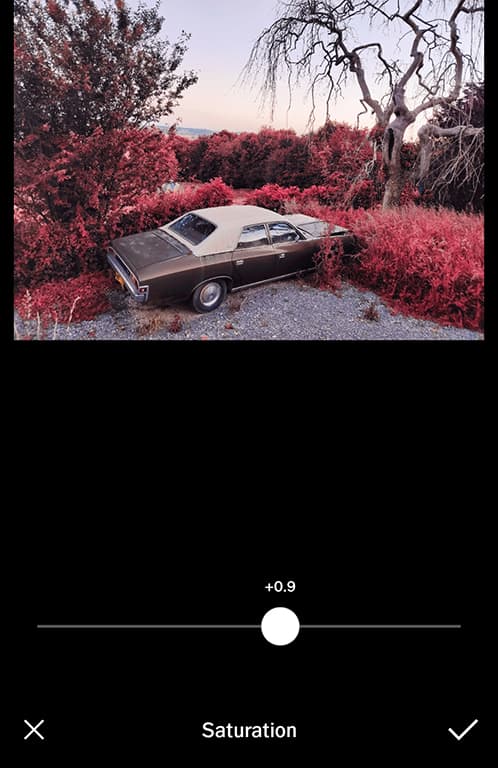
Once the IR1 filter has been applied, you can then boost contrast, saturation, sharpness and other key parameters. It’s particularly worth experimenting with saturation, to alter the intensity of the infrared effect. Note that there is also a second filter, IR2, which, while similar to the first, keeps skin tones looking more realistic if you also wish to include people in your infrared shots. You can also add a monochrome IR effect (IR3), which again, is a great way of enhancing your black and white images.
Share your images
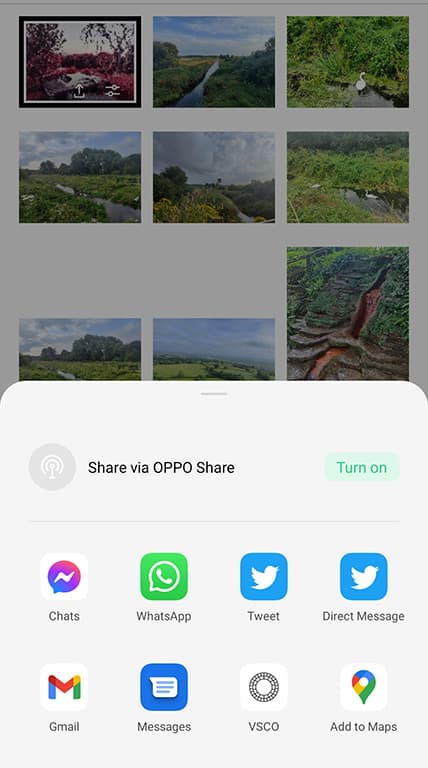
Not every image will work as well in infrared, so it’s worth experimenting with – unless you want a very extreme ‘red’ effect to dominate your converted image, it’s good to keep some blue sky in landscapes, for example. These can convert well, especially in the sunny spring and summer days. and give more of a sense of context. Once you are happy with the finished result, you can then share your images to social media or add to your VSCO profile. There is also a lively VSCO community for sharing your best images.
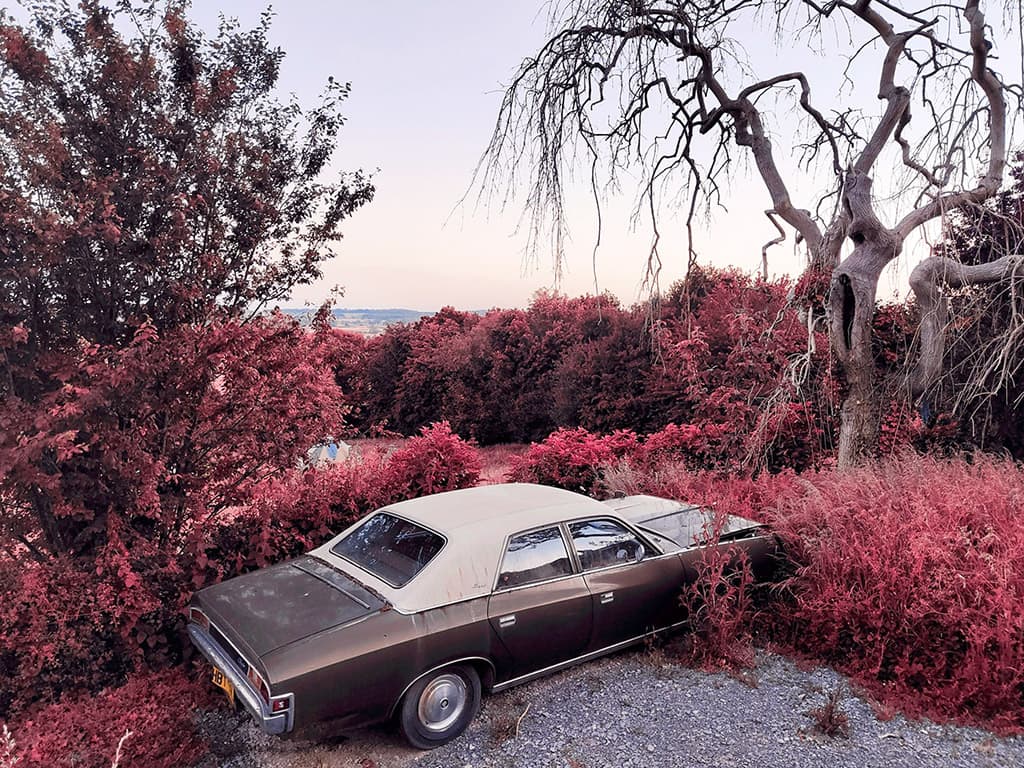
The finished result – a five minute edit in VSCO using the IR1 filter
And that’s really all there is to it – no messing around with Photoshop Color Channels or masking, or anything else. We think for a quick and easy IR conversion on your phone, VSCO is hard to beat – if you are struggling for inspiration, see the company’s IR Twitter feed here.
The app is about much more than infrared conversion, however, and there are a wide range of other film-emulation presets to try. Some look better than others, however so it’s worth experimenting.
VSCO has also put together a very useful help page here
Follow AP on Facebook, Twitter, Instagram, YouTube and TikTok.


