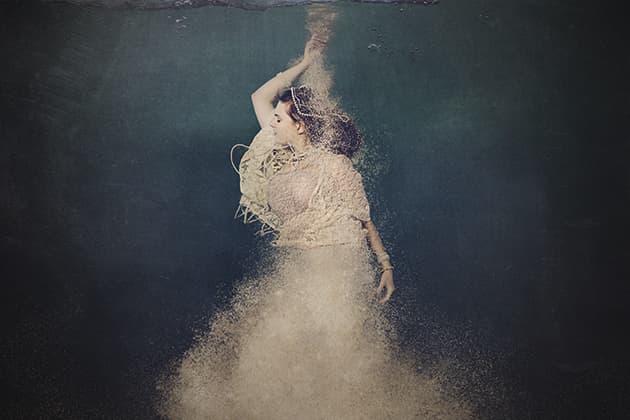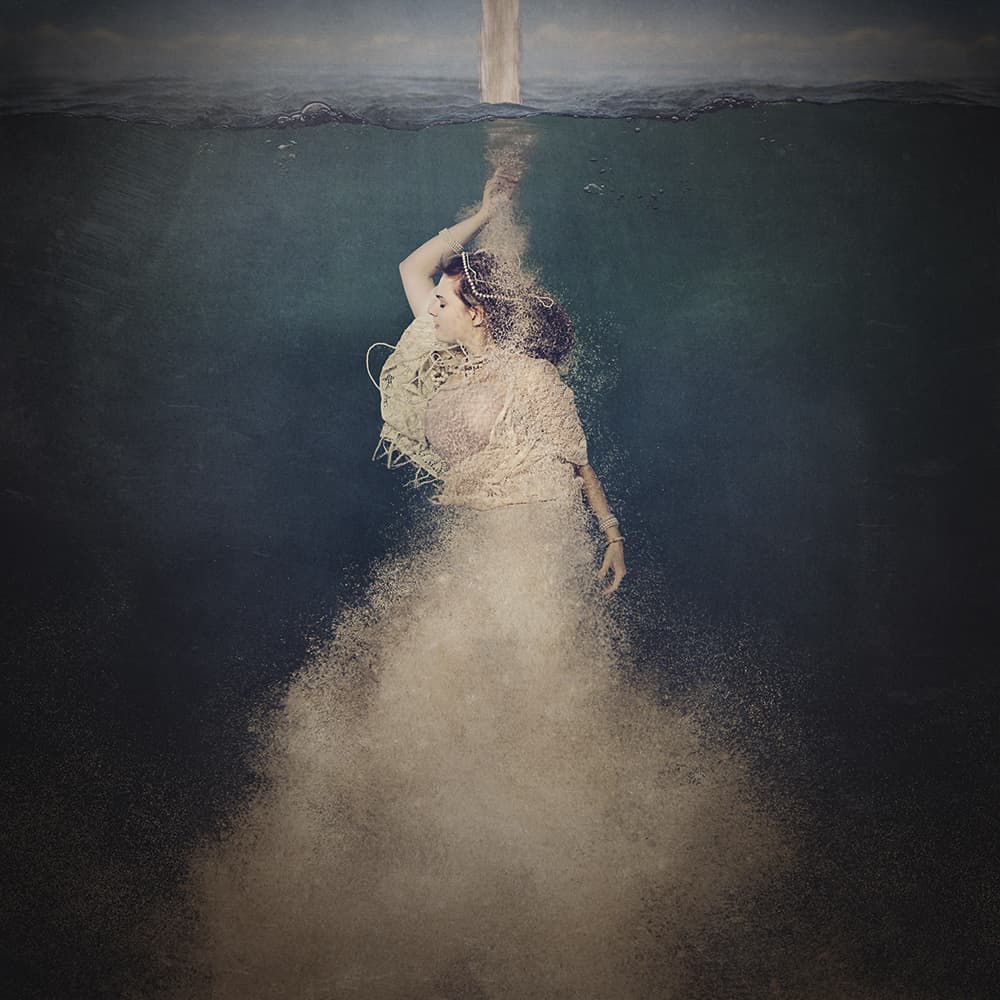
Water creates a lovely juxtaposition of movement within a still image.
I love the way that things flow and move underwater, so I am always attracted to images that show this. Water creates a lovely juxtaposition of movement within a still image, and gives a sense of weightlessness to the model. I decided to experiment with combining images of a model in water with a substance being poured into the water, and the logical choice was sand.
The sand was shot in a large vase with a black backdrop behind it. I could only shoot a couple of images at a time before the water became cloudy and I had to empty it out and start again. I also had to consider that whatever lighting set-up I used, I needed to be able to reproduce it at a 90° angle for the shot in the pool. Not having the lights directly in front of the vase helped reduce reflections on the glass.
Not for the faint-hearted
An underwater housing for the camera and a full-size swimming pool are on my wish list, but I currently have neither, so I had to be creative in finding a solution. I bought a blow-up paddling pool, which was very useful until the dog decided it was his and started wading in during the middle of a shoot! Eventually he chewed the blow-up parts so I foxed him by getting an 8ft wading pool with solid sides. When I’m shooting I place a tall ladder as close to the edge as possible and hold the camera out over the water while I shoot. It’s not a technique for the faint-hearted!
I always seem to end up shooting these images in winter, and despite pumping in warm water the capacity of the pool was just too large for it to make much difference. This meant we had to get the shot as quickly as possible, and even then I had to edit out goose bumps. We had towels and blankets on hand for when the model got out, but I’m indebted to Charlotte for allowing me to torture her in the cold water!
Key images
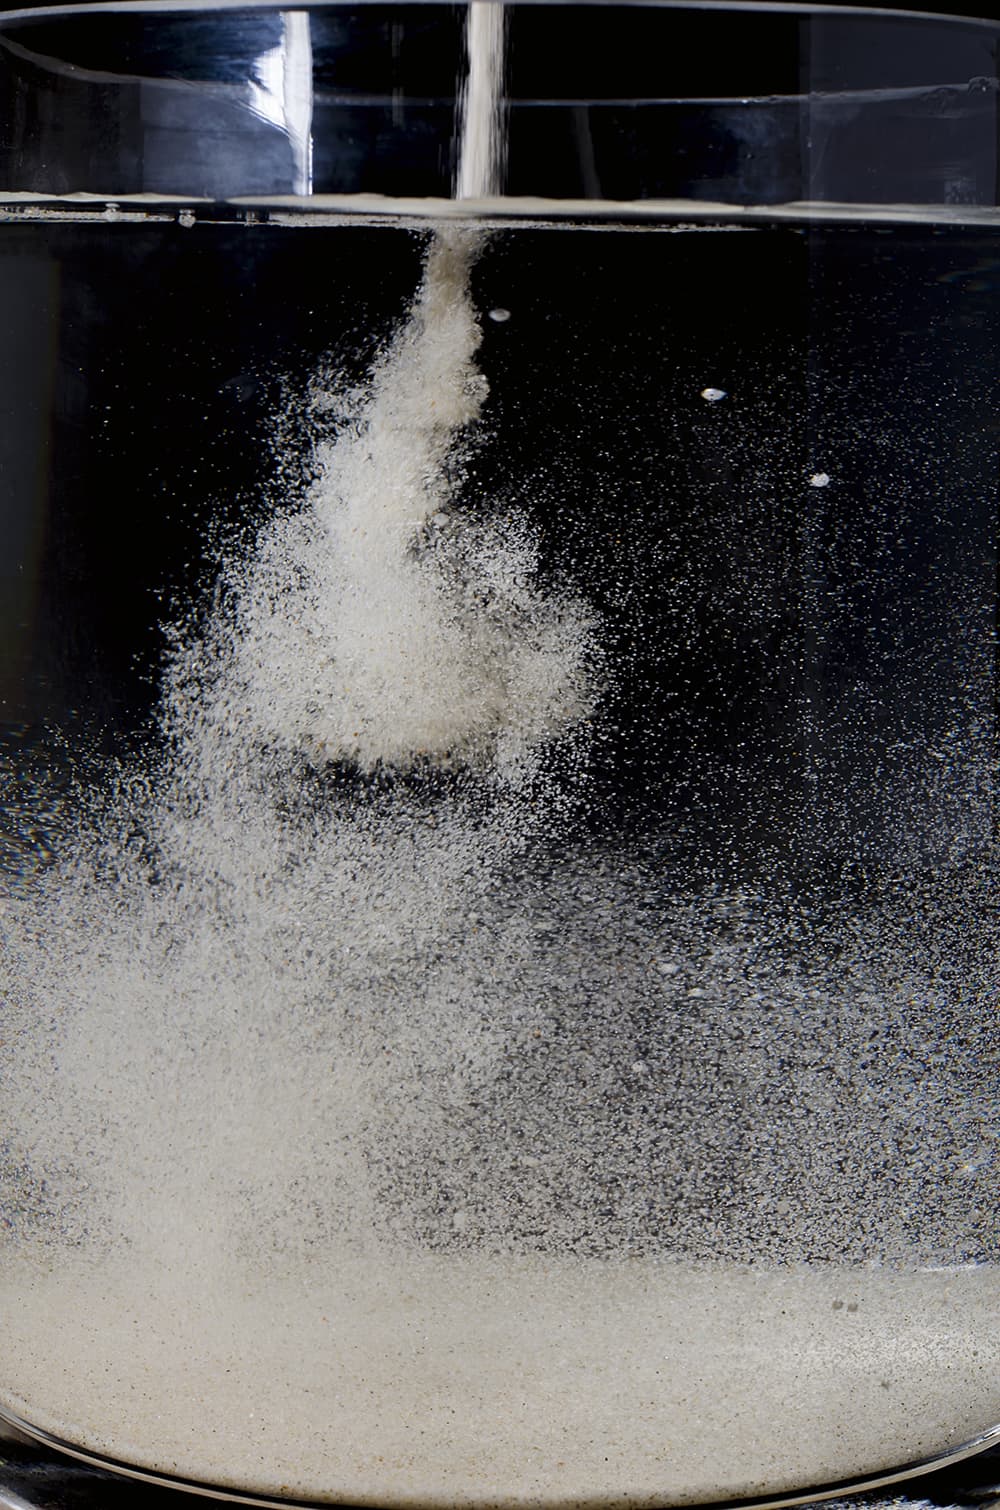
The sand was shot in a large vase with a black backdrop behind it.
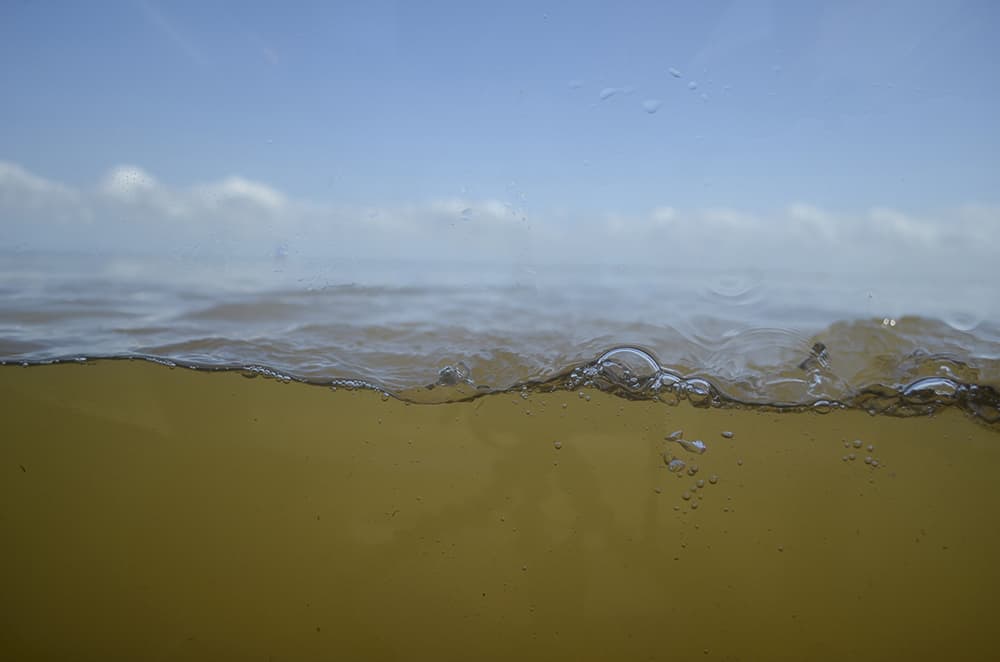
For the images of the waterline I used a fish tank in the sea. Due to the buoyancy I had to get my friend’s husband to sit on it while I shot between the legs!
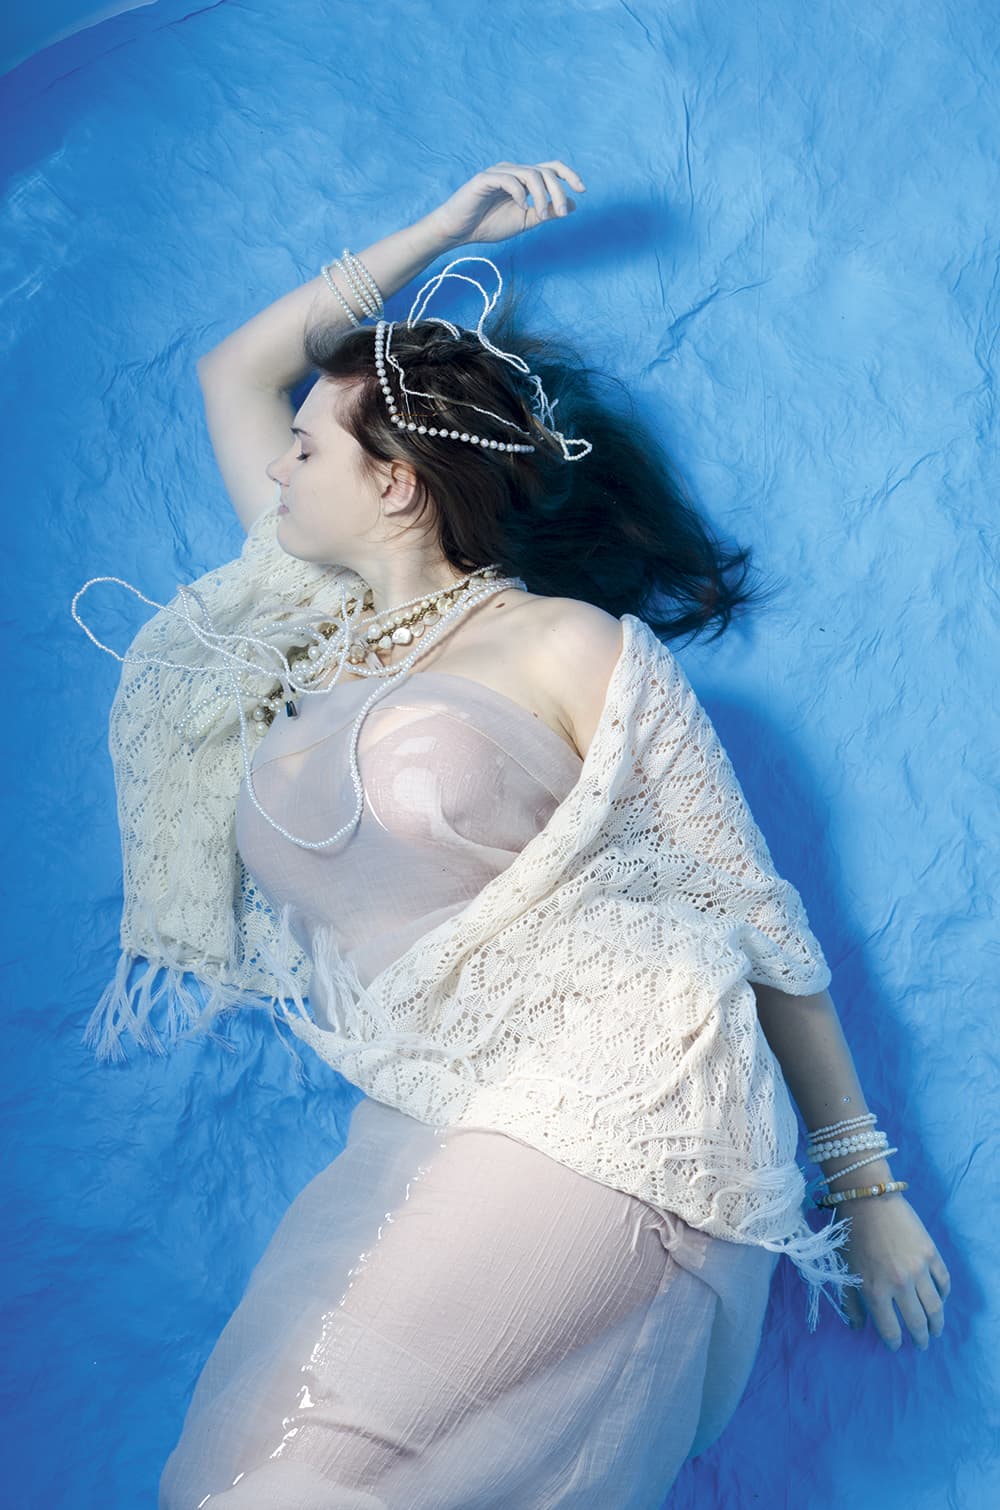
Charlotte my model was photographed in a wading pool – in the middle of winter!
Step-by-step quick-sand composite
1 Create a mask
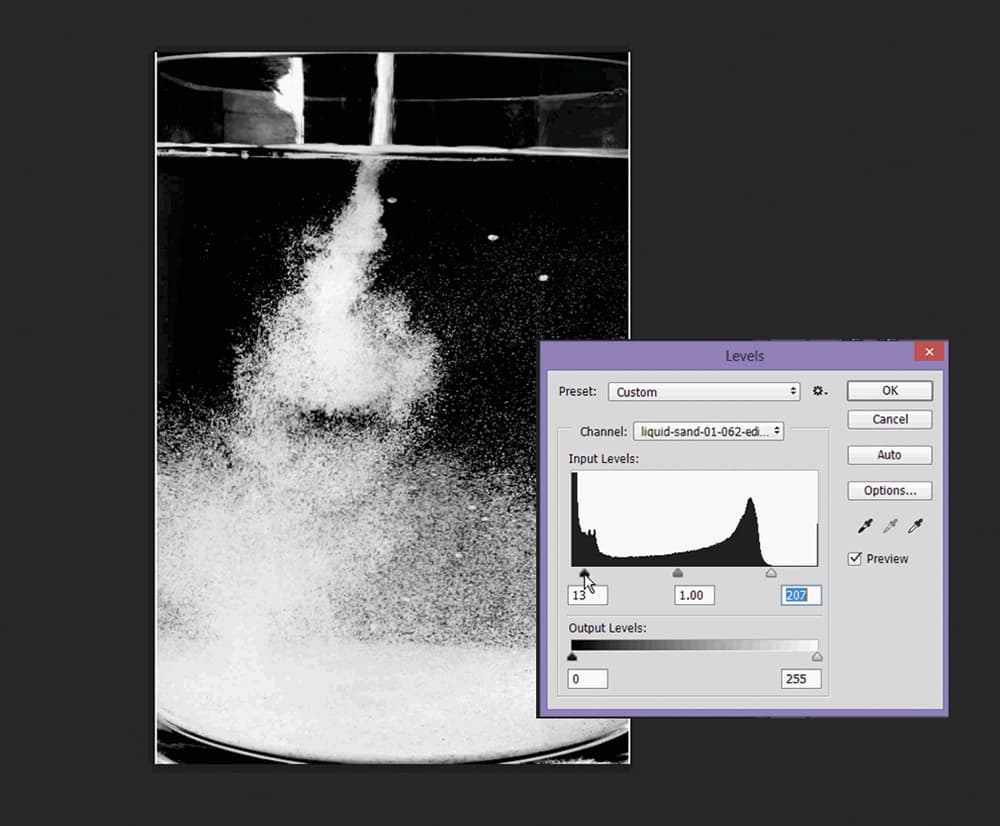
I started with five images of sand being poured into water. I selected the red channel for each and used it to create a mask for each image. Next, I used Levels to adjust the masks to a true black & white, and then used a hard brush to mask out any areas that I didn’t need, before stacking them on top of each other.
2 Align the images
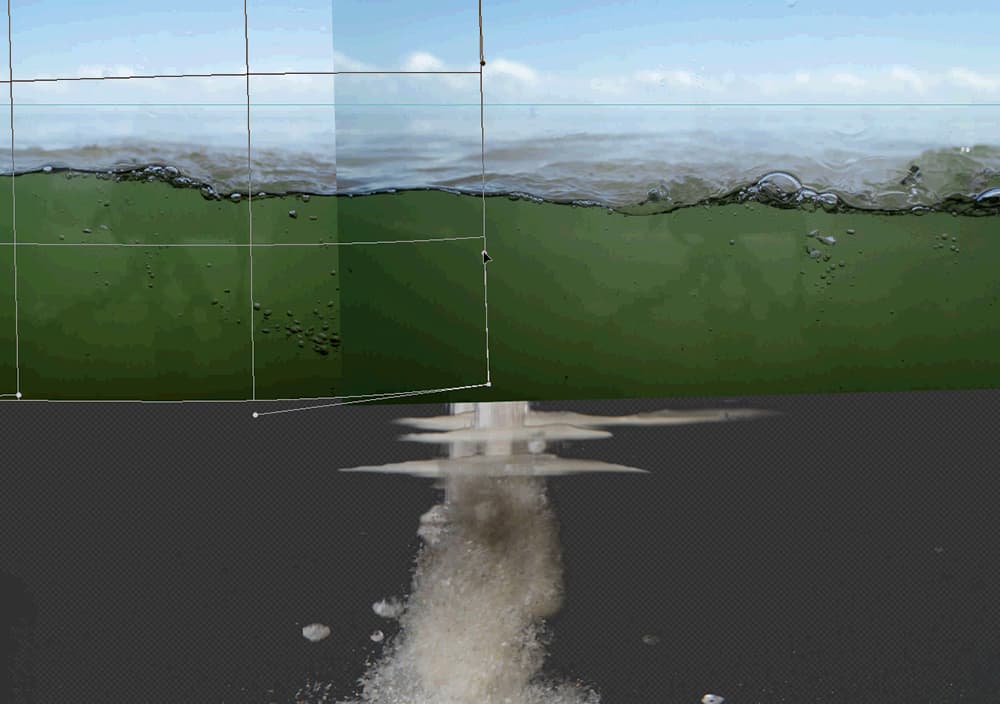
I added two waterline images, straightening the horizon and using Warp to align them perfectly. I then used the Healing Brush to remove water spots on the glass. I saved the images to a new document and imported them back to the main file before adding a tilt-shift blur to increase the depth of field.
3 Mask out the area
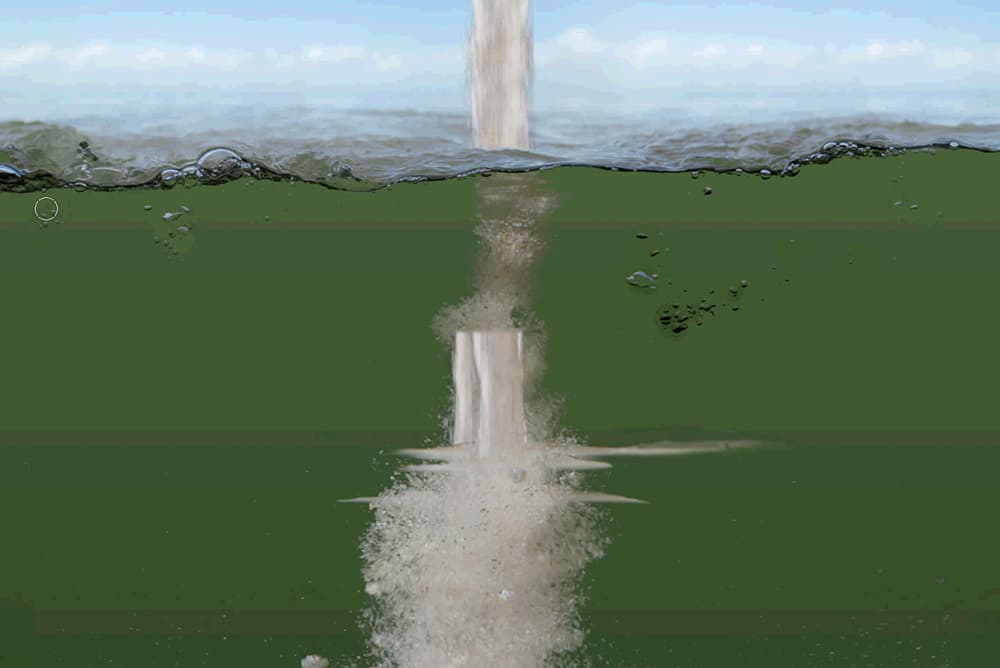
For the next step I used Select Colour Range to select and mask out the area under the water. I added a gradient fill to the background, picking up the original colours of the water for reference. I moved the top layer of sand into place and extended the top of the sand pour, masking off the front edge of the water.
4 Create a Custom Brush
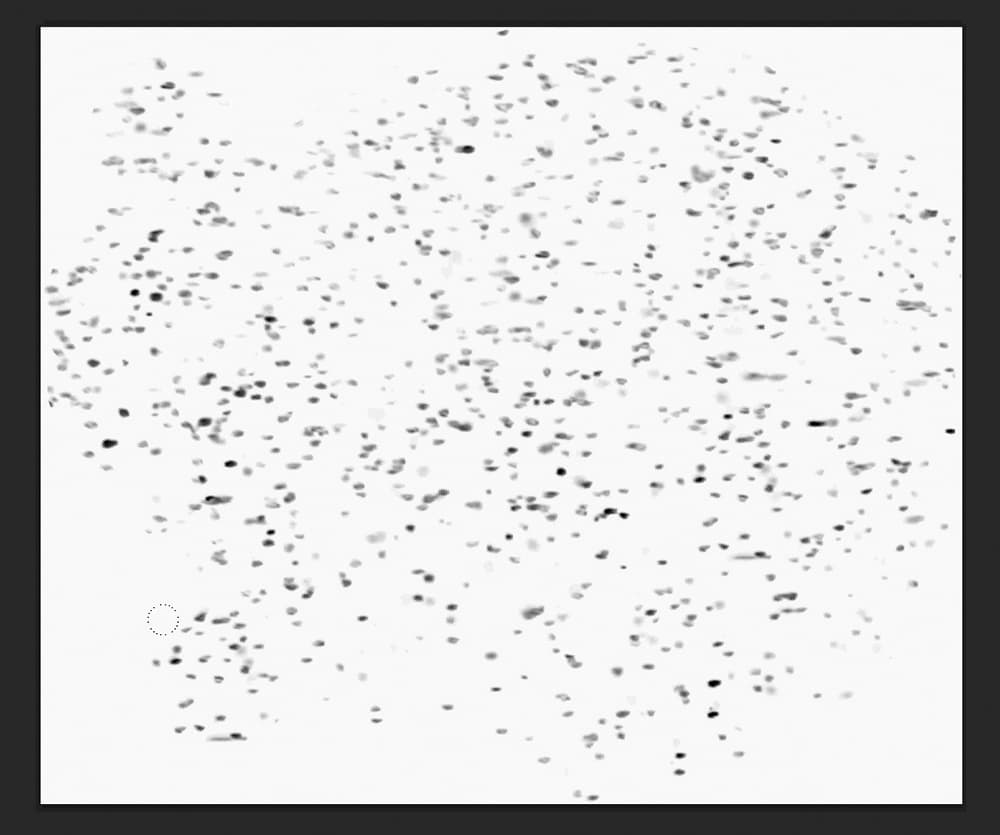
I created a Custom Brush by copying a largish area of one of the masks and inverting it. I did this with several selections to give me a variety of brushes at different sizes. I changed the brush settings to get an irregular flow and used it to mask out the bottom of the sand images and any small bubbles.
5 Remove any blemishes
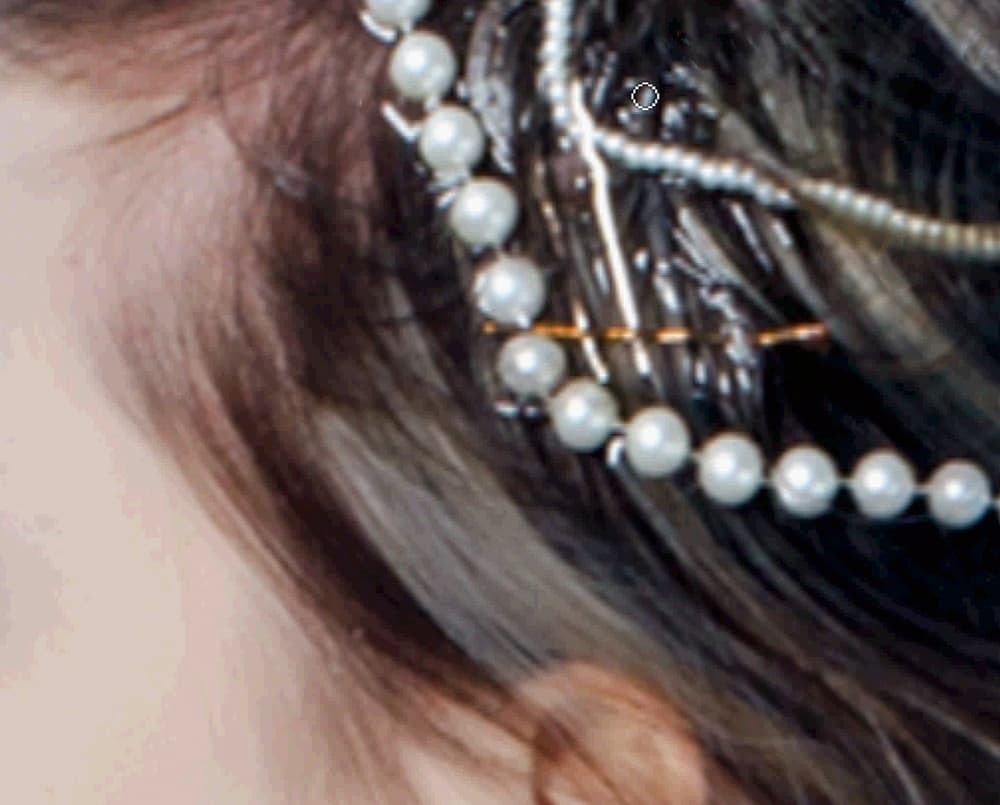
I opened the model image in Adobe Camera Raw and adjusted the perspective to make her more upright. I used Frequency Separation to clean up the skin and remove blemishes and small highlights on the water’s edge. Larger highlights and bubbles on the dress were removed with the Healing Brush or Patch Tool.
6 Selective colour layer
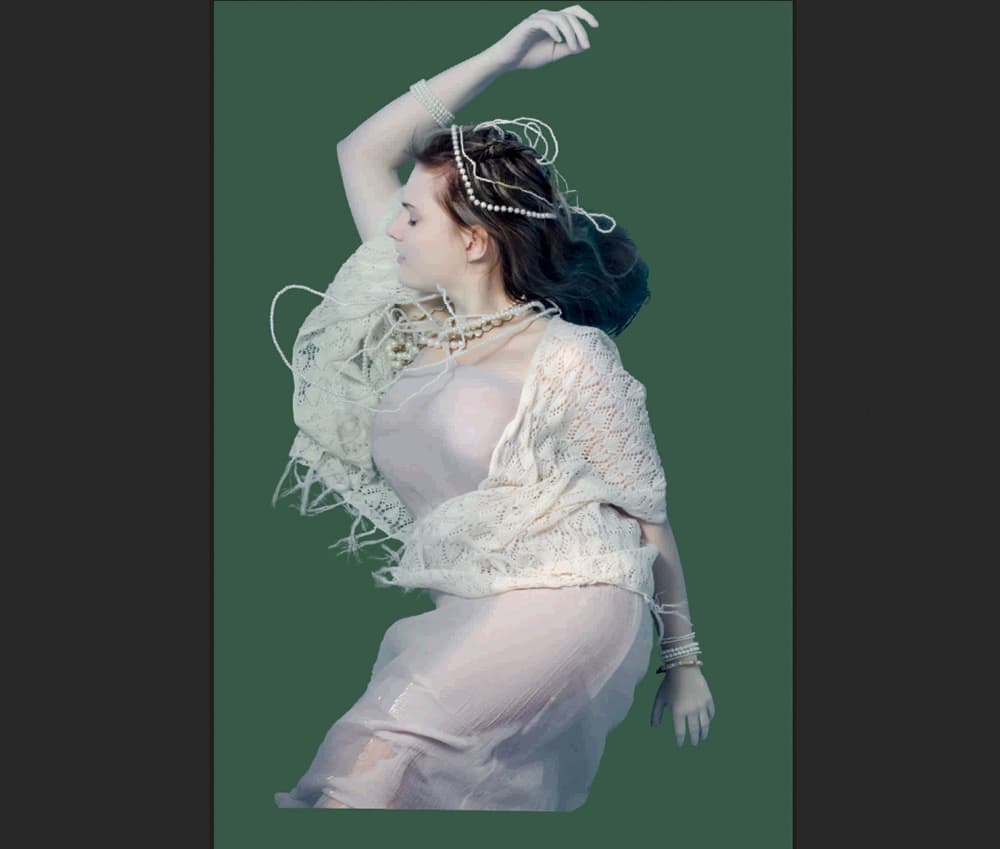
I masked out the background and used a selective colour layer to match the remaining blue to the green in the main document. I used the Sand Brush to mask away the skirt and rearranged the sand layers to fit. I added a selective colour layer to remove the blues, and a curves adjustment layer to warm up the skin.
7 Reveal the sand
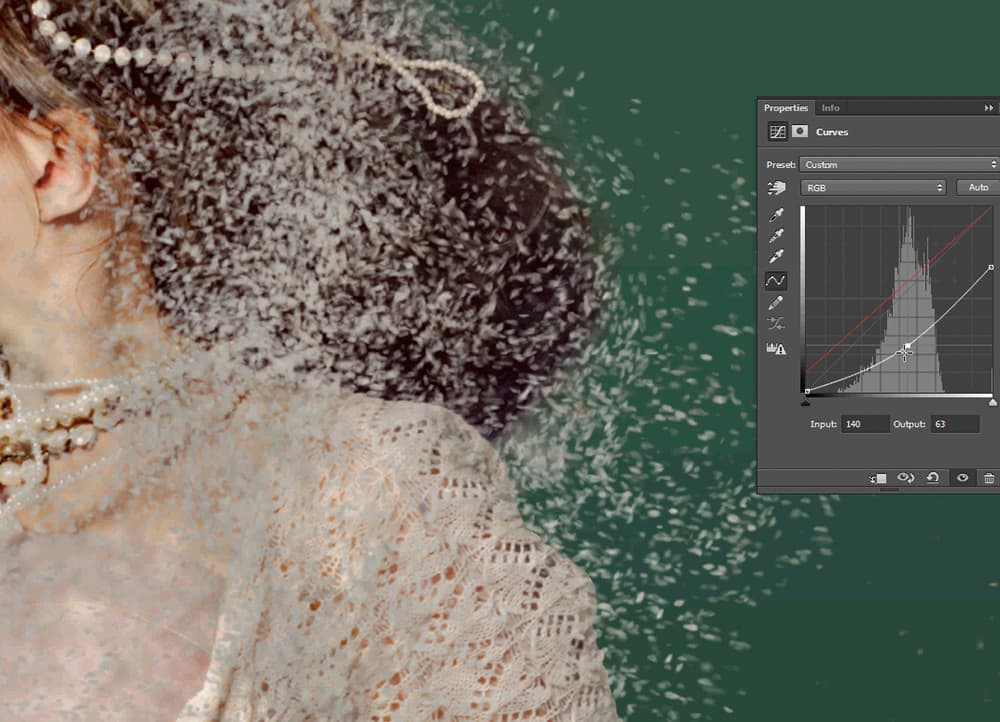
I duplicated the sand images, merged them and added an inverted mask. I used the Sand Brush to reveal sand over the top of the model. I used Path Blur to create movement at the top of the sand, and added a drop shadow using a curves layer clipped to the image of the girl.
8 Use Radial Blur
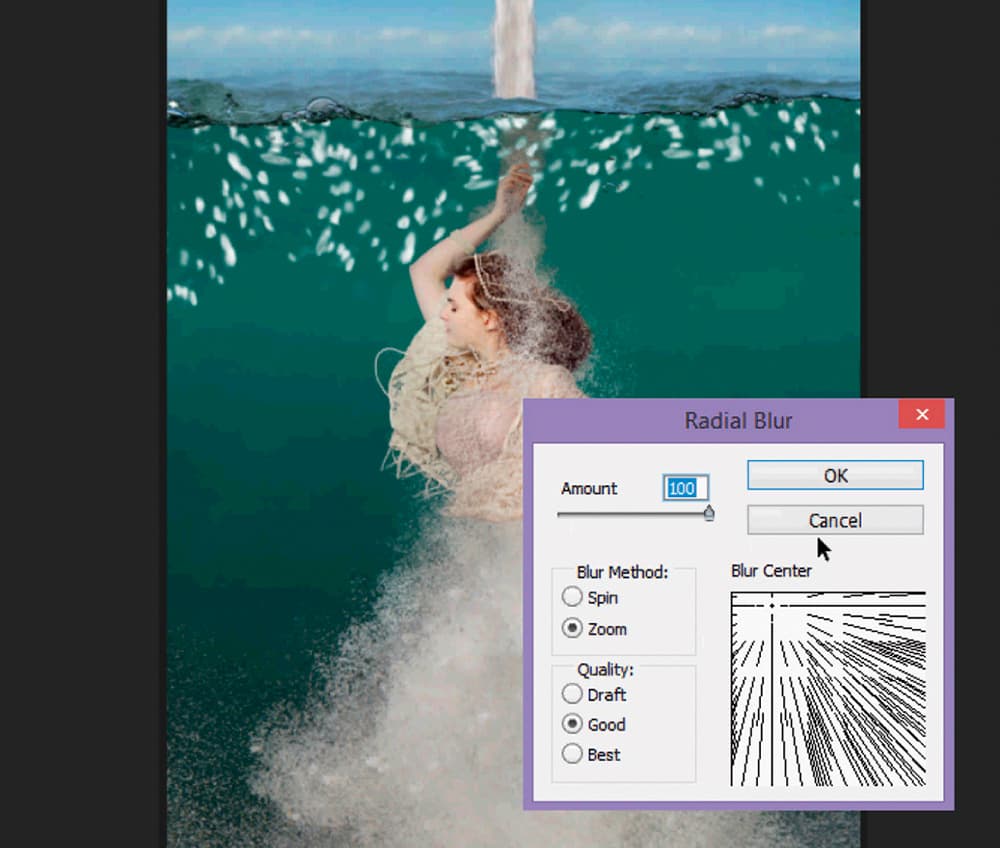
Underneath the sand and model layers I added an underwater image set to 20% soft light. The next job was to paint white patches on a new layer with a random brush, and use Radial Blur to create light rays. I set the Layer blend mode to Soft Light and reduced the Opacity.
9 Add some colour

I added a sepia-cyan Gradient Map (soft light 50%) and solid colour layers in a dark aqua (difference 20%) and a deep purple (lighten at 20%). I added a Radial Gradient in soft brown to create a vignette, and then texture and cloud layers (soft light 50%), masking off skin areas. I did a Stamp Visible and a final sharpen.
Jane Long is an Australian photographer and digital artist who combines photography and photo manipulation to create surreal images that straddle the line between reality and fantasy. Completely self-taught, she has worked with Photoshop since 1994, both commercially and for her personal work. Jane has exhibited in Australia, the USA, Romania and Greece. To find out more, visit www.janelong.com.au.

