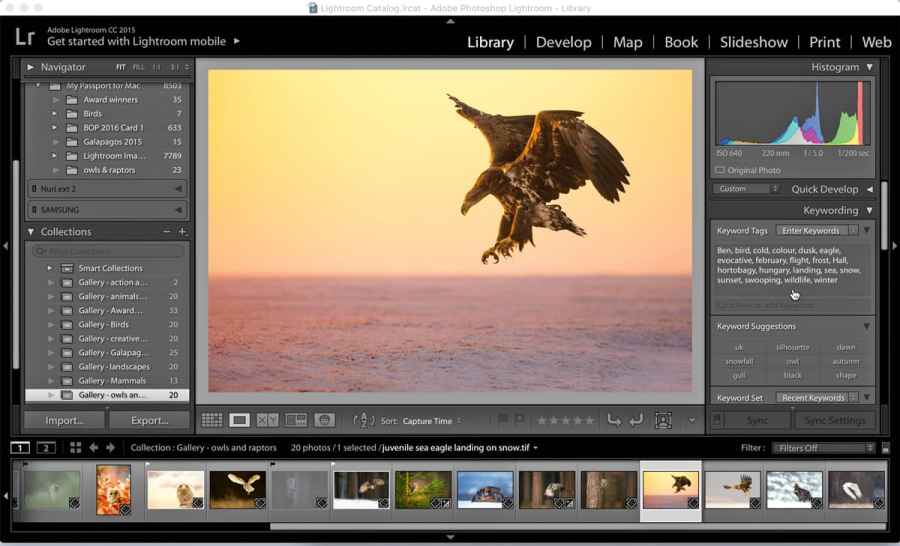
1. Comparing groups of photos – Shortcut N
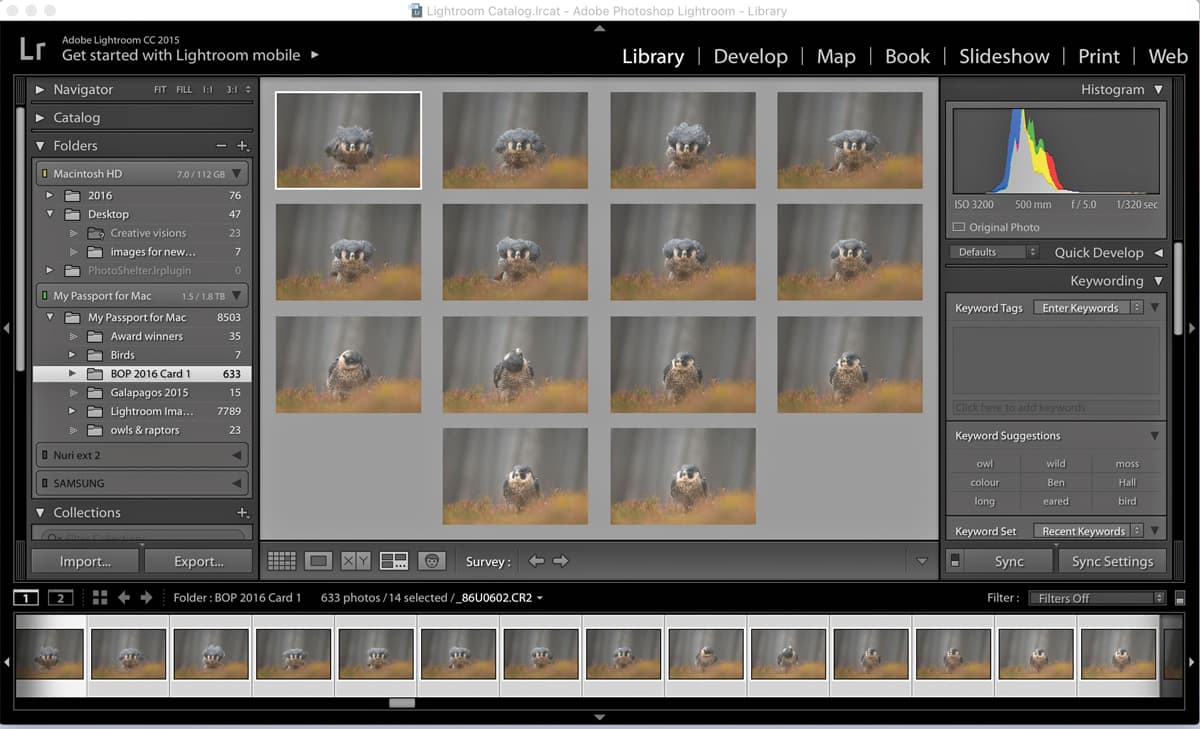
If you have several images from the same shoot or the same sequence that are very similar, highlight all of them and press N to bring up the survey mode. The images selected will now appear together. This is an effective way of viewing them all at once in order to pick out the best ones quickly.
2. Rate your images – Shortcut P/X
There are several ways to rate your images in Lightroom. The quickest and easiest way is to press P (pick) when an image that you would like to keep is highlighted. A flag will then appear in the top-right corner of the thumbnail and your image is now flagged as a keeper. In order to reject an image, all you need to do is click X – the image will now be greyed out, making it easy for you to distinguish between the keepers and the rejects.
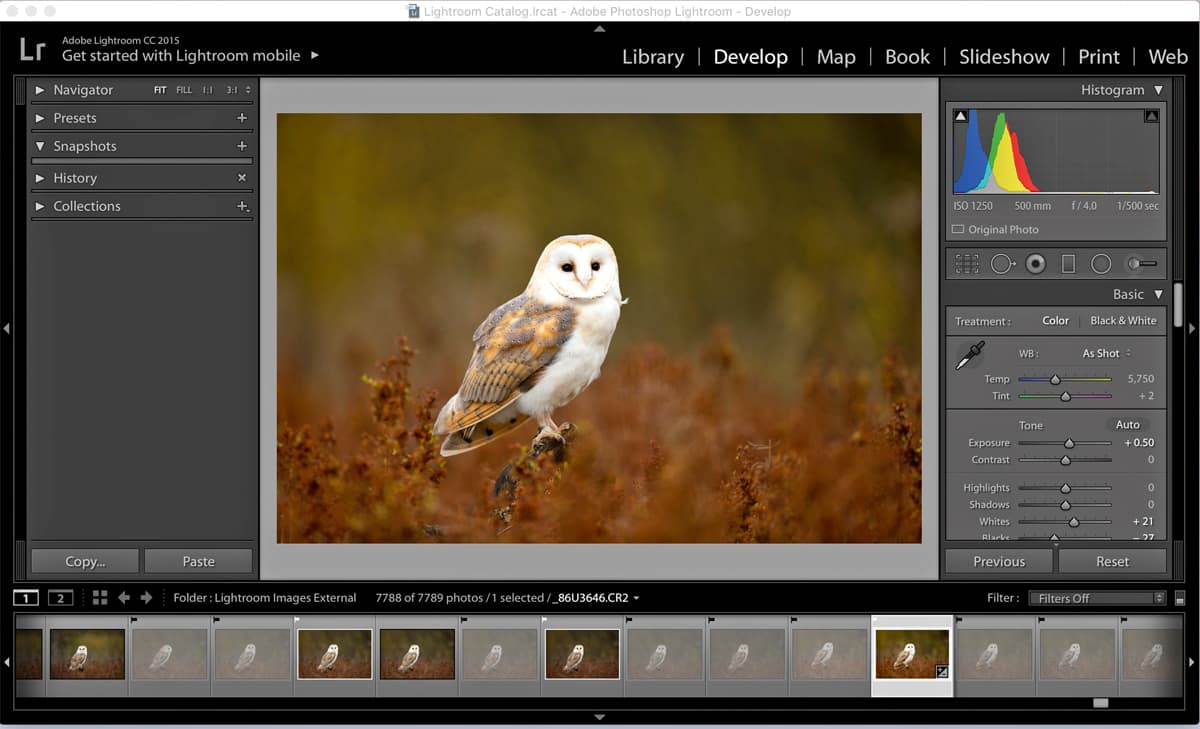
3. Switch to Develop module – Shortcut D
Once you have made your initial edit and are ready to start processing, hit the shortcut D to switch over to the Develop Module.
4. Apply a Clipping mask – Shortcut J
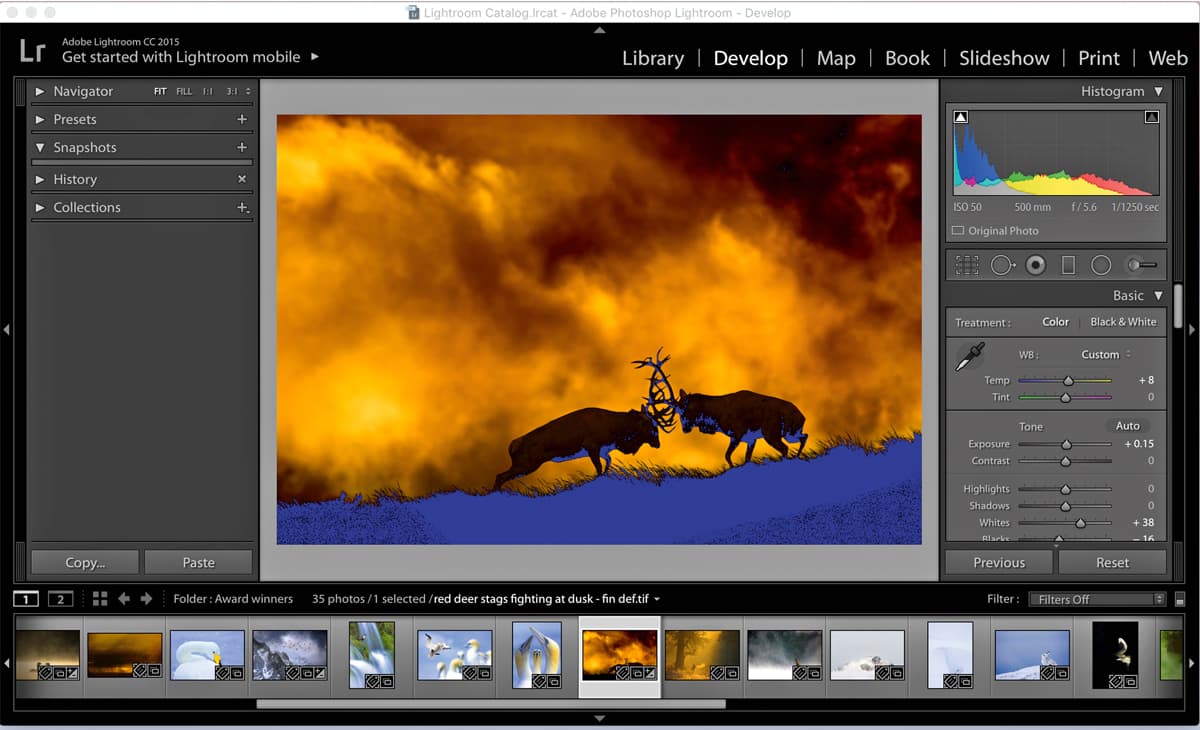
For the quickest way of checking to see whether you have lost detail in the Highlights and Shadows, simply press J to apply the clipping mask. Any blown highlights will now be displayed in red, while clipped shadows will appear in blue.
5. Use Grid View – Shortcut G
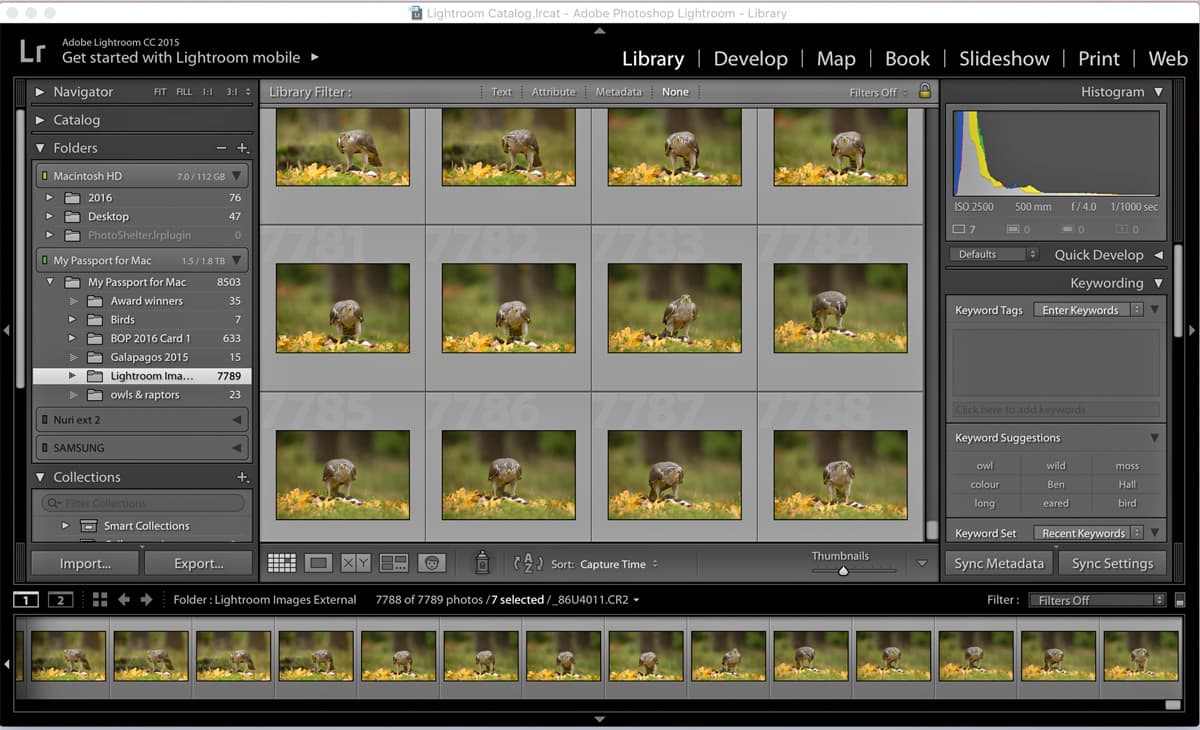
Grid View allows you to view a contact sheet of thumbnail images. It is then possible to make adjustments to multiple images using the Quick Develop panel. This can save you time when the images are all very similar.
6. Set the black and white points
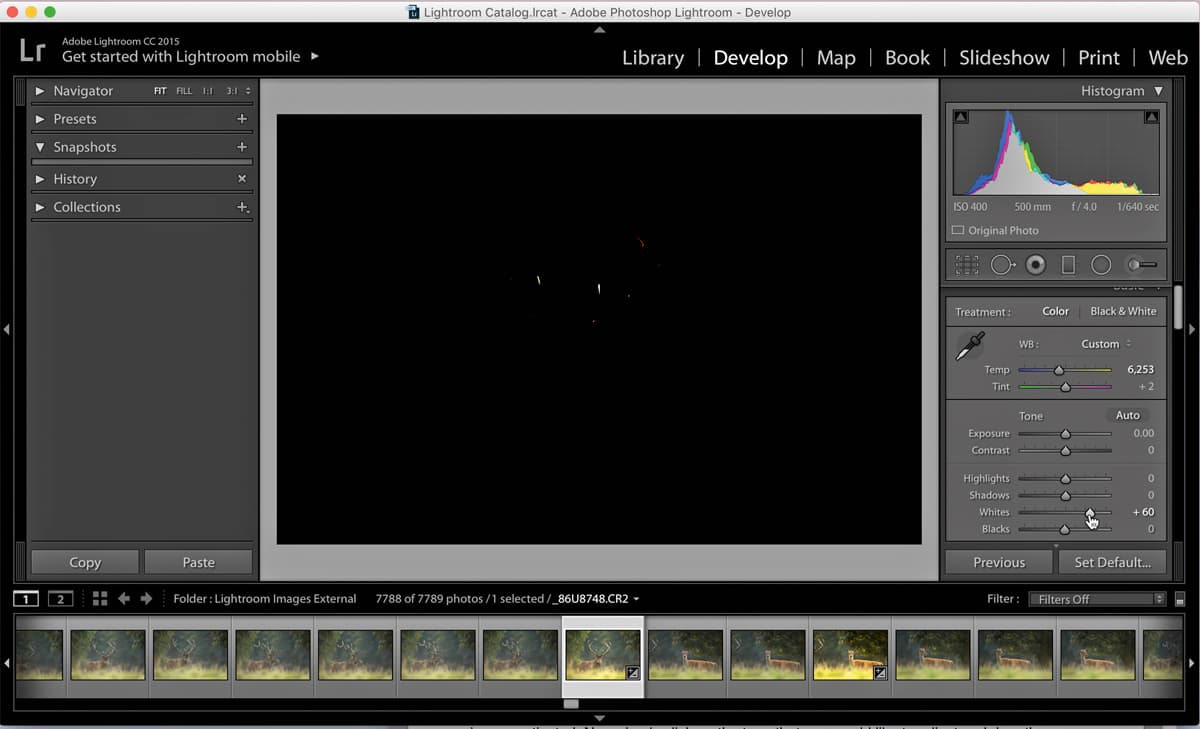
When setting your black and white points, hold the Alt key down as you adjust the sliders. The screen will turn black when adjusting the highlights. Stop just before you see any white areas appearing (this is the highlights becoming clipped). Do the same with the black point. This time, as you hold the Alt key, the screen will turn white. Drag the sliders until you start to see the first sign of black appearing (this is the clipped shadows). You may then need to make some adjustments to the midtones, depending on the overall tones in the image.
7. Apply a crop – Shortcut R
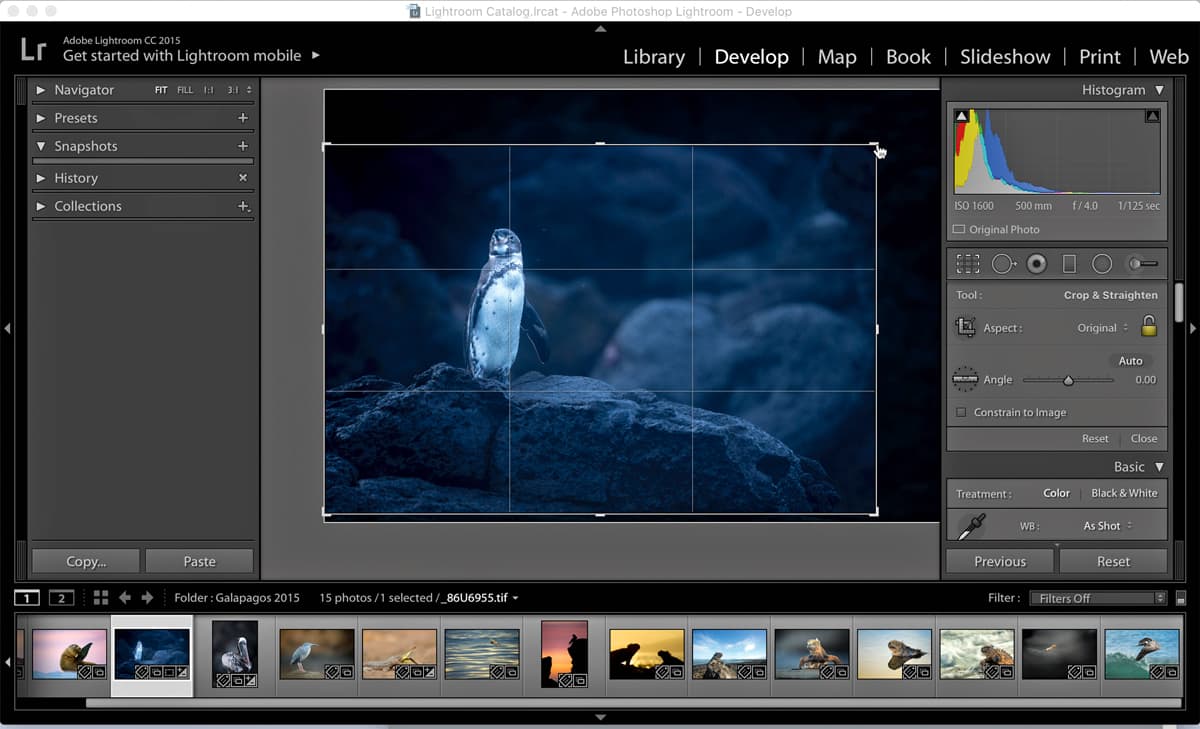
When cropping an image in Lightroom, hold the Shift key as you drag the corners in to keep the boundaries of the frame to the correct proportions. A grid also appears, making it easy to apply the rule of thirds. For a quick way of straightening a misaligned image, hold down Cmd on a Mac or Ctrl on a PC to bring up the Angle tool. Now drag along a straight line to automatically straighten and crop the image.
8. Make precise adjustments
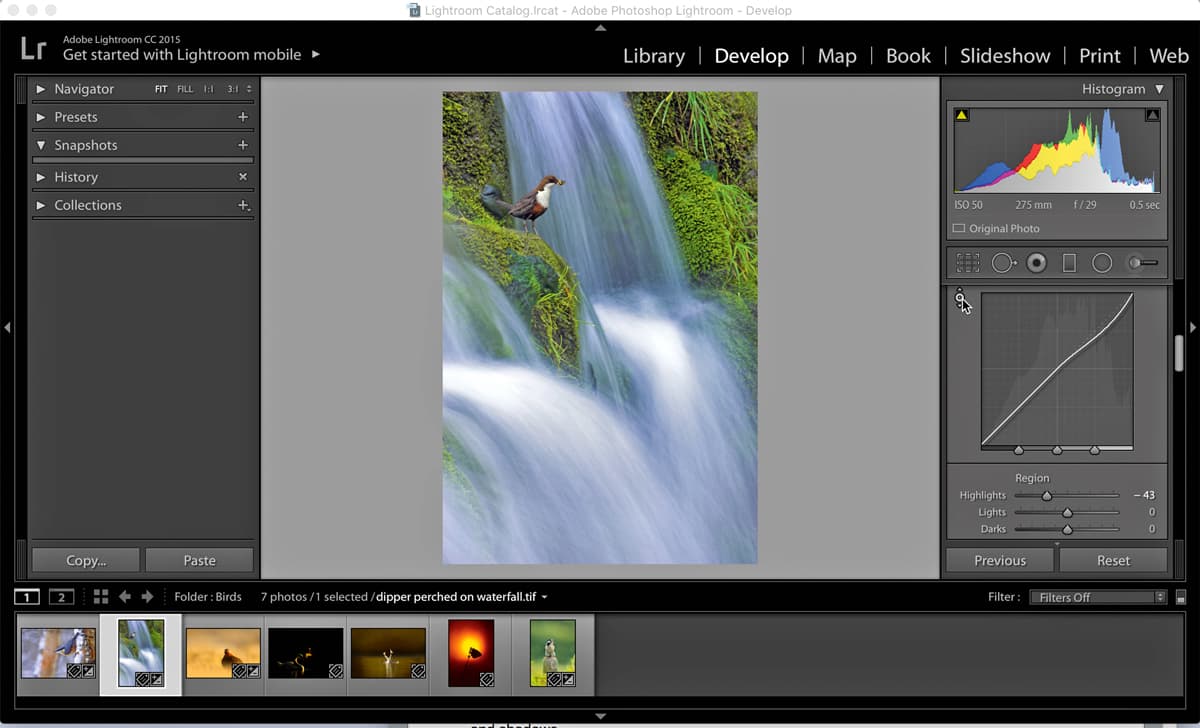
The Target Adjustment tool can be used if you would like to adjust a specific tone or colour in your image with precision and ease. In order to activate the Target Adjustment tool, click the small dot in the top left window of the tone curve panel. Then click on the tone you would like to adjust and drag your mouse upwards or downwards to lighten or darken the tone. In addition, you can also use the same Target Adjustment tool to saturate or desaturate a specific colour by clicking the HSL heading and choosing saturation.
9. Check sharpness – Shortcut Z
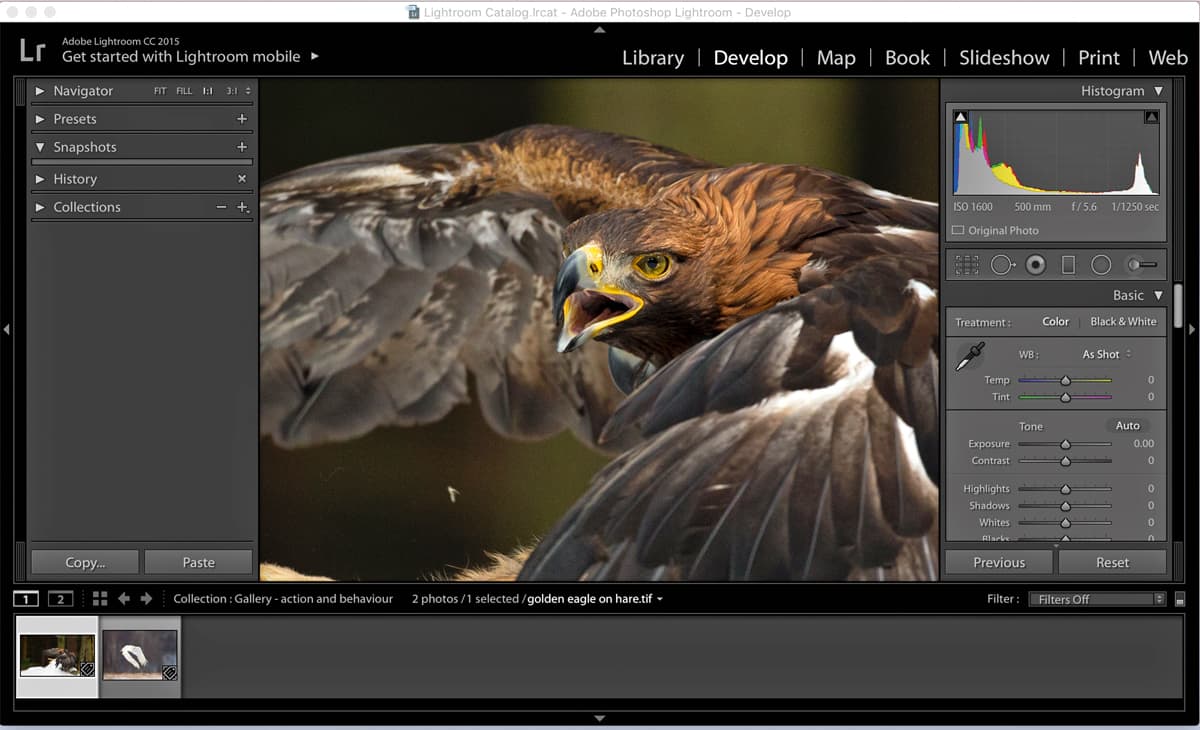
Sharpness should be checked when the image is zoomed in to 100%. For a quick way of checking the sharpness, simply press Z, use the mouse to move around the frame and press Z again to zoom back out.
10. Recover clipped highlights
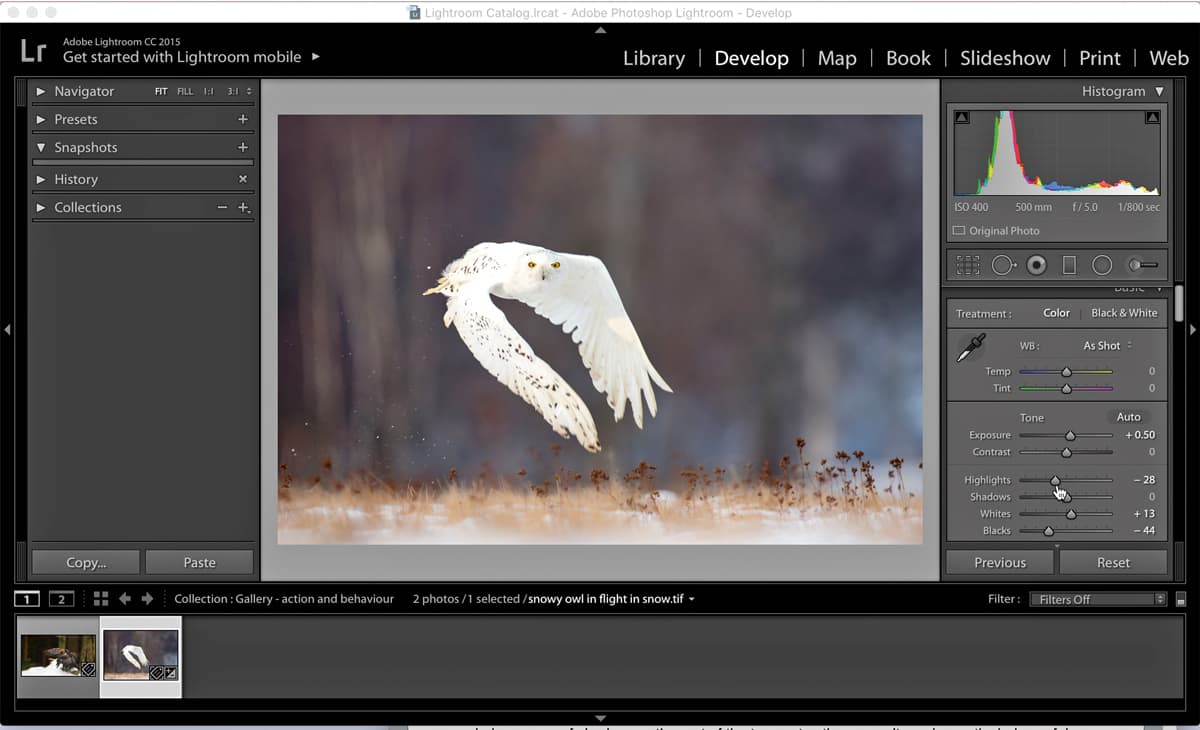
Shooting high-contrast scenes, especially in strong light, can often lead to overexposed Highlights. To recover any lost detail in these areas, simply drag the Highlights slider to the left. The advantage of this is that the other tones in the image remain unaffected and only the Highlights will darken. This helps to pull back any lost detail in the image without affecting the midtones and shadows.
11. Increase shadow detail
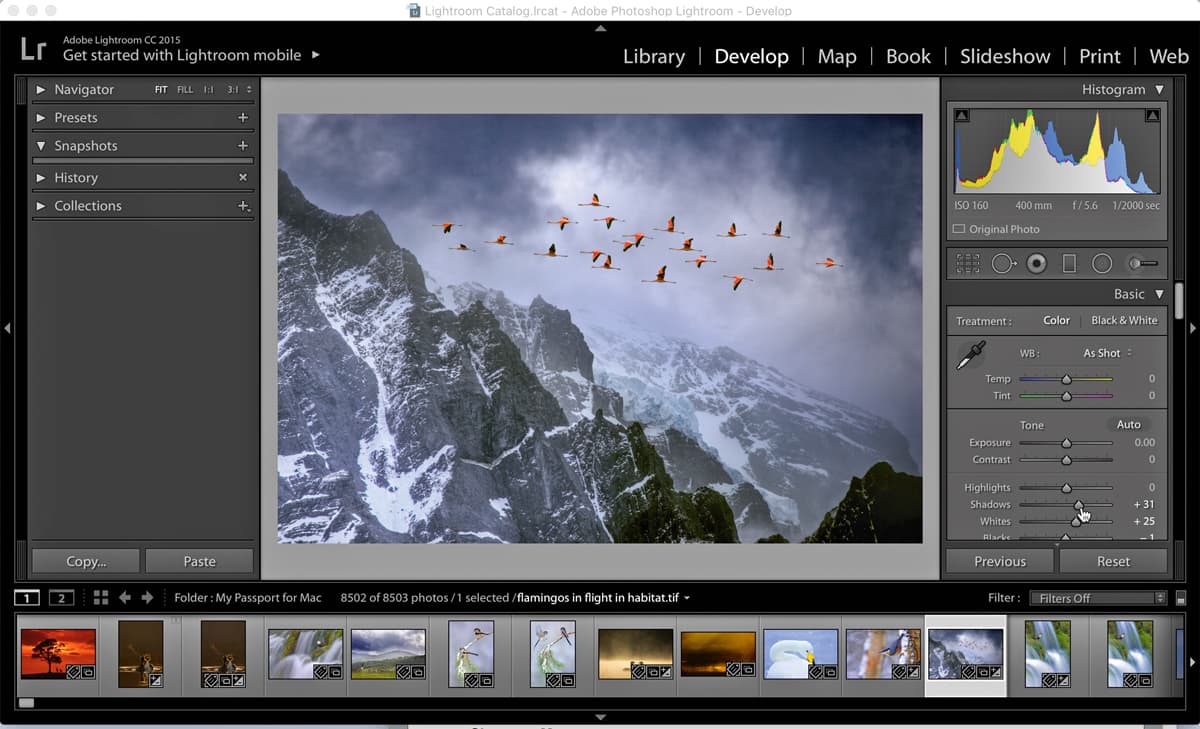
High-contrast images that contain a wide tonal range can be difficult to expose for, and detail can often become lost in the Highlights and Shadows. The Shadows slider can be used to bring out extra detail in areas of deep shadow. This slider is very effective as it will only lighten or darken areas of shadow, so the rest of the tones stay constant. It can be particularly useful for revealing detail in a backlit image.
12. Adjust selected areas – Shortcut K
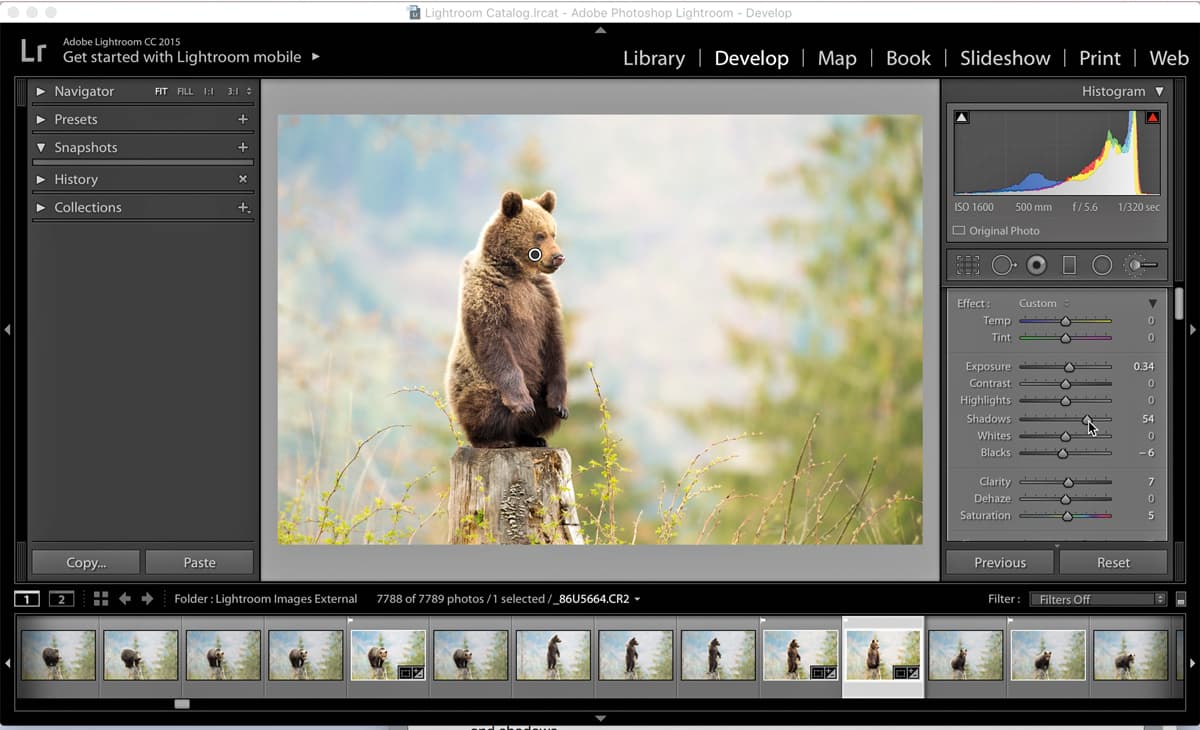
The Adjustment Brush is a powerful tool that can be used to adjust only a selected area of the image. Click the tool to activate it, which is situated on the right-hand side of the bar below the histogram. Now brush over the area that you would like to adjust and use the sliders in the highlighted box to apply your corrections. It can be used to add detail into areas of shadow, or to tone down highlights that appear too bright.
13. Set colour temperature
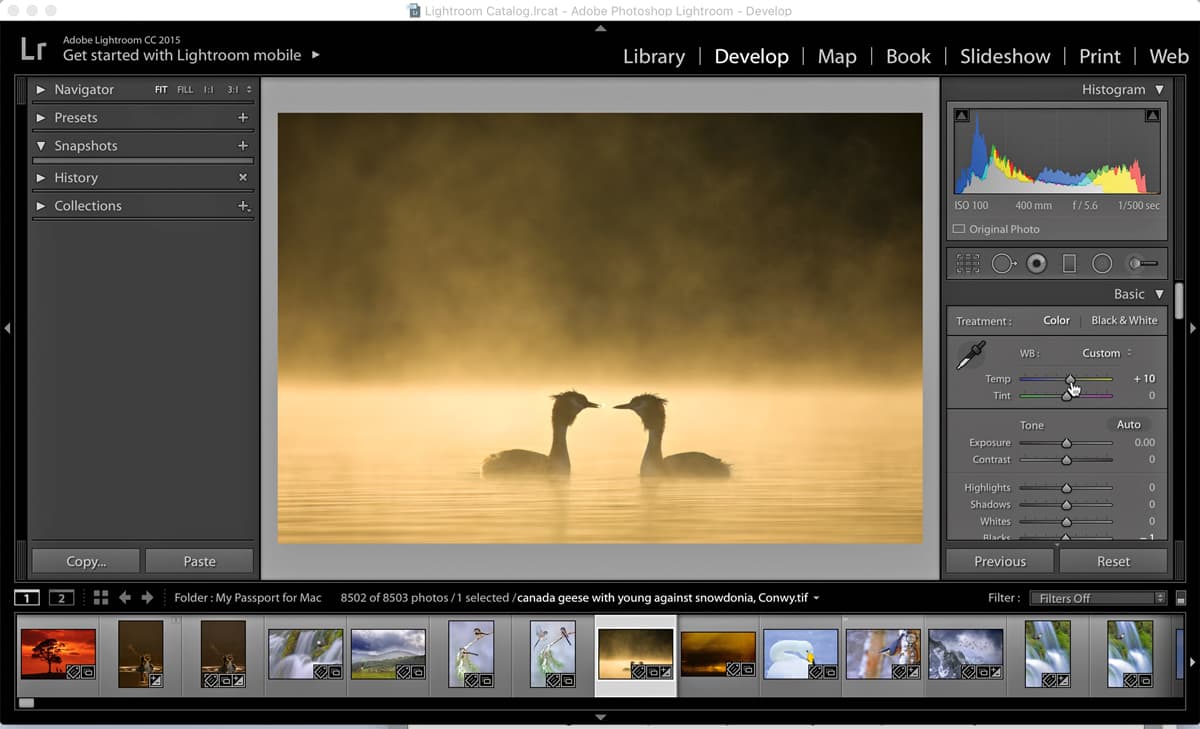
Colour temperature can greatly affect the mood of an image and is measured in Kelvin, with daylight being 5000-6500K. A lower value will bring out blue hues and enhance the cold feel of an image taken in snowy or frosty conditions. A higher value will increase the warmth in the light, saturating the yellow hues, and will suit an image taken during the golden hour. Be careful not to overdo it, as an image taken in poor light and warmed up too much will look unnatural.
14. Use the clarity slider
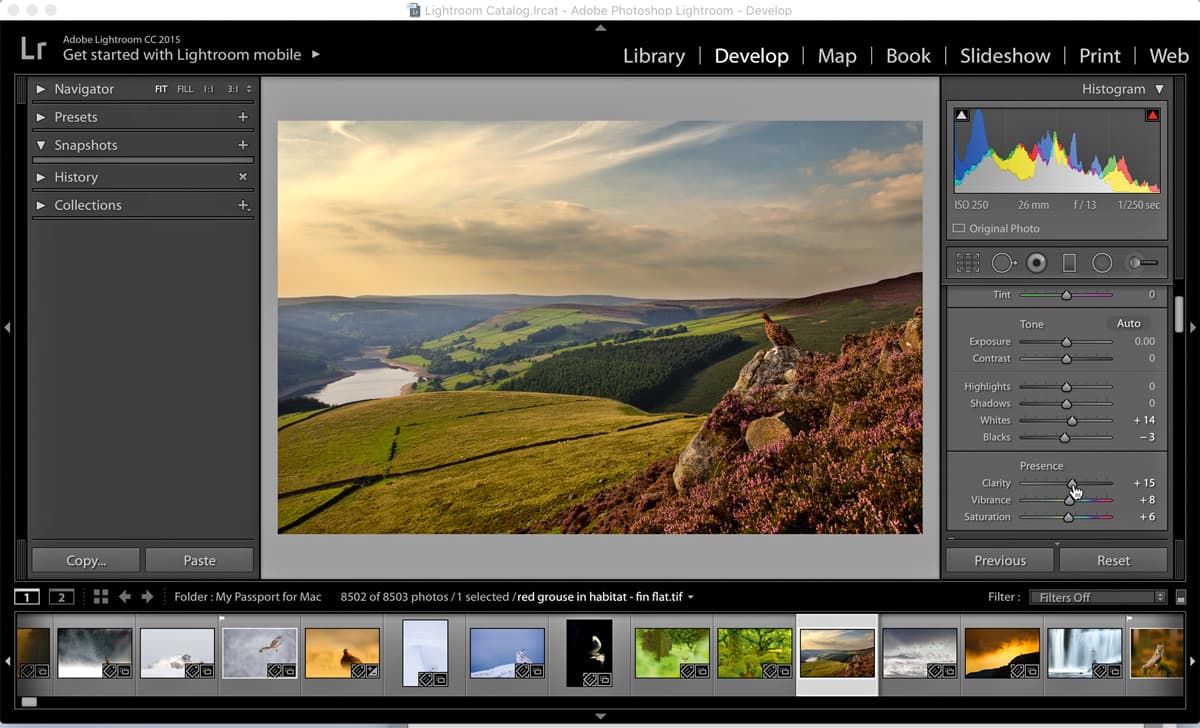
The Clarity slider is one of the most useful in Lightroom for giving your images extra impact. It can be used to add some higher contrast quickly and bring out fine detail and texture. In addition, by sliding it to the left you can soften the contrast, which can add a dreamy, soft-focus effect to your image. This can work well for woodland landscapes, for example.
15. Use the Graduated filter – Shortcut M
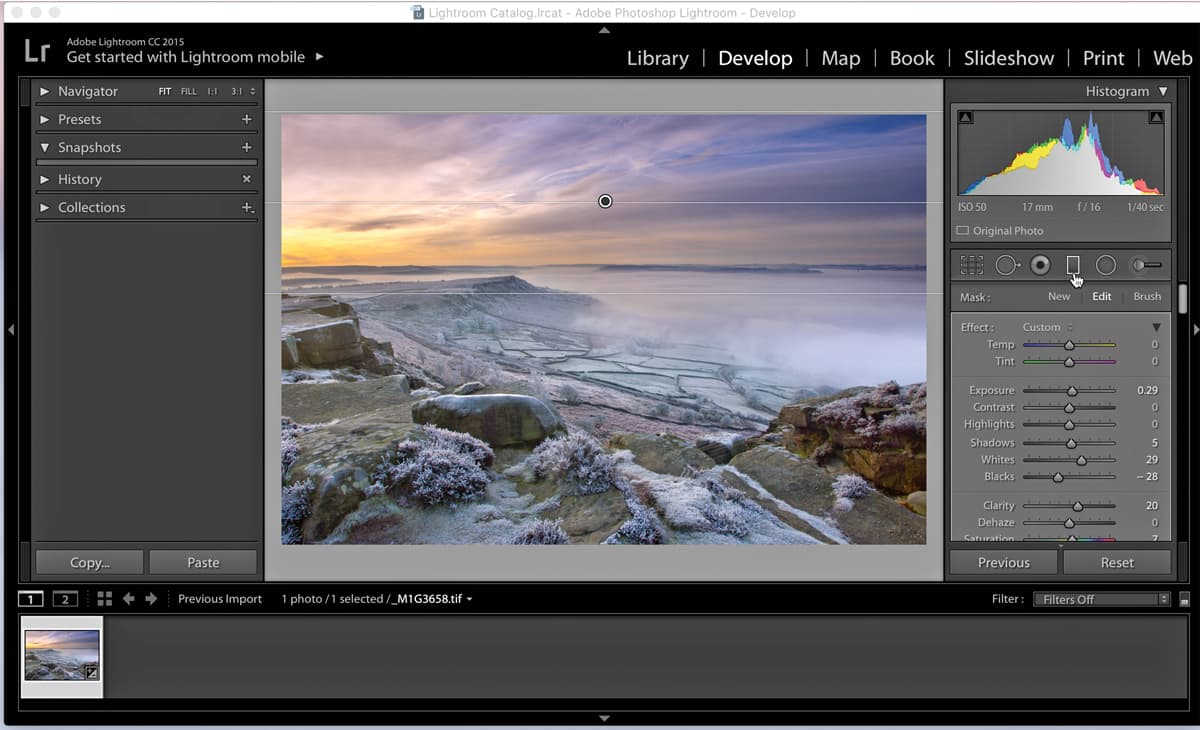
The Graduated filter is a useful tool for darkening skies. Click the tool that is situated on the bar just below the histogram, then click the top of the image and drag downwards to select the area that you want to adjust. You will now find a highlighted box with several sliders –colour temperature, exposure, clarity and sharpness. The adjustments you make here will only affect the area that you have selected. This can also be used on foregrounds by dragging upwards from the bottom of the frame.
16. Remove dust spots – Shortcut Q
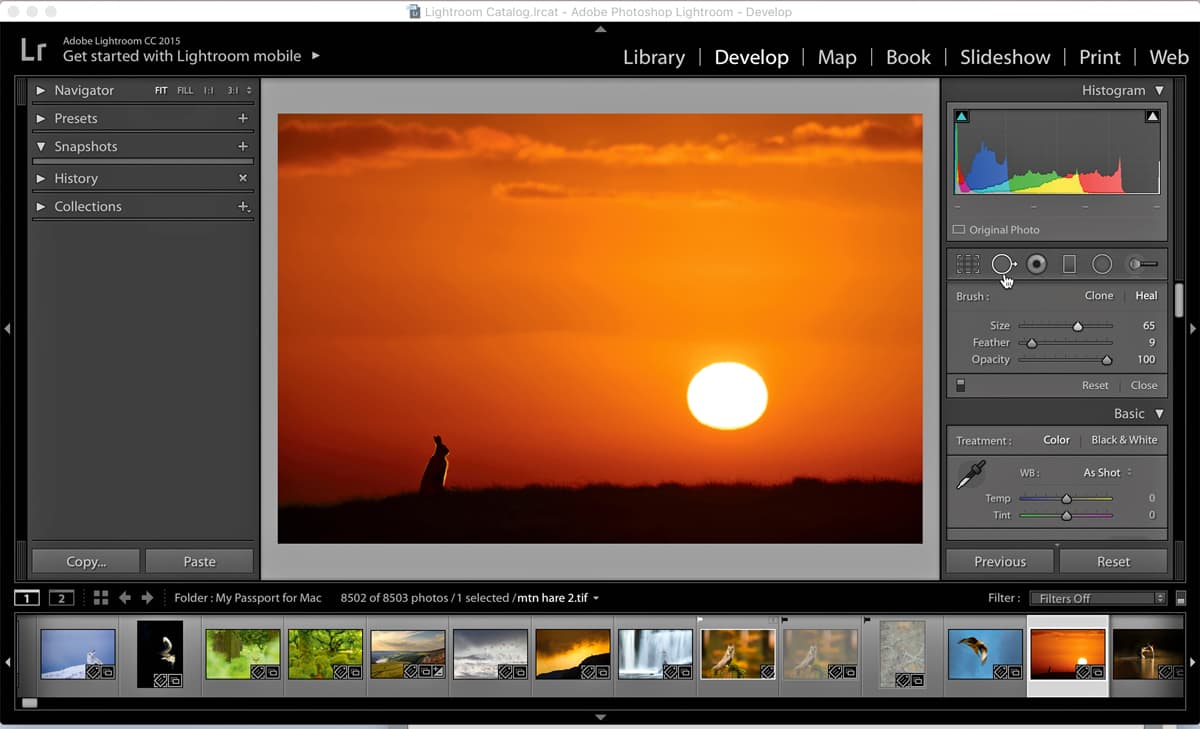
Nothing ruins an image quite like dust spots. By using the Spot Removal tool, it’s easy to dispatch spots from skies and any other areas of your image. Simply click Q, adjust the brush size and then click on the spots. The tool will take a sample area and clone it over the dust spot. If you have trouble seeing the spots, click Visualize Spots, which will turn the image into high-contrast black & white and make the spots much more visible.
17. Compare before and after – Shortcut XY
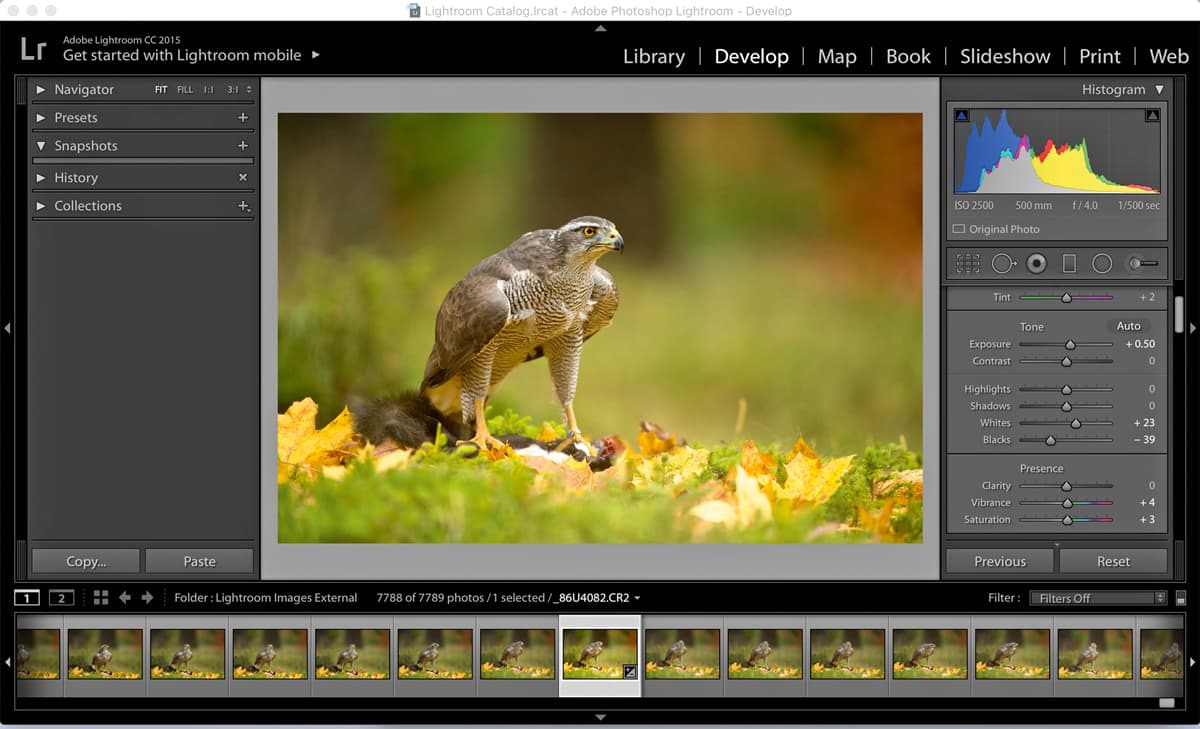
Lightroom has an official ‘before’ and ‘after’ view using the XY button, but for a quicker way of doing it, click the \ key. This will revert to the original image before any Lightroom change. Keep pressing it and you can toggle between your before and after image. It is a quicker, simpler and, in my opinion, more effective way of checking your adjustments against the original image.
18. Copy and paste – Shortcut Cmd-Opt-V (Mac)/Ctrl-Alt-V (PC)
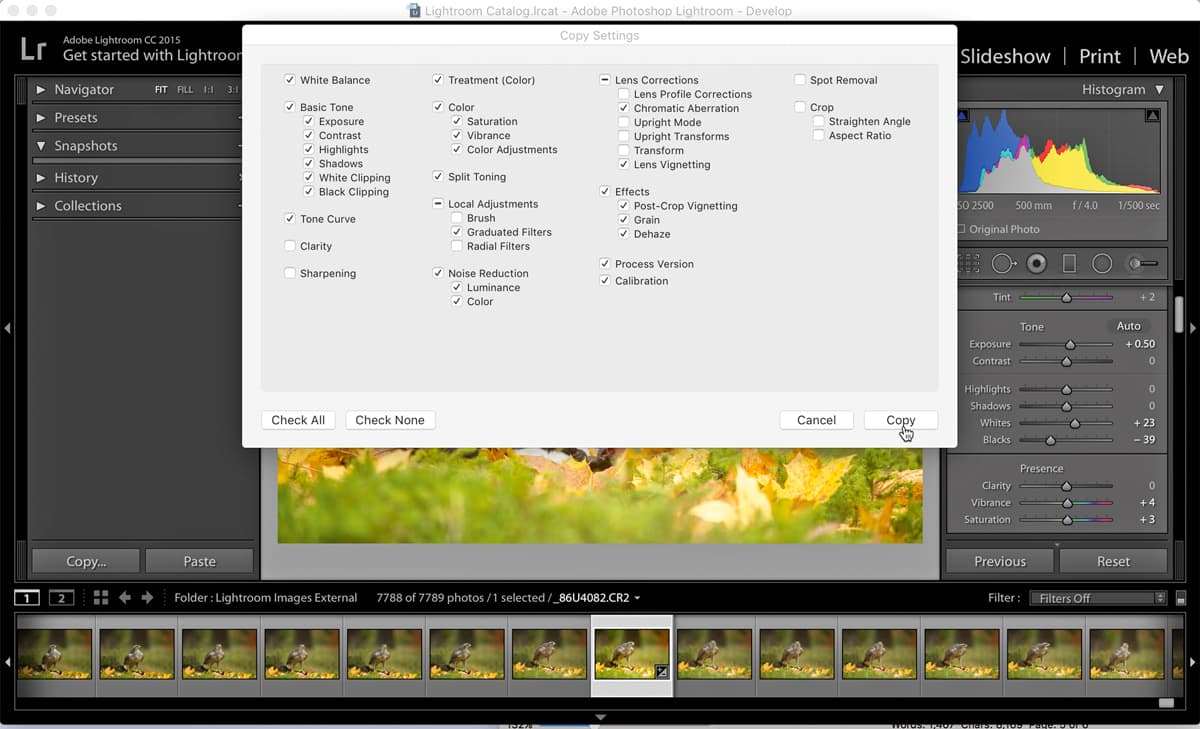
If you have several images from the same sequence, you can save valuable time by pasting the adjustments from one image onto another. Make your adjustments to the first image, and then click Copy to bring up the copy settings box, which you can then use to select which adjustments you would like to apply. Then simply click on the next image and hit Paste to transfer the adjustments.
19. Make images ‘pop’
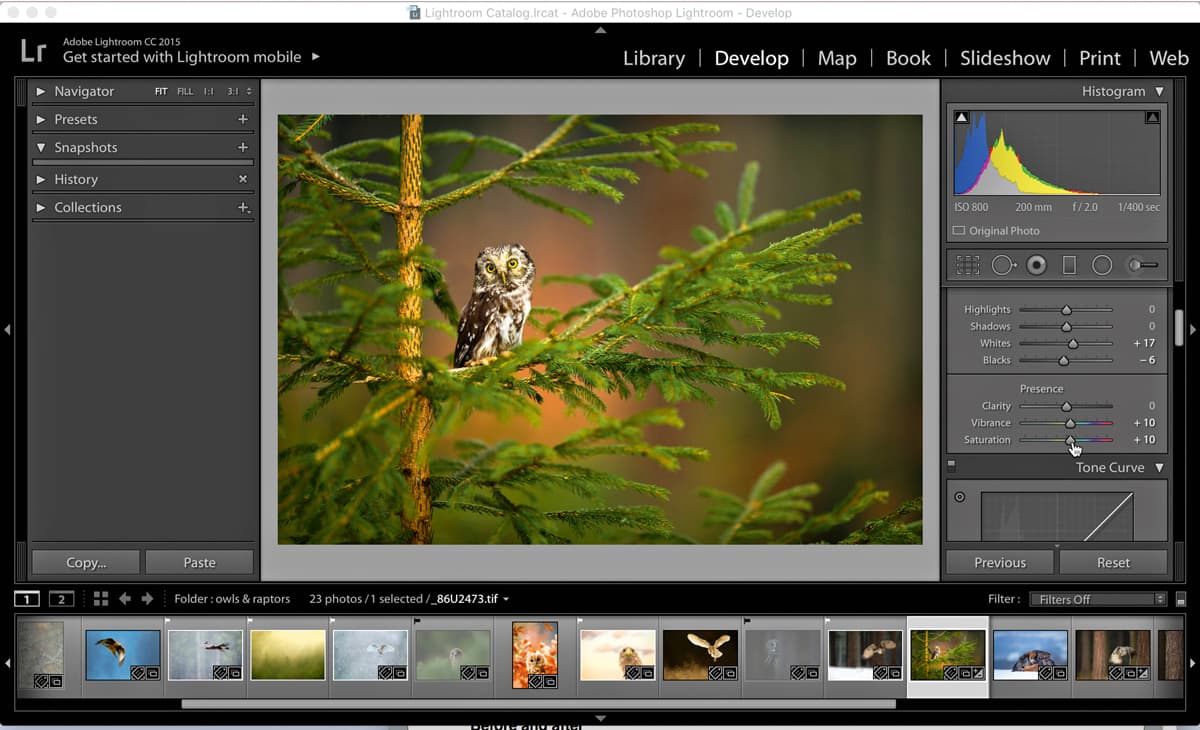
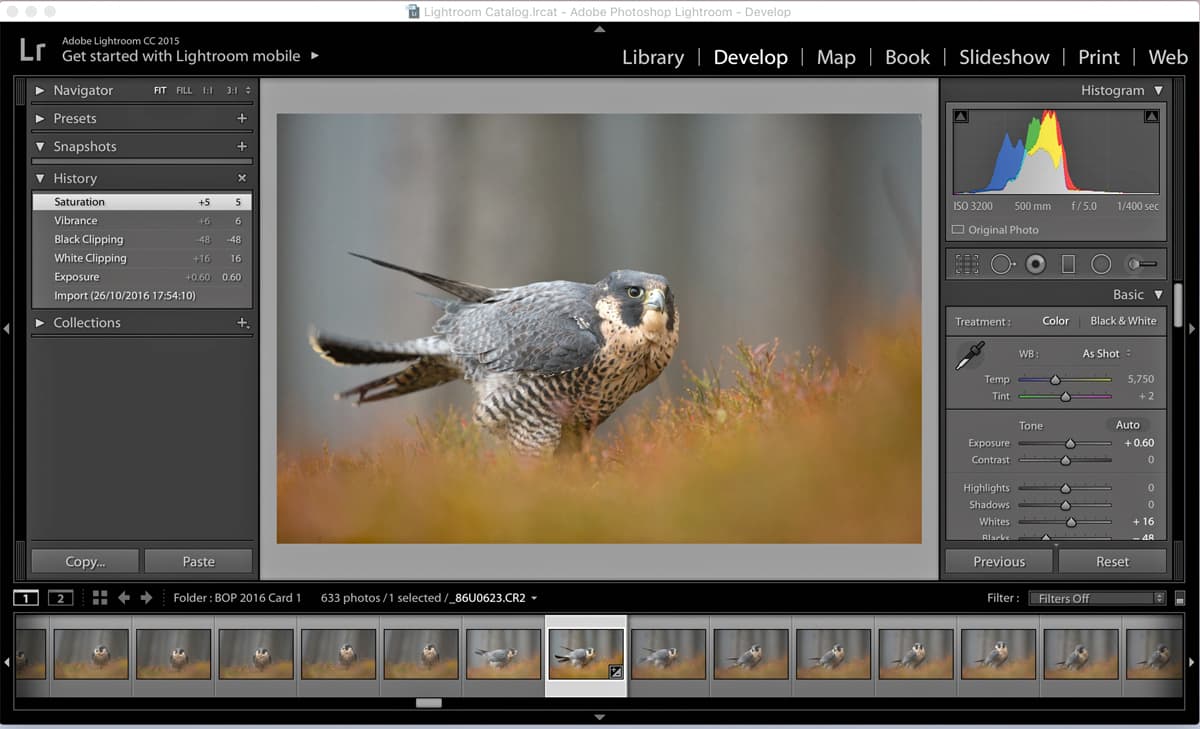
The Vibrance and Saturation tools can be used to boost the colour of your images and really help them to ‘pop’. The Saturation tool will affect all the colours in the image, while the Vibrance slider only affects the more muted colours so as to obtain a better balance. Think of it as similar to fill light (used to eliminate or soften shadows) but with colours.
20. Apply keywords – Shortcut Shift-Cmd-K (Mac)/Shift-Ctrl-K (PC)
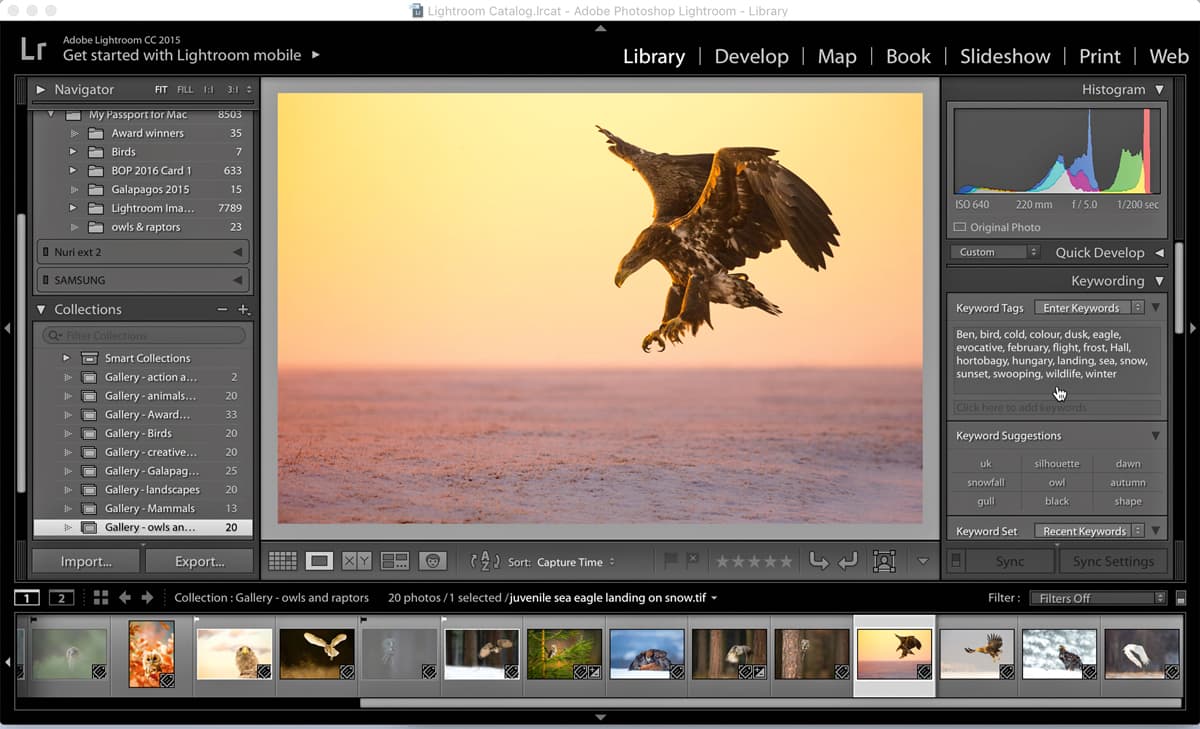
Keywording is essential, as it will allow you to keep track of your images and find the right one quickly. There are several ways of applying keywords in Lightroom, but here is a shortcut. With a single image or a group of images selected, press Shift/Cmd/K on Mac, or Shift/Ctrl/K on PC. This will open up a keyword panel on the right in the Library module. Type in the keywords (or select ones you have previously used) and these will be applied to all the images selected.
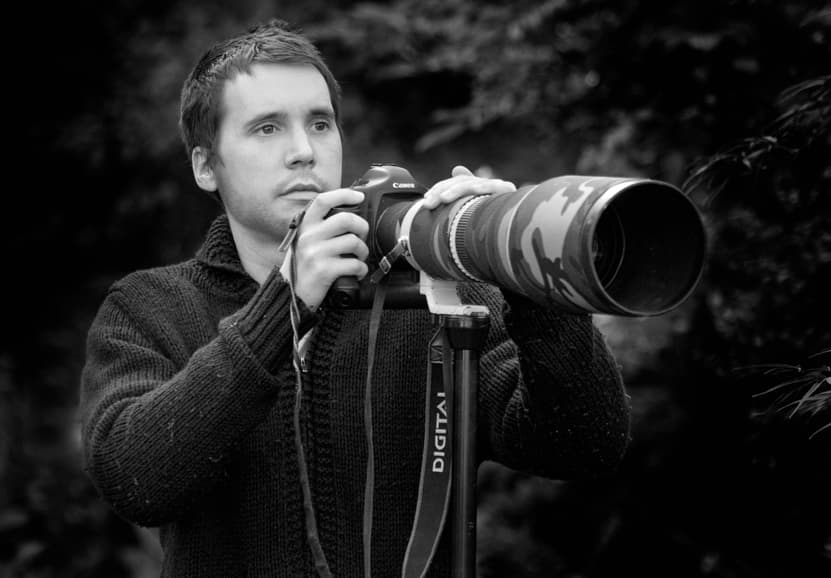 Ben Hall has gained worldwide recognition as one of Britain’s foremost professional wildlife photographers. He is driven by the need to protect and preserve Britain’s last fragile ecosystems, as testified by his work for the RSPB, various Wildlife Trusts and other conservation organisations. To find out more, visit www.benhallphotography.com.

