Rob Cherry, another minimalist photography master, but this time one who’s firmly in the digital camp shares some tips for long-exposure seascapes before revealing some of his editing secrets.
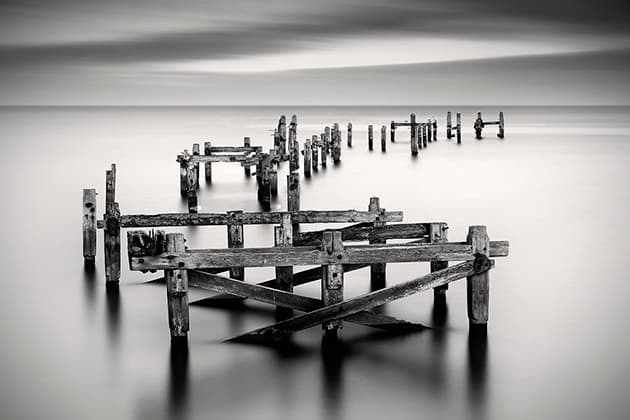
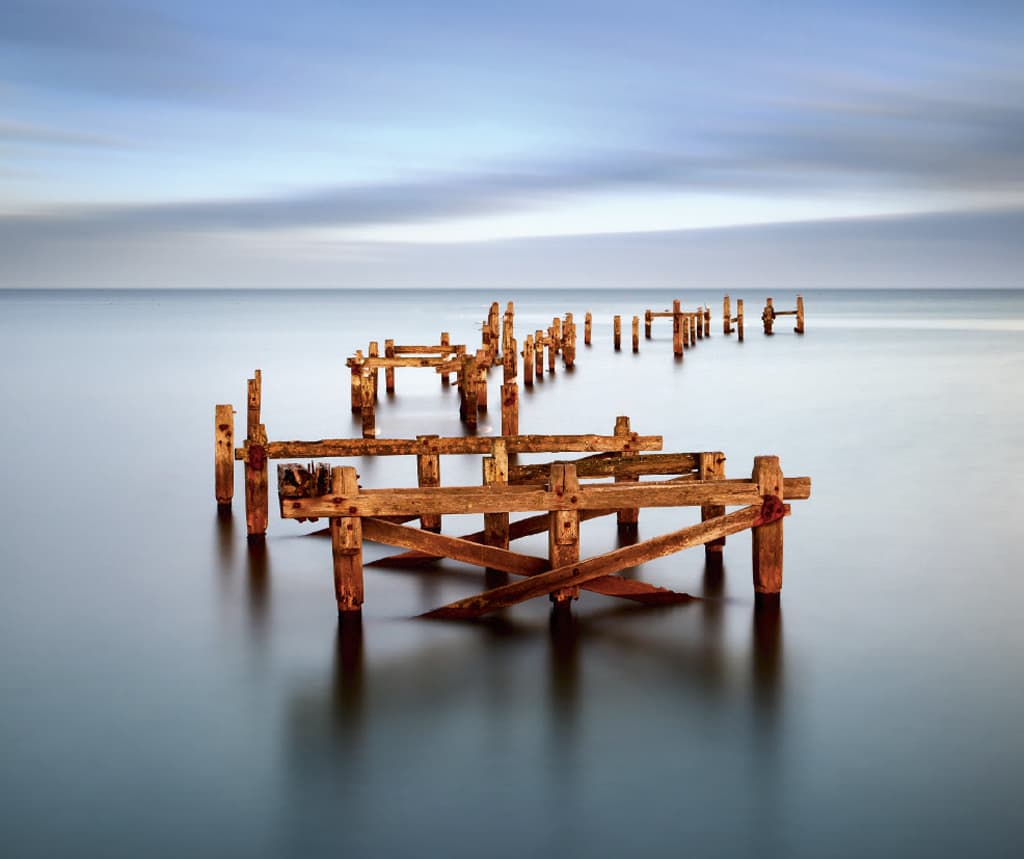
‘I’ve been attracted to structures that can be found in the sea, and by using a long exposure you can create visually dramatic scenes from very ordinary views,’ says Rob. ‘Be prepared to revisit the location several times to get the right shot, depending on whether you want some dramatic cloud movement or a more minimal clear sky. I usually shoot before sunset and my exposures are around two minutes long (there are also many ND filters that allow you to shoot in the daytime), so a tripod is essential. Once you’ve got your shot, take some time to understand different methods of post- processing – this is a great way to give you more control over your final image.
‘For the shot above, I used a Canon EOS 5D Mark II DSLR, 17-40mm lens, f/11, 100secs and ISO 100.’
1. Carry out basic raw edits
First, I open my raw file in Photoshop Camera Raw (formerly Adobe Camera Raw), remove any lens distortion and straighten the image. Once this is all done, I convert the raw file to a high-resolution TIFF-format file.
2. You’re such a square
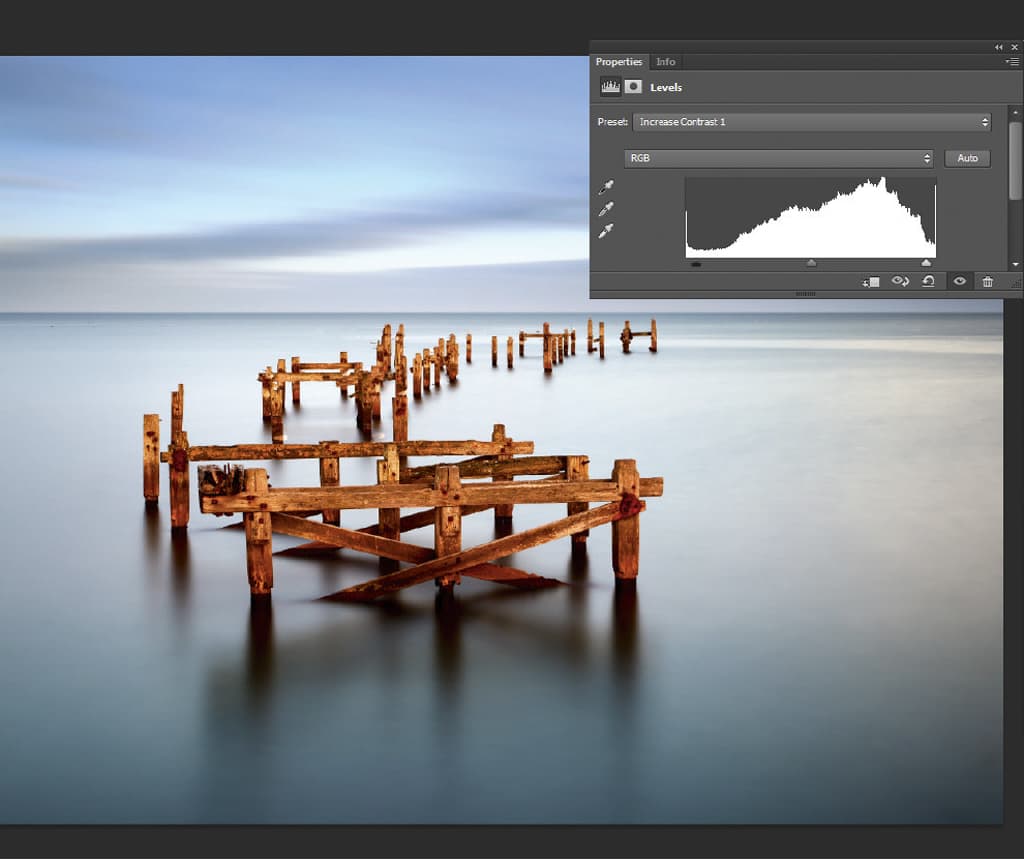
Now is the time to make any essential tweaks to the actual image. Here, I only needed to make a quick levels adjustment to the colour image to add a touch of contrast and then crop it into a square format. No cloning or patching were required, fortunately.
3. Open Silver Efex Pro
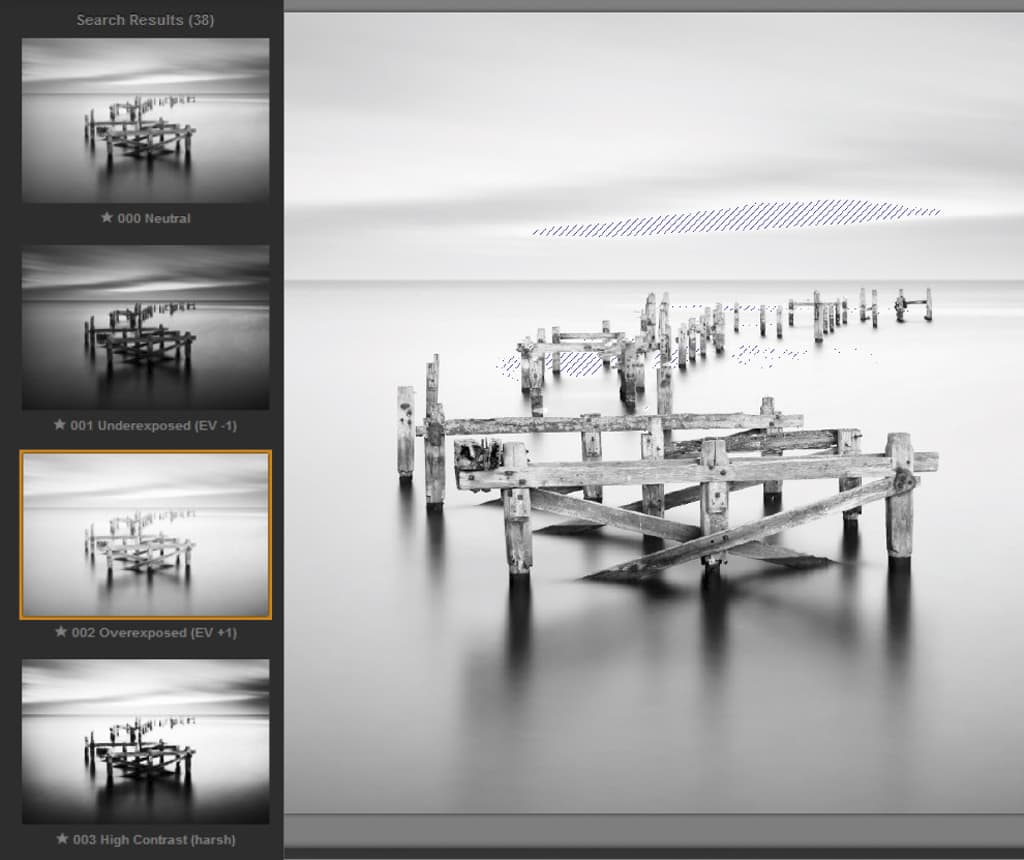
I mostly use Nik Silver Efex Pro 2 for mono conversions (available free from www.google.com/nikcollection). For the sea, I start with the Overexposed pre-set and adjust the brightness and contrast until I am happy. I also make use of the Silver Efex Pro zone system to check highlight clipping.
4. In the zone
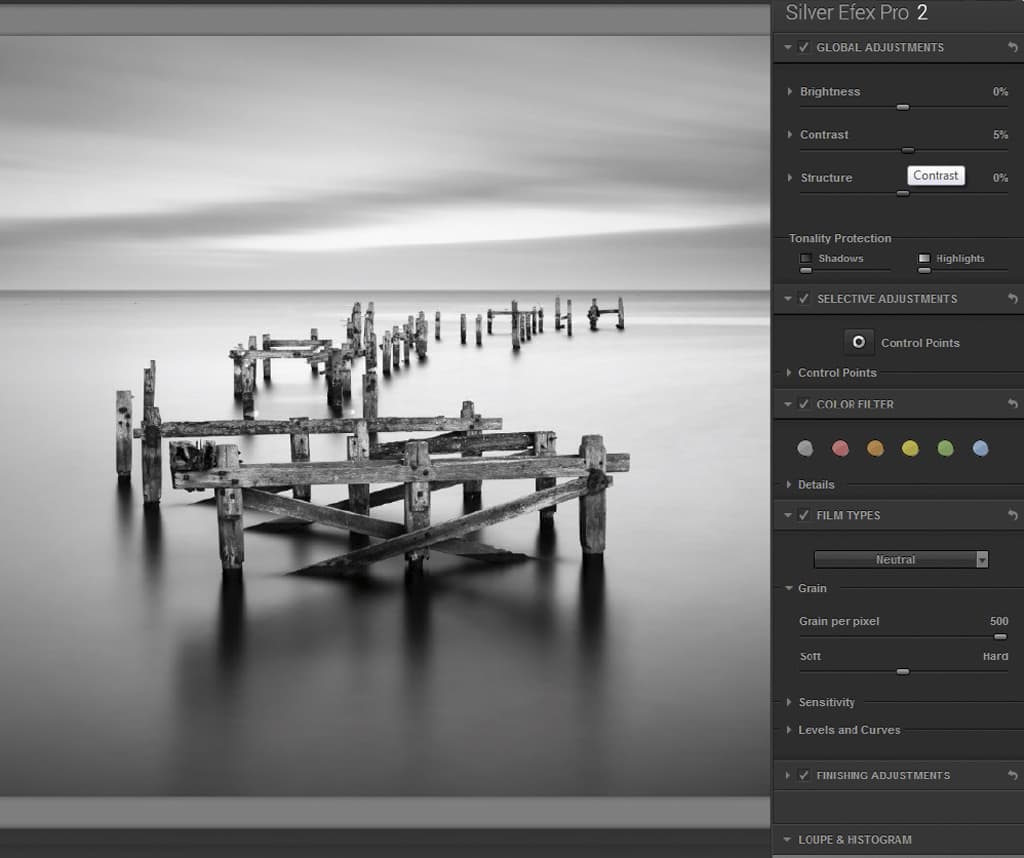
For the pier, I select the Silver Efex Pro Neutral pre-set and again refine the contrast setting. For the sky, I select the Underexposed pre-set, then adjust the brightness down and contrast up slightly. Again, I use the software’s zone system to check for clipping.
5. Blend the layers
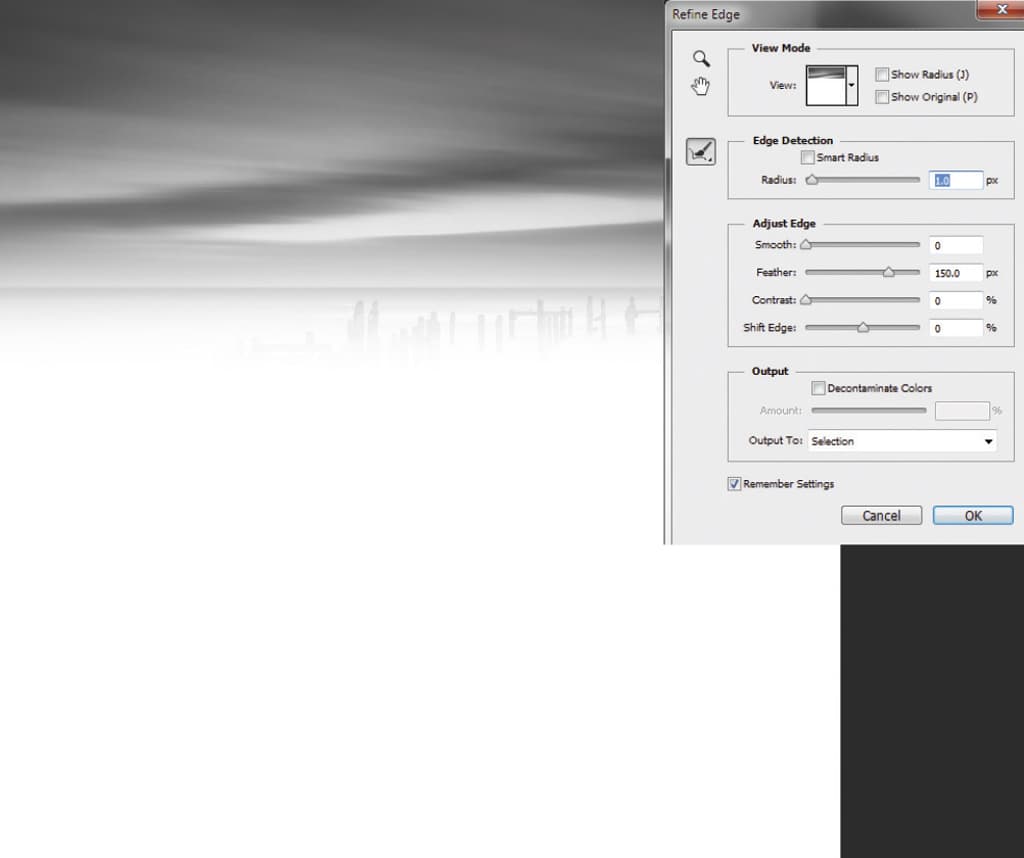
Once I have three separate layers I can start to blend them, which I do manually using layer masks. For the sky I use the Marque tool to select just above the horizon and then refine the edge with a feather setting of about 150px. This is then blended with the pier layer by adding a mask.
6. Be more refined
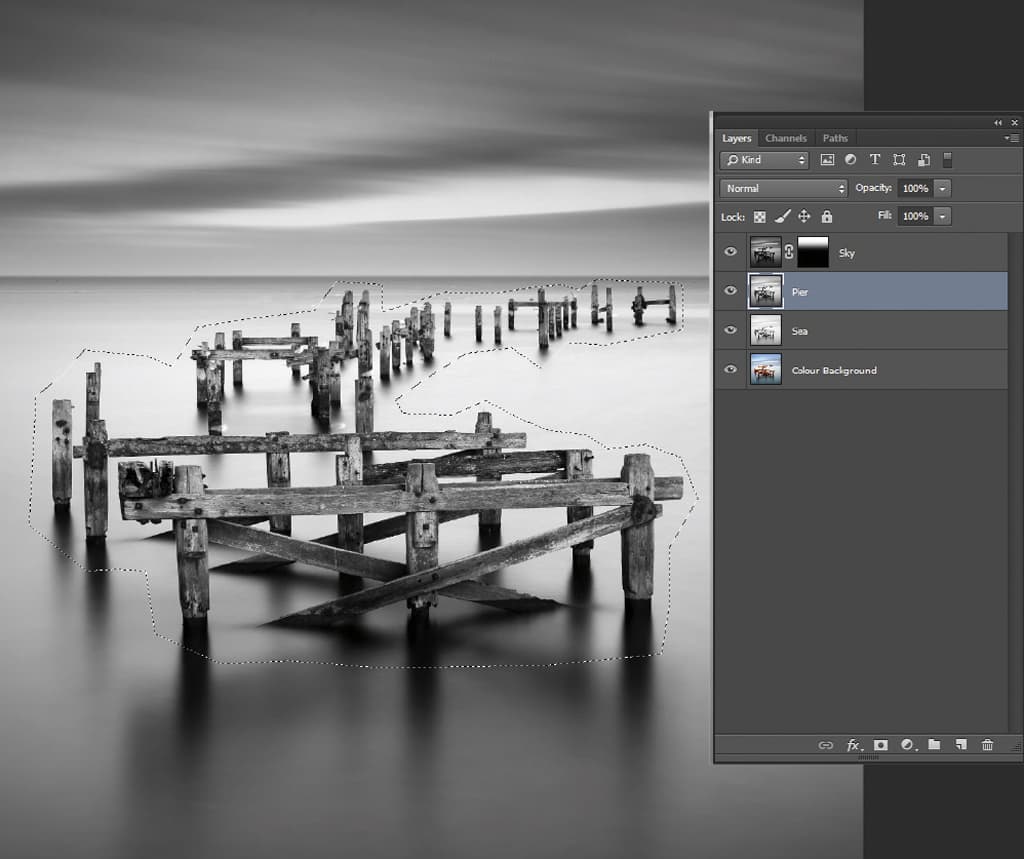
To blend the pier layer with the sea, I use the Lasso tool to make a selection loosely around the pier and again use the Refine tool with feather and create a mask. You can make adjustments to the masks with the Paint tool if required by selecting black or white.
7. Levels and curves
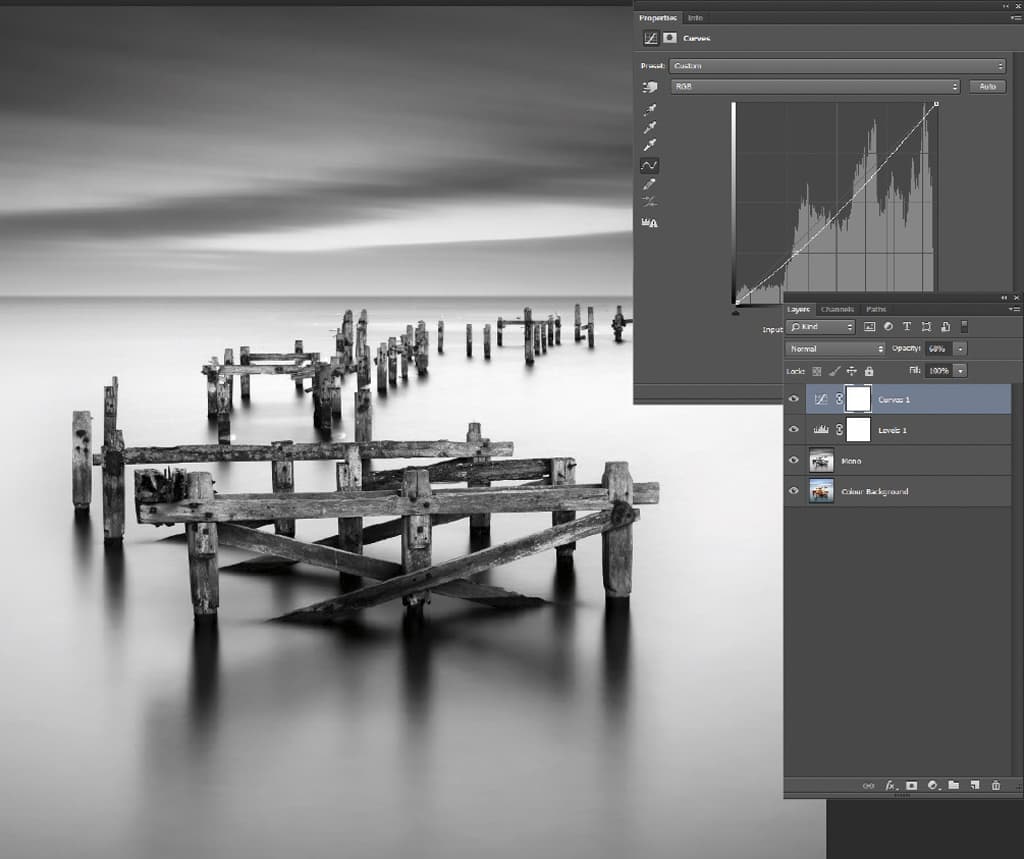
Once the conversion layers have been blended, I make a final adjustment using levels and curves to add some contrast. Keep an eye on the histogram at all times to ensure a nice balance of tones.
8. Sharpen up
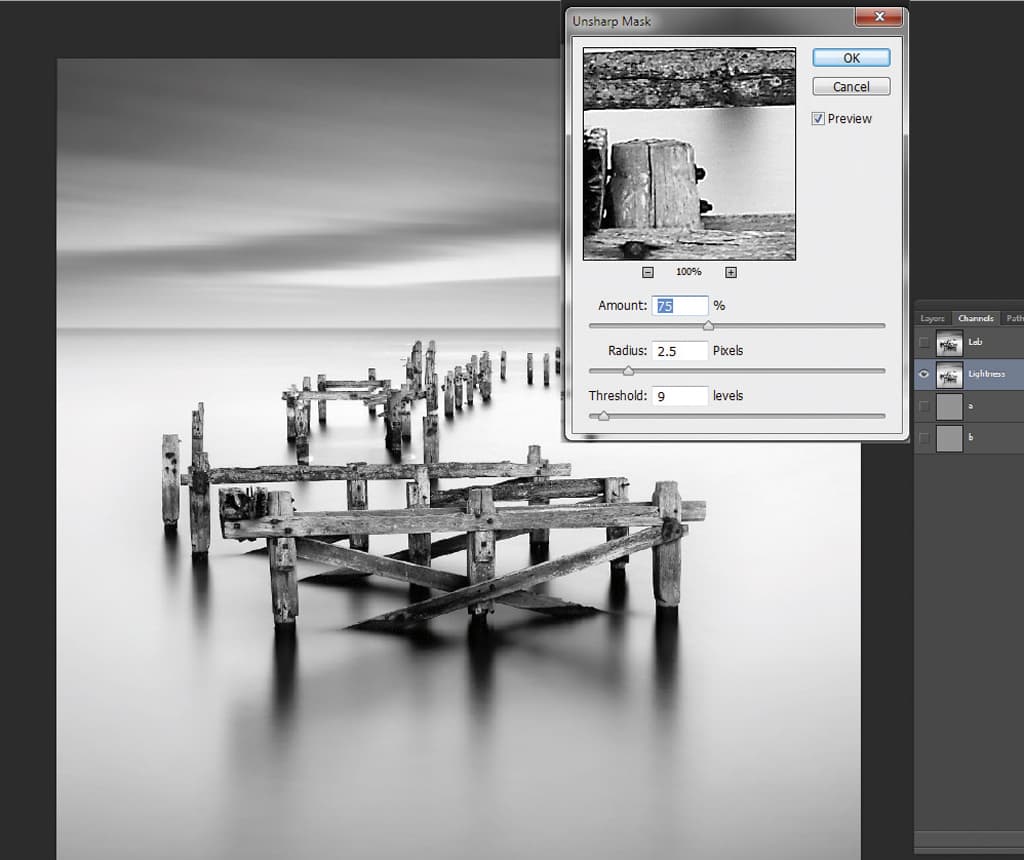
Now it’s time for some sharpening. I’ve always done this by converting to LAB mode and then duplicating the layer and using the Unsharp Mask filter on the lightness channel. I used around 75% for this image.
9. Finishing touches
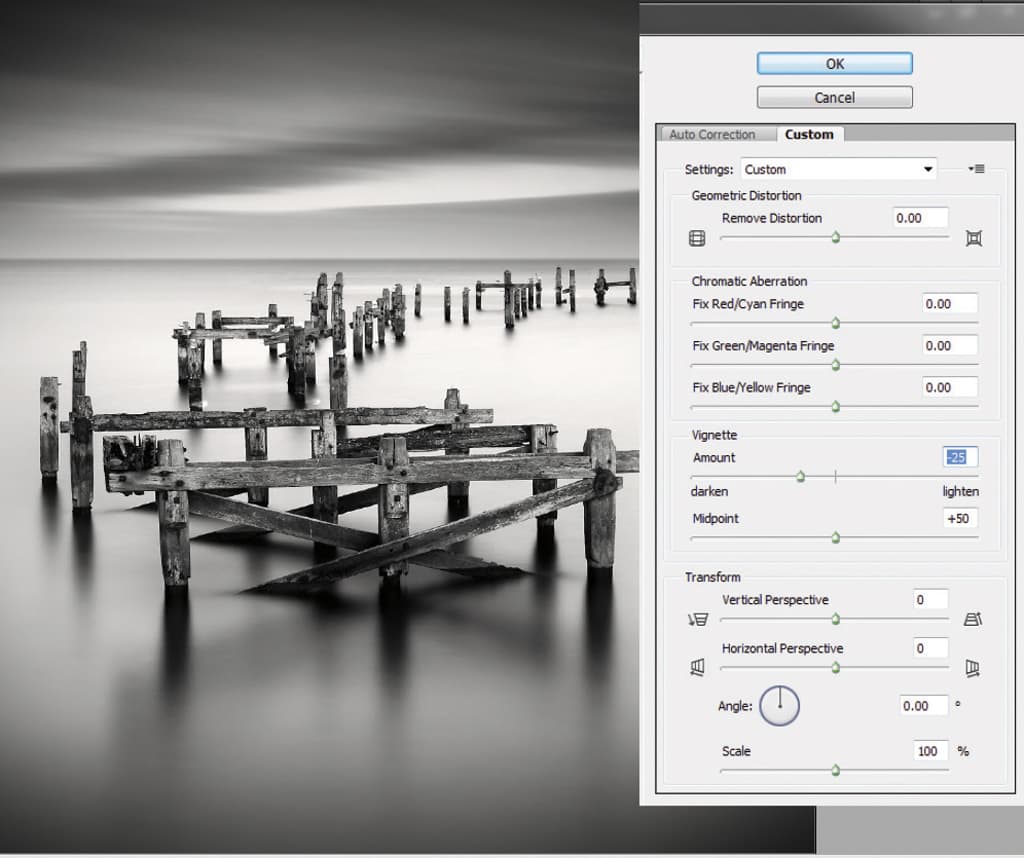
For the final step, the image is converted back to RGB mode, and I add a vignette (corner darkening) to emphasise the pier. Finally, I save the file as an 8-bit TIFF, and then everything is good to go.
About Rob Cherry
Rob is a keen landscape and seascape photographer (and a fan of Michael Kenna), whose images have been widely published. He has won several awards for his monochrome photography, and was commended in the Landscape Photographer of the Year 2010 contest. See www.robcherryphotography.com

