In this guide to macro photography, we cover how to start shooting great macro images, including the kit you’ll need, and techniques for improving your close-up photography.
Macro photography – what is macro photography?
Macro photography is quite simply extreme close-up photography, traditionally defined as taking a photograph of a subject in “life-size” so that it is recorded in its actual size (or larger) on the camera’s sensor. Once captured, the image, can then be displayed larger on-screen or in print.
Macro photography lens – what is a macro lens?
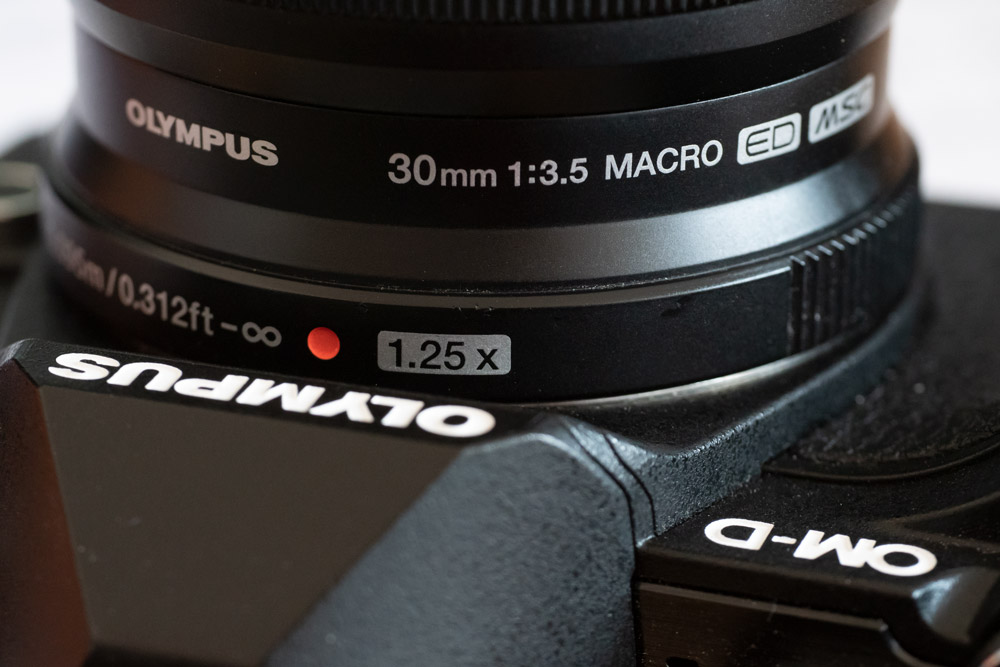
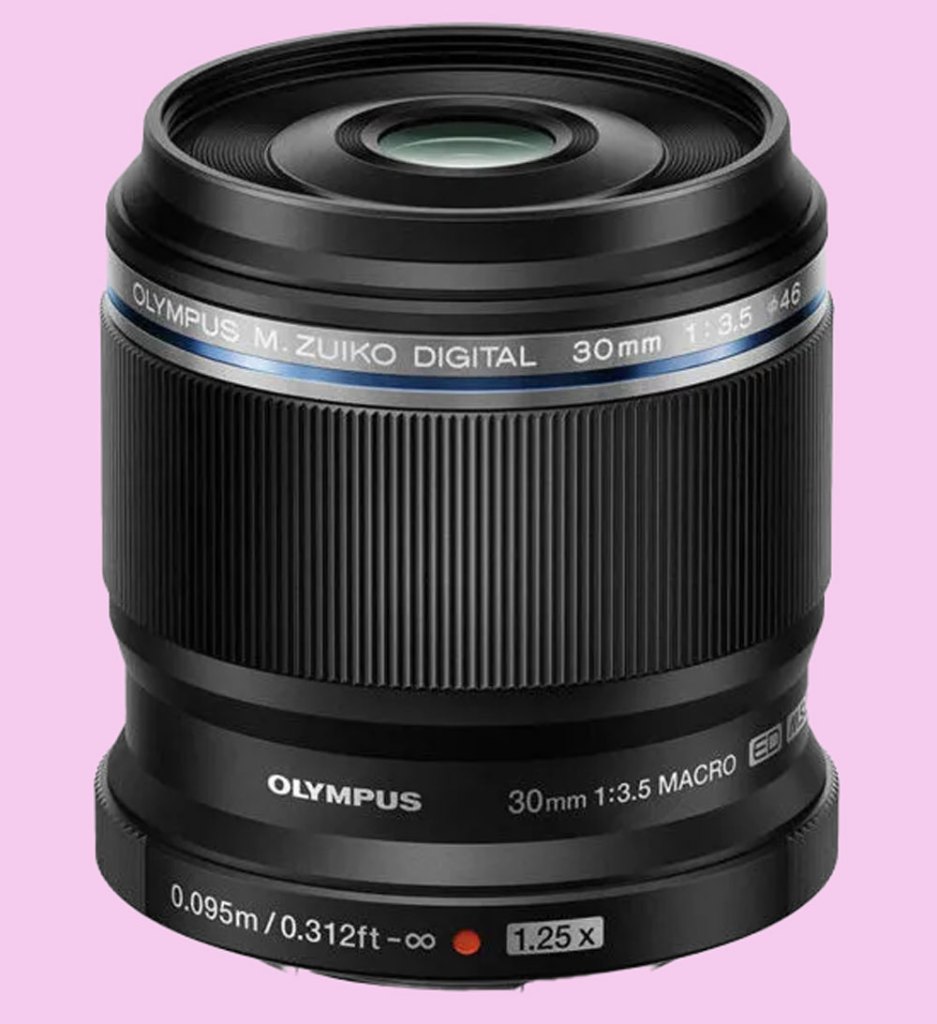
A “true” macro lens is a lens that can offer 1:1 reproduction of the subject on the camera’s sensor. This is sometimes, but not always, referred to as 1x magnification. Some offer further magnification, such as 1.25x magnification with the Olympus 30mm f/3.5 Macro, 1.4x with the Canon RF 100mm F2.8L Macro IS USM lens or 2x with the Laowa 65mm f/2.8 2x Ultra Macro lens.
Did you know? Beyond the standard macro lens, specialist macro lenses exist which can offer 1-5x magnification; such as the Canon MP-E 65mm f/2.8 1-5x Macro, and Yasuhara Nanoha x5 (Micro Four Thirds). However, these are not for dabbling with, as they can only be used for extreme macro photography, and not for general photography.
How close can your lens focus?
You’ll find the close-focus distance printed on the side of most lenses. If you require closer, then consider your options; an extension tube or other accessory or, for the best results, a dedicated macro lens.
What are “Short”, “Mid”, and “Long” macro lenses?
You may come across these terms online, which are simply for guidance in different focal lengths of macro lenses. Here we run through the benefits and potential disadvantages of each type.
- Short: 50-60mm (or equivalent), can be useful where you want the lens for everyday use as well. Often compact, lightweight, and affordable.
- Mid: 90-120mm (or equivalent), 90mm and 100mm or 105mm are common focal lengths, and very widely available for multiple camera systems. The lens gives a good distance from the subject, as well as a relatively good balance between size and weight. They also make for useful portrait lenses.
- Long: 150/180mm (or equivalent) where you want as much distance from the subject as possible. These lenses are often larger, and more expensive.
Can I use my existing lens as a macro lens?
The short answer is yes, but… you might not be able to get close enough to your subject without additional accessories. With a limited budget, there are several options that can help improve your lens’s ability to focus on close subjects. These include extension tubes, close-up filters and reversing rings.
If you’ve used your current lens(es) and can’t get close enough to your subject, then there are a number of relatively budget-friendly options. These let you use your existing lens for close-up and macro photography, and while your results might not be as bitingly sharp as those from a dedicated lens, they may be good enough.
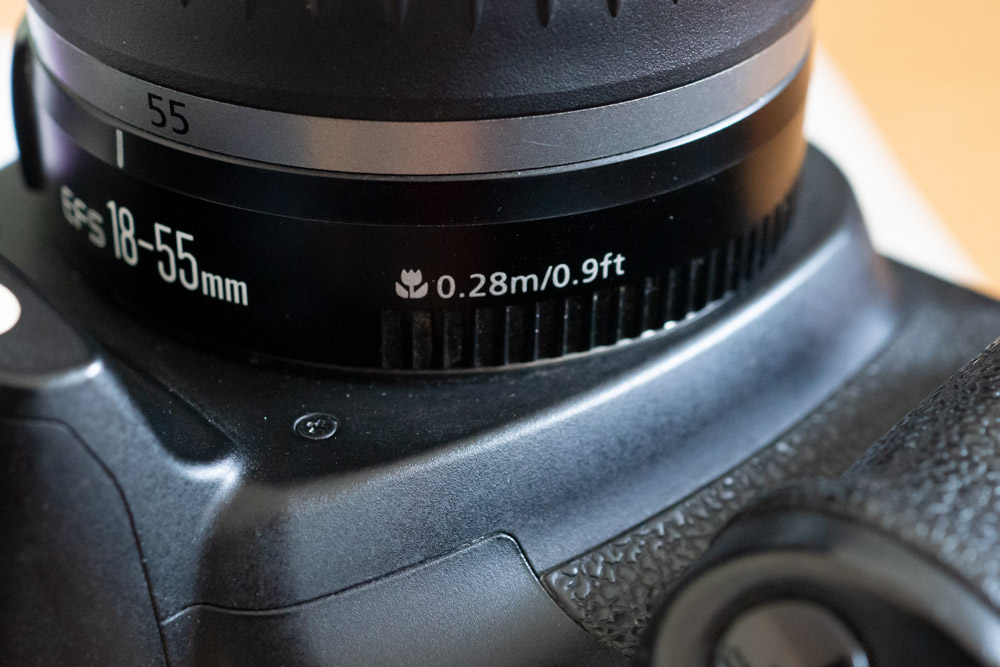
Some zoom or kit lenses are better than others, and while some do offer a reasonable close-up focus distance, others don’t quite cut it.
You should be able to see the close-up focus distance on the side of your lens. If not, you can look it up on the manufacturer’s website.
Option 1: Extension tubes
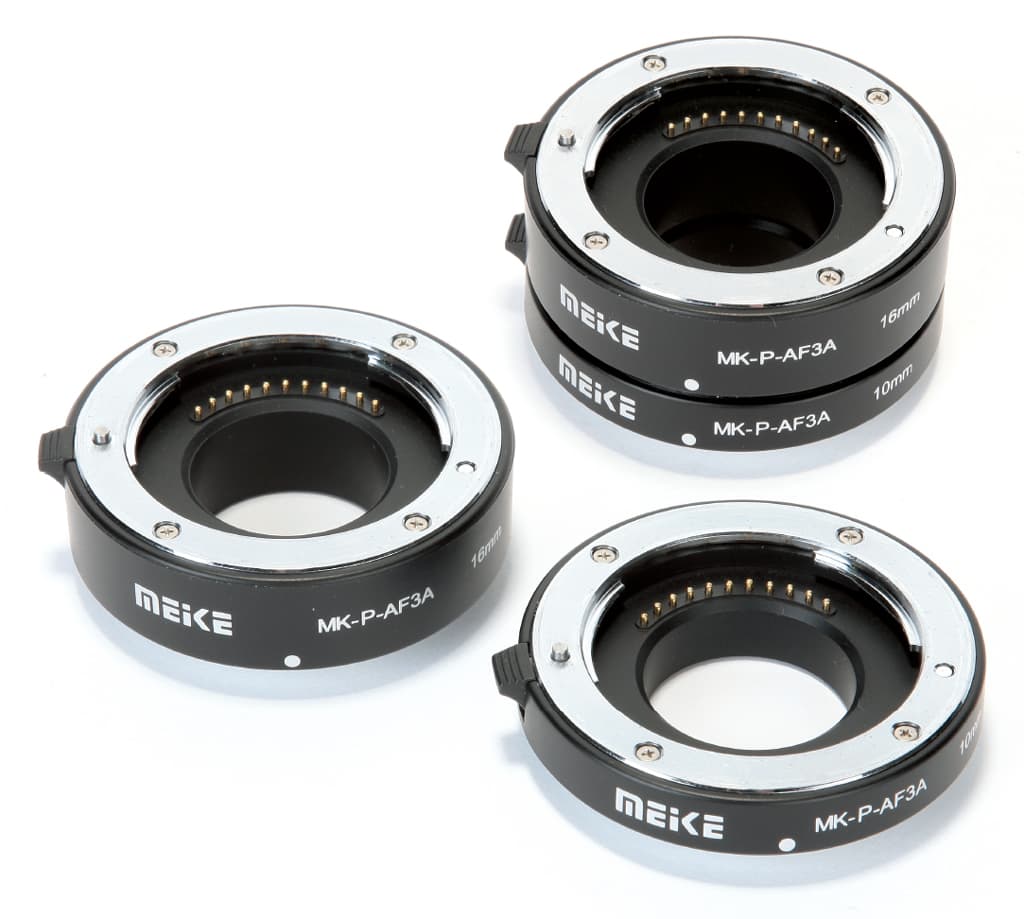
Ensure you get extension tubes with electrical contacts (and AF support) as this will enable autofocus as well as lens settings to be controlled by the camera. Be aware that the cost of these could be put towards a budget macro lens instead. However, you can get a set of budget extension tubes for as little as $28 / £22.
Option 2: Close-up filter
Find out the filter size for your lens, buy a close-up filter (sometimes called a close-up dioptre), screw this on to the front of the lens, and you’ll be able to take photos closer to the subject.
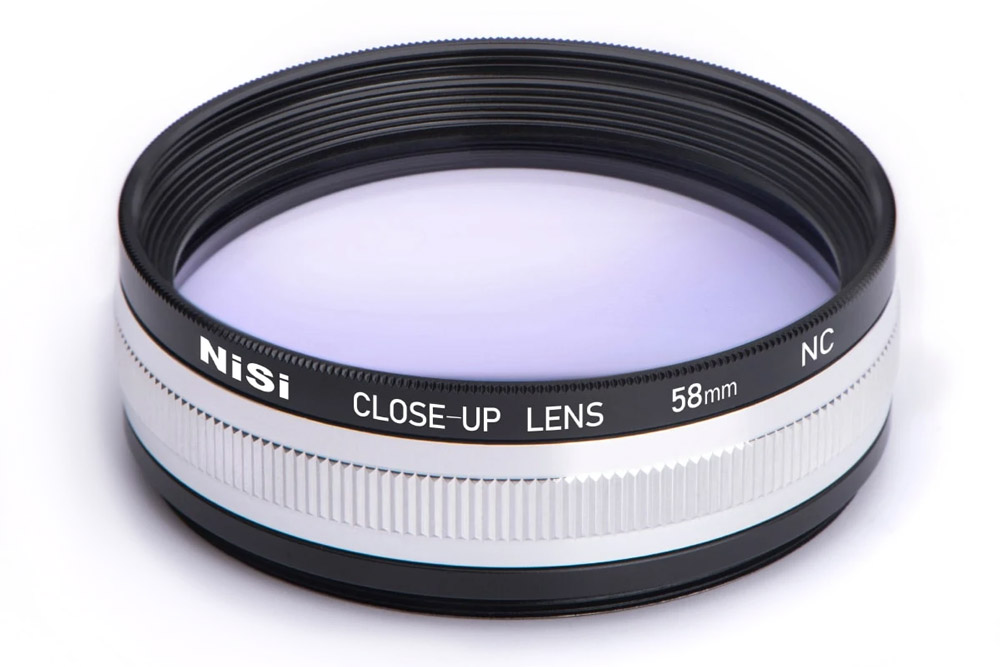
These are available for around $12 / £10, or you can spend up to $84 / £65 on a high-quality filter from NiSi. They can be a fun way to get closer to a subject, but don’t expect perfect image quality from the cheaper filters.
Even buying a budget macro lens will give better results, and a dedicated 1:1 macro lens will get you much closer to true macro photography.
Option 3: Reversing ring
A reversing ring is designed to allow you to completely reverse your lens so that you’re shooting through it backwards. You lose all electrical connection (with most reversing rings), and therefore this works best with manual-focus lenses and those that have a manual aperture ring.
There is the option of a reversing ring with electrical contacts, but these are much more expensive (around $100 / £80), and with macro lenses being available from around $300 / £269 (Panasonic 30mm macro, M43) we’d be tempted to suggest you put your money towards a macro lens.
Macro lenses for beginners
Our round-up of budget macro lenses is a great guide to the options available.
Micro Four Thirds users often have a wide choice of budget options, or for other systems, Sigma and Tamron often offer excellent value, and high-quality macro lenses.
There’s also the option of buying second-hand to save even more, with MPB offering a vast range.
Macro photography tips, tricks, and technique
Here are some quick tips for the most important aspects of macro photography: the subject, lighting, focus, and how to stabilise the camera. Plus the photography settings you need to pay attention to when taking macro photos.
Quick Tips for Macro Photography
Once you’ve made sure your camera’s lens can give the close-up performance you’re looking for, you can start shooting! Here are five quick tips for taking great macro photos:
- Pay attention to the subject – is the flower, insect, or item looking its best?
- Control the background (where possible) or move to find the best possible background
- Pay attention to lighting (more on this below) – as we’ve said before, light can make or break a shot
- Focus where needed – being aware of the depth of field (see below), using a small focus area can help you control precisely what you’re focusing on
- Use a tripod! Using a tripod can simplify the photo-taking process, you don’t need to worry about camera movement, you can use a slower shutter speed (with a timer), and you can take multiple shots if you want to try focus stacking (see below).
More macro tips here: Top Macro Photography Tips.
Macro photography settings
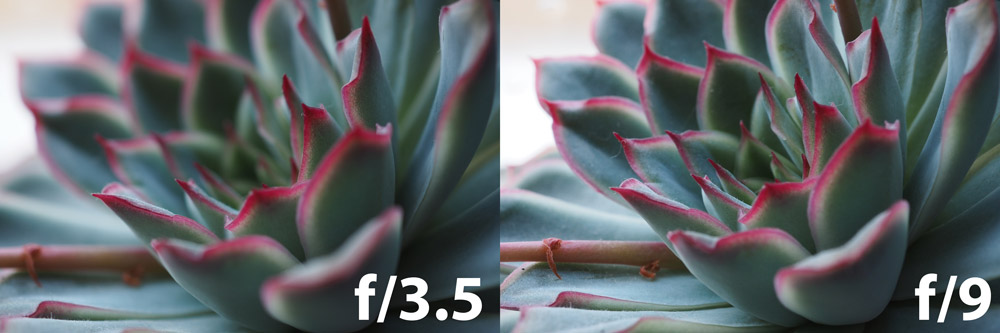
Aperture: With close-up photography, the depth of field – that is, the area that is in focus – is considerably narrower than when taking general photos. This makes it important to use a smaller aperture.Try f/8 or f/11, rather than f/1.8.
However, close your aperture too much, and diffraction can set in. As a result, there is always a balance to be struck between sharpness in the image and the amount of the subject that is in focus. This matters much more with a subject that has depth, as opposed to a flat subject, such as a stamp or bank note.
Shutter speed: With non-moving subjects you can use a slower shutter speed than when photographing a moving subject. However, when using slower shutter speeds, make sure you use the self-timer or remote release to avoid camera shake. This is where a tripod (or solid support) becomes essential.
ISO speed: If you’re using a tripod, or have good light, you can use a lower ISO speed. This will help you get a crisper, more detailed image than if you were to use a higher ISO speed. If you have a newer camera, higher ISO speeds produce much better quality images than they used to.
Light: Macro photography lighting
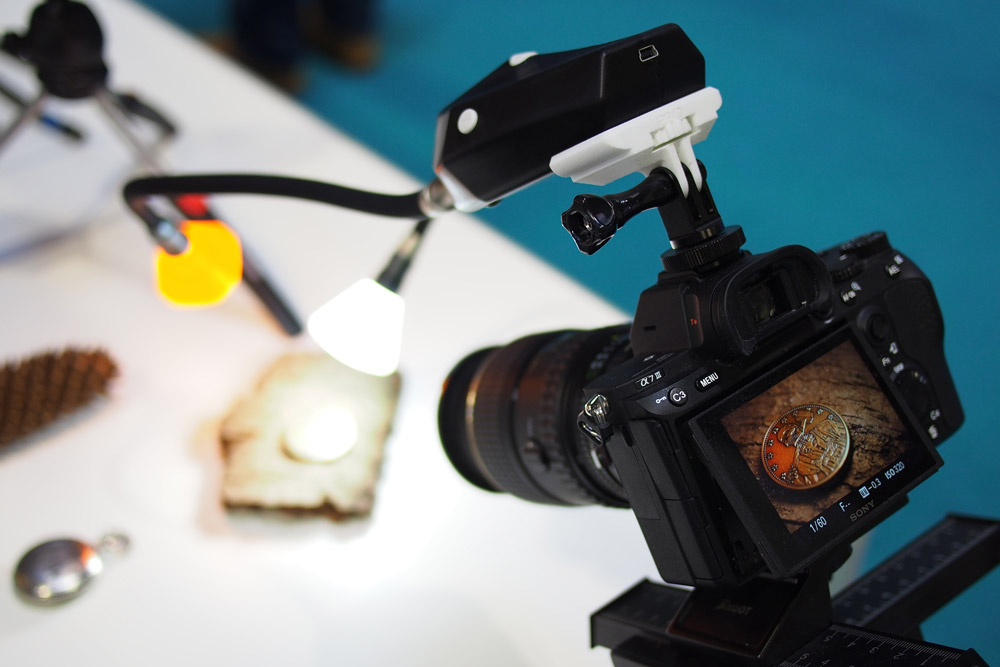
Without enough light to illuminate your chosen subject, it’ll be difficult to get a good shot. With macro photography, this difficulty is compounded as your camera and lens can also block light from getting to the subject when very close to it.
This is where additional lighting comes into play; a neatly positioned reflector, LED light, or other light source can transform a dull photo into a photo that pops.
There are multiple different light options, including reflectors, LED lights, flashguns and even dedicated macro ring lights that attach to the front of your macro lens.
We’d start off with something simple, such as a reflector and some LED lights if needed. As you progress, if you find you need more lighting, then you can invest later.
Now you’ve learnt all the key things you need to know to successfully take macro photographs, you might need some additional inspiration on what to photograph! Here are some great ideas to try. You don’t have to try them all but have a look at what looks like fun to you.
Macro photography ideas and inspiration
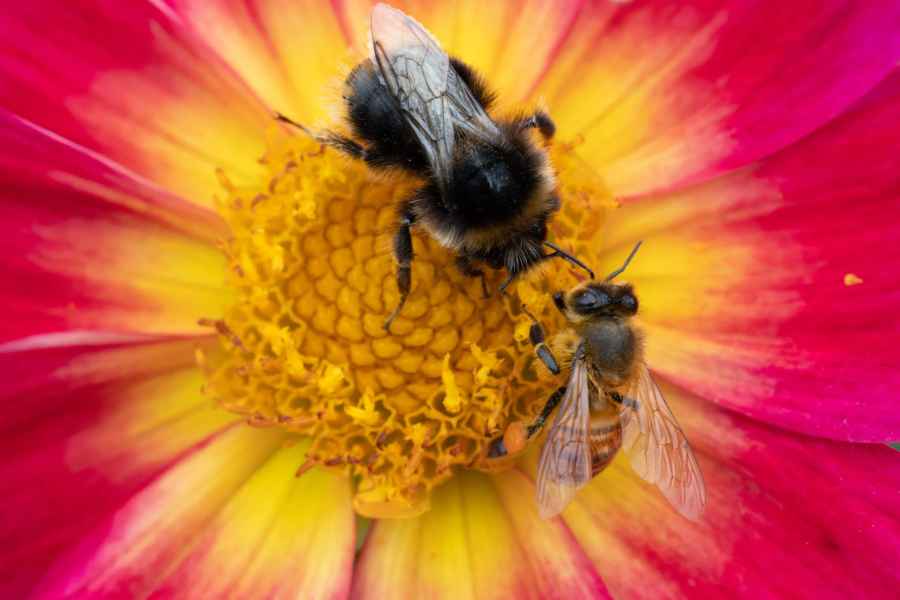
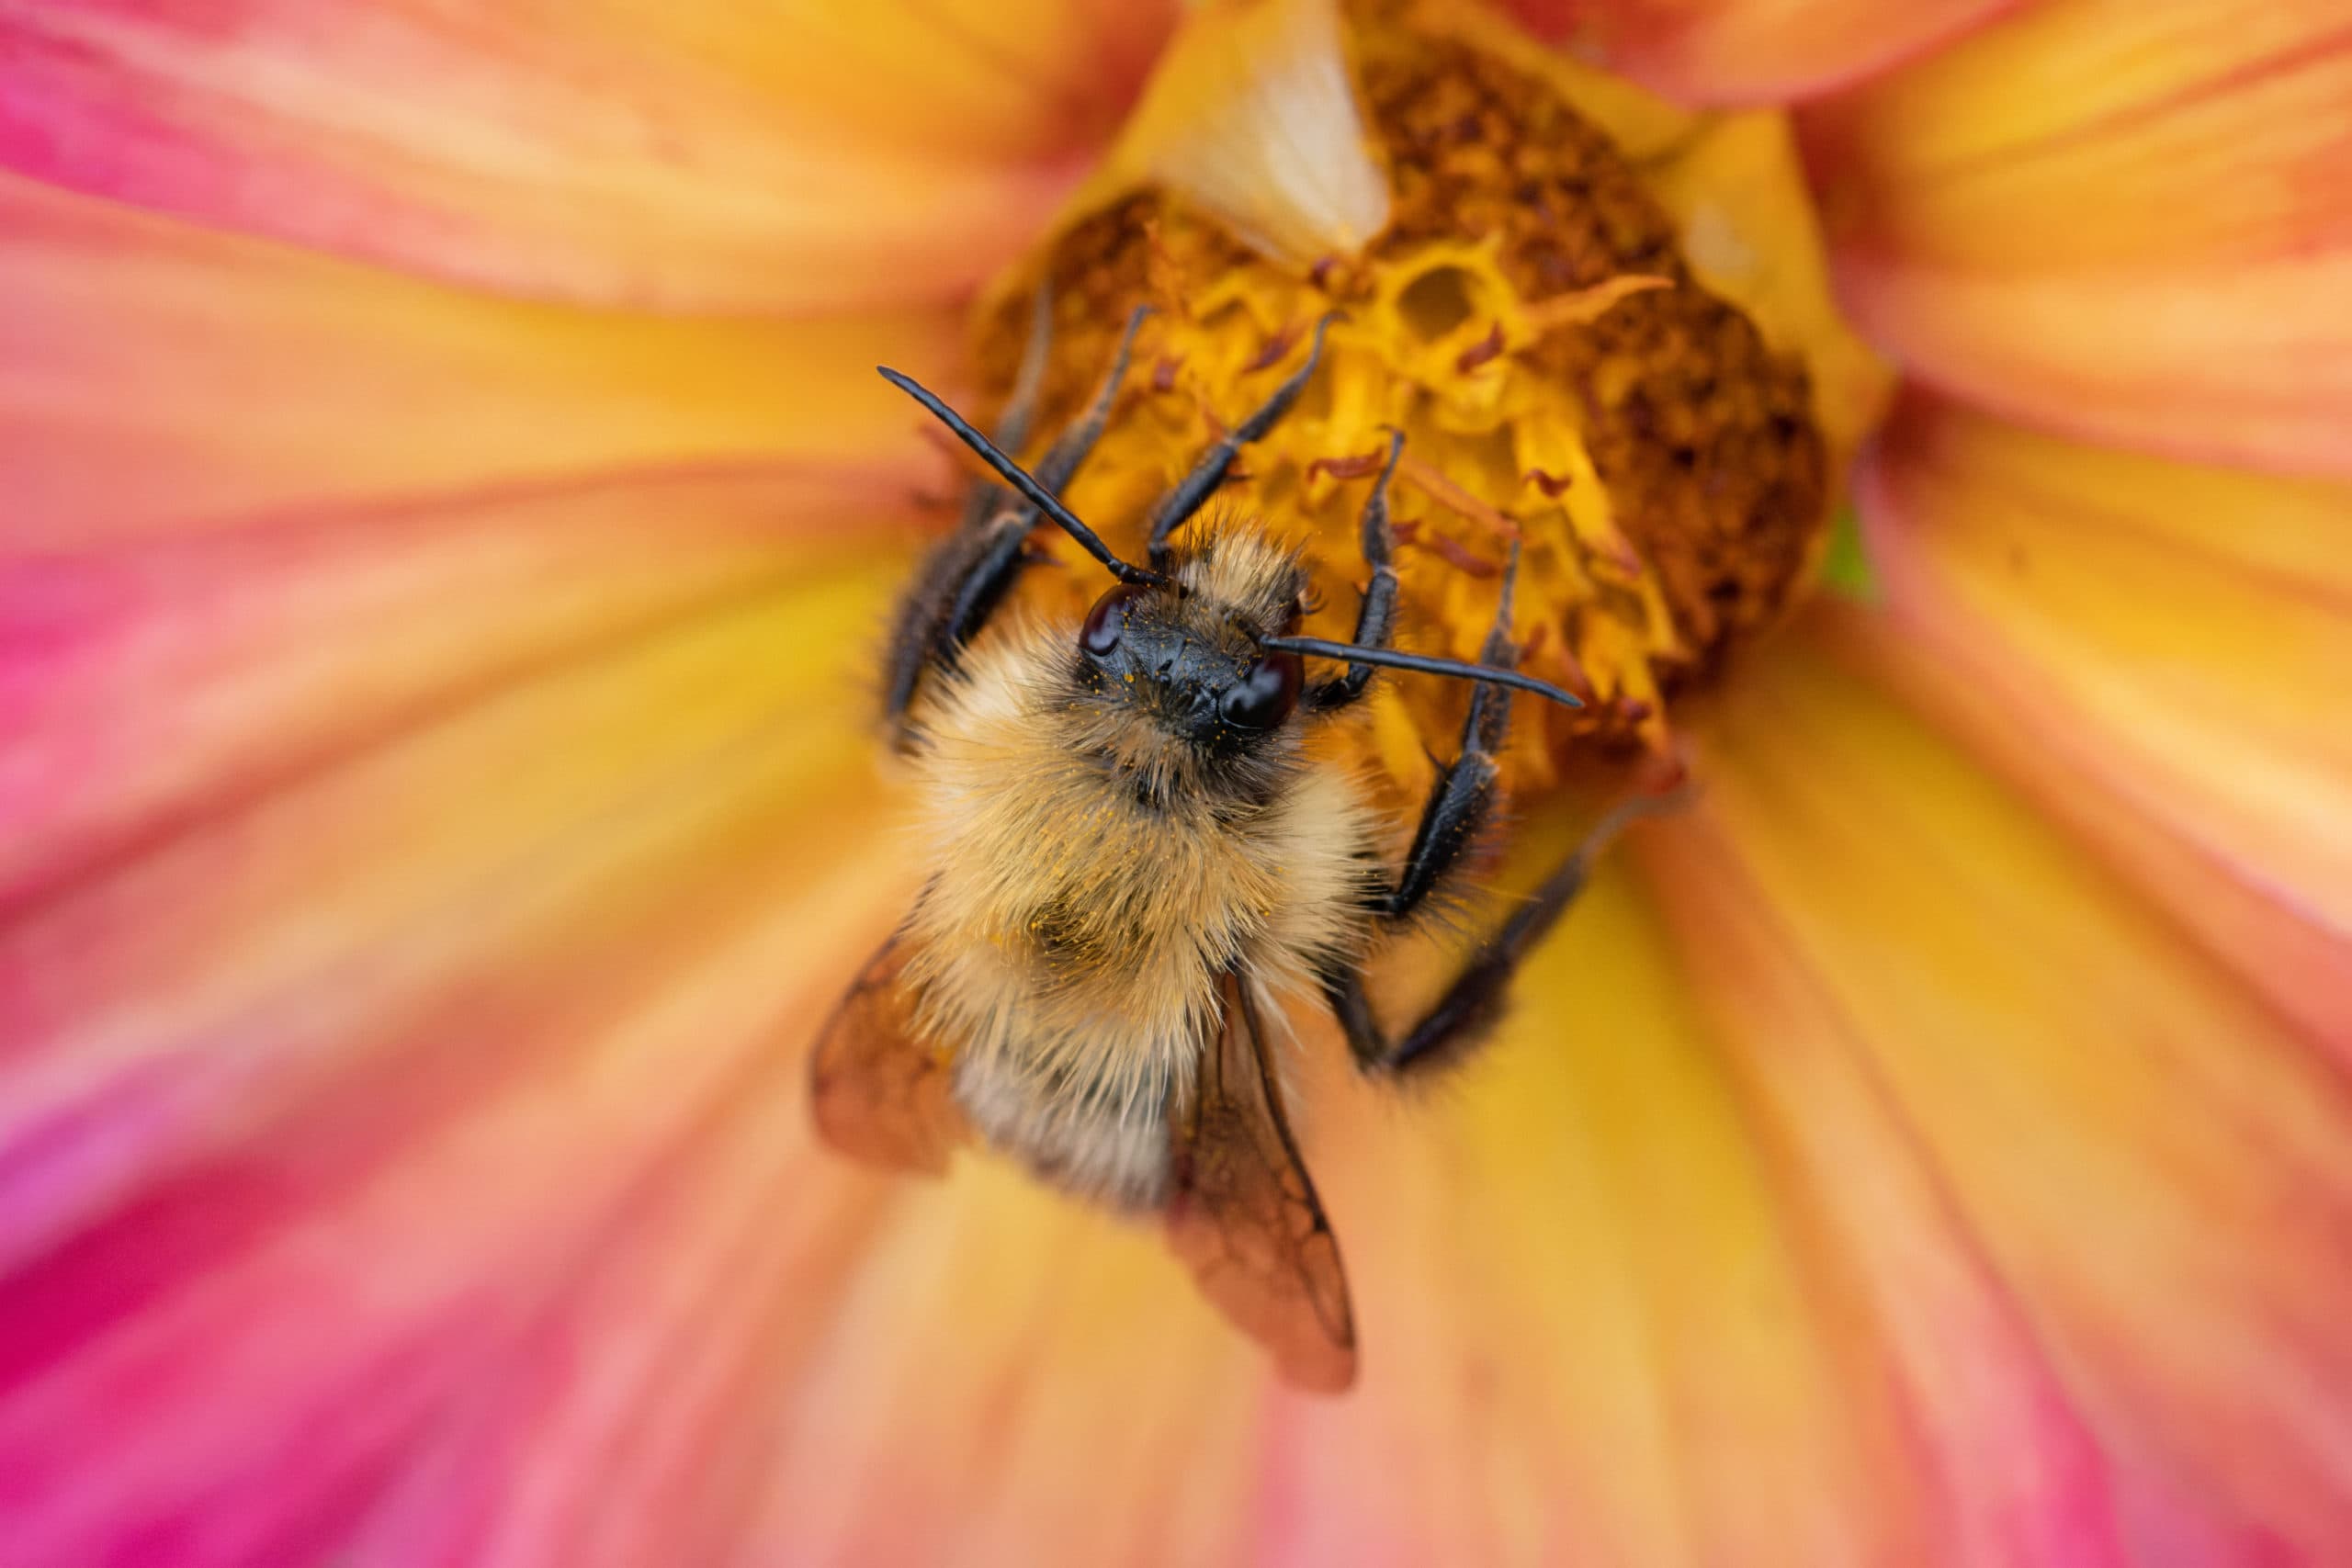
Insects
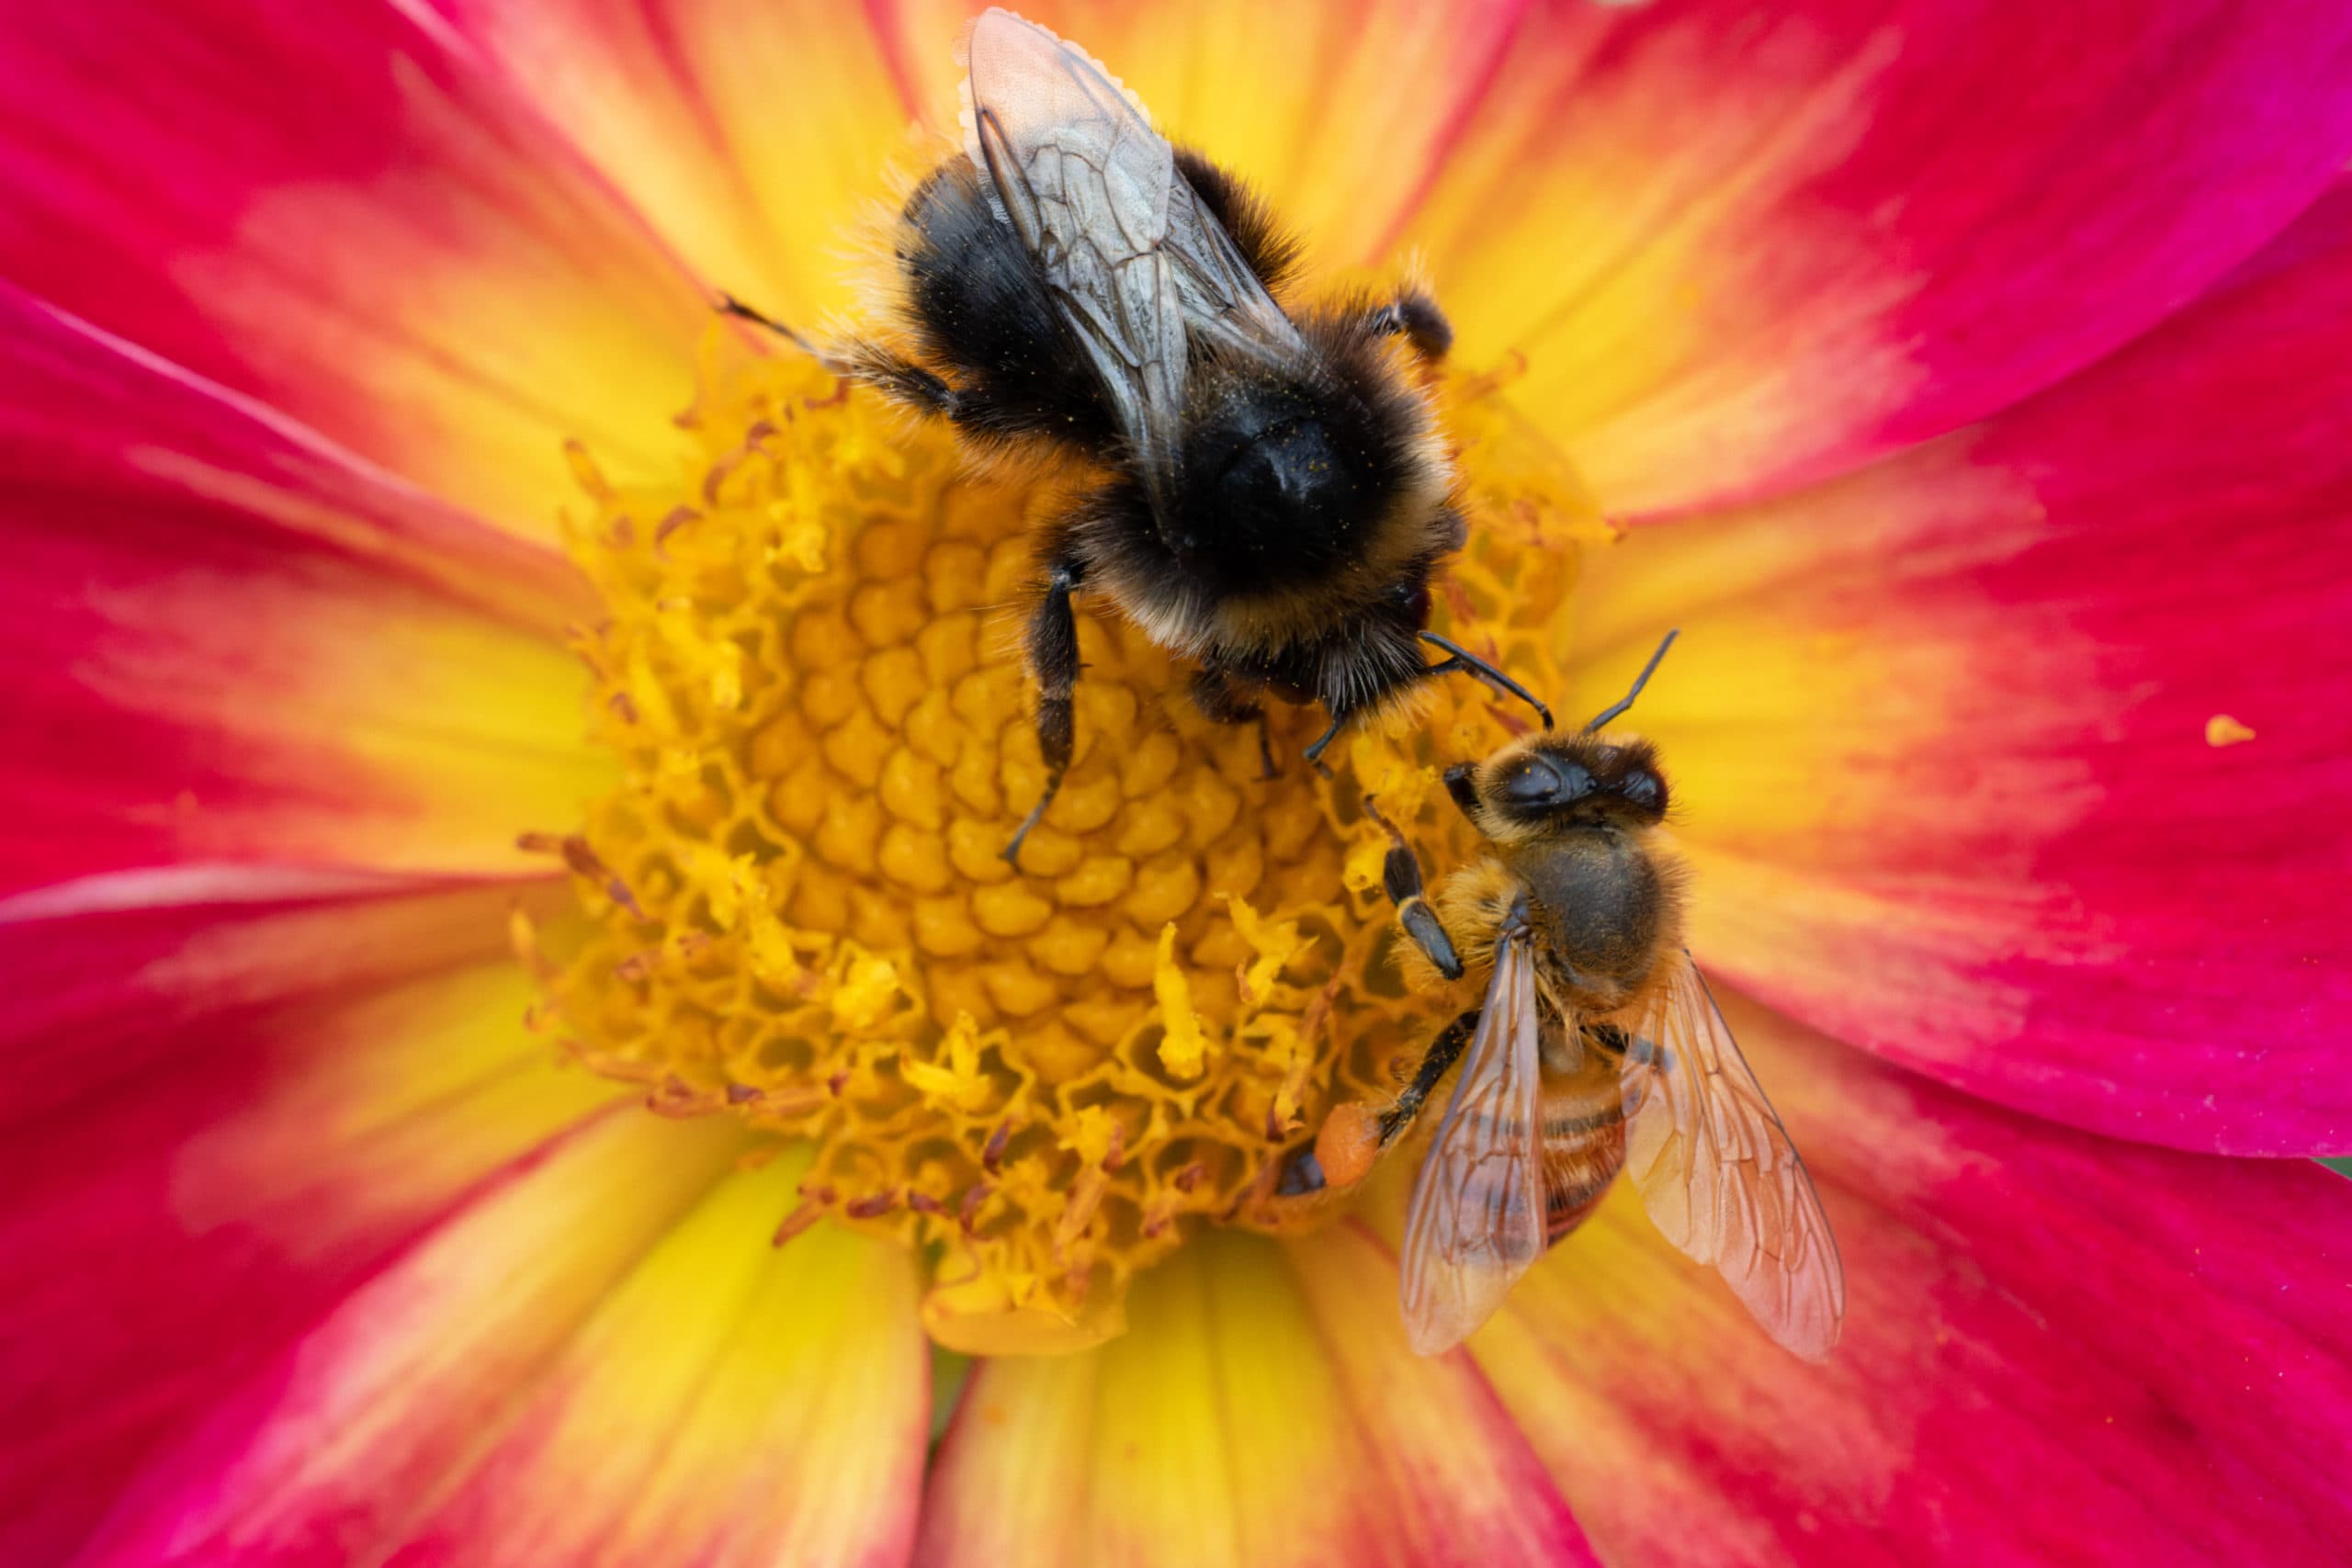
Intricate and often very beautiful creatures, insects are a great subject for macro photography. There are a number of simple techniques you can follow to help improve the quality of your work, as Andrew McCarthy explains in this article.
Read our in-depth tips on macro insect photography
Food and fruit
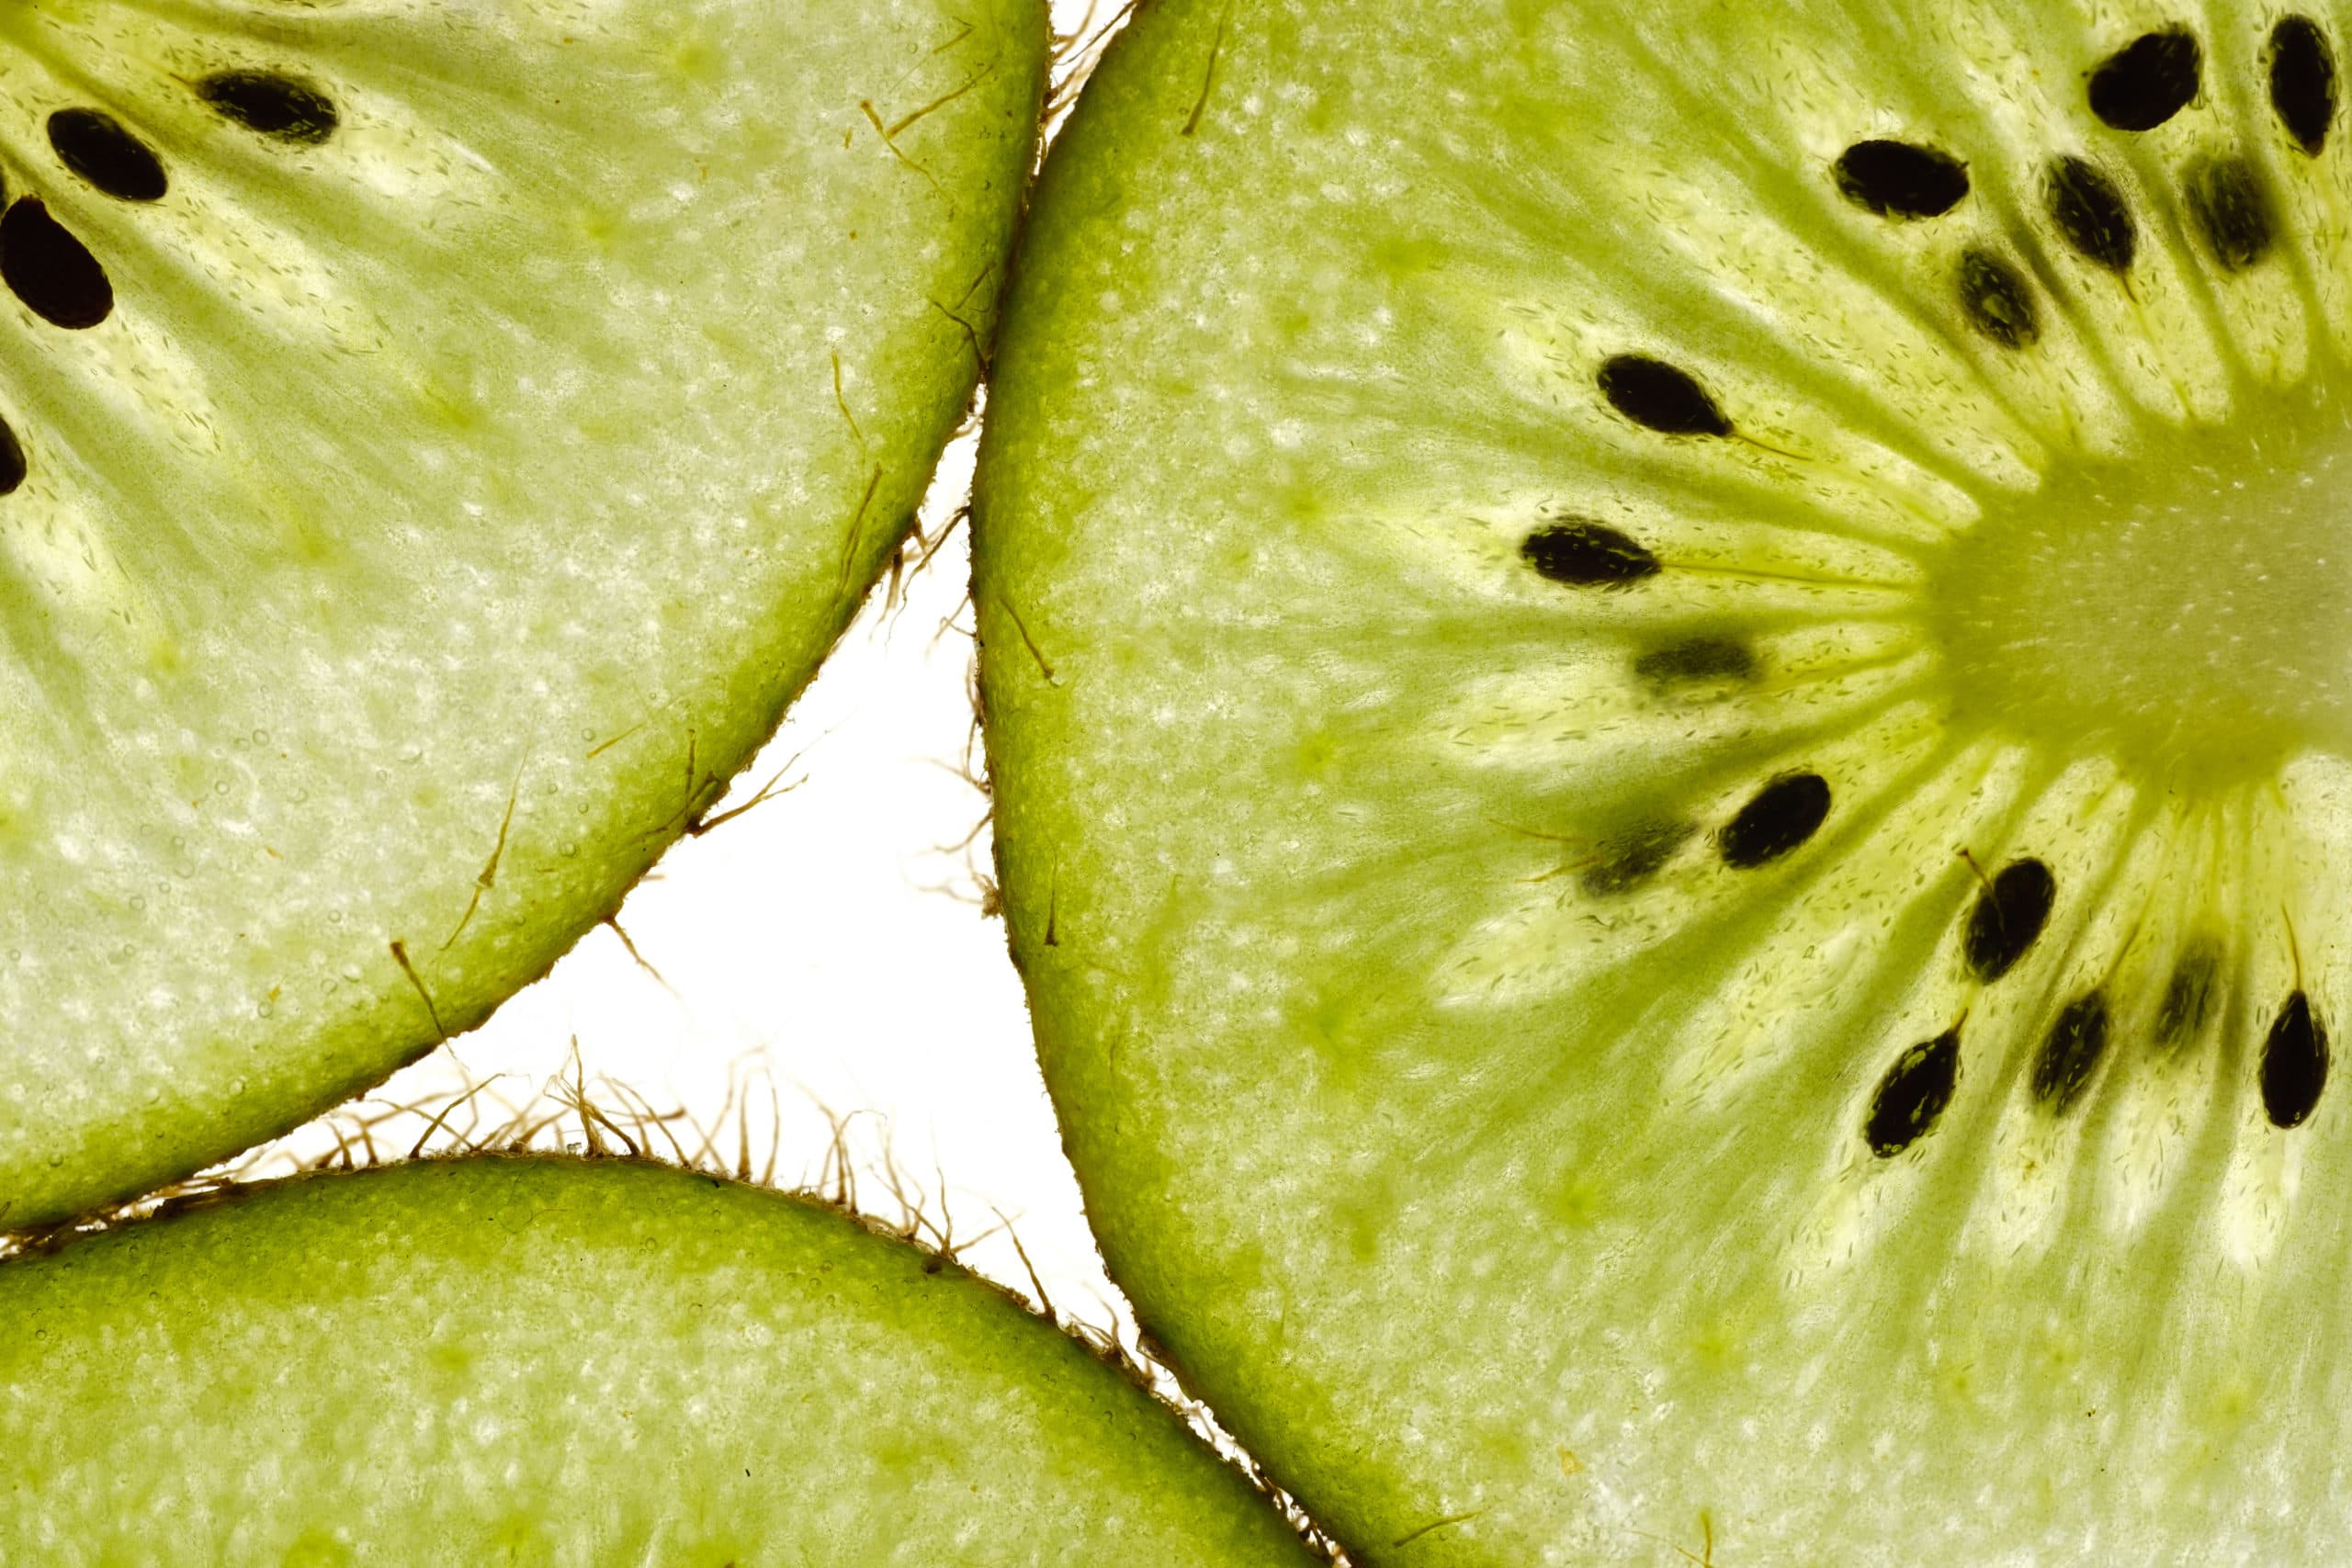
Macro food photography is a great way to present the beauty and detail of your food. It can also be a lot of fun! You’ll find some macro food photography tips here.
Macro flowers
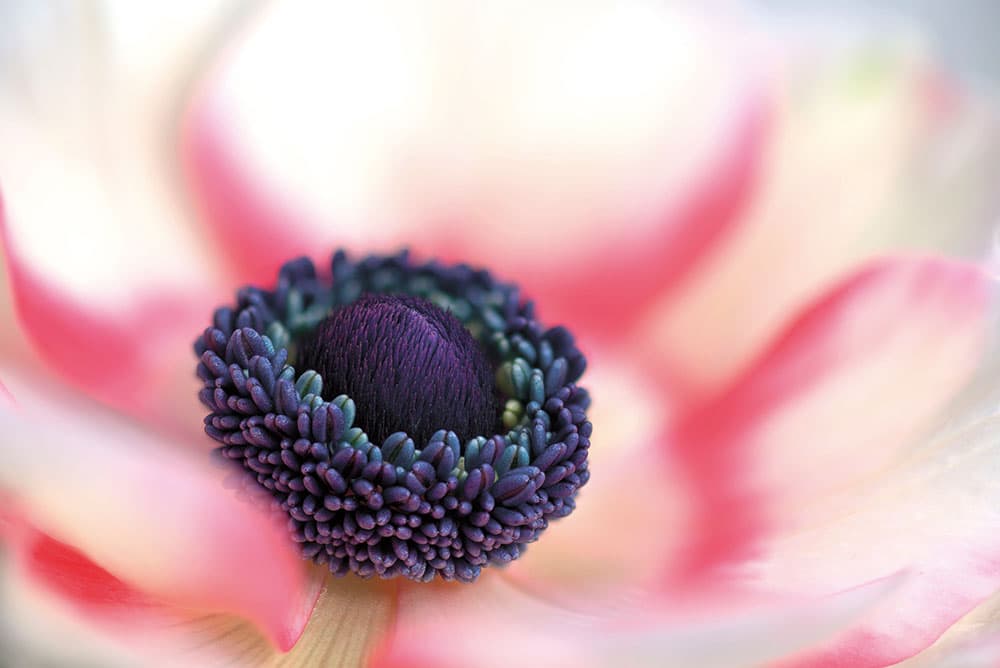
Why take a boring, simple photo of a flower when you can capture a stunning image that is large enough to print and hang on a wall? Read up on all of Sue Bishop’s Top macro flower photography tips.
Fungi
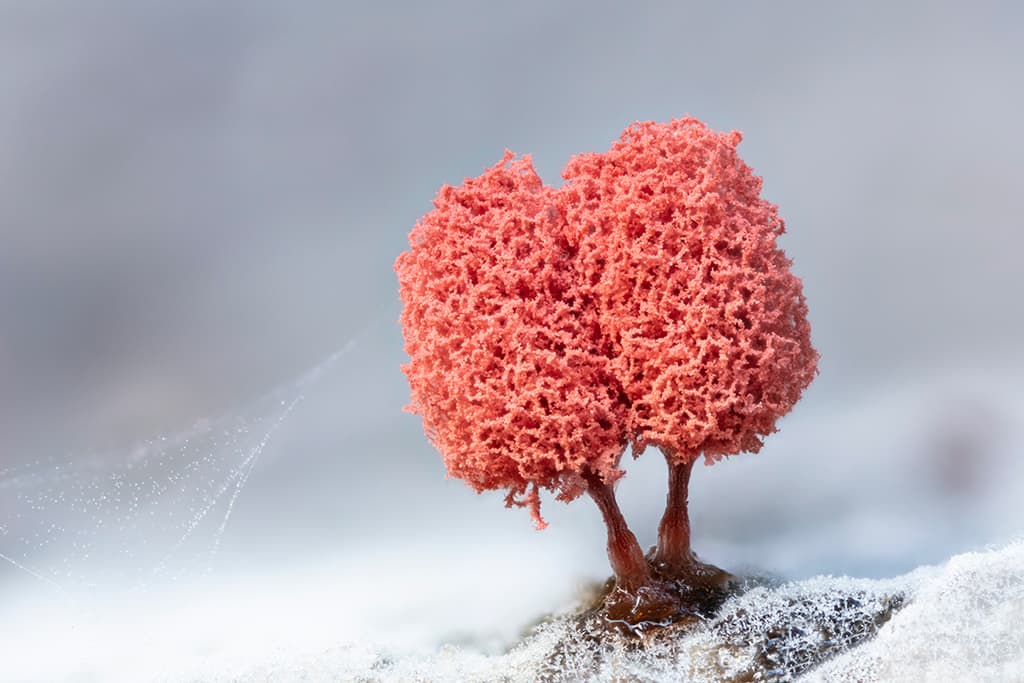
If you love to wander around and get your hands dirty, fungi macro photography could be an interesting subject to explore. Read Guy Edwardes guide to Fungi photography.
Products (including cameras, lenses, and watches)
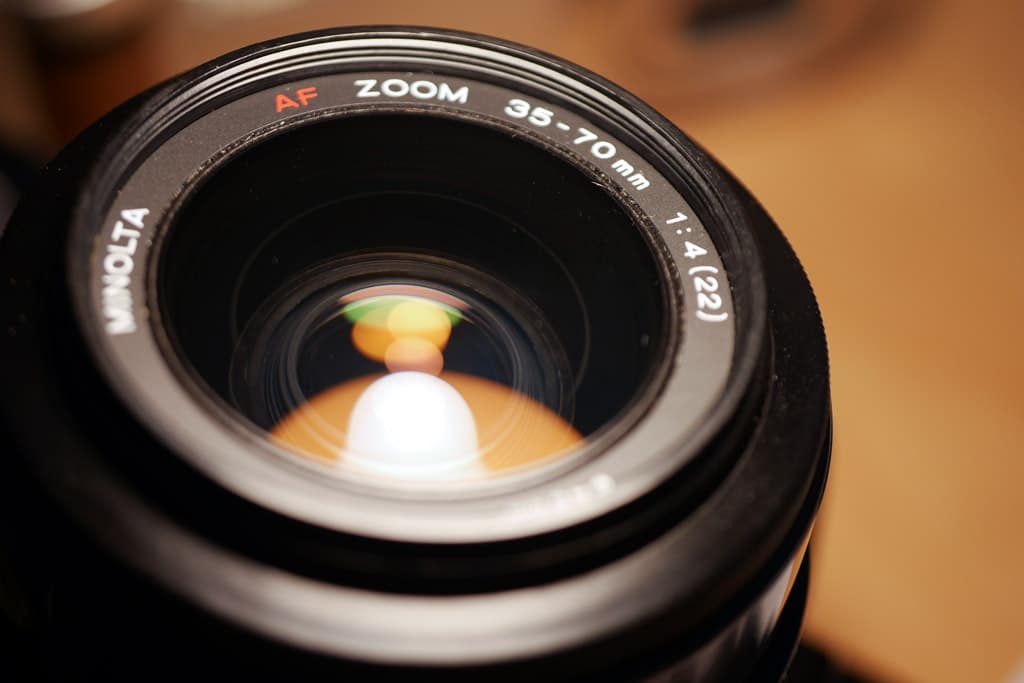
Shoot what you have around you, and if you want more guidance on shooting products have a look at our guide to shooting products for eBay.
Find more inspiration here: Expert tips for award-winning macro shots
Frequently asked questions (FAQs):
What is diffraction? Diffraction is to do with the laws of physics when it comes to light travelling through a lens and can result in a softer image when smaller apertures are used.
This is particularly noticeable when using smaller apertures for macro photography, as smaller apertures give a greater depth of field, resulting in an image with more of the subject in focus.
Some camera systems, such as Fujifilm’s X-series, offer diffraction compensation to help maintain a sharper image even when using small apertures. It’s also worth noting that the point at which this starts to become an issue varies according to the sensor size, whether that’s Micro Four Thirds, APS-C, or full frame.
What is focus stacking? Focus stacking is a great solution to the problem of diffraction. Using this technique, it’s possible to shoot a sequence of images at different focus distances and then use software (on a computer) to blend the sharp areas together into a single file with greater depth of field and improved image quality. Read our complete guide to focus stacking if you want to know more.
- Beginners guide to different camera types.
- Beginners guide to different lens types.
- Beginners guide to using a camera taking photos.
- Beginners guide to Exposure, aperture, shutter, ISO, and metering.
- Understanding white balance settings and colour
- 10 essential cameras accessories for beginners
- Beginners guide to the Art of photography and composition
- Beginners guide to Photoshop Elements and editing photos
- Beginners guide to Portrait Photography
Follow AP on Facebook, Twitter, Instagram, YouTube and TikTok.