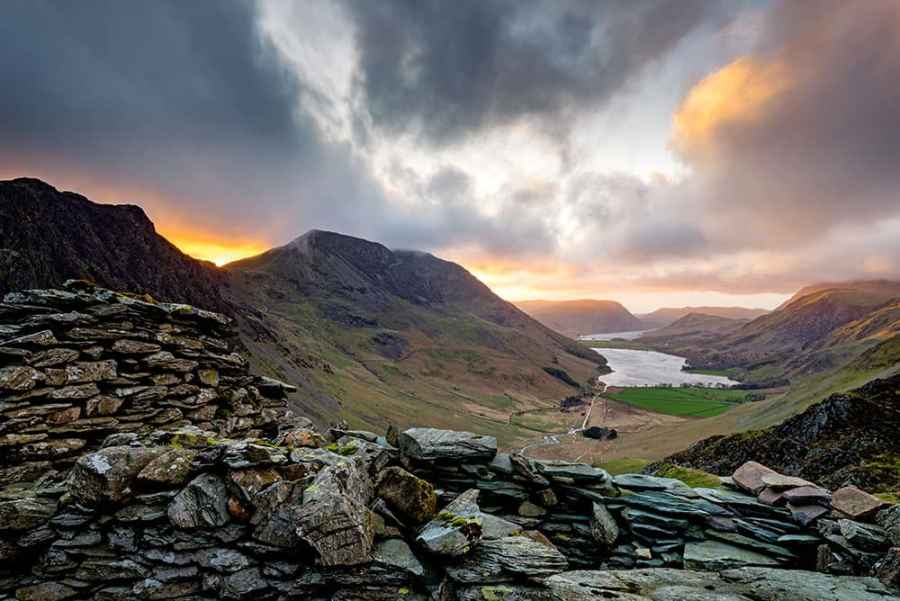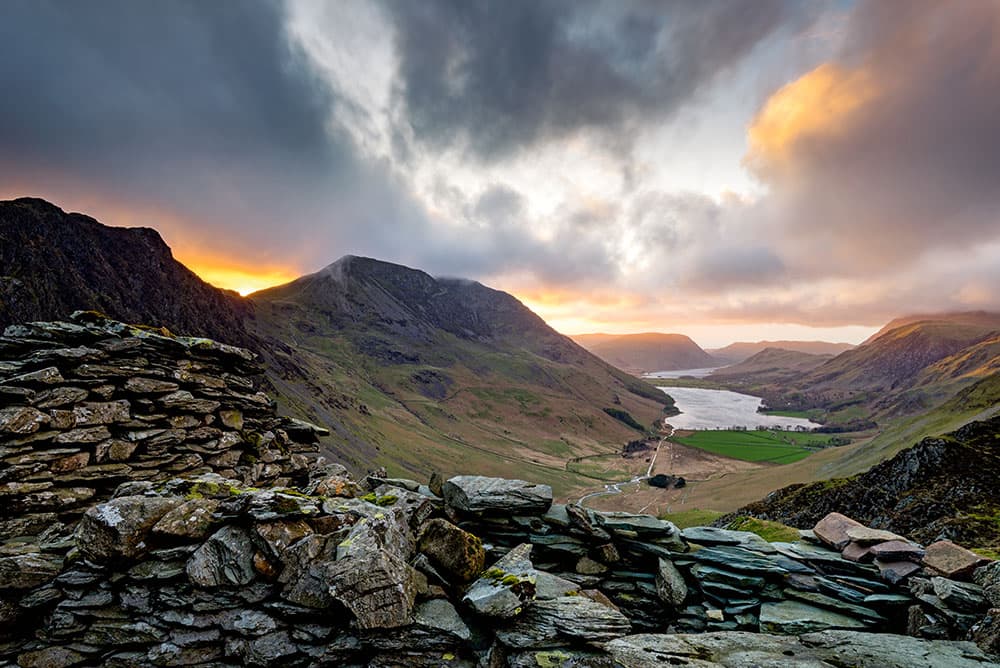
Winter landscape photography can produce some great results, like this view over Buttermere and Crummock water from Warnscale Bothy. Nikon D610, 16-35mm, 1.3 seconds at f/11, ISO 100. Credit: James Abbott
When the days shorten and the air turns crisp, photographers come in for a treat. Every season has its merits, and while winter can be cold and dark, this in itself is an opportunity that shouldn’t be missed.
Sunrise at 8am and sunsets at 4pm may mean you have a shorter day, but it also means you don’t have to be up in the early hours or out late at night to capture the golden hour.
And with the sun lower in the sky throughout the day than in other seasons, it’s often possible to shoot during the morning and afternoon while experiencing pleasing light. Best of all, a low sun combined with changeable weather conditions can produce some of the most dramatic conditions of the year.
Winter landscape photography tips: Accentuate moodiness
‘Drama’ and ‘moodiness’ in photography don’t simply refer to how light or dark an image is; although there’s no denying that when used well, a little creative underexposure can sometimes create beautifully atmospheric images. Contrast is often the key to success, and images featuring a balance of both brightness and darkness catch the eye most effectively. If there is an imbalance in just one of these elements, an image can end up being too bright or dark and lack the impact it needs.
Drama can also be introduced by capturing movement using a variety of long-exposure techniques: Big Stoppers or 10-stop neutral-density (ND) filters for extreme exposures to completely blur clouds or moving water, and shutter speeds of one or two seconds for capturing a dynamic sense of movement in the tide when shooting at the coast.
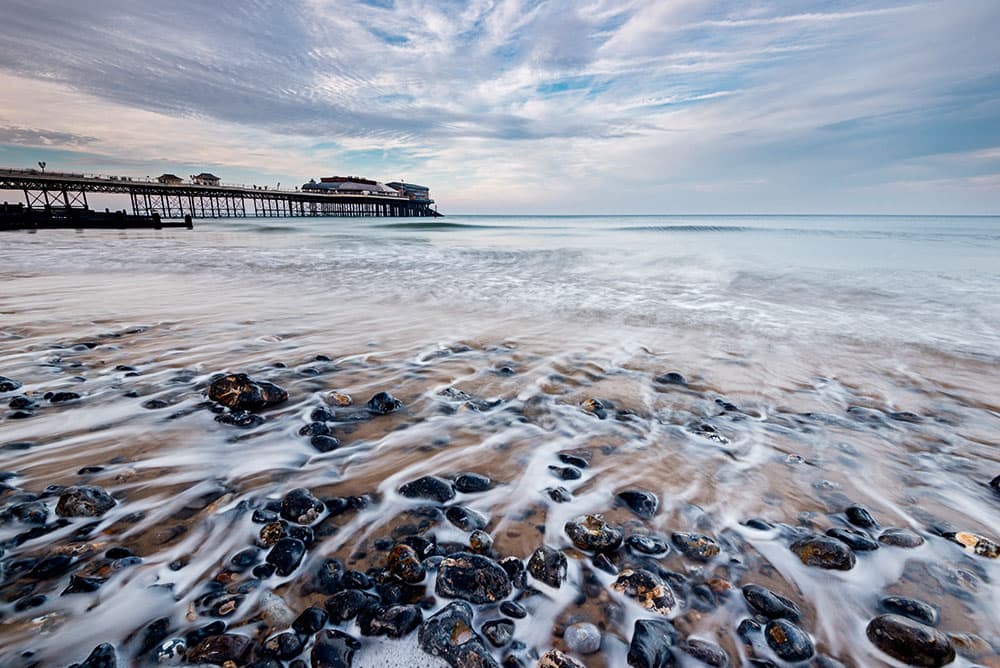
This winter landscape photography seascape was taken at Cromer Beach, Norfolk. Nikon D610, 16-35mm, one second at f/11, ISO 100. Credit: James Abbott
Continues below…
[collection name=”small”]
Winter landscape photography tips: Gear decisions
The most difficult task for almost every photographer is cutting down kit to only the bare essentials. We’re all guilty of packing our camera rucksacks with everything but the kitchen sink – just in case. But how many of your lenses will you actually need on a landscape shoot? Most of us, including professionals, can get by with just a couple of lenses: an ultra-wideangle such as a 16-35mm on full-frame or 10-24mm for APS-C cameras, and a telephoto in the range of 70-200mm. And for the latter, the lighter the better – this is why many photographers opt for the f/4 version of such a lens, as opposed to an f/2.8, which is bigger and heavier.
As well as the obvious weight savings you’ll make with a minimal lens selection, opting for equally minimal filters can help. Nothing beats having all your filters with you, especially all your ND grads, but stripping down to the bare essentials can be another weight saver. Screw-in filters are both smaller and lighter than their slot-in counterparts, and carrying only a 10-stop ND and a polariser is all you need if you’re happy to shoot HDR to maintain sky detail. Polarisers are impossible to replicate in Photoshop and extreme NDs are difficult, but ND grads are easier to get around. And Auto Exposure Bracketing (AEB) can make shooting a number of bracketed images practically automatic.
You’ll also need your camera remote, spare batteries, memory cards, lens-cleaning fluid and lens cloths. When you think about what you actually use on a shoot, it’s quite easy to cut down on what you’re carrying. If you need to walk for miles, you really will appreciate a lighter load. Plus, carrying less kit means you can get away with using a camera insert with a hiking bag for instance, which will allow more room to carry outdoor clothing to keep you warm and dry.
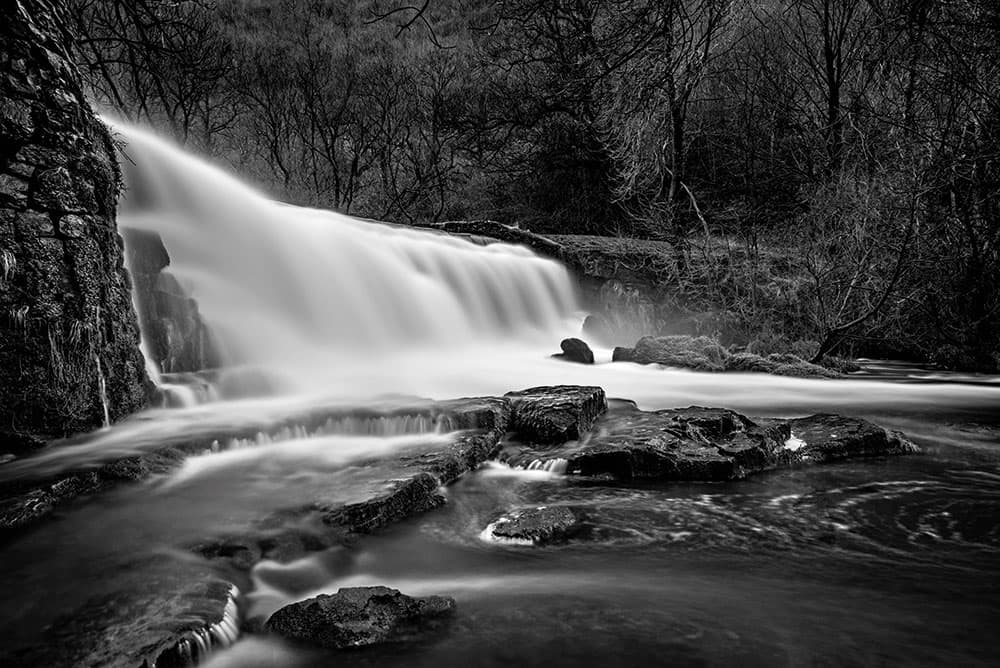
Long exposure of Monsal Weir, shot with a Nisi six-stop ND filter. Nikon D610, 16-35mm, 30 seconds at f/11, ISO 100. Credit: James Abbott
Winter landscape photography tips: When to shoot
In winter, there are surprisingly few occasions when you really can’t shoot. The biggest hurdle is prolonged periods of bad weather – high winds, heavy rain or snow are the only types of weather that will give you trouble. But even then, there can be a solution. For instance, if you’re shooting in high winds, it is possible to hold your tripod to keep it still. Of course, you have to avoid moving during longer exposures, and it’s certainly not recommended for shutter speeds longer than five seconds, but it does work. You just have to take a few more shots than usual to get one that’s pin-sharp.
The best times to shoot are on days when the weather is changeable – one minute it’s bright and sunny, the next it’s raining. In such conditions, light is particularly interesting because you can experience dramatic breaks of sunlight through heavy cloud. Cloudy days are also suitable, because as long as there’s definition, you can shoot throughout the day without worrying about the infamous midday sun.
One way to work around the weather, regardless of whether it’s good or bad, is to select locations that work with you rather than against you. If it’s a day with a flat, featureless sky and not much contrast, head out to a location that has streams and waterfalls to photograph. With no direct sunlight, you’ll be able to shoot long exposures without highlights burning out. And generally, the lower levels of light in such locations can help you achieve exposures in excess of 10 seconds using nothing more than a polarising filter to remove reflections from the water surface.
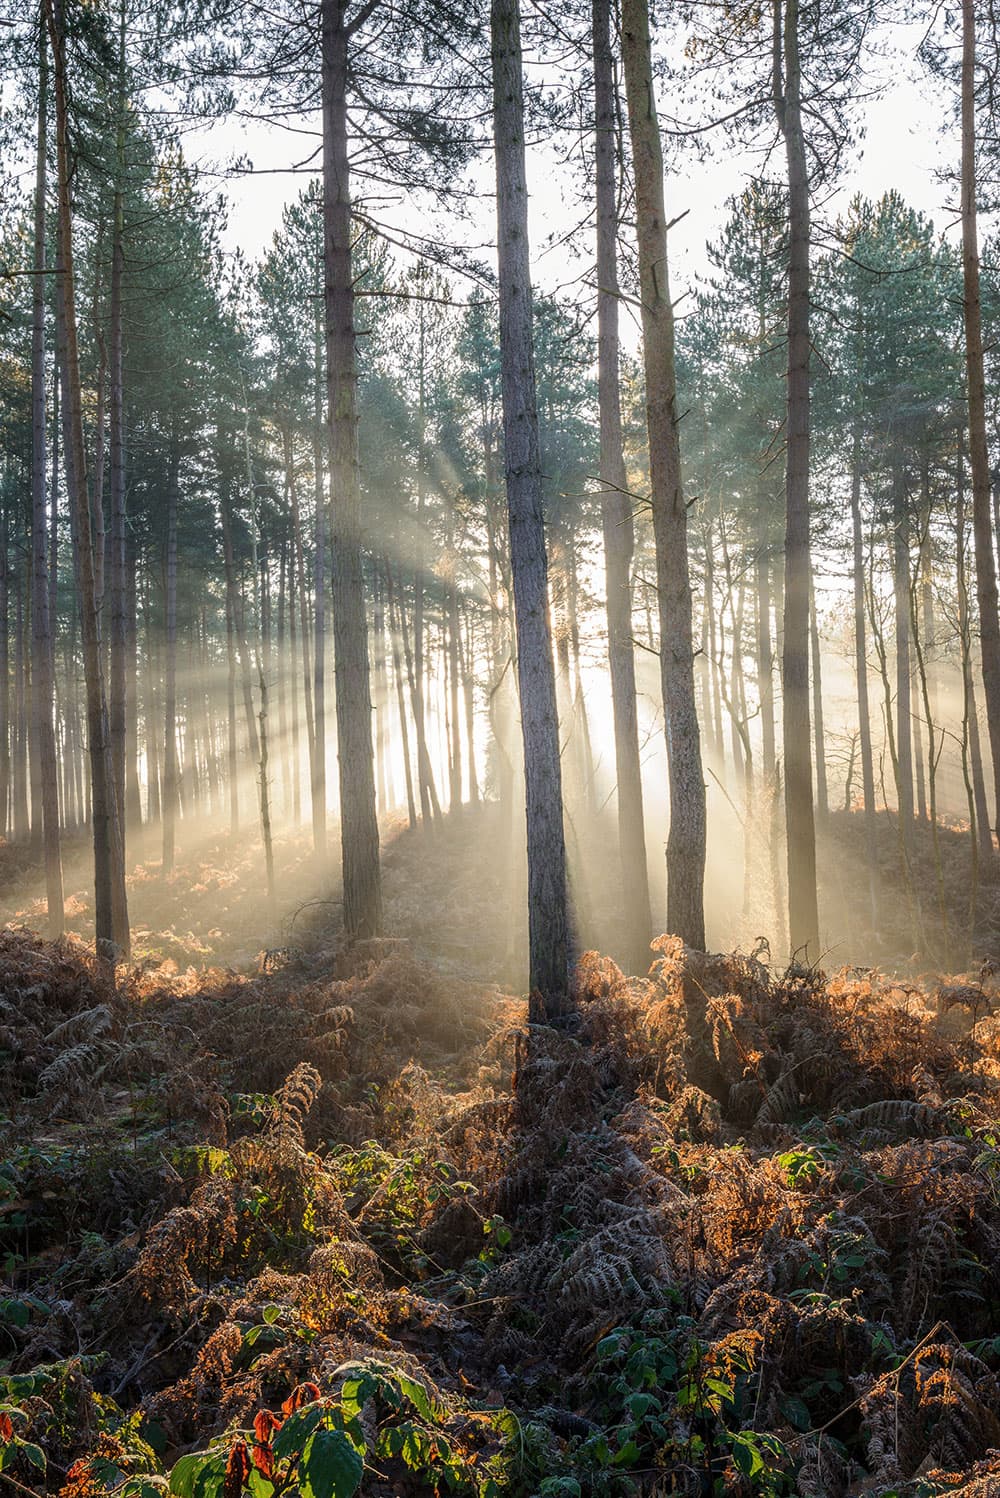
A misty sunrise at Delamere Forest on a cold winter’s day in Cheshire. Credit: James Abbott
Winter landscape photography tips: Take a risk
At all times of the year, landscape photography is a balance of having the right kit, skills, knowledge and, possibly most importantly, a large dollop of good luck. We’ve all been out at sunset when the sky is full of cloud seemingly down to the horizon, and it looks as if the sunset won’t be great. But then out of nowhere the sky erupts into a rich palette of warm tones. Even the most experienced weather watcher can make mistakes, and it can be those fleeting moments where light breaks through cloud that yield the most dramatic results.
To take advantage of good luck, you have to be out and on location – it’s as simple as that. So, take a risk and head out when the weather isn’t necessarily ideal, and be prepared to wait. As with wildlife photography, winter landscape photography can be just as much about waiting for all the elements to fall into place, and on those occasions when they do, you’ll be glad you made the effort.
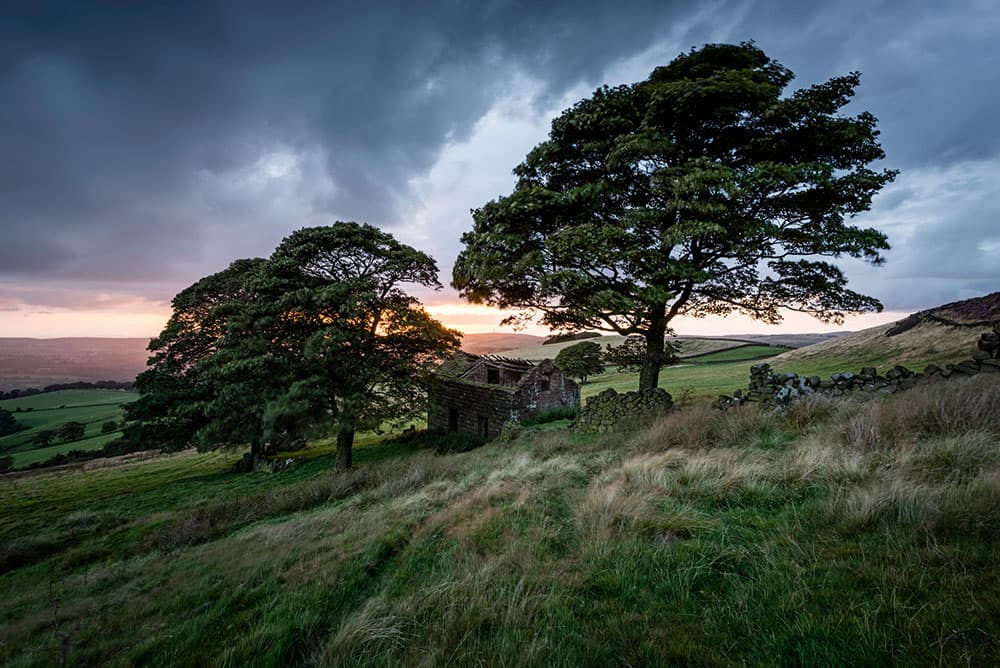
Derelict Barn, The Roaches in the Peak District, Staffordshire. Nikon D610, 16-35mm, 1 sec, f/16, ISO 100. Credit: James Abbott
Winter landscape photography tips: Mobile shooting and editing
It’s said that the best camera is the one you have with you, and for most of us that’s the one on our smartphones. Their image quality has been increasing at a rapid rate, and often exceeds that of low- and mid-range compact cameras. In addition, there are smartphones that offer superior functionality, which in some cases includes the ability to shoot in raw. While you may be thinking that this is a waste of time when the sensor is so small, if your phone can shoot raw, it’s worth taking advantage of. With the Lightroom Mobile app, you can shoot in raw and perform advanced edits in minutes within a single app.
When you don’t have a ‘proper’ camera with you, your phone can be much more than a simple device for taking snapshots. Shooting in raw with Lightroom Mobile gives you the greatest chance to capture detail throughout the scene with features such as handheld HDR.
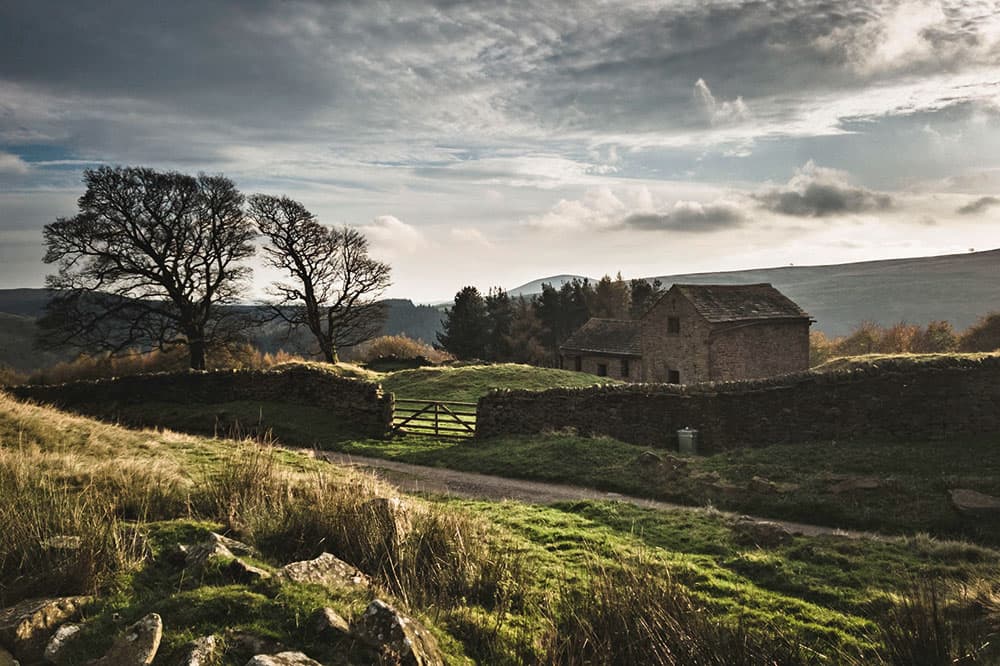
The Peak District is teeming with derelict barns that make fantastic focal points. Samsung Galaxy S8 Rear Camera, 419mm, 1/2300sec at f/1.7, ISO 50. Credit: James Abbott

James Abbott is a landscape and portrait photographer based in Cambridge. He’s also a freelance photography journalist and editor specialising in photography techniques, tutorials and reviews. If you can think of a subject, he’s probably photographed it. See more of his work at www.jamesaphoto.co.uk.

