Your guide: Mark Gilligan
A professional photographer, producer/director of TV and photography teacher for over 40 years, Mark is also a LEE Filters Master supported by Berghaus and Billingham. A former Fujifilm ambassador and winner of the #OMGB in LPOTY, he is a Fellow of the BIPP. Visit his website or follow him on Facebook or Instagram.
I love watching dramatic weather move across the landscape. Whilst I observe and enjoy, photographing it is a passion of mine.
Fortunately it isn’t just seasonal either, as our weather presents opportunities all year. I’m not advocating thst you venture out into the eye of a storm but on days when it is very changeable.
Safety is paramount and I always abide by the rule that the mountains will be there another day. You will be exposed to the wet stuff, so ensure your waterproofs and kit are up to the job!
Work with a partner
It’s better when there are two of you working together. It will be inclement and whilst I use a fisherman’s brolly bracket attached to my tripod, excessive gusts can make that unstable. That’s where a flexible, human, brolly holder is handy! Shielding the lens with the brolly, counting to three and quickly lifting up will work a lot of the time. However, rain swirling around can prove testing, if not impossible. It can be hit and miss but weather gaps will appear. Patience is a virtue.
Location knowledge
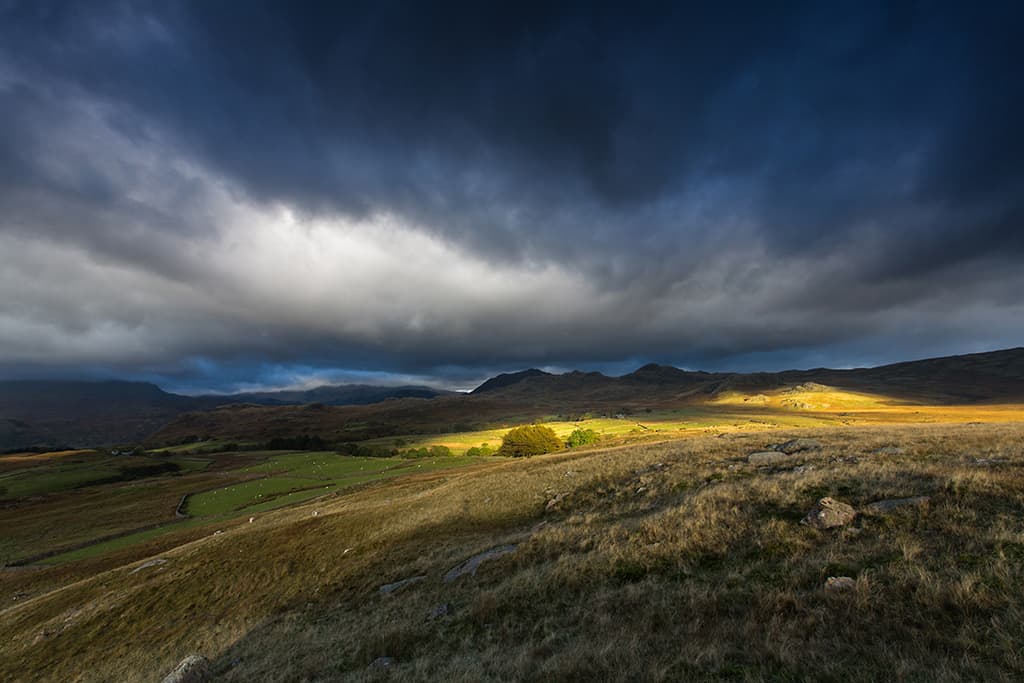
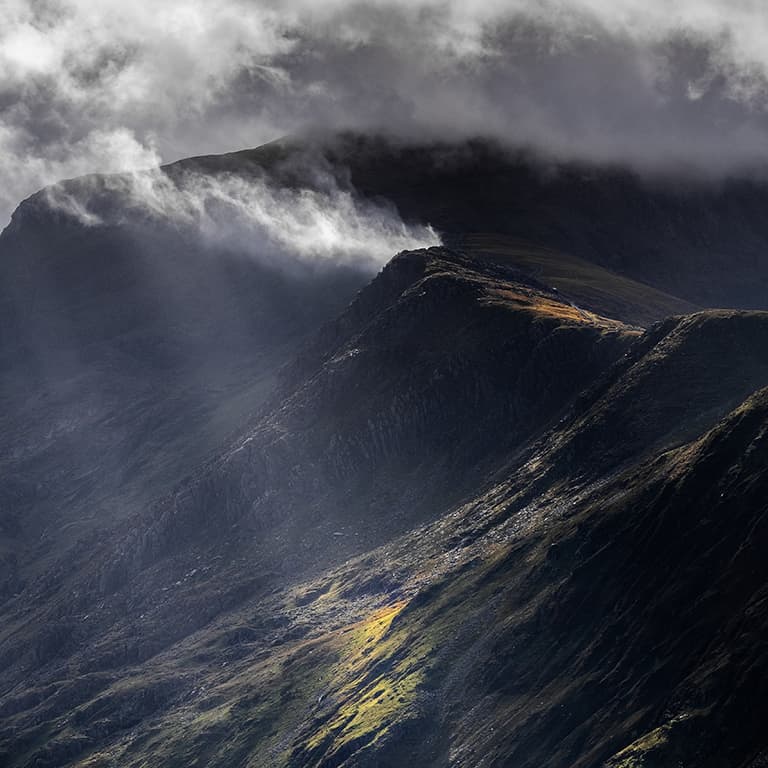
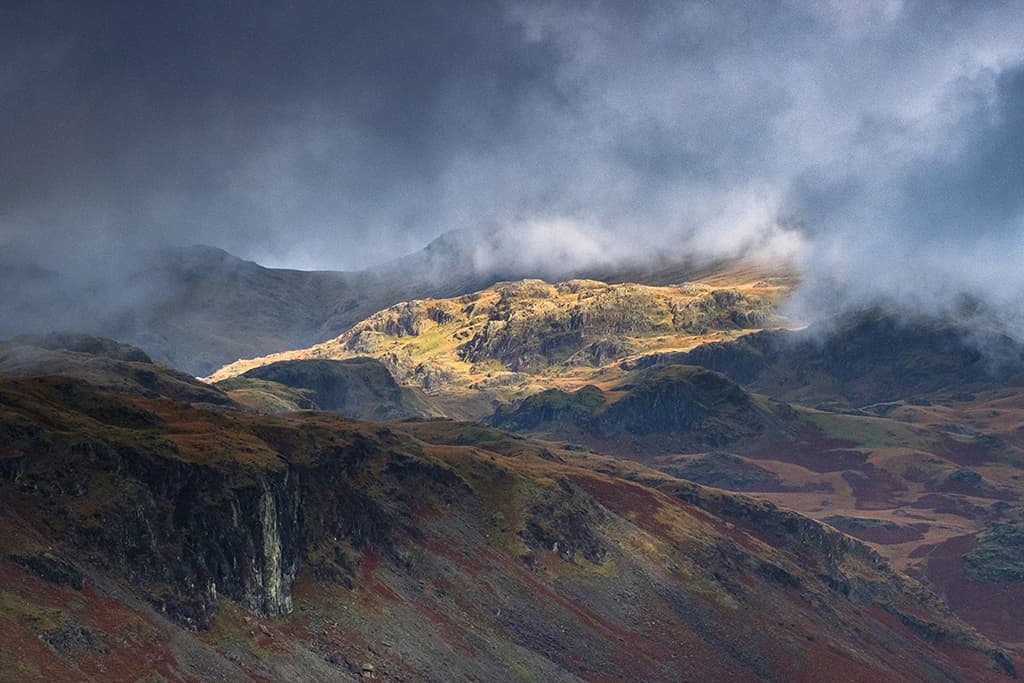
Luck will always play a part, but I find it helps to know the location. Our weather creates anomalies anywhere, but mountains are my ‘go to’ and I find that studying it on recces helps. Positionally, being on lower ground or slightly elevated produces good results. As clouds close in, summits invariably disappear.
It is a lottery, but changeable weather generally produces results. Like the fisherman, you need patience! The MWIS is a good forecasting website but always be cautious – as with any forecast, it is not set in stone.
Anticipation and options
Pre-empting gaps in the clouds and their speed and movement will deliver. I generally use either f/8 or f/11 for the majority of my shots with this style of photography. If I have the telephoto on, it can be f/4 or f/5.6. It can go very dark! You’ll be scanning the whole scene, anticipating ‘that moment’ and it appears where you would never have thought, as the ‘show’ will randomly appear on a small crag or slope being just as dynamic.
Also, consider a simple three-shot panorama of the same situation by adding overlapped images either side of the main one.
Lenses and kit
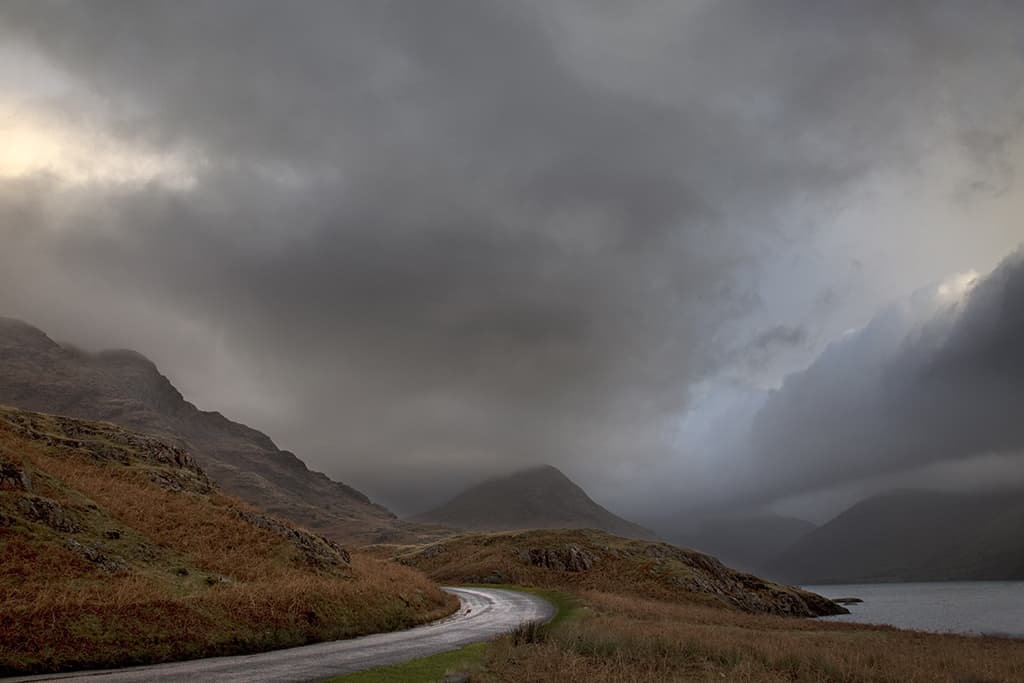
My bag is completely waterproof, and I use three weatherproof lenses. This gives me options achieving a wider scope of photographs to ‘document’ the effects of a storm as it approaches, hits and moves on.
However, your choice and decisions will be dictated by the speed of the weather passing through and because of that I find that the 16mm or 16-55mm lenses get most use.
My largest lens is no bigger than 210mm and that allows me to ‘cherry pick’ tighter scenes that occur.
Shoot handheld
I generally use a solid, robust tripod in my work but have found that using the camera handheld, with the stabiliser on and upping the ISO, works well.
The flexibility of movement affords a greater chance of getting the shot. That isn’t set in stone but if the weather system is moving fast, you need to as well.
Pushing between ISO 400 and 800 gives very good results. Noise is not as evident as it once was and irrespective, I think a little graininess can add to the drama of the image.
Using filters
Whilst some bracket or shoot HDR, I always use my grads. Just my preference and the way I work. I use both ‘100’ and ‘85’ systems depending upon lens choice.
There’s always the potential for rain spots, irrespective of how you protect the kit. To maximise this, I attach a lens hood.
utilised them making TV programmes because they can reduce unwanted light, adding another layer of protection. If really bad, I will drape a cloth over the top of the kit just to be sure.
Mark’s best kit
Waterproof bag
I recommend investing in a good-quality, fully waterproof bag. It is imperative that you keep your kit dry and safe from the elements.
Even if you don’t intend to go out in downpours, you never know when you might get caught in one unexpectedly.
Brolly bracket
This is an extremely handy accessory for positioning a brolly over my kit to protect it from drizzle. However, use with caution on breezy days.

Your guide: Verity Milligan
Verity is a professional photographer based in Birmingham. She has worked on campaigns for international organisations, leads workshops for Light & Land and is an ambassador for Zeiss and LEE Filters. See her website.
For photographers who predominantly work outdoors, there is no such thing as ‘bad weather’, just a different set of challenges.
In fact, if you asked me what my worst weather condition might be for photography, I would emphatically say clear blue skies and endless sunshine. What normal folk might consider bad weather I consider interesting weather, and that’s where excitement can be found.
Whether it’s rain, fog, snow or just a bit windier than usual, there’s the chance to capture familiar scenes in different and unusual ways and the opportunity to see the surroundings in a new, different light.
Fog makes a city feel cinematic
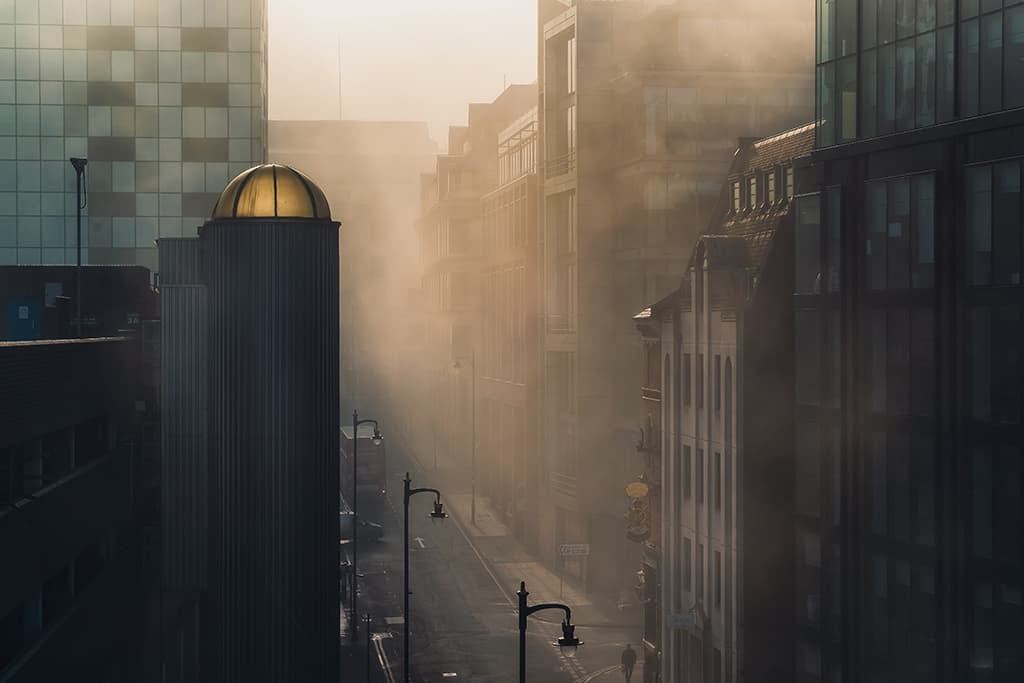
Fog is probably my favourite weather condition. It’s also rare to get fog in the middle of a city, especially the one where I live, so it feels very much like an event.
Fog can change the whole feeling of a city because the normal run of things becomes obscured and slowly revealed over time.
People become ghostly figures against an absent backdrop and mundane architecture becomes otherworldly, making the imagery feel timeless.
Rain means puddles and reflections
While passing rain showers won’t always result in glorious sunsets or sunrises, they often do leave behind puddles of water that can be used to great creative effect. It means getting low to the ground which sometimes seems a little odd to people passing by, but the strange looks are worth it when you’re able to capture a fleeting reflection that would otherwise not exist.
It can transform vaguely clichéd scenes into something entirely new.
Snow brings uniformity
As a child, snow can be absolutely magical, but as an adult, it can be seen as an annoyance. However, in photography it can bring unique opportunities. Snow, especially just after it has fallen, gives a fresh uniformity to the landscape.
It renders messy scenes much more simplified and manageable. I particularly enjoy the neutral palette that snow provides and it’s one of those weather conditions I look forward to.
Falling rain/sleet or snow can add impact
One of the delights of shooting in ‘bad’ weather is capturing the conditions and mood. Although long exposures can help with that, deploying a fast shutter speed to capture the individual droplets or flakes can equally enhance the feeling of a particular image.
his can be especially intriguing if there’s some backlight, but even without, the maelstrom of rain/snow frozen in time can be very effective to convey a certain feeling.
Rain can lead to epic skies
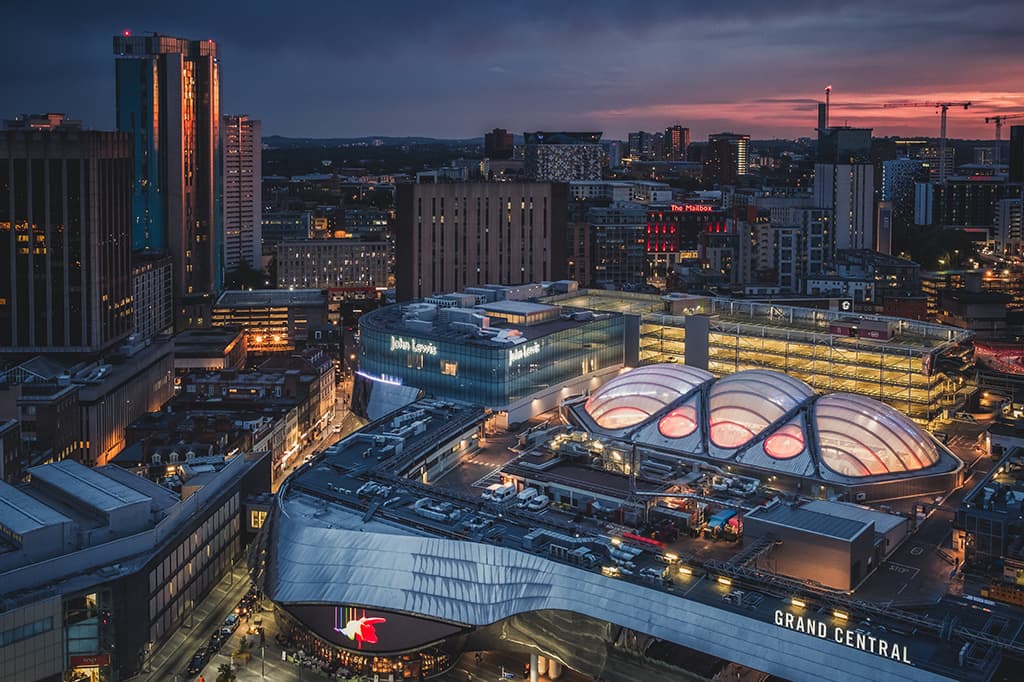
Yes, when it’s actually raining it can be somewhat miserable outside (I recommend investing in some good waterproof clothing), but what comes before and after the heavens open can transform a scene, especially at either end of the day.
If you time it right, it can resolve into grandiose colour and light in the sky as the sun bounces off the cloud and kicks back in style. These conditions have led to some of my most favourite urban landscape shots.
Moody skies add atmosphere
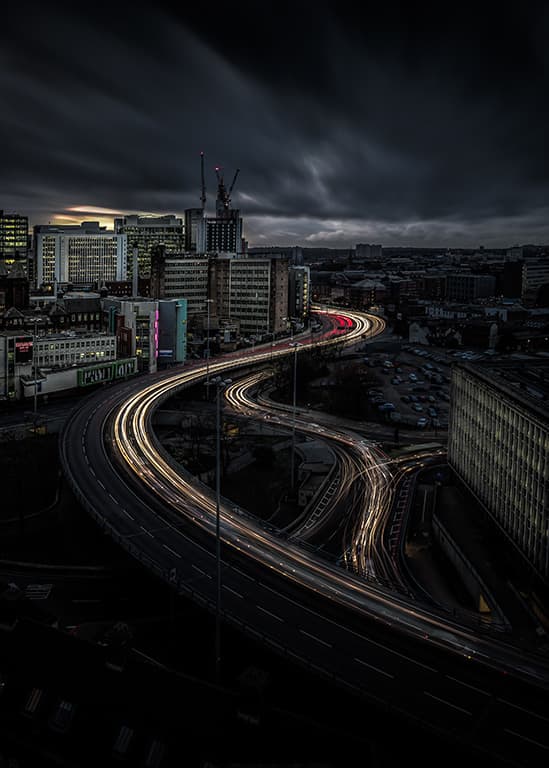
I’m a big fan of trying to get the weather to work for me whatever the conditions, and deploying some ND filters to create a long exposure can take an underwhelming scene and turn it into something interesting.
Wet, windy weather means the clouds move faster than usual and even a 30-second exposure can give an impression of movement to a still image. This can be even more effective if you have some added light trails to enhance the overall moody, gritty urban atmosphere.
Verity’s best kit
Good gloves
A decent pair of gloves can make the difference when shooting in bad weather. Cold hands lead to misery so invest in gloves designed for photographers, so that you can stay warm and operate your camera.
Lens hood
This is invaluable if you’re capturing photos in wet weather. Having a decent lens hood will prevent droplets from landing on the lens, which can disrupt the image and ruin the
final results.

Your guide: Jeremy Walker
Jeremy is regarded as one of the finest landscape photographers in the UK and for more than 25 years has been producing eye-catching images for use by clients around the globe. Jeremy’s inspiring images and writing appear in many of the world’s top photographic publications and he is in regular demand as a guest speaker, writer and workshop leader, both at home and abroad. See more at his website
It could of course be argued that there is no such thing as ‘bad weather’, just different light and an opportunity to perhaps shoot something a bit unusual.
Landscape photography is not all about just going out at sunrise or sunset and shooting pretty, colourful skies. Shooting in ‘bad weather’ is a chance to capture an image with a unique, fleeting mood and drama. Of course, chances are you will have to suffer for your image; the conditions will be too wet, too windy, too cold.
You will be pelted by hailstones, smothered in snow and no doubt will be standing around, possibly for hours at a time, in the most uncomfortable of conditions. However, if you do your homework and are prepared, you can make the ‘bad weather’ work for you.
Get some thermals
Shooting in bad weather can entail a great deal of hanging around, waiting for the right moment, often in bleak, exposed locations. You need the right outdoor kit. Rain dribbling down your neck, frozen extremities and boots that leak are not going to lead to great images.
Once cold, your mind turns to warm fires and mugs of tea, which is not the best frame of mind to have. There are serious health issues to contend with as well: hyperthermia can become a major issue. You need the best outdoor clothing you can afford. Start with Icebreaker thermals, they’re fab!
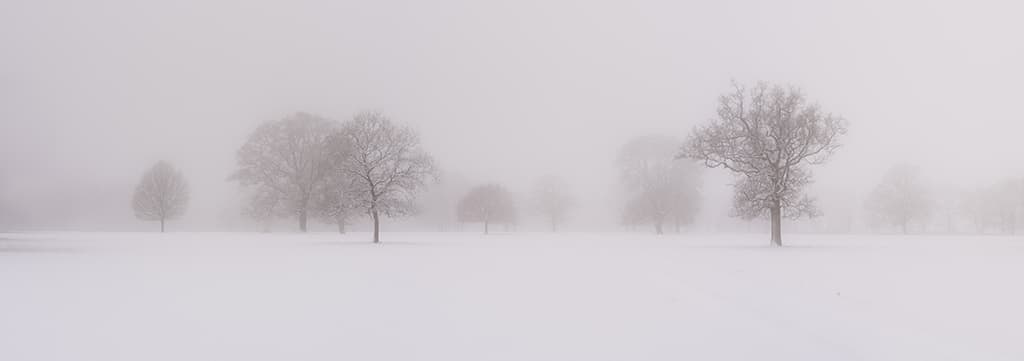
Be ready and anticipate
Watch the weather forecasts and use smartphone weather apps. Constantly be on the lookout for storm fronts and a change in weather systems and keep an eye on where the weather is coming from.
The weather can be very transient – a fresh snowfall may last only a day and you need to know where you are going to shoot and how to get there. Making your mind up at the last minute and dithering simply does not work. Allow extra time to get to your chosen location, as the weather may make driving slow and difficult.
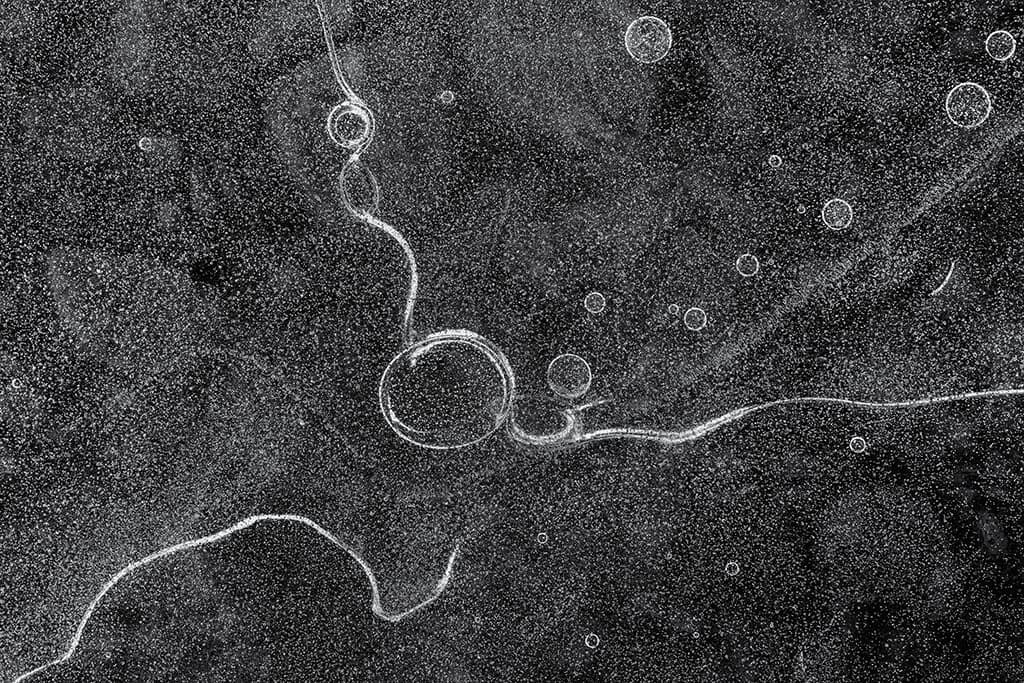
Take a closer look
If inclement weather and poor light stop you shooting the big view, look for a ‘micro landscape’, a close-up shot or an abstract.
Landscape photography is not all about grandeur and large, sweeping vistas. A thick bank of fog may stop you shooting a distant view, but it will certainly give you perfect soft lighting for a detail or close-up image.
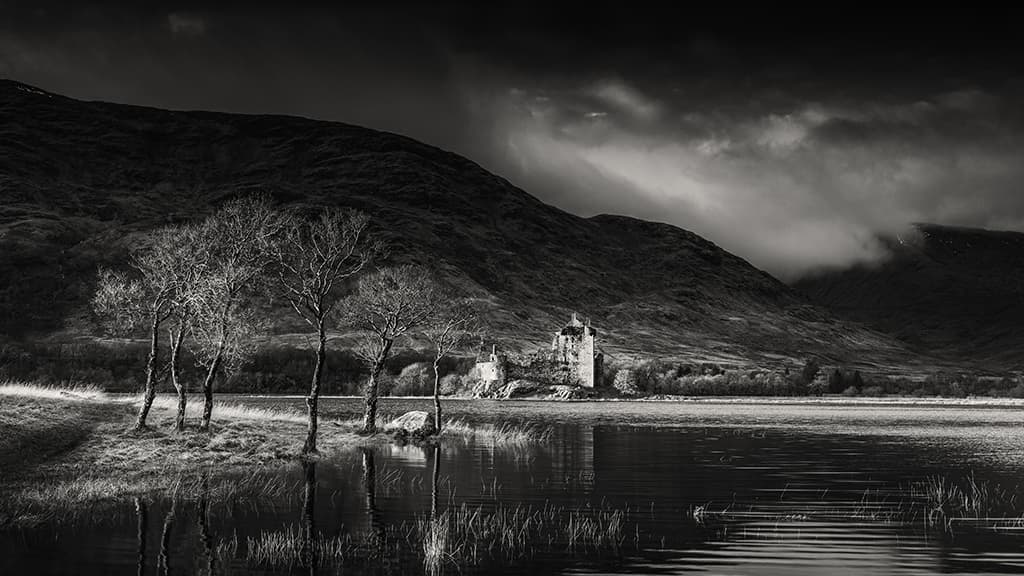
Visualise in black & white
So many bad weather days lack any meaningful colour that working in black & white can free up the creative in you. Monochrome is a different way of seeing and working, and will open up new possibilities. With a lack of colour, the basics become much more important and thinking in terms of tone, texture, contrast and shape are key to a successful image.
Also be aware of what is possible with a mono image in post-production, and take a look at specialist black & white software such as Silver Efex Pro.
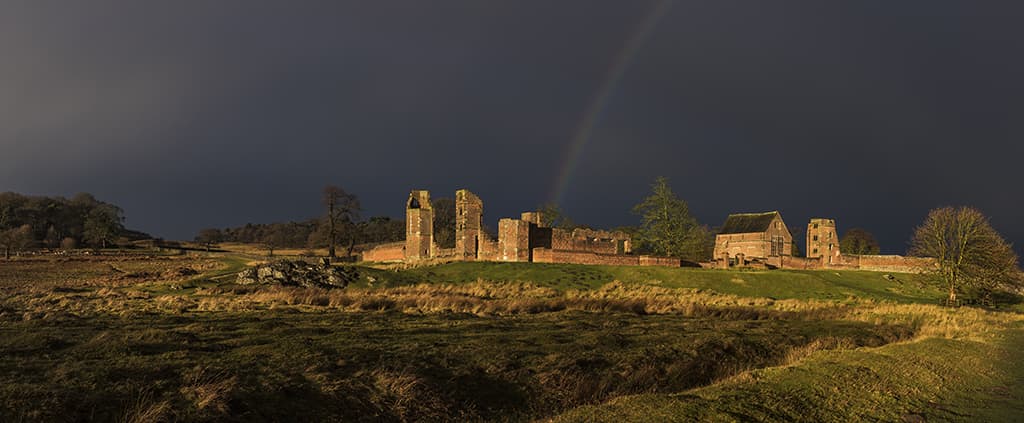
Subject choice
Choose the subject matter that suits the weather conditions. For instance, castle ruins with brooding stormy skies; abbeys peacefully nestling in a bank of fog; lighthouses with stormy seas; large open vistas with approaching storm clouds. Find a location, do a recce and stick to the plan.
You have to be ready and waiting for the precious few moments where the weather, light and location all play ball. Perseverance is key when working in conditions that don’t favour you.
Embrace the grey
Try to get away from the concept of just shooting pretty sunrises and sunsets. Grey, overcast days can work well but it does all depend on your subject matter and the treatment you give to the image.
Overcast days can lead to shadowless, low-contrast soft lighting which can be ideal for woodland interiors, waterfalls or even coastal shots. Coupled with a LEE Filters ‘Big Stopper’ and a neutral density grad, flat grey landscapes and seascapes can take on a whole new look.
Jeremy’s Best Kit
Thermal wellies
Standing around in puddles, streams and snowdrifts will be uncomfortable at the best of times and normal Wellingtons or leather walking boots have very little in the way of thermal properties. Get a good pair of neoprene-lined wellies with a strong sole unit. Aigle does a very good thermal hunting boot.
Chamois cloth
I have always carried a chamois cloth with me to wrap around my camera and lens, to help protect them from the rain, snow or even sea spray. More recently I have been using a piece of leather with Velcro tabs for ease of use. Plastic camera covers have always seemed bulky and impractical to me.

Your guide: Gareth Mon Jones
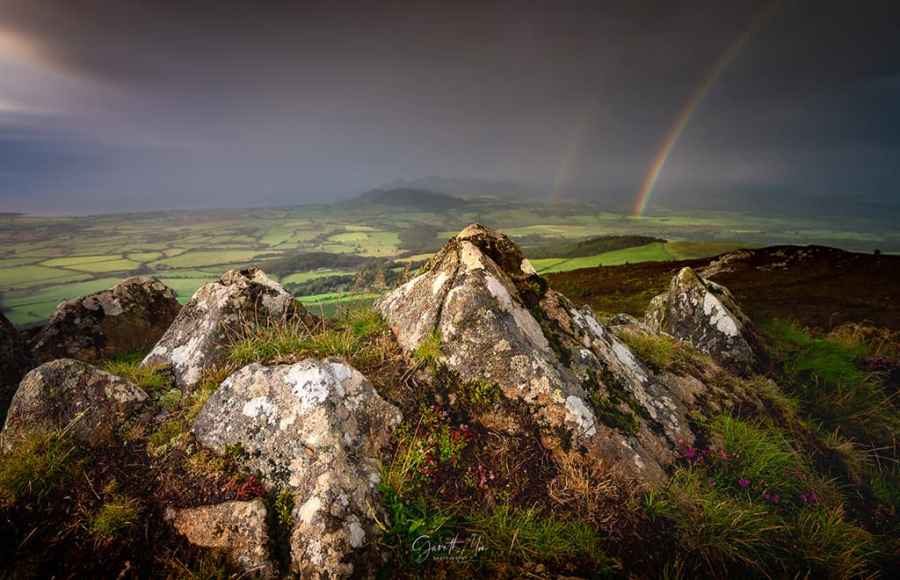
Anglesey and Snowdonia-based astro and landscape photographer, Gareth, has a passion for being out in the elements. North Wales is one of his favourite locations. Back in 2019, Gareth was awarded World Weather Photographer of the Year. See more at his website, or follow him on Facebook @garethmonphotography.
I love getting out to photograph in bad weather. It’s the sense of adventure I get walking into remote areas or the absolute thrill of trying to battle the elements head on.
I enjoy the challenge of trying to capture Mother Nature with her teeth out while knowing there is no one else about, but also praying for a short break in the weather for some relief. That said, you have to be prepared and having the appropriate apparel for the elements is a good starting point.
A hot flask of tea and good packet of biscuits (my choice is Hobnobs) will also keep you motivated and energised. Patience is key – some images are worth waiting around for, but you also need to know when it’s time to walk away.
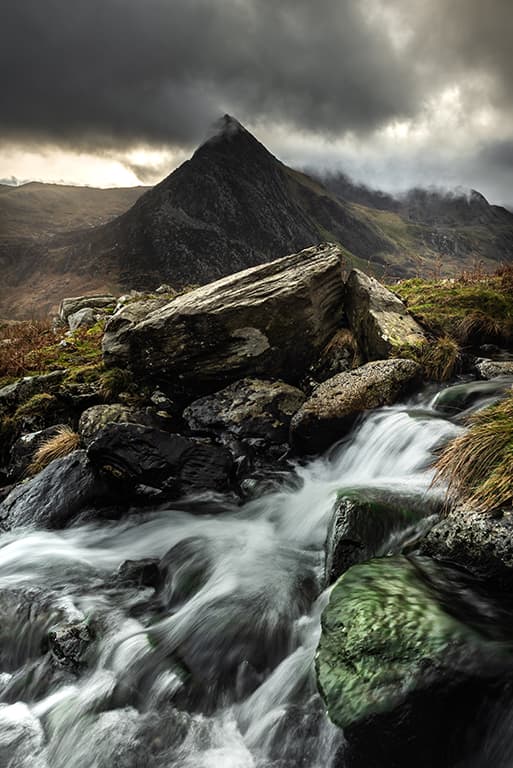
Lens hood
My lens hood has become a vital piece of kit over the years. There is nothing worse than having to constantly check and wipe the front element over when it’s raining, and it’s also a godsend when the sun pops out and you don’t have to use your hand as a sun shield.
As well as protecting my lens from the elements, my trusty lens hood has saved me a fortune on a number of occasions. Once I accidentally dropped my camera on some rocks and if it wasn’t for the lens hood, it could have caused some serious damage.
Safety
This tip might sound really boring, but I always let my wife know where I am intending to go and for how long.
Anglesey gets some really bad storms and walking some of the headlands can be challenging, so having someone knowing where you’re going is vital if anything were to go wrong on your outing in bad weather.
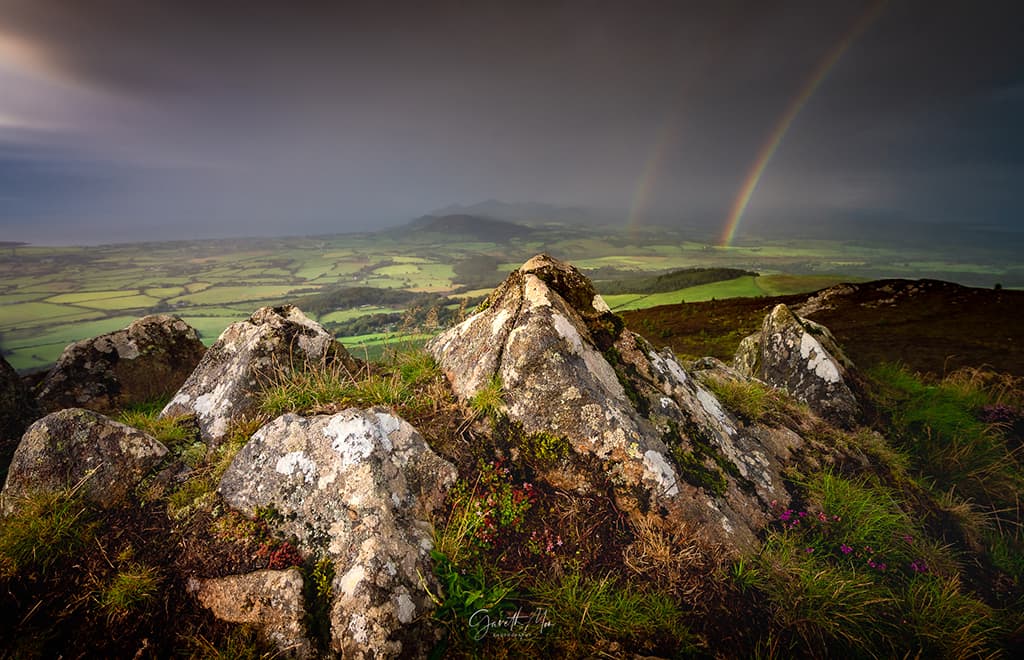
Weather forecast
It’s not all about being lucky, there is a lot you can do to have the odds on your side when getting out in bad weather and capturing successful photos.
Use an array of weather apps on your phone to gather as much info as you can about what the weather might do at different points throughout the day. I tend to use Sat24, Met Office and the BBC weather apps and find windows with the most positive forecast, so that I know when to attempt a trip out in the hope of capturing something great.
Grey, flat days
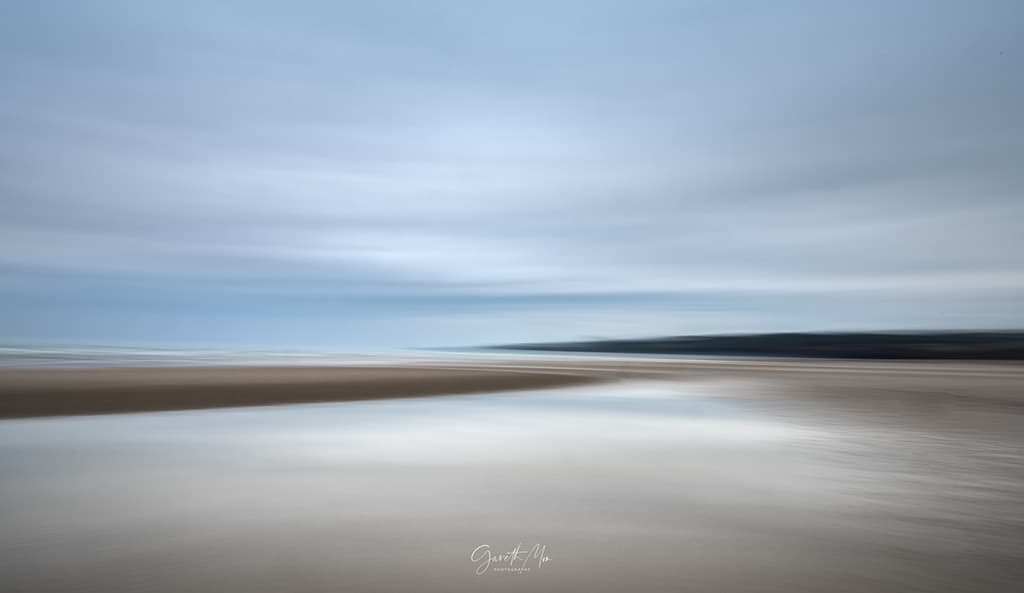
I make the best of the grey, dull days by heading towards the coast for some long-exposure photography. I aim to capture interesting subjects, such as lighthouses, buoys or even just patterns in the sand.
It totally depends on my location as to what kind of long-exposure shots I capture. It can vary from really long minimal exposures or even handheld intentional camera movement (ICM) photography.
I typically use a 24-70mm lens and a shutter speed of 1/3sec and move the camera level along the horizon, either to the right or to the left depending on the subjects to achieve a certain effect.
Be reactive
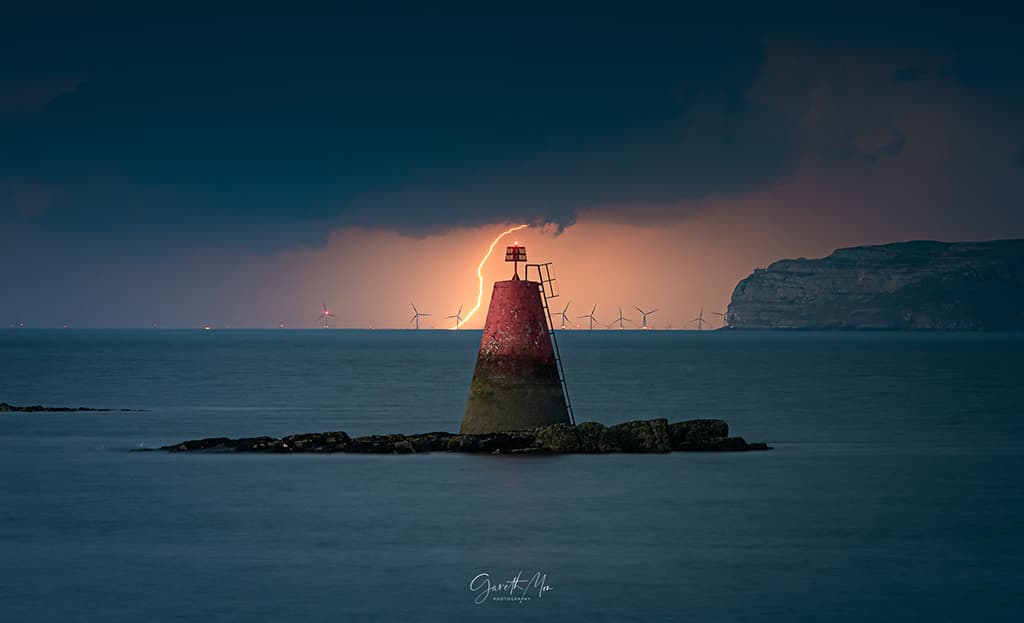
When I’m at or even travelling to a location, I always have the camera to hand. With stormy weather, there are often only fleeting moments that can offer epic photographic opportunities, so you need to be ready to capture it in an instant.
Stay dry
Having a good waterproof cover for your backpack is important for obvious reasons. Carry some spare socks too.
The luxury of having a dry pair of socks to pop on after a soggy shoot is massive peace of mind to me. Another little piece of equipment I have used in some situations is a bath cap; it’s the perfect size to cover your camera and lens when a squall of rain or snow passes over.
If my kit does get a little damp, I will keep it in my camera bag for a few hours after getting home before opening it, so the gear can acclimatise to the temperature of the house. A little while later, I will place my kit on a shelf near a radiator. This action will prevent the camera condensing any moisture inside the camera or lens.
Gareth’s best kit
Shower caps
These are a cheap and effective way of protecting your equipment when a brief shower passes over and you don’t have time to pack everything away.
Waterproof rain cover
This is a great accessory that offers your kit and bag extra protection from the elements. It can pack down small and be stored in a pocket in your camera bag when it’s not required.

