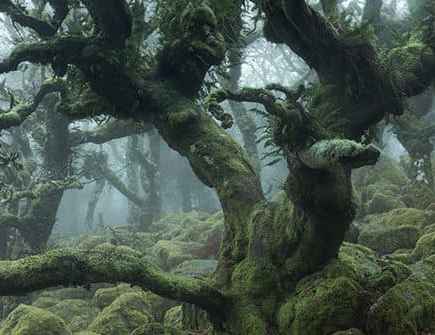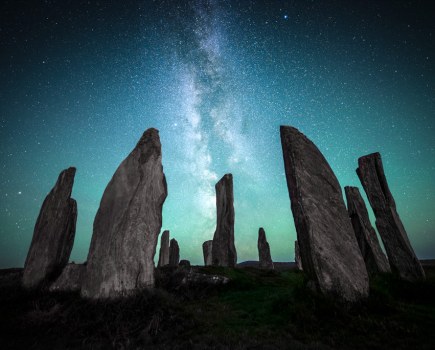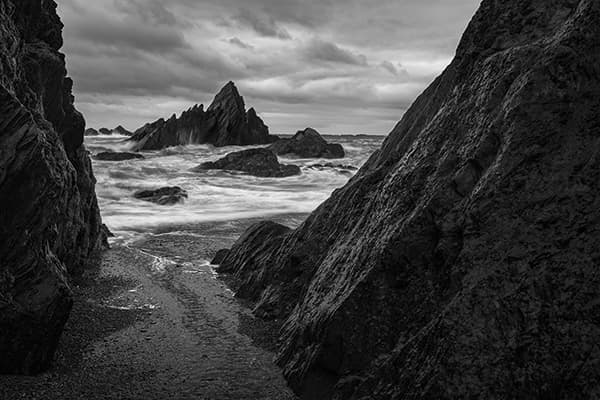
With no colour to rely on, use texture, tone and lines to draw the reader in and give a 3D feel
We all see the world around us in colour, but as photographers we have the opportunity to look beyond this and view it as form, tone and texture. Shooting in black & white opens up a whole new landscape hidden beneath the surface.
Colour landscape photography relies very heavily on light and weather conditions, and we are almost bound by the scene that nature presents to us. However, black and white landscape photography offers the opportunity to create a more personal interpretation.
New mindset
There is much more to creating a successful monochrome image than simply looking back through the hard drive to salvage a shot by converting it to greyscale (although this can bring about desirable results, particularly with scenes that were too contrasty to be successful in colour). To make the most of shooting in black & white, you’ll need to develop a whole new mindset before you even press the shutter. Whereas colour photography is dependent on the relationship between the various hues in a scene, when this is taken out of the equation other factors take on much greater prominence.
The tonal values in the image become more important, and although it’s not always easy to visualise these, with a little practice you can become much more adept at picturing the landscape as areas of light and shadow.
Shooting digitally gives us an added advantage in this regard. By switching your camera’s picture style to monochrome, you get an instant preview of how the image could look in black & white, although it is worth noting that a raw file will also retain the colour information and give you much greater control in post-production.
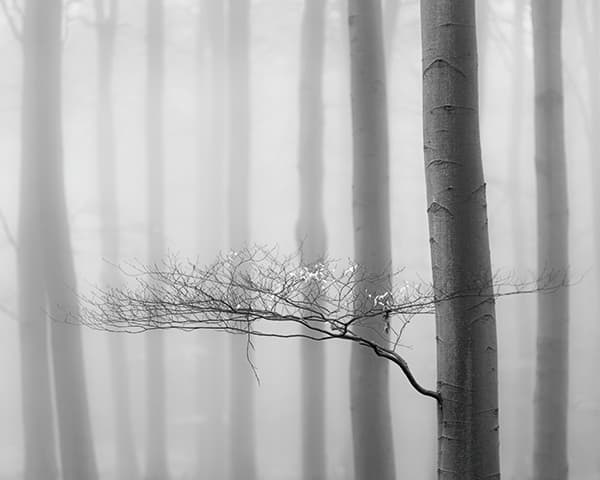
Turning on the monochrome picture style helps you to see the world in black & white, and highlight subjects
This monochrome preview shouldn’t be seen as the final image, though, as one of the most liberating aspects of black and white landscape photography is that you have the ability to alter the tonal range of individual colours later, as well as having much more control over the highlights and shadows. This allows you to recreate the image you are visualising out in the field and exercise a degree of creative influence over it.
Shape and form
To create striking landscape images, it pays to look for strong lines and simple compositions. Larger areas of fine detail can easily lose prominence in the overall image in black & white, so it becomes much more about the shapes in the landscape. Looking at the scene as a whole can help you to create a stunning and effective composition, and building your image around one or two key focal points will help with this. Texture also plays an important role; with no colour to focus on, it adds depth and substance to a scene. As with colour, it can be particularly useful to have interesting foreground detail when shooting wideangle landscapes, but with black & white, contrast is the important element to consider, be it in ripples of sand with deep shadows, or backlit leaves or grasses.
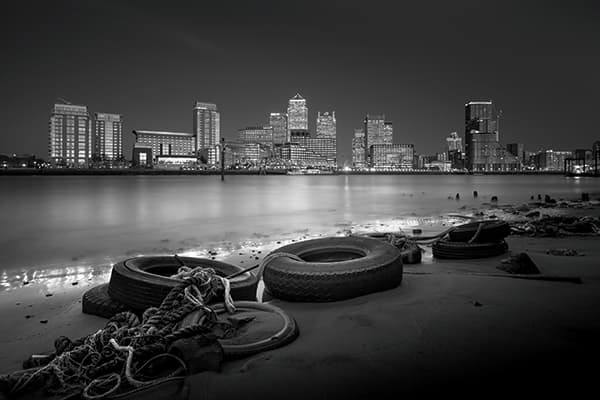
Bored of boulders? The old tyres add foreground interest and suit the topic
Creating a route through the image is a great technique to engage the viewer, and black & white is the perfect medium for doing this. Light and shadow can become key compositional elements. The eye is naturally drawn to the contrast when very dark and very light areas meet in a black & white image, so use these to create focal points and lead-in lines. A shadow falling across a field or hill, or a patch of sunlight on the sea, can be just as important an element within a shot as physical objects such as a fence or building.
Processing
By using light and shade in this way, the viewer is given a ‘starting point’. Typically, this is introduced around the edges of the frame, and then the eye is led into the key focal points of the image. You can enhance this effect even further in processing, which, whether in the darkroom or digitally, has always played an important role in creating great mono images. Gradient and Radial filters provide a simple and effective method of concentrating the viewer’s attention on the important parts of the image.
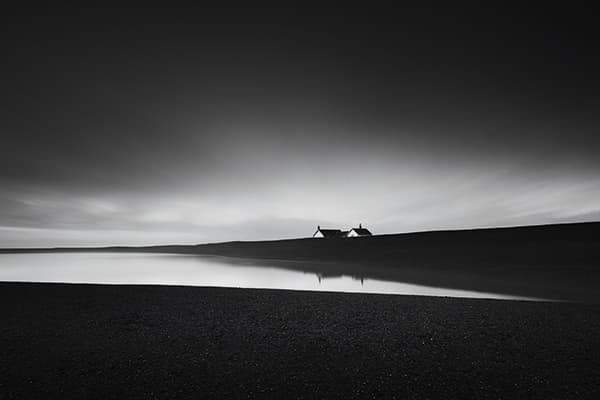
Careful vignetting can focus attention on the subject and make the most of tones
Creating a vignette effect by darkening the edges of the frame, and increasing the contrast around the key components of the shot, will naturally lead the viewer’s eye towards these lighter areas and make it linger there. The same approach can be applied in reverse to a high-key image, where the darker areas become the focal point.
It’s this ability to control the overall tonal range of the image that makes digital black & white photography so rewarding. This process and technique is so much more than just simply converting an image to greyscale.
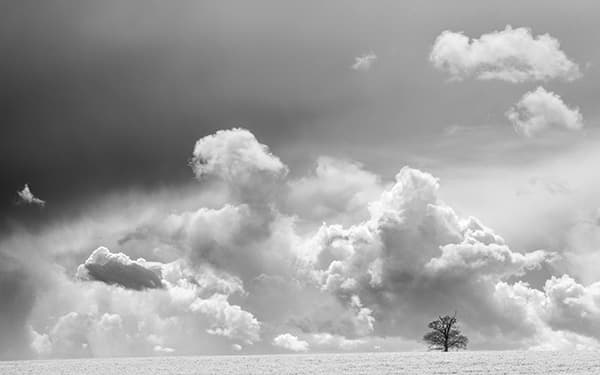
Use the natural interplay of light and dark as a key compositional tool
Kit list
Canon EOS 5D Mark II
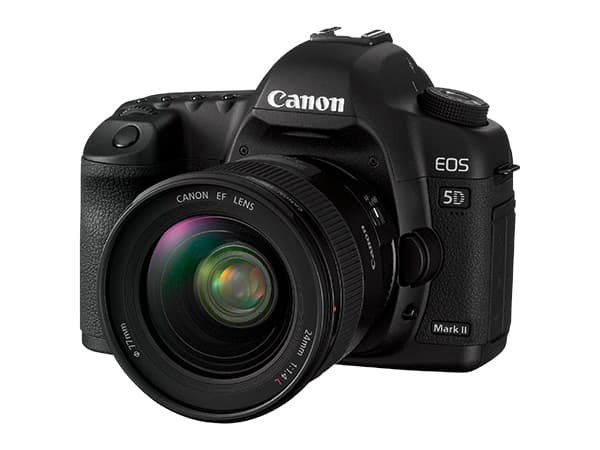
I had my Canon EOS 5D Mark II converted to infrared (using a 720nm filter) purely for mono work. I love the extra contrast and slightly surreal effects I can achieve with it.
Sony Alpha 7R

I’ve recently replaced my main kit with a Sony Alpha 7R mirrorless system. It’s lightweight, and the dynamic range and resolution are superb.
Zeiss Distagon T* 18mm f/3.5
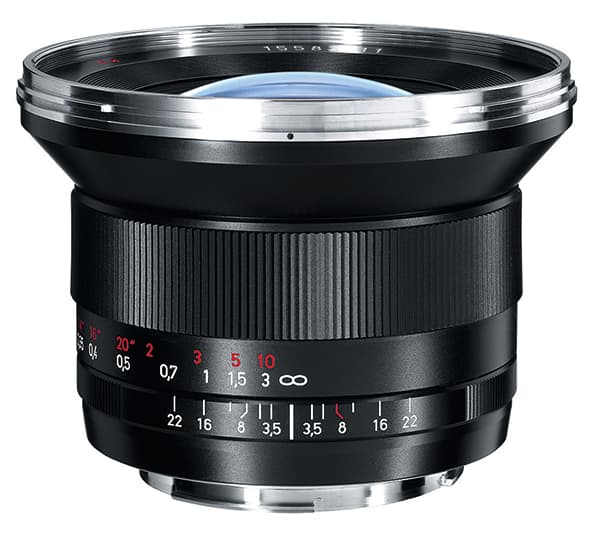
I use a Zeiss Distagon T* 18mm f/3.5 lens more than any other. It’s robust and beautifully built, and performs well in colour and on my infrared body.
Sonnar T* FE 55mm f/1.8 ZA
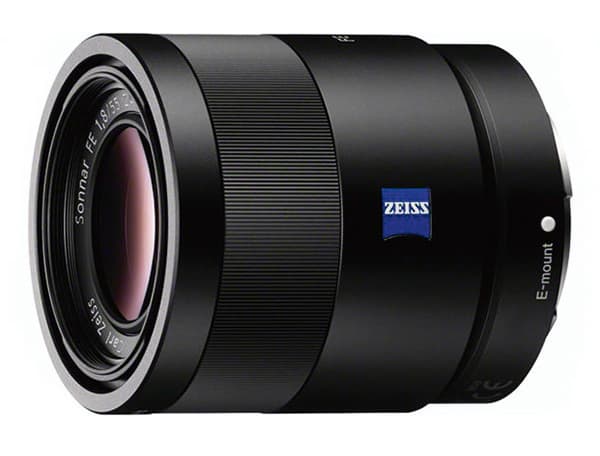
Lately I’ve found myself increasingly using a 55mm lens, and the Sonnar T* FE 55mm f/1.8 ZA is light, fast and pin-sharp.
Manfrotto head

I like a very stable tripod, and they don’t come much sturdier than a Gitzo. A geared head is a must for me; my favourite is the Manfrotto XPRO Geared 3 Way Head.
Lee Filters system
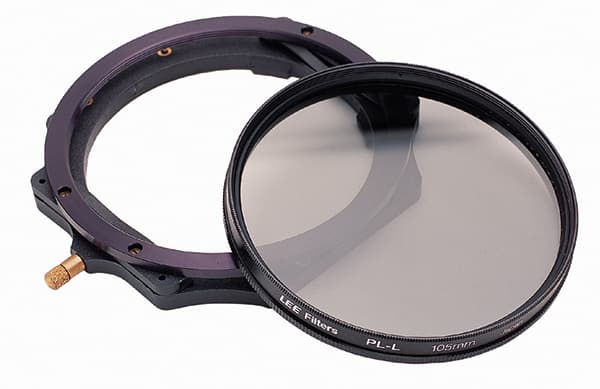
I still use filters for my black & white photography, in particular a Lee Filters circular polariser, which is useful for adding contrast to skies.
Alternative technique: Infrared
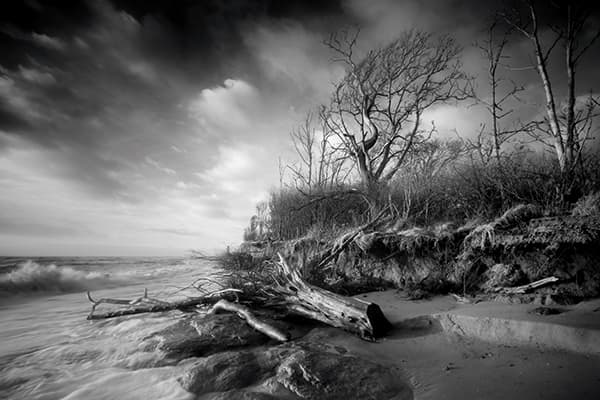
Haze is reduced and blue skies look particularly dramatic when shooting infrared
Shooting in infrared opens up a whole new dimension to black & white landscape photography. When using an infrared filter or IR-converted camera, most of the visible light is blocked, allowing only the infrared spectrum to reach the sensor. In practice, this can transform images and add a surreal, dreamlike quality to them.
Foliage becomes lighter, blue skies become much darker and atmospheric haze is reduced. This is often used to create the ghostly looking infrared shots most of us are familiar with, but it can also be used in a much subtler way to enhance contrast and alter the expected dynamics of light and shade within an image.
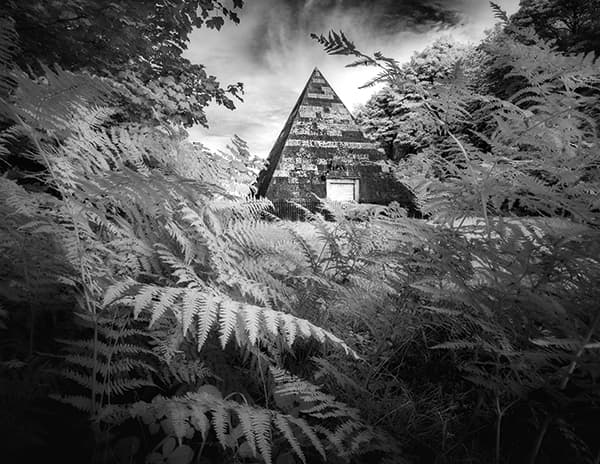
Make the most of infrared’s ‘bleaching’ effects on leaves and undergrowth
On a budget
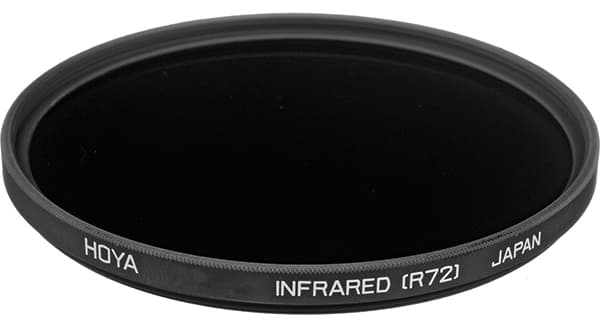
Converting a camera to infrared can be quite costly, and as it’s usually irreversible, it requires a second camera body. The advantages of a converted body are that you can preview the effect in live view, and the camera will operate at its usual shutter speeds. A much cheaper alternative is to use a screw-in filter such as a Hoya R72 Infrared.
Unfortunately, you will need to compose your picture before attaching the almost opaque filter to the lens, and shutter speeds are significantly increased to one or two minutes. This can prove problematic when shooting subjects that are prone to movement, such as foliage, but it’s also a good way to experiment with the technique.
5 steps to processing in B&W
Processing your black & white images well is vital to creating an impressive final image; it is also where you really get to add your creative input. Simply removing the colour and converting the image to greyscale will often lead to disappointing results, and can leave you with a rather flat and lifeless photograph.
Increasing the tonal range by adjusting contrast, highlights and shadows will add more punch to your images, and the use of dodging and burning alters the dynamics of a shot. A quick and easy way to do this in Lightroom is by adopting Graduated and Radial filters, which you can use to concentrate attention onto the parts of the image that are most important to your composition. The soft-feathered edges of these filters allow you to increase contrast, sharpness, light and shadow within specific areas in a subtle manner.
1. Original raw file
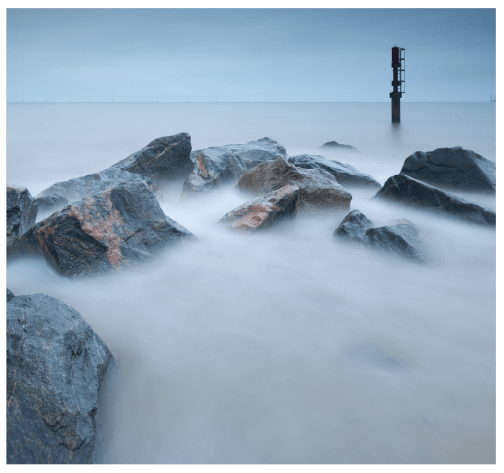
When shooting in raw, even if your camera was set to monochrome the file includes all colour information. Although the source file might look quite lifeless, this gives you better control over your final image and the ability to adjust tones more accurately.
2. Convert to B&W
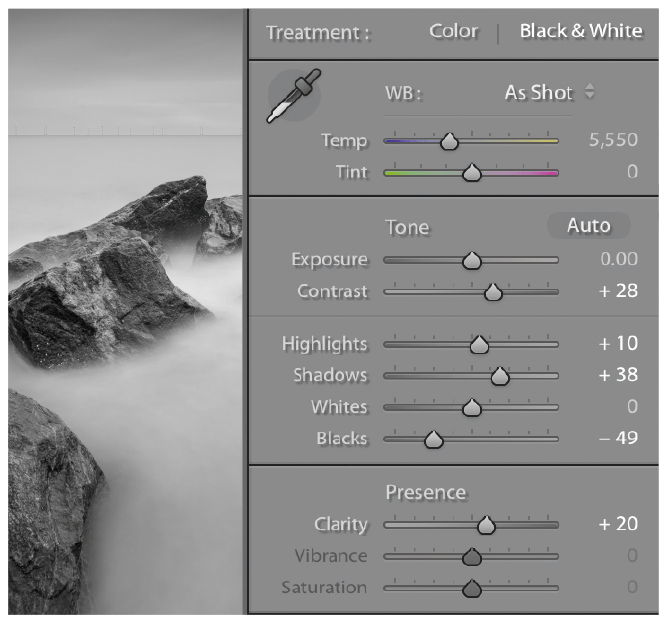
The first step is to switch the image to black & white in the Develop sidebar. Adjusting the Contrast, Highlights, Shadows and Clarity will start to lift the image, giving you a wider tonal range. You can also alter the tone of individual colours using the Black and White Mix sliders.
3. Graduated filters
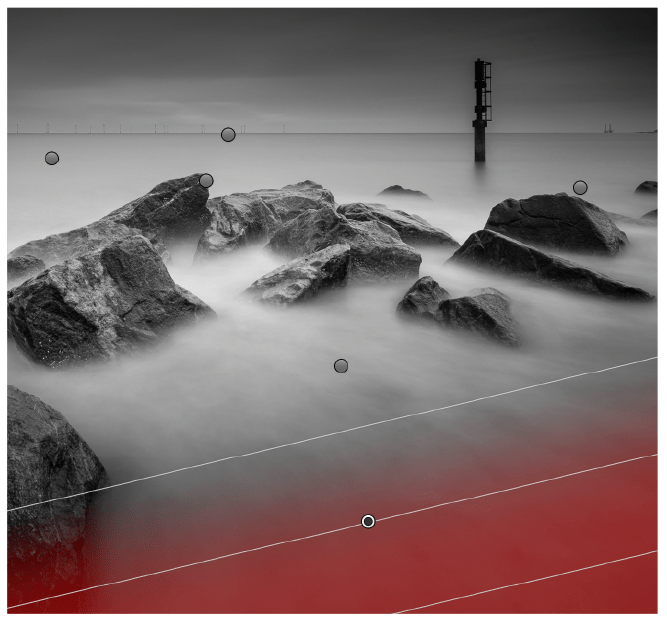
With the Graduated tool, start darkening or lightening specific areas of the image. Using several of these and coming in from different directions enables you to create a vignette effect, to draw the viewer’s eye to the important areas of the image. Hence, you can adjust the exposure and contrast.
4. Adding Radial filters
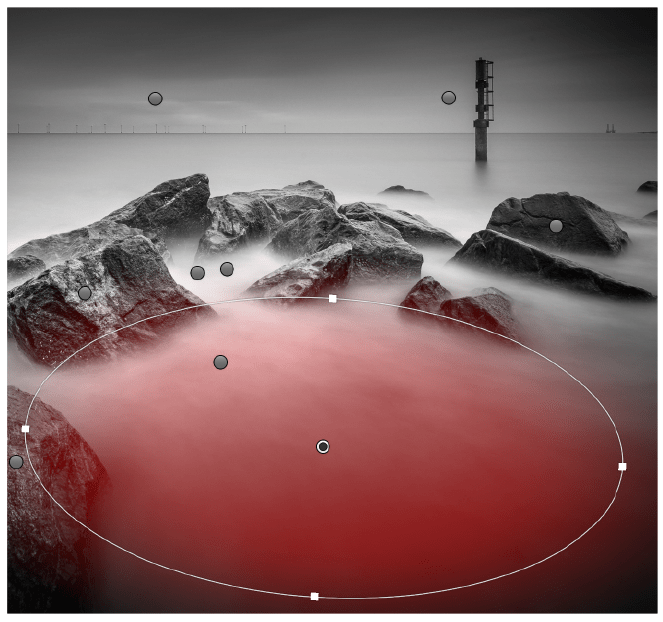
Whereas Graduated filters give you a sweeping effect, Radial filters are perfect for making adjustments to specific areas. They can be used to accentuate highlights and shadows, detail and textures, and are a good way to add depth and interest to the important areas of the photograph.
5. Final image
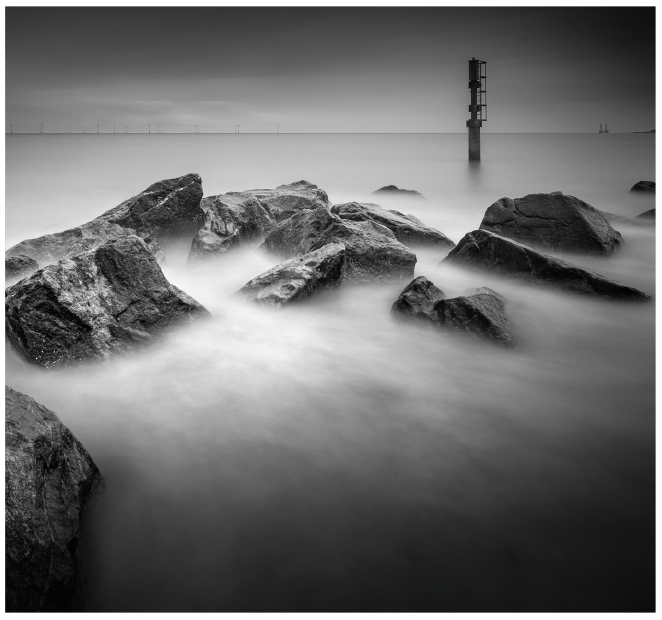
After some final tonal adjustments and finishing touches, such as sharpening, you can create stimulating and original images that will enable you to see the landscape in a whole new light. It’s well worth printing your best work – the tones and textures of mono can look wonderful in a nice frame.
About Lee Acaster

Based in East Anglia, Lee is an amateur photographer who has a love of landscapes. He is widely published and has won numerous national awards, including AP’s Amateur Photographer of the Year 2015 competition.
Website: www.leeacaster.com


