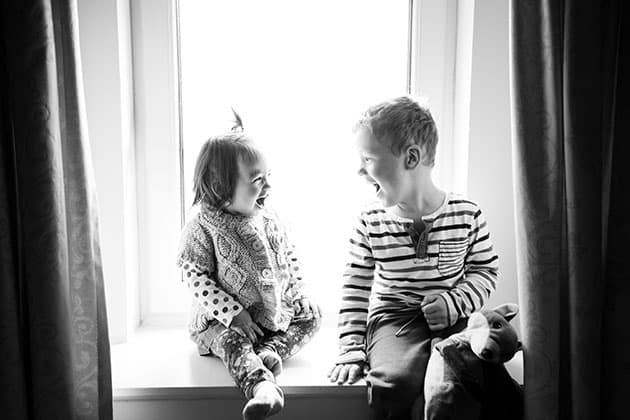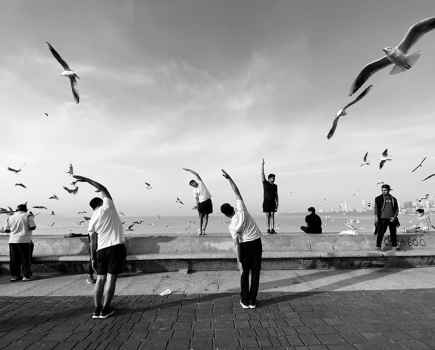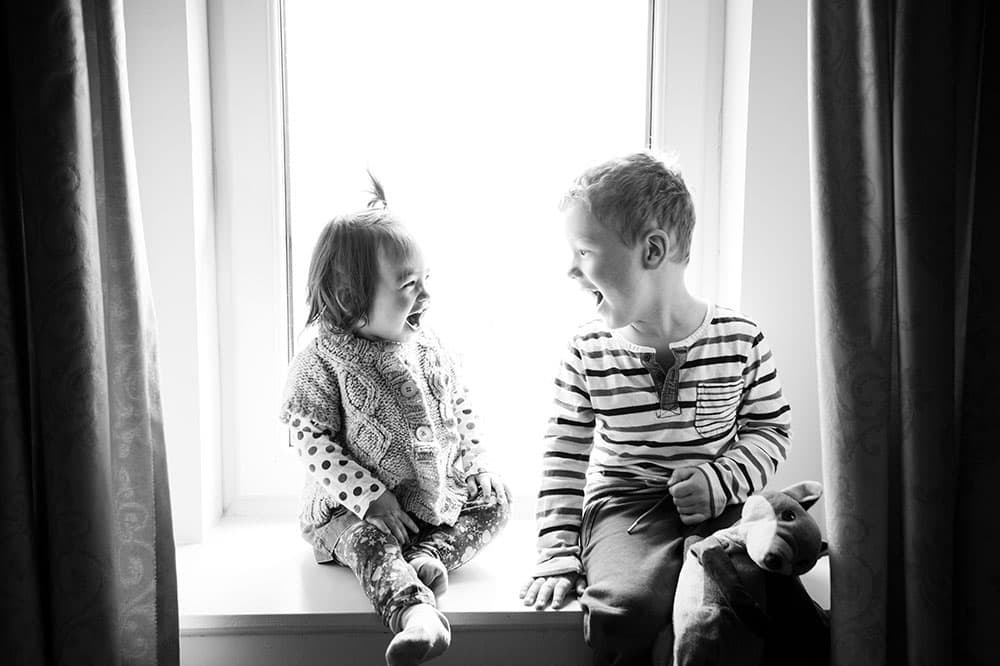
For candid portraits, shoot handheld for maximum flexibility. Credit: James Abbott
Shooting handheld is all about speed, convenience, spontaneity and, in some situations, to be less conspicuous. The ability to react quickly should never be underestimated and is essential for some genres of photography including sports, portraiture, street, some wildlife, wedding photography and many more. Basically, in these situations if your camera is fixed to a tripod you’ll be hugely restricted – a fleeting moment is lost forever if you are unable to respond to it.
The similarity here is that for standard shots of these subjects you’d generally use a shutter speed that’s fast enough to freeze movement, unless you’re panning a fast-moving subject or adding blur in-camera for creative effect. But even when freezing movement, it’s quite common to use the slowest shutter speed you can get away with to try to keep ISO as low as possible for optimum image quality, and this is the source of many challenges alongside autofocus and the ability to change settings subconsciously on the fly.
The human tripod
Everyone wants to take the sharpest shots possible unless you’re using a technique such as intentional camera movement. And with the correct settings and techniques, you can push your lenses to their limit and achieve sharpness in any situation. You’ve probably heard this before, but correct stance, hold and breathing are fundamental to taking sharp images.
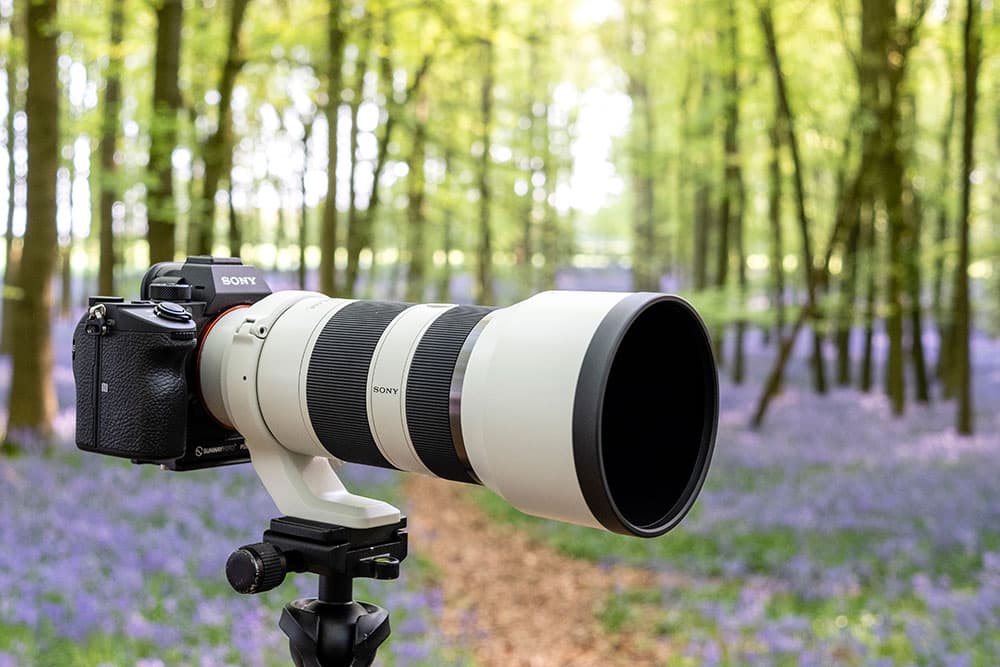
If you’re shooting at the slowest shutter speed you can get away with, with or without image stabilisation, you need to keep the camera and lens as steady as possible. To do this stand with your feet shoulder-width apart and tuck your elbows into the front of your body. Breathe normally, but release the shutter immediately after exhaling. When using a telephoto lens with a tripod collar, ensure the tripod mount is rotated to the top of the lens. This will allow you to comfortably hold the bottom of the lens to keep it stable.
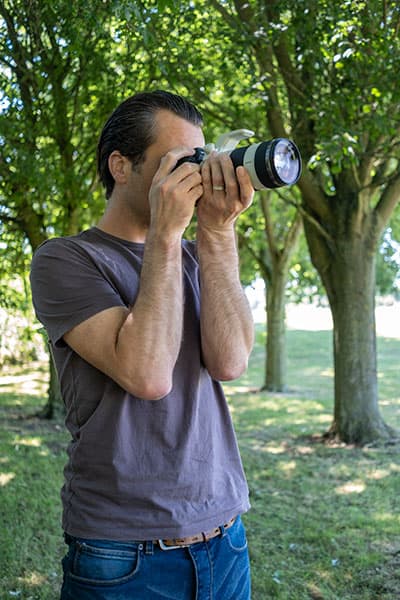
The correct posture, the way you hold the camera, and breathing all contribute to stability. Credit: James Abbott
Shooting in bursts
It’s often said that less is more, but when it comes to shooting at the extremes of settings such as aperture and shutter speed, more means more chance of a pin-sharp image. So never be afraid of shooting more images than you might normally to increase the chances of one of those images being sharp exactly where you want it to be.
Shooting in continuous burst mode has a reputation for only being used for action photography where you can take a series of shots and pick out the one that looks best. When you’re shooting with a wide aperture or slow shutter speed that’s borderline too slow, set your camera to continuous burst mode. Shooting in a burst of, say, three shots gives you a much greater chance of one being sharp and in focus.
The sweet spot
The sharpness of lenses comes down to a number of factors, and quality of the lens and cost will always sit firmly at the top of that list. But regardless of whether you’re shooting with a top-of-the-range pro option or the budget kit lens that came with your camera, all lenses share something in common and, that is, they all have a ‘sweet spot’.
The sweet spot is simply the point at which the lens is able to produce the sharpest image possible. Not to be confused with depth of field, this is sharpest in the focus area of any given lens and in most cases is a middle aperture of f/8 or f/11. Some lenses, such as the 85mm f/1.8, are often optimised for shooting at wide apertures, and with solid focusing technique can produce unbelievably sharp results even at wide apertures, although the sweet spot remains a middle aperture.
How high can you really go?
There’s no getting away from the fact that it’s always best to shoot at the lowest ISO setting possible to keep noise to a minimum, but there will be times when you have to crank up the ISO to achieve either a shutter speed fast enough to support handholding, or one fast enough to freeze a moving subject.
Modern cameras are impressive performers when it comes to high ISO, and you can shoot relatively clean images up to ISO 1600. As a benchmark, up to ISO 3200 can still look fairly clean when processed well, and for extreme situations ISO 6400 is usable, but noise is more problematic. Still, a sharp shot with a bit of noise is always better than a blurry image with no noise. One point worth noting is that the higher you go with ISO, the more the noise cuts into sharp subject edges and makes them appear less sharp.
Optimum sharpness is only a step away
Ask most professionals whether you should upgrade your camera to the latest and greatest model available or whether you should buy new lenses, and many will tell you to invest in the best glass possible because that will improve the quality of your images more than a new camera with a slightly better sensor. Lenses are unbelievably important because they’re the element of gear that creates the image on the camera sensor, so having the best lenses available for shooting your favourite subjects will always give you a head start.
There comes a time in every photographer’s life where you want to take your images to the next level, but you’re not quite sure how to go about it. Most of the time, it all comes down to just a few simple changes to your technique here and there, and you’ll see dramatic improvements in your photography.
So here are seven tips that will help you to get the most from your lenses, and ultimately take sharper shots.

Credit: James Abbott
1. Focusing macro handheld
Focusing is all about either pressing the shutter button to initiate autofocus, or manually turning the focus ring on the lens to bring the image into focus. While both of these points are true for macro photography there’s also another way, and that’s the rocking technique. When shooting at a 1:1 ratio the lens will be manually set to its minimum focusing distance, so to focus you have to gently move the camera backwards and forwards to bring the subject into focus – a bit like using a focusing plate with a tripod.
Credit: James Abbott
2. Auto ISO for sharper shots
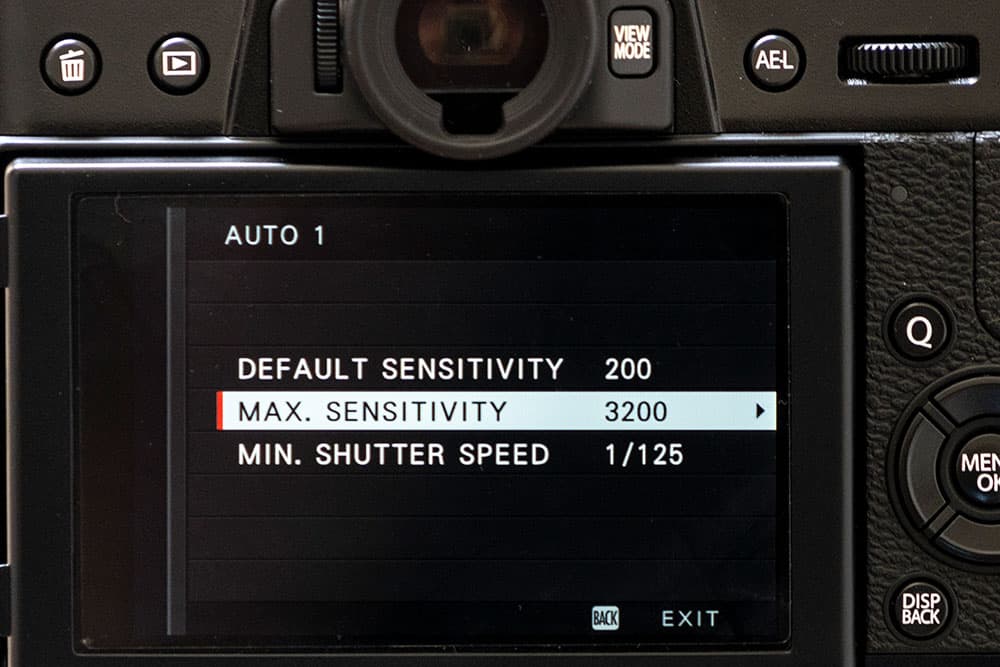
An essential setting for shooting handheld, auto ISO is a great way to ensure shutter speed is fast enough to avoid camera shake, even if you’re moving between indoors and outdoors. Auto ISO is a feature where the camera selects the most appropriate setting within a range set by you. All you have to do is set the ideal or lowest setting; the highest you’d like it to go to, for example, ISO 3200; and the minimum shutter speed that should be set.
Credit: James Abbott
3. Successful AF in all situations
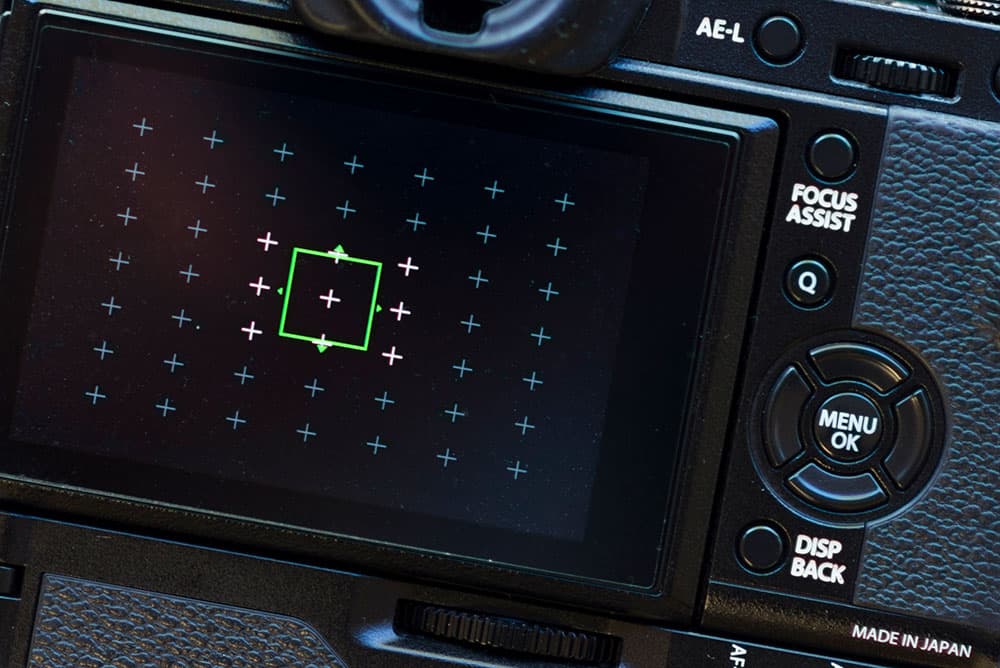
Generally speaking, having a single AF point active offers the best blend of convenience and control because you choose the point of focus. If shooting a static subject set the AF mode to single shot: so, once the shutter button is depressed halfway, focus will lock onto the subject behind the active focus point and remain locked until released. For moving subjects, use continuous AF – the camera will continually focus on a moving subject while the shutter button is depressed halfway.
Credit: James Abbott
4. Fast prime lenses for low light
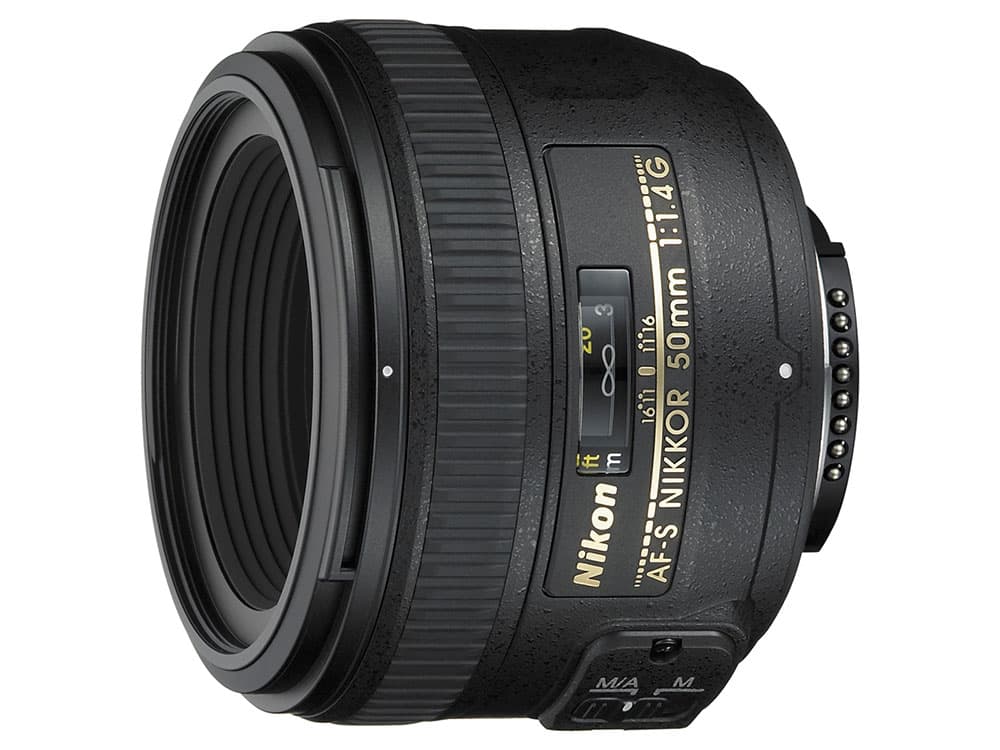
When it comes to shooting street or portrait photography in low light, or indeed in any light, fast prime lenses are the perfect way to keep ISO settings as low as possible while using differential focus to highlight the subject. When shooting in low light, the ability to shoot at f/1.8 rather than the kit lens average of f/5.6 when set to 50mm is a difference of two stops. In practical terms, that’s the difference between shooting at ISO 1600 rather than ISO 6400.
Credit: James Abbott
5. Image stabilisation
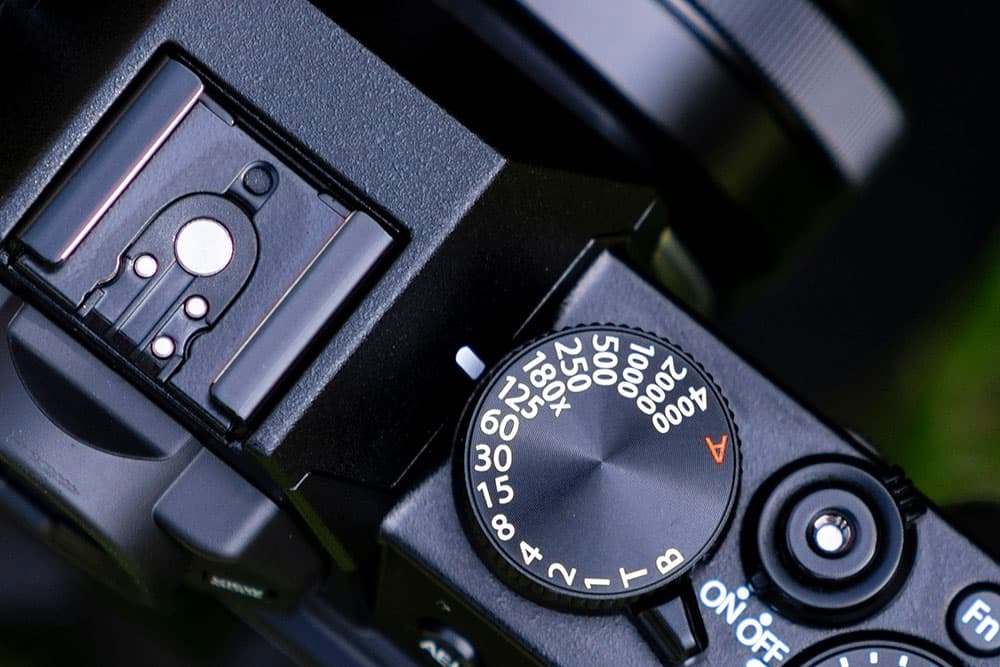
Image stabilisation allows you to shoot at slower shutter speeds than you would normally be able to without it. If your lens offers it, type 1 is for general subjects and type 2 is for panning. Lenses with just an on/off switch only have type 1. When shooting with your camera on a tripod it’s imperative that you switch off image stabilisation. If left on, the IS detects its own tiny movements, even though the camera is completely still, and moves even more to compensate which results in blurring.
Credit: James Abbott
6. The focal length/shutter speed rule
You’ve probably heard of this rule of thumb, but it does provide a good starting point for shutter speed and lenses so it doesn’t hurt to cover it again. It’s said that the shutter speed you shoot with should match or exceed the focal length of your lens to avoid camera shake. So, if you’re shooting at 50mm you’d need 1/60sec minimum, and at 200mm you’d need 1/250sec minimum. It’s a crude rule but works well as a guide when you’re shooting with or without image stabilisation.

Credit: James Abbott
7. Panning fast-moving subjects
Panning is a great way to add dynamism to action shots. Hold your camera and stand in the way we suggest and set the AF mode to continuous. Use shutter priority and set an appropriate speed for the subject. Next, track the subject with the active AF point as it passes you with the shutter button depressed halfway. Release the shutter and continue to smoothly track the subject. In this panned shot (far left) the subject is sharp; the other is not.
Subjects that are best shot handheld
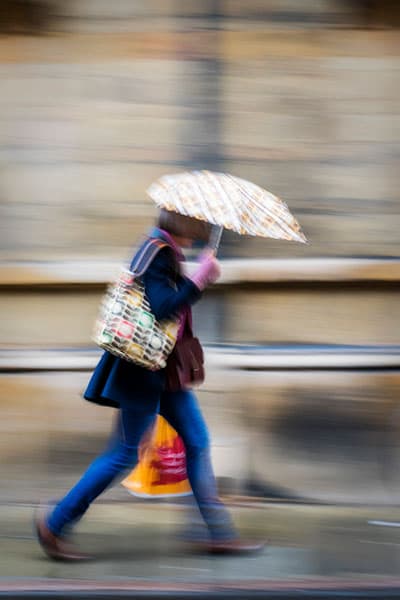
The use of image stabilisation was essential for this street panning shot. 1/8sec at f/11, ISO 800. Credit: James Abbott
Street and reportage
When you’re out shooting on the street the last thing you want to do is draw attention to yourself when taking clandestine photos of strangers. Not only would a tripod be too static, it would also stick out like a sore thumb. One trick some street photographers use is to have their camera on a strap around their neck and shoot blind, while others quickly raise the camera to their eye to compose and shoot in one smooth, split-second motion. If, when using this technique you do get ‘caught’ by the person, looking thoughtfully beyond or above them and taking another shot will, most often, make them think you’re actually focused on something else.
Sports and action
The ability to respond to fast-moving subjects with speed and ease means shooting handheld is often the best way to work when shooting action. However, if shooting for long periods of time with a large and heavy telephoto lens, a monopod or gimbal tripod head offers flexibility and support. These are great and sometimes a necessity, but still more restrictive than handholding the camera. If you’re shooting with a more compact telephoto, such as a 70-200mm, 70-300mm or 300mm prime, these lenses are light enough to shoot handheld for long periods so you shouldn’t have any problems. Another option is to place a beanbag on a wall, fence or barrier and rest the lens on this.
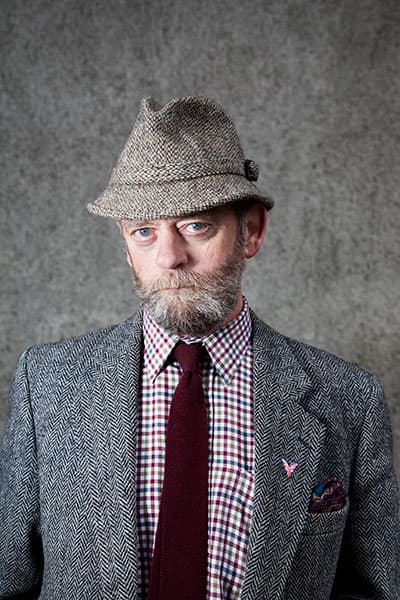
Frame and compose portraits with speed and ease handheld. Credit: James Abbott
Portraiture
When you’re shooting portraits, the subject may not be moving around a great deal, but having your camera attached to a tripod will slow down and restrict your shooting. It’s always better to shoot handheld because this will allow you to move forwards, backwards and to the sides to create new compositions and crops, as well as allow you to shoot with the camera at different angles. If you’re worried about shots being level, most cameras have some kind of virtual horizon that’s visible in the viewfinder. DSLRs often use the exposure scale at the bottom, while mirrorless cameras are able to display a full virtual horizon in their EVF.
Kit list
- Prime lens Everyone needs a nifty fifty, not least because the wide aperture helps to keep ISO settings down in low light.
- Mini tripod Pocket-sized mini tripods are a great way to add stability without the weight and bulk of a full-size tripod. [Such as the 3LT Iggy or Manfrotto PIXI]
- Monopod Combine a monopod with image stabilisation and you can shoot at shutter speeds as slow as 1sec.
- SteadePod While not as effective as a monopod, this pocket-sized contraption will help you remain steady at standing height.

