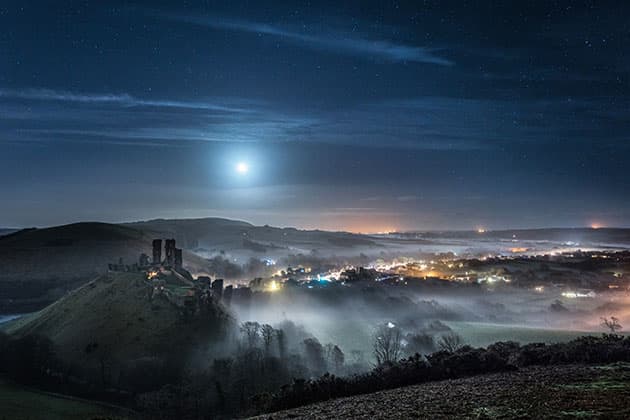
As beautiful as the moon is, it can be tricky to photograph in combination with the landscape, especially in the dead of night. Making the most of strong artificial light, such as that produced by an urban cityscape, usually makes things easier. The intense light of streetlamps, houses, roads and factories helps to balance the exposure, highlights and overall scene, allowing the surface detail of the moon to be exposed correctly – although often two exposures are still required. It becomes a far more complex task if you intend to incorporate this glistening rock within a rural landscape.
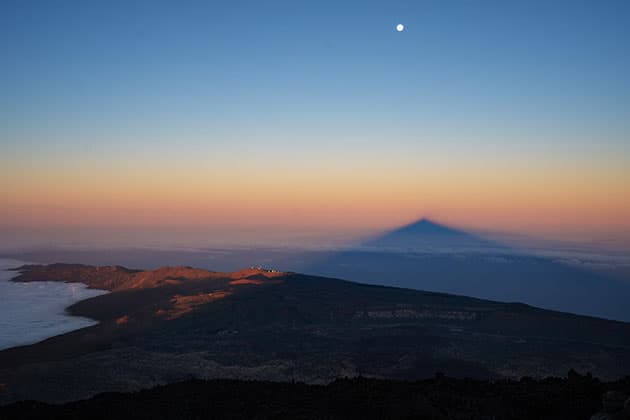
Sunset over Gran Canaria and the Atlantic Ocean from Tenerife’s Mt Teide, Spain. Sony A7 III, 16-35mm, 1/400sec at f/5.6, ISO 250. Credit: Ollie Taylor
Planning and the golden hour
I’m usually a bit of a night owl, but I will make an exception and venture out in the daylight for a shot of the moon during the golden hour (the periods pre and post sunset). Naturally, planning is crucial to a successful shoot, and a quick look at the PhotoPills app (see kit list) will tell you everything you need to know, from the phase of the lunar cycle, to the moon’s trajectory and elevation, and the time
it will rise and set in relation to the location you select. PhotoPills also enables you to pinpoint your elevation in relation to sea level and your target landmark height and distance, allowing you to work out approximate moon size versus focal length, and how long it will take to rise over landmarks. For me, the golden hour is one of the most rewarding times of the day to shoot the moon over the landscape, and technically it’s one of the easiest times to tackle this subject too.
Shooting during the golden hour has a number of benefits: the moon is clearly visible as the sun dips and the land will still be amply lit, enabling an exposure that will record sharpness in the moon’s surface – if needed, the landscape can always be lifted a little in post-production. During the golden hour, you can shoot a single frame, expose for the moon and the landscape will usually take care of itself. Avoid using graduated filters as they will lead to longer exposure times, decreasing the probability of a sharp moon surface. Bracketing by a stop or two either way is often good practice.
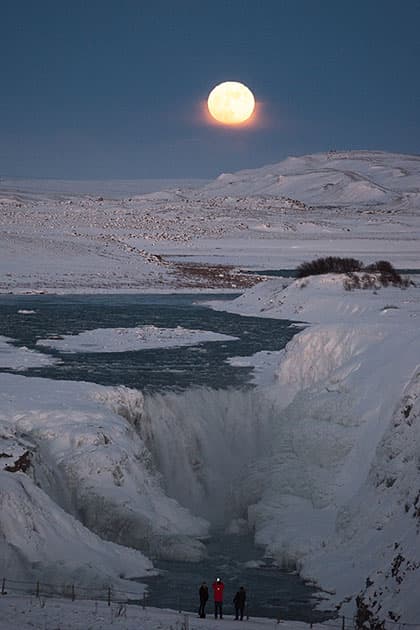
The Super Moon rising over Gullfoss, Iceland. Nikon D750, 200-500mm, 1/200sec at f/5.6, ISO 2000. Credit: Ollie Taylor
Dark sky technique
There are various techniques that will enable you to shoot the moon in total darkness, though it can be very tricky to achieve this within a rural, unlit landscape. Once total darkness falls, there is a drastic difference in exposure between the moon’s surface and the landscape. Unfortunately, grads won’t help at all as they won’t block enough light to bring out the landscape while keeping the exposure of the moon correct. If multiple grads are used then the moon will simply appear blurry owing to the long exposure time.
Realistically, there are two ways to shoot the moon and the landscape together. The first requires a double exposure: a short one for the moon, and a longer one for the foreground. When attempting this technique, be sure to watch out for any reflecting moonlight on the landscape, as the moon moves extremely quickly through the sky, so the two exposures may not align. Again, any artificial light can lend a helping hand here by decreasing the exposure time required for the landscape. But, truth be told, it’s extremely difficult to combine the two exposures effectively.
The second technique involves taking a grey card, setting a long exposure for the landscape, placing the grey card over the moonlit part of the sky, and then moving it just before the end of the exposure (in the final second). Once mastered, this method works better than shooting two exposures as you can slowly move the card upwards, seamlessly blending the sky. It takes practice, as the blend in the sky can be somewhat uneven at times, and by no means will this achieve a razor-sharp moon surface.
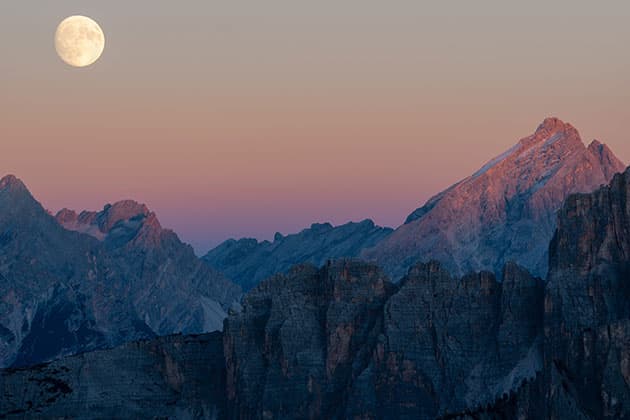
Last of the pale pink sunlight over the Dolomites in Italy. Nikon D810, 120-400mm, 1/40sec at f/8, ISO 125. Credit: Ollie Taylor
Twilight and moonlight
Shooting in twilight is a little more forgiving, as dusk and dawn illuminate the landscape with ambient blue light, thus helping you to balance your exposures. For optimum results, you need to learn about the different kinds of twilight. Personally I find that nautical twilight and astronomical twilight provide the best results, with beautiful deep blue hues. At this point the stars are becoming visible, so if you’re using a wideangle lens (and you’re not worried about recording detail in the surface of the moon) be sure to calculate your shutter speed and focal length for the stars that are visible, or you will suffer star trail. Studying lunation, and gauging what phase the moon will be at during your shoot, will help you to plan for different elements such as exposing within the twilights for earthshine.
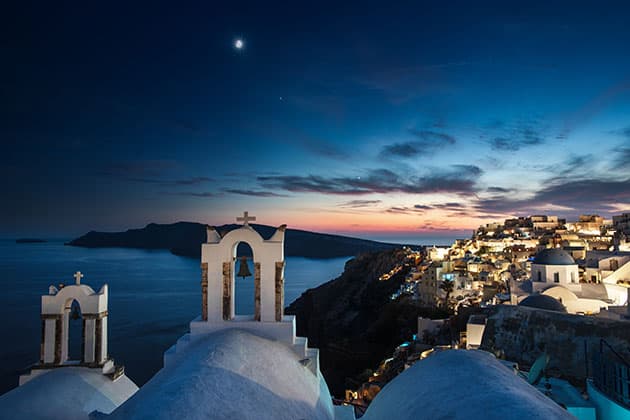
Planning allowed me to capture this world famous view of Oia, Santorini. Nikon D750, 20mm, one exposure for landscape (4sec at f/8, ISO 100), one exposure for sky (13sec at f/2.2, ISO 1600), blended in Photoshop. Credit: Ollie Taylor
Pushing the boundaries
Venturing out night after night, and becoming submersed in the moonlit landscape, is incredibly rewarding. The more experience you gain, the further you can push the creative boundaries.
Photographers often try to keep urbanisation out of their landscape images, with the occasional quaint village sneaking into rural scenes. But as we have seen, these extra light sources can work in our favour. Often, artificial light combined with moonlight can enhance the mood of a shot, casting shadows and giving depth.
Our planet’s moon is an unpredictable beast of a light source. On clear nights the landscape can be exposed with relative ease, while on overcast nights the light penetrates and illuminates the broken clouds and landscape.
In order to successfully incorporate the moon in your landscape imagery – either as a light source or significant feature – you need to familiarise yourself with your location, make a few calculations, and have a genuine understanding of what you are trying to achieve. With a little preparation you will soon be creating breathtaking, moonlit imagery.
Credit: Ollie Taylor
Why it works
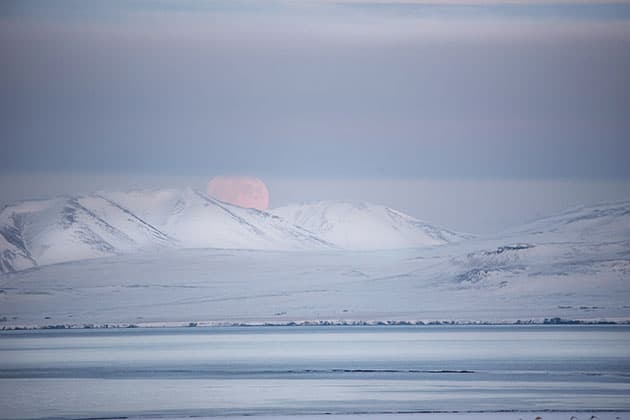
Landscape photography that incorporates the moon requires planning: understanding exactly where and when the moon will rise, and where you can position yourself. Desk-based study, combined with the PhotoPills app or similar, will help you to map out a vantage point. This shot of a Super Blood Blue Moon, taken at Hunafjordur Bay, North Iceland, was planned a few days in advance. It uses a 20km view over the bay to good effect.
Ollie’s top tips
Credit: Ollie Taylor
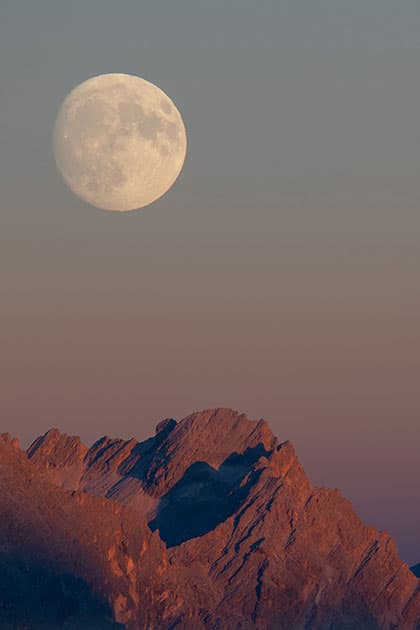
Plan for the golden hour
Plan your shots to take advantage of the atmospheric light around the golden hour. This shot of the Dolomites shows the golden hour over Croda da Lago ridge in Italy. The viewing distance from the subject (the ridge) was approximately 8km.
Credit: Ollie Taylor
Try the dark sky technique
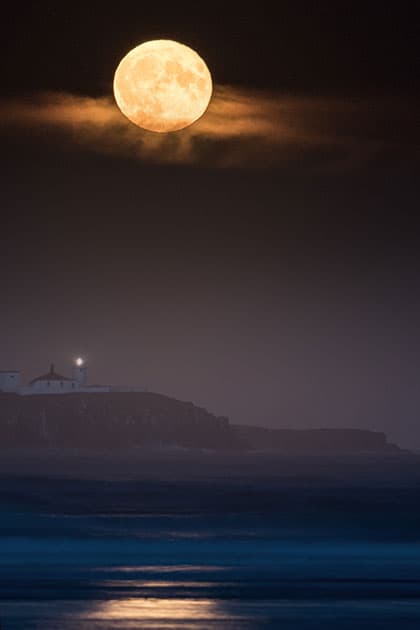
Moonrise over Inner Farne Island Lighthouse, Northumberland. For this shot the viewing distance from the subject was approximately 5km. I used the grey-card technique – removing it from the top part of the frame during the last second of the exposure.
Credit: Ollie Taylor
Get to know your twilights
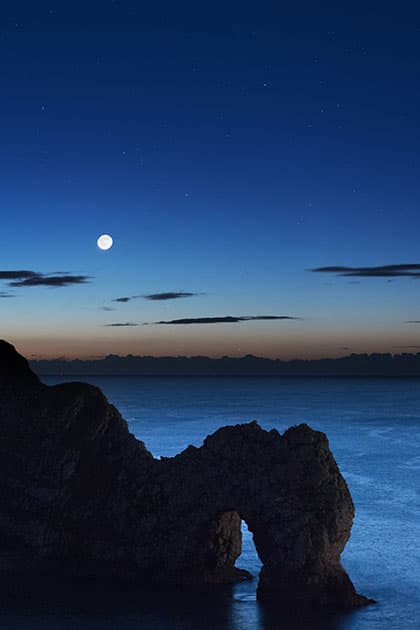
Taken during a crescent moonrise at dawn (nautical twilight), this image shows earthshine over the arch of Durdle Door in Dorset. The final picture is the result of a six-shot multi-row panorama, and the viewing distance was less than 1km away.
Ollie Taylor
Make the most of apps
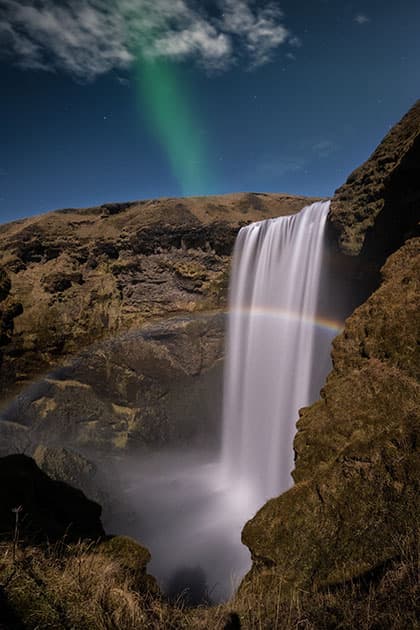
For this image I used the PhotoPills app to calculate the time and angle of the moon to achieve a lunar rainbow and aurora over Skogafoss waterfall in Iceland. The exposure time was 13 seconds, which gave a lovely sense of movement to the water.
Credit: Ollie Taylor
Experiment with strobes
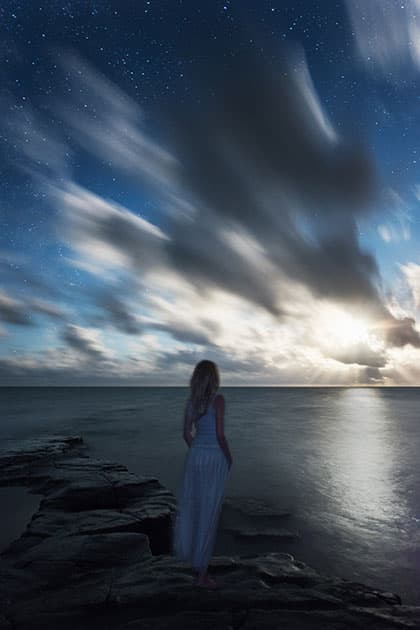
One still, cold model captured using two strobes (dampened) at Kimmeridge Bay in Dorset. This picture required a 30-second exposure to create the fast-moving cloud effect and to show the star trails dazzling brightly in the sky.
Kit list
- PhotoPills app The PhotoPills app is a night photographer’s holy book, offering all the information you need for a successful shot, from the phase of the lunar cycle, to the time of rise and set and details of twilight phases. The app is very precise, which is why I teach clients how to use it in almost all of my workshops.
- Remote trigger A remote trigger is essential for a razor-sharp surface shot of the moon, as you need to avoid touching the camera at all costs. If you don’t have one to hand, you might be able to use the in-camera timer, depending on the technique you’re using.
- L-bracket To prevent camera movement you need to keep everything steady using decent, sturdy kit. A tripod with the legs splayed well out is preferable, with an L-bracket fixing the camera to the tripod for speed, stability and flexibility.
- Event planning It pays to know what’s occurring and when. To find out when astronomical events such as supermoons, blood and blue moons, solar and lunar eclipses will take place, visit timeanddate.com. This website is an excellent place to find future lunar info.

