

Claire Gillo shares her top tips for re-creating a pinhole camera and how to develop your own film.
What is a pinhole camera?
A pinhole camera is simply a box or container that uses a literal pinhole for an aperture. Light enters the hole and projects an inverted image of the scene onto the back of the container. Photographic paper or film can then be used to record the projected image and create some brilliant and artistic results. It really is as simple as a camera can get, and is great fun to try as a break from your best camera for photography.
The principle of pinhole photography has been known for centuries. Back in the 18th Century the popular camera obscura became widely used, using the same principle. Only with the invention of photography in the 19th century, however – when images could be fixed – could a pinhole camera first record a permanent photograph.
There are many different ways to create a pinhole camera; the way we describe being one of several. The most important things you need are: a light proof box; then a pinhole lens; and thirdly, some means of recording the image.
You can push the boundaries and think outside the box (excuse the pun!), too. The master of Pinhole photography is Justin Quinell, who has taken this art form to a different level. His work is worth exploring for inspiration.
In our tutorial we’re using film, though you could use photographic paper if you prefer. The advantage of using paper over film is that it can be loaded and developed under a safe red light, whereas film requires complete darkness.
If you are new to developing your own film at home, then watch this before you begin as it will be of great help at the later stages.
How do I make a pinhole camera?
To make a pinhole camera you will need the following:
- A box to make your pinhole camera from
- Black tape (Gorilla tape is amazing!)
- Black paper to line your box
- Sharp knife
- Pin or needle (we used a size 10 needle)
- Scissors
- Roll of film – (we used a B&W roll of Ilford HP5) or you could use photographic paper instead (you will need paper chemical instead of film developing kit)
- A dark room (this can simply be a room in your house that you can black out)
- Developing tank
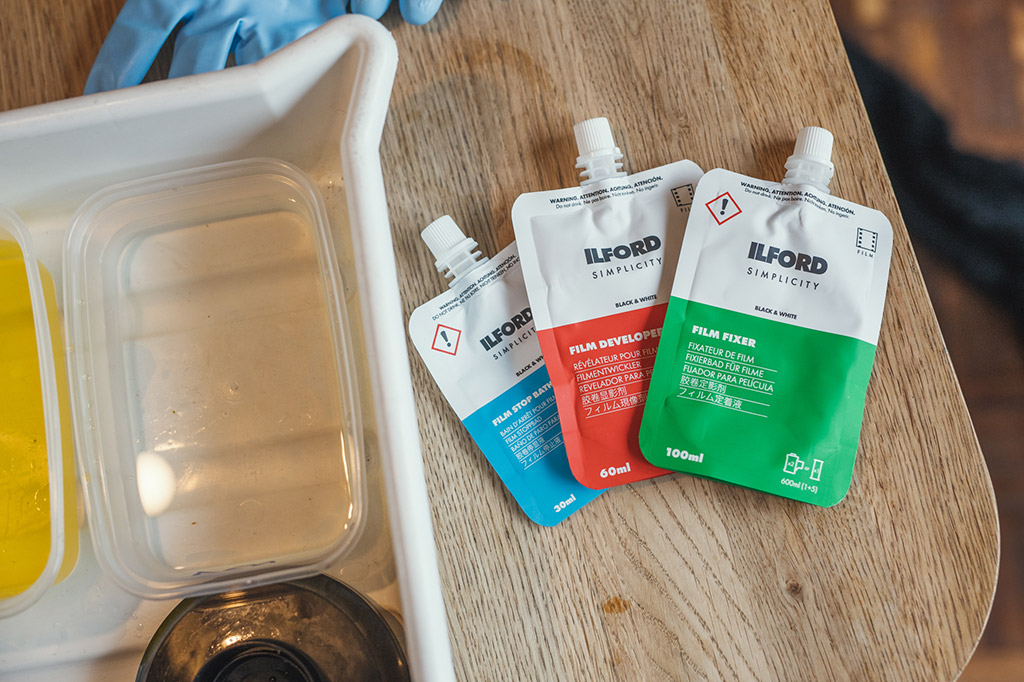
- Chemicals to process film (we used Ilfords starting pack which can be purchased from a number of online outlets)
- Pegs for hanging your film
- Containers x 3
- Tray
- Measuring jug
- Pen and paper – make note of what you do, exposure times so you can keep tweaking the result
- Gloves
- Scanner if you want to digitize your pinhole images (we used the Epson V600 film scanner)
Step by step guide to making and shooting with your pinhole camera
1. Lightproof box
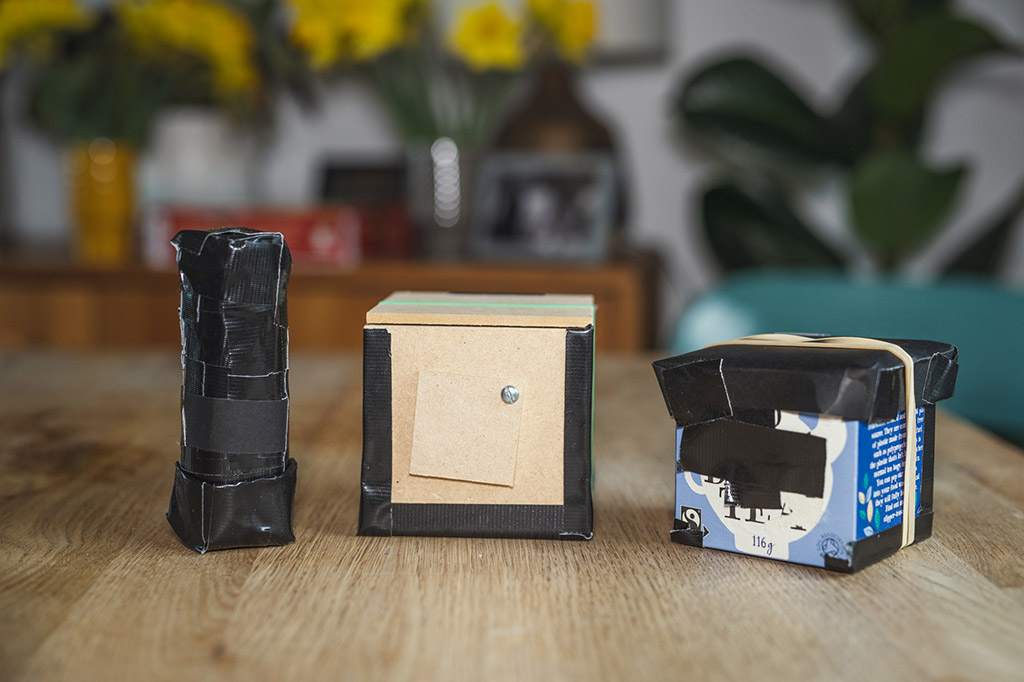
Start by making your pinhole camera. We made three in total from different materials.
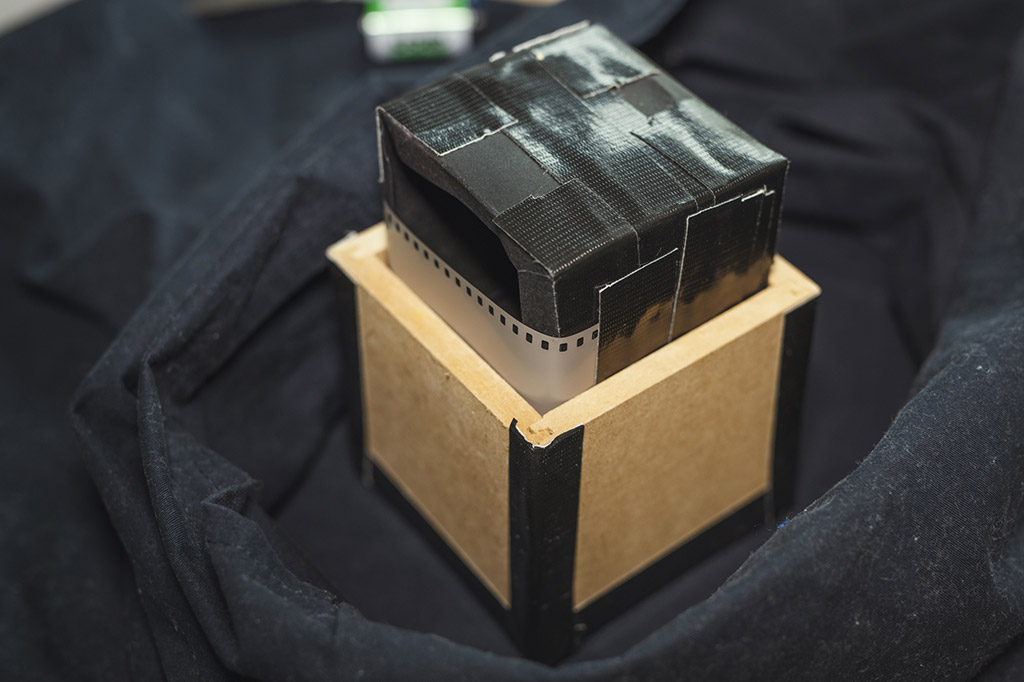
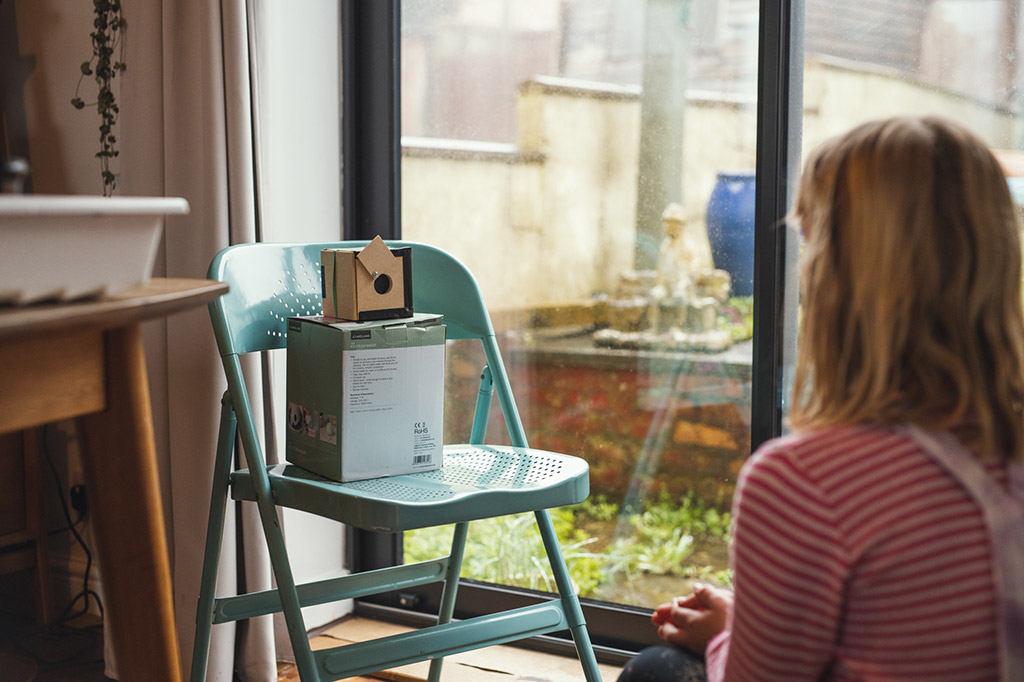
The first is from wood and was prefabricated. We simply constructed a cube box and taped it together. The design uses a removable black card box liner that has no back. This is where the film or paper is inserted. If copying this design, make sure the insert black liner fits snugly inside the main box to avoid light leaks.
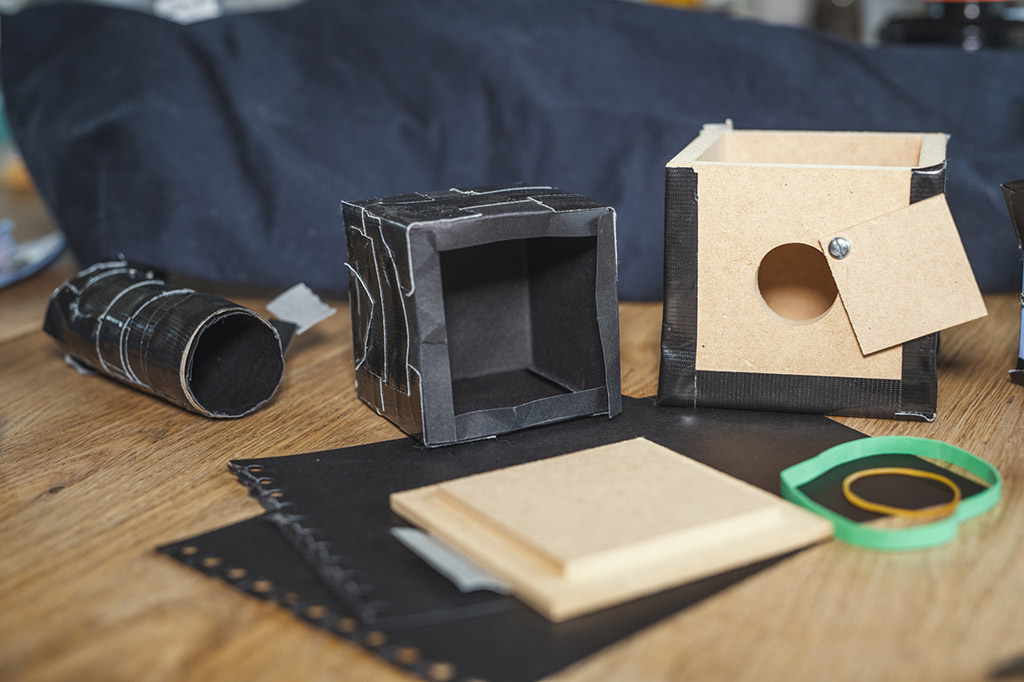
Another pinhole camera we constructed was from a kitchen roll cardboard tube lined with black paper, and the third pinhole we made came from a cardboard box for teabags. It uses the same liner method as the wooden pinhole camera above. We lined extra black card around the back of the box as the card is quite thin.
Keep in mind that the box needs a removable lid that is also light-proof when secured in place. We used a couple of elastic bands to keep the lids secure!
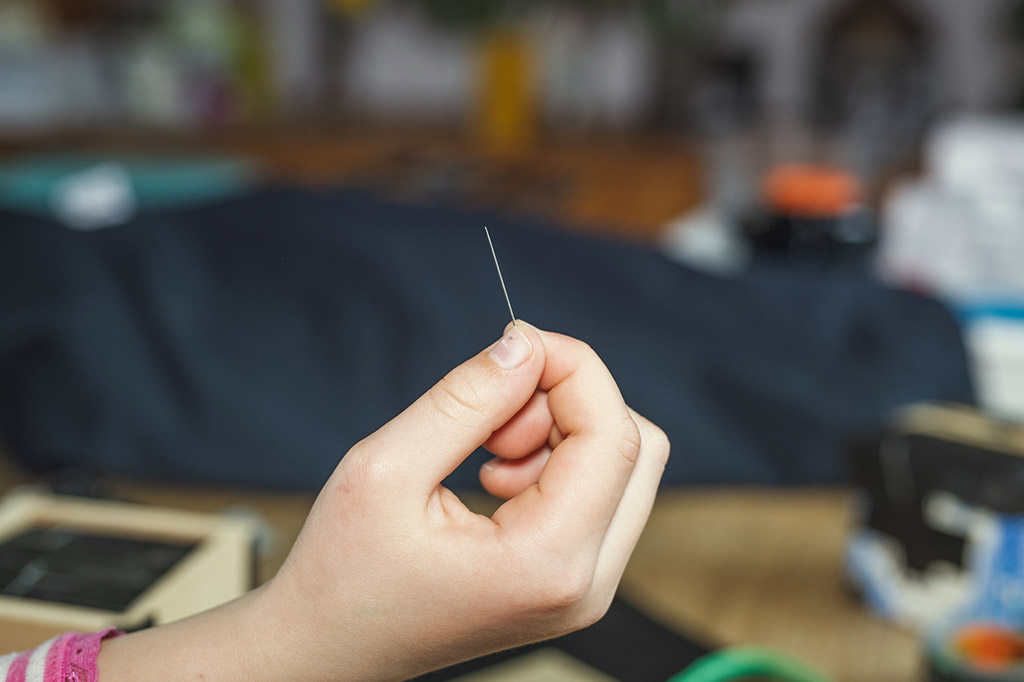
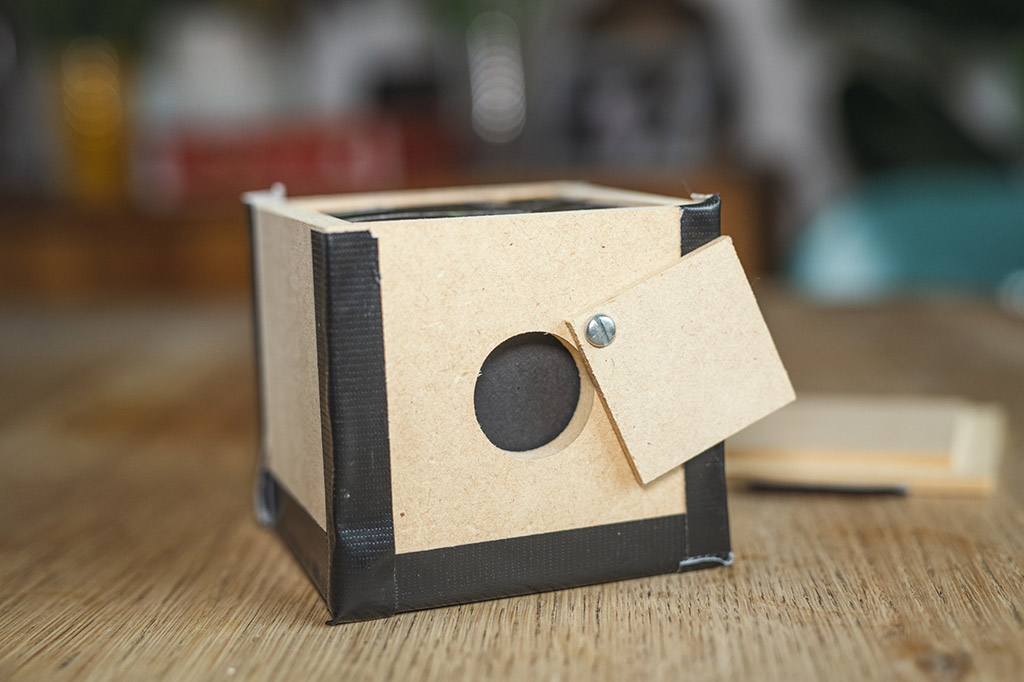
2. Make a pinhole
Once satisfied that your box is light-proof, on one side cut a coin sized hole using a sharp knife. Insert your box liner with the open back side, opposite to the hole you have just cut out. Make a tiny clean hole in the centre using a needle. If you go wrong simply tape over it with black tape and insert another.
If your pinhole camera doesn’t use the removable box liner method, and you’ve light-proofed your box another way – tape black card over the coin sized hole, secure around the edge with black tape, and pierce the card with the needle. This is your lens.
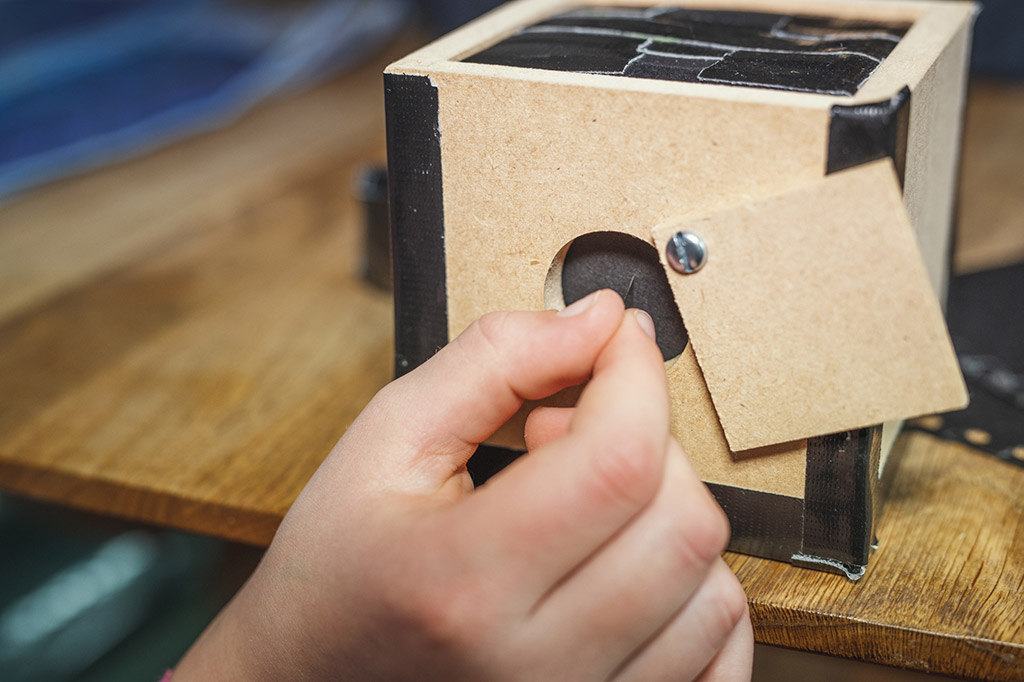
3. Shutter
Now it’s time to think about the shutter – how your camera is going to stop and let light in. Our shutter is simply a piece of wood that can be pushed aside and put back over the pinhole. Yours could be made from wood, cardboard; or any material you like as long as it is light-proof and can be removed and secured back over the pinhole.
4. Load film into camera
Note: for the purposes of these ‘doing shots’ pictured, we’ve taken them in daylight. In reality, you will need to do this part in complete darkness! We also put our camera and film inside a black pillow inside a blacked out room to ensure there were no light leaks.
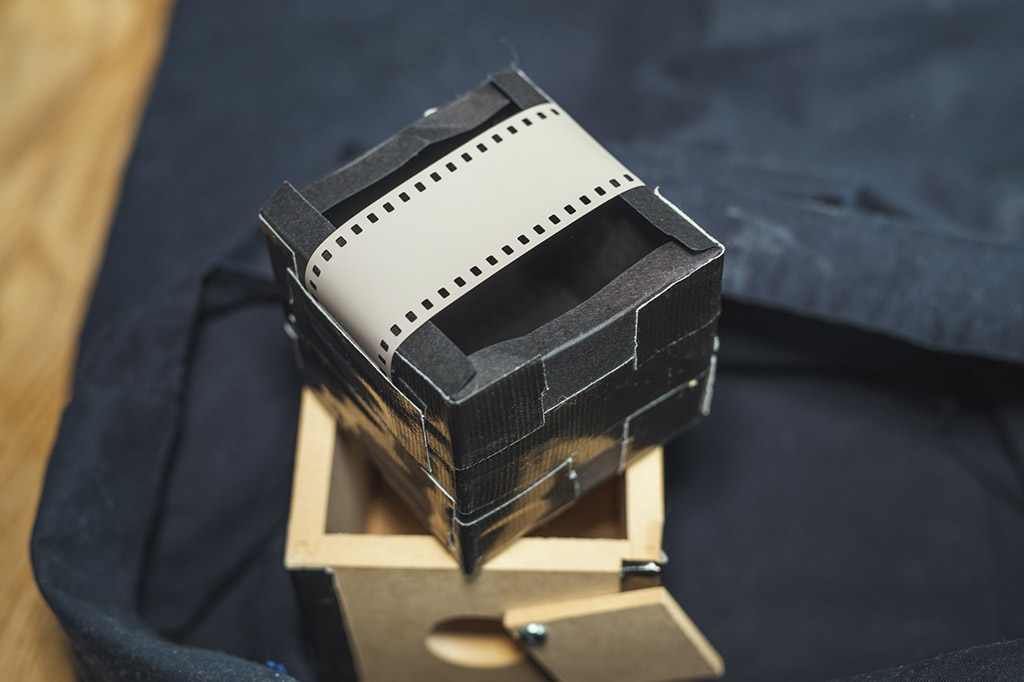
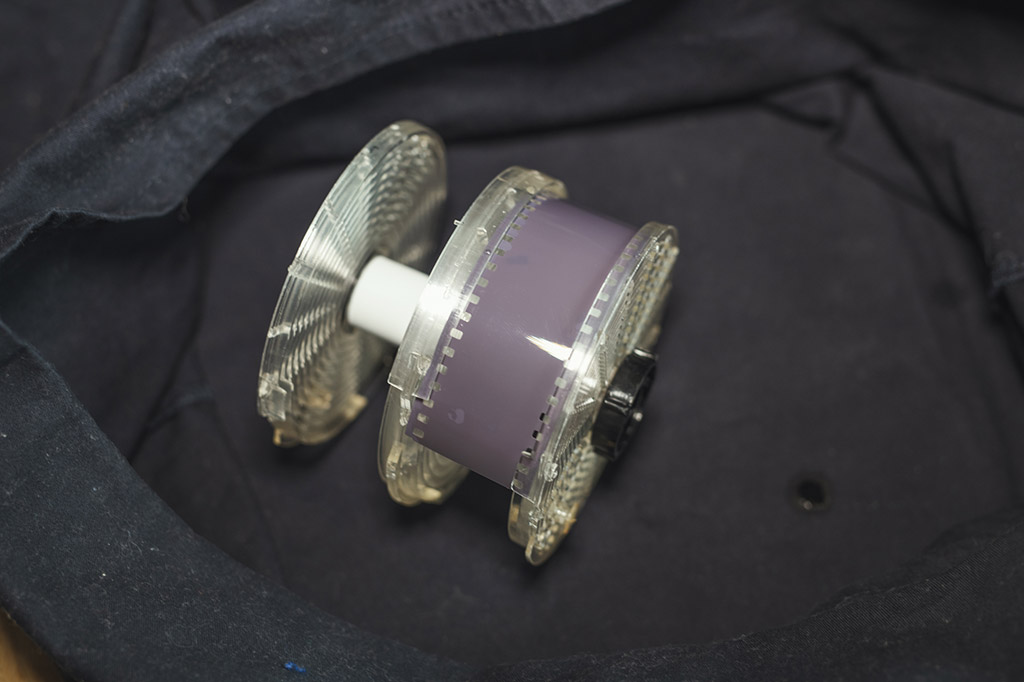
Tape the film to the side of the liner, (you can do this first part with the light on but then turn the lights out), then pull the film around the open back of the liner, cut the film and then tape it in place on the other side. Once your film is loaded, put the liner back into the box and secure the lid in place. You can now turn on the lights (make sure the shutter is closed!)
5. Shoot
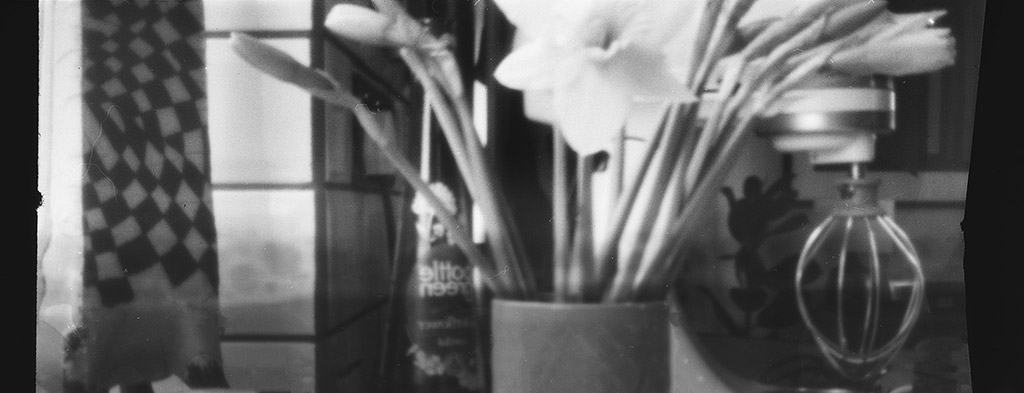
It can be tricky to know how long to expose an image for, as it depends on light conditions and the sensitivity of your film. We were shooting indoors on an overcast day, which needed a long exposure time of 5 minutes. This took a few attempts and we made notes as we went. Timing is something you will have to experiment with.
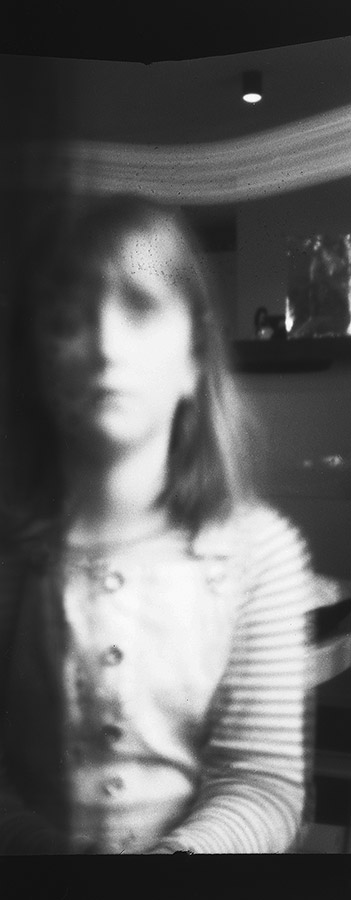
Also, experiment with what subject matter you can capture. Still life is an obvious choice but long portraits can be fun to shoot too – even if they are blurry!
6. Load your film
Once you’ve exposed your shot you will need to go back into the darkroom and load your film onto the reel and into your film tank. Again for the purposes of this tutorial these ‘doing shots’ have been taken under daylight conditions but remember you’ll need it pitch black! Have everything ready and set in place and do a couple of practice runs in the light to ensure you know how your film feeds onto the reel. Once you have your film secure in the developing tank and the lid on you can now come back into the light.
7. Mix up the chemicals
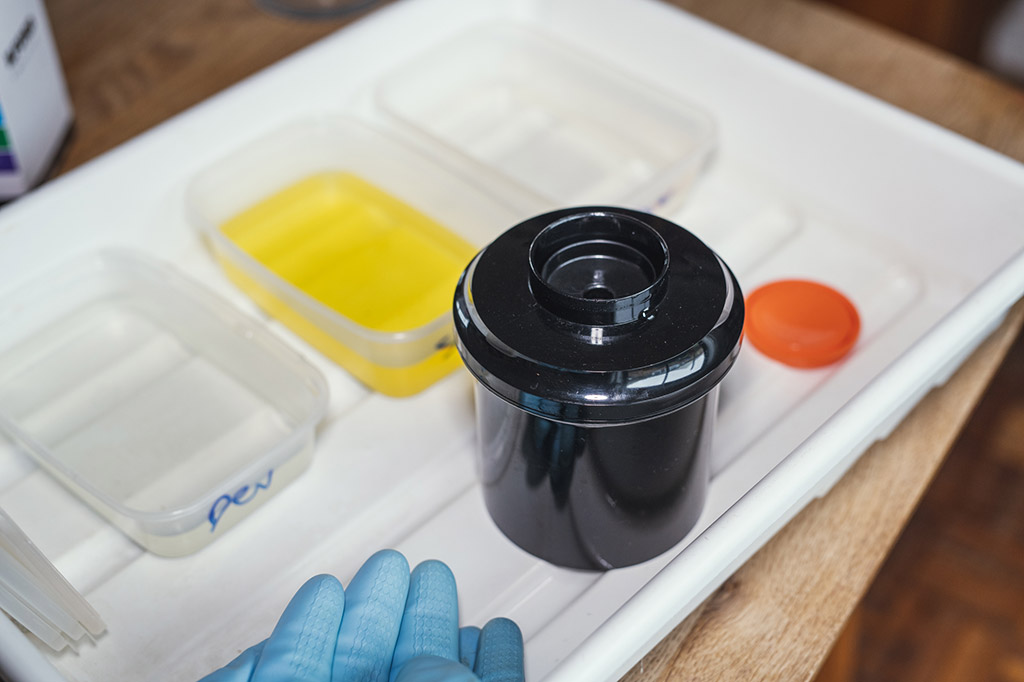
Put on some gloves and mix up your chemicals with water into three separate containers (developer, stop and fix). See your manufacturer’s guidelines for quantities. Water should be around 20ºC. It’s best to measure this with a thermometer if you have one (we didn’t, so we made an educated guess at “lukewarm”!)
8. Develop your film
Your film developing and fixing times will depend on the type of film you’ve shot on and the chemicals you’re using: so refer to the manufacturer for guidance here.
To develop your film, start by pouring the developer into the tank (our developing time was 9 minutes). As a general rule with developer, agitate the tank for the first 10 seconds then repeat every few minutes. Once the developing time is up, pour it back into the same container and rinse the film with some clean water of 20ºC – this stops the chemicals getting mixed together so that you can re-use them several times.
Next add the stop mixture – we did 10 seconds stop time whilst agitating the tank – and again rinse with water. Then add the fix (ours took 5 minutes).
Once you have finished with the chemicals DO NOT pour them down the sink. The fixer, especially, is toxic to aquatic life and must be disposed of properly. Wear gloves at all times as the chemicals are irritating to the skin and smell bad.
9. Dry your negatives
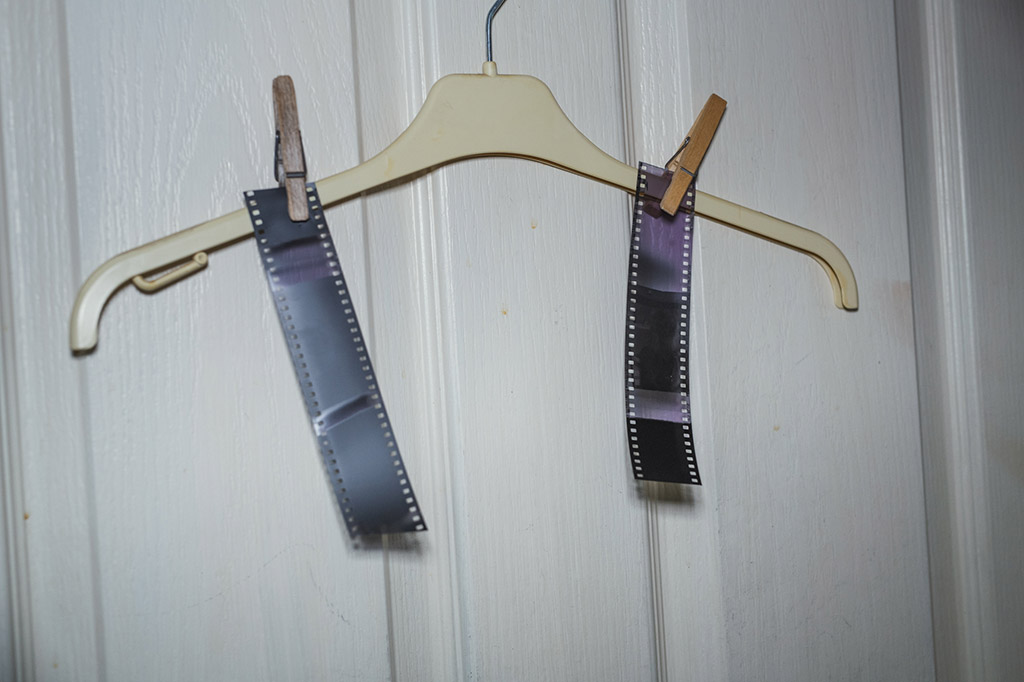
Once you have developed and washed your film you can now hang the negatives to dry. Negatives are extremely delicate after they have been processed so be careful not to scratch them. We made a makeshift drying rack from a hanger, some pegs and a warm boiler room.
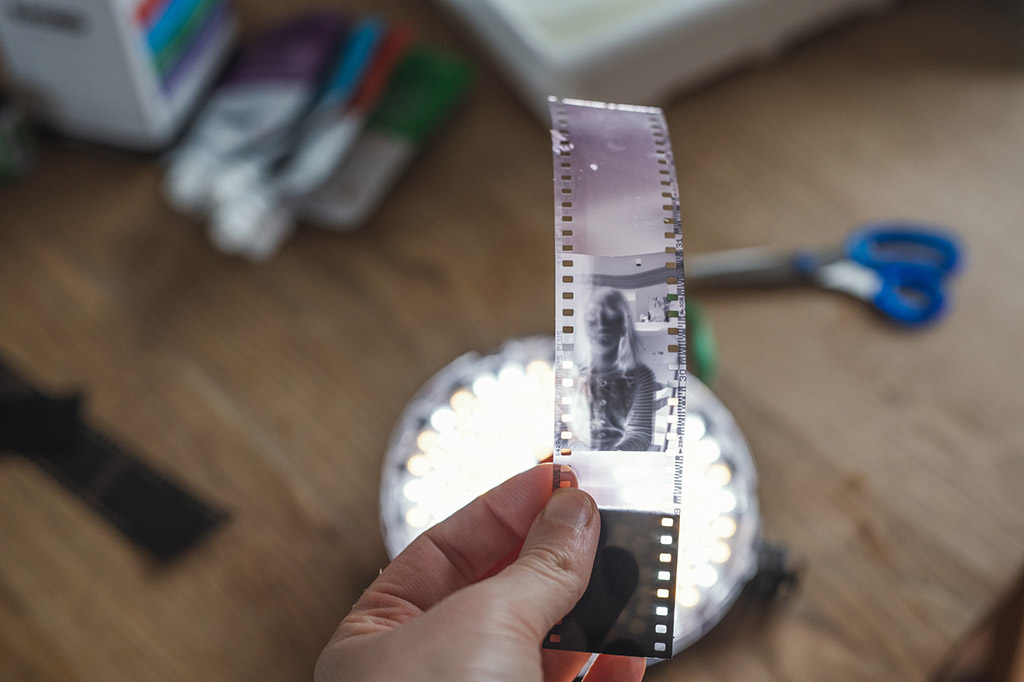
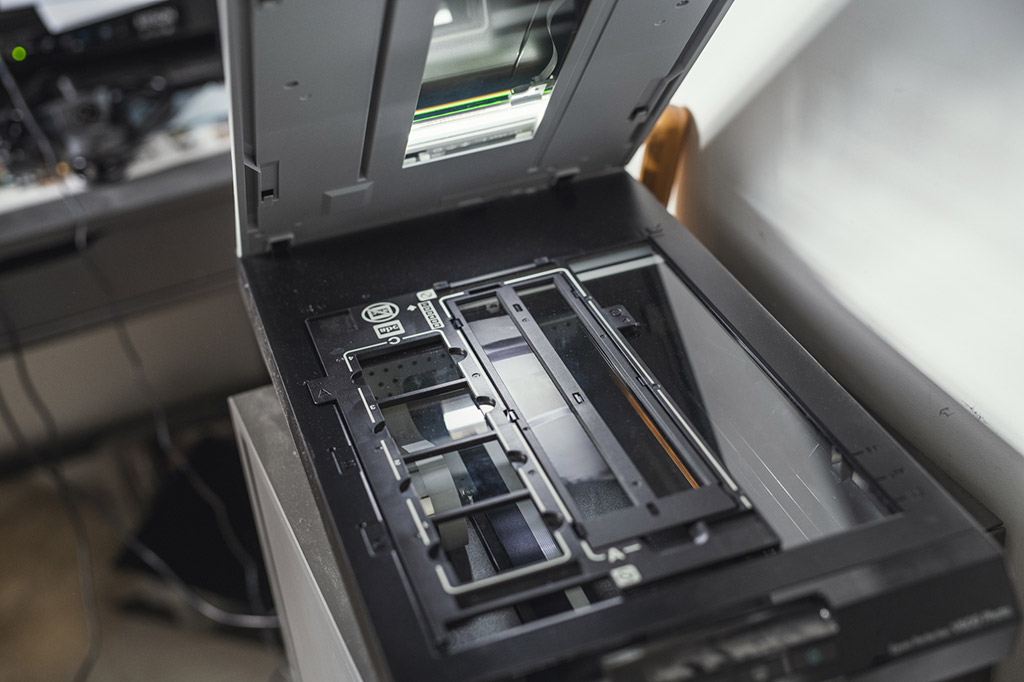
10. Scan your negatives
As soon as the negatives are dry you can either scan them like we did, or if you have a darkroom you can print your pinhole images the old fashioned way! We didn’t have the latter so decided to digitise our results. We made a final few edits to the end result like cleaning up the dust marks and boosting the contrast.
You can also photograph your film using a DSLR or mirrorless camera.
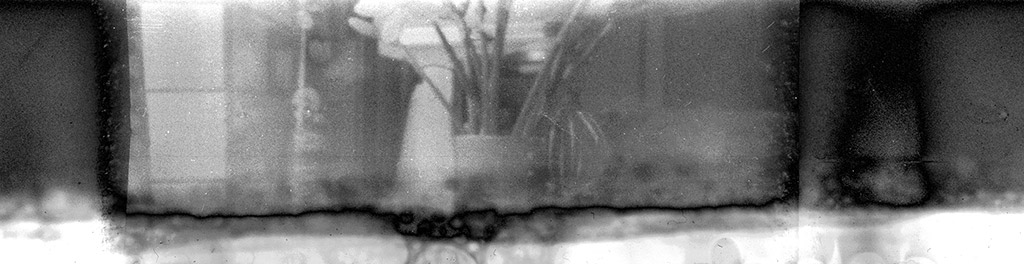
End pinhole camera result

Common Pinhole camera problems
- Foggy film. If you have any light leaks in your camera or when loading your film or in your camera your film will look foggy and not crisp.
- The negative is dark. This image has had too much light so it is over exposed. You’ll find when you scan it the dark areas will become light and therefore too light! Reduce your exposure time.
- The negative is light. This means the image is underexposed. You’ll need to increase the exposure time.
- No image! This could be down to a number of things. First check is your pinhole clear of any obstacles and the light is definitely getting through. It could also mean you need a much longer exposure time.
Top pinhole camera tips
- Have patience! This is a trial and error technique and it’s unlikely that you will get it right on the first attempt.
- It can be a challenge to completely black out a room in your home. We made the room as dark as we could and then got a thick black pillow case and put our film and camera inside the bag to do the loading. Before we did this we had a couple of foggy films due to light leaks in the not-so-dark dark room.
- Black Gorilla tape is made for pinhole photography! We had a roll of it to hand and it’s great for securing film in place and for light proofing your camera.
- When loading film into your camera or a developing tank in the dark it can be tricky. Have a practice run first with the lights on so you know exactly what you’re doing.
- When taking long exposures you want to keep your camera as still as possible. If your camera is not weighted don’t shoot with it outside on a windy day!
See more film photography guidance and inspiration here.
Further reading:
- Guinness confirms ‘largest pinhole camera’ world record
- Thingyfy Pinhole Pro review
- The world’s most advanced Pinhole lens: Kickstarter launches
Follow AP on Facebook, Instagram, YouTube and TikTok.


