In Atomic Habits, James Clear explains that reducing friction – small obstacles that make it harder to take action – can help to make habits stick. This concept is highly relevant to travel photography. When weighed down by heavy gear, the hassle of setting up and moving around makes spontaneous photos less appealing. By simplifying your setup and packing light, you improve your travel experience, making it easier to take photos and allowing creativity to flow without the burden of logistics.
Callum’s Top Travel Photography Tips
- Get up early: Pack a camera and a lens and get yourself up early, or even late-night. Head to those landmarks before the crowds turn up.
- Be different: Find unique spots or vantage points that are less busy, giving you a different perspective. Take time to move around, explore backstreets, or climb up to higher viewpoints to discover hidden angles.
- Tell a story: Capture not just the highlights but also the small, meaningful moments that convey the essence of your trip.
- Experiment liberally: If you have packed well, your kit should allow you to shoot wide shots, close-ups, and in a variety of conditions. Try different angles and apertures to give your travel shots a feeling of variety.
- Edit on the go: Using your camera’s built-in WiFi or a card reader, you can edit surprisingly well in apps such as Snapseed, Adobe Lightroom Mobile or PicsArt, while on the go.
What to pack for travel photography and when
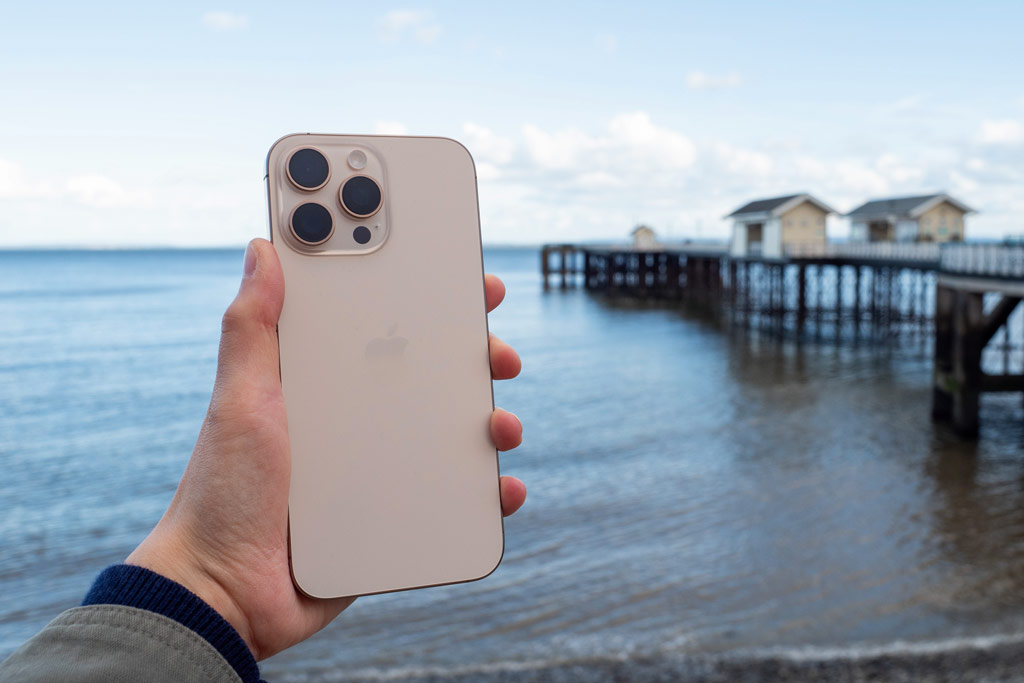
Selecting the right camera and accessories is key to successful travel photography. Here are the four main kit types, their advantages, and drawbacks. When it comes to smartphones, most of them boast seriously good cameras, especially if you have a flagship model or even recent mid-range smartphone. Clearly, they are not as good as a dedicated camera, especially in low light, but the convenience is unrivalled. Expensive cameras can make you a target for theft too. In these situations, a smartphone is often a better option, though do take precautions and be vigilant wherever you are.
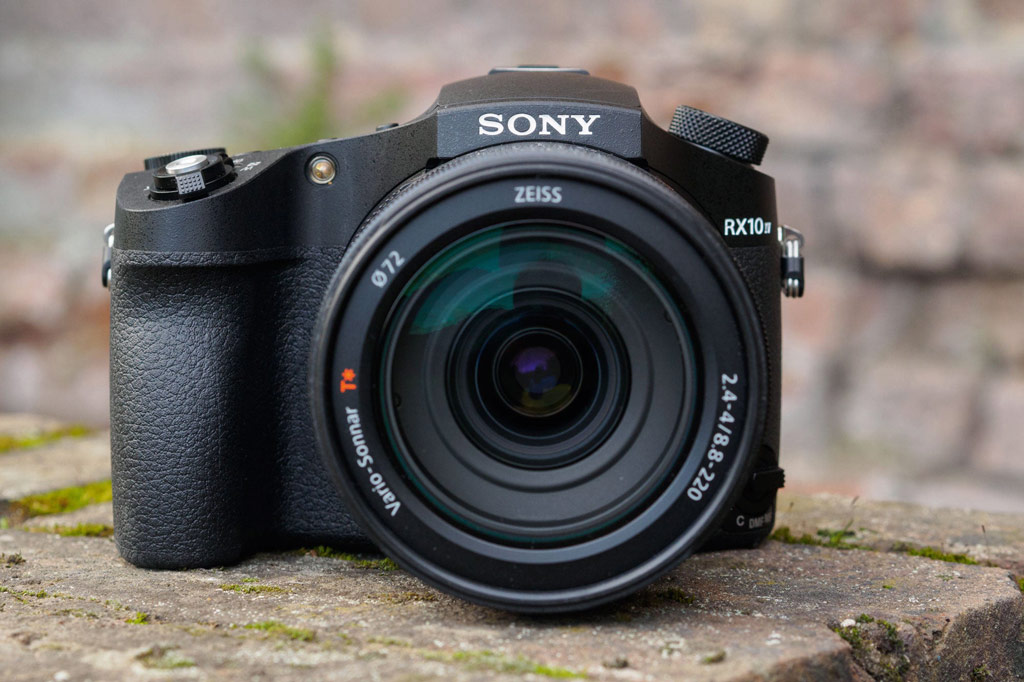
Compact and bridge cameras are popular among many travellers, especially if you don’t have a fancy smartphone. Cameras like the Panasonic TZ series and Sony RX10 series offer a larger sensor and an extensive optical zoom range. For zoom-hungry travellers, who crave capturing subjects like wildlife or distant subjects, these cameras are hard to beat. Another advantage is that they are much more feature-rich than a smartphone. However, I find they are too middle ground for my taste, and I usually sway towards a mirrorless or smartphone.
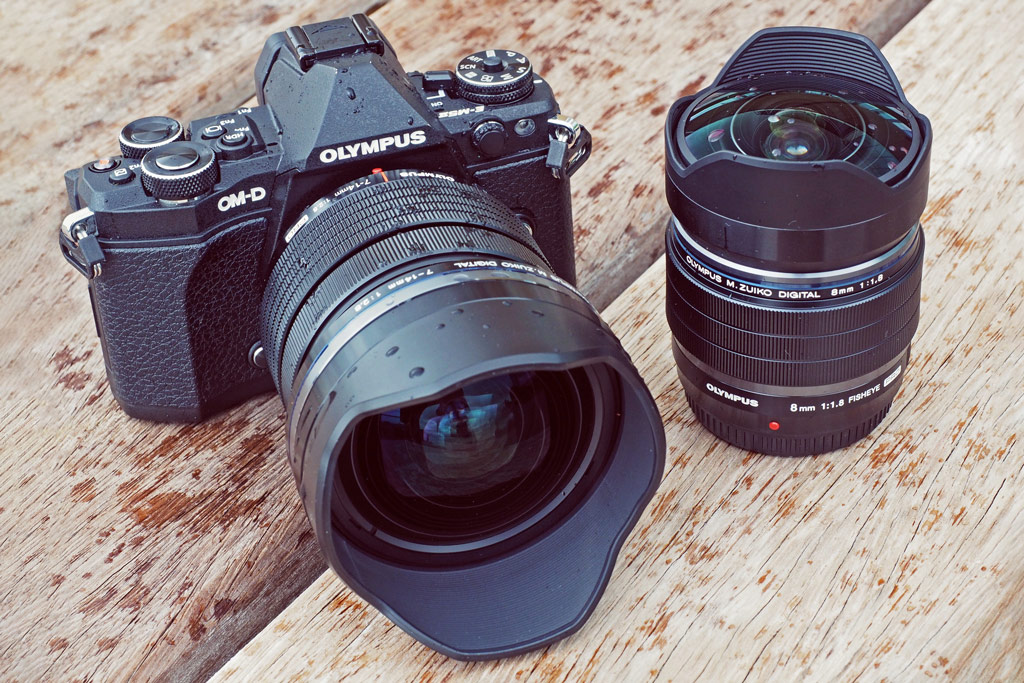
My preference is a small mirrorless system, as it blends image quality, low-light capabilities, functionality, and portability. Using the Fujifilm X-series, especially the Fujifilm X-T1, and the Olympus OM-D series, particularly the Olympus OM-D E-M5 Mark II, has allowed me to pack light and capture great memories. The Micro Four Thirds format is the most compact, allowing me to pack lenses like the Olympus M.Zuiko 40-150mm F2.8 PRO. That gives me a 35mm equivalent of 80-300mm in a small enough package to comfortably carry anywhere.
Then of course there are full-frame cameras, which provide superior image quality, making them the ideal choice for trips where capturing amazing photos is the priority. If I really want to spend time capturing photos, the trade-off between carrying heavy gear and spending time dialling in the settings is a worthwhile one. On trips to Iceland, I took my Canon EOS 5D Mark III, and while camping in the French Alps, I took the Sony Alpha 1 and packed a few versatile lenses. Full-frame cameras like these excel in low-light situations, offer extensive control, and allow you to capture shots that the above options might struggle with.
Gear For Travelling Light
- Mid-Range Zoom Lens: A lens with the 35mm equivalent of 24-70mm is easily the most useful travel companion – especially if you can get an f/2.8 variant. You can shoot everything from street scenes to landscapes and food.
- Wideangle Zoom Lens: A 35mm equivalent 24mm lens is often not wide enough, especially in tight city environments where you want to capture landmarks. Consider a wideangle zoom that fits your camera system.
- Wildcard Lens: I usually limit myself to three lenses and the third is often something specialist and niche depending on the location. A telephoto zoom lens if I’m using OM-system, a fast prime for portraits or maybe even a macro lens.
- Padded Camera Bag: Your camera gear can easily get damaged. Pick something that will protect your gear, be easy to carry around and is not immediately obvious it’s full of expensive camera kit.
- 16GB SD Cards: You shoot a whole trip on a 128GB card, it corrupts on the last day, and you haven’t backed anything up – a photographer’s version of a Stephen King book. Grab some 16GB cards and swap them out regularly to minimise the risk.
- Dual Charger: Having spare batteries and a dual charger is a must. Every major camera brand seems to have an inexpensive dual battery charger that runs via USB. Charging two batteries while you sleep is the way to go.
- Dust Blower: Cleaning cloths and dust blowers will ensure that your images are not blighted by dirt.
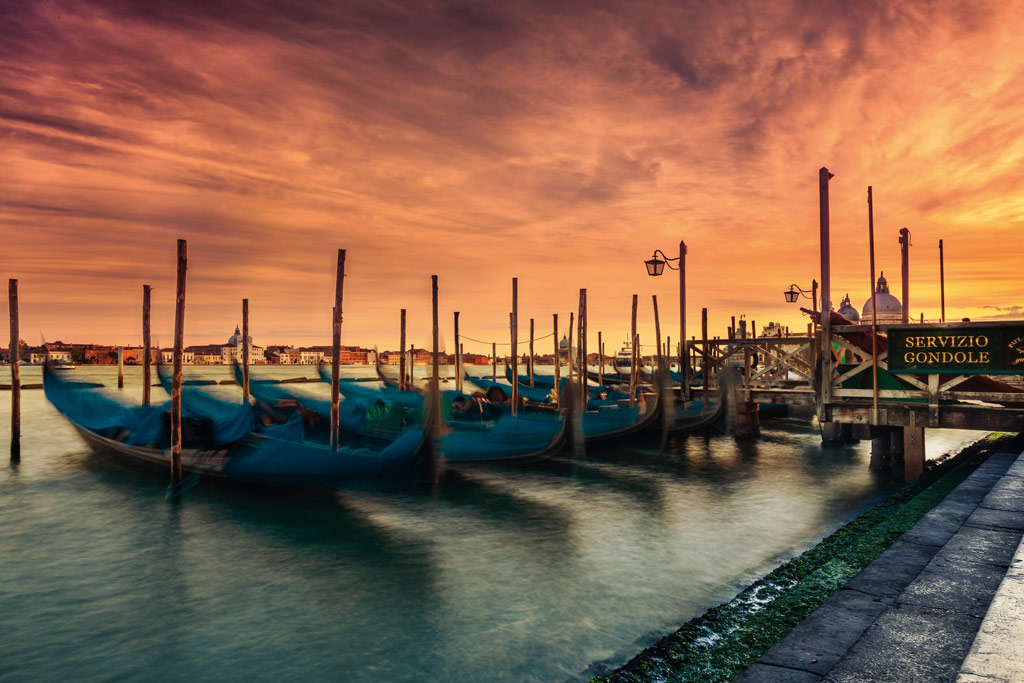
- Travel Tripod: I rarely take a tripod but, in some situations, it’s essential. I like shooting multiple exposures of landmarks and I remove people in post-production.
Read our guide to the best travel cameras and best zoom lenses and best travel tripods for specific recommendations.
What you can do to scale down
It’s important to question the gear you bring. Ask yourself: Will this kit help me take better photos, or get in the way? When I travel, I almost exclusively use a small 30cm bag, the ThinkTank Urban Approach 10. The physicist Richard P Feynman said, ‘The first principle is that you must not fool yourself, and you are the easiest person to fool.’ A hard constraint is a surefire way to avoid kidding yourself that you need a big tripod, drone, 10-stop filter, or gimbal. A camera, batteries, lenses, a charger, memory cards, lens cloth, and a dust blower – these are my only essentials. By questioning your kit, you can ensure you bring only what will truly benefit your photography.


Documenting as you go with a smartphone is liberating. Snap away and edit later. Capture those moments, the food, and the emotions.
Safety and security when travelling
It’s essential to consider the risk of theft, especially in certain countries. Carrying visible, expensive equipment can make you a target. In the Dominican Republic, I kept my Olympus OM-D E-M5 Mark II under my shirt to avoid drawing attention. In Rome, I knew I could get away with shooting most things using just my smartphone, which was far less conspicuous. Adding Apple AirTags to your camera bag can help you to track it if it gets misplaced. It’s also a good idea to add something distinctive to your bag so you can easily identify it; and consider carrying a bag that doesn’t look like a typical camera bag, to avoid drawing attention. Blending in is key and it has the bonus of getting you far more natural people shots too. Win, win!
Conclusion
Successful travel photography is about striking a balance between the gear you need and simplicity. Too much equipment can become a barrier to creativity, making you less inclined to take photos.
Whether you use a smartphone, compact camera, mirrorless system, or full-frame camera depends on your priorities. If portability is key, a smartphone or compact camera is ideal. For those who want creative control but still value portability, a mirrorless system is a great choice. If images and image quality are the goal, then full-frame cameras are the best choice.
What’s the best camera for travel photography? The one that helps you capture the experiences you care about, without getting in the way. I hope these insights guide your travels and inspire you to take memorable photos – tag me on social media @Cmrileyphoto.
Related reading:
- Enter your travel photos to win in our competition!
- I’m worried travel photography is about to get a LOT tougher
- I may have found the perfect camera for travel & street photography

