Losing or accidentally deleting images can be very scary, but all may not be lost. James Abbott explains everything you need to know about image recovery and back-up, so that you can get your photos back if you’ve lost them.
When you’ve taken great care to shoot the best images you possibly can, there’s nothing worse than losing them through accidental deletion or card corruption.
While your camera gear can be insured against loss or damage, images require a much more personal approach to keeping them safe from being lost. In fact, you never need lose another image again – you simply need to know what precautions to take.
Prevention is always the best medicine, so not only will we show you how to recover deleted images alongside strategies to reduce the chances of losing them, but we’ll also explain how to improve your back-up workflow for the ultimate data security.
If you need help recovering deleted photos – read our guide here
1. Back ’em up, and avoid card corruption
After each shoot, it’s wise to download your images to your computer to avoid accidental deletion or card corruption. Once downloaded, don’t simply delete all images from the card – there’s a risk that the file that tells devices where images are being stored on the memory card could end up getting corrupted. Format the card to create a new file, and start afresh. Alternatively, if you have the budget to buy new memory cards, you could keep the memory card as a backup device (like film).
2. Formatting a card by mistake
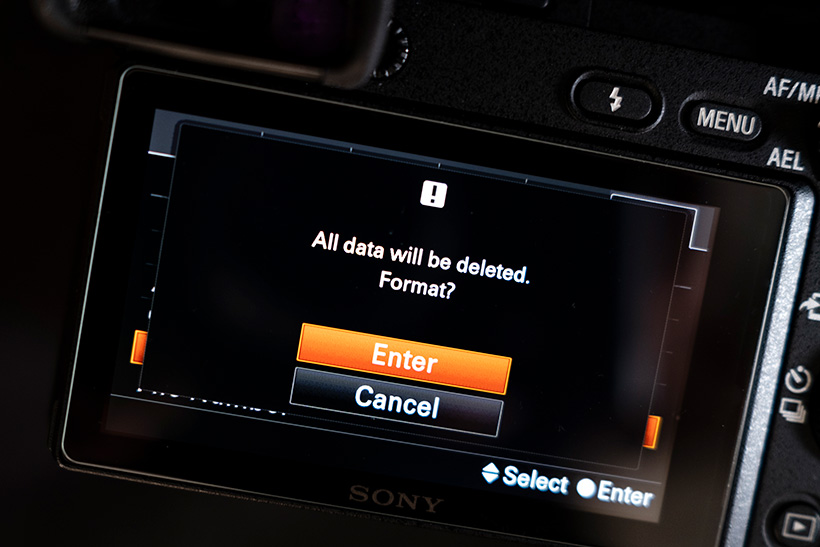
Accidentally formatted a card? No need to panic.
When you format your cards, you don’t actually delete the images from them. What happens is that the file that tells cameras and computers that the card holds ‘X’ number of images in ‘Y’ location is deleted, so the card appears empty when in reality it isn’t.
This means that you can use image-recovery software to relocate these images and recover them from the card. Phew.
3. Smart recovery software tips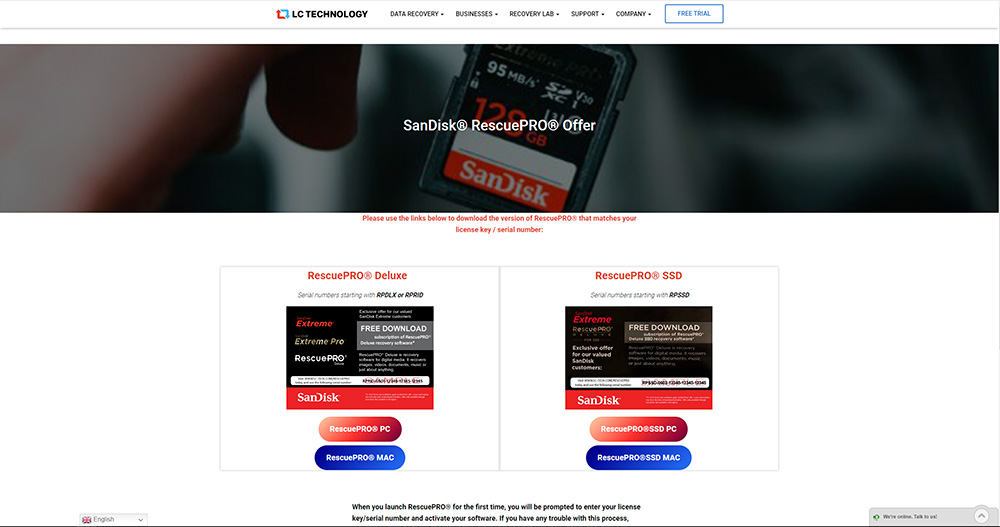
Image-recovery programs can retrieve photos, and in many cases any type of file from practically any storage device, but these can be expensive. There are freeware versions available online, but these vary wildly in their effectiveness.
One option is to purchase a SanDisk memory card (for as little as £10) which comes with a copy of SanDisk Rescue PRO Deluxe recovery software. It offers a year’s license and could be a lifesaver (and you’ve got another spare card, too).
4. Utilise dual card slots
If your camera features dual card slots, it never hurts to use two memory cards to provide redundancy in the case of card corruption or failure.
Dual slots can be set to save images and videos in different ways, so make sure that you select the option where all images and videos are saved to both cards. Just remember to format both cards after backing up to your computer (if you’re going to re-use the cards).
5. Use labelled memory card cases
Some photographers prefer to shoot on lower-capacity memory cards, which forces them to frequently need to change cards. The advantage is that if a card is corrupted or fails to the point where images can’t be recovered, not all images will be lost since they’re saved across multiple memory cards.
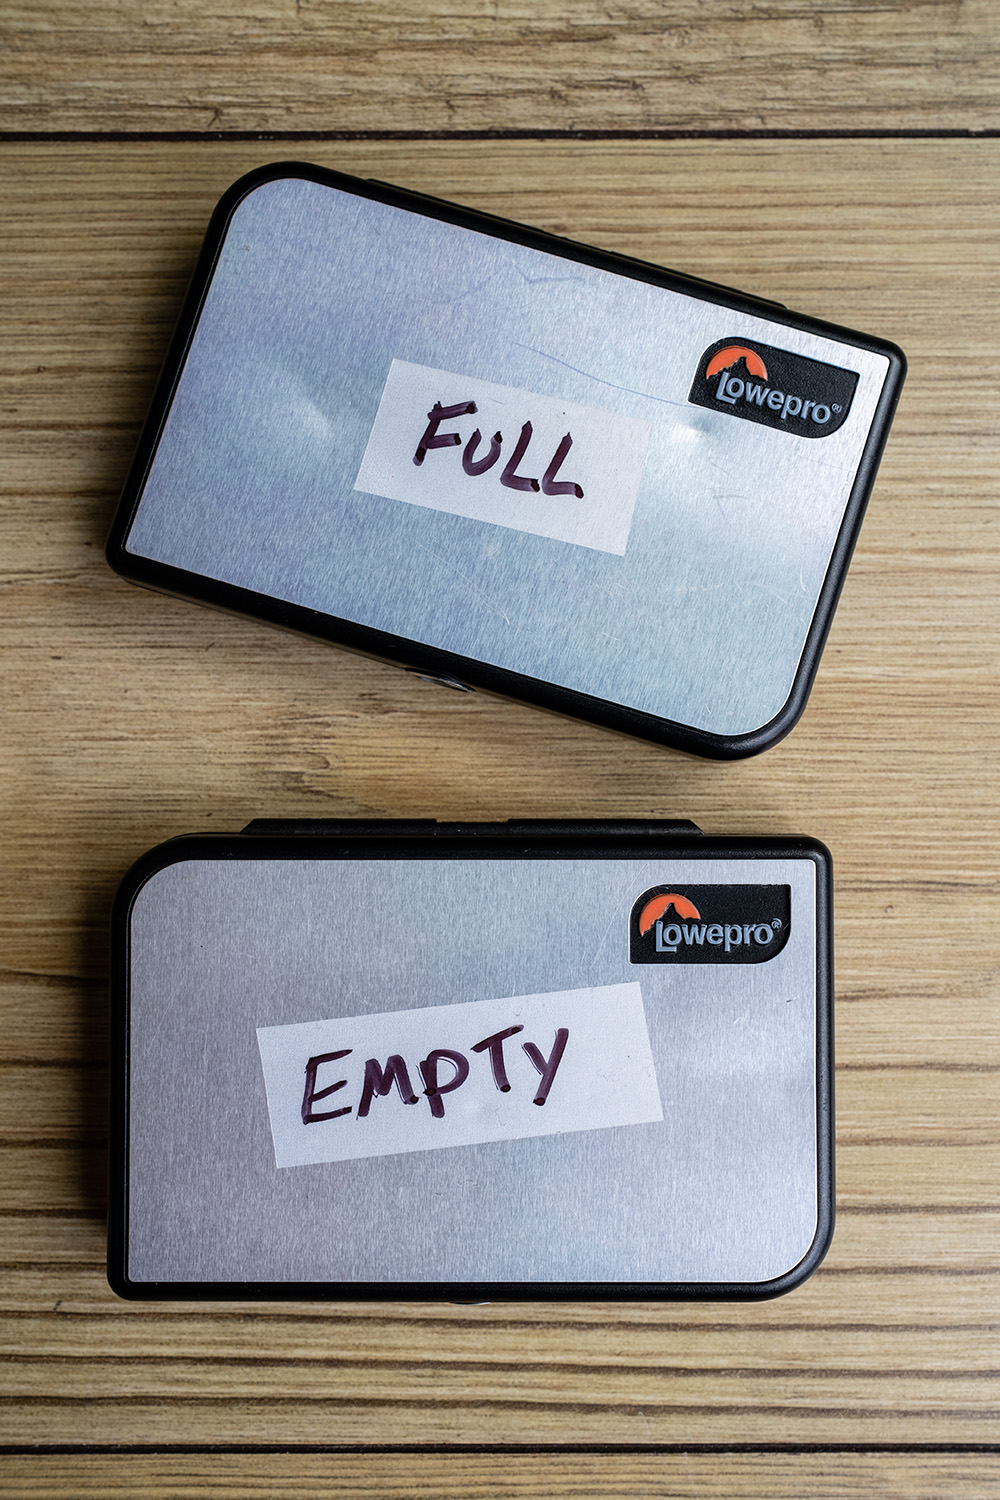
For this system to work, you need two labelled card cases – e.g. one that says ‘Empty’ and a second that says ‘Full’. It’s a simple system, but it can work extremely well.
6. Focus on quality
It pays to only buy camera memory cards and computer drives (HDD or SSD) from well-known, reputable brands. The cost of storage has come down dramatically, so you can pick up fast and high-capacity memory cards for pretty low prices.
And when it comes to hard drives, don’t be afraid to spend a little more on a higher-quality option, because the chances of longevity are greater than with lower-quality unbranded drives. If you need quick access to files, then an SSD drive will give quicker performance.
7. Check your hard drive status
Hard drives are prone to failure after years of use, too. SSDs are still expensive at higher capacities, so photographers typically use high-capacity mechanical drives for backing up images, and it’s this mechanical nature that’s their Achilles’ heel.
Common warning signs of imminent hard drive failure include noises, boot-up failure, overheating and frequent error messages.
You can check the S.M.A.R.T status of hard drives in MacOS and Windows (using Crystal DiskInfo), but this only effectively says good or bad/near failure. You can get more advanced free or inexpensive hard drive utility software that offers a much more detailed ongoing analysis. Try Stellar Data Recovery, www.stellarinfo.com, if you do run into problems.
8. Use the 3-2-1 backup strategy
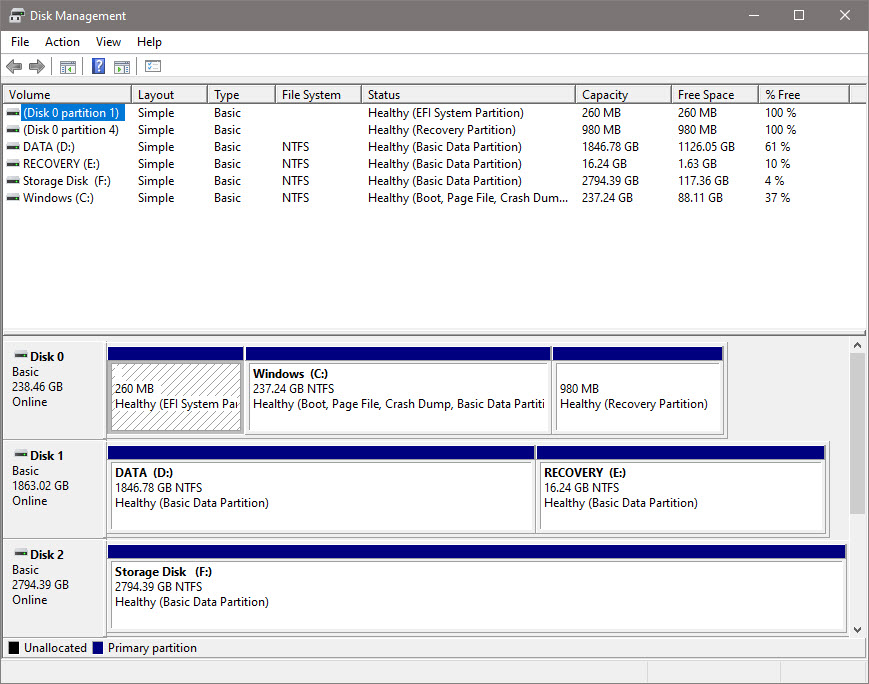
Keeping multiple back-ups is a sure-fire way of reducing the chances of image loss, and the 3-2-1 back-up strategy is by far the best approach.
The way this works is:
- 3 – Keep three copies of the data, normally the original data, plus two backups
- 2 – Keep data on two different media types for storage (for example on SD memory cards, plus on a hard drive), this gives resilience, for example if the backup hard drive dies, as well as future proofing
- 1 – Keep another backup on-line or off-site, this protects against fire/theft/etc
This idea was first developed by a US photographer Peter Krogh, and you can read more about it here. As on-line or off-site storage might be more costly and time-consuming, you might decide to simply backup your best photos, or all of your JPEG files, rather than including your raw files, but the choice is yours.
Backblaze is a US-based cloud back-up service that backs up your entire computer and connected hard drives, with no storage limits, for a cost-effective yearly subscription.

9. Try a free cloud service
Google Drive offers a reasonable 15GB or free storage. This may not be enough to store your raw files, but it may be enough to provide a safe home for JPEGs that have been exported from your processed raw files.
You can download the Google Drive app to your computer to quickly and easily access your images or drag and drop folders and files into your account through your web browser.
And to make a back-up of your Google Drive folders on a local hard drive, you can use the Google Takeout Service to download everything. See takeout.google.com/settings/takeout.
Lead image credit: Samsung Memory/Unsplash
James Abbott

James is an award-winning landscape and portrait photographer based in Cambridge and the author of The Digital Darkroom: The Definitive Guide to Photo Editing in Affinity Photo and Photoshop.
Website: www.jamesaphoto.co.uk
Instagram: @jamesaphoto
Twitter: @jamesaphoto
Related articles:
How to recover deleted photos from your PC or Mac
Beginner’s guide to file and photo management and storage
The ultimate guide to memory cards

