Portrait photography is an incredibly powerful photographic medium. As humans, we instinctively connect with portraiture on an psychological level, which means a single still image has the power to evoke a wealth of different feelings and emotions – more so than any other medium, it could be argued. Here’s how to use your Canon EOS 5D Mark III for portraits, but it’s also useful for other Canon EOS 5D cameras.
What’s more, with so much variation in size, shape, and colour between subjects, no two portrait photographs will ever look the same, and I believe that’s what makes it such an exciting and rewarding subject to document. However, in order to take stunning portraits, you’re going to need to make sure that you have the right camera and lenses for the job.
The Canon EOS 5D Mark III is a superb choice for portrait photography, for a number of reasons. Firstly, at the heart of the camera it houses a 22.3 megapixel, full-frame sensor that captures images with an incredible amount of detail and vibrant colours. Its much larger chip also means that the camera is ultimately able to handle digital noise much better than its smaller APS-C sized siblings.
This particularly pays dividends when shooting in tricky low-light situations, such as a church weddings, as it means you can comfortably boost the ISO setting to a higher sensitivity without as much fear of grain and coloured speckling plaguing your shots.
Its casing is made from a hardwearing magnesium-alloy body, which allows it to stand up to the wear and tear of busy photography work, while a series of internal weather seals means that its delicate innards are well protected from the likes of rain and dust.
Over the next couple of pages, we’ll be exploring how to set up the EOS 5D Mark III correctly for portraiture and reveal the best lenses you can pair it with in order to capture some stunning people pictures.
Composition and focusing
The Canon EOS 5D Mark III offers an impressive 61-point AF system; 41 of those points are the more accurate cross-type points, with five dual cross-type) that cover over 50% of the frame. The main advantage of this is that not only does the 5D Mark III offer incredibly accurate autofocusing, but thanks to the camera’s plentiful spread of AF points across the viewfinder, it’s really easy to achieve focus on your subject, no matter where they’re situated within the frame.
Pressing the camera’s AF Point Selection button, located to the top right of the thumb rest, you’re granted access to the 5D Mark III’s array of AF grouping modes. When shooting full-length portraits, I usually opt for the ‘Expand AF Area: Surround’ option, which makes the selected AF point, and the surrounding eight AF points active. I’ve found that this gives the camera a much better chance of being able to quickly and accurately latch on to my subject, reducing the chances of it hunting.
Alternatively, if I were to shoot a close-up head shot with a shallow depth-of-field (at f/1.4 for example),
I tend to switch over to the ‘Spot AF’ mode, as this reduces the active AF point to just half of its regular size. The idea here is that by using such a small surface area, it’s much easier to set the focus on the model’s eyes, and avoiding accidentally focusing on the tips of the eyelashes, which can be enough to ruin the shot entirely.
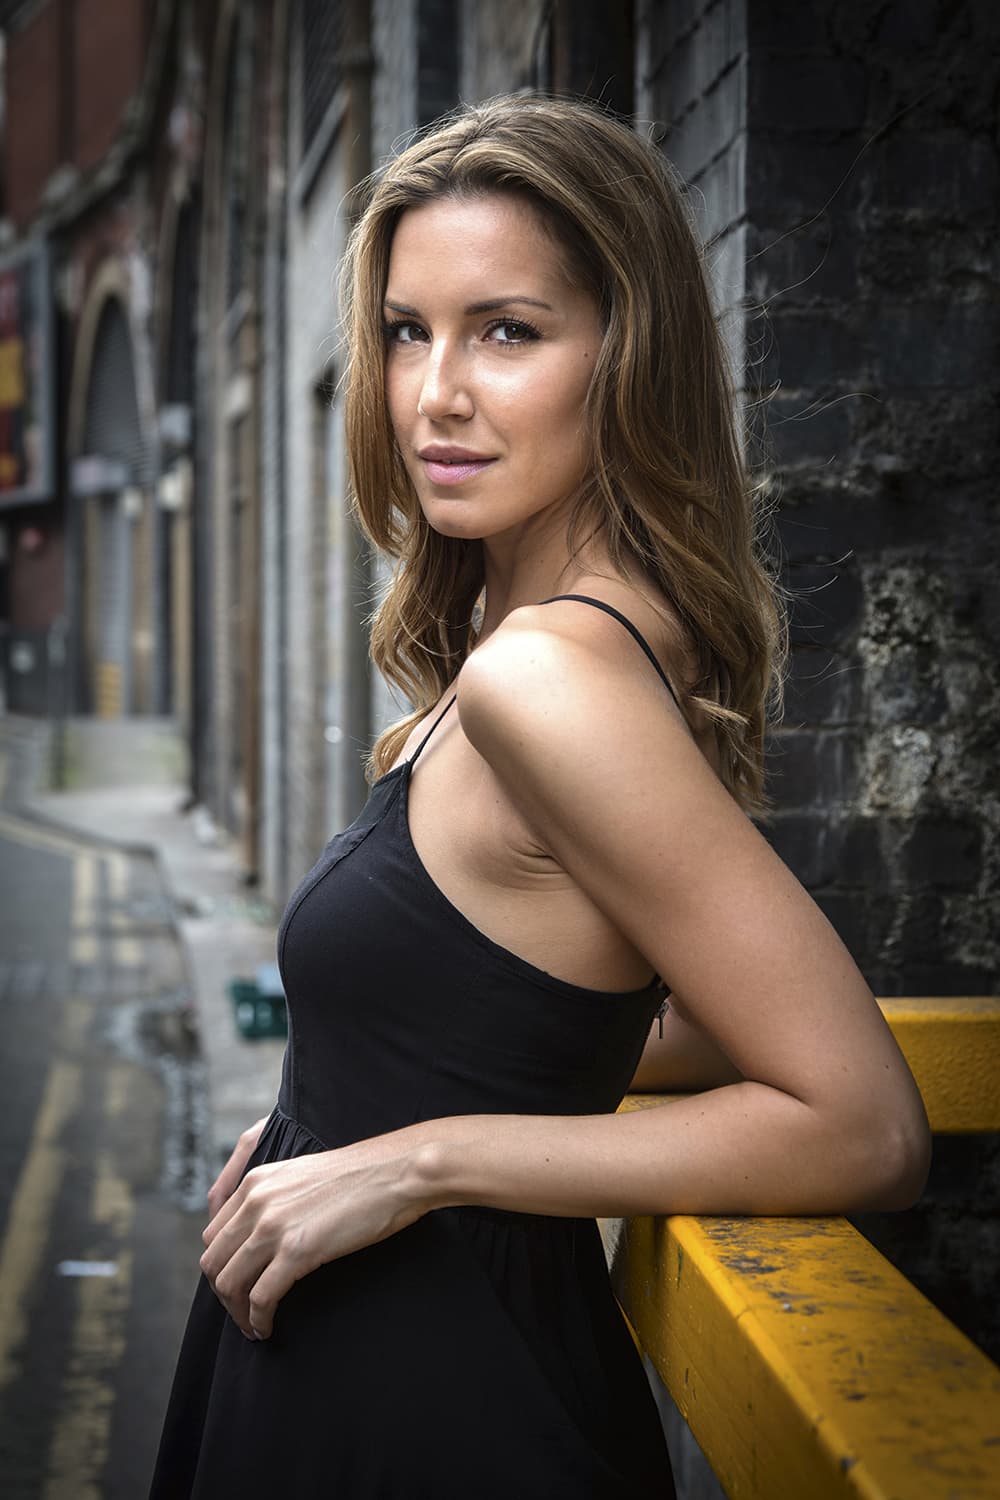
For head and shoulder or full-length portraits, try using the Expand AF Area: Surround option to ensure the selected AF point and surrounding AF points are active
Exposure and compensation
I tend to favour Aperture Priority mode over any other shooting mode on the 5D Mark III. The reason for this is that, of the exposure triangle (aperture, shutter speed and ISO), the aperture value is arguably the most important setting for portraits. Most of the time, I like to shoot using a wide aperture (around f/2 if the lens allows it) as I like to throw the background and foreground of the image out to a pleasing blur, which really helps to draw the focus on to the subject. Aperture Priority mode allows me to set the aperture, while the camera determines a suitable shutter speed, which in turn frees me up to focus on what is most important – focusing, composing and bagging the shot. While looking through the viewfinder, I occasionally flit my eye across to the shutter speed value to ensure that it hasn’t dropped too low.
If the shutter speed does start to slow too much, I simply increase the ISO level to compensate. Although the 5D Mark III is superb at controlling levels of digital noise, even at higher ISOs, I always do my best to keep the ISO as low as possible in order to maximise image quality.
Once I’ve taken a few shots, I review the images on the back of the screen by pressing the Playback button, and then use the histogram (activated by pressing the Info button a few times) to ensure that the image hasn’t been overexposed and lost any detail in the highlights.
Lenses
Personally I have a bit of a passion for prime lenses, and I currently find myself switching between my Sigma 35mm f/1.4 and Canon 85mm f/1.8 for the bulk of my portrait photography – the 35mm for full-length shots, and the 85mm for head shots. I love prime lenses for a number of reasons; firstly, they offer a much wider maximum aperture than most zoom lenses. With maximum f/stops of around f/1.4 and f/1.8 (and even wider on some high-end lenses), not only does this let in a ton of light, allowing you to keep your ISO as low as possible for better image quality, but it also allows you to create beautiful shallow depth-of-field effects, which just work superbly with portraits. Generally speaking, prime lenses tend to be sharper than zooms, too, because their innards have been specifically fine-tuned to that focal range, rather than having to adapt to multiple focal lengths like a zoom lens.
The downside, of course, is that you’re fixed at a certain focal length, which can sometimes become limiting – particularly when shooting events such as weddings where you need to act fast in order to catch the shot. In situations such as this, I tend to play it safe and opt for my Canon 24-70mm f/2.8 lens. Although the maximum aperture of this lens isn’t quite as wide as that of my primes, it’s still much wider than most standard zoom lenses, which are only able to open up to around f/4 or f/5.6.

Investing in a fast prime will allow you to defocus the background to keep the main emphasis on your subject
Out in the field
I find that the Canon EOS 5D Mark III really comes into its own when placed in a fast-paced, high-pressure situation, such as a wedding. Weddings can be notoriously tricky affairs to shoot as not only are you required to think and act fast in order to capture the day as it unfolds, but you’re often faced with tricky lighting situations where you simply have to deal with what is in front of you or run the risk of missing the shot entirely. This is very often the case at church weddings, where natural light is usually at a minimum, so boosting the camera’s ISO to a high sensitivity is often essential to getting the shot. Luckily, the 5D Mark III’s full frame sensor deals with digital noise incredibly well, allowing you to comfortably shoot at higher ISOs.
The camera’s DIGIC 5+ processor also helps to aid a continuous burst shooting mode of 6fps, meaning that you can rattle off multiple shots in quick succession in order to better your chances of bagging a great shot.
Not only does the 5D Mark III perform to a pro standard, it also looks the part, too. I’ve often had comments such as ‘Wow! That looks like a serious piece of kit!’. It sounds strange, but I do believe this is actually an important quality of the camera, as it helps to reinforce your professional demeanor, and I’ve found that this in turn makes the client feel more comfortable receiving your guidance and instructions.
Essential accessories
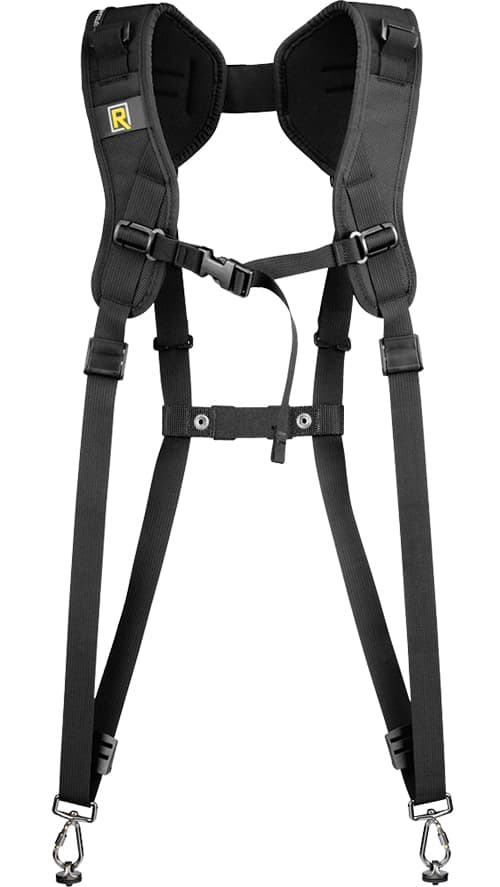
If I were to pick one downside to the Canon EOS 5D Mark III, it would have to be its weight. It’s fair to say it’s not the lightest camera in the world, especially when kitted with a heavy zoom lens, so ensuring that I have a comfortable harness system to support this load when it’s not in use is paramount. Personally, I’m a fan of Black Rapid’s Double DR-1 (£114) harness system; this clever and comfortable body support allows me to comfortably carry two DSLRs at my side, while also granting quick access to them without having to detach or unclasp the cameras from the security of the harness. The weight of the cameras is spread evenly across the shoulder and back to reduce strain, and the harness can also be configured into a single strap, too, for days where you only want to use a single body.
Set up your Canon EOS 5D Mark III for stunning portraits
Step 1
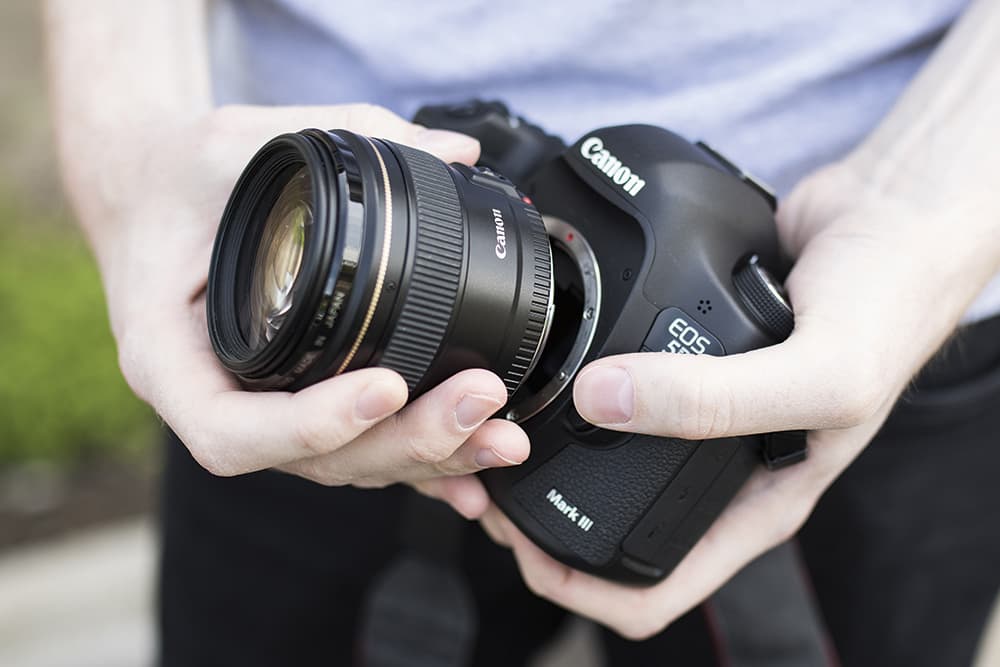
Attach a portrait lens
First off it’s important to think about the kind of portrait you’re trying to achieve and then choose a suitable lens for the job. For a nice blurred background you’ll want to use a lens that has a fast maximum aperture, such as a prime lens or a fast zoom. It’s also a good idea to use a mid to long telephoto lens as using a wideangle will distort your subject’s features for displeasing results.
Step 2
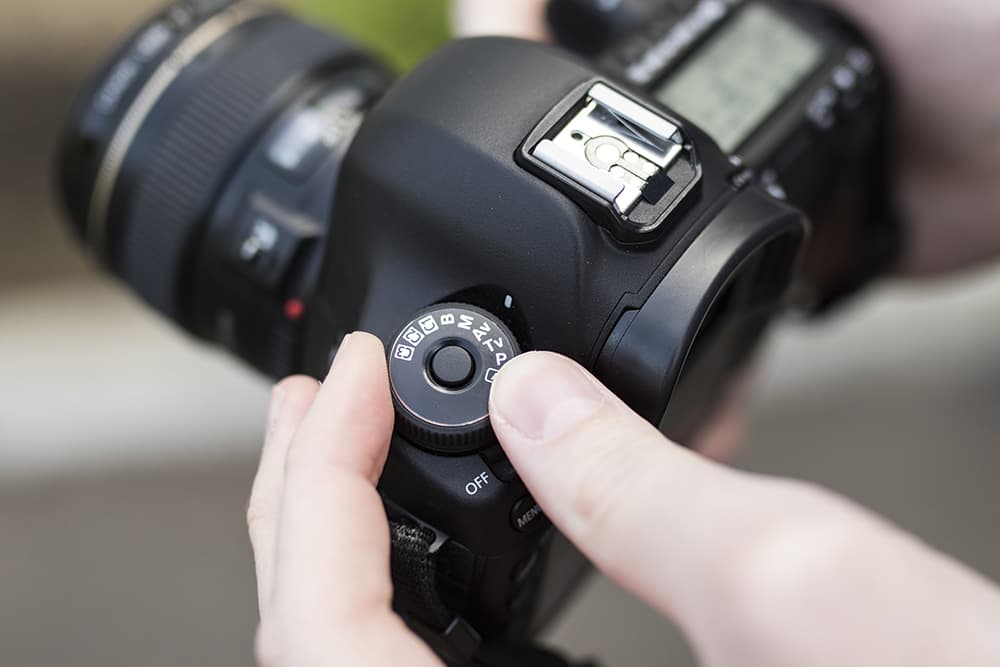
Switch to aperture priority
Start off by turning the mode dial to Aperture Priority (Av) – this will allow you to set the aperture value, while the camera takes care of the shutter speed. Dial in a wide aperture – preferably f/2 or wider if you’re using a prime lens – as this will allow you to achieve a pleasing shallow depth-of-field. Remember that a wide aperture requires you to focus very carefully on the eyes.
Step 3
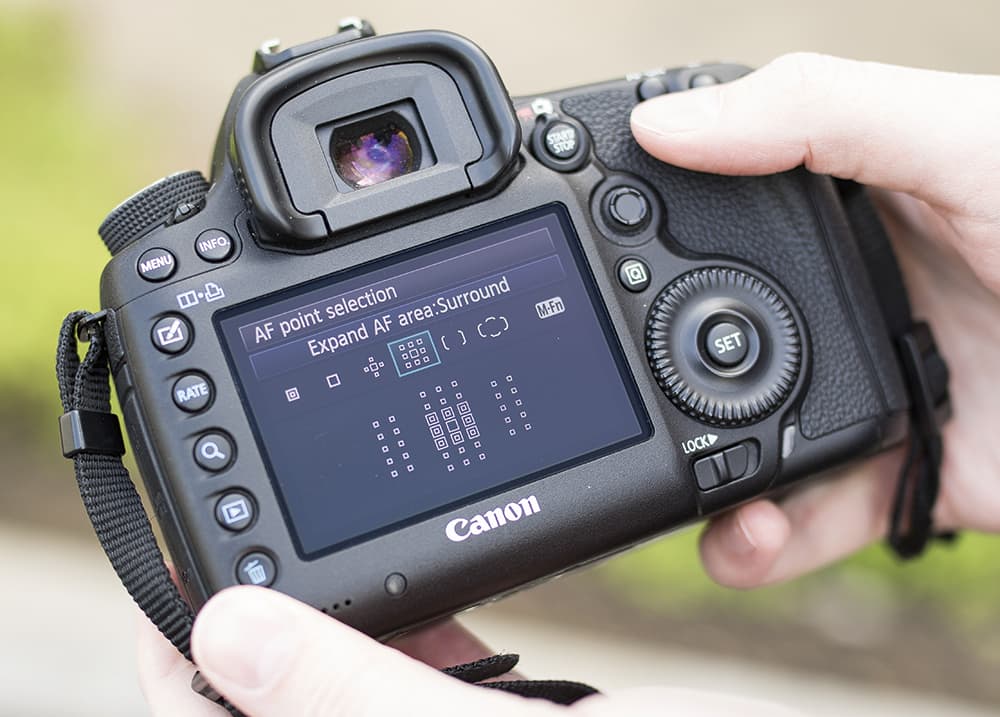
Set the AF point
Press the AF Point Selection button, top left of the rear thumb rest. If you’re shooting a standard portrait, press the M-Fn button (just above the shutter button) to cycle through the AF grouping modes until you get to ‘Expand AF Area: Surround’ – this’ll give you a larger active AF area to help in achieving sharp focus on your subject. If you’re shooting a close-up headshot, choose Spot AF instead.
Step 4

Activate Direct AF point control
Press the Menu button, then cycle through until you reach the second menu set within the Custom Functions (orange menus). Choose the Custom Controls option and then select the joystick – set it to AF Point Direct Selection and hit the Set button to confirm. Press the Menu button a few times to back out. Now you can control the location of the active AF point via the joystick.
Step 5
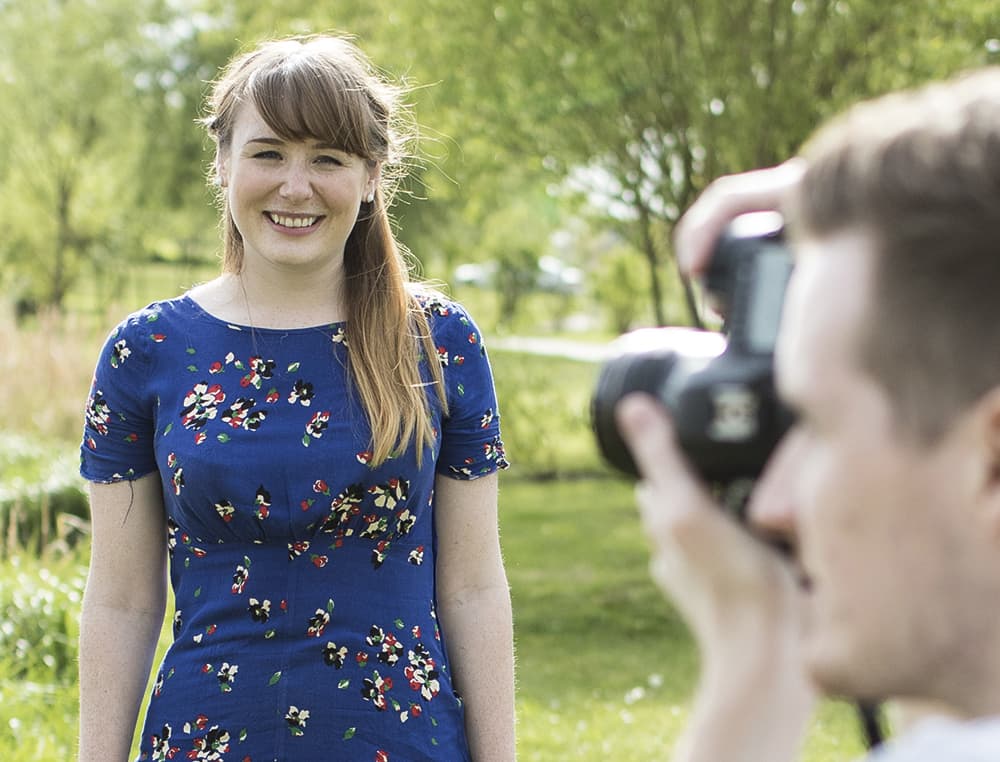
Compose, focus and shoot
While looking through the viewfinder, compose the shot, then using the joystick, move the active AF point so it is hovering over the subject’s face (or eye if you’re shooting a close-up head shot). Half depress the shutter button to lock focus, then fully depress it to take the shot. Press the Playback button to review the image on screen and check it’s correctly exposed.
Read our full Canon EOS 5D Mark III review, and find the best Canon DSLRs.


