Learning how to control exposure effectively means that you will take fewer pictures, but they will invariably be better
Exposure refers to the amount of light the sensor needs in order to capture an acceptably bright image. If the sensor receives too much light, the image will be overexposed (too bright); if it receives too little light the image will be underexposed (too dark). To obtain the ‘correct’ exposure you need to have a basic understanding of the exposure triangle. This has three variables: aperture size, shutter speed and ISO.
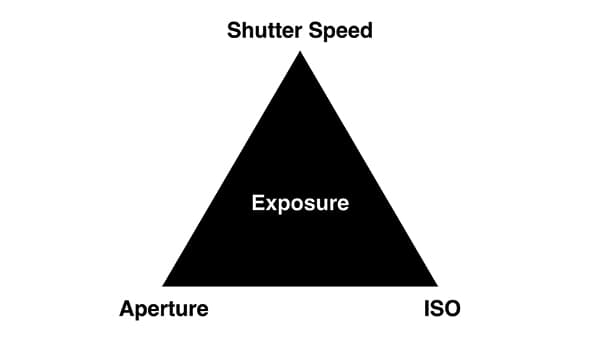
The exposure triangle is made up of three variables: aperture size, shutter speed and ISO. Changing any one of them will change the exposure
Let’s look at each of these in turn. The aperture (measured in f stops) controls the size of the lens opening – each f stop lets in half or twice as much light as its immediate neighbour. Shutter speed (measured in fractions of a second) controls the amount of time the aperture is left open – each shutter speed lets in half or twice as much light as its immediate neighbour. ISO dictates how sensitive the sensor is to light – the lower the number, the more light the sensor needs to obtain the ‘correct’ exposure. Each of these variables can be adjusted, but changing just one of them will also alter the exposure.
The ‘correct’ exposure is often subjective. Whether you decide to record what you see faithfully, or override the camera’s suggestions for creative effect, is immaterial; what’s important is how to control exposure so that the results match what you saw in your mind’s eye.
Understanding your camera’s meter
When you look through the viewfinder you will see a scale at the bottom of the screen displaying three symbols: +, 0 and -. This is your Exposure level indicator. When you press the shutter-release button halfway, small notches will appear under the meter. If the notches are heading towards the plus sign, the image is likely to be overexposed; if the notches are heading towards the minus sign, the image is likely to be underexposed. If there is a single notch directly below the zero, the image is likely to be ‘correctly’ exposed. This is a good starting point but, as we’ll see later, it doesn’t apply to every situation.
When you’re trying to understand how exposure works remember that your camera is a robot, not a human being. Until 20 years or so ago, cameras could not ‘see’ in colour at all, what they ‘saw’ was levels of brightness, represented by a greyscale chart. A greyscale chart begins with pure black, moves through tones of grey, and ends in pure white. The tone in the centre of the scale is known as middle grey (objects that are this tone reflect 18% of the light that strikes them). The camera assumed that every scene contained a range of these tones, and when left to its own devices it adjusted either the aperture, shutter speed or ISO to ensure that the overall brightness averaged out as mid-grey.
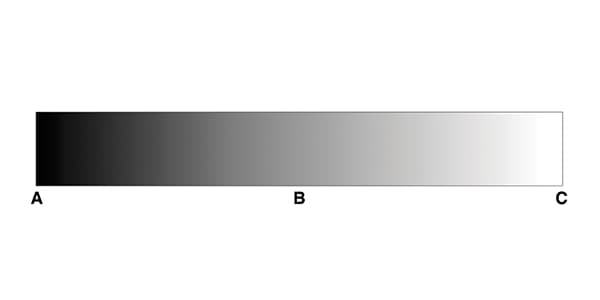
A greyscale begins with pure black, moves through tones of grey, and then ends in pure white – mid-grey is in the middle
Nowadays, camera metering systems are more sophisticated. The 3D Color Matrix Metering system employed by Nikon DSLRs takes into account brightness, contrast, subject distance, colour, and RGB colour values before suggesting an appropriate exposure. What’s more, it uses exposure-evaluation algorithms to detect highlight areas. Once readings are taken, the meter compares the results to a database of more than 30,000 pictures to determine the optimum exposure.
It might sound strange, but despite these advances, it can still help to shoot in black & white for a while. By shooting in monochrome you can concentrate on tones and brightness levels, rather than becoming distracted by colour. If you can, spend a day shooting in this way and then review the results on a computer.
Once you have made an initial assessment, open the histogram for each shot and study it carefully. Many people are surprised to learn that the greyscale chart and the histogram are directly linked. The histogram is a visual representation of how many pixels from each part of the greyscale exist in your image. The left side represents blacks (or shadows), the right side represents whites (or highlights), and the centre represents midtones. The height of the peaks indicates how many pixels of each tone are present in your photograph.
There is no such thing as a perfect histogram. While it might seem desirable to have a smooth, evenly distributed curve, most of the subjects we photograph do not contain just midtones and a smattering of shadows and highlights. So, rather than obsessing about curves, concentrate on preventing your peaks from either slipping off the edges of the histogram, or starting too late and ending too soon (both can result in loss of detail). Shadow detail is much easier to recover than highlight detail (which is often gone for good), but care should be taken to obtain a good balance.
Taking control of exposure
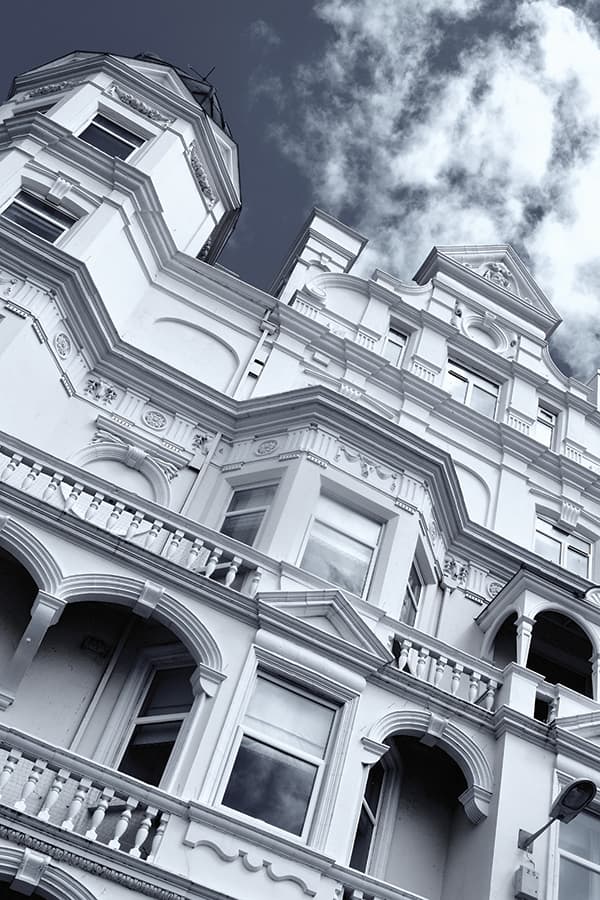
If you’re shooting an especially bright subject, such as a white building against a light sky, the camera will underexpose the shot in a bid to render everything as a mid-grey
Inevitably, there will be times when you have to step in and give your exposure meter a helping hand. If you’re shooting a particularly bright subject – a white building against a light blue sky, for example – the camera will assume that the scene contains average brightness levels, and will underexpose the picture in its bid to render everything as mid-grey. Similarly, if you’re shooting an especially dark subject – a black cat in the shade, say – the camera will overexpose the picture in its bid to render everything as a mid-grey. When the camera is set to auto it frequently makes decisions that may not suit our purposes.
There are countless ways to override the exposure suggested by your camera. One is to switch the Mode dial to Manual and set the aperture, shutter speed and/or ISO yourself. Another method is to use Program, Shutter Priority or Aperture Priority mode, and dial in exposure compensation. To do this, hold down the exposure compensation button and rotate the command dial until the notches on the exposure meter head towards the plus or the minus sign – positive values make the image brighter; negative values make the image darker. (Exposure compensation is not cancelled automatically, so make sure that you set it back to zero once you’re done.)
Of course, you don’t have to override the camera completely when faced with tricky lighting. You can often find a happy medium by changing the metering pattern your camera is using. Most DSLRs offer at least three patterns: Matrix metering (which takes brightness readings from multiple areas of the frame), Centre-weighted metering (which prioritises the central area of the frame), and spot metering (which takes brightness readings from a selected focus point). Pro-spec Nikon DSLRs also have a fourth metering pattern, Highlight-weighted, which prevents highlight detail from clipping to white. Other manufacturers have different names for these settings, but the job they do is essentially the same. The metering method you choose will depend on the subject matter, and what you are hoping to achieve.
If you’re still not convinced that your exposures are going to be spot on, then Auto Exposure Bracketing can provide a good back-up. When set to AEB, the camera will shoot one frame at the recommended exposure then additional frames under and over this exposure (the number you can take will depend on the model of camera you own). You can then choose the most effective shot, or combine all of them to create an HDR (High Dynamic Range) image.
D-Lighting
When faced with a particularly high-contrast scene, it can be tricky to settle on an exposure that retains detail. To ease the problem, Nikon DSLRs feature Active D-Lighting, which adjusts the exposure to compensate for shadows, while retaining highlights.
Active D-Lighting is set via the Shooting menu (on advanced Nikon DSLRs you can allow the camera to make automatic adjustments or choose from four settings: Low, Normal, High, and Extra high). Once set, the camera uses its Matrix meter to assess the level of contrast in the scene, and processes the picture with the appropriate level of compensation applied. To prevent the picture from looking unnatural, Active D-Lighting readjusts mid-tone contrast at the same time. The changes are made at the point of capture, but on advanced models you can bracket your shots, saving one with Active D-Lighting applied, and one without.
Nikon DSLRs also come with a (similarly named) D-Lighting feature, which is set via the Retouch menu. D-Lighting enables you to restore detail in the shadows and highlights (where possible) after the point of capture. It does not use the camera’s original exposure information to decide where to apply these changes, instead it applies them to the entire image.
Output devices
In order to make accurate judgements about exposure it’s important to use a screen that has been properly calibrated. There are various tools available to help you keep things nice and neutral, but the Datacolor Spyder4Express is particularly good.
It’s also worth remembering that the picture on your camera’s LCD screen can look markedly different under various light conditions. As a result, it’s important not to base too many exposure judgements on this screen. If you can’t download your pictures to a larger, correctly calibrated monitor straight away then make decisions based on the histograms.
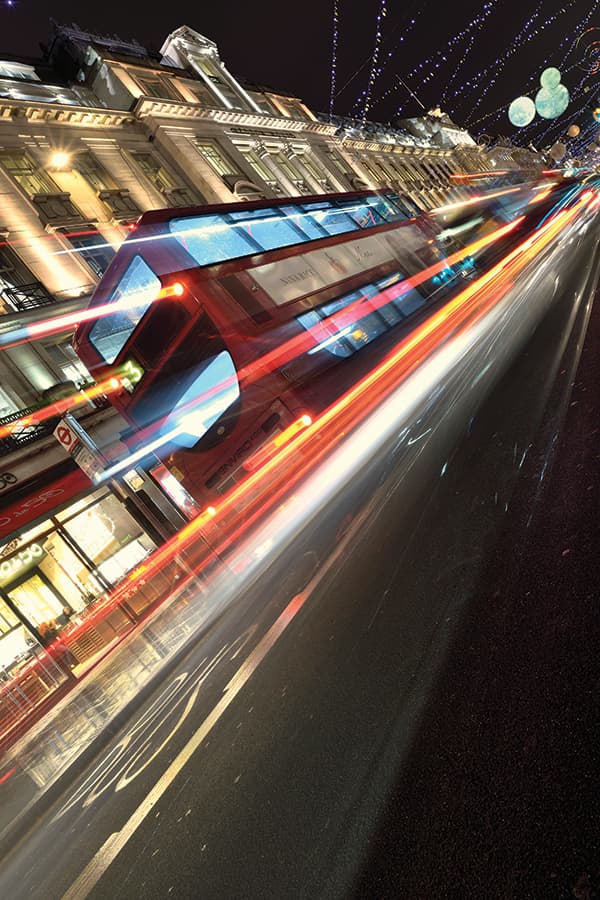
When you’re faced with challenging lighting conditions you need to take control of your camera and experiment with exposure
Step by step
Understanding exposure with your Nikon DSLR
One
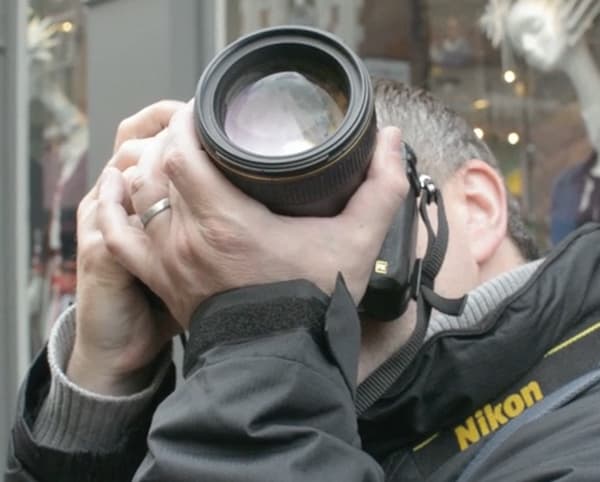
The camera does not see in the same way as humans do, so to observe how your meter ‘sees’ brightness and tones, spend some time shooting in black & white, as follows.
Two
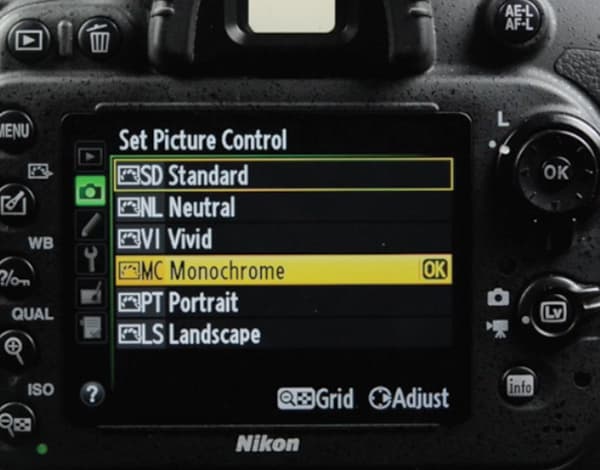
Select the Shooting menu, and scroll down to highlight ‘Set Picture Control’. When the submenu appears, scroll down to highlight ‘Monochrome’.
Three
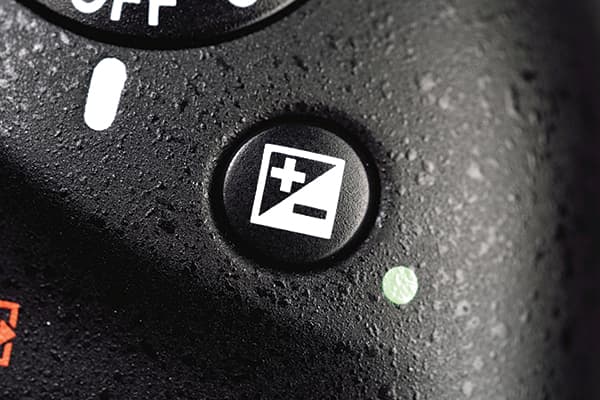
Experiment with Exposure compensation and Auto exposure bracketing. Have some fun and don’t get too hung up about what is the ‘correct’ or ‘incorrect’ exposure.
Four
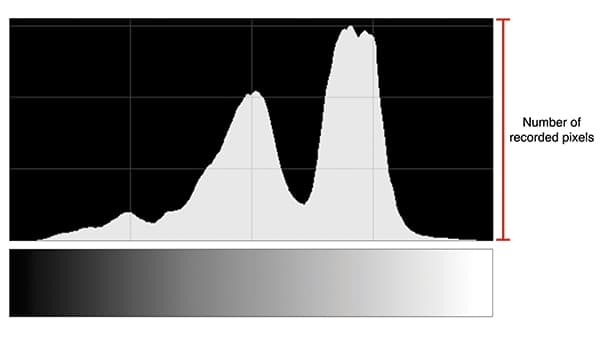
Open the histogram for each image and study it carefully. Compare the graphs directly to a greyscale chart and you will soon see the correlation.
Five
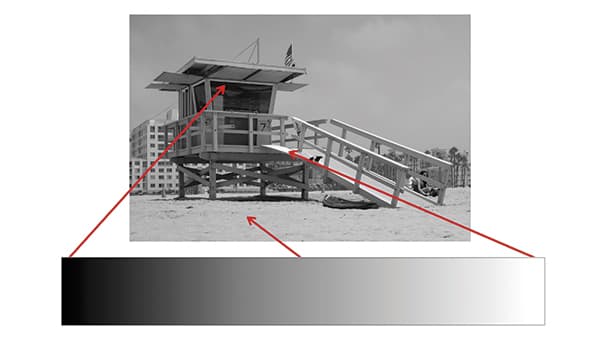
Look at each of your pictures and try to identify where the purest black, purest white and middle grey can be found.


