
Capture stunning images of architecture in-camera using a tilt-shift lens. Jeremy Walker explains how these specialist lenses work and the benefits of using one
We can all shoot architecture – after all, all you need is a building, and it doesn’t really matter about size, grandeur or architectural style. Close-ups, details, quirky angles with converging verticals, night-time shots, the possibilities are near endless. But what if you are shooting for a client, an architect perhaps, who doesn’t want their building to appear to be leaning over like a modern-day Tower of Pisa?

New York city skyline with the new World Trade Centre, at sunset.USA.
Converging verticals can make a building look very dramatic. But for the client who designed their building to be upright, it has to look, well, upright. High-quality architectural photography used to be the sole domain of the large-format technical camera, one which allowed movements such as rising front, tilt and rotation, both of the lens panel and the film plane.
Today, with precision engineering and advanced optical design, tilt-shift lenses allow us to achieve similar results with less hassle. What exactly is a tilt-shift lens? More accurately a tilt-shift lens should be called a perspective control lens as it has the ability to control image perspective.
Without getting too technical, this type of lens has elements that can be moved up or down, and in some cases from side to side without having to move the camera body. Perspective control lenses come in a variety of focal lengths from 11mm to 135mm, although the most popular focal lengths are 17, 19 and 24mm. It is the precise and controlled rise and fall movement that is of most interest to an architectural photographer.
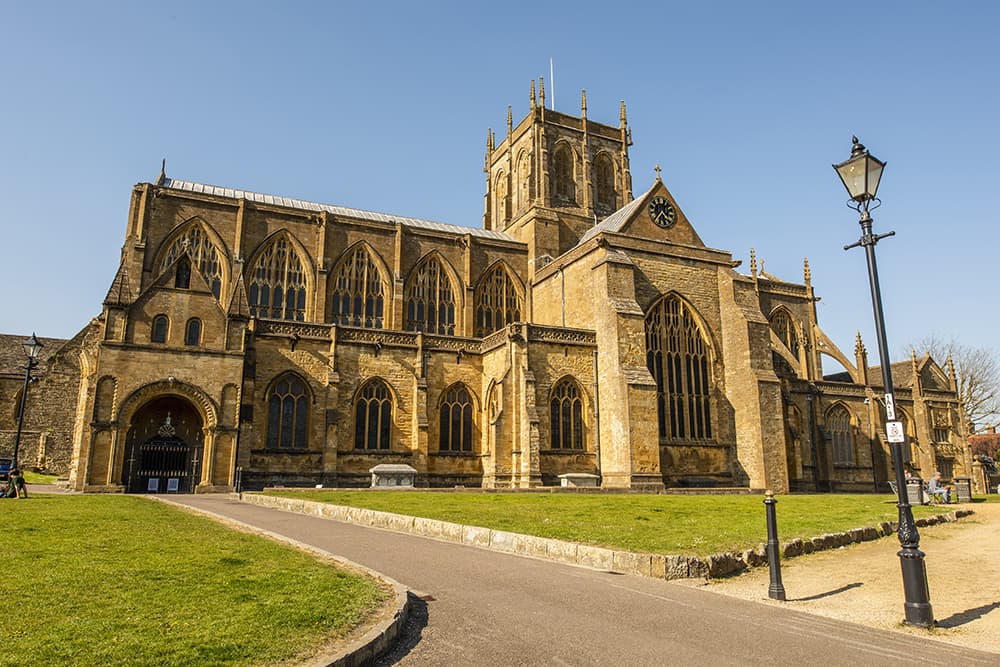
One small drawback to this type of lens is that due to their complicated construction they are only available as manual-focus lenses. A problem solved If you want your building verticals to remain so, your camera, lens and building have to be parallel to each other. If you point the camera and wideangle lens up, you will have converging verticals and the building will appear to be falling backwards.
The problem is solved by keeping the camera and perspective control lens level, on both axis and only moving the lens upward, known as rising front. Keeping the lens parallel to the building will ensure vertical lines remain vertical. The amount of rising (or drop) front on most lenses of this type is about 12mm of movement.
This does not sound like a huge amount of adjustment but a few millimetres can make a big difference to your image. Some people will argue that tilt-shift lenses are outmoded and everything can be done in post-production. Converging verticals can be corrected but there is only so much squishing, pulling and pushing a pixel will take. If you want a versatile and extremely high-quality lens, invest in a tilt-shift lens.
The architecture round of APOY closes on Friday June 11, so be sure to enter today and be in with the chance of winning great prizes from MPB.

London,England. St.Pauls Cathedral at night.
Using the Tilt function
Some Perspective Control lenses only have the rising and falling control, the part which controls verticals in an image. The more advanced design of a PC lens also has a ‘Tilt’ function which allows control of the image plane.
This can be used for ensuring front to back image sharpness (the Scheimpflug Principle, and that’s another article altogether!) or for creatively making areas of the image out of focus so that just a road or path are sharp and either side is out of focus. It’s a very interesting and creative technique when used for architecture, street scenes and city views and will give you something a bit different.

Use a Tilt-Shift lens for close-ups
A few tilt-shift lenses also have the capacity to be used as close-up lenses. My own experience of the Nikon 45mm PC lens is that it was stunningly sharp and a brilliant all- round lens. Great for shooting city skylines as well as shooting close-up details of frosty leaves.
How it works
Pointing the camera up to get entire building in will result in converging verticals
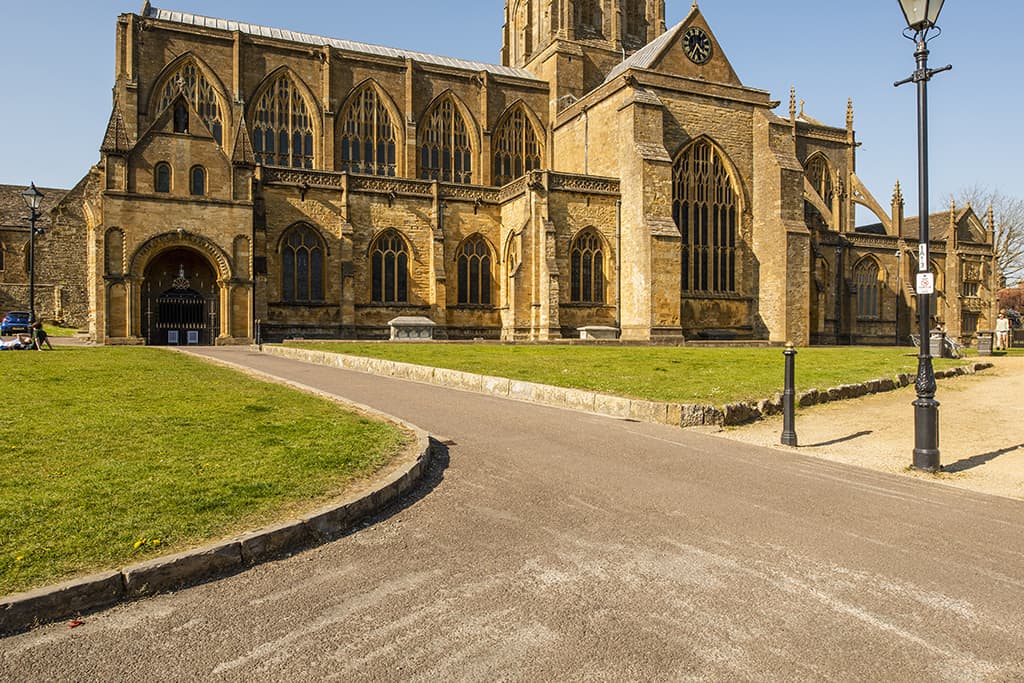
Shooting straight on cuts off the top of the building
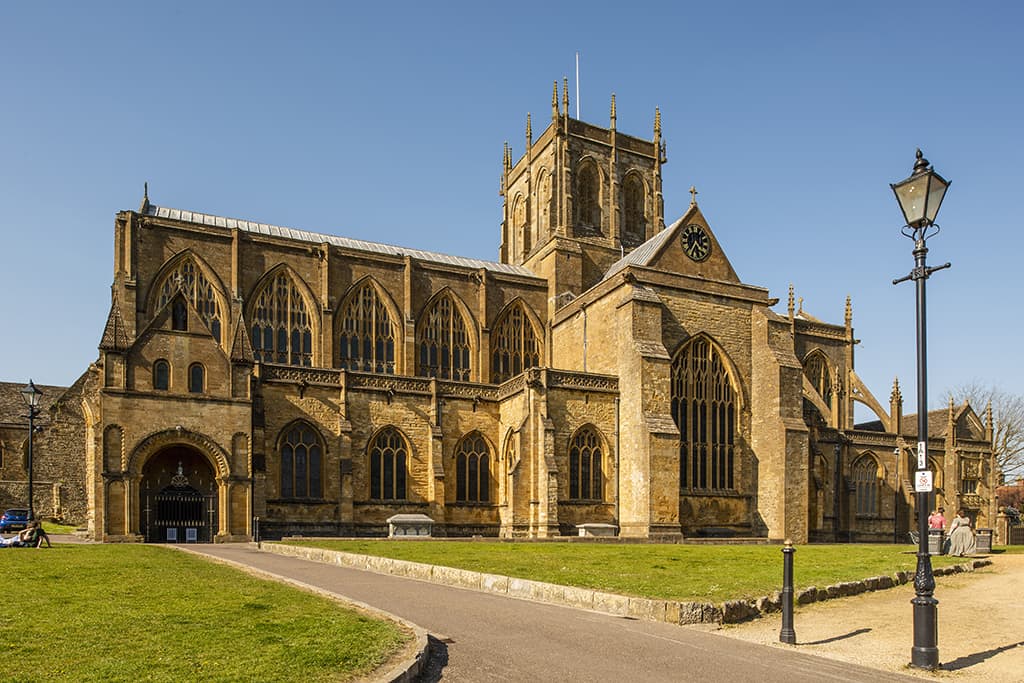
By using the shift function you will keep the lens parallel to the building, and vertical lines will remain vertical
Top tips
Stay level
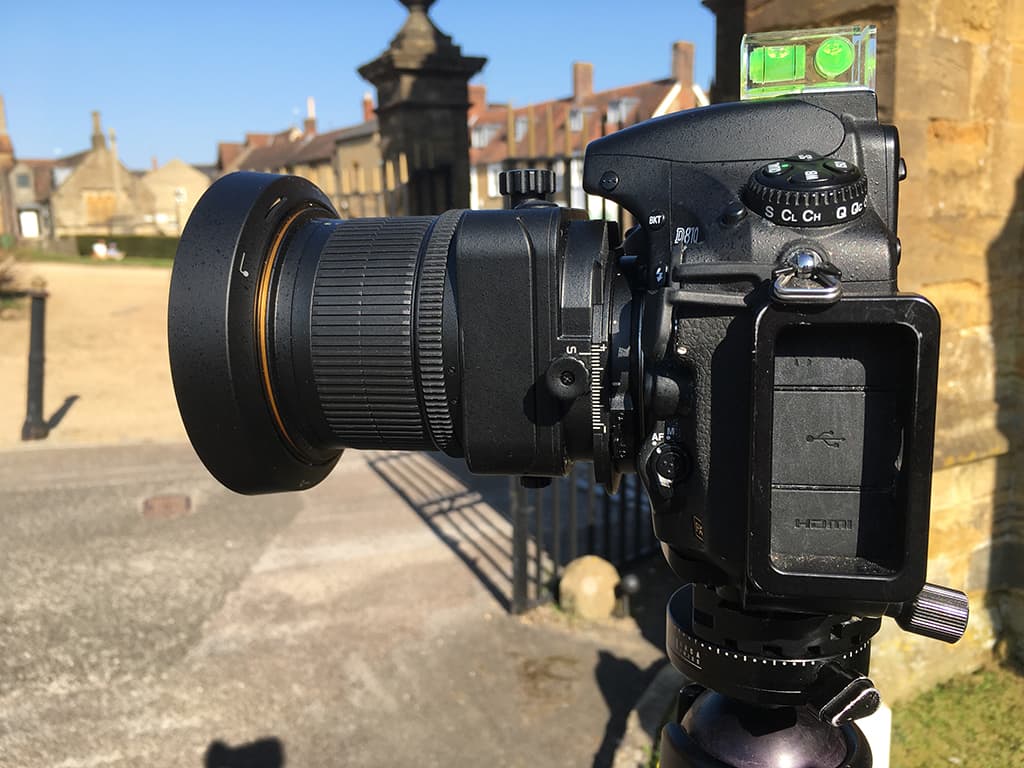
Everything has to be level. A hot-shoe spirit level or in-built electronic level are absolutely essential. Care and time should be spent making sure you are as accurate as possible.
Use a geared head
A sturdy tripod with a smooth geared head will be preferable. There is nothing worse than locking everything off and then finding the horizon is not level or a vertical is slightly out of true.
Manual focus only
There is no autofocus on a tilt-shift lens so allow time to manually focus on your subject. Use live view at 100% for accurate focusing. Once you’re happy, check the focus and check again.
Meter first
Meter through the lens before making any rise or fall adjustments. Taking a meter reading after any adjustments may affect the true exposure. Shoot a test frame and check the histogram just to make sure you are in the ballpark.
Reset movements
Reset any movements you may have made to the lens back to zero. It is very easy to finish shooting one location, move to another and not realise you have several millimetres of correction already set on the lens and then wonder why your image doesn’t look right!
Further reading
Take better architecture photographs
Master minimalist photography