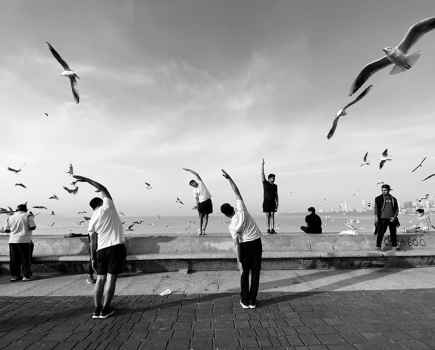
ISO is one of digital imaging’s superpowers. Giving you the freedom to shoot any time, anywhere and almost in any light. Will Cheung shows how you can harness its potential to improve your photography. Plus tips from James Abbott
The fundamental skill of digital photography is controlling the trinity of camera settings: aperture, shutter speed and ISO. While ISO is a relatively recent recruit to the three, its power is immense and not to be underestimated. Learn the skills to master the three settings and you have rock-solid foundations to build on.
While there have been major innovations with apertures and shutter speeds. On a digital camera they perform essentially the same function as they did on cameras of old. The aperture is the adjustable hole that controls how much light reaches the sensor. The shutter speed is a period of time the sensor is open to receive that light. Yes, apertures can now be set in third and half f/stop increments and there are even lenses with stepless values.
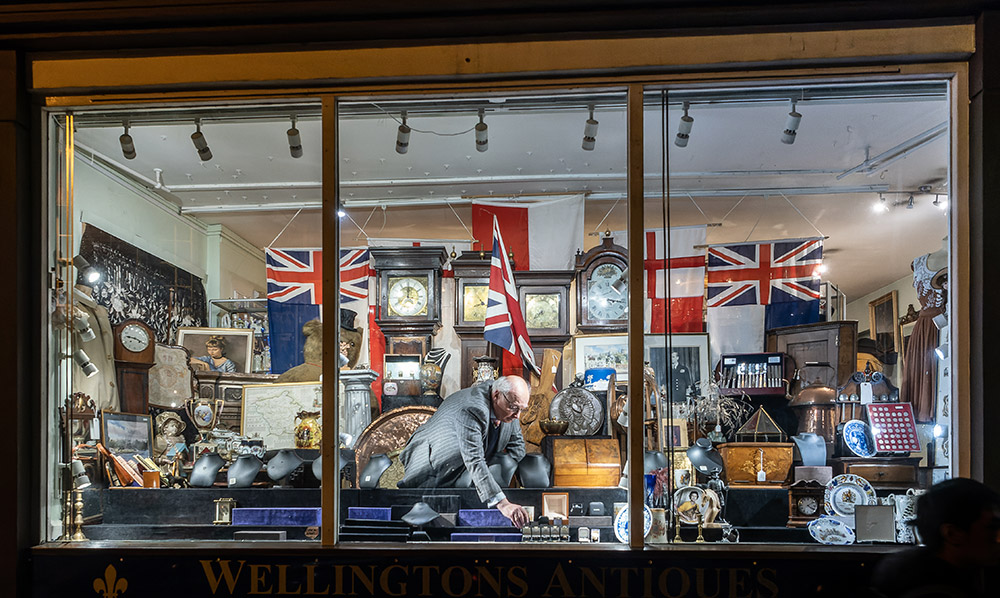
Windsor shop front grabbed with an OM System OM-1 and a 12-40mm f/2.8 lens. 1/60sec at f/4 and ISO 1600. The raw was processed through DxO PureRaw 2 before being edited in Adobe Lightroom. Image credit: Will Cheung
Meanwhile the big step forward with shutters is the arrival of the electronic shutter that is silent and has enabled superfast speeds. Fujifilm has had 1/32,000sec for years and it recently upped that to a remarkable 1/180,000sec with its X-H2 and X-T5.
However, while these advancements in apertures and shutter speeds are thoroughly worthwhile, they pale into insignificance when you consider what has happened with ISO in the digital age.
If you need a superfast film, there’s Ilford Delta 3200 and Kodak T-Max 3200, both mono films. For colour, then ISO 800 is the highest speed currently available. There used to be a Konica 3200 print film and you might find the odd roll online. Look where we are with digital ISO. The native ISO range of almost all digital cameras go beyond ISO 3200. So users can tackle the most challenging lighting.
We are also blessed with cameras with top ISO ratings of 12,800, 25,600 and even 51,200. The Canon EOS R3, Nikon D6 and Sony A7S III all have ISO 102,400 as their top ISO speed. These are high-end cameras. But the ISO revolution has had a huge impact across the entire imaging market so camera users of all levels can reap the benefits too. For example, the £899 Canon EOS R10 has ISO 32,000 and the £799 Nikon Z50 has an ISO 51,200 top speed.
What is ISO?
Before we dig deeper into the modern ISO world, it’s worth explaining what it is.
ISO is an indication of film sensitivity to light based on standards set by the International Organisation for Standardization. ISO was brought in in 1974 and combined the two standards of the day: ASA and DIN. With film, the manufacturers formulate their emulsions to give their products a specific ISO rating and that’s the speed to use. Although many films can be pull- or push-processed, for lower or higher speeds.
As you would expect, the standards applied to assessing digital ISO are different from film but they are designed so that digital ISO resembles film ISO. There is plenty of technical information on the web if you want more details on all this.
A digital sensor has a base sensitivity to light, and this is typically the lowest speed in the native range. This depends on the camera but is normally 100, 160 or 200. At the base speed, there’s no or minimal signal gain and this is where the signal-to-noise ratio is at its highest, i.e. any digital noise is small compared with the signal (light). The result is very clean images.
Setting a higher ISO doesn’t change the sensor’s sensitivity to light, but what does change is how much the signal is amplified, and the higher the ISO the greater the gain.
Amplifying the light signal also increases any digital noise. Noise is due to various reasons. It can arise from sensor design, tightly packed photo sites, small sensor size, light levels, underexposure as well as the ISO. Noise can be random, fixed pattern or appear as banding. Every camera is different.
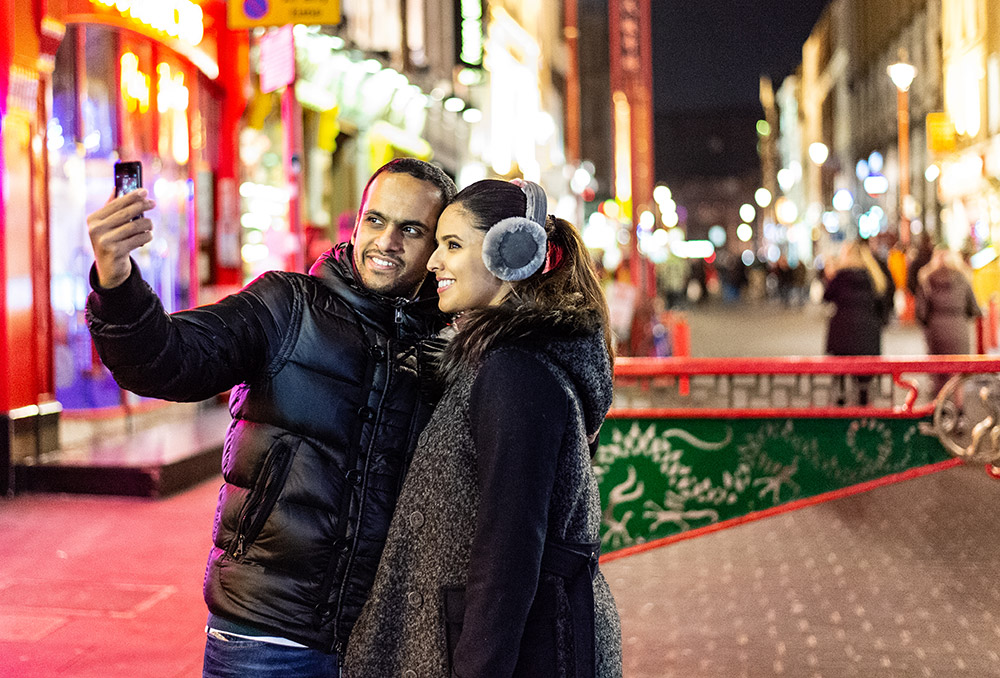
Chinatown candid taken on a Nikon Df with a 50mm f/1.8 lens. The exposure was 1/320sec at f/1.8 at ISO 12,800 and the raw file processed through Adobe Lightroom. Image credit: Will Cheung
Film and Digital ISO
Digital ‘grain’ has a very different look from film grain, but it has a similar detrimental impact on quality. Fine detail loses its intricacy, blacks lose depth, colour saturation suffers and the grain pattern is not always pleasant especially colour noise. The effect is also much more obvious in areas of even tone especially in the mid-tones and shadows where less light is recorded. Digital noise can be lessened, as we’ll discuss later.
Look at a camera’s specification and you’ll see the native ISO range and more settings that are quoted as being ISO ‘equivalent’. Expansion is achieved with in-camera software pushing a camera’s ISO range even further at both ends of the scale. As a rule of thumb, the expanded high speeds aren’t worth using unless you’re really desperate or being creative.
Expansion at the high end can be one or two stops while the Nikon D6 has an H5 setting taking it from its top ISO of 102,400 to an ISO 3,280,000 equivalent; that’s a massive ten stops faster than ISO 3200. Don’t get too excited though because image quality at that speed is very poor.
Ok, so film and digital ISO are different but when it comes to taking pictures, they are the same – almost. In theory, the camera settings needed for a ‘correct’ exposure using an ISO 100 film and for a digital sensor set to the same ISO should be the same. This is the theory at least and inevitably there are variances. For example, you expose for the shadows with print film and for highlights with a slide film.
In digital, you’re looking for a balanced histogram with no burnt highlights or blocked shadows and you have the tools to make sure you get it right including live view and histograms. Not only that but capture in raw format and you can perform near-miracles in editing controlling highlights, shadows, colour, tonality and digital noise.

Using illumination supplied by an LED light, this portrait was shot on a Nikon D700 fitted with the 70-200mm f/2.8 at 170mm. The exposure was 1/1250sec at f/2.8 using an ISO of 25,600. The raw was treated for noise using Topaz DeNoise AI. Image credit: Will Cheung
What ISO means in the real world
As we mentioned right at the start of this feature, ISO is intrinsically linked to aperture and shutter speed, and how you use them depends on what you are shooting and the effect you want.
If you are shooting scenics you’ll probably stick to ISO 100 or 200. Then drop to a lower ISO for longer shutter speeds. Shooting action, you’ll need movement-stopping shutter speeds and even with the lens at maximum aperture. This might demand a high ISO. Photographers working in a studio with flash will probably standardise at ISO 100. While street photographers having to deal with ever-changing conditions might have ISO 800 as their ‘go to’ setting.
Understand your camera
With so many variables, this is why you need to be aware of ISO and how to utilise it for the best results and it helps to be aware of your camera’s capabilities. For example, many digital cameras are user-friendly when it comes to handholding with in-body image stabilisation (IBIS) and shock-free electronic shutters meaning you can hold off going to a higher ISO like never before. But what is your own ISO limit?
So, knowing your camera and its ISO performance is key, and if you haven’t done it, now is a good time to test your camera. Shoot a set of pictures from the lowest to the highest ISO of a low-light scene. Then check the results in the same way as you would normally view or use your pictures.
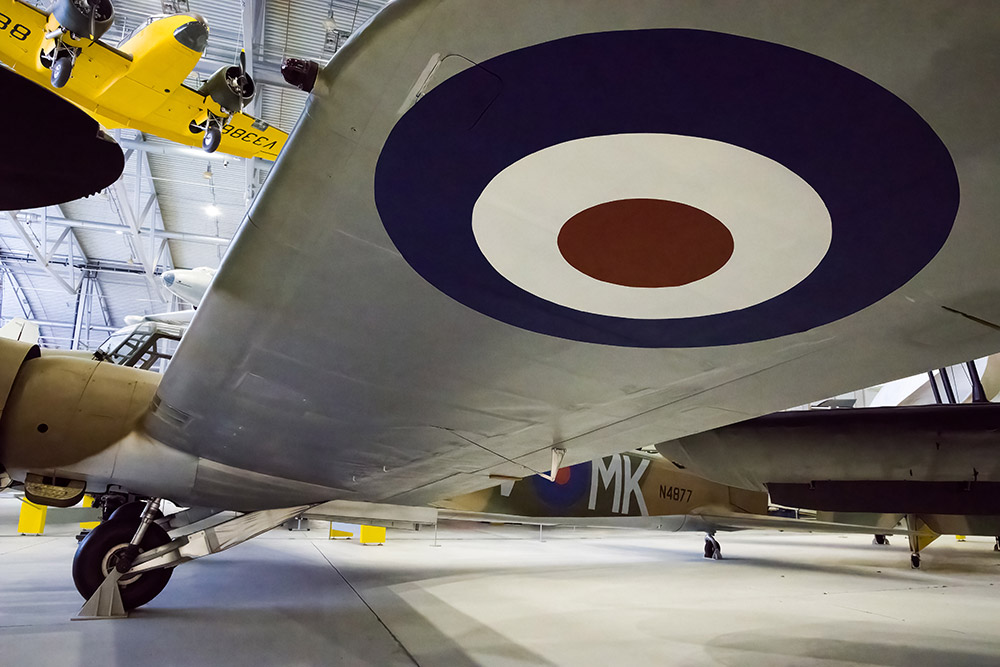
With the potential of high ISOs, we can enjoy quality photography all day long in any sort of lighting. Taken at the Imperial War Museum Duxford. Using a Canon EOS R at ISO 25,600 with an exposure of 1/40sec at f/11. Processing through Topaz DeNoise AI. Image credit: Will Cheung
A matter of levels
Digital noise can be controlled but it’s fair to say that sensor technology has made huge strides over the years. Recent models give first-rate results at ISO 1600 or even higher.
An option is to modify how you use your camera. With digital noise more obvious in mid-tones and shadows, the technique of exposing raws to the right (ETTR) to get more light into the file is worth a try. The aim is to expose to give a right-sided histogram but without losing highlights.
Digital sensors capture light with more information, i.e. levels, in the highlights compared with the shadows. With 14-bit raw capture there are 16,384 levels per colour. When a digital camera correctly exposes a fully toned scene, half of those levels are recorded in the brightest f/stop; the next brightest f/stop uses half of the remaining half; and so on.
By the time we get to the shadows there are fewer levels and with less light giving a low signal-to-noise ratio, the shadows show more noise. ETTR is not for everyone and with today’s great sensors it’s less relevant unless you’re into serious pixel-peeping.
Minimise digital noise in-camera
The next technique for minimising digital noise is to use in-camera high ISO noise reduction. This feature only works on JPEGs, not raws, but it can be very effective. If clean out of camera JPEGs is your aim, this is a feature worth using but be aware that higher strengths can be aggressive and remove noise while making the image look too smooth. See the ‘In-body noise control’ section below, for more details and comparison images.
Multi-shot modes on some cameras is another technique to consider. These modes are provided to gain a higher resolution by shooting a number of frames using pixel shift. Then combining files, either in-camera or in software. Lower digital noise is a side-benefit. Such modes work with raws and JPEGs but you usually need a tripod and static scenes. Olympus and Panasonic have handheld options. Canon has a multi-shot noise reduction setting and this is for JPEGs only, where four shots are taken and merged in-camera.
Noise control: In body
Most cameras offer in-body high ISO noise reduction. This affects JPEG images only, not raw files, and there is usually a choice of levels. The question of which setting to use depends and this also varies from camera to camera. A safe bet, however, is to use the normal or standard setting in order to achieve out-of-camera results that don’t appear over-processed.
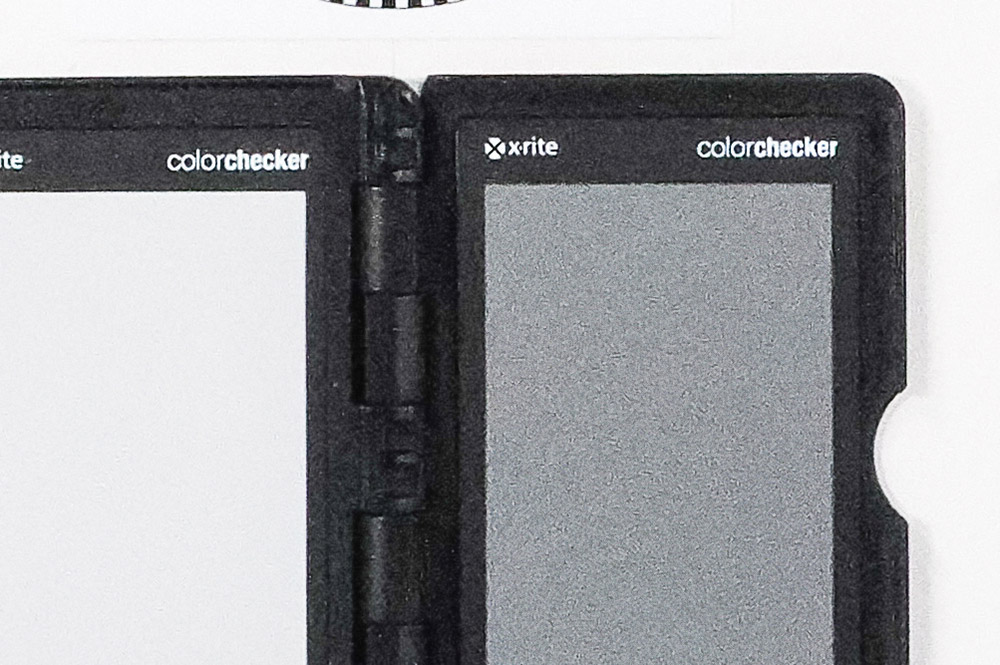
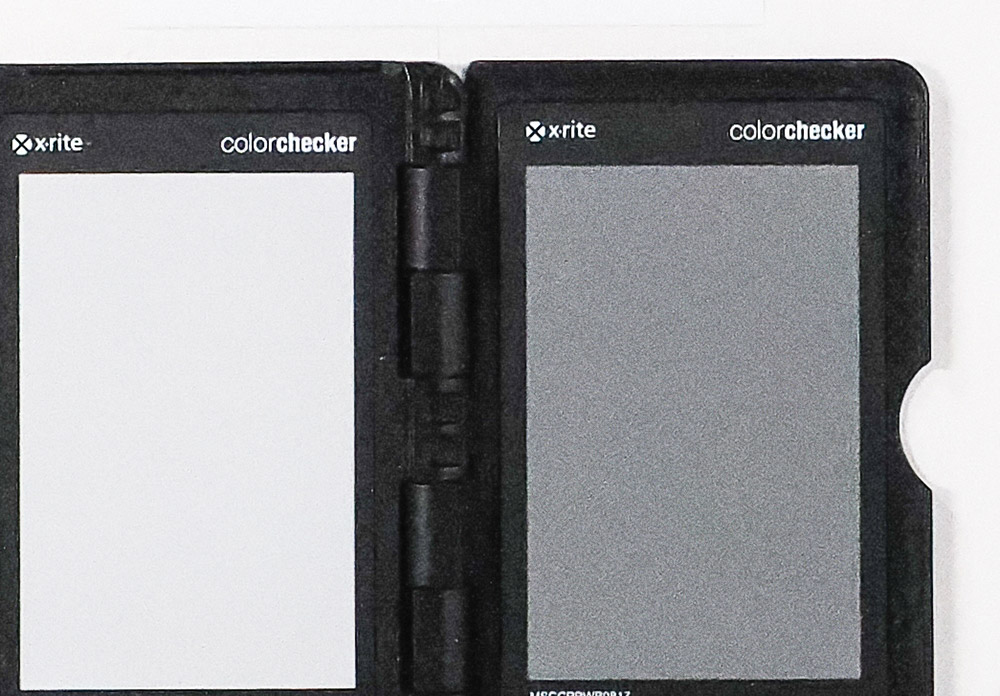
A simple test you can do at home should help you to decide. Set up the camera on a tripod and make a series of exposures at different ISO speeds. With the high ISO NR set to the levels available and compare the results.
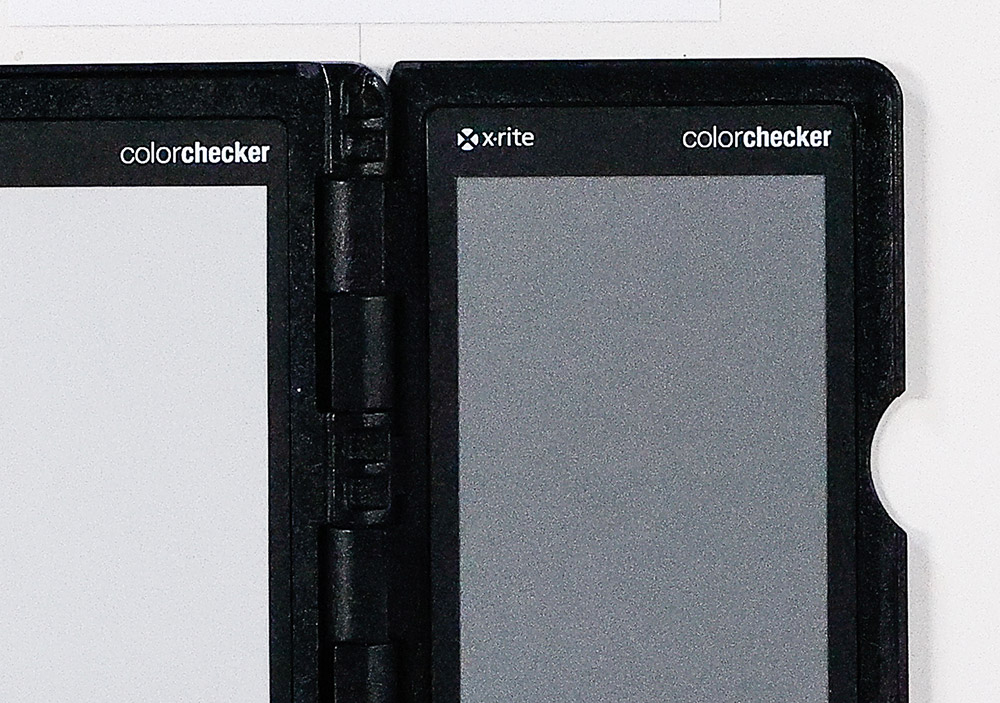
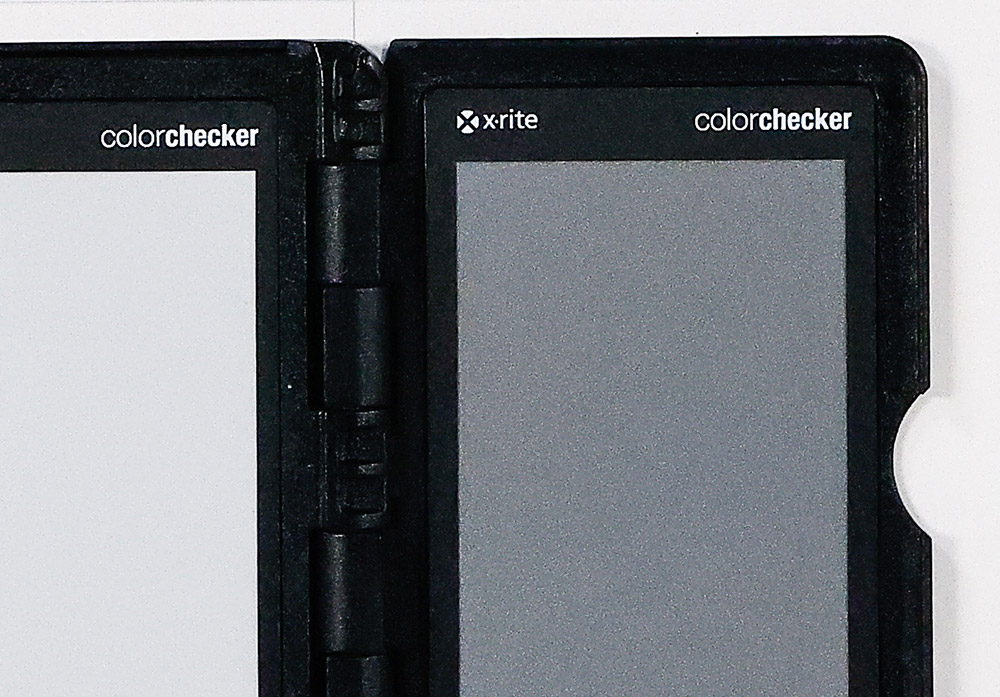
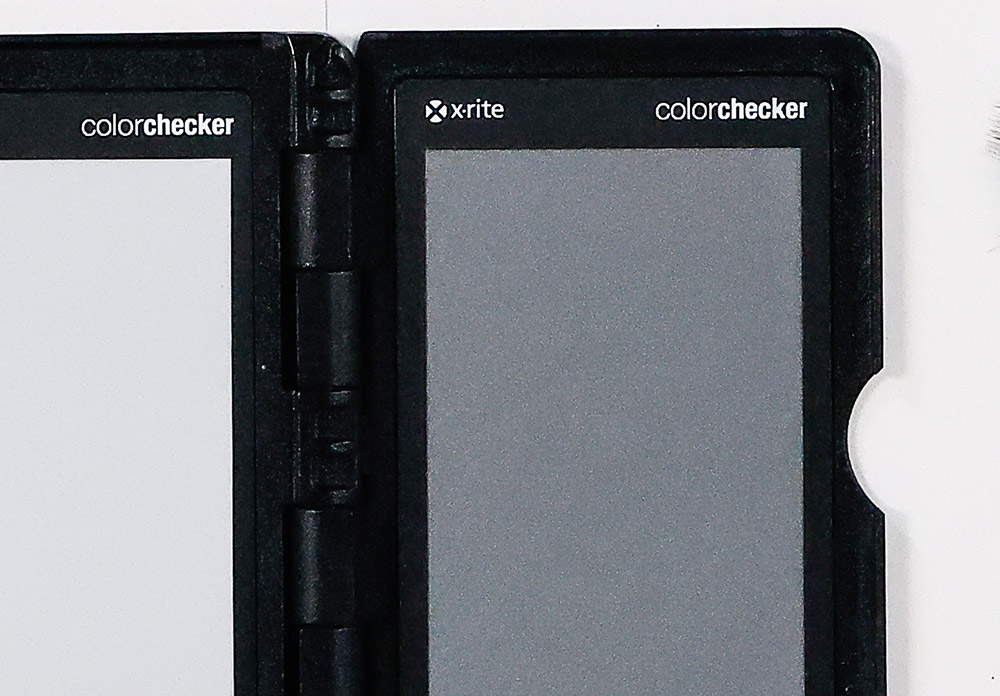
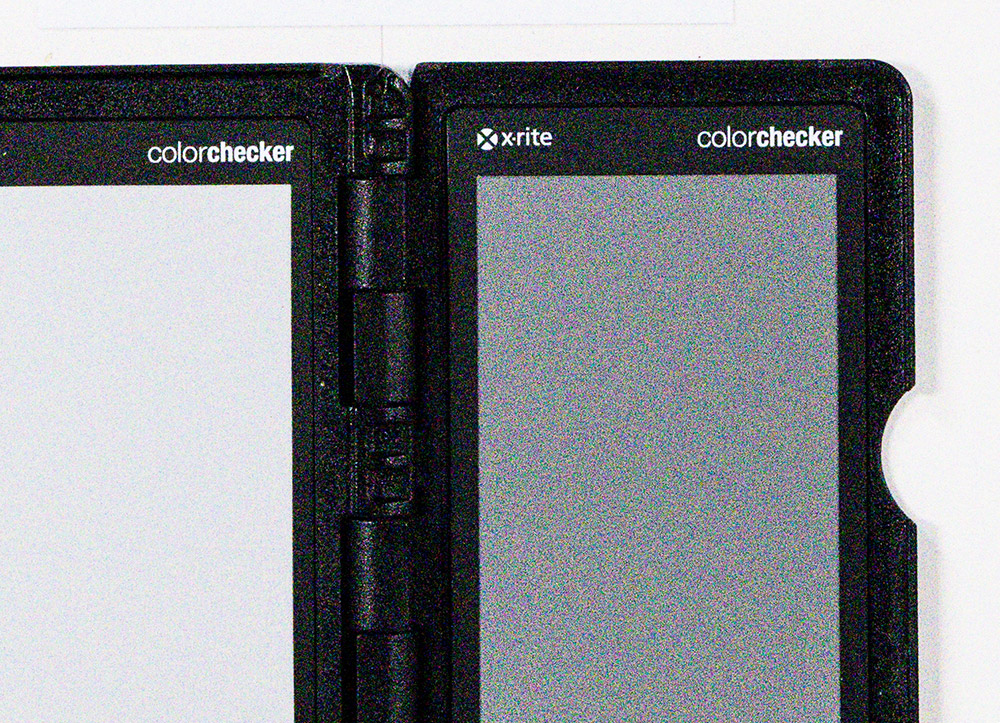
That’s what we did here with a Canon EOS R5 and an OM System OM-1. Here, the ISO 6400 JPEG was used and enlarged to 200% with the raw going through Lightroom with no noise reduction.
Noise control: Software
How deep you dive into the world of post production is your decision. If the images are for enjoying on-screen, then you’d probably be perfectly content with nothing more than a light tickle in post with default levels of noise reduction, clarity and unsharp mask. Indeed, get things right at the point of shooting and out of camera JPEGs will more than do.
For many camera users, however, part of the craft of photography is working files for the best possible quality. Spending time on the computer is an essential workflow step. The key thing with software noise reduction is not to overdo it. Removing excessive noise is one thing but being over-enthusiastic with the sliders can give false-looking, over-smooth results.
Where digital noise can be an issue, even with modest ISOs, is when you have to make a severe crop to achieve a usable image size. With action and nature subjects where telephoto lenses and high ISO speeds are standard, the subject may still be small in the frame and cropping is needed to produce a better composition.
There are software options whose primary purpose is to give cleaner results from high ISO files and these are remarkably effective. See below where we try the noise-reduction skills of four products.
How to deal with noise in software
For clean, high ISO images you might be happy with your default software. However, there are options that claim to do a better job. Here, Adobe Lightroom was used as reference and then three specialist noise reduction software packages were used: DxO PureRaw 2, ON1 No Noise and Topaz DeNoise AI.
This shot was taken on a Nikon D4S at ISO 12,800. In Lightroom, the luminance and detail sliders were at 50% but on three others, auto or default settings were used. To be fair, with more effort in all four, superior results would be possible but this is not a software test and we wanted to give you an idea of their potential.
All four softwares did a very decent job considering the high ISO. Lightroom was the least good, ON1 looked fine but there was some artefacts in the shadows while Topaz seemed to be the most effective at noise removal but detail suffered a little. PureRaw 2 did well with noise removal without impacting on detail which remained excellent, but it is also the most expensive.
Need further guidance on dealing with noise in software? See the best software for noise reduction here.
Enjoy the speed
While fast shutter speeds and wide apertures often steal the headlines, ISO deserves to be up there in lights too. It is a feature easy to take for granted and the opportunity of exploiting a camera’s ISO range, notably the faster speeds, for better pictures shouldn’t be underestimated. The potential to enjoy photography literally 24/7 in the most challenging light is really liberating, so don’t be afraid to venture out of your safe zone. It’ll be worth it.
Where are we with ISO?
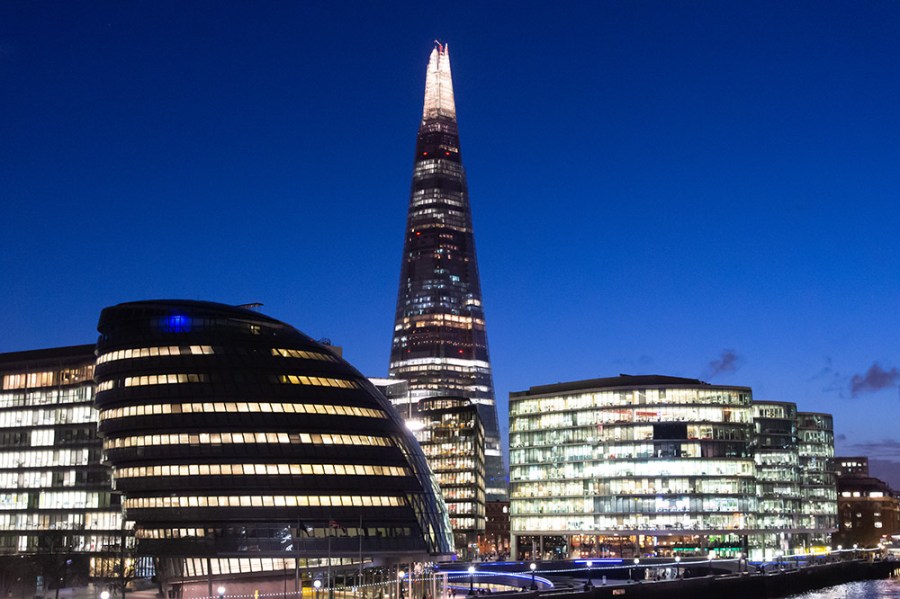
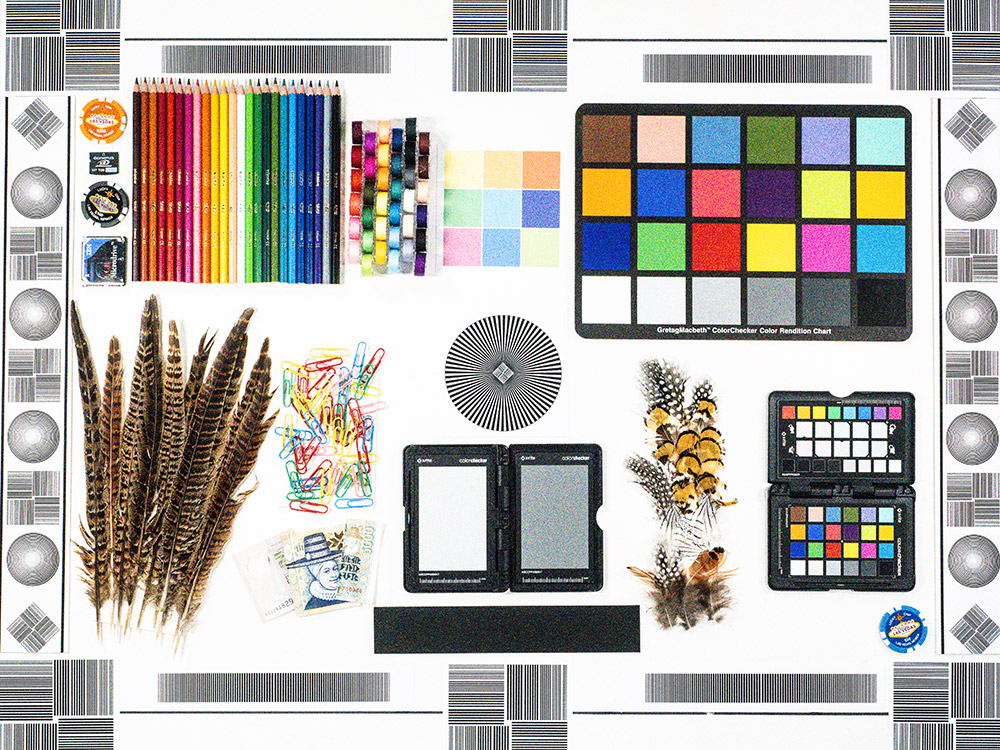
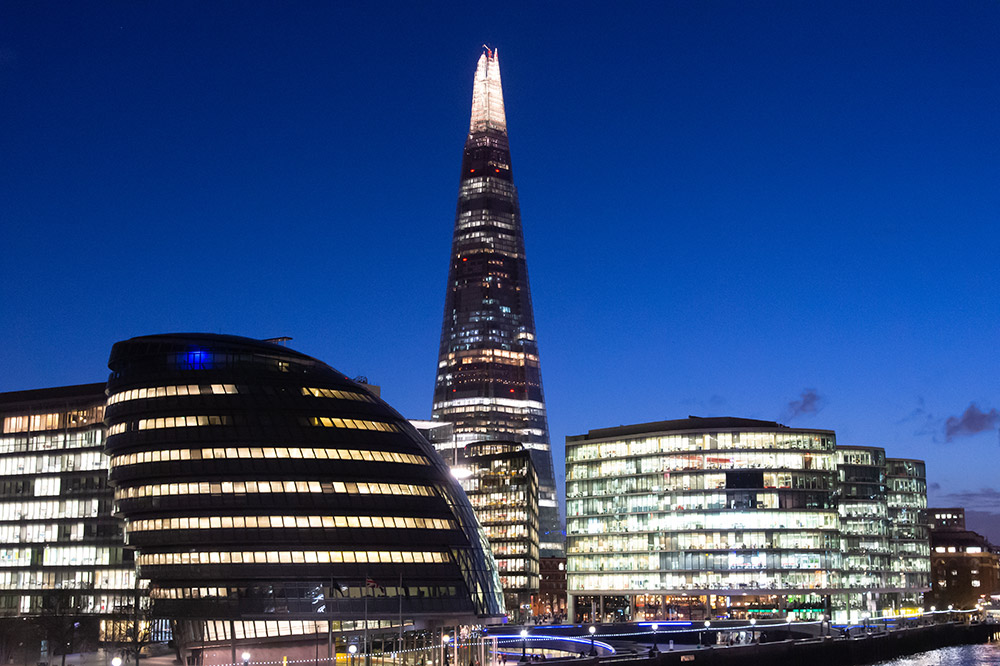
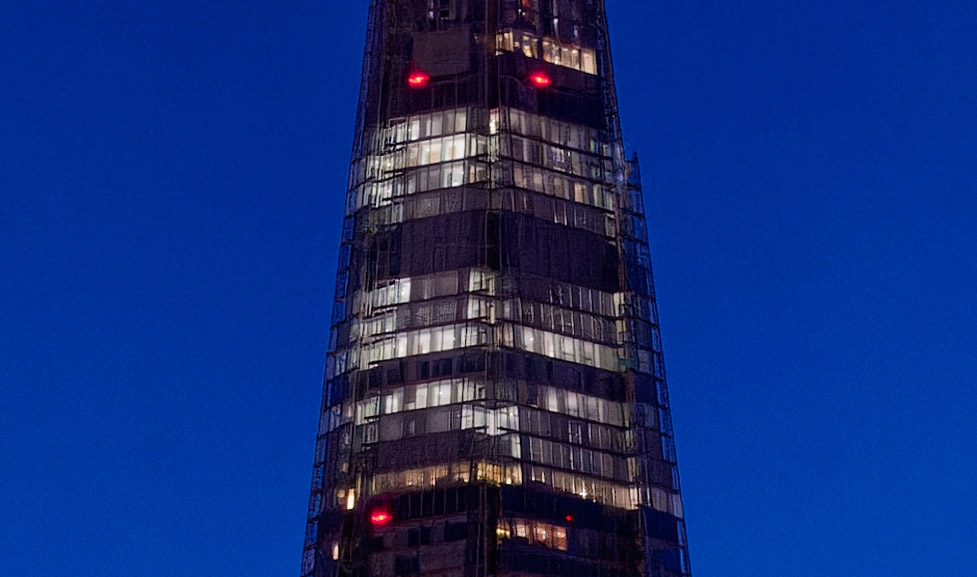
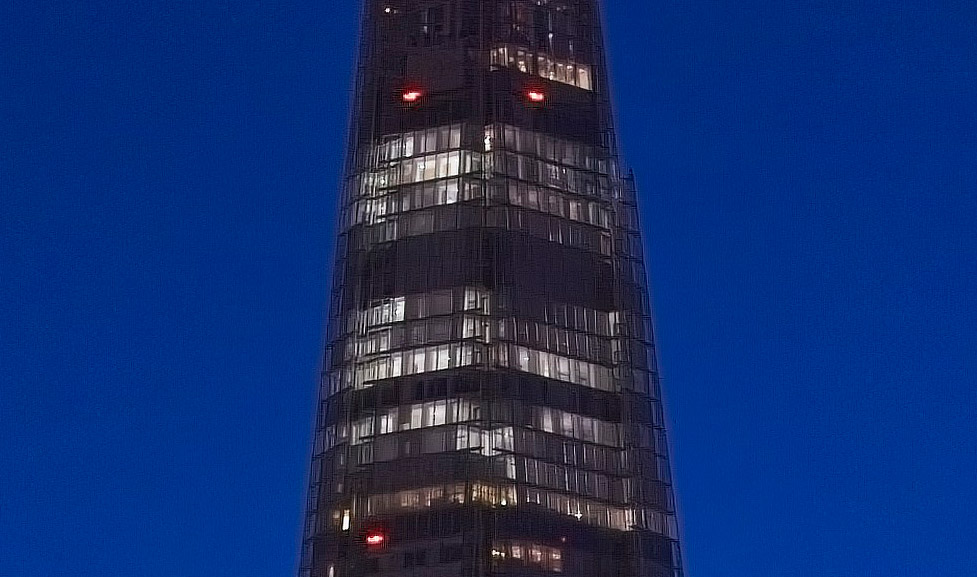
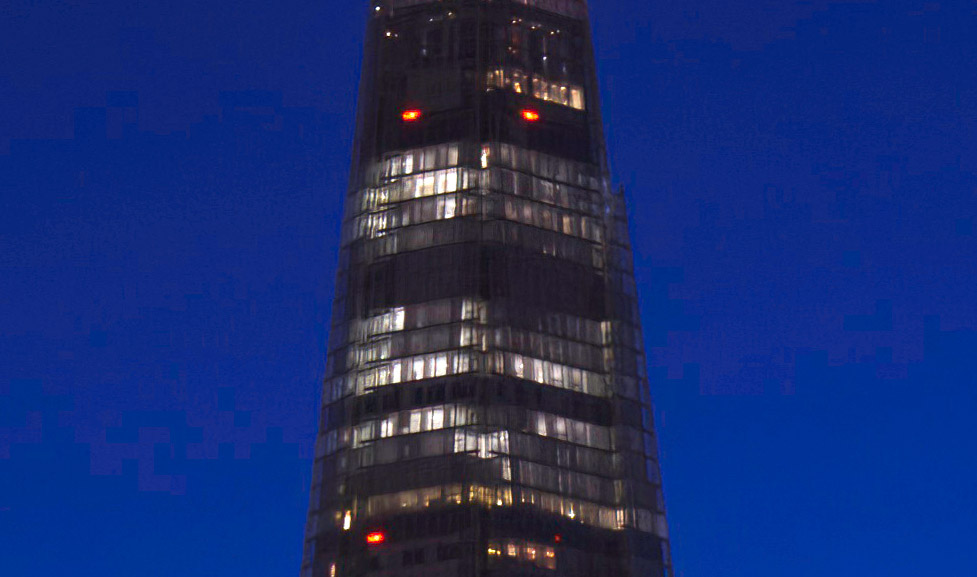
To give an idea of where we are with ISO, we took these comparison shots on the smallest interchangeable lens format currently available. We shot raws using the native ISO range of the Micro Four Thirds format OM System OM-1. With digital noise more likely to be visible on the smaller format this gives a guide to what is possible with current cameras.
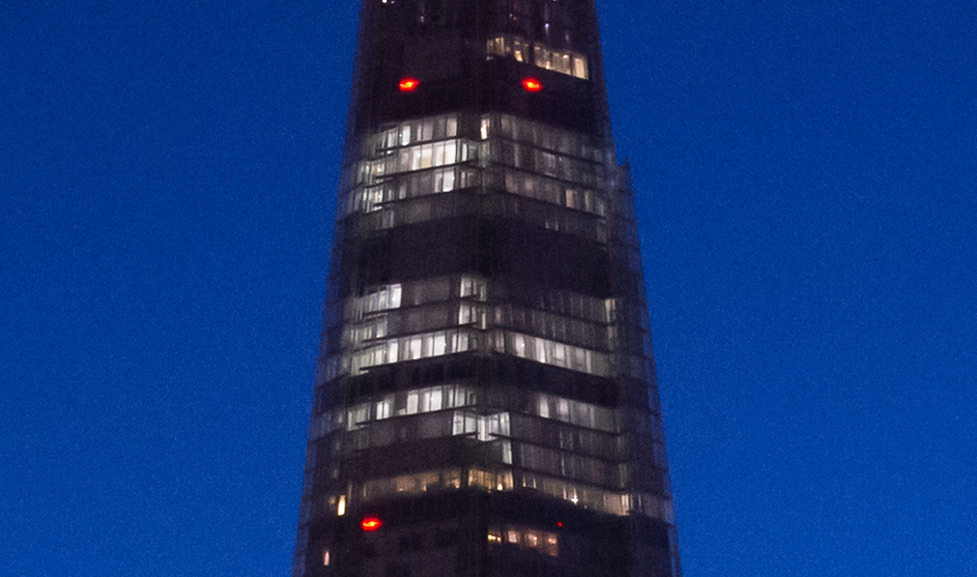
The ISO 200 exposure was 2sec at f/8 and the raws were processed in Adobe Lightroom with no noise reduction applied. Viewed at 100% on screen, while there is some grain visible in the shadows at ISO 3200, it is not unsightly and fine detail looks clean and crisp. Quality takes a hit at ISO 6400 and needs some work in software but the potential for high-quality images remains.
As expected, quality falls away more significantly once you venture over ISO 6400, but considering the small picture format, high ISO performance is impressively good.
Expert views on ISO
Brian Lloyd Duckett
www.streetsnappers.com
YouTube @streetsnappers
Brian runs regular group and one-to-one street photography workshops in London, Blackpool and Liverpool as well as Lisbon, Prague and Venice. He is a Fujifilm ambassador and has written several books on the subject. His latest is Street Photography Workshop, published by Ammonite Press.
‘Most of what I shoot is documentary and street photography,’ says Brian, ‘and I use the Fujifilm X-Pro3 – I just love its “rangefinder” ergonomics. Almost always, I have auto ISO set with a range of 200-6400 and a minimum shutter speed of 1/200sec. I am regularly shooting at ISO 6400 which sounds high but it helps keep the shutter speed fast, Getting a sharp image is preferable to a blurred one and any digital noise I can work with. I only shoot raw and I often convert to black & white, and any noise in the shot adds to the atmosphere.’
Emma Healey
www.emmahealeyphotography.com
www.wildlifeworldwide.com
Emma Healey is a professional photographer and a tour leader for Wildlife Worldwide. Her trips over the past 12 months have included macro workshops in the UK and Europe; and photo safaris in Botswana, Brazil and Zambia. Shooting in a variety of different weather conditions and across all times of the day, she has to be flexible with her ISO choice. Her current camera is a Canon EOS R5 used usually with an EF 300mm f/2.8, an RF 70-200mm and an RF 100mm macro lens.
‘When the light is good my default is ISO 100 or 200,’ Emma says. ‘When the light drops, I set auto ISO generally with a maximum of 3200. ‘I need fast shutter speeds to stop any movement and, on the EOS R5, the amazing quality of the sensor lets me use higher speeds than I’m normally comfortable with. I process raws through Lightroom and if the noise is too high, files go through Topaz DeNoise AI.’
Andy Sands
www.chiswickcameras.co.uk
www.andysands.co.uk
Andy Sands owns Chiswick Cameras and is a very experienced nature photographer. He specialises in British wildlife and particularly macro photography, shooting with Olympus/OM System kit. With a preference for tiny subjects like slime moulds and his favourite techniques include focus bracketing and focus stacking. He often uses extension tubes with an Olympus 60mm f/2.8 macro lens and also reverse fits this lens onto a Novoflex BAL-MFT bellows to get even greater magnification in the field.
‘I shoot raw plus JPEG but nearly always work with the JPEGs. With ISO I go as low as possible and 200 is my default as I always work with a tripod. However, when shooting insects or birds I will happily go up to ISO 3200 with the OM-1. I always sharpen images with Topaz Photo AI which applies some noise reduction as well; I don’t have an issue with noise generally up to ISO 1600.”
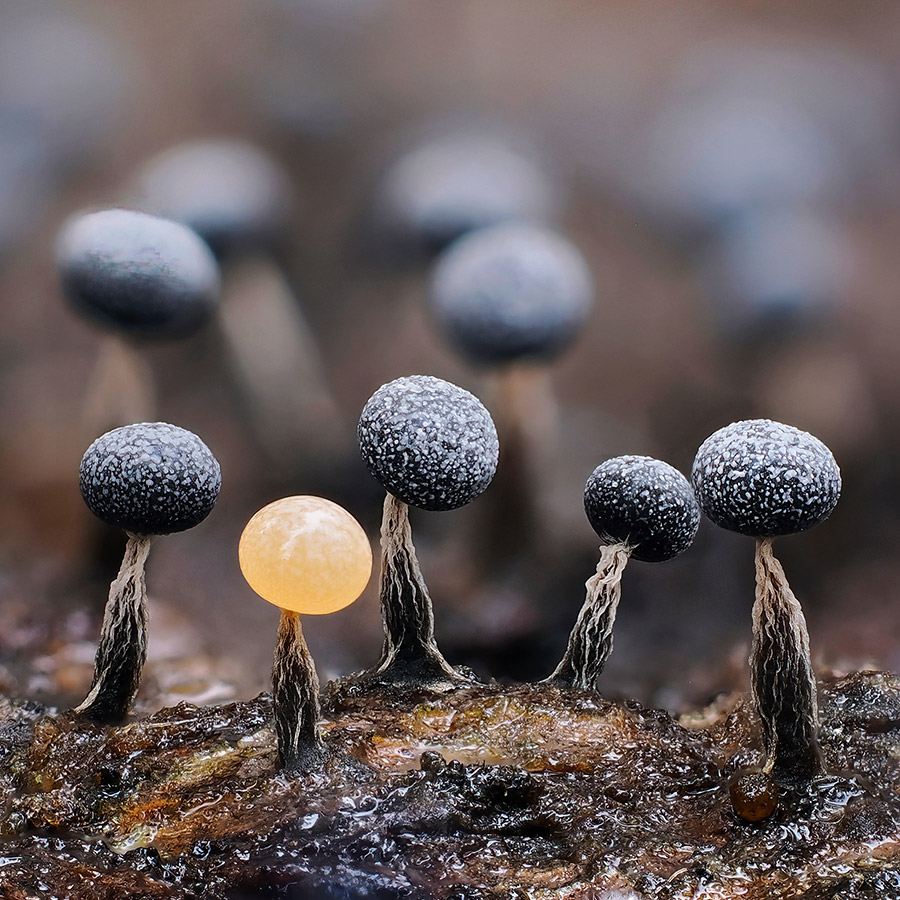
Shot with a tripod-mounted OM-1 with 60mm macro lens. 1/4sec at f/4.5, ISO 200. Image credit: Andy Sands
19 Tips for using ISO
James Abbott reveals his top ISO tips below…
1. Light sensitivity and noise
ISO is the control that allows you to set the sensitivity of the camera sensor to light. Lower settings make the sensor less sensitive to light, while increasing the ISO makes the sensor more sensitive to light. So as a rough guide, this means that lower settings can be used in bright conditions or when you have a tripod to support the camera.
Higher settings are almost always used to achieve a shutter speed that’s fast enough to allow the photographer to handhold the camera in low light, or to freeze a moving subject with a fast shutter speed. However, the downside is that as you increase ISO, more noise is introduced to the image, which ultimately diminishes image quality.
2. Types of noise
The two main types of noise: chroma or colour, which look like small coloured blotches and flecks and luminance noise, which is the grainy appearance you can see. Both of these increase as the ISO level is raised, and at the highest levels images can become practically unusable. It’s difficult to pinpoint when image quality drops because all cameras handle noise differently, although generally the more expensive professional cameras produce less noise at higher ISO levels.
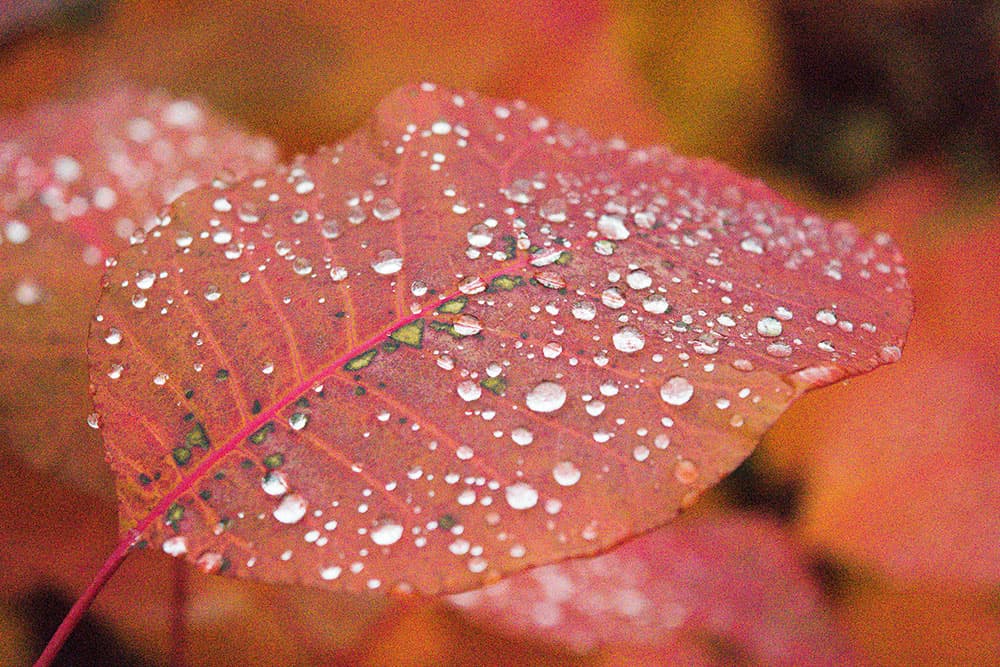
Noise looks like coloured blotches. Image credit: James Abbott
3. Auto ISO
Auto ISO is a great setting that will change the ISO within a set range to ensure that the shutter speed of the camera is fast enough to avoid camera shake. So you basically set the ideal (low) ISO and the maximum ISO the camera can switch to, and the camera will automatically select the lowest ISO setting it can.
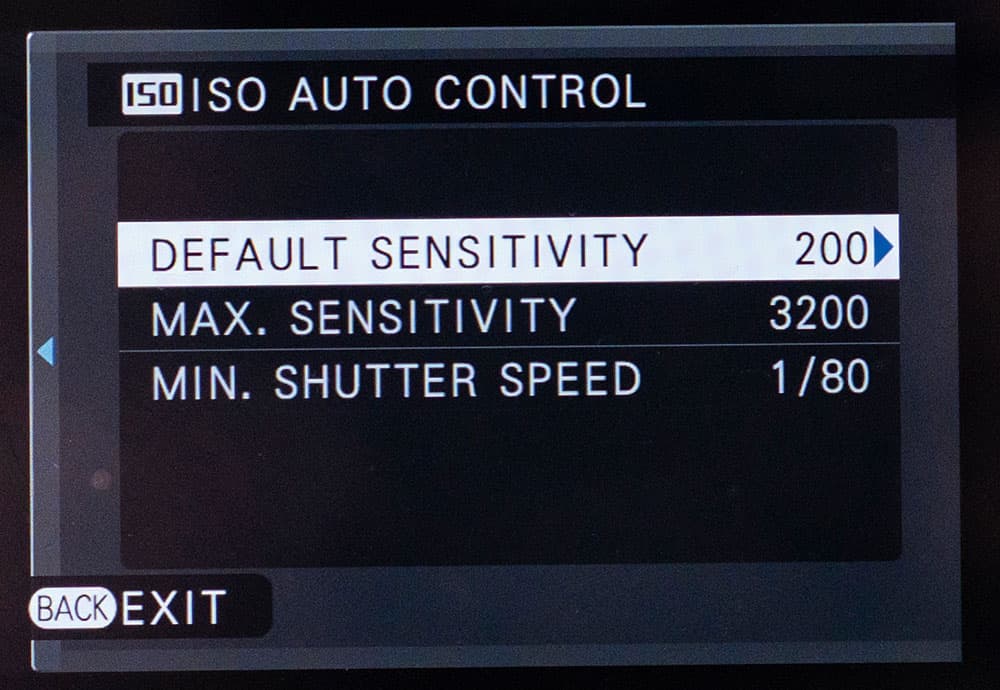
Image credit: James Abbott
4. Raw vs JPEG
Whether you shoot raw or JPEG files will come down to a number of factors. If you shoot raw you’ll have to remove noise manually during post-production. Whereas JPEGs are processed in-camera, so you don’t have to do any yourself, but you have the option to set the amount of high SO noise reduction, and turn long-exposure NR on or off.
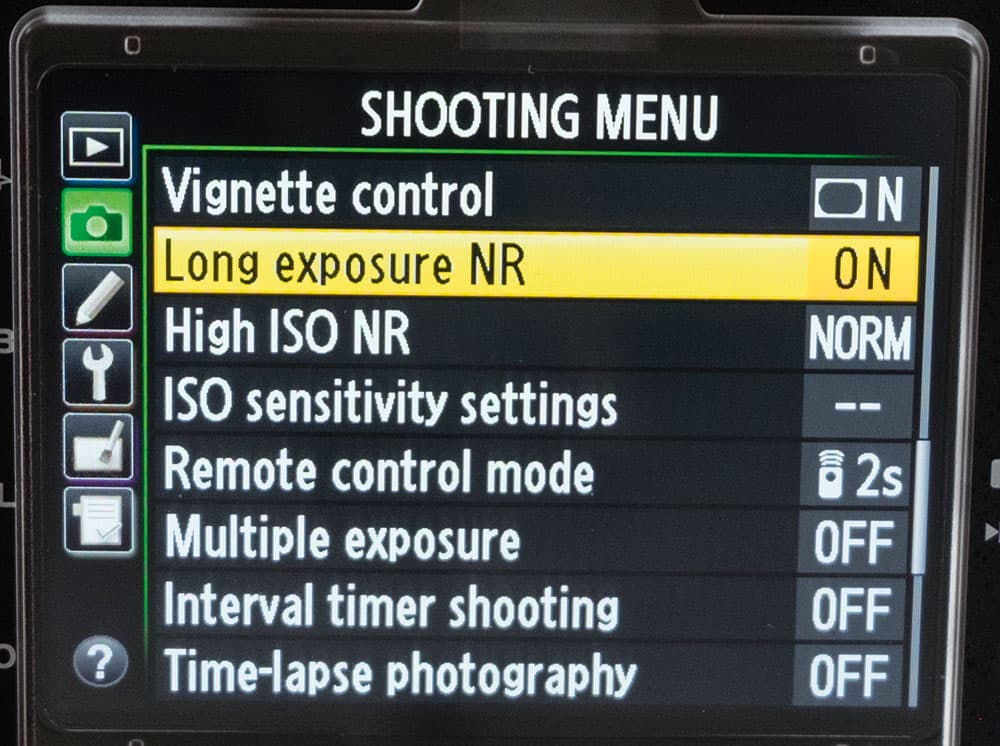
Image credit: James Abbott
5. Native ISO vs extended
Native and extended ISO refer to actual ISO settings and simulated ISO settings. Let’s say a camera has these ISO settings: L (low), 100-25,600 and H (High). Low would equate to ISO 50 while High would equate to ISO 51,200. If you set High the camera would set ISO 25,600 and then overexpose by 1 stop. As a result, image quality is comparatively lower than a shot taken within the native ISO range.
6. Shooting in low-light conditions with a high ISO
If you’re shooting handheld and don’t have a tripod, you may be forced to shoot at a high ISO. On dull days in dark streets it can be common to shoot at ISO 1600 or more. For a subject like portraiture this isn’t ideal, but it’s preferable to get the shot with noise rather than no shot at all. Sometimes it’s worth cranking up the ISO.
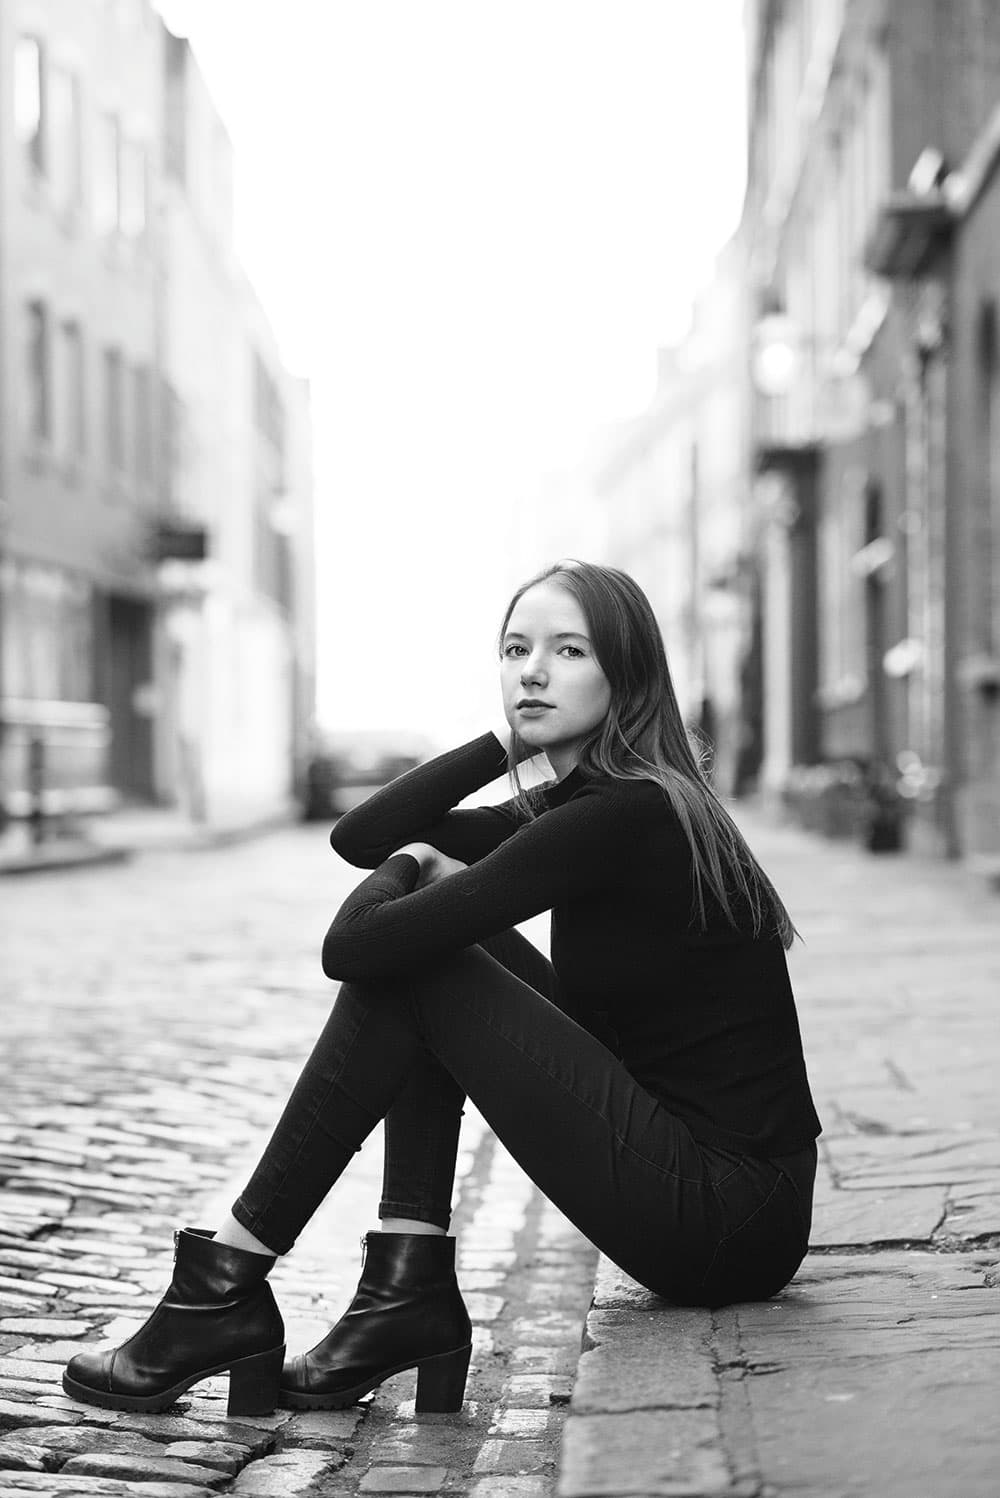
Image credit: James Abbott
7. How ISO affects shutter speed
As previously mentioned, an increase in ISO makes the camera sensor more sensitive to light. And as well as an increase in noise, another side effect is that the shutter speed becomes faster. The result is that you can freeze movement if the shutter speed is fast enough for the speed of the subject. Another benefit with fast shutter speeds is being able to shoot handheld without a tripod in low light conditions.
Every time the ISO is increased or decreased by a stop (doubled or halved), for example 200 to 400. The shutter speed will increase or decrease each time by 1 stop, such as 1/125sec becoming 1/250sec. If, on the other hand, you intend to shoot a moving subject such as a waterfall and wanted the water to blur. Attach the camera to a tripod and shoot at a low ISO such as 100 or 200 in order to keep the shutter speed as slow as possible in the given light conditions.
8. Use ND filters to extend exposure
Keeping the idea shooting moving subjects in mind, if you want to completely blur movement there’s only so far you can go with ISO alone. At ISO 100 the shutter speed for this scene was 0.8sec. It was slow enough to blur the moving water but in other scenarios you may need to extend the exposure time – by using 10-stop ND (Neutral density) filter, it was possible to increase exposure time to 60secs.
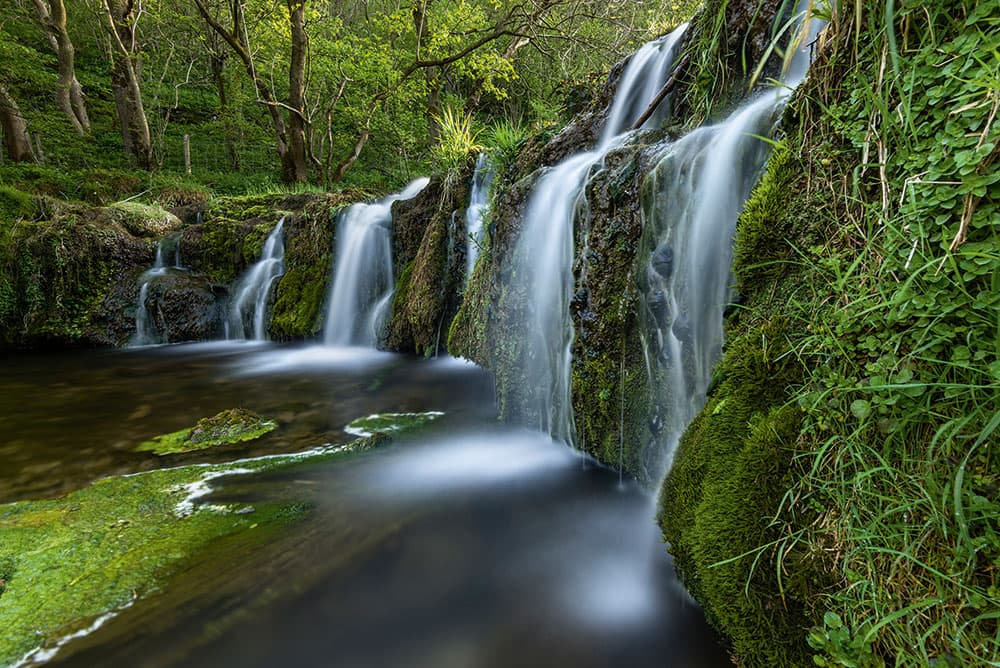
Image credit: James Abbott
9. Auto off for long exposures
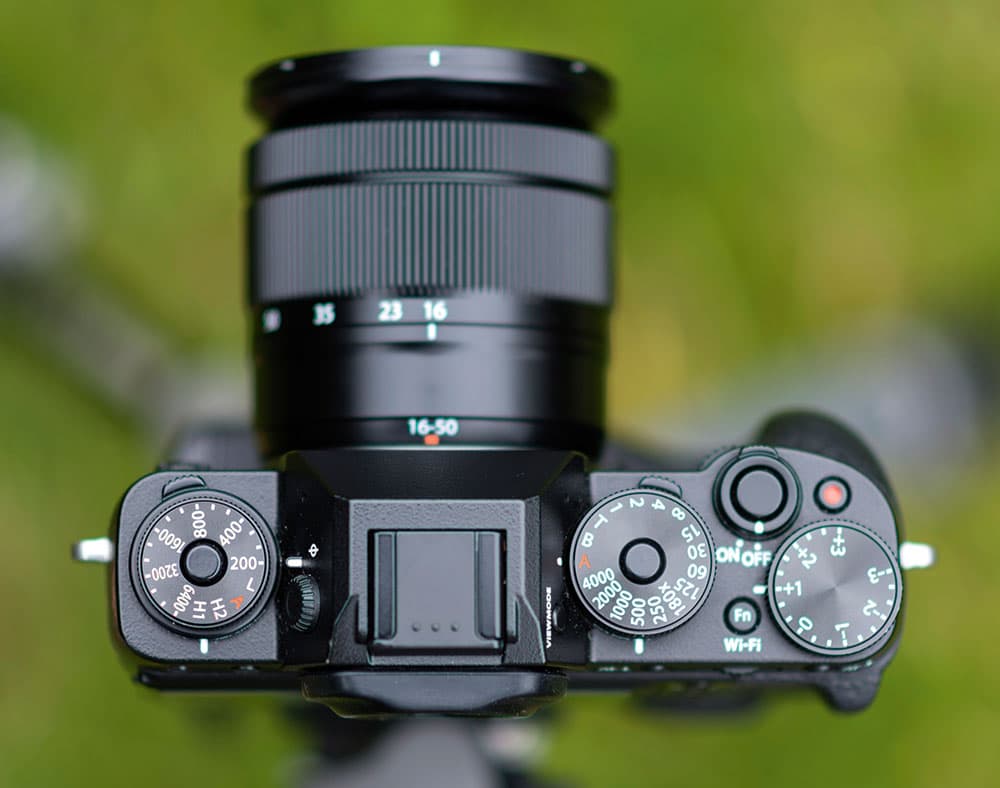
When shooting long exposures with or without an ND filter, or simply shooting with the camera on a tripod, it’s best to turn off Auto ISO and set the lowest native setting available. On some cameras this will be ISO 50, 100 or 200. Auto ISO will raise ISO for a faster shutter speed, with the side effect of increasing the noise.
Turn Auto ISO off for long exposures. Image credit: James Abbott
10. Use the AF assist lamp in low light
Some cameras have an AF assist lamp that illuminates when the shutter button is depressed halfway to autofocus. If you’re shooting in low light and using AF, make sure the AF assist lamp is turned on if your camera has one, because it will make focusing much quicker and easier.
11. Keep ISO low for flash
Generally speaking, when shooting with flash it’s often best to shoot with the ISO set low, ideally between 100 and 400 to ensure the best image quality. Flashguns adjust power output when set to TTL mode, so when shooting portraits the subject will most often be perfectly lit. If you’re shooting in trickier situations where you would like the background to expose correctly, you can force the flash to emit a lower light level that’s balanced with ambient light by shooting at a higher ISO such as 800 or 1600.
12. High ISO for shooting starry skies
Astrophotography is hugely popular and requires just a few techniques for success. You’re definitely going to need a tripod and ideally a fast wideangle lens of f/2.8 or more. An f/4 lens would still work, but you’d need to use a higher ISO.
Manually set the lens to focus on infinity, and shoot in manual mode with the shutter speed around 25secs and the aperture on the widest setting. The ISO should initially be set to 3200 and then take test shots to refine the exact setting. You have to use a high ISO to avoid the shutter speed being so long that stars begin to streak.
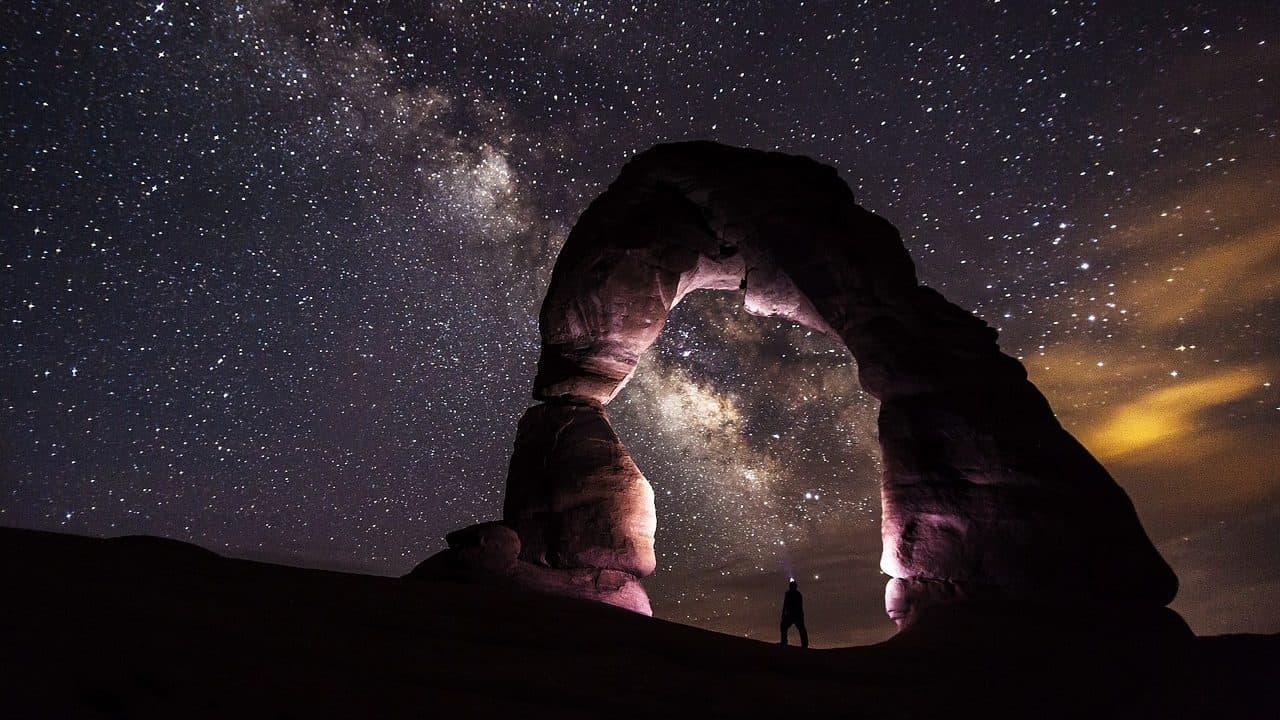
Image credit: James Abbott
13. Shoot low-light sport with a high ISO
A combination of low light and high-speed action calls for high ISO. Not only do you need a high enough ISO for faster shutter speeds to ensure you can handhold the camera without images suffering from camera shake, but one fast enough to freeze fast action.
Many sports are played in the evening under floodlights or indoors, which makes an ISO of 3200-12,800 a common requirement to achieve shutter speeds around and in excess of 1/500sec. This high ISO is often combined with a fast telephoto lens with a maximum aperture of f/2.8, and a camera that has excellent high ISO performance.
14. When to use noise creatively
So far we’ve been concentrating on keeping ISO to a minimum to maintain optimal image quality or to combat exposures in tricky situations, but high ISO can be used creatively to add texture and grittiness to your shots. Documentary photography in particular has a high ISO grainy aesthetic that comes from shooting at high ISO to capture natural light and atmosphere rather than using a flash.
This grainy style works best with black & white images and extends to portraits, street photography and more. Sometimes shooting at a high ISO is a necessity, but when it’s not you can shoot at a lower setting and add grain in post- processing, which means you have the best of both worlds.
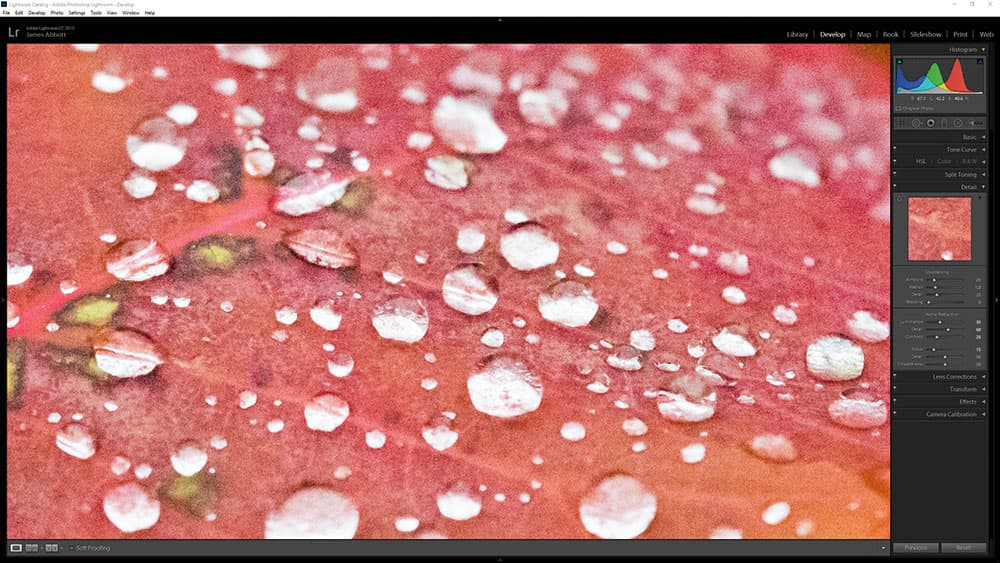
Image credit: James Abbott
15. Mimic noise in Photoshop’s Adobe Camera Raw Filter
Adding noise to your images is easier than ever in Photoshop, Adobe Camera Raw and Lightroom. Thanks to the Grain controls available in the Effects tab. In Photoshop you can use the Camera Raw Filter to open up the full set of ACR controls including Grain. If you do this, copy the Background Layer and Convert for Smart Filters. Meaning you can save the image as a TIFF. Then access the ACR filter later if you need to make any further adjustments. To add grain there are three sliders: Amount, Size and Roughness, and they’re all pretty much self-explanatory and quite effective.
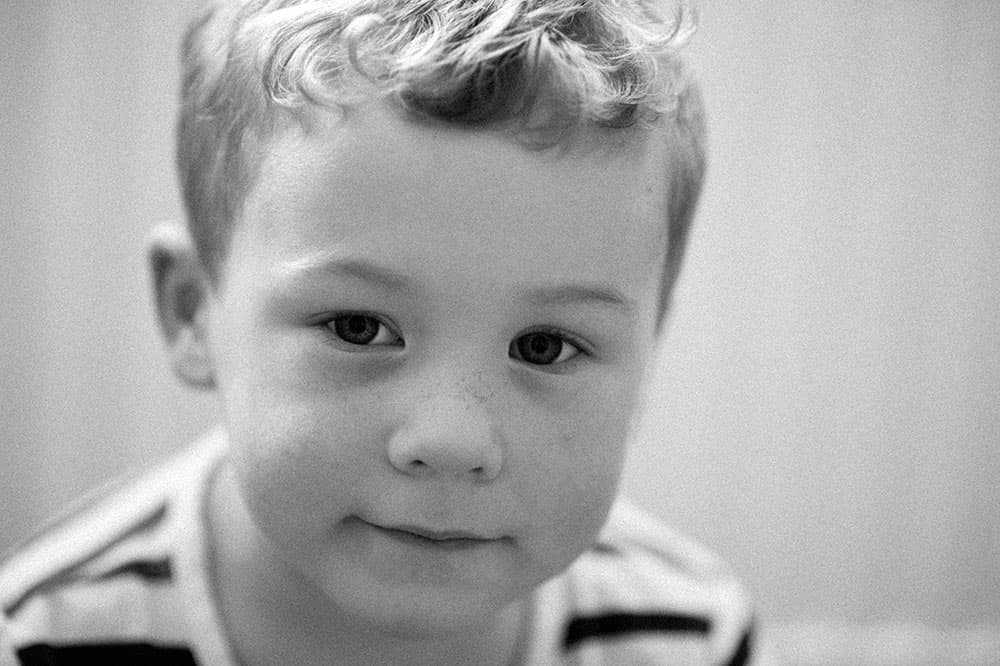
Grain gives black and white portraits an aesthetic grittiness. Image credit: James Abbott
16. Recovering underexposure in raw
There may be times when you don’t have a tripod and would prefer to keep ISO lower than, say, 1600. In these situations you’re going to end up with an underexposed image. Where exposure and detail will need to be recovered during post production.
If you take this route make sure you don’t push the exposure too far because it will introduce noise. What you’re doing here is essentially the same as using expanded ISO. This is counterproductive unless underexposing to save highlight detail at the expense of darker tones. So it’s better to raise ISO within the native range than to underexpose and then recover.
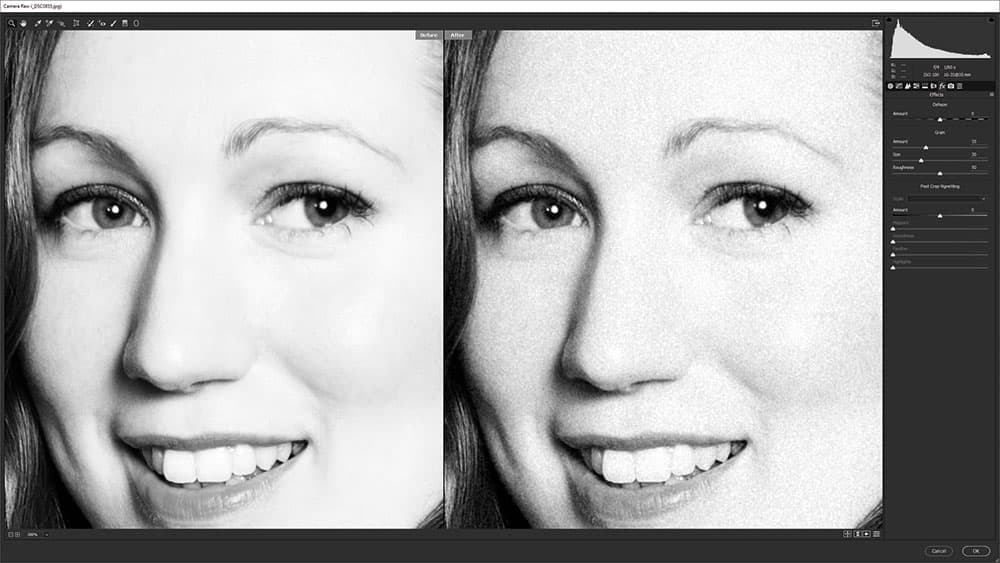
Add noise using the Grain controls in Adobe Camera Raw and Lightroom. Image credit: James Abbott
17. Image stabilisation
When shooting in low light there are several options available to help keep ISO as low as possible. Sure, it will be higher than normal, but lower than it would otherwise be. The first is image stabilisation, sometimes called vibration reduction (VR), which is a technology found in some lenses or in the camera sensor. It basically counteracts small camera movements. It can allow you to shoot at slower shutter speeds than usual, which also means a lower ISO.
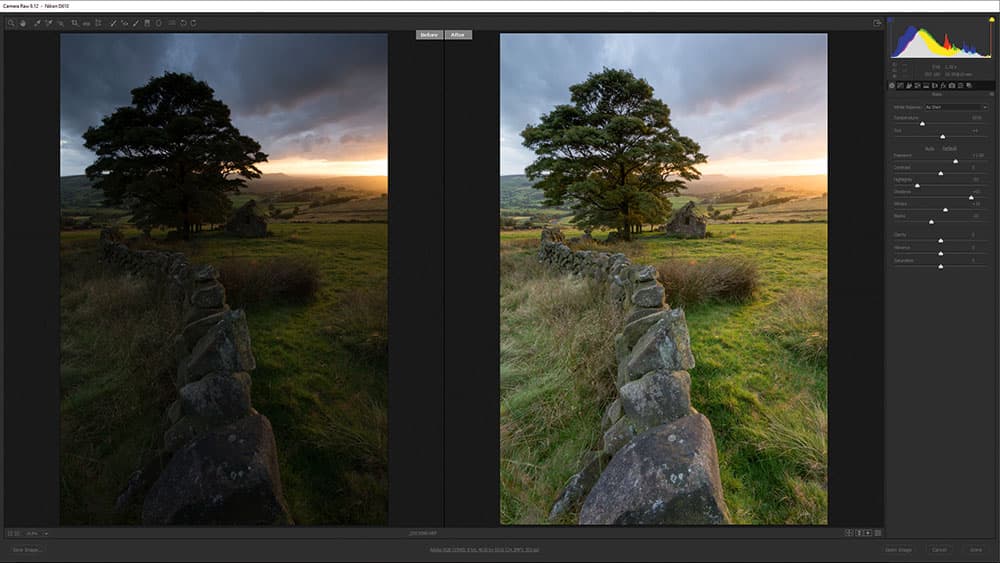
Image credit: James Abbott
18. Shooting wide open (f/1.8, for example)
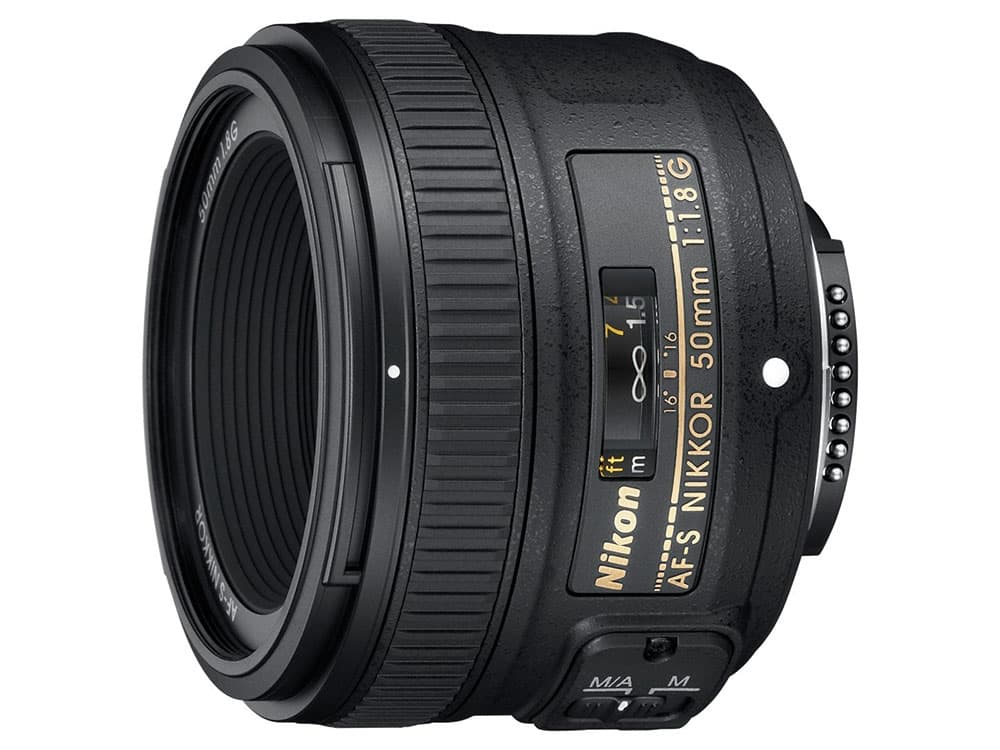
Fast prime lenses such as a 50mm f/1.8 are an excellent choice for low-light shooting. As you can shoot with the aperture wide open to let more light in, which helps to keep ISO lower. Generally, these fast primes don’t have image stabilisation. This is more common with zoom lenses. Although Tamron produces a number of fast primes that have this feature, resulting in the best of both worlds.
19. Using a tripod
When it comes to shooting at the lowest ISO possible in low light, there’s no beating a tripod. The advantage is that you can go as low as you like. But this comes at the expense of long exposure where you obviously can’t handhold the camera. Moving subjects will be captured as a blur. This is often the point when shooting a landscape or cityscape. Where you want to capture movement, such as the sea or a crowd of people.
Need some further guidance? See our beginners guide to Exposure, Aperture, Shutter, ISO and Metering here.
Seven awesome camera features you didn’t know you had

