
Your guide: Adrian Gray
AP reader Adrian is a scientist in the week and at weekends likes to take photos of appropriate subjects with his worryingly large collection of antediluvian cameras. Should you meet a walker in the Lake District toting an ancient folding camera, it’s probably him.
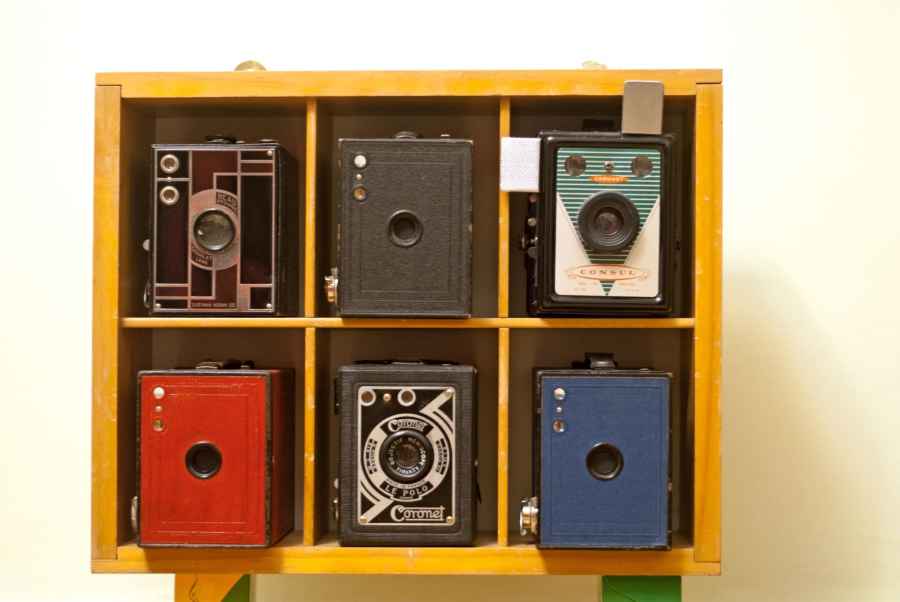
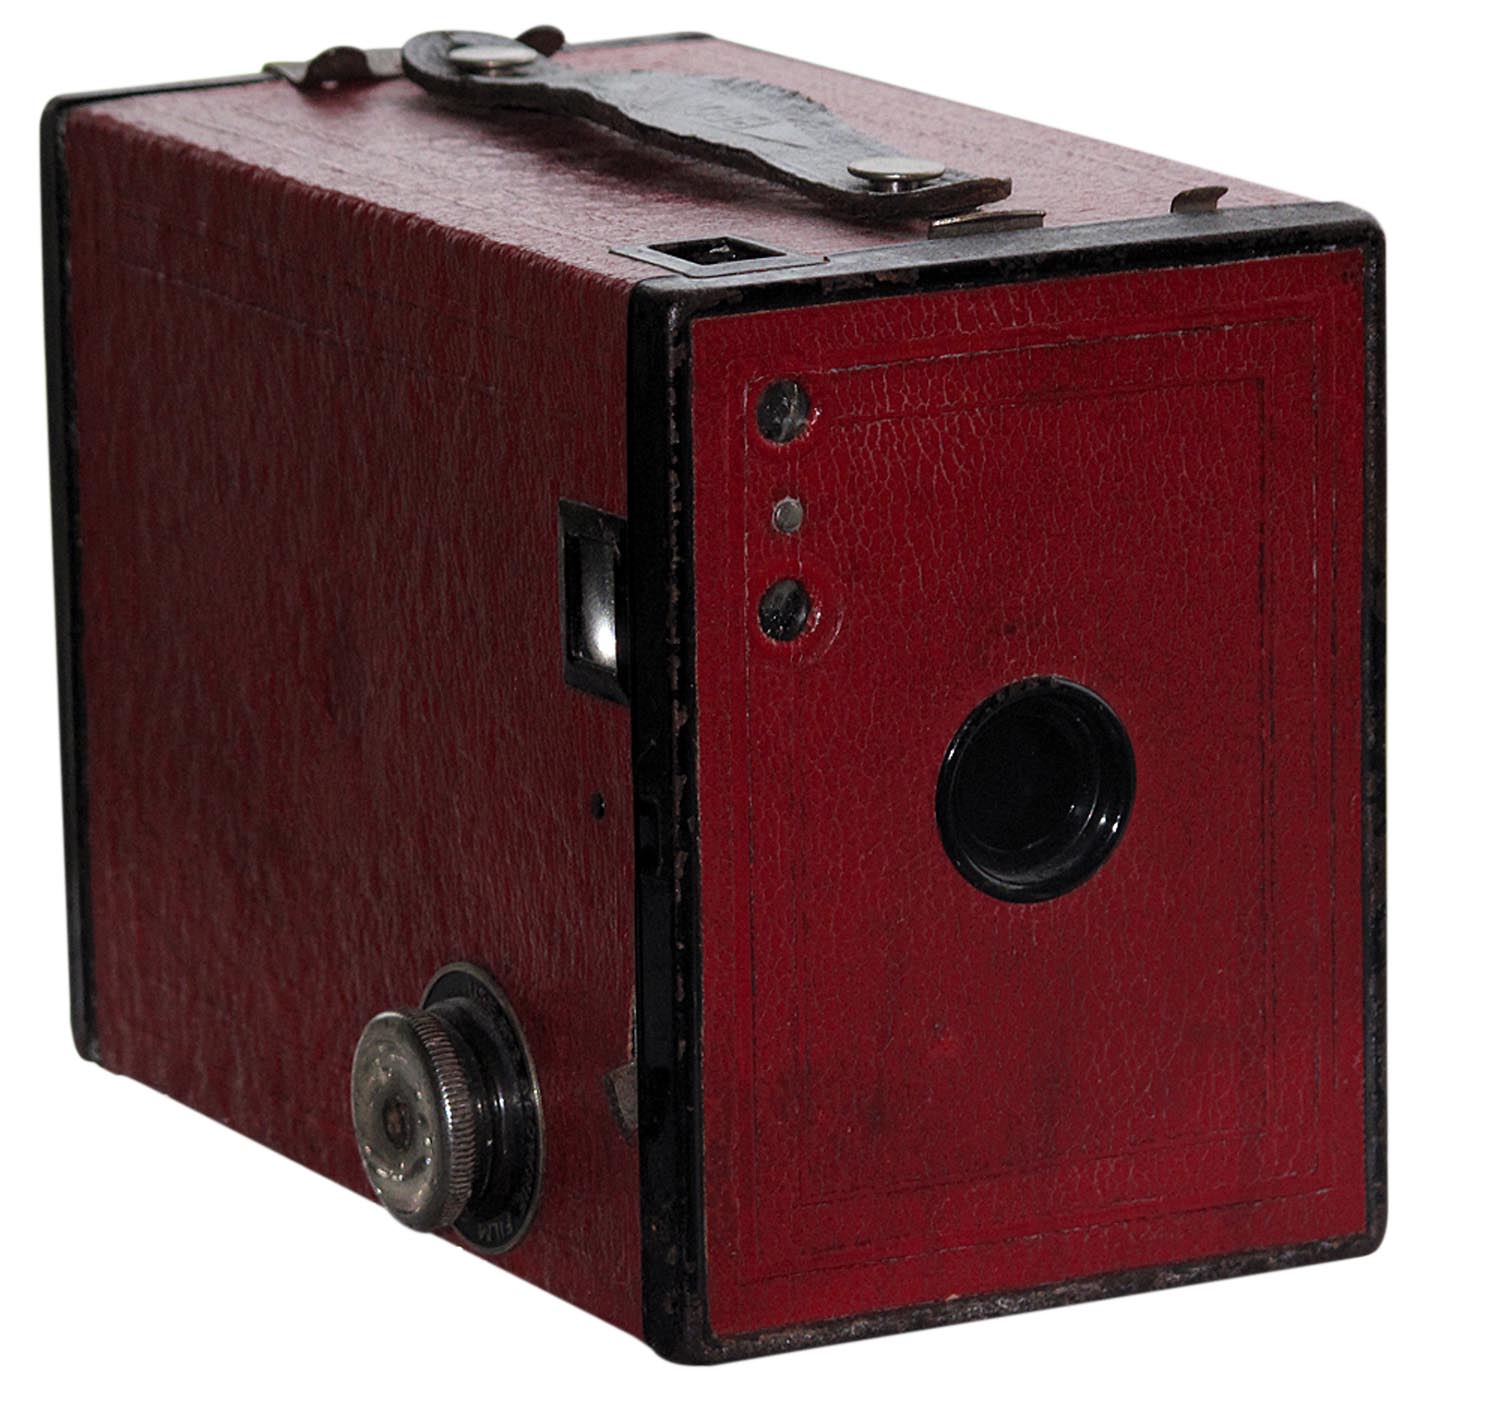
Box cameras were the mainstay of popular photography from the first Kodak in 1888 into the 1950s. They epitomise no-frills photography with a high ratio of satisfaction to effort expended, and the results can be surprisingly good. For use, my favourite is the Kodak No 2 Brownie. It has a metal tab with three apertures of approximately f/10, f/20 and f/30, so huge depth of field in bright light, and takes No 2 Brownie film – the modern 120, still readily available. If the winder turns and the shutter opens and closes reasonably promptly you will almost certainly get an image.
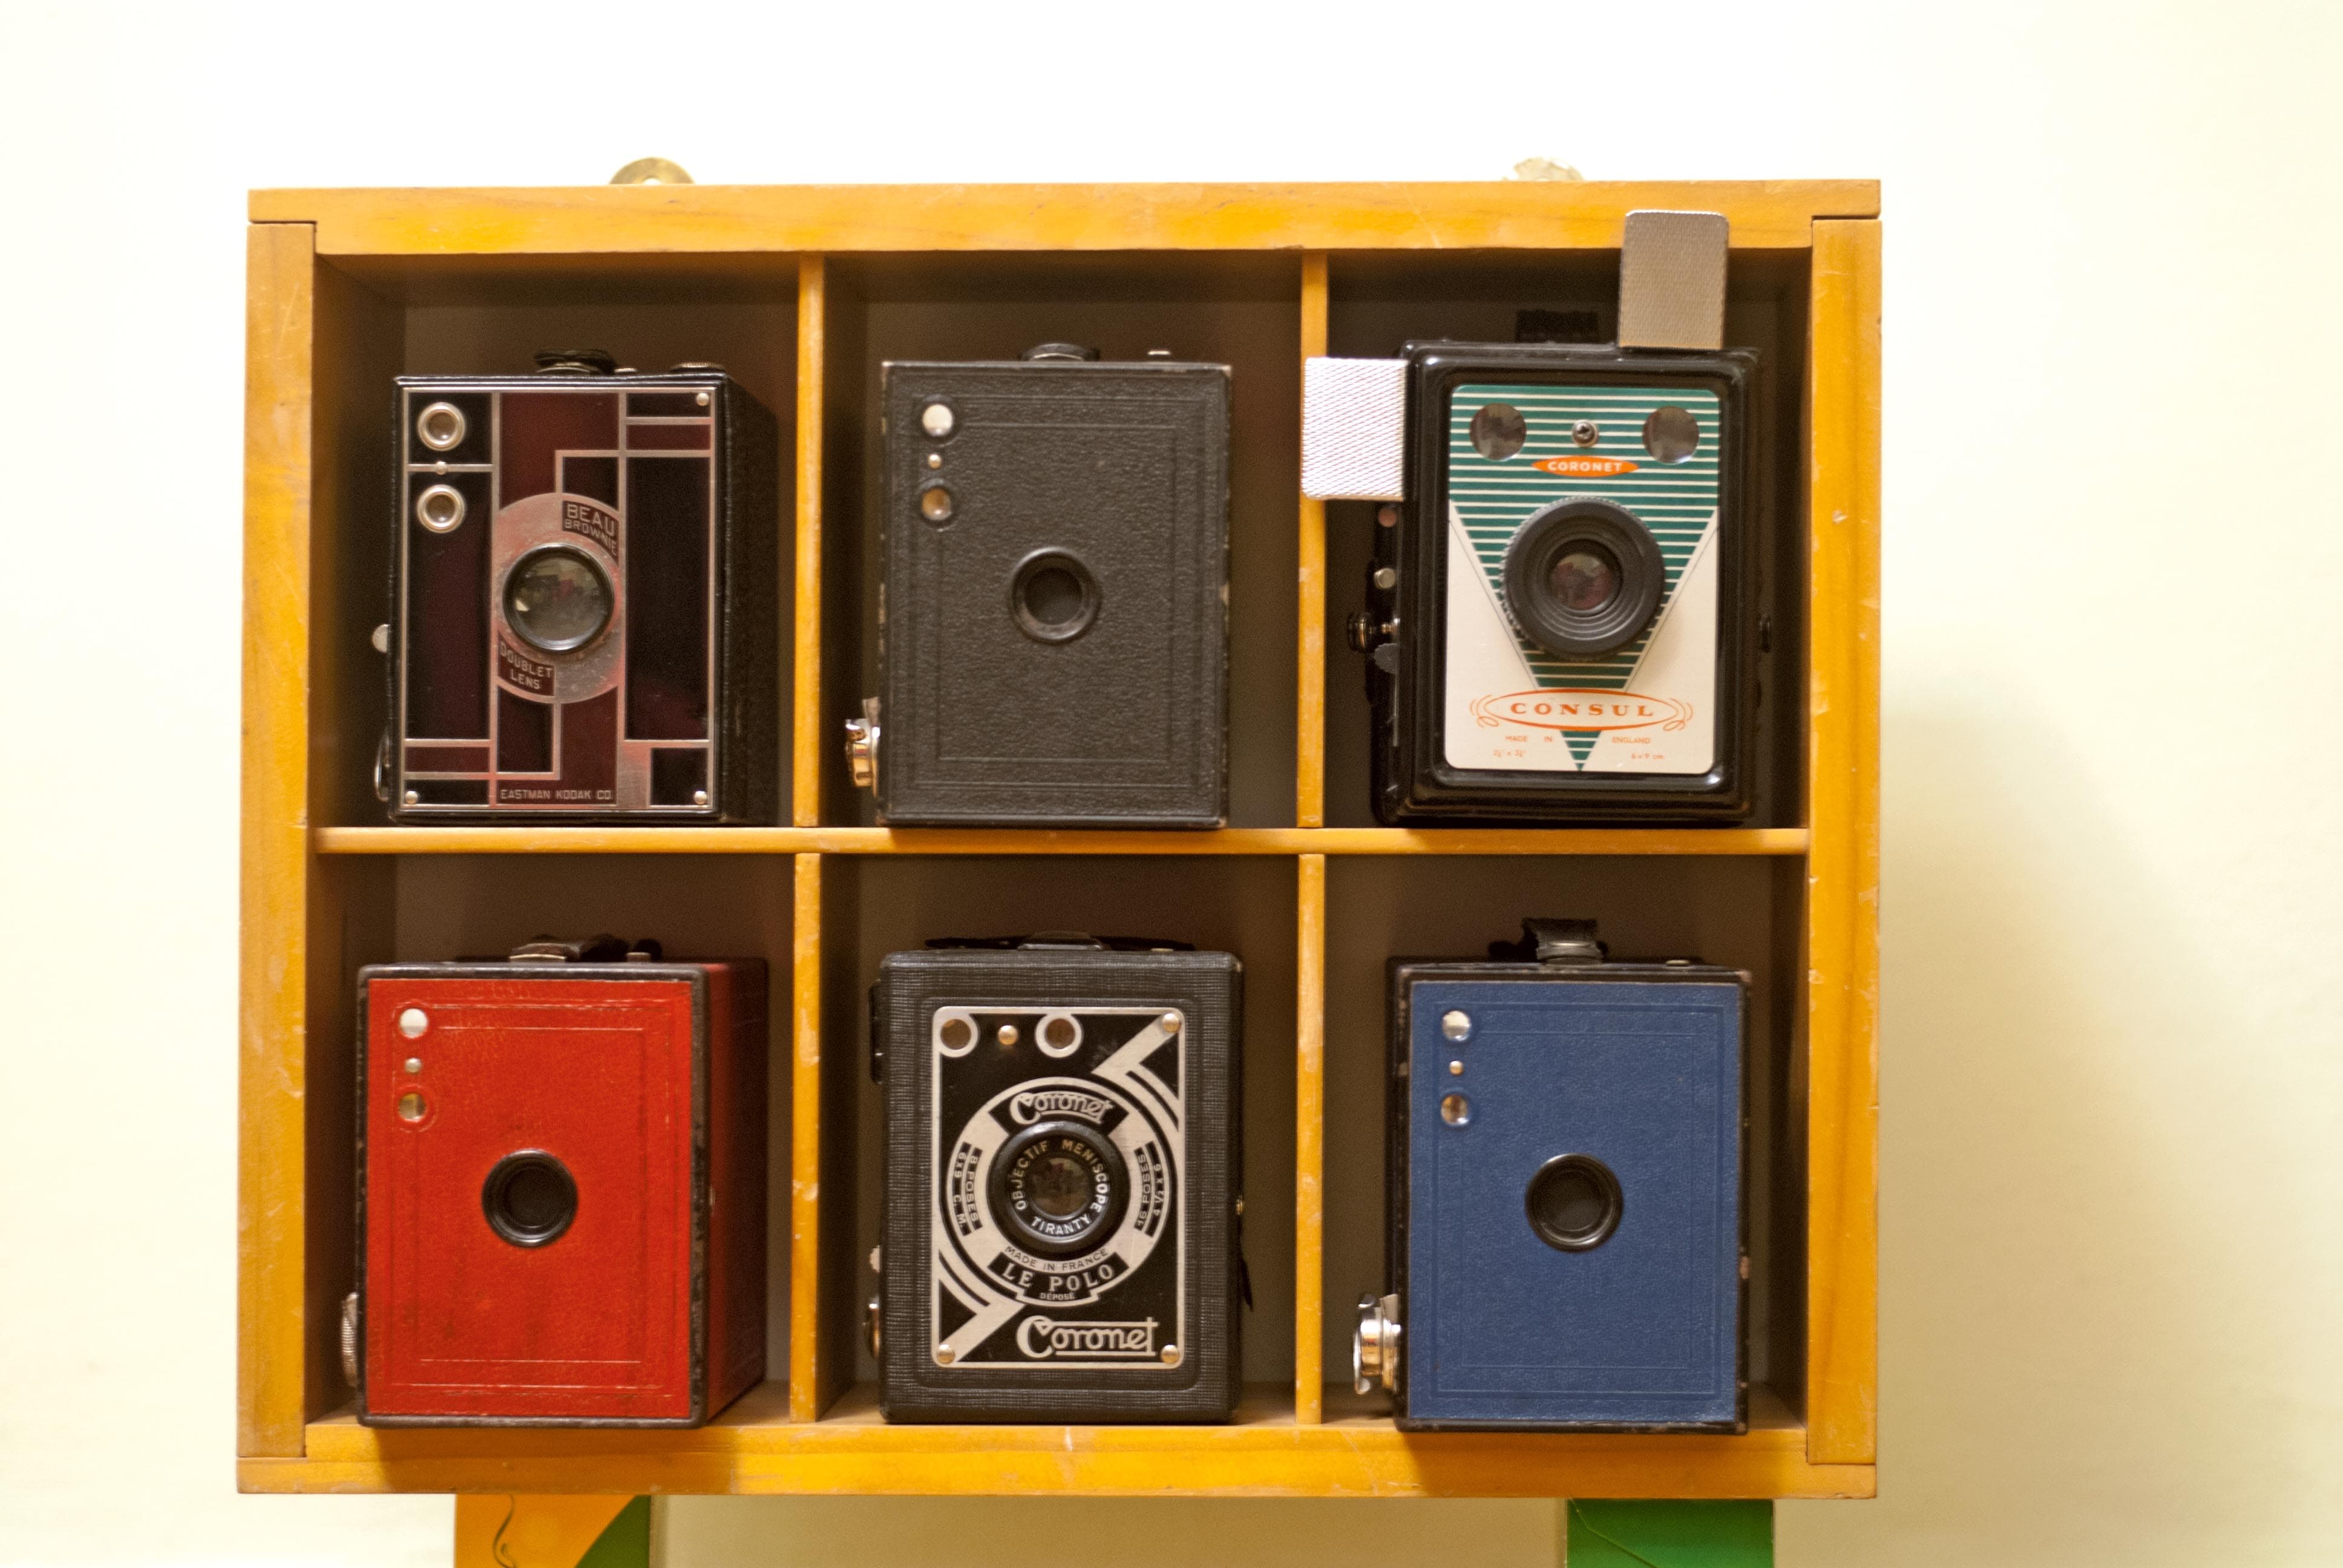
Open the back of your camera, point at a light, and press the shutter. A brief flash of light means all is good and you can use the camera. There are many other options available – Kodak’s cardboard Hawkeye range is common, as are the all-metal May Fair camera, the All-Distance Ensign and the Ensign Ful-Vue, with its huge viewfinder, almost four centimetres square, compared to the No 2 Kodak’s thumbnail-sized finder. Post-war cameras usually have larger viewfinders and some come complete with pop-up sunshields, a boon in bright conditions.
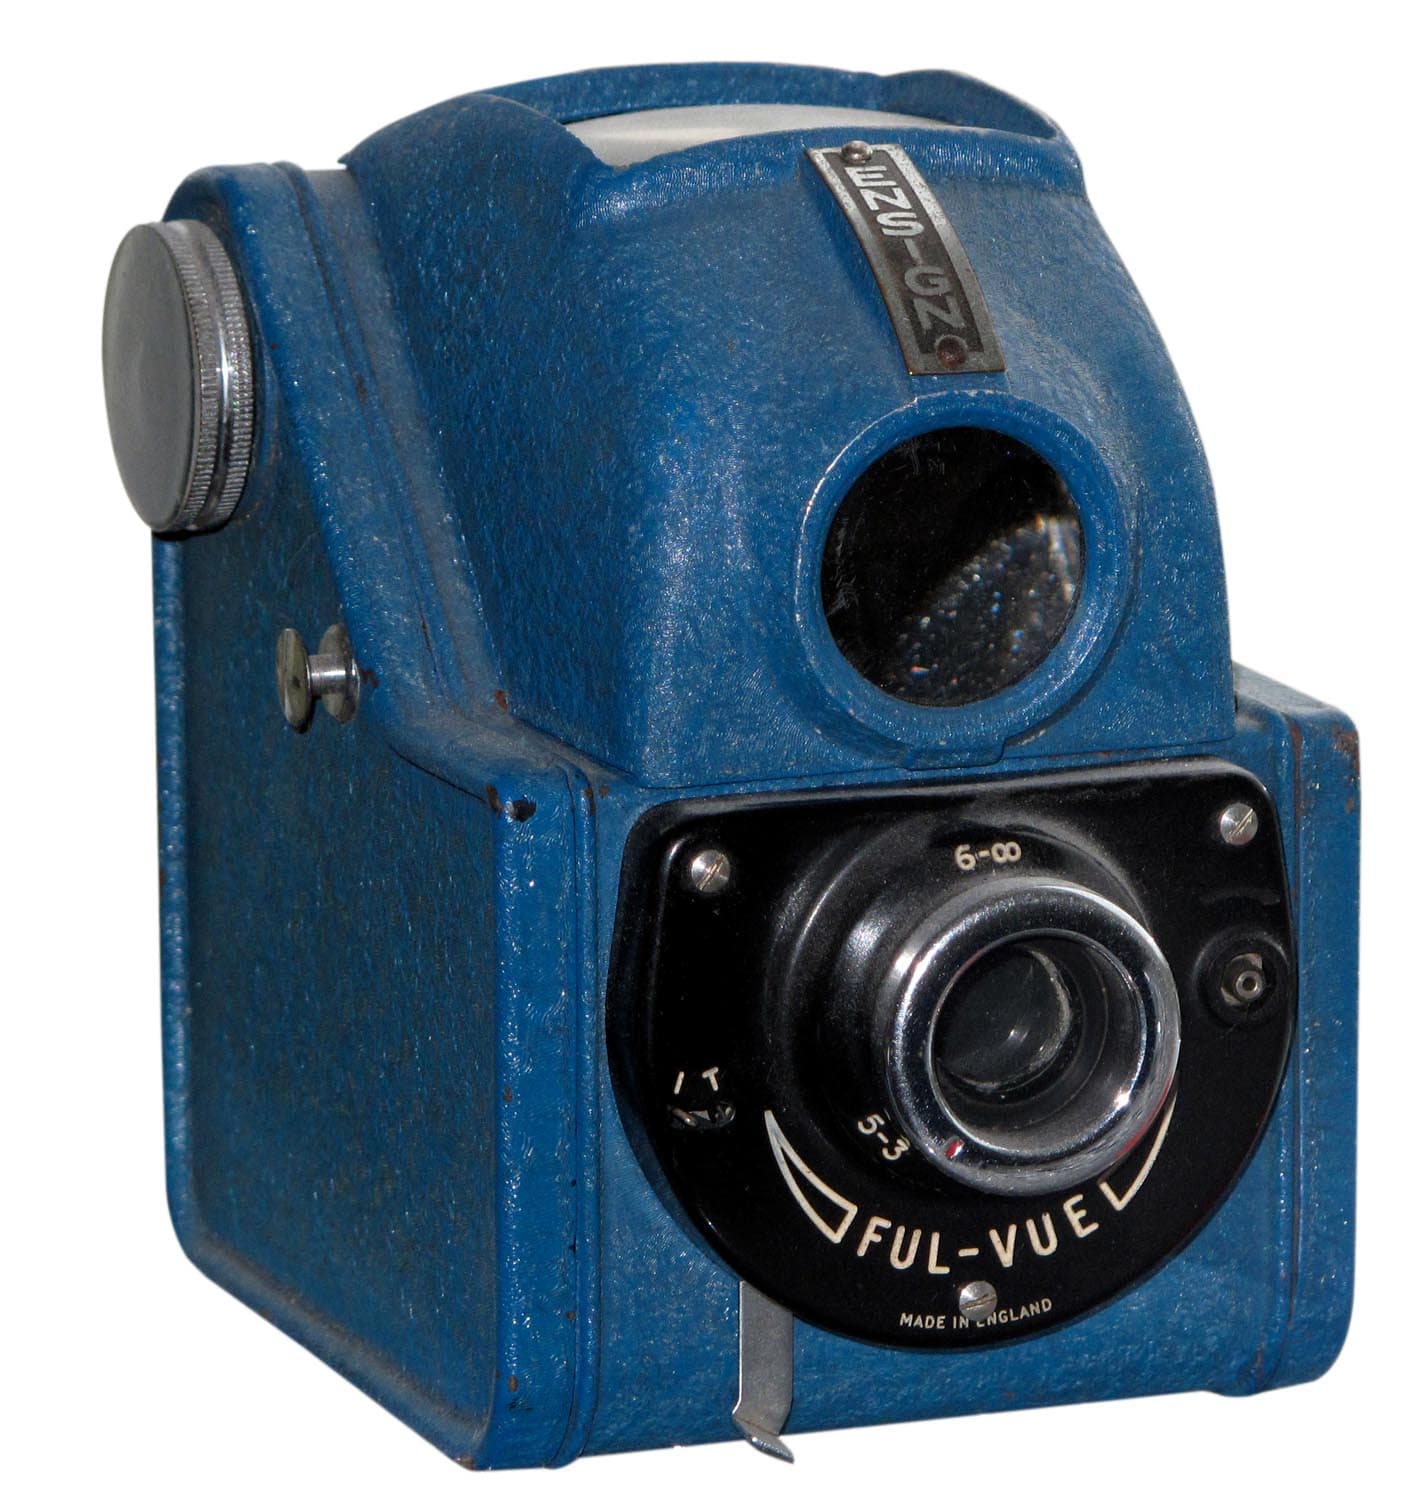
An Ensign Ful-Vue
If you want to collect them, the 1920s and 30s saw many manufacturers launch art deco front plates in new materials like chromium. Coronet produced plain metal cameras in Britain but cardboard ones with very attractive and colourful fronts in France, and colours ranged from black to green, brown, red, blue and even silver. Plus, being box shaped, they stack on shelves!
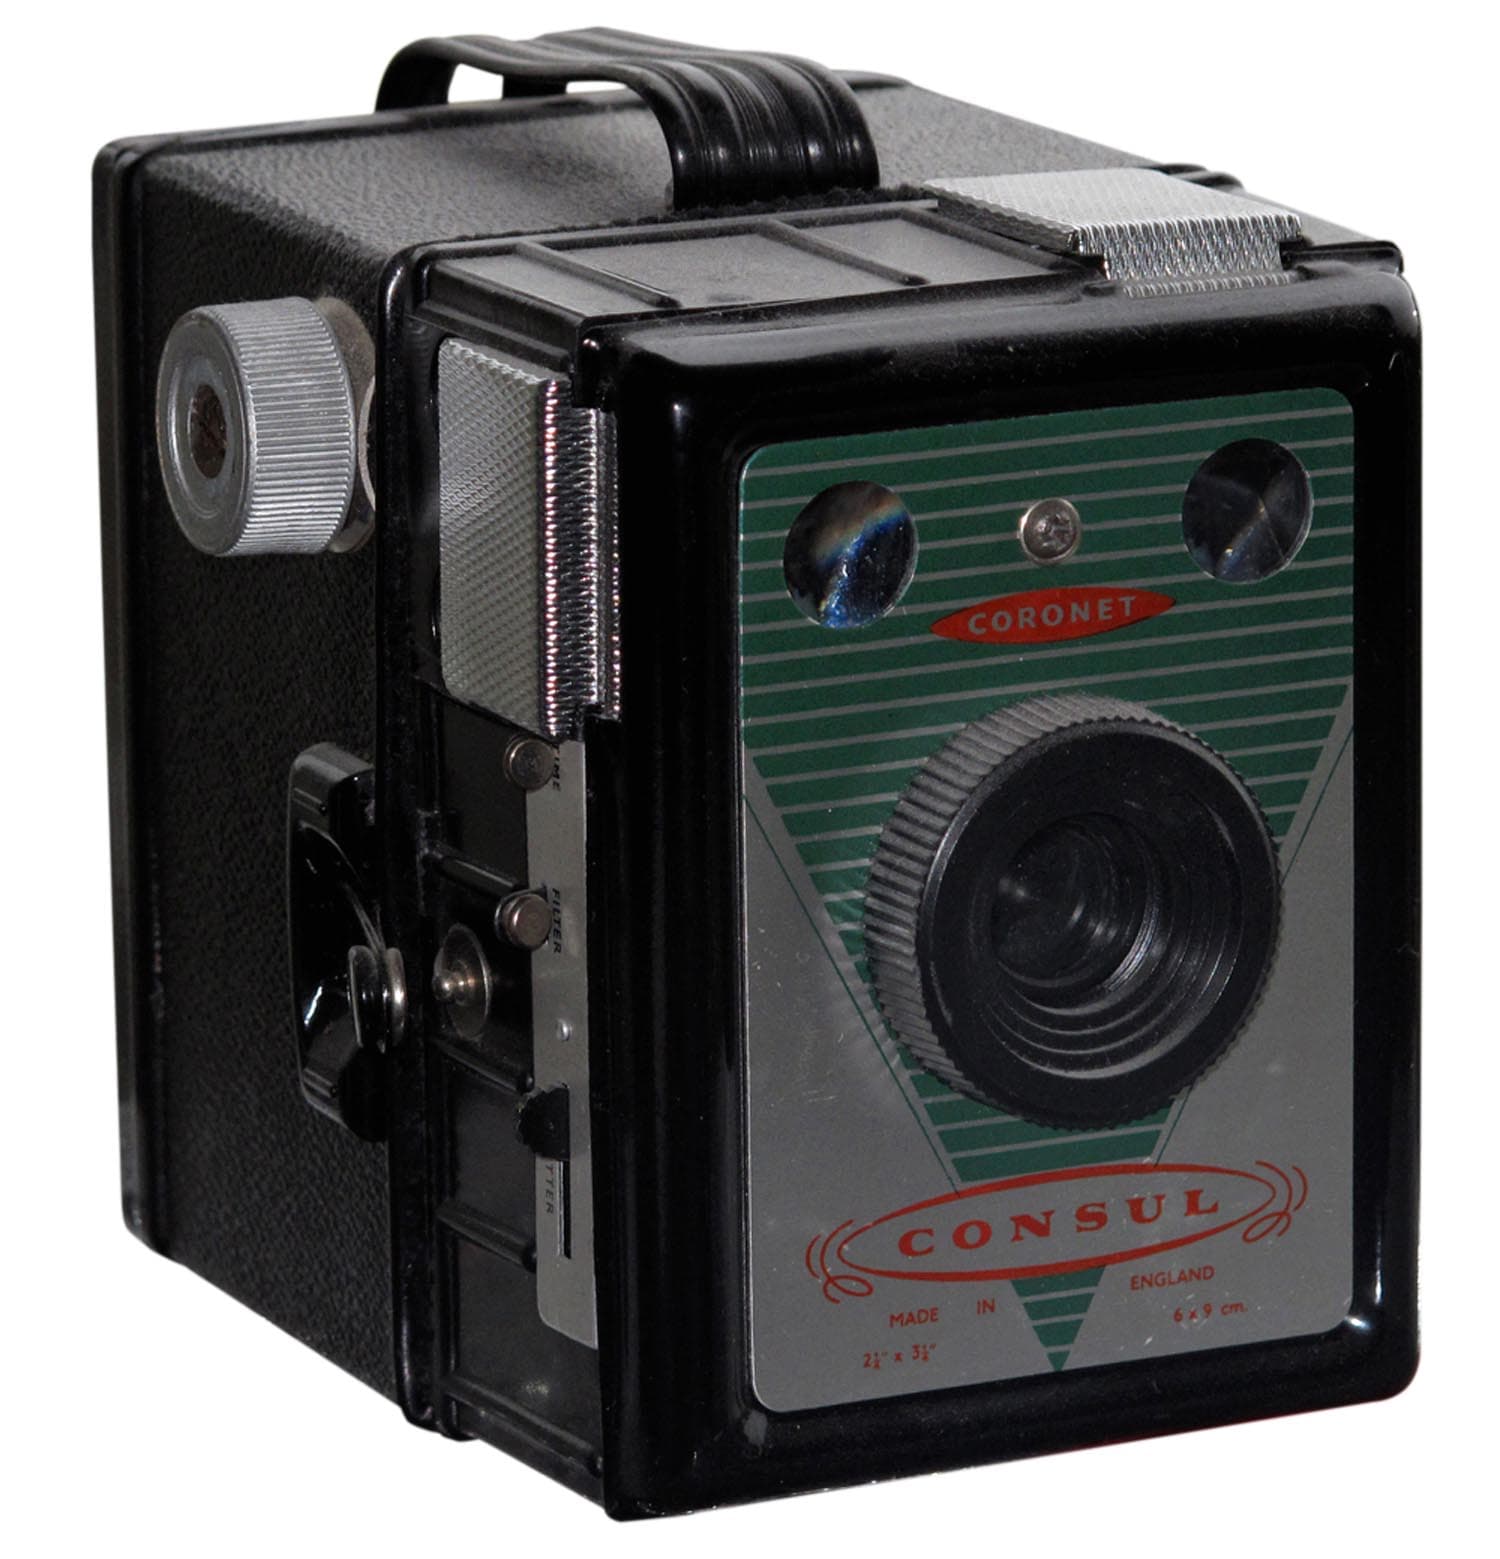
A Coronet Consul
Which film should I use?
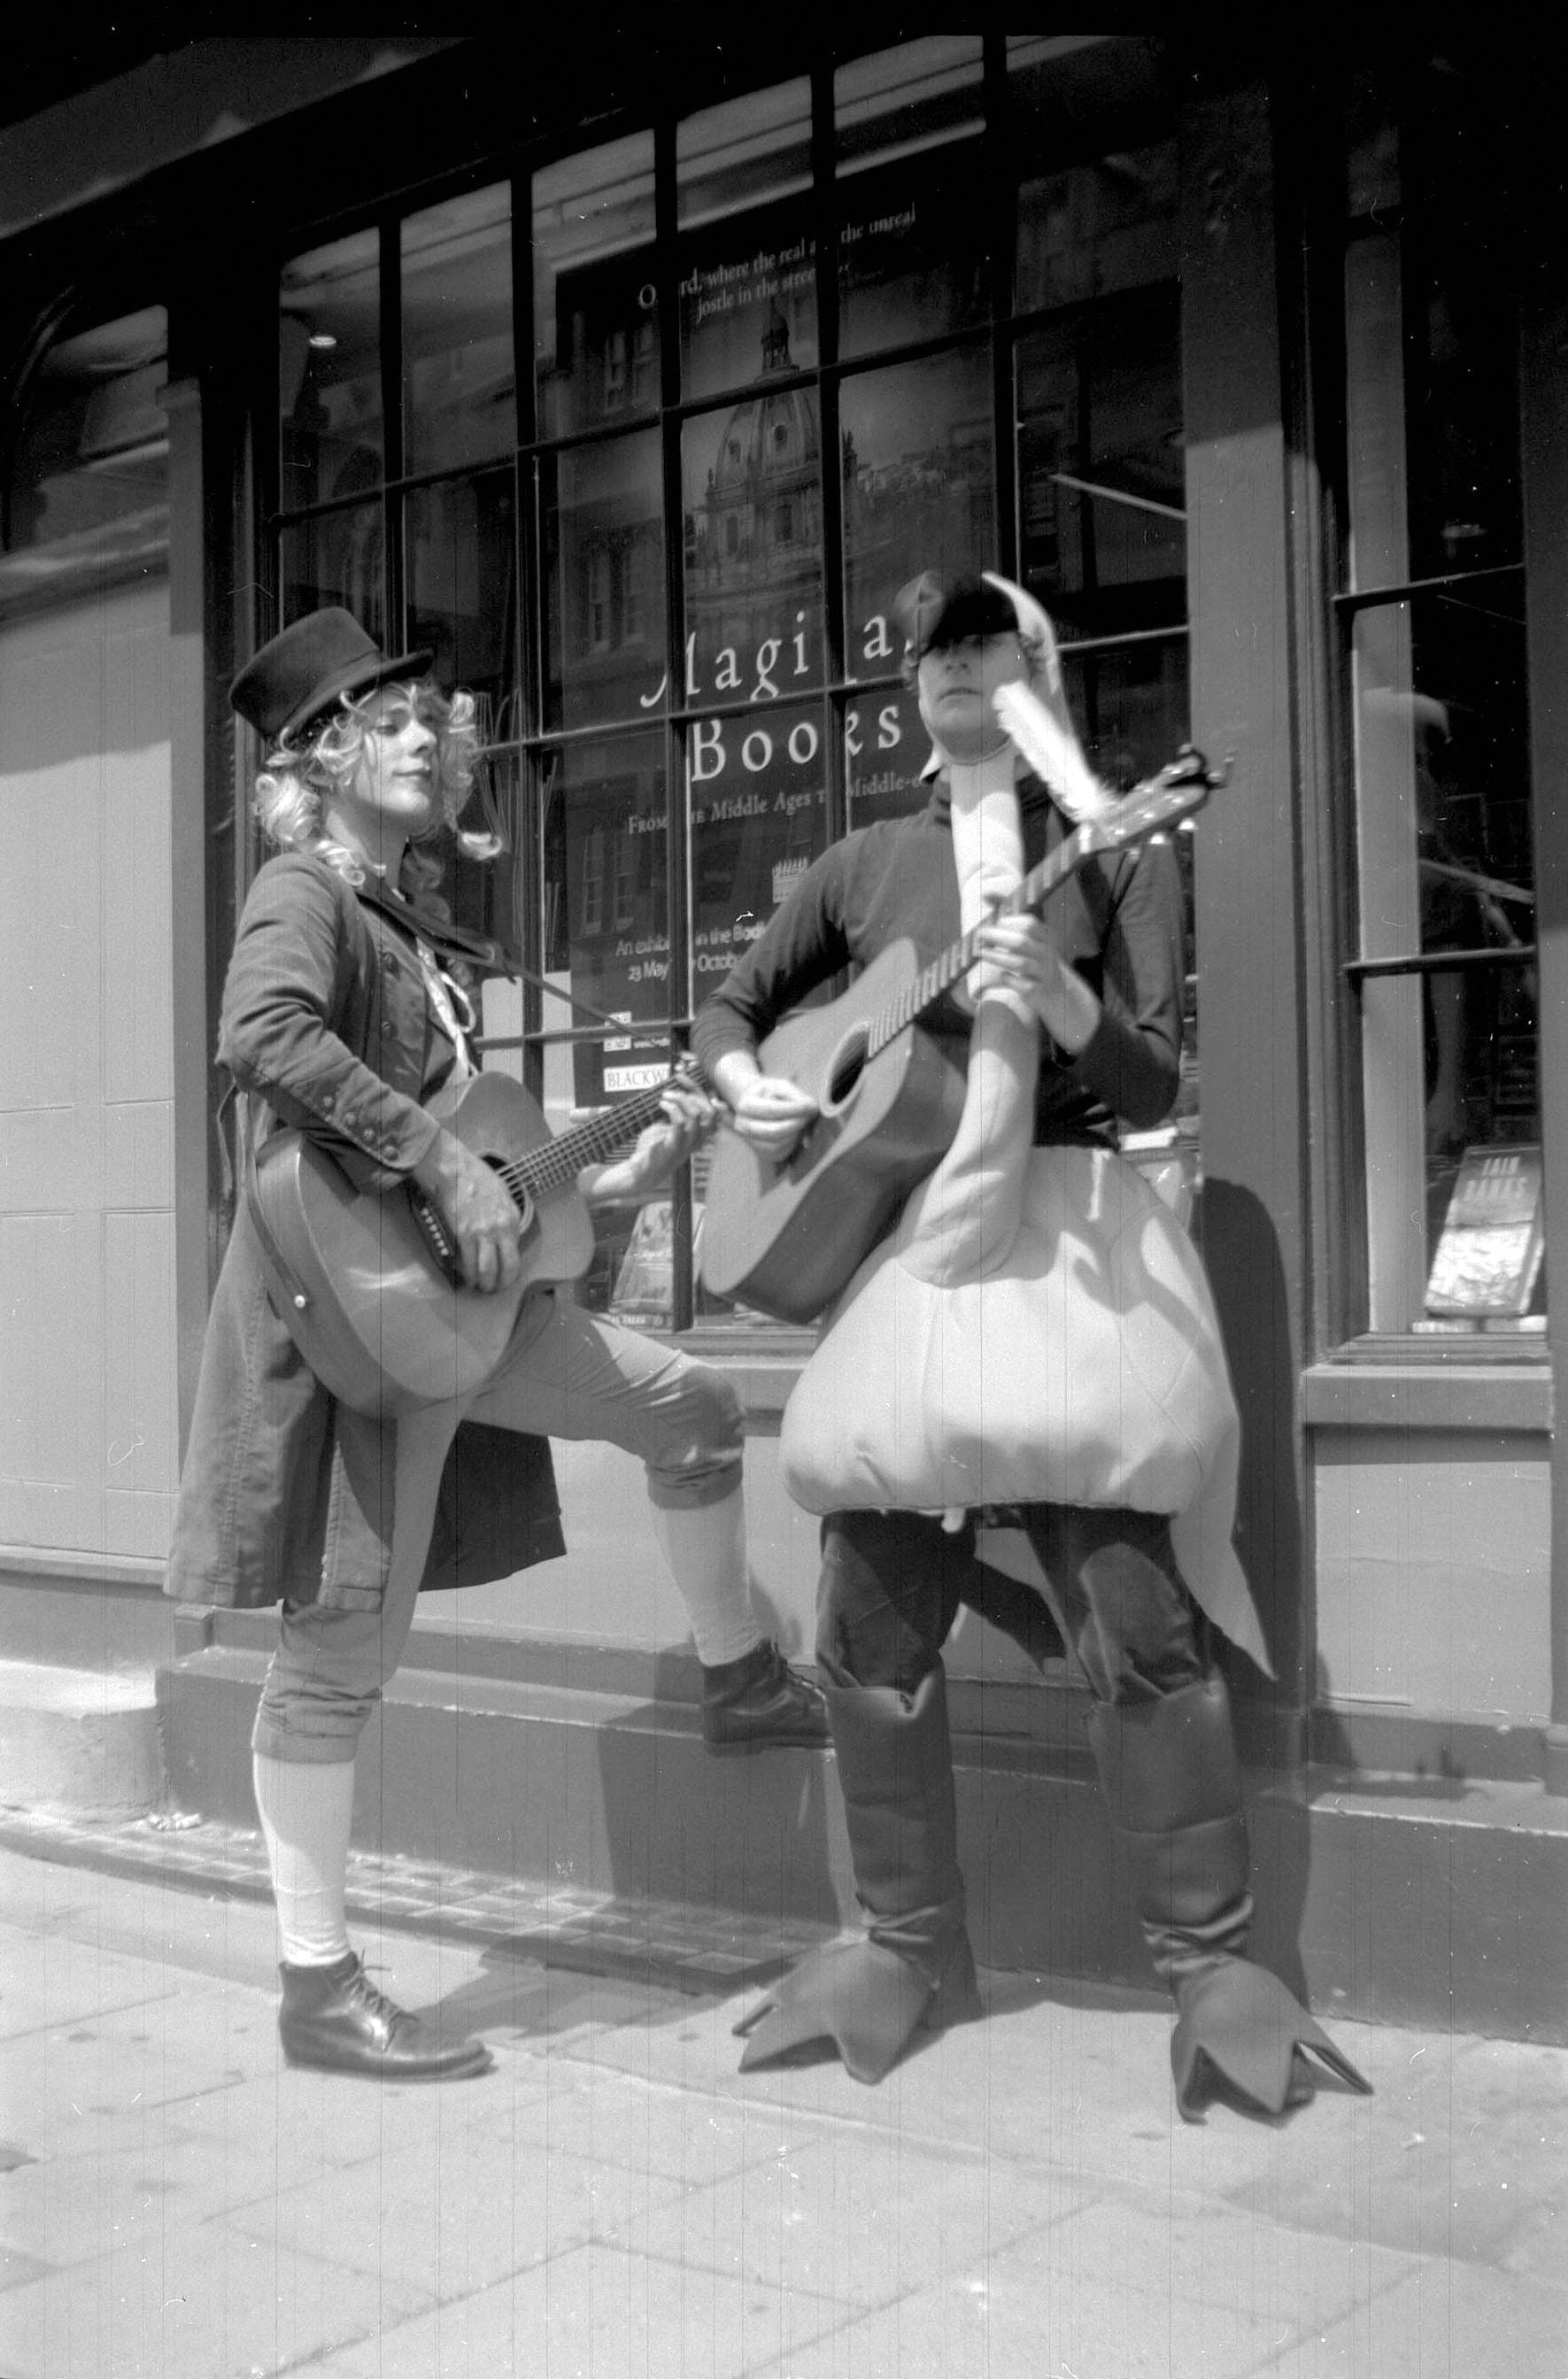
Don’t use film faster than ISO 100, there are several suitable options on the market. Cover your red window with a piece of black insulating tape, lifting it only to wind your film on having made sure that it is out of direct sunlight, otherwise you may find the film numbers imprinted on your negatives. It is worth cleaning the rollers on the end of the cone that the film travels over as any dirt or corrosion may scratch the film. You can also try using colour film. In most box cameras the lens is set well back behind the shutter, so is well-protected from lens flare. Negatives and prints A 6x9cm negative is big enough that a straight contact print serves as a photograph, and can be enlarged to a size that will go on the wall that, unless you pixel peep, will still look good.
A Kodak No. 2 Brownie
My first photograph ever printed in AP was taken with a 1930s Coronet box camera, so you get a great sense of satisfaction. So how do you get it on that wall? You can still get 120 film developed and printed, less commonly now on the high street, but easily by post. Or you can do it yourself – everything to develop film is still available and negatives can be scanned on a transparency scanner and treated as digital files. If all you want to do is play with your box camera this is a big investment but, if you intend to use film more, you can set up for home developing, scanning and printing for less than the cost of a mid-range DLSR.
Loading your box camera
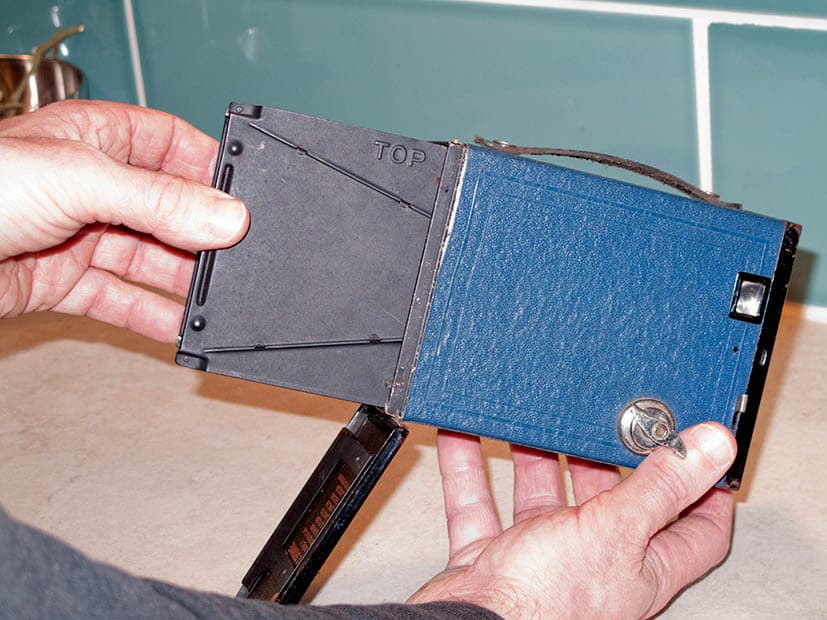
Pull out the winding key/knob until it stops. Undo the clip or clips holding the back of the camera. The cone may be attached to the front, it may pull out from the camera body itself, or it may come out sideways.
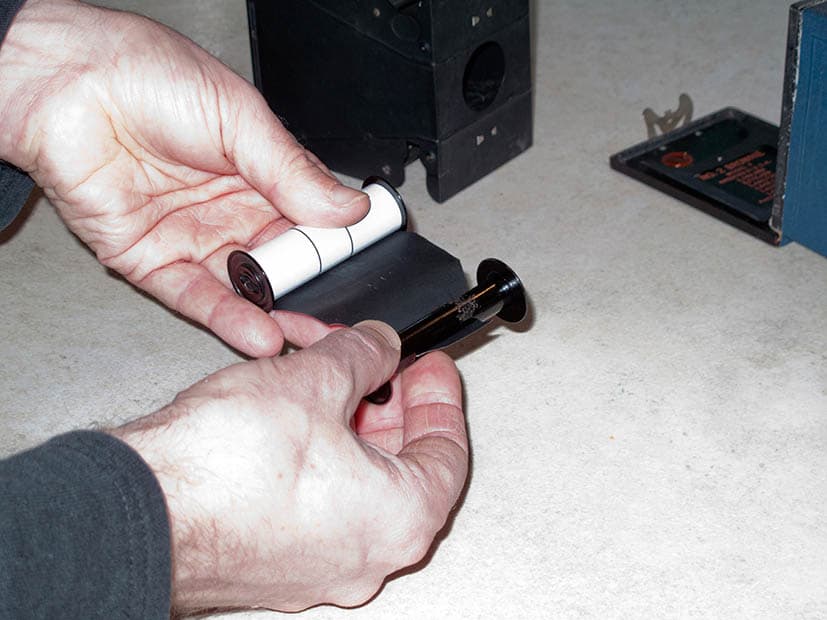
Remove the empty spool from the cone. Take off the band holding your film’s backing paper tight, and insert the loose end into the slot in the spool you have just removed. The backing paper protects the film, so keep it tightly wound.
This done, place the spool you have just attached the backing paper to in the slot in the side of the cone where the winder key will sit. Always make sure the backing paper is protecting the film from light.
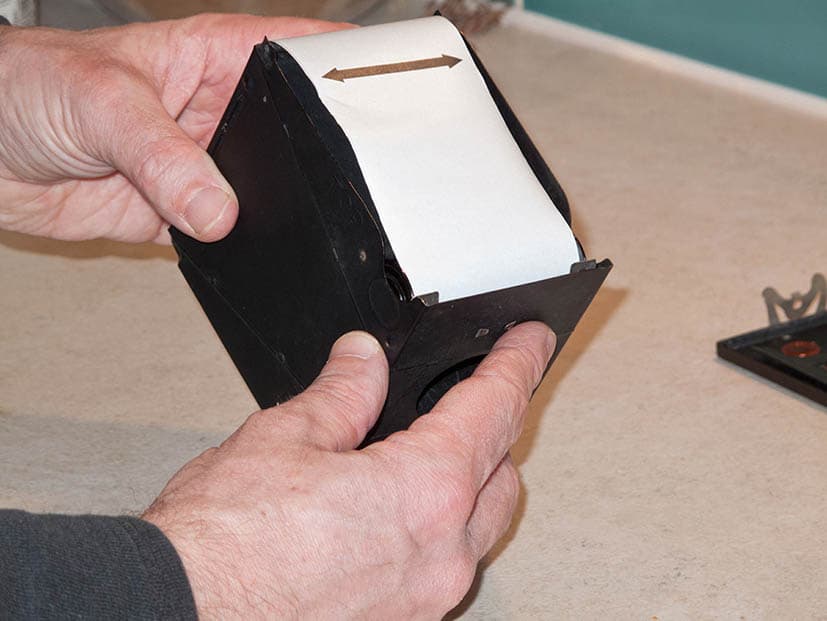
Slowly unroll the film and backing paper, keeping the unrolled film portion tight, until you can get the other spool into the opposite slot to the first one.
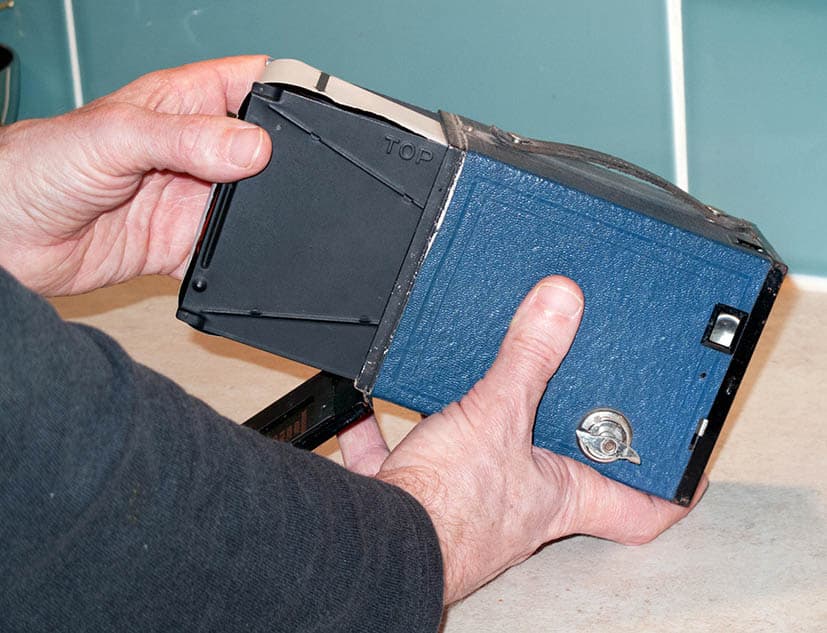
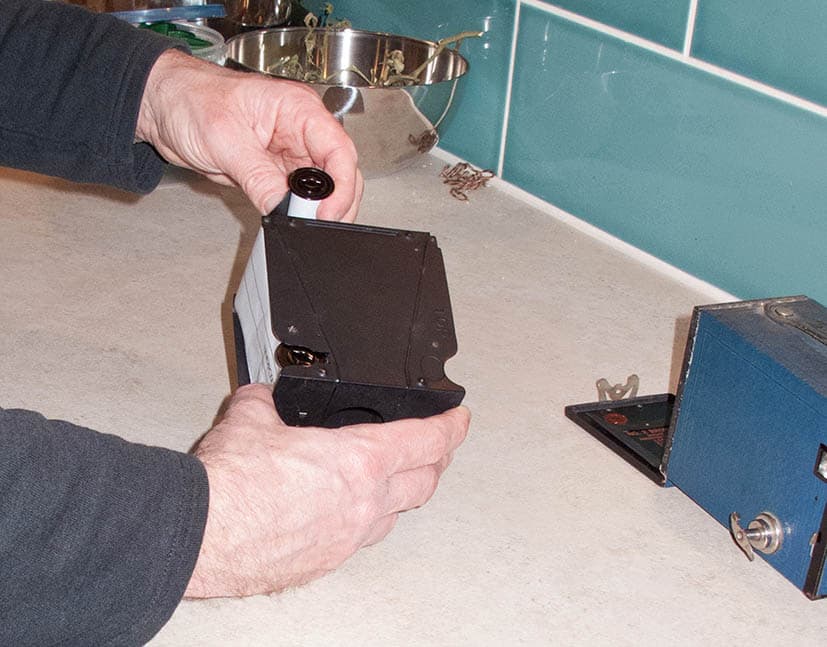
Insert the cone back into the camera, or slip the camera back over the cone. Push in the winder key, turning gently to align with the slot in the film spool, until it slots home.
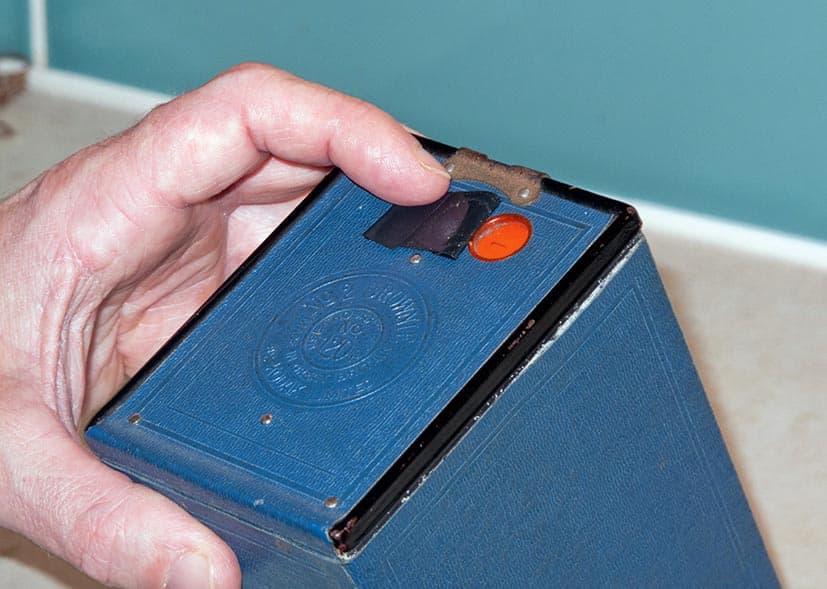
Turn the winder key (it should only turn in one direction) until the number 1 is visible through the red window. Replace the piece of black tape to prevent light leaking through the red window and your camera is now ready to use.
How to use a box camera
Almost all box cameras have a waist-level viewfinder – you peer into it from a long way above. Because of the slow shutter speed they are prone to movement blur, so must be held pressed tightly against your body. You will also need to work out your own workflow for winding on as there is no double exposure prevention – always wind on just before you take a photo or just after, but don’t forget which you choose!
Practise before you actually put a film in it until you can remember all the quirks. They often have a ‘flip-flop’ shutter that presses down for one exposure and up for the next. Many have a tripod bush that fits a modern tripod, if you can’t hold it still enough. Some have a little pull-up tab that holds the shutter open until you press the release a second time, making long exposures or pinhole photography possible. You can use a pair of rubber bands to hold a filter over your lens for things like cloud effects. Many models have a tab with an extra lens that decreases the distance at which the focus is set – these often have ‘Portrait’ in the model name – and there were push-on accessory lenses doing the same job.
Don’t expect digital-camera levels of quality from scanned-in film images. It won’t be long before you discover that it’s both fun and satisfying
Further reading
Vintage cameras: collectible, usable and affordable
Best the best film – what you need to know