PhotoLab 6 Elite is from DxO, and is an impressive photo editing package, but is it good enough to make it onto the list of the best photo editing software? Find out in our full review.
PhotoLab 6 Elite at a glance:
- Raw workflow software
- Mac and Windows
- Features DxO’s DeepPRIME science
- Elite edition, $219, £199, outright purchase
- Essential edition, $139, £128, outright purchase
- DeepPRIME XD, Elite only
- 30-day trial version available
- www.dxo.com
DxO, the company with PureRaw and the Nik Collection in its stable, has revamped its flagship editing and workflow software. The updates to PhotoLab v6.5.1 from the previous version aren’t huge but they are significant you want the best image quality, especially from high ISO images.
Photo editing is advancing quickly with the introduction of AI technologies. DxO uses AI for its renowned denoising technologies, but rival Adobe is going a whole lot. further with AI masking and AI Generative Fill and Generative Expand features. But if your focus is on image quality and control rather than novelty and special effects, DxO PhotoLab has a lot to offer.
DxO PhotoLab is a combined image browser, raw processor and photo editor, combining basic image organizing tools – not, perhaps, in the same league as Lightroom’s but functional enough – with probably the best raw demosaicing and denoising technology available in any software. The denoising technology journey began with DxO Prime and that evolved to the even more effective DeepPRIME, and those skills were available in PhotoLab 5. In PhotoLab 6, the technology has been advanced further with the addition of DeepPRIME XD (eXtreme Detail) and that technology is also now available in DxO’s dedicated denoising software, PureRaw 3.
As a regular and keen user of DeepPRIME, I was keen to check out the benefits of XD, especially as DxO made that mode fully compatible with Fujifilm X-Trans CMOS sensors in v6.4. In v6.5.1 the software now works with Fujifilm’s most recent fifth generation models, the X-H2, X-H2S and X-T5.
Before getting to the test, I should first cover the other key changes in version 6 and also say that PhotoLab 6 is fully supported by DxO’s renowned Optic Module correction profiles that enhance sharpness and cure distortion, vignetting and chromatic aberrations. Thousands of camera/lens combinations are available. What’s significant is that the DxO profiles are also calibrated to correct for lens softness near the edges of the frame, and the fact that PhotoLab can crop to the full captured image area, which is often slightly larger than the default image crop in regular processing software.
DxO has reengineered its colour processing algorithms and there is a new extended working colour space called DxO Wide Gamut with a broader colour range than its Classic colour space. This new working space has been designed to accommodate the widest possible colour range so that no colours are lost or clipped during processing. An addition for v6.4 is the ability to use DxO Wide Gamut and simulate papers and inks when soft proofing. You can now check how images look in with the profiles that you normally use for home or lab printing with Relative and Perceptual intents available too.
In any workflow, the odds are you will need to clone out the odd crisp packet, sensor spot or heal skin blemishes. DxO has a ReTouch tool (formerly called the Repair tool) to help you fulfil those needs. Essentially, the tool lets you perform complex cloning and healing tasks with fine-tunable brushes that can modified, flipped and rescaled. This means you can do more tidying up without having to go beyond PhotoLab.
Finally, to enhance its workflow credentials PhotoLab 6 has colour labels for easier file management, a good search facility, extended range of EXIF and IPTC tags, and an improved projects feature to help you organise pictures more efficiently.
PhotoLab 6 Elite: Interface
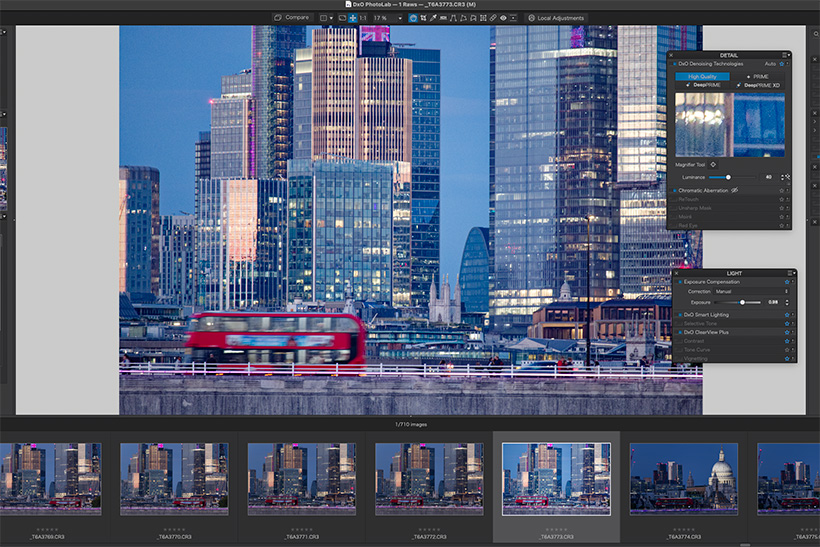
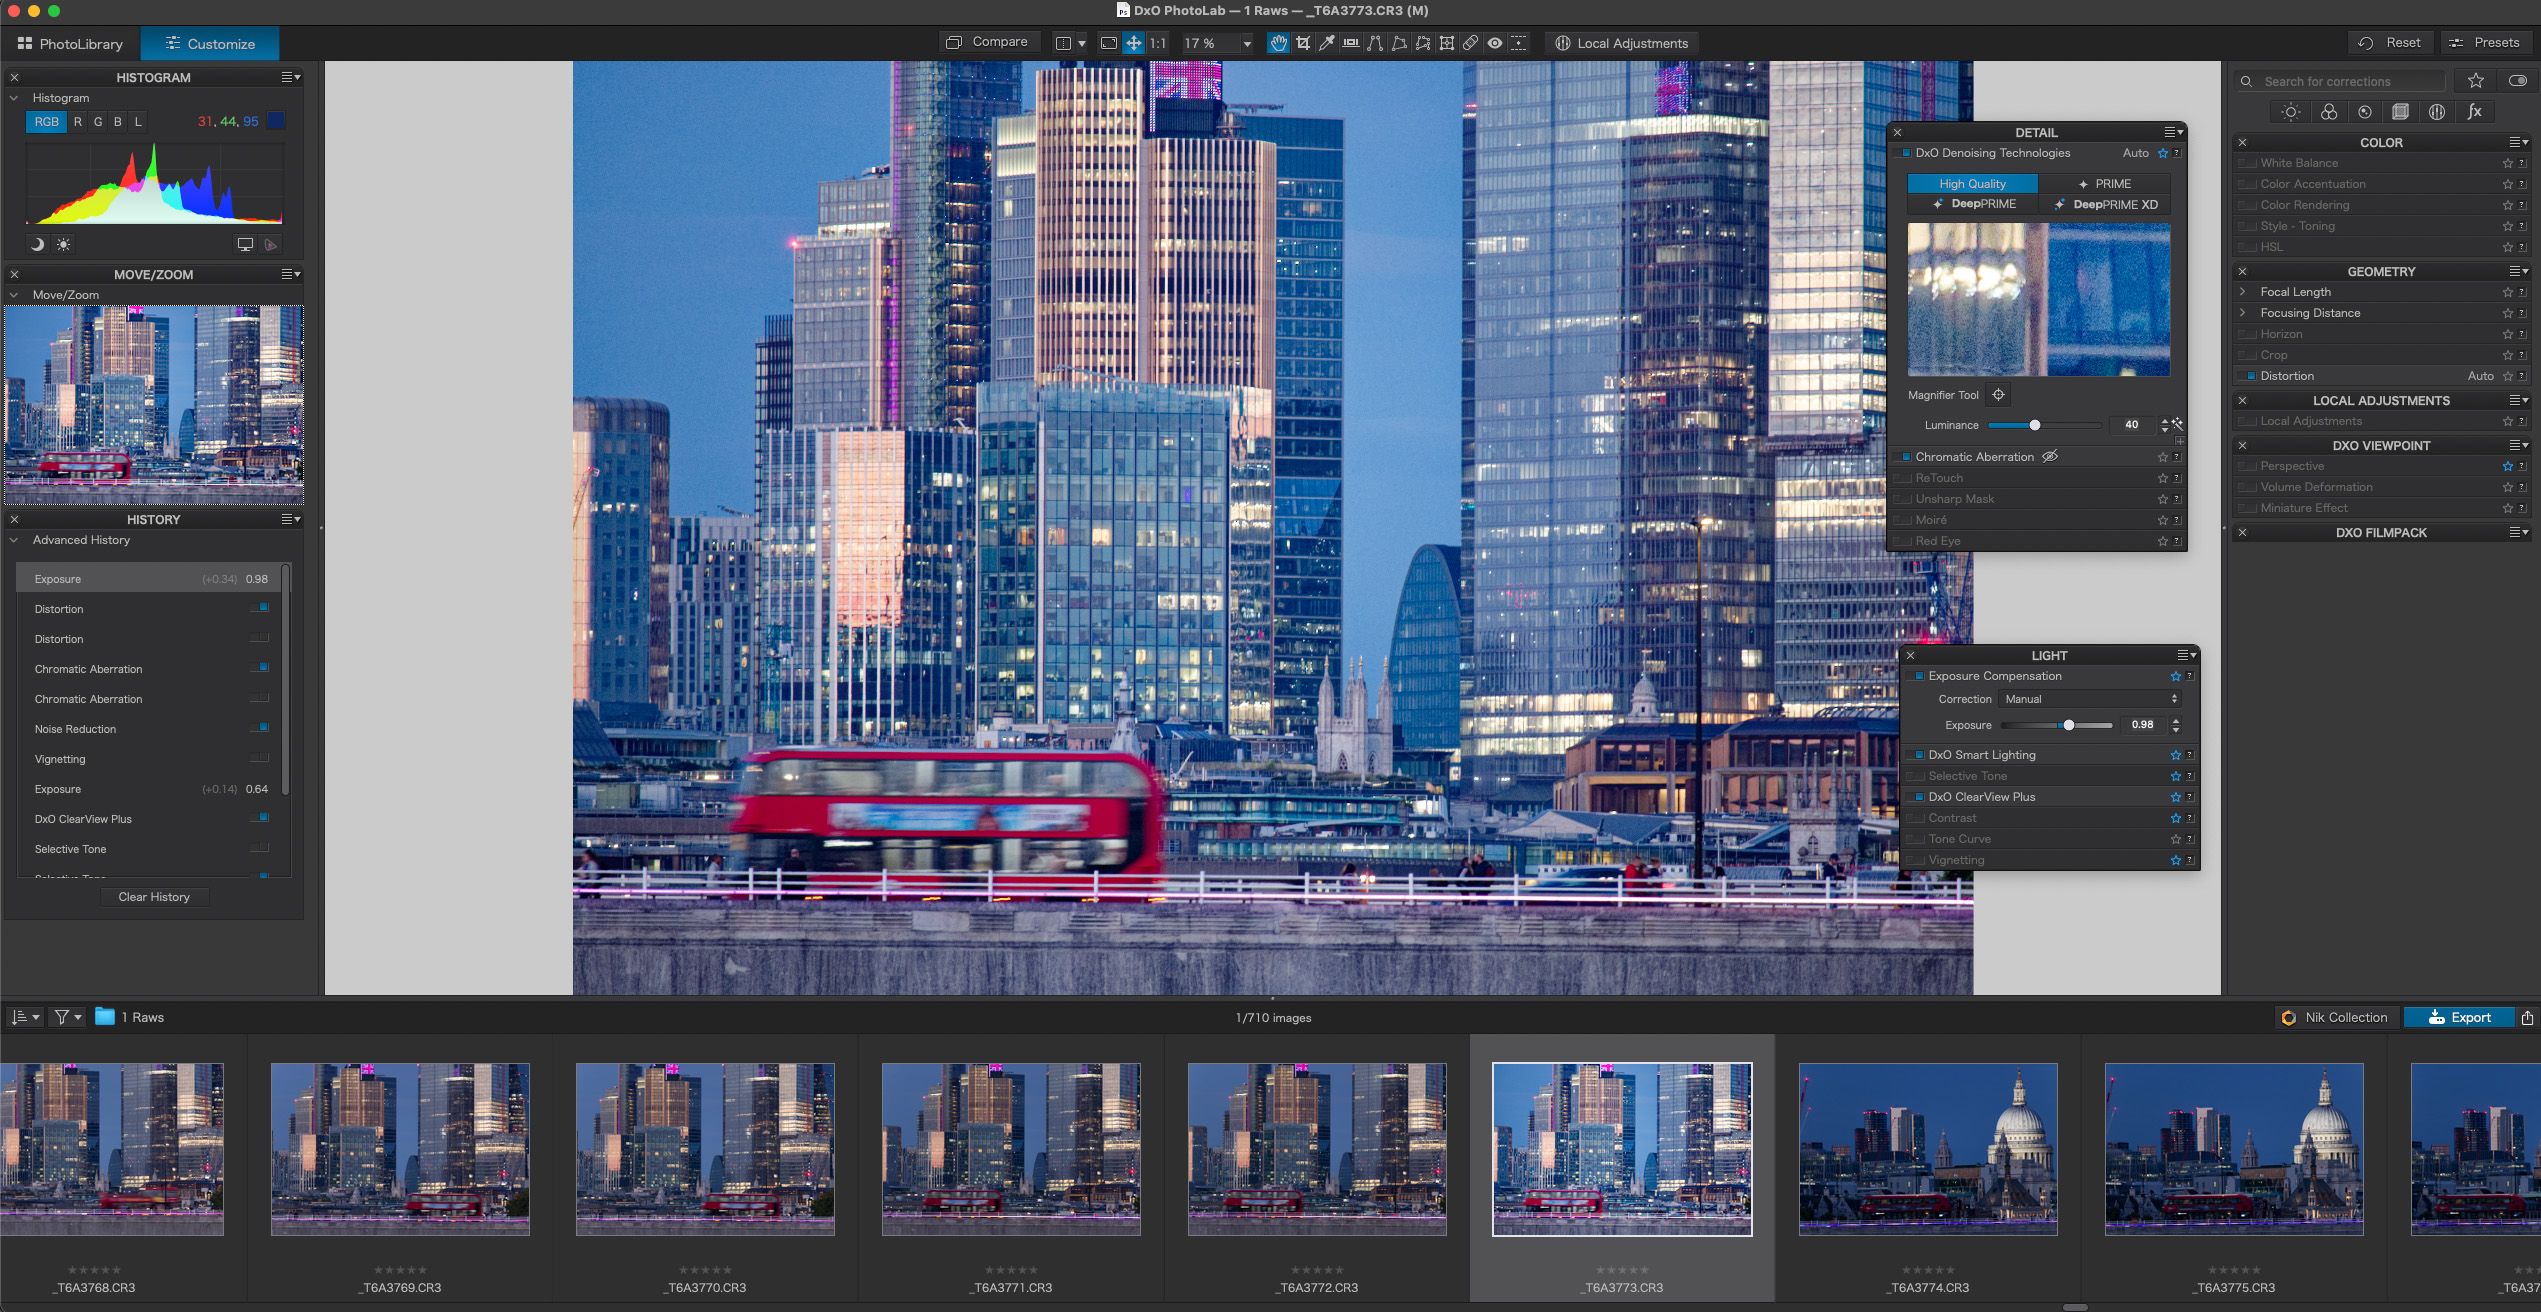
The clean looking interface has two tabs in the top left corner, Photo Library and Customise. This is where the editing takes place. There’s a large central area for the main image, thumbnails in an image browser below that can be undocked and panels on the left and right sides.
In Photo Library mode, there’s folders, project and recent searches on the left. We have metadata, keywording and IPTC fields on the right and these can be moved around to suit.
The projects feature is a good place to start the review given its prominence in the workflow. PhotoLab does not support sub-folders. The reason for this, DxO tells me, is that it would be too processor intensive. However, the option would enhance the software’s appeal.
I use an Adobe Lightroom-based workflow which does have the option of supporting sub folders. I name and date the parent folder. Inside are folders for Raws, TIFFs, web images, images for print and work in progress. It is a shallow folder structure but not compatible with DxO because you need to click on each folder directly to see what is inside.
The plus side of the DxO approach is that there’s no need to move or import images into the software to view and work on them. Click on a folder with images and the software loads files and produces thumbnails which it does at varying speeds depending on the number and size of files.
I did this test on a M1 MacMini with 16GB RAM using image files from a range of cameras. With a folder of over 400 Canon EOS R5 full-size Raws it took a little while and of course it was the same with a folder of Raws from a Fujifilm GFX100S. As you use the scroll bar to navigate through files, the thumbnails are steadily updated.
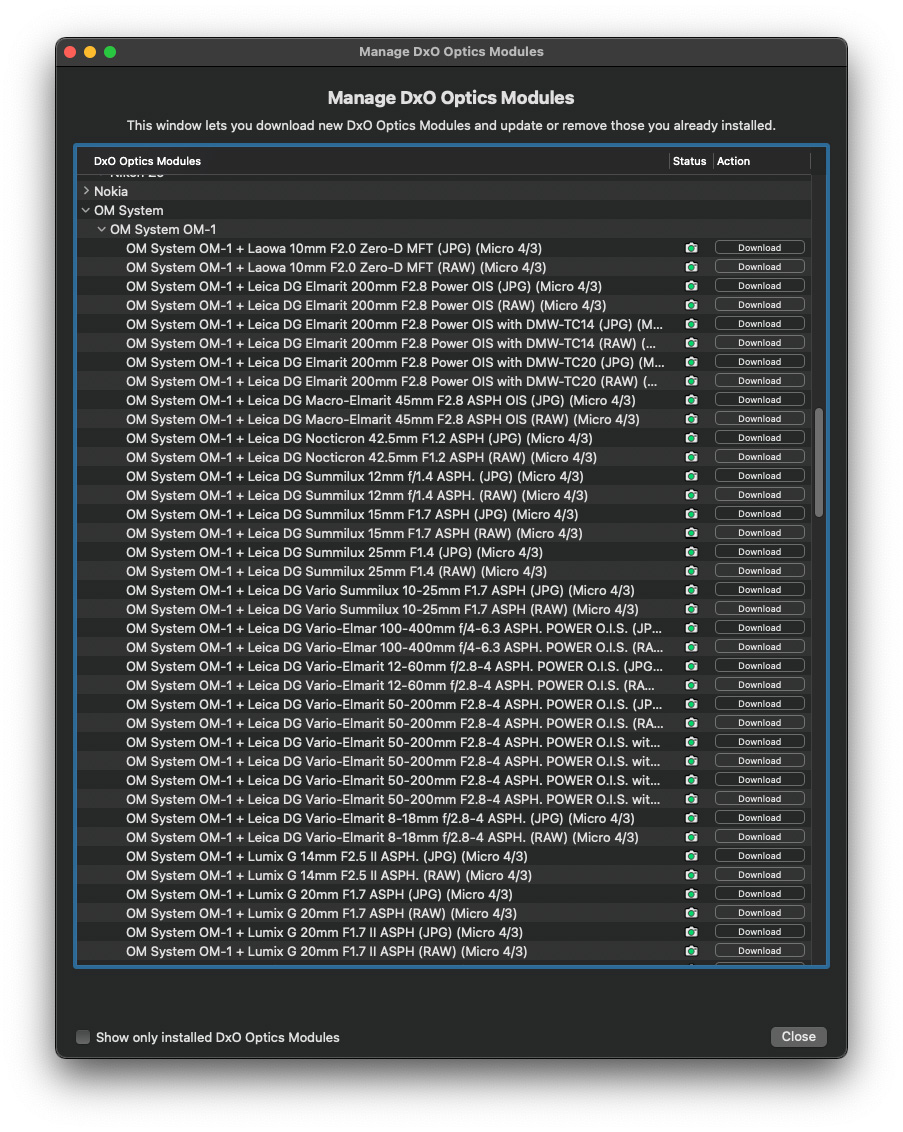
Initially, as you click on images you will see dialogue box telling you that DxO Optics modules are missing with a download button for the suitable camera/lens profile. These profiles will correct shortcomings identified by DxO’s tests going back nearly 20 years.
Many thousands of camera and lens combinations have been tested. So, if your kit suffers from uneven lighting or distortion, the DxO profiles will resolve them at a click of a mouse. You only have to download each profile once. It takes no time at all and means images are automatically corrected when loaded.
PhotoLab 6 Elite: lens corrections
Every camera/lens combination has some form of shortcoming, however minor, and correction profiles in editing software can account for these. Distortion, vignetting and chromatic aberrations are the usual things cured, but DxO goes further with lens softness corrections to counteract lens edge softness.
DxO’s kit database is huge and dates back nearly 20 years and it’s extensive with newer kit too. This is a screengrab of correction DxO Optics modules for the OM System OM-1 and you can see it’s impressive with options for Raw and JPEG images too.
Once downloaded into PhotoLab 6, profiles are applied automatically when images shot with that particular camera/lens pairing is detected.
The PhotoLab 6 browser panel displays the contents of folders as thumbnails, but not the contents of sub-folders. The Project facility, equivalent to ‘Albums’ in other programs, does offer a workaround. In the Photo Library module, on the left side is a Projects tab, and it’s possible to organize Projects into groups rather than as a single long list.
Of course, before adding images to projects, you need to identify them unless you select the entire folder’s contents. Images can be star rated by using keys 1-5. They can also be picked (hit p key), unpicked (u) or chosen for deletion (x). Handily, these are the same keys used in Lightroom for flagging up shots.
PhotoLab 6 now has the choice of seven colour labels. Right clicking on a thumbnail in the browser brings up a long list of rating options.
Of course, you can funnel down what images are on show, be that with star rating, pick/delete, colour labels and more. Once you have your pictures rated, keyworded and picked you can create projects or add selected files to existing projects. There are options of how you do this, plus you can just drag and drop thumbnails into project folders. Images are added to projects as virtual copies, so no files are moved; it’s like Lightroom’s collections feature.
It is a reasonably quick process but if you have prospective project images across several folders, this takes time. Especially if you have large numbers of files in each folder.
However, once loaded into a project they will be there ready for you the next time you fire up the software. It’s worth noting that if you make any edits to one project image the same changes will apply to the same image in other projects and that is a good thing. If you prefer for this not to happen, a new virtual copy is needed for each project.
Images are shown in the browser that sits at the base of the interface and the browser window can be varied in size to make the working image bigger or smaller. Preview size can be adjusted too. The browser can be undocked to float on one screen or relocated in dual monitor set-ups. This means the image you’re working on is much bigger on screen.
PhotoLab 6 Elite: workspace options
In Customise there’s the choice of standard or advanced workspaces or you can create and save your own. In the default options, the central area is again for the image being worked on with a row of thumbnails running across the base and again this browser can be undocked. In the left dock are four palettes: histogram, move/zoom, history and preset editor. Running down the right side are the specific editing palettes including Detail where the DxO denoising feature sits.
Clicking on a palette header means you can move the palette from one side of the interface to the other, change their running order or have them floating.
Features are brought into play by using a tiny virtual switch which sits to the left of the feature’s name. When on, the switch is blue and the name gets marginally brighter against a dark grey background. To be honest, while it is all very tasteful, the switch outline box and the feature names read out poorly when off. Lightroom uses a similar grey type out of darker grey background style and a similar font size, but it is more legible.
Of course, familiarity helps, and I soon learnt to click to the left of the feature name. However, I’d prefer a more user-friendly interface to make the whole editing process more enjoyable and less of a strain on the eyes, so it’s an aspect DxO should look into. For info, my BenQ 32in screen is just within touching distance and yes, I could move closer, but I prefer not to.
It’s on the right side of the customise workspace where all the editing action takes place with six icons taking you through image workflow and there is a great deal you can do in PhotoLab 6.
From left to right, the icons represent Light, Color, Detail, Geometry, Local Adjustments and Watermarks & Effects and relevant palette items appear as you click each icon. In the palette drop down menu there is the option of creating your own user palettes that can be docked or left floating, and that is a worthwhile feature and good to use.
Another potentially useful addition would be a quick way of turning on or off every (or a selected few) feature in a palette. As it stands, you have to turn on/off features as you go from image to image. It is possible to copy and paste corrections from one image to others but this is not the same. Having to turn features on/off is time consuming and it would make sense to me if features such as Exposure Compensation were active all the time.
In the software’s preferences you can set what you want PhotoLab 6 to do when new Raws or RGB images are imported into the software. I went for 1 – DXO Standard and all the others you can view anyway by clicking on the Presets button top right of the workspace and scrolling through the many options if you prefer a starting point for your adjustments.
PhotoLab 6 Elite: Noise control
It is in the Detail palette where you find the DxO’s denoising technologies Prime, DeepPRIME and DeepPRIME XD. The new ReTouch tool is in the Detail palette too.
Under the four quality/Prime options there is a small preview window that shows an area of the image. As you click on each of the four denoise options and you’ll see a preview.
High Quality does little in respect of digital noise reduction, so I’ll concentrate on the three Prime options. There are controls to fine tune the effect in each mode. In DeepPRIME and DeepPRIME XD there is Luminance (0-100 with 40 the default), Dead Pixels (0-100 with 24 the default) and Noise model (-100 to 100 with 0 the default).
For my tests I used a selection of Raws from different cameras including Canon EOS R, Fujifilm X and G-series, Olympus and Nikon DSLR and Z cameras to test DeepPRIME and DeepPRIME XD. Mostly these were high ISO shots, but I used some lower speed ones too.
Nikon D810 with a 24-120mm f/4 lens, exposure 1/50sec at f/4 and ISO 3200. Image credit: Will Cheung.

Street shooting and low light go hand in hand and software such as PhotoLab 6 can transform a grainy shot with poor detail into something very presentable indeed. Image credit: Will Cheung.
I tried the Noise mode at 0 and the two extremes but couldn’t see any difference in any of my test shots. I didn’t have any shots suffering greatly from dead pixels so left that feature at 0. As luminance is the factor affecting quality, I tried settings of 0, 20, 60, 80 and 100 as well as the default 40.
For timing tests, I used the same Nikon D810 Raw shot at ISO 6400 through each of the four options and exported to a DNG file. With no denoising it took six seconds. This increased to nine seconds in High quality, 26secs in Prime, 10secs in DeepPRIME and 31secs in DeepPRIME XD.
I didn’t expect DeepPRIME to be faster than Prime but that’s because the latter is processed using the computer’s CPU and the former takes advantage of GPU acceleration of Apple M1 chips and recent RTX graphics cards. The original Raw was 48MB and the four processed DNG files were 217MB each.
In my tests, DeepPRIME XD did take image quality to the next level. Notably this was the case in high ISO images while in others you had to venture deep into pixel peeping territory to see any benefit. By that I mean checking images at 200% because there was little difference at 100%. The benefit of DeepPRIME XD over DeepPRIME was not so much in the lowering of digital noise levels but the bringing out of fine detail even if this could be minimal.
If you’re making seriously large prints from extreme high ISO shots, particularly from older digital cameras, the benefit is worthwhile. With modern machines at ISO 800 or even 1600, the benefit is minimal. You might as well save time and use the DeepPRIME option which is excellent.
All in all, I found DxO good to use. There are some handling niggles, but no software is perfect. If you go on end result, I think the most quality conscious image-maker will be happy with this software’s all-round skills.
This shot went through a raft of workflow corrections before being sent to Viveza 3 to produce the final image. Nikon D850 with 24-120mm f/4 lens. Exposure was 1/20sec at f/6.3 and ISO 400. Image credit: Will Cheung.
PhotoLab 6 has a great deal going for it, especially its digital noise handling skills. Prime, DeepPRIME and DeepPRIME XD will improve most Raws. I did find the occasional Raw that didn’t benefit from PhotoLab’s skills, most notably pictures featuring very contrasty tonal transitions, where a halo was sometimes evident. However, most shots I tested including those taken at lower ISO speeds saw a very clear benefit.
The shot below was taken at a Steve Hackett gig was taken with an Olympus OM-D E-M5 Mark II with a 45-150mm lens at ISO 1600.
PhotoLab 6 does a great job of removing the digital noise and you may find that Prime is enough. Here, the difference between the Prime, DeepPRIME and DeepPRIME XD images is not obvious even at 200% magnification. However, if look very, very closely at the guitar rosette and the detail is clearer on the DeepPRIME XD shot.
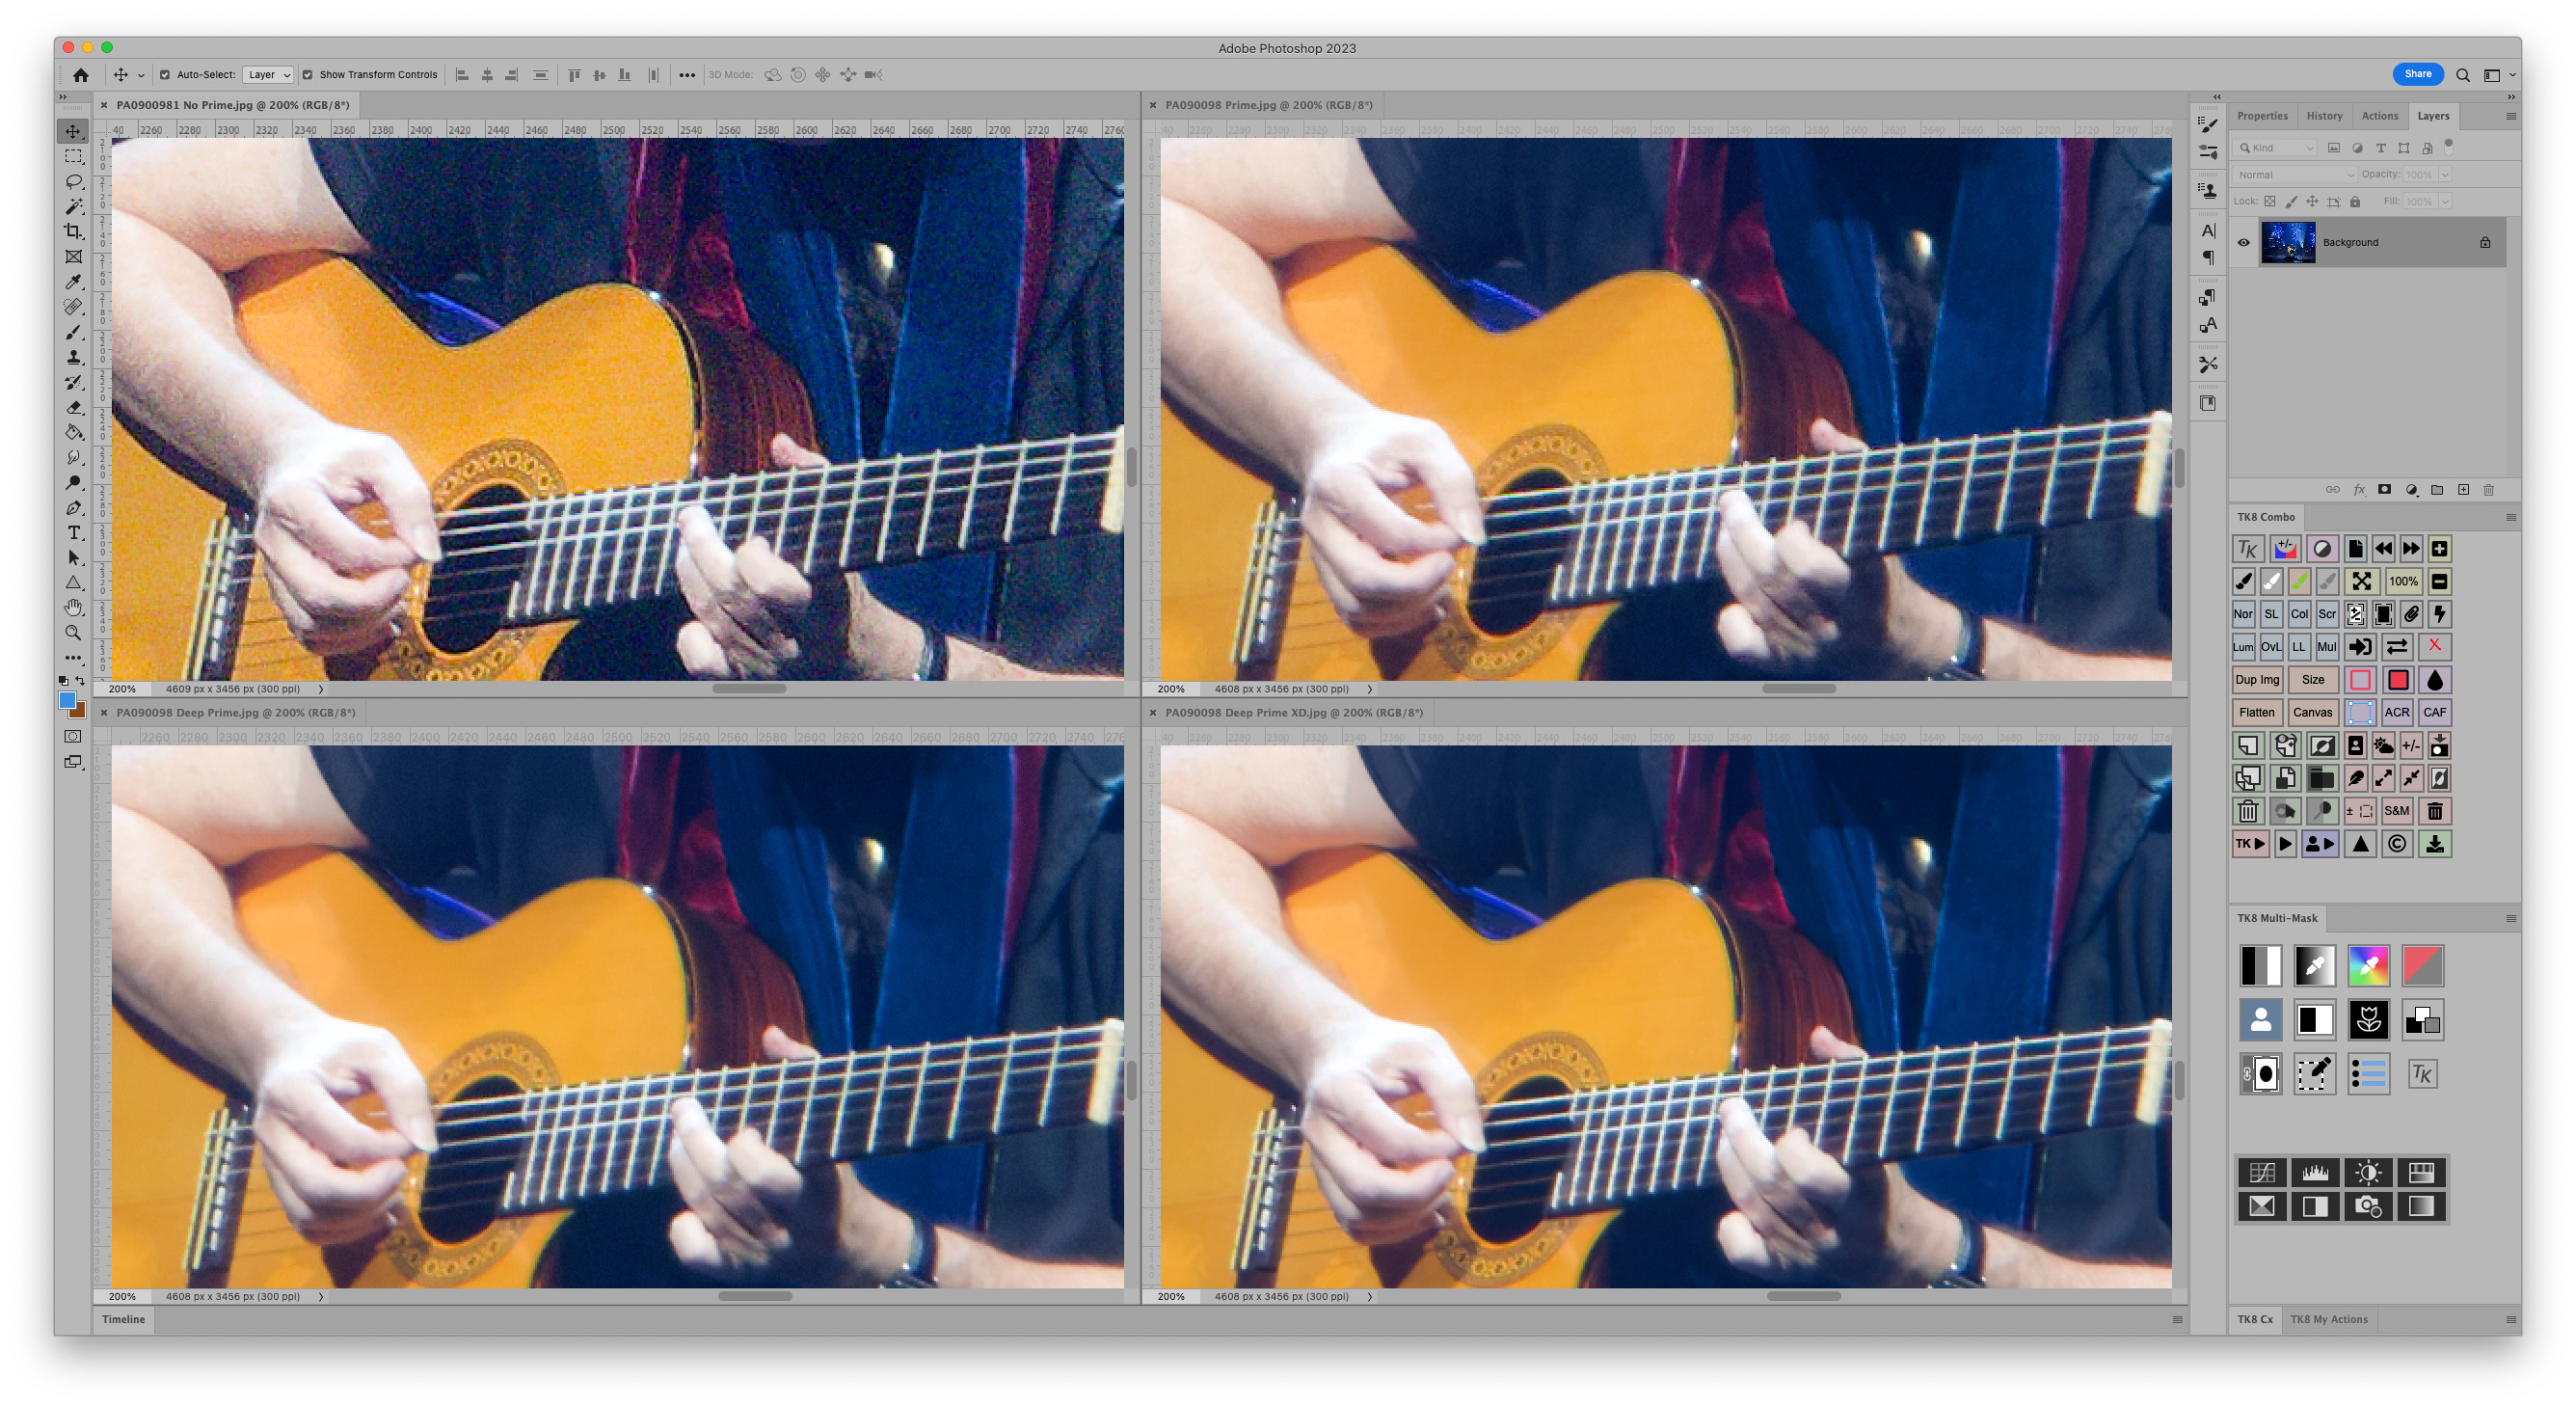
Sample close-up. With no Prime (above left), with Prime (above right), with Deep Prime (below left) and with Deep Prime XD (below right). Image credit: Will Cheung.
PhotoLab 6 Elite: Prime benefits
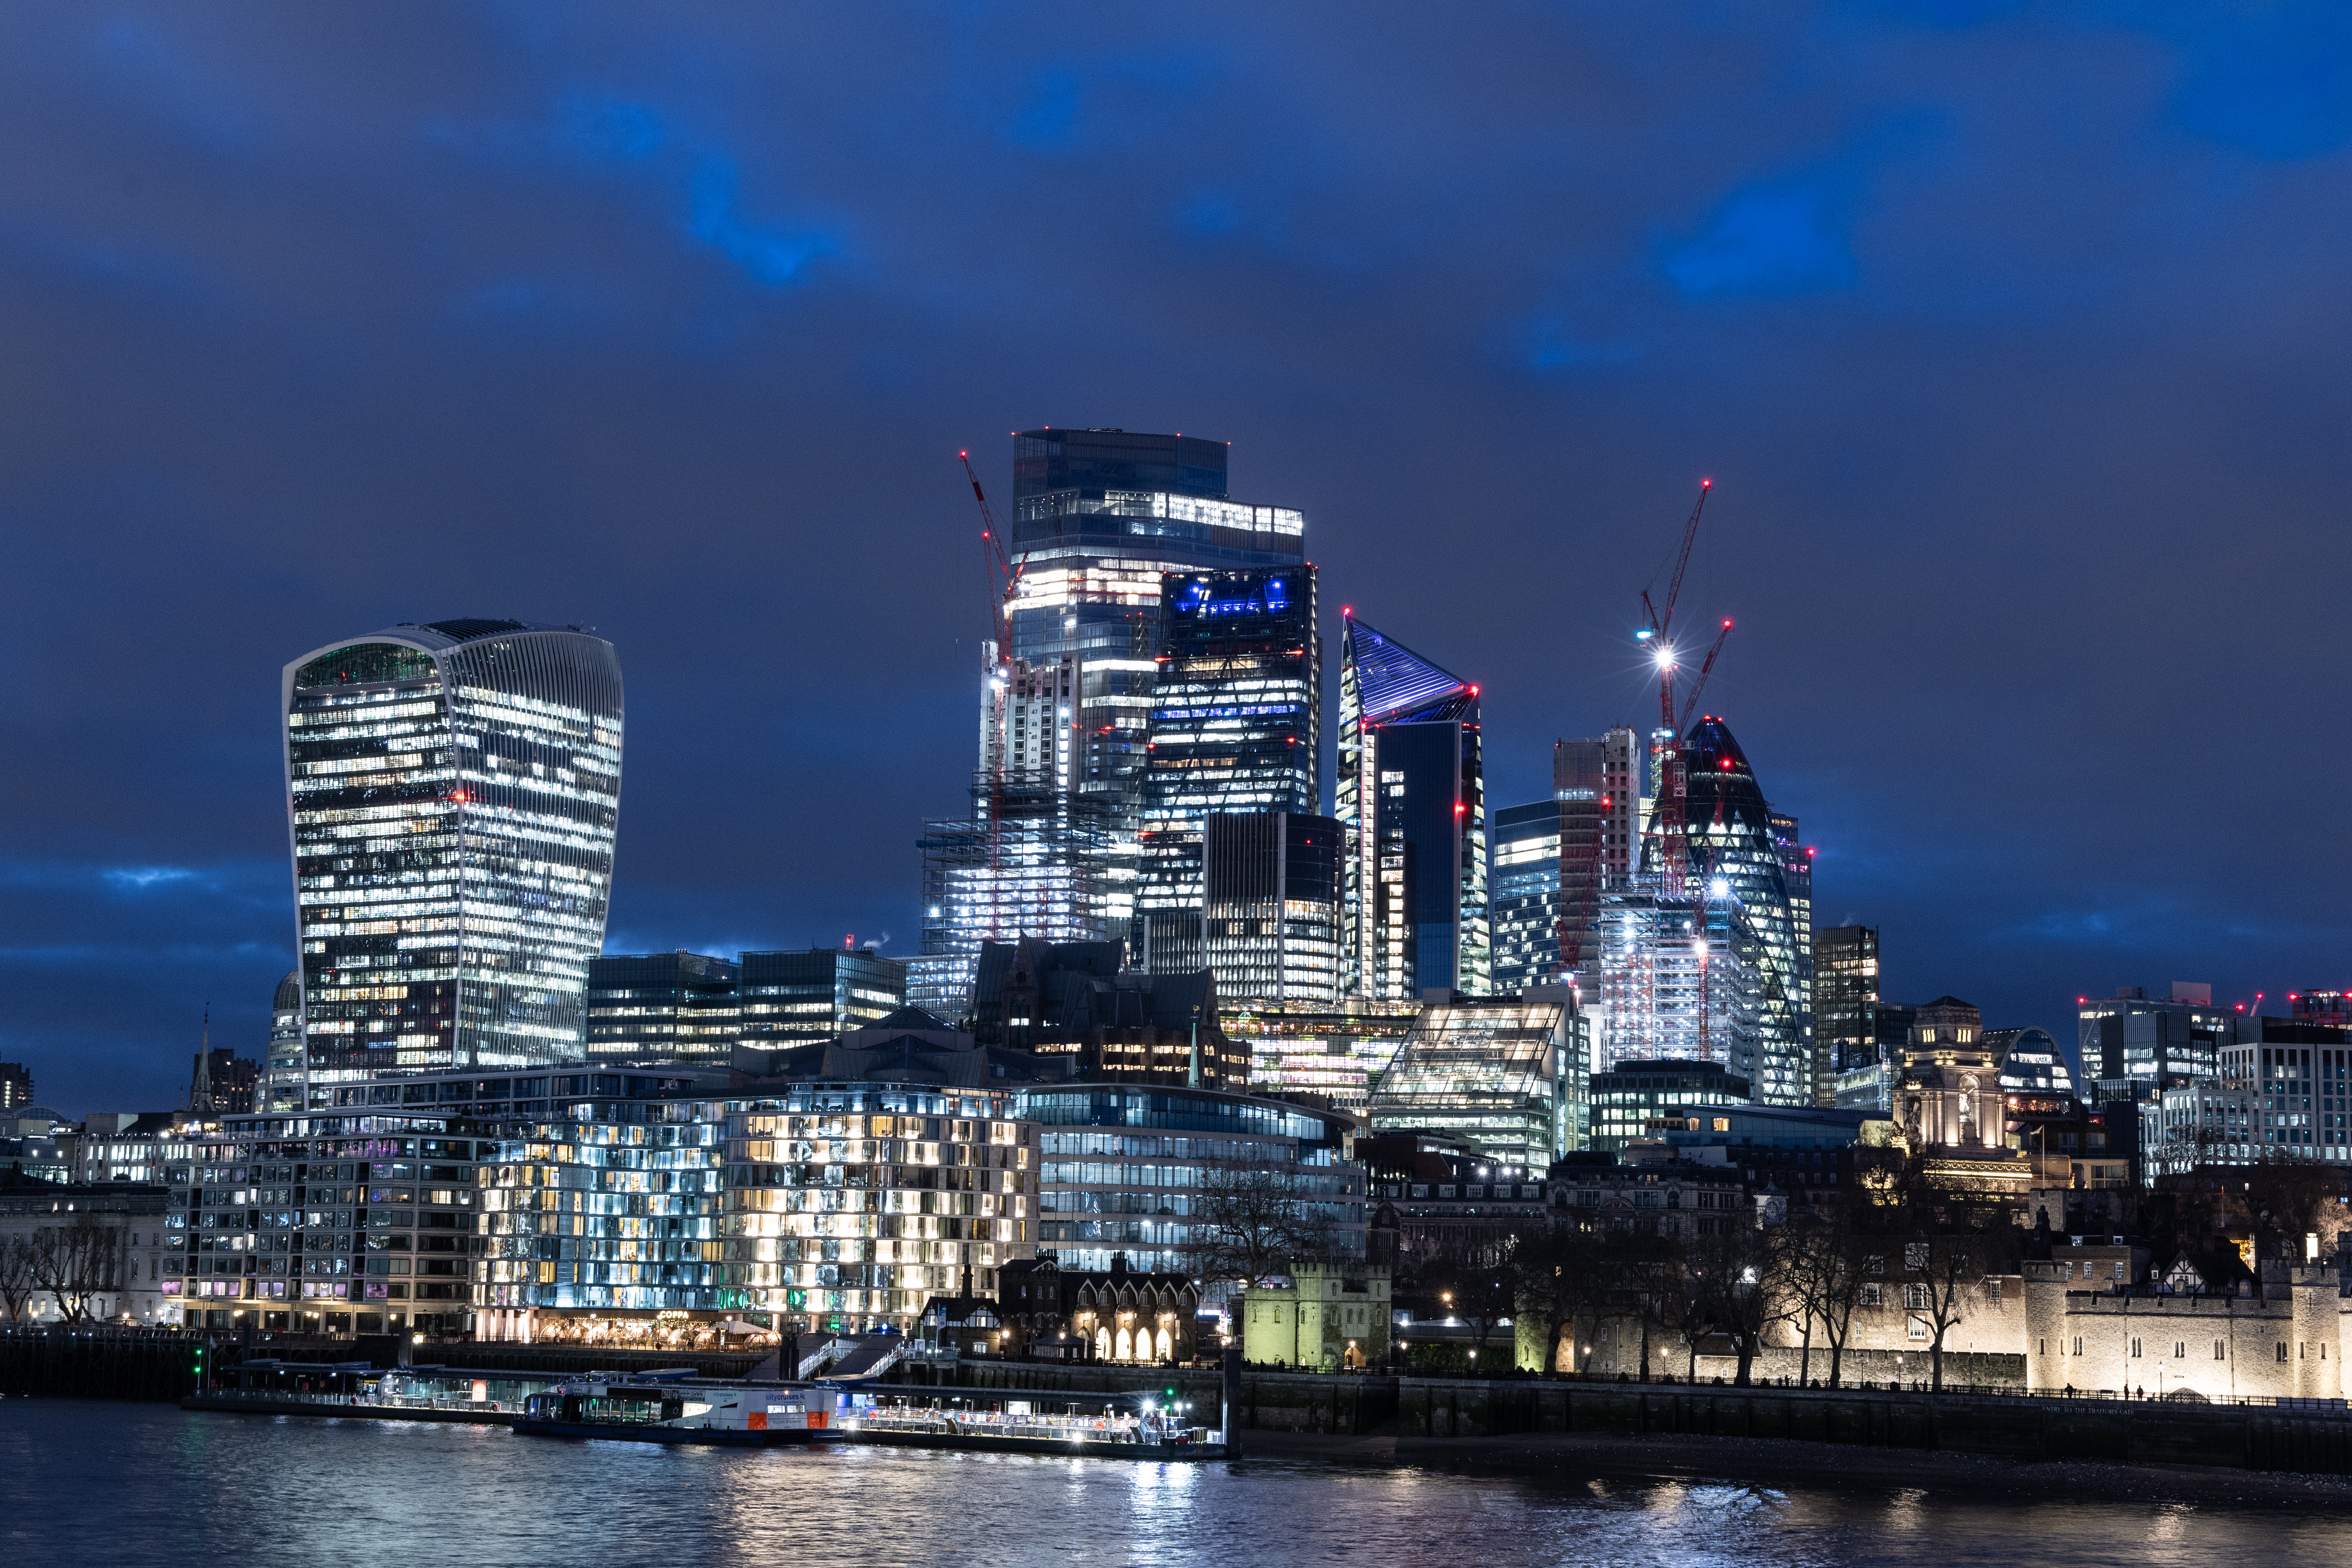
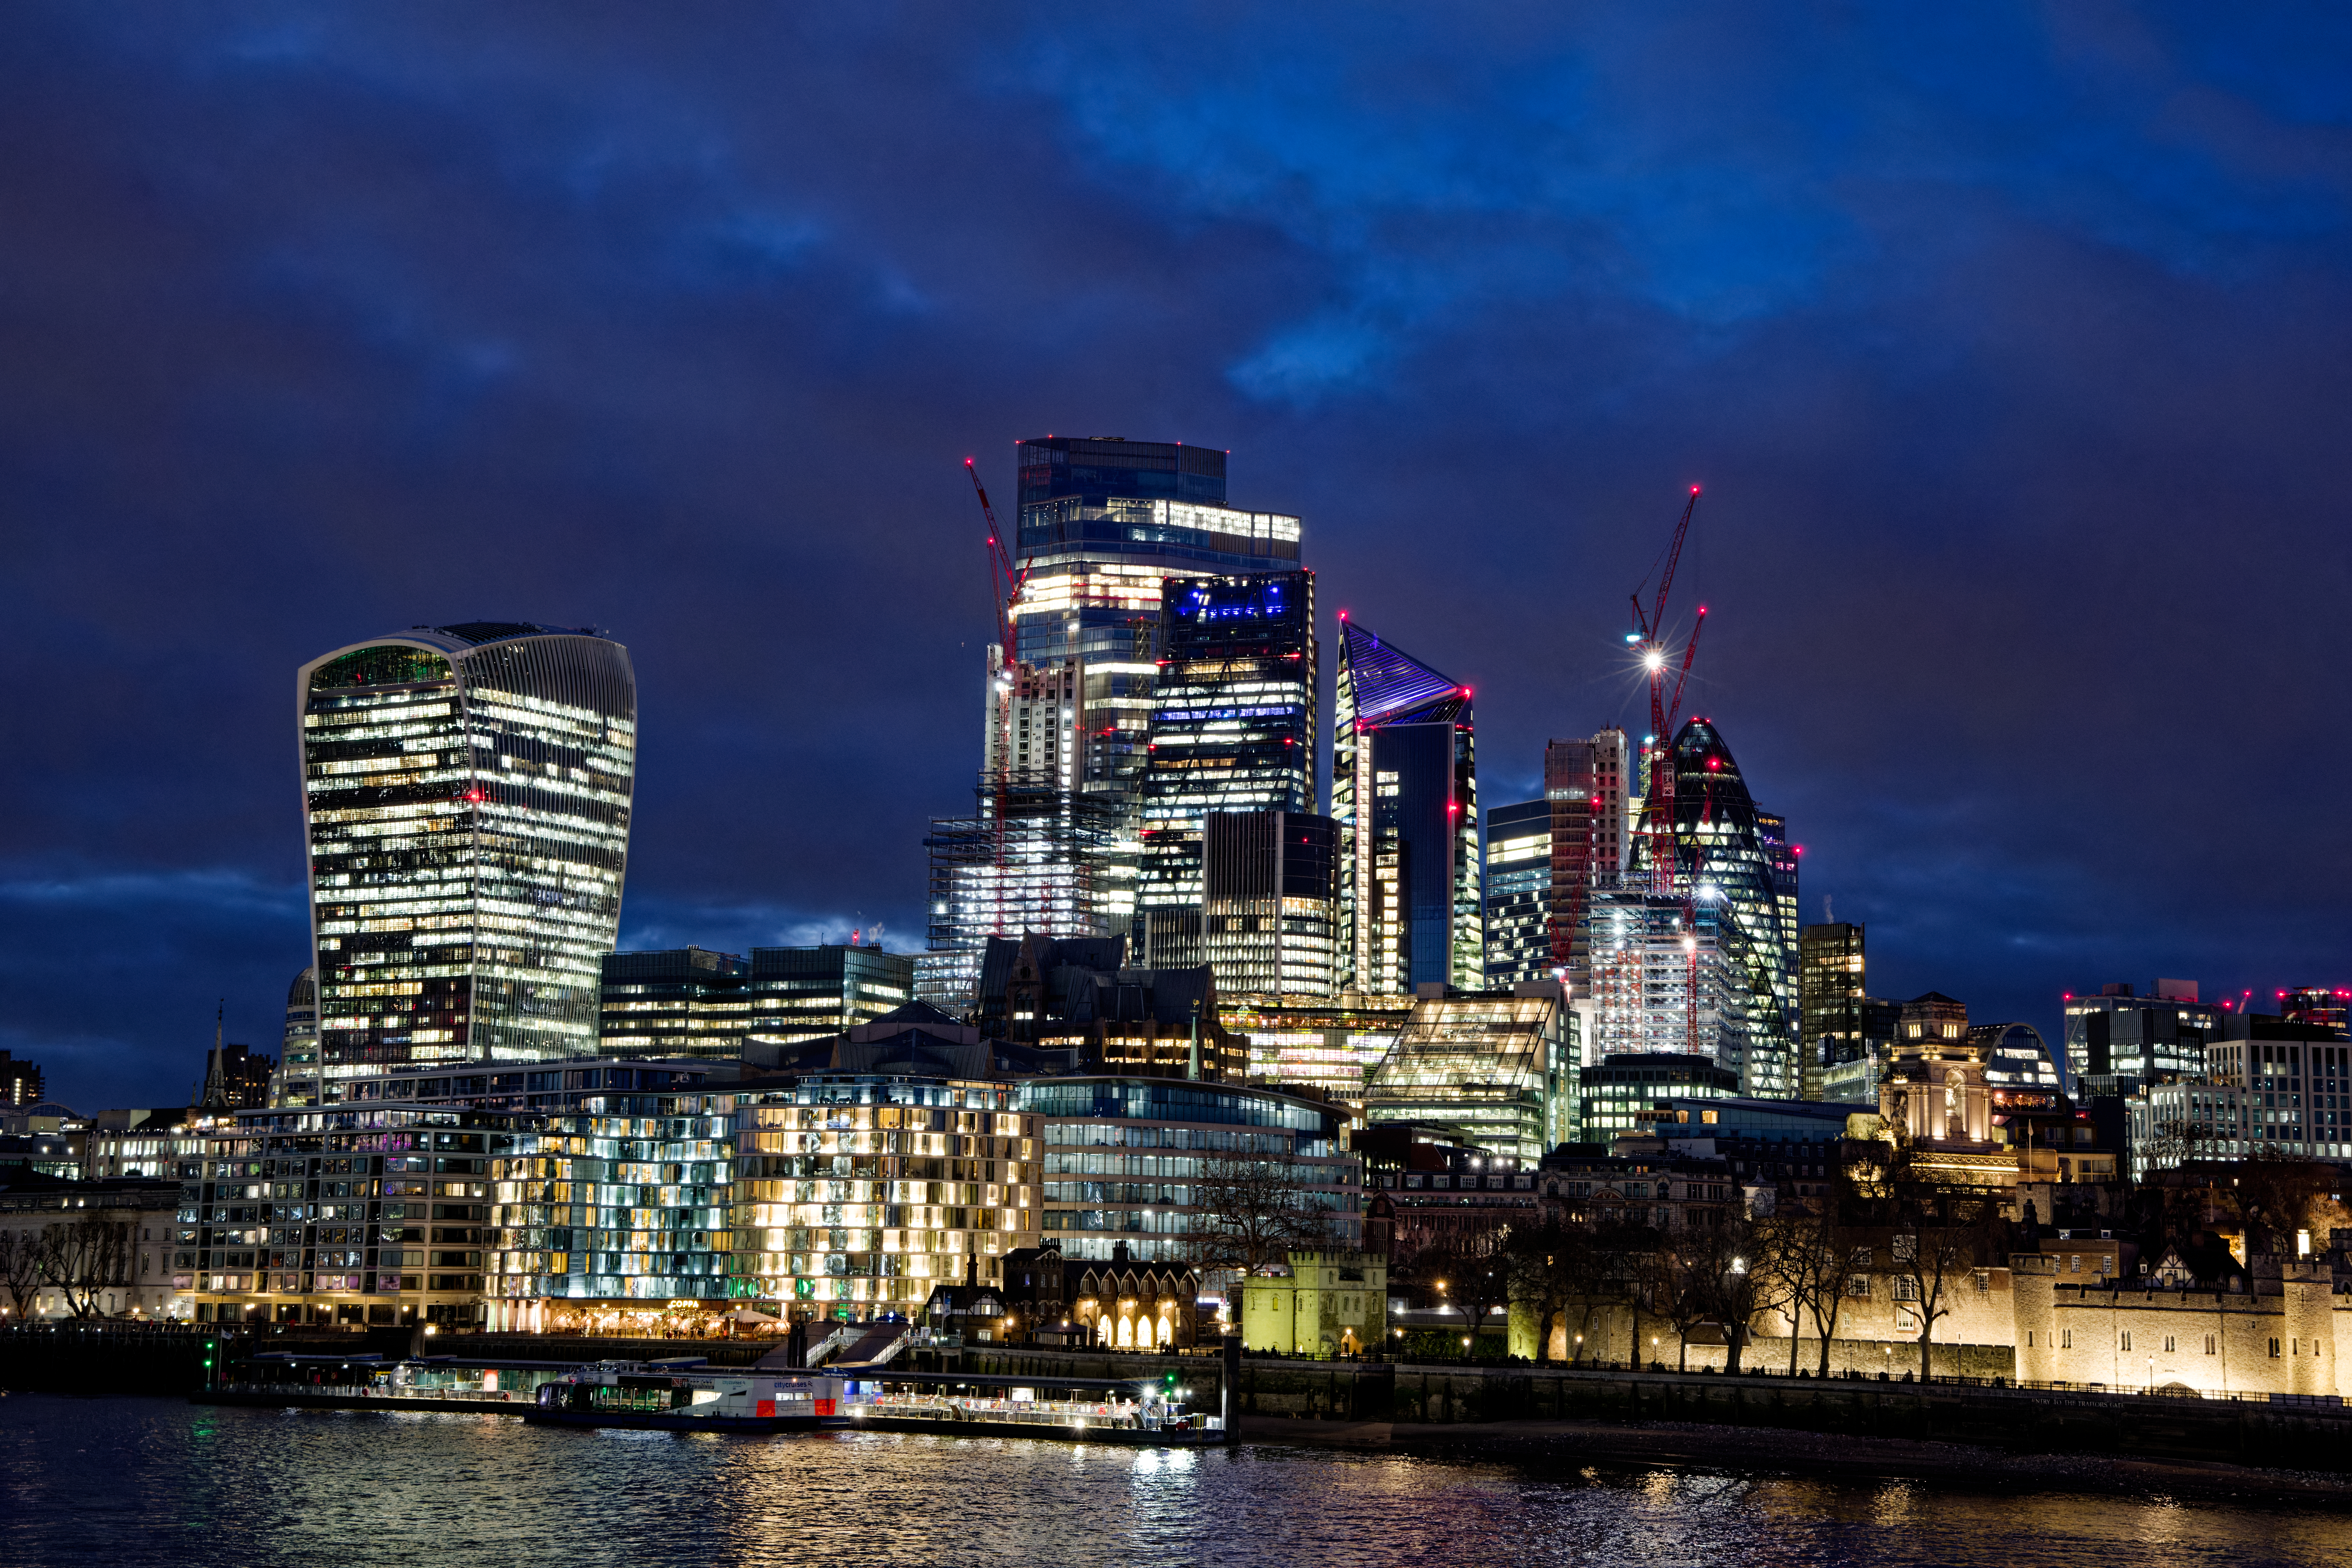
DxO claims a up to 2.5EV quality benefit when DeepPRIME XD is applied. We checked that out with a sequence of shots taken with a Canon EOS R3 processing Raws through Adobe Lightroom with default noise reduction and DeepPRIME XD at a luminance value of 40.
With an ISO 6400 shot, a 2.5EV benefit means a DeepPRIME XD processed image should resemble an ISO 1000 shot and that’s what’s shown here. You can see that the DxO shot is impressive compared with the lower ISO shot. It’s cleaner in the sky area and the building detail is much crisper so the claimed benefit has more than a little merit.
PhotoLab 6 Elite: Verdict
The latest variant of DxO PhotoLab 6 Elite is an impressive and powerful software with huge potential. Even priced at $219/£199 for an outright purchase, I consider that remarkably good value for money considering what you get. There’s an awesome array of tools including ReTouch, ClearView Plus and Smart Lighting to enhance your images, and DxO Optics profiles to correct camera/lens flaws.
And we have left the best to last. Prime, DeepPRIME and DeepPRIME XD all do a great job when it comes to cleaning up and embellishing your shots, whether they are shot at medium or high ISO speeds. If you don’t have the budget to buy the Elite version, going for Essentials is still worthwhile because you get Prime and DeepPRIME. To be honest, the benefit in real terms of DeepPRIME XD over DeepPRIME aren’t huge.
If you need a software for noise reduction only, you can save money by buying DxO’s PureRaw 3 which sells at $129/£115. It has DeepPRIME XD, batch processing and extra control.
Of course, PhotoLab 6 is a much more complete workflow solution with powerful enhancement tools. It suits photographers of all genres and its superpowers with high ISO files adds an extra dimension. Not only will it help you make the most of the latest digital cameras, but it will also give your existing archive of high ISO shots a new lease of life. Highly recommended.


