

Photographic filters are hardly a new idea. Since the dawn of the iPhone, apps have transformed photos to look like everything from old-school film to the output of classic computers. The problem is that filters are often blunt instruments, effectively slapping an overlay across an image without considering the subject beneath.
Apple’s Photographic Styles are different. The feature first appeared on the iPhone 13, but the latest-generation version on the iPhones 16 and 17 is on another level. Styles are applied intelligently to different parts of an image rather than evenly across the whole frame. You can fine-tune them to your liking. And best of all, edits are non-destructive, which means you can freely experiment without risking a once-in-a-lifetime shot.
Style counsel
It’s also worth remembering the name of the feature: Photographic Styles. This isn’t about strict accuracy. It’s about mood, personality, and making photos feel like your own. And Apple has packaged pretty high-end colour and tone adjustment controls into something that’s approachable for everyone, yet deep enough to satisfy pros.
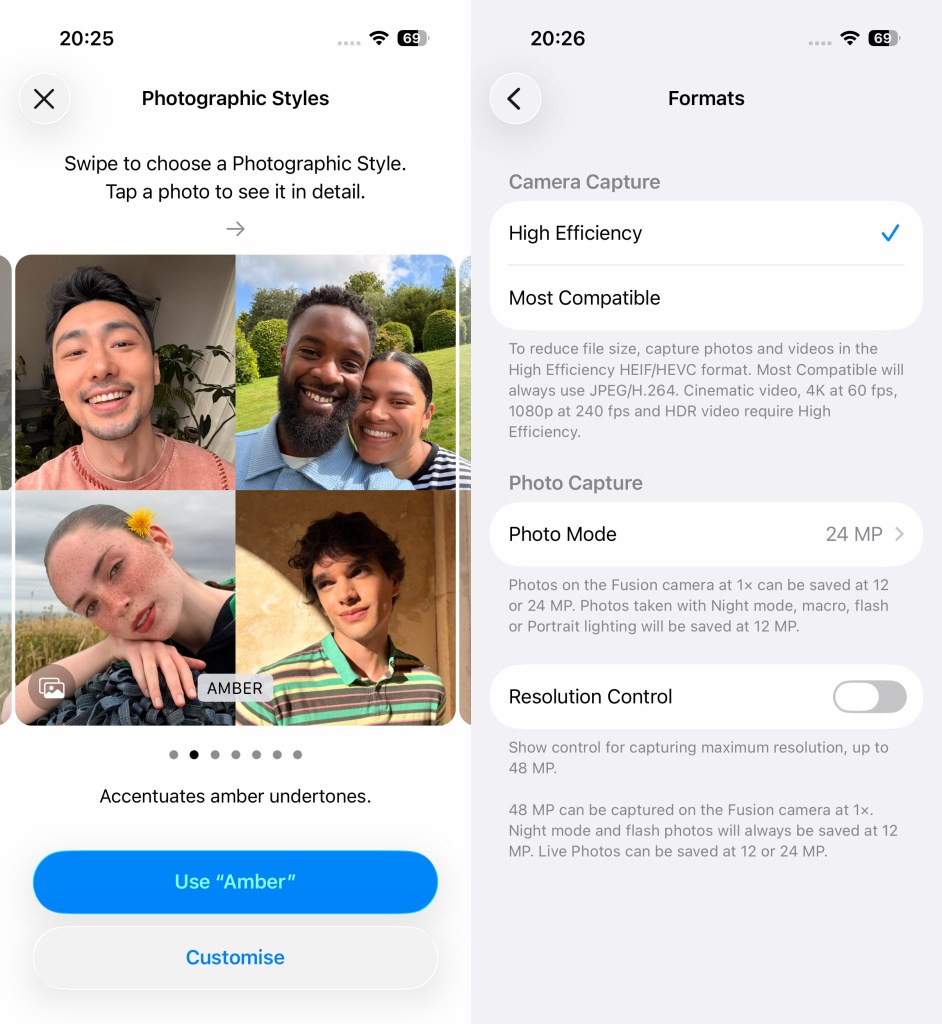
Before you start, open the Settings app, go to Camera > Formats and turn on ‘High Efficiency’. This makes the Camera app shoot HEIF rather than JPEG – important, because HEIF is required if you want to edit the style later. You’ll also need a compatible iPhone for these latest-gen Photographic Styles: anything from the 16 or 17 ranges, except the ‘e’ models.
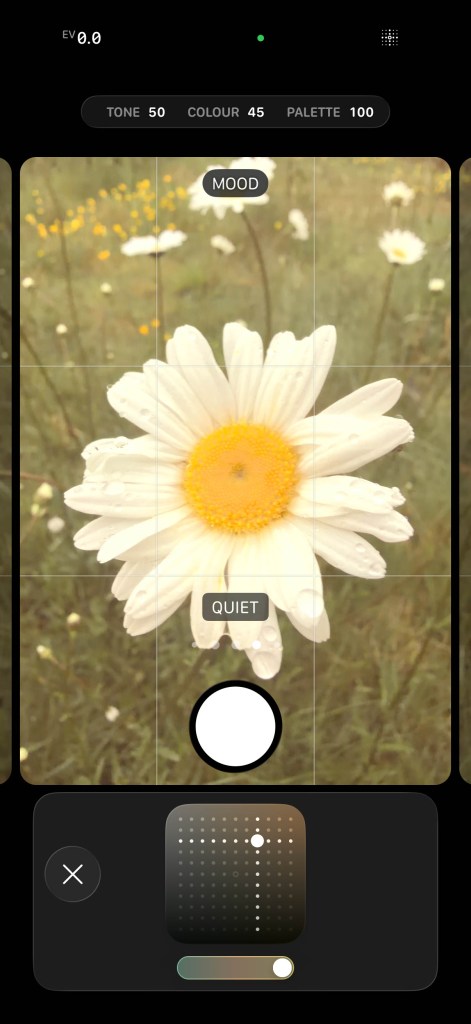
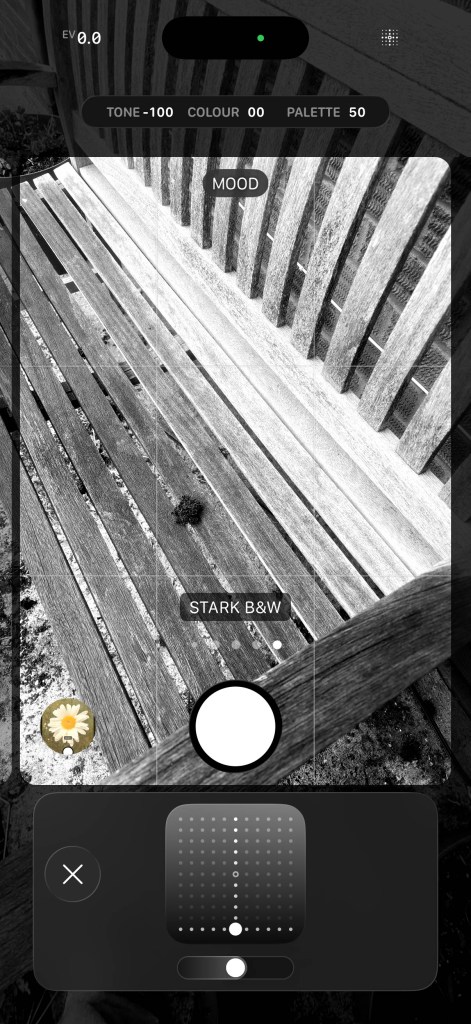
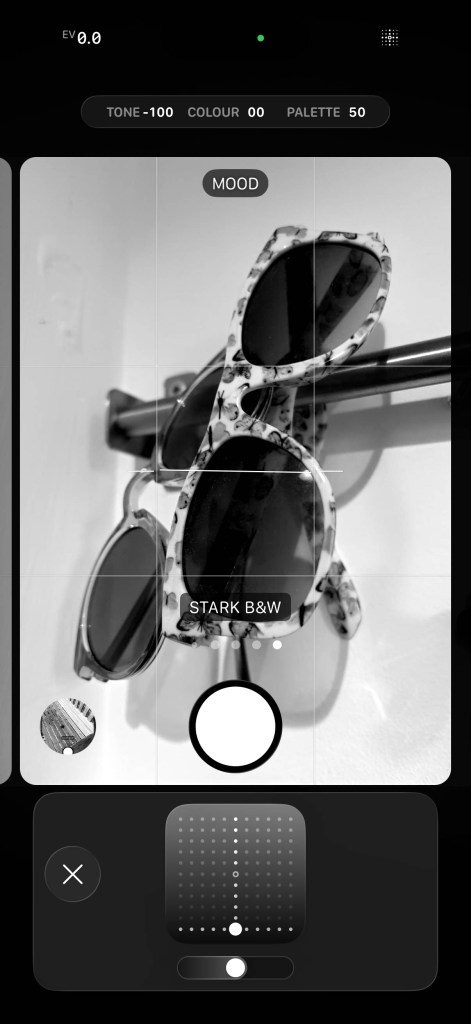
Next, open the Camera app, tap Photo (or the Camera Controls button at the top-right), then Styles. Swipe right for Undertones, designed to help you fine-tune skin tones – although they work well for other subject matter too. Swipe left for Moods, which are more about adjusting the overall character of a scene.

Mood swings
Styles are subjective. Some add drama, punch and contrast. Others make a scene feel calmer or nostalgic. It all depends on how you see what’s in front of you. Fortunately, you get a live preview as you swipe.
Once you’ve chosen a style, you can customise it using the touchpad. Drag horizontally to adjust colour, which affects how rich or muted the colours in your photo look. Drag up or down to change tone, which changes the lightness/darkness balance, especially in shadows and mid-tones.
Moving the marker upwards gives you a lighter, softer look. Moving it downwards adds deeper contrast and moodier shadows to your image. Most Photographic Styles also show a slider beneath the touchpad, which controls how strongly the style is applied. In some styles, changes also introduce a gentle warm or cool tint, subtly shifting the mood of the shot.
I find the best approach is simply to experiment. Spend time playing with styles before shooting anything important. You’ll quickly get a feel for the combinations that suit the images you like taking. Your custom settings also remain saved for each style, so you can use them again. However, you can reset any one of them by tapping its undo button.
Photos lab
There are other ways to access Photographic Styles. You can switch between them using the Camera Control button, although I find doing so infuriatingly fiddly. You can also set a preferred custom Undertones default in Settings > Camera > Photographic Styles. Apple provides sample images for testing against, but you can tap the picture button to swap them for your own.
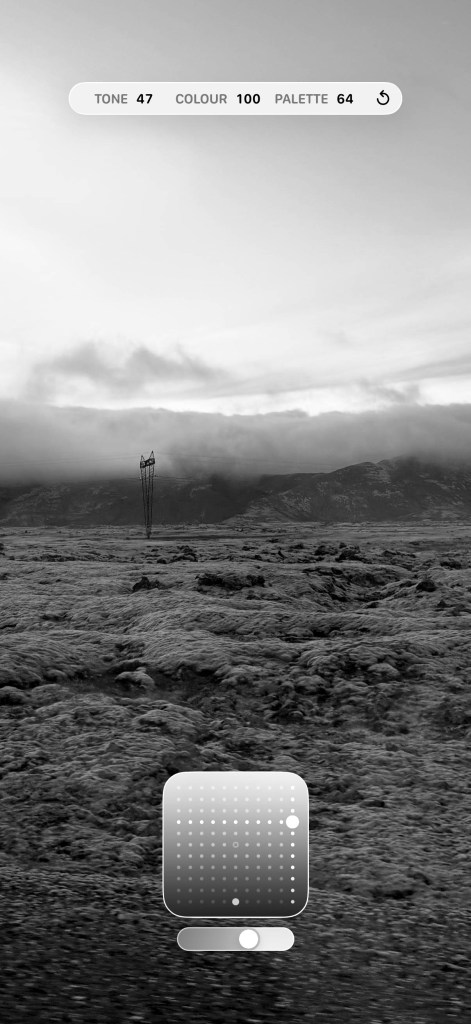
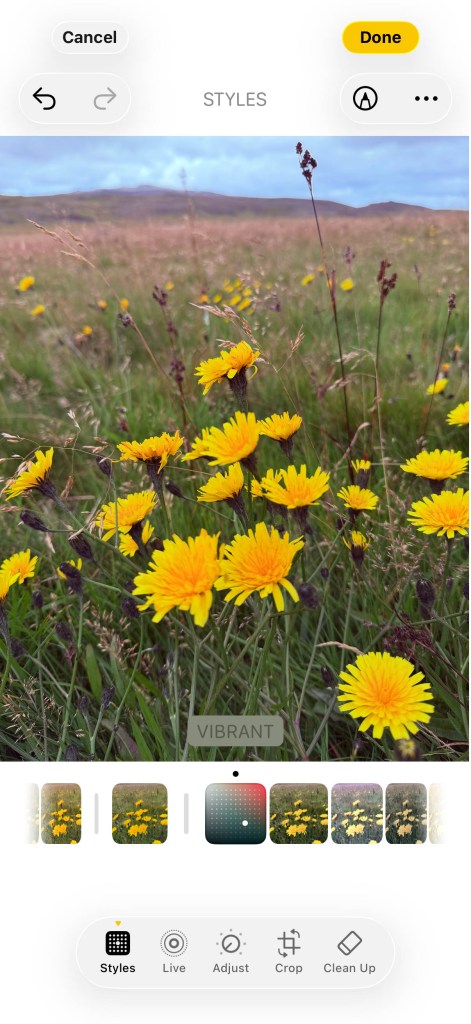
Photographic Styles are also available in the Photos app. Open a photo shot on a supported iPhone, tap the edit (three sliders) button, and you’ll see the style that was used. If that dramatic black-and-white landscape suddenly feels a bit much, you can switch to something subtler.
Because edits are non-destructive, you can use … > ‘Revert to Original’ if you later change your mind. Or, before editing, long-press a photo in your library and duplicate it to work on a copy. Also note that while older iPhones can’t shoot with the latest-generation Photographic Styles, they can edit them in Photos when running iOS 26. (I’ve tested this on an iPhone 12!)
True colours
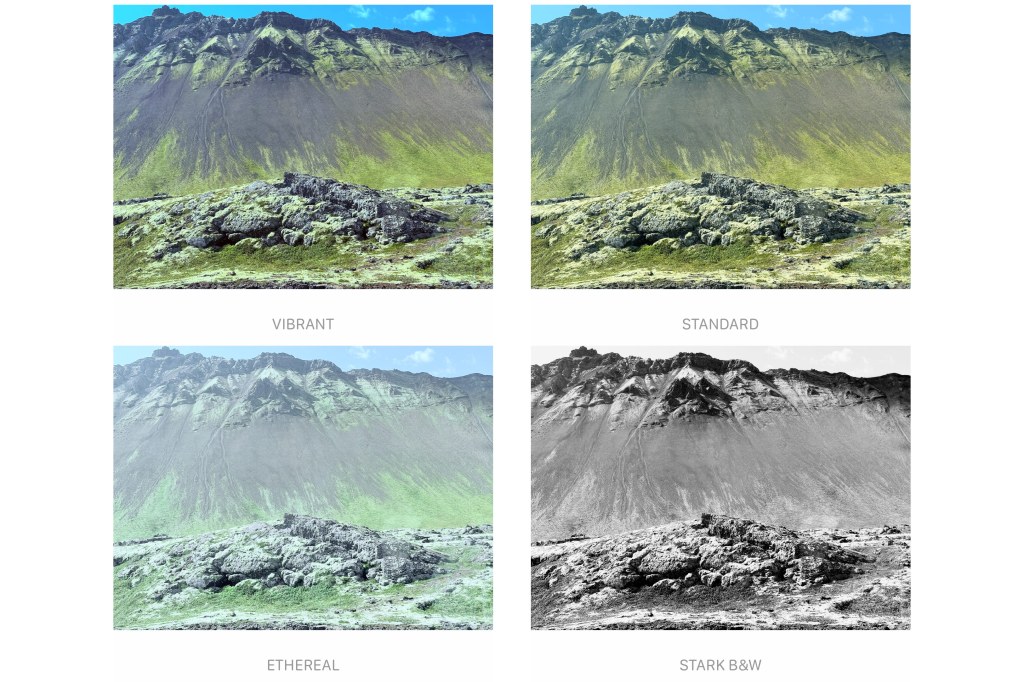
The main thing I’ve learned when using Photographic Styles is that no single option works for everything, but you can often find a couple of setups that’ll work for you far better than the standard look Apple provides ‘out of the box’. I personally love images with more punch than reality and have a soft spot for stark black and white landscapes. But when one of those looks doesn’t quite work, these settings are never baked in.
That freedom to experiment is what makes Photographic Styles so enjoyable. You can move beyond Apple’s default processing and add more character and personality to your photos – all without disappearing down a complicated editing rabbit hole. A few swipes, a couple of tweaks, and your photos suddenly feel much more personal.
Related reading
- Best iPhone for photography – these are the top rated options
- Best phone tripod for iPhones and smartphones
- Phone vs Camera – they say I’m mad to use a phone for video
Follow AP on Facebook, Instagram, YouTube and TikTok.


