In-camera editing is great when you want to make a quick change to your photos, but not every camera manufacturer delivers this equally well. Angela Nicholson reveals which maker has the best in-camera editing system in our Nobody Does it Better series
In the perfect world we’d always capture images exactly as we want them to be, but life isn’t usually perfect, and sometimes we only spot how to improve a shot after it’s been captured. The obvious way to make any improvements to an image is to transfer it to a computer and fire up your favourite image editing software, but some camera manufacturers offer an alternative option – in-camera editing.
I’ve used this on a few cameras over the years but the system that has impressed me most in recent times is on Nikon cameras.
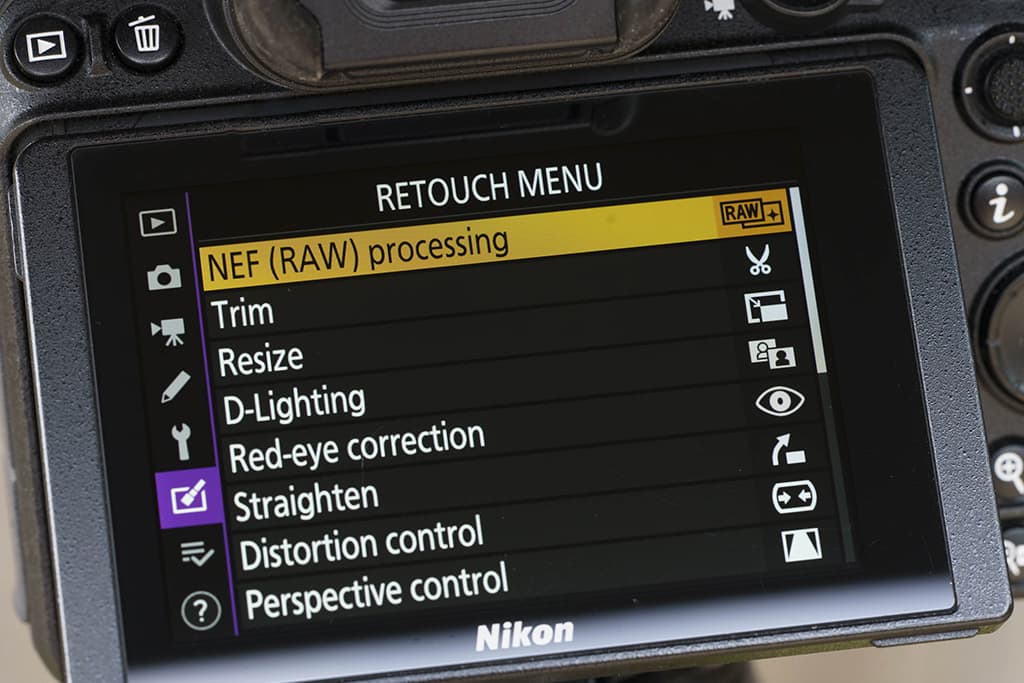
Retouch menu (in camera editing)
Nikon’s image-editing controls are located in the Retouch Menu. In here you’ll find controls to access the NEF (RAW) processing as well tools to crop (trim), resize and straighten or apply Red-eye correction, Distortion control or Perspective control, or merge two images to create a multiple exposure.
You can also convert an image to Monochrome, but I’d give this a miss and use the raw processing feature to change the Picture Control instead as you get more control over the final result.
Controls within the NEF (RAW) processing section enable you to change aspects such as the white balance, image brightness (using the Exposure compensation control), Picture Control, High ISO noise reduction level, Color space, Vignette control, Active D-lighting and Diffraction compensation as well as set the quality and size of the Jpeg that the edited raw files is saved as.
Of the Retouching options, the NEF (RAW) processing, Trim, Straighten and Perspective Control are the most useful, but the Image overlay control is also fun and can produce some very creative results.
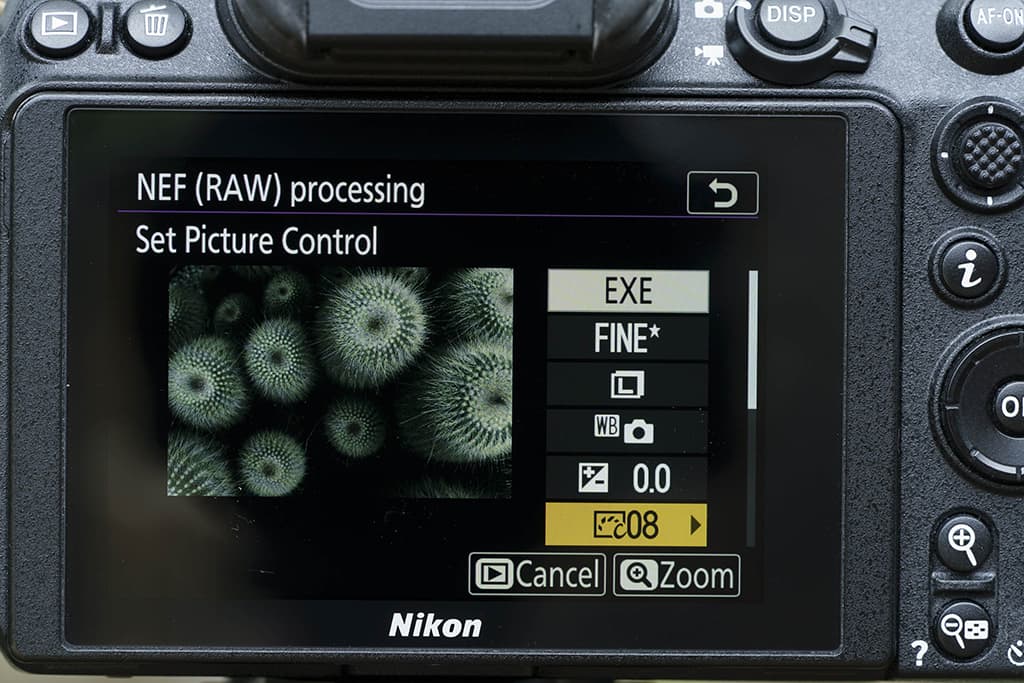
NEF (RAW) processing
Nikon’s cameras use a simple step-by-step process for editing raw files. The first stage is to press the Menu button and navigate to the Retouch menu before selecting ‘NEF (RAW) processing’.
Then, on the next screen that appears, highlight ’Select image(s)’ before pressing the OK button. You will now be shown the images available for editing. Simply tap on an image to highlight it and then tap again to select it before pressing the OK button again.
You will now see a screen with a thumbnail of the selected image and a list f the parameters available for adjustment. When you select one for adjustment, you’ll see the available options and you just need to use the navigation controls or tap on the screen to select the setting you want to apply.
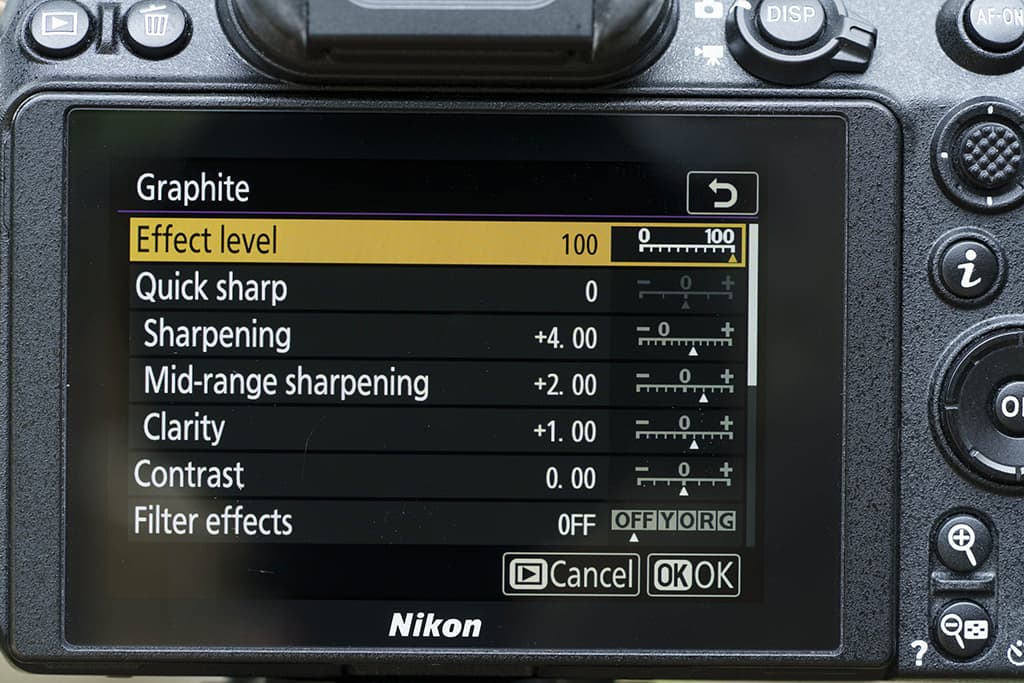
As well as being able to set a different Picture Control for your image, you can adjust the parameters of that Picture Control. This means you can adjust aspects such as the sharpening, clarity, contrast and any Filter effects associated with that setting.
With the Creative Picture Controls you can also edit the degree of the effect that you want to apply so you can make it subtle or full-on if you like.
Once you have made all the adjustments, select the size and quality of the JPEG that you want to create before selecting ‘EXE’ to save a new file with your edits applied. The image is saved to the card in your camera. If you like, you can transfer it to your smartphone or tablet using Nikon’s SnapBridge system, or you can download it to a computer as you would any other image.
Using the Retouch options
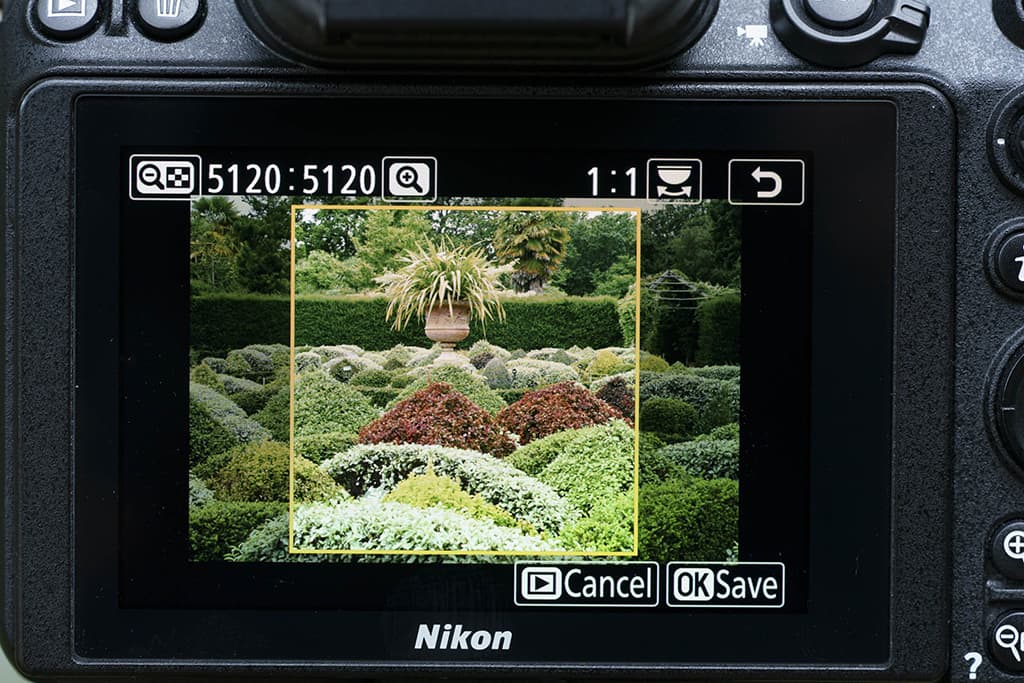
The other options in the Retouch menu are used in a very similar way to those in NEF (RAW) processing and the camera screen indicates which of its controls you should use to adjust the various parameters. For example, with ‘Trim’, which is actually a crop tool, the first step is to select the image that you want to adjust.
Next you use the rear command dial to toggle through the various aspect ratios until you find the one you want. Pressing the magnify button crops into the image using the aspect ratio that you’ve selected. You can also move the crop around the image using the navigation pad or by dragging the frame around on the screen with your finger.
Once you’re happy with the crop, press the OK button and the camera will save the new version of the image without affecting the original.
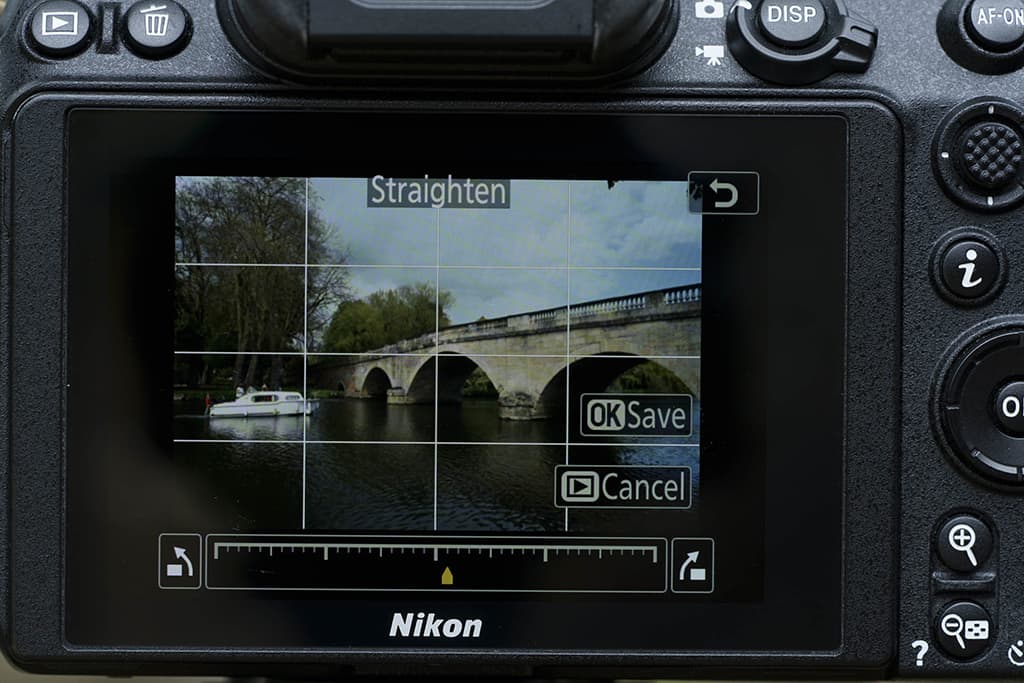
With the Straighten tool, after selecting the image, you can rotate it one way or the other using the left and right keys on the navigation pad to by tapping the on-screen controls. Again, when you’re finished, press the OK button. The Perspective control works in a very similar way to the Straighten tool except there are two adjustment controls.

Image overlay works a little differently from the other options. If you select ‘Add’ in the first screen, you are able to adjust which of the two images is more visible in the final image using the on-screen scales. You can assess the impact of your adjustments by tapping on ‘Overlay’ to see a full-screen preview of the merged image. If you’re happy with it, tap ‘Save’.
The ‘Lighten’ and ‘Darken’ Overlay methods merge the images automatically and you have no control beyond selection which shots to use.
Further reading
Previous ‘Nobody Does it Better’
Most innovative camera maker
Best image stabilisation