Your guide: Robin Fellows Weir
Robin has recently finished a photography college course. He shoots weddings in his spare time and enjoys creating a wide range of abstract and landscape photos. Visit @robinfwphotography and his website here.
1) Outstanding oil and water shots
As an outdoor abstract and landscape photographer in lockdown, I used my experience of light, composition, colour as well as a love of minimalism at a smaller scale with oil drop refraction photography. It’s a genre with an infinite variety of striking and unique images to be produced, with its own specific challenges to overcome. Best of all, it can be done with simple household items and inexpensive camera equipment you may well already have.
Experiment with flash
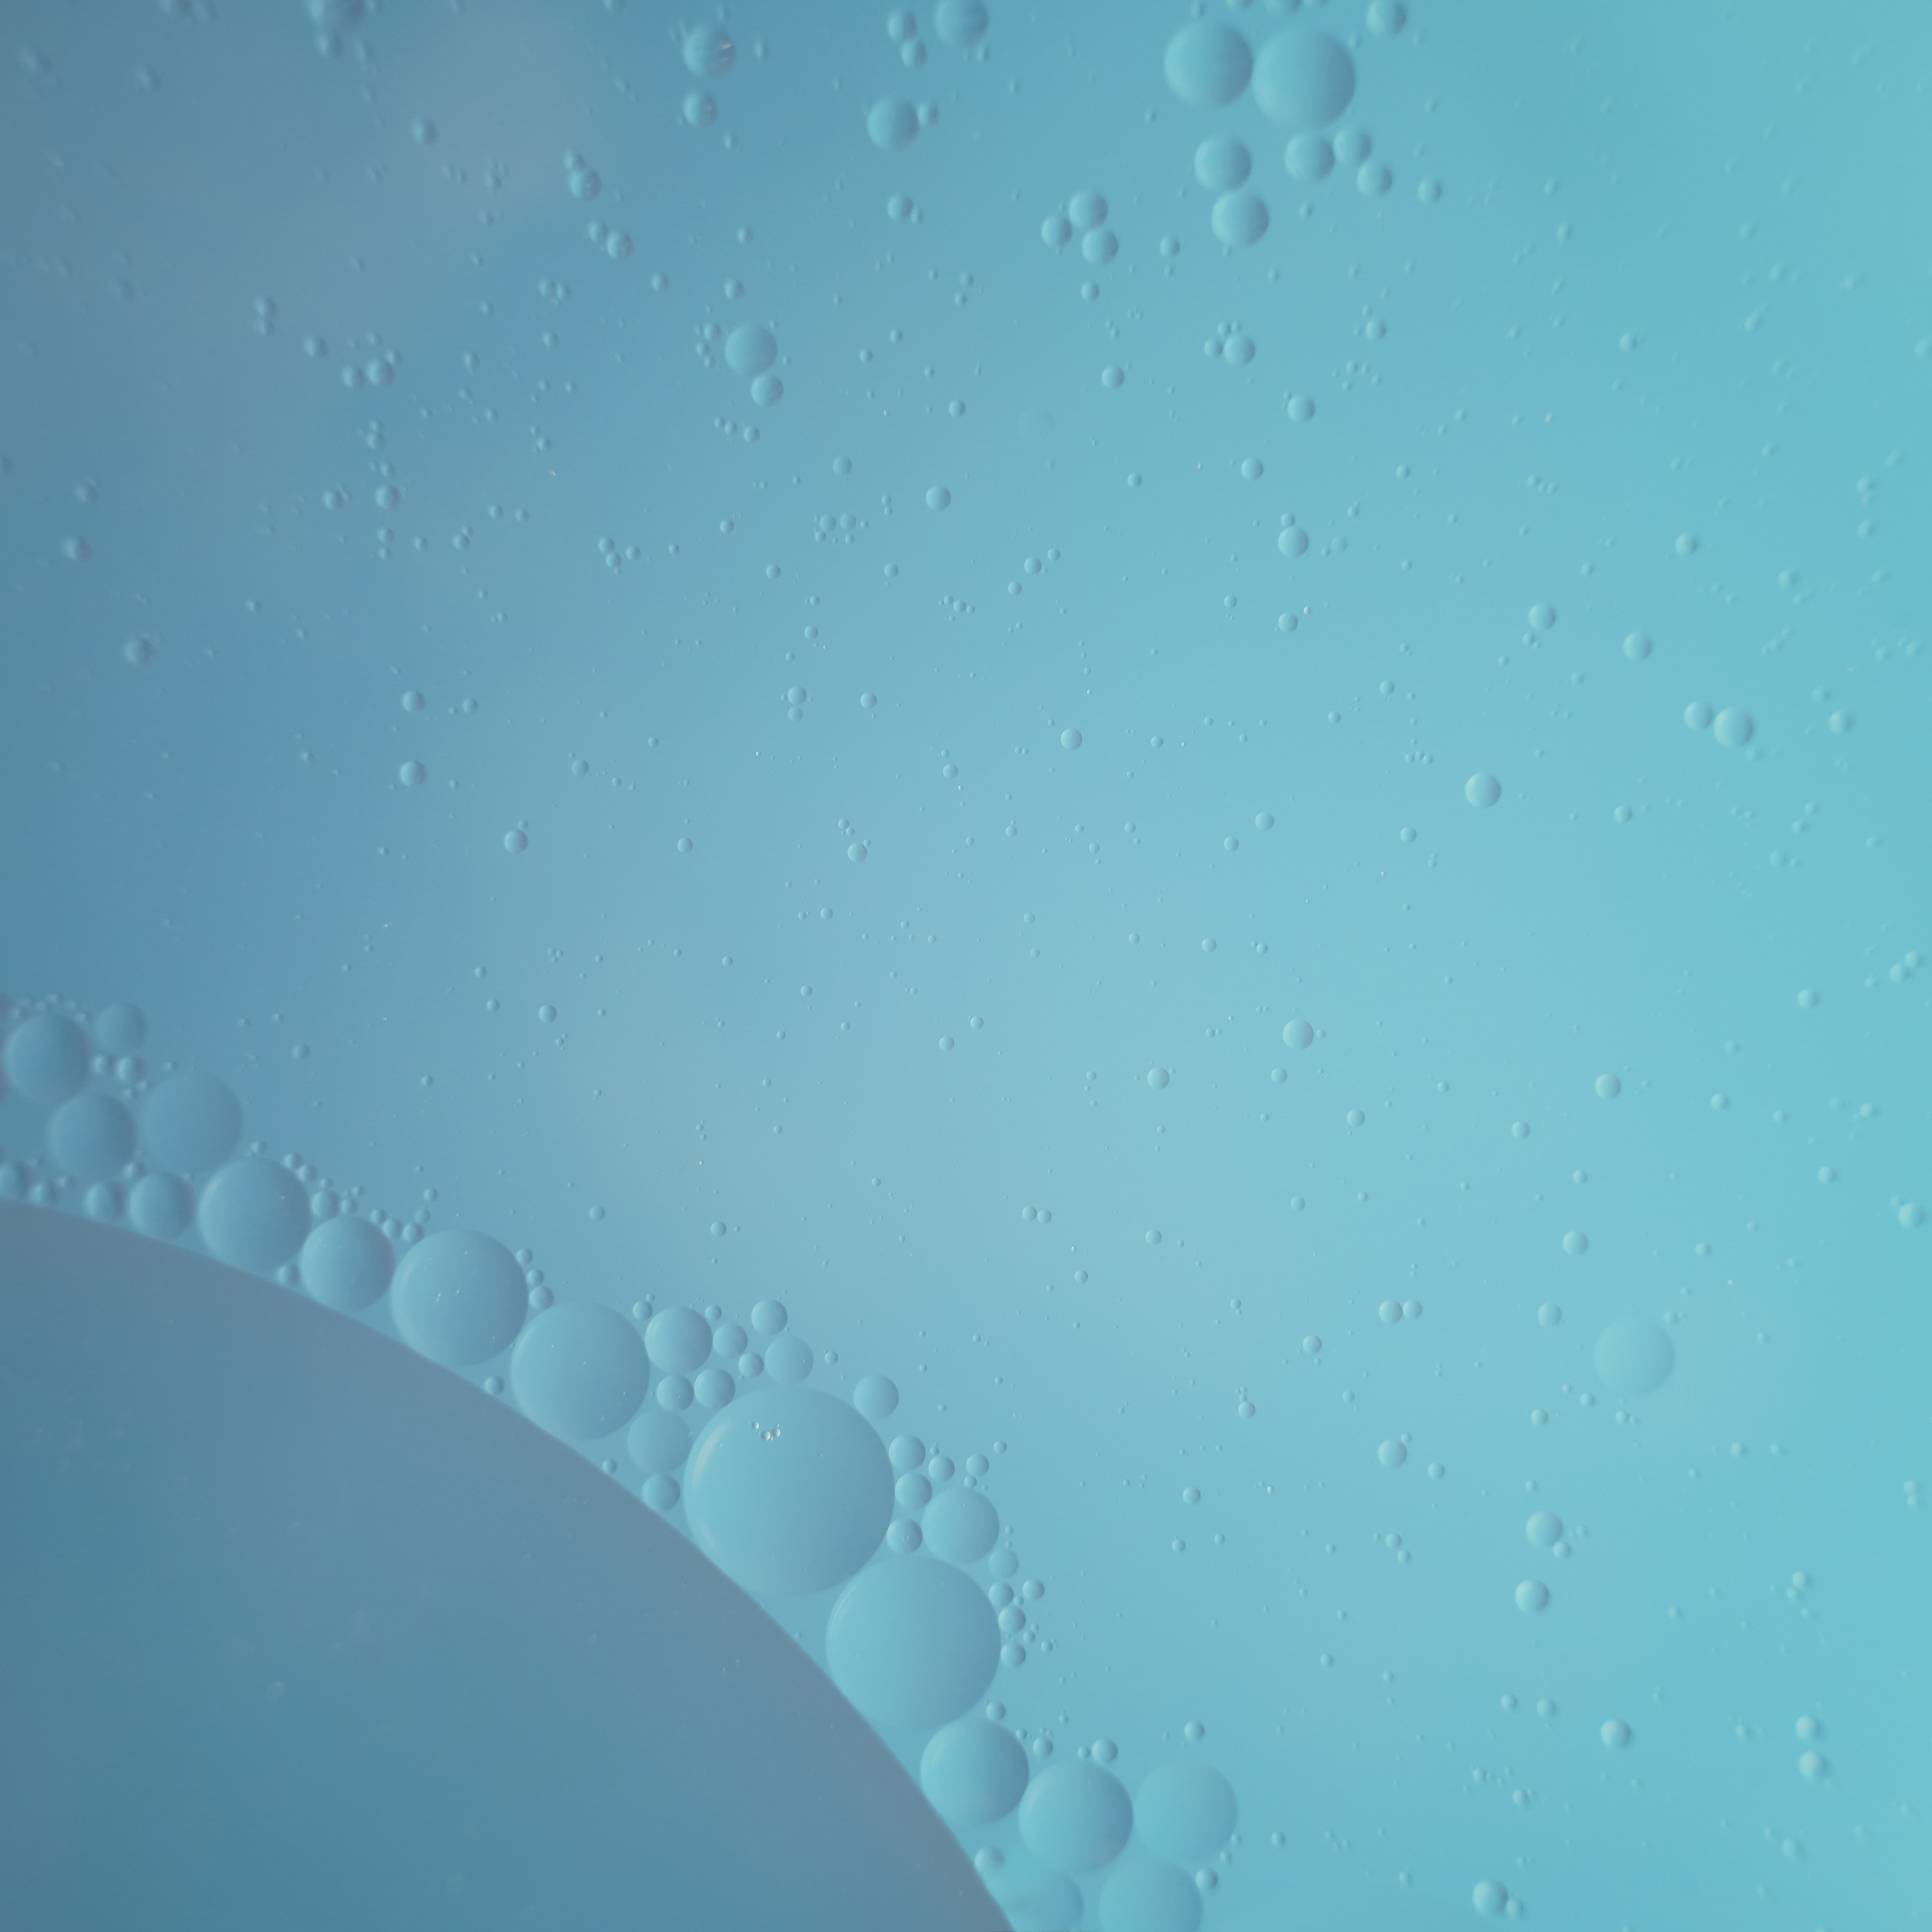
With the flash set up to fire remotely, hold it to the side of your set-up as you fire off a shot or better still, attach it to a stand. While shooting, experiment with different flash positions – aim at the backdrop for a flatter look, or side-on at the oil bubbles to accentuate their 3D appearance with shadows and highlights.
Try different backdrops
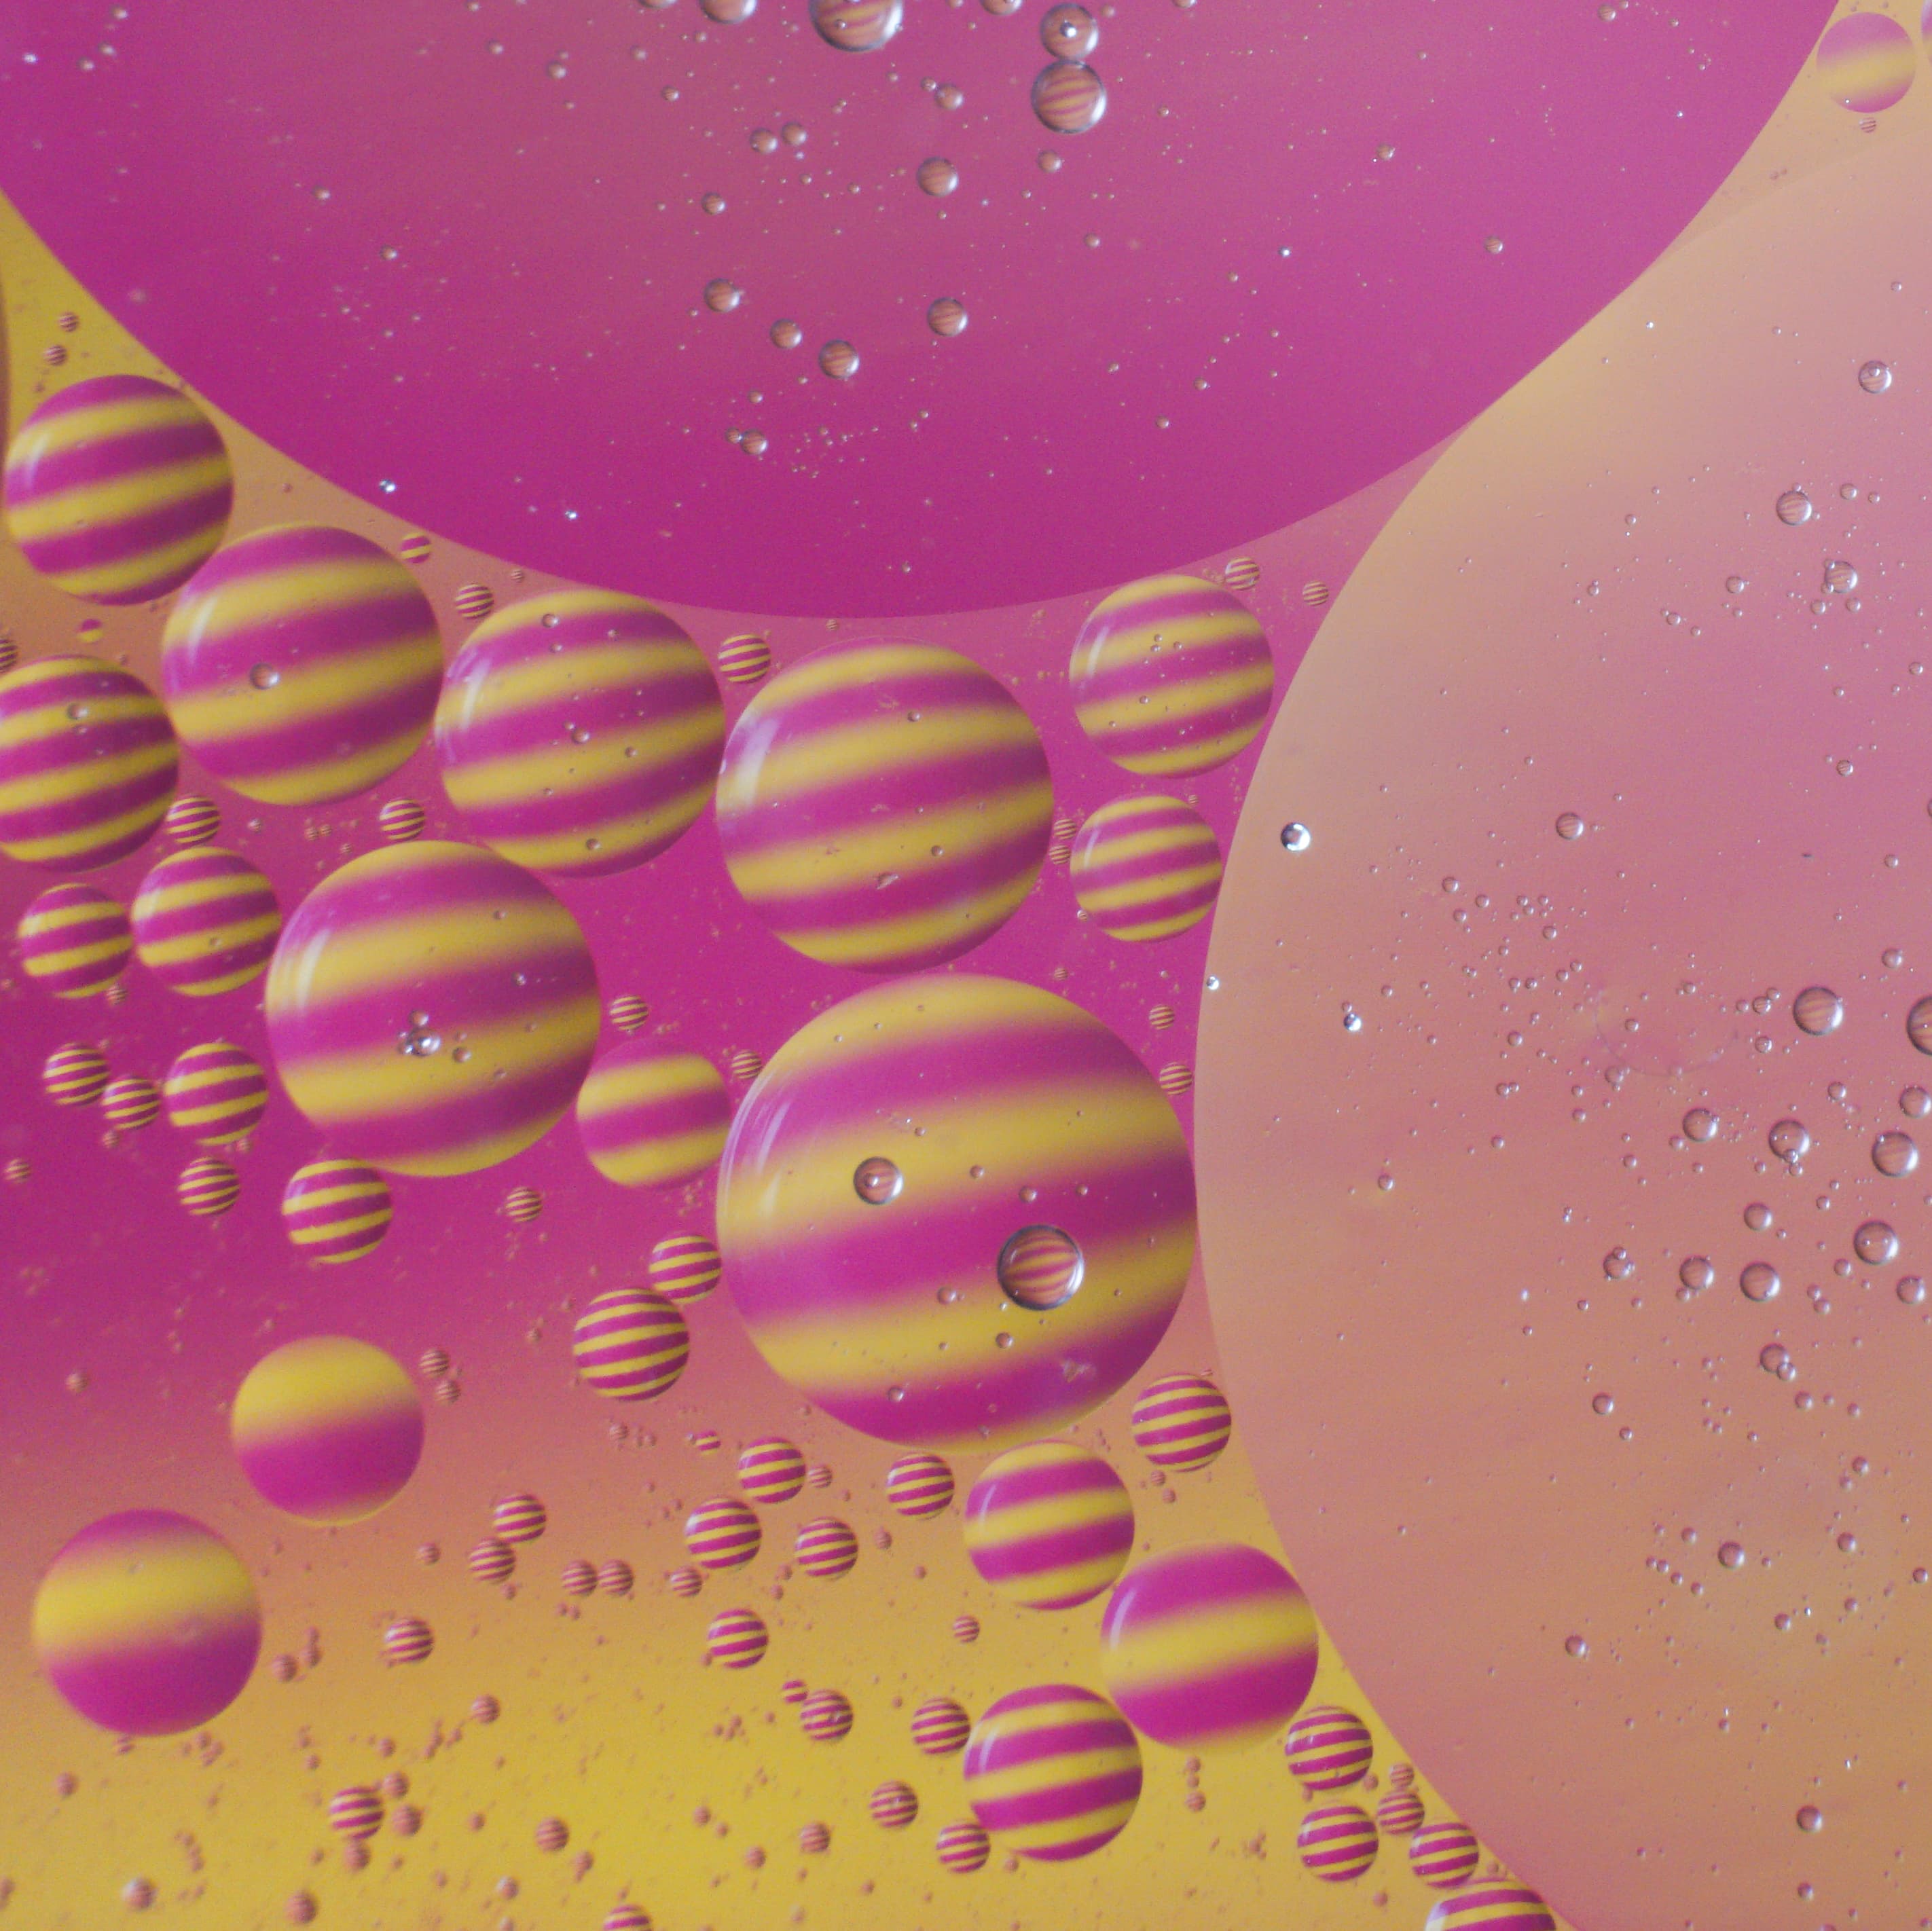
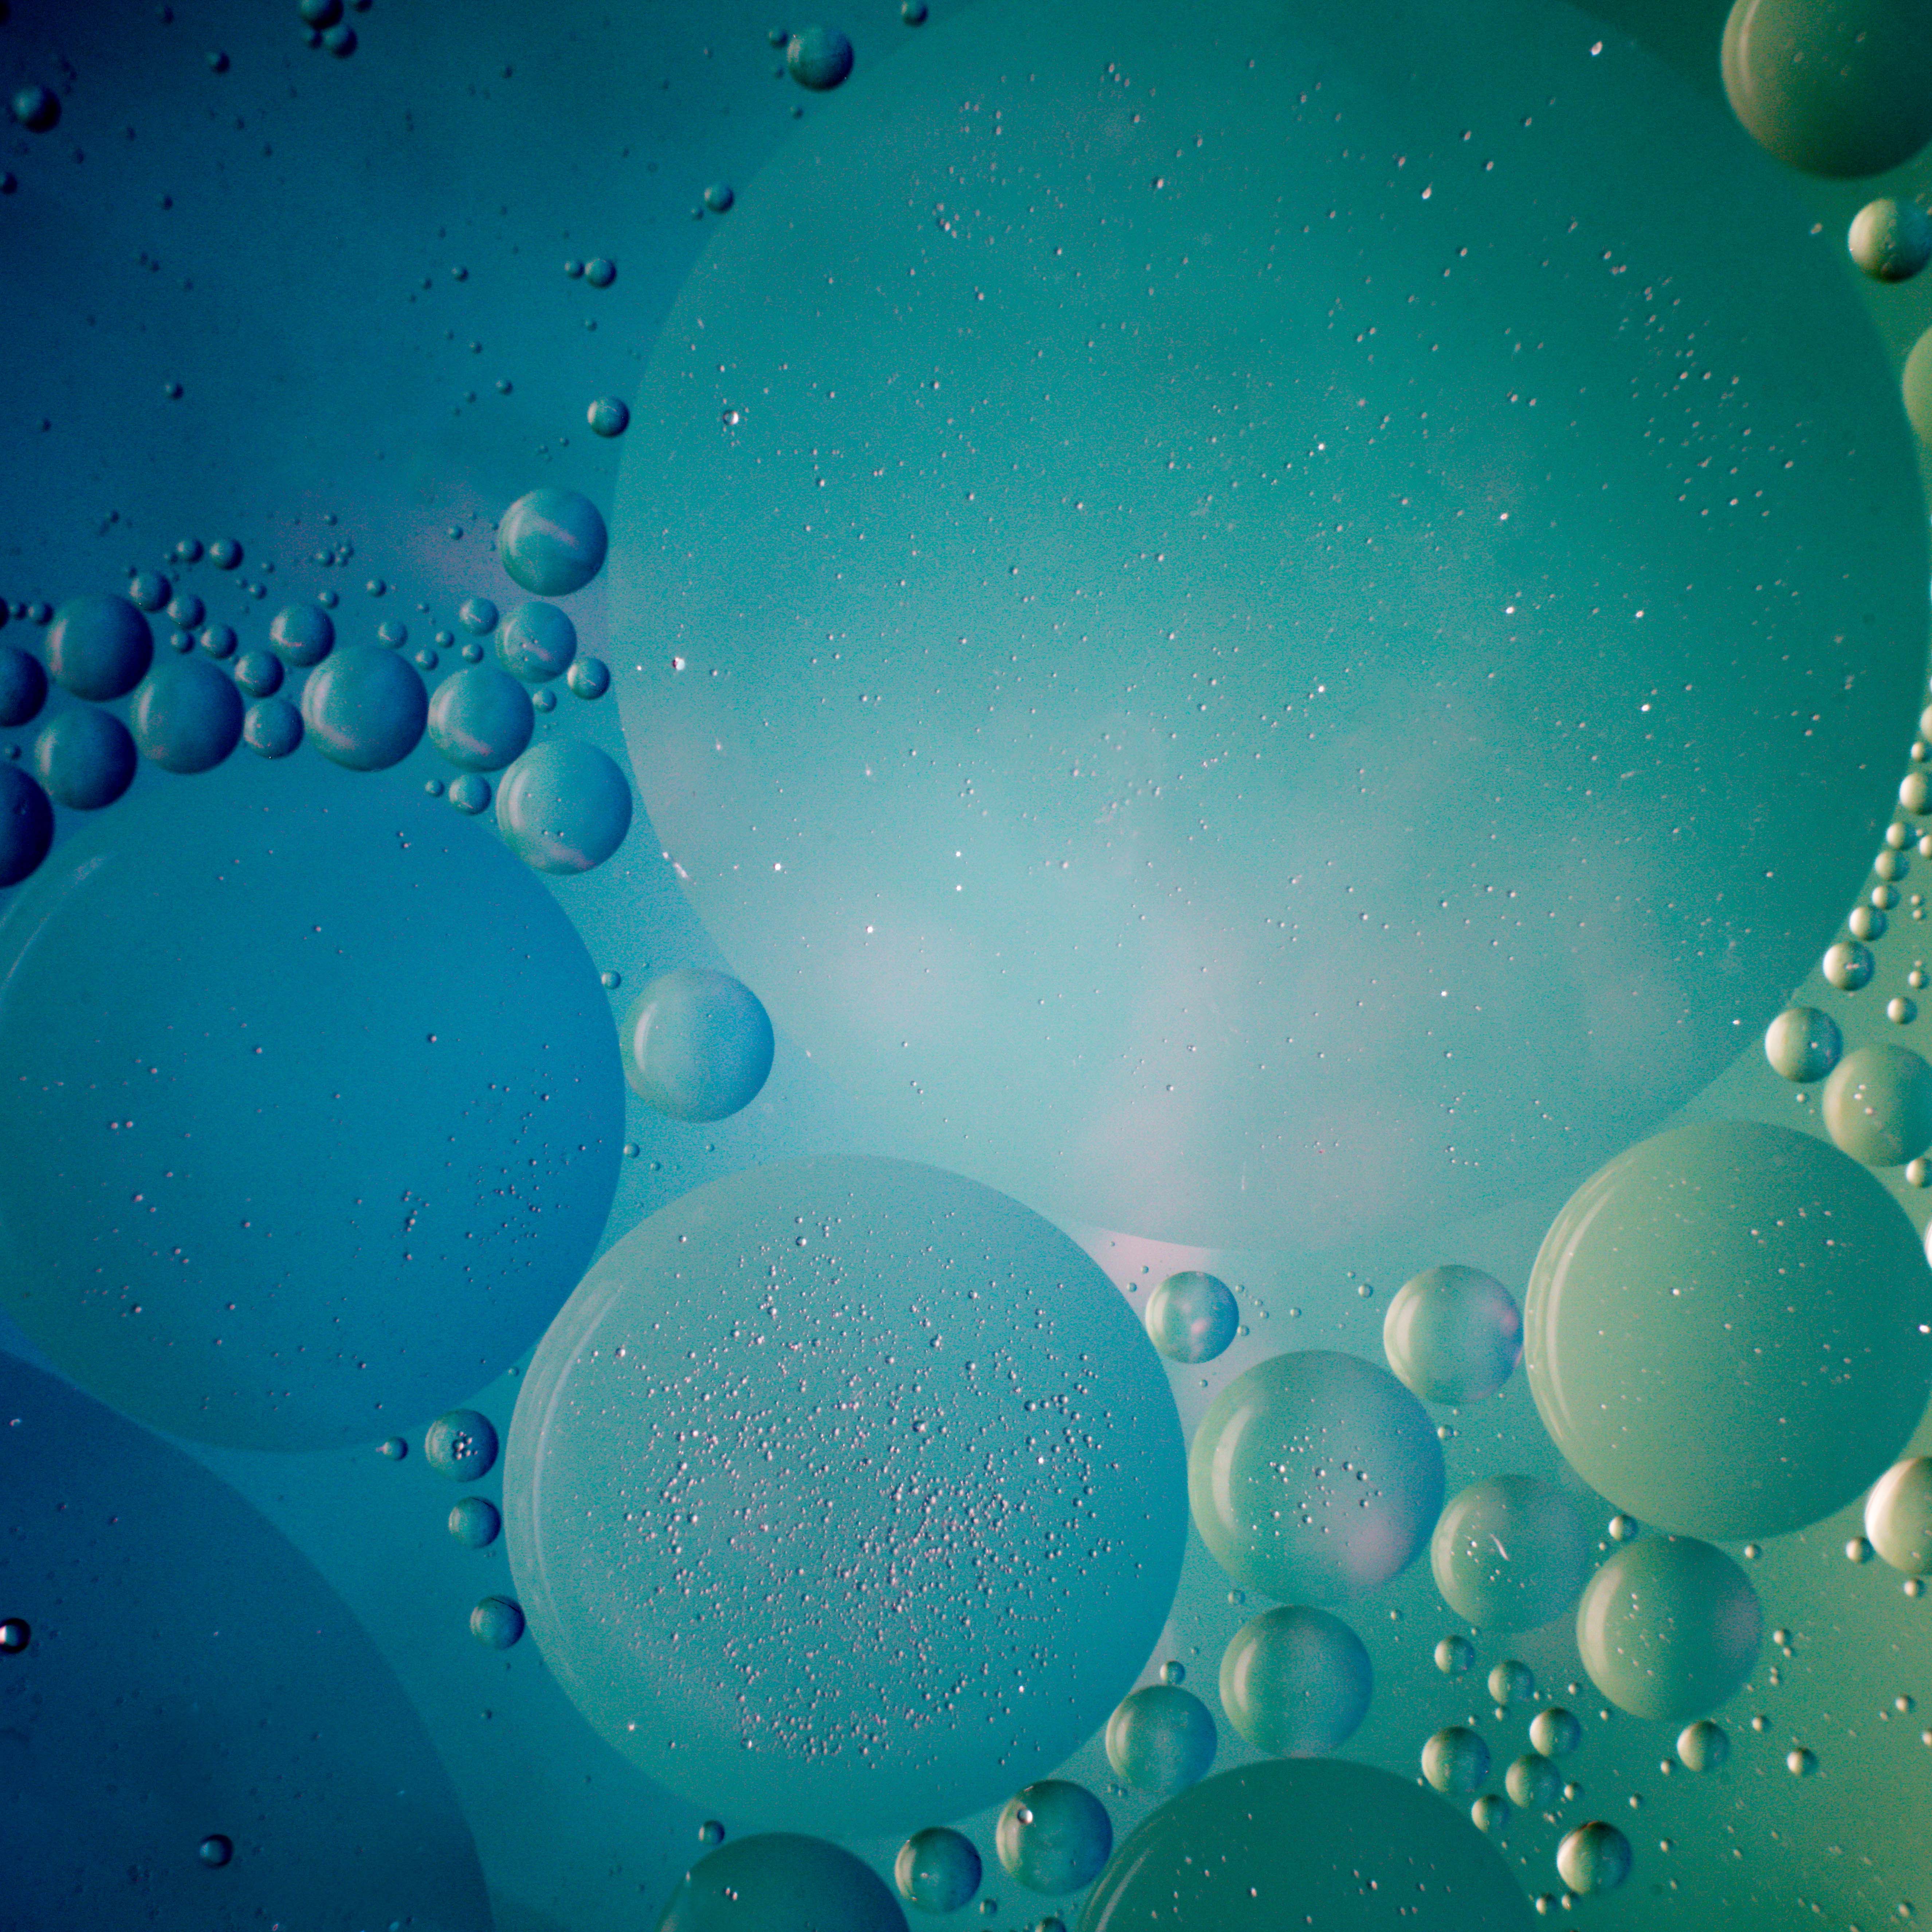
You can place different items under the glass dish to create different colours and patterns refracted in the oil drops. I printed off several A3 sheets of stripes and colour gradients made in Photoshop, but you could also try objects, fabric or even other images.
Composition
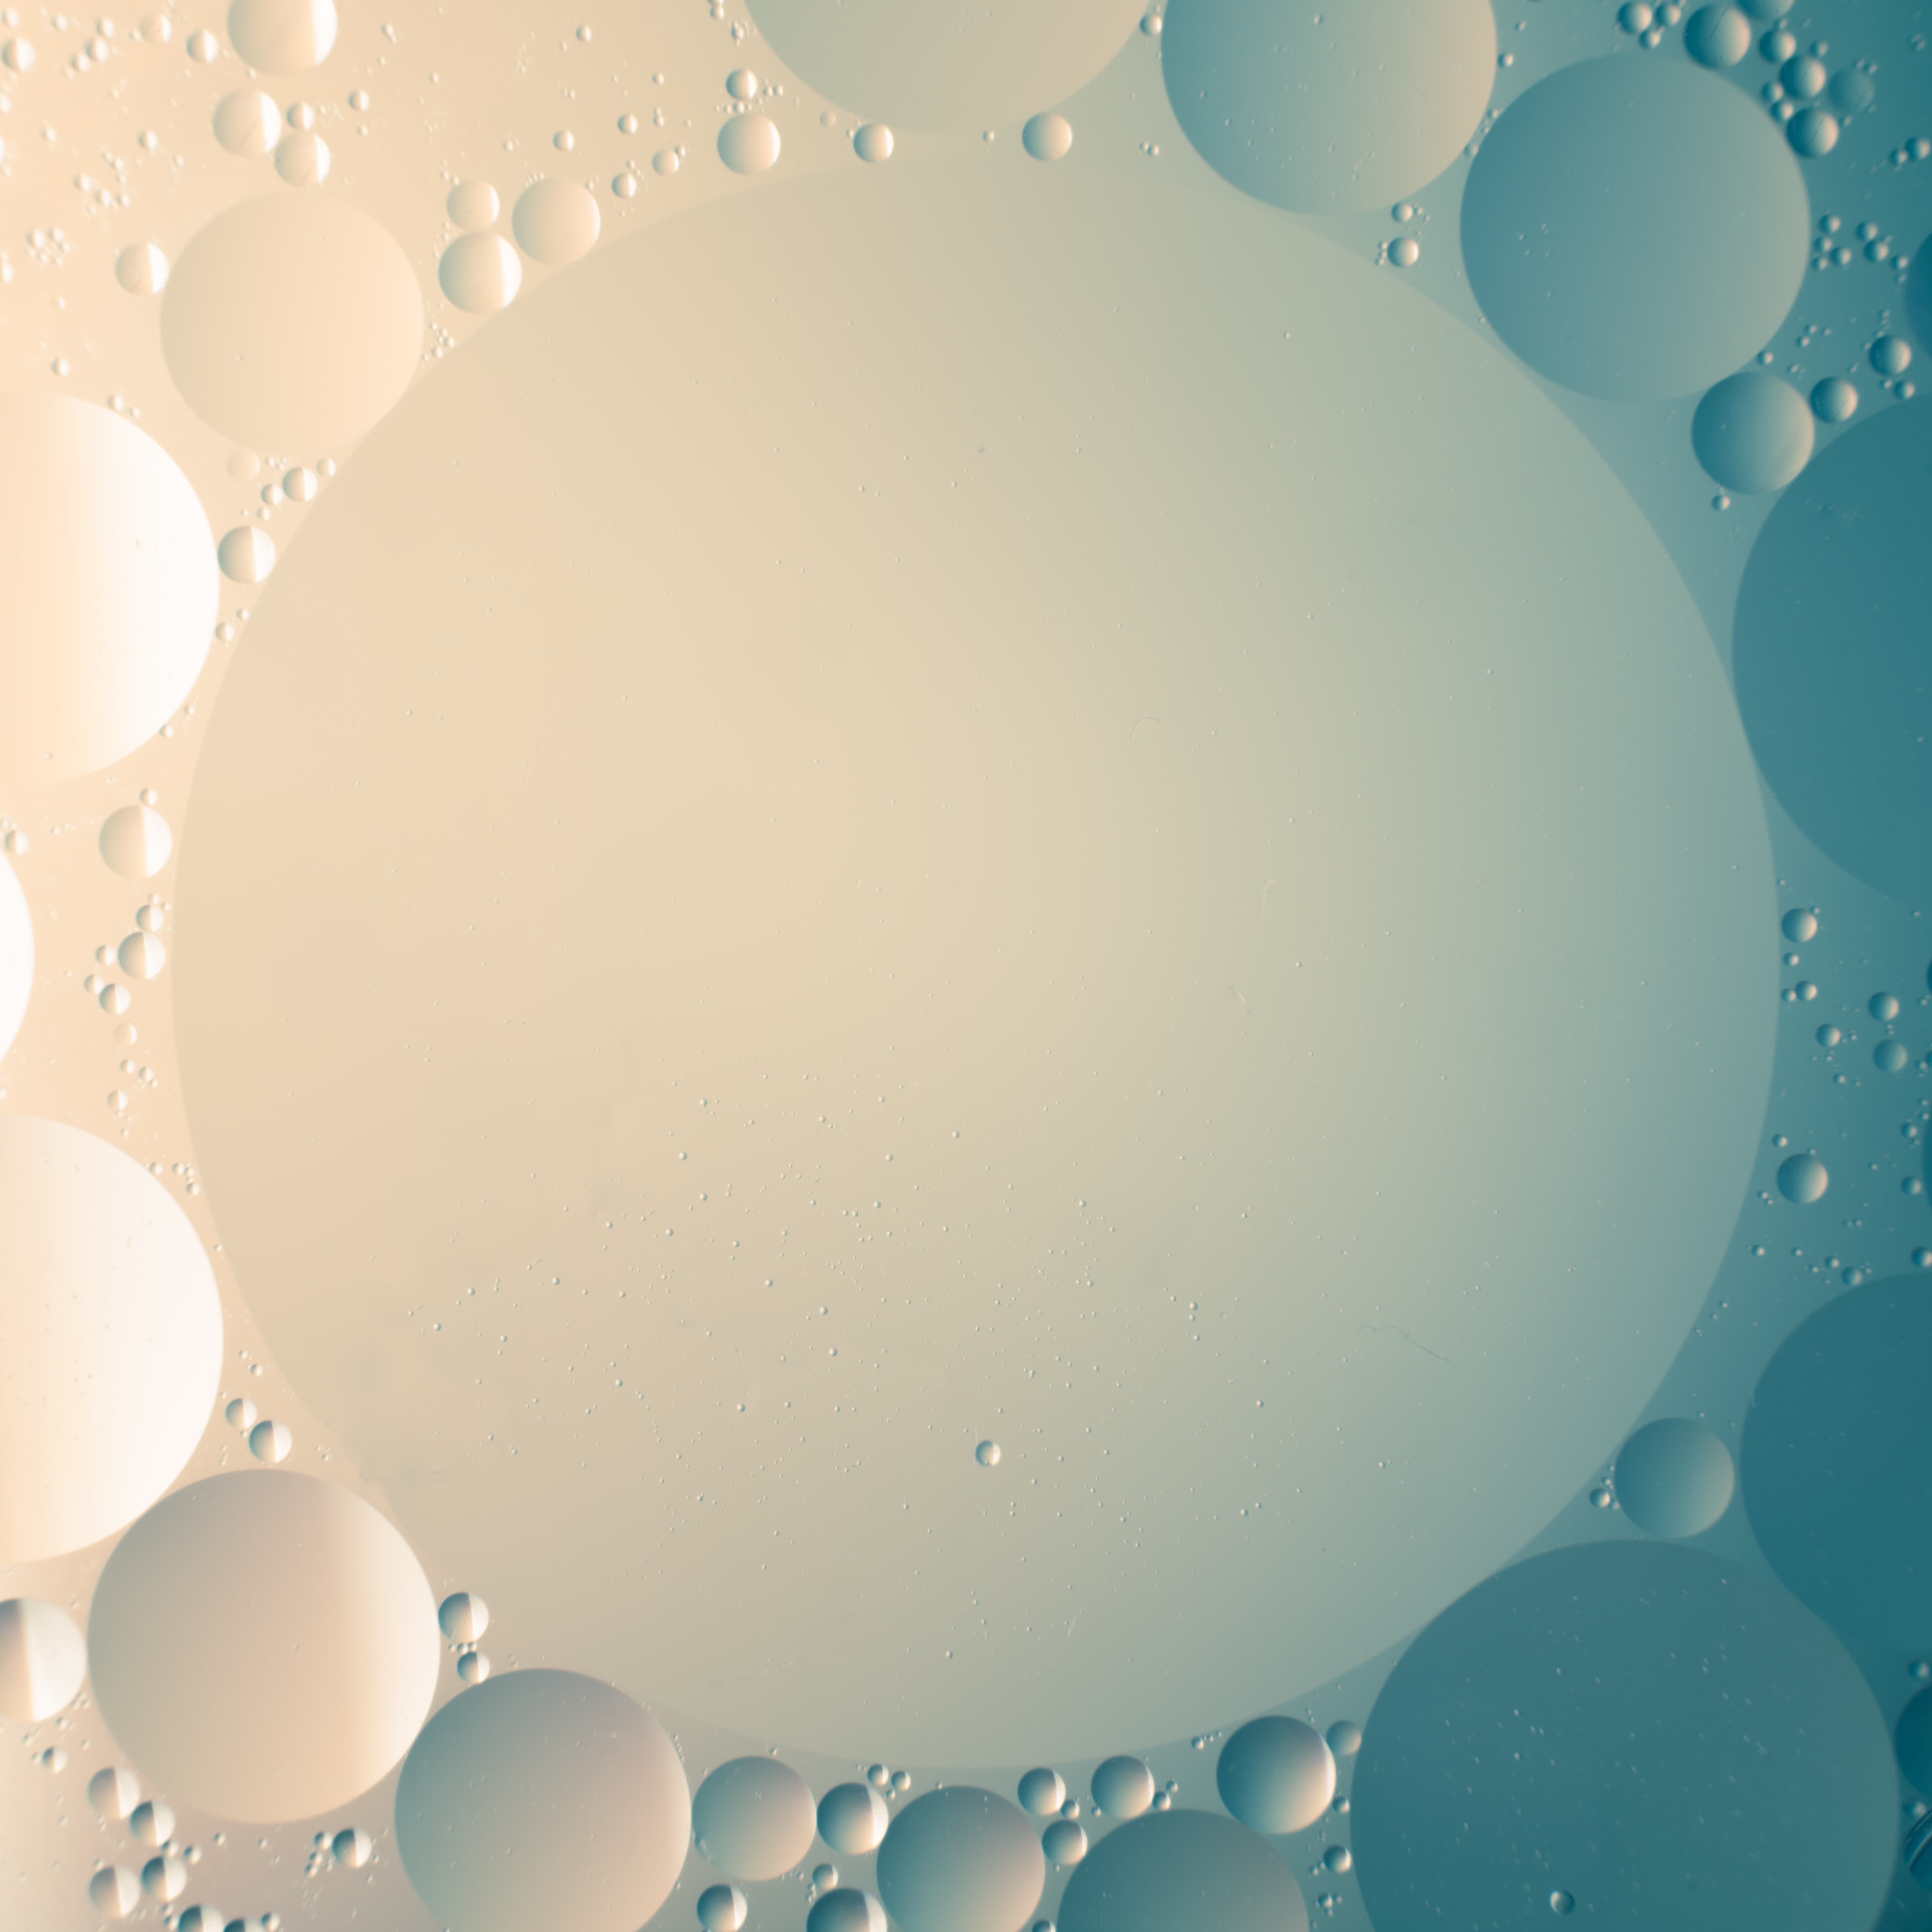
Oil-in-water photography can go either way! Isolate individual oil drops in the frame for simple, minimal compositions, or use a spoon to stir up the oil, making smaller bubbles and creating new compositions. Remember, you can always crop later to get closer or remove distractions.
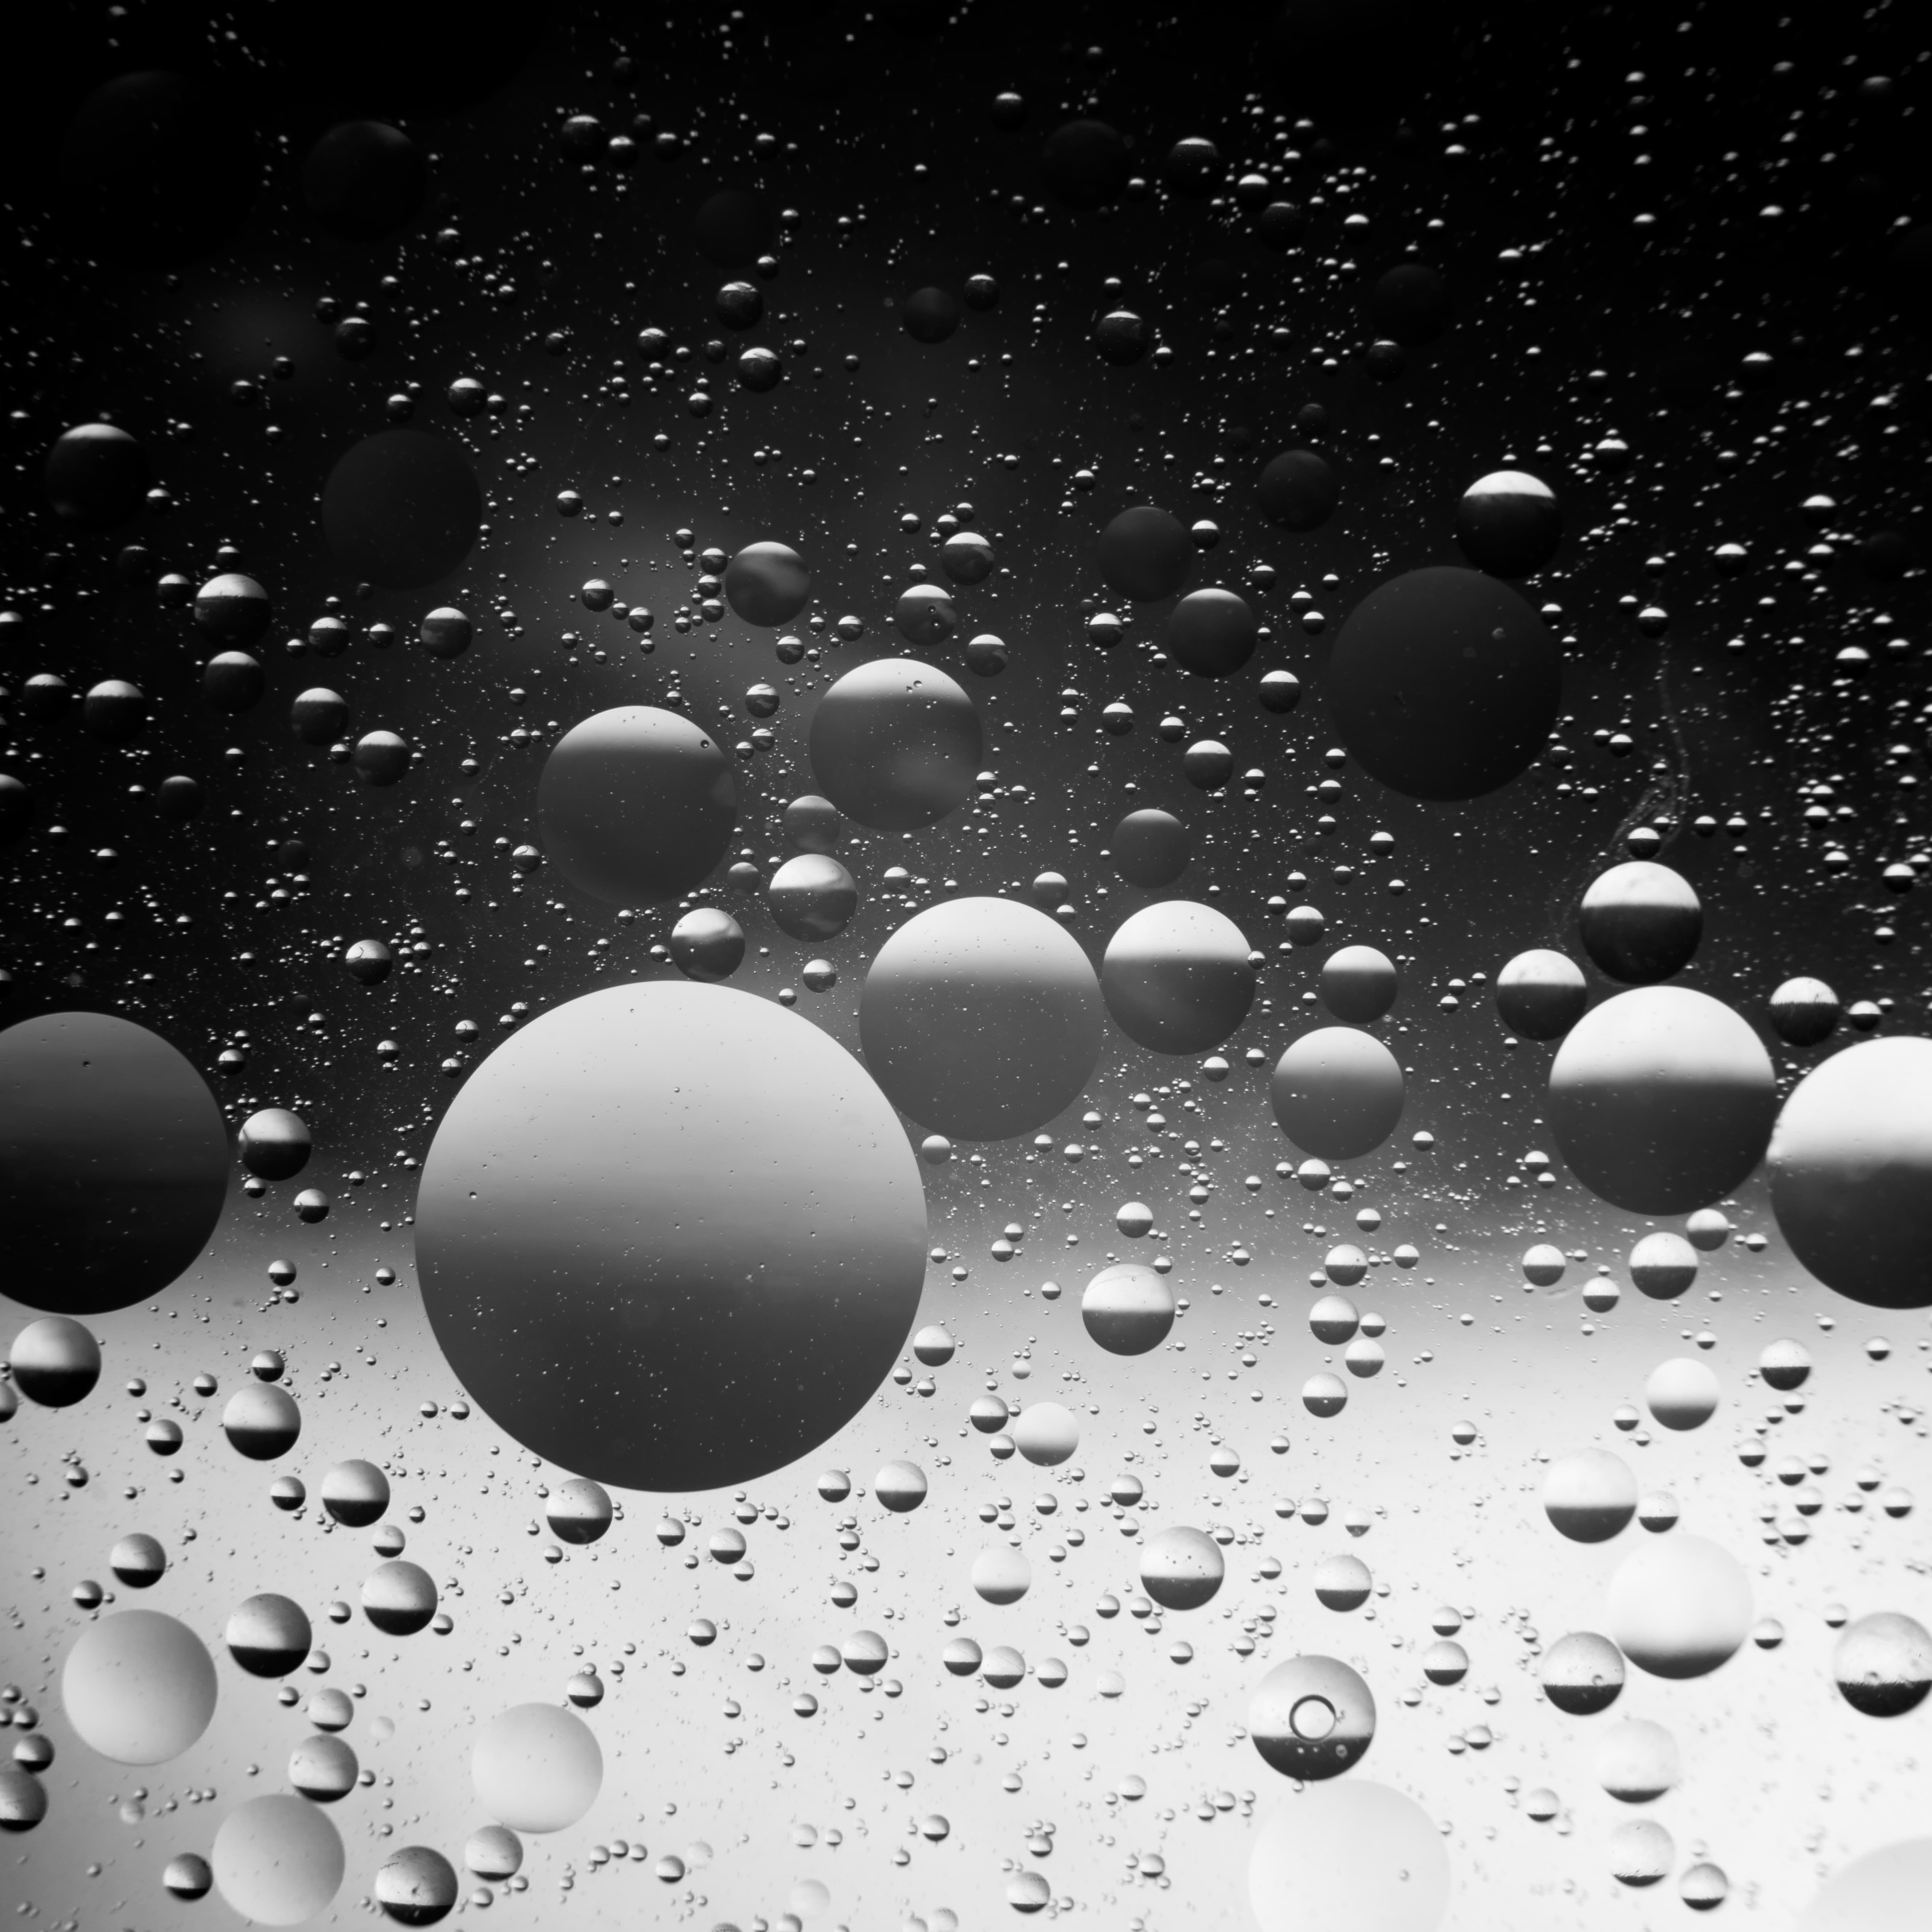
Go mono
I also converted some versions to monochrome in post-production and tweaked the tones to increase the contrast for striking results. It’s worth tidying up the image too: in Photoshop I selected dust spots with the lasso and removed them with content-aware fill.
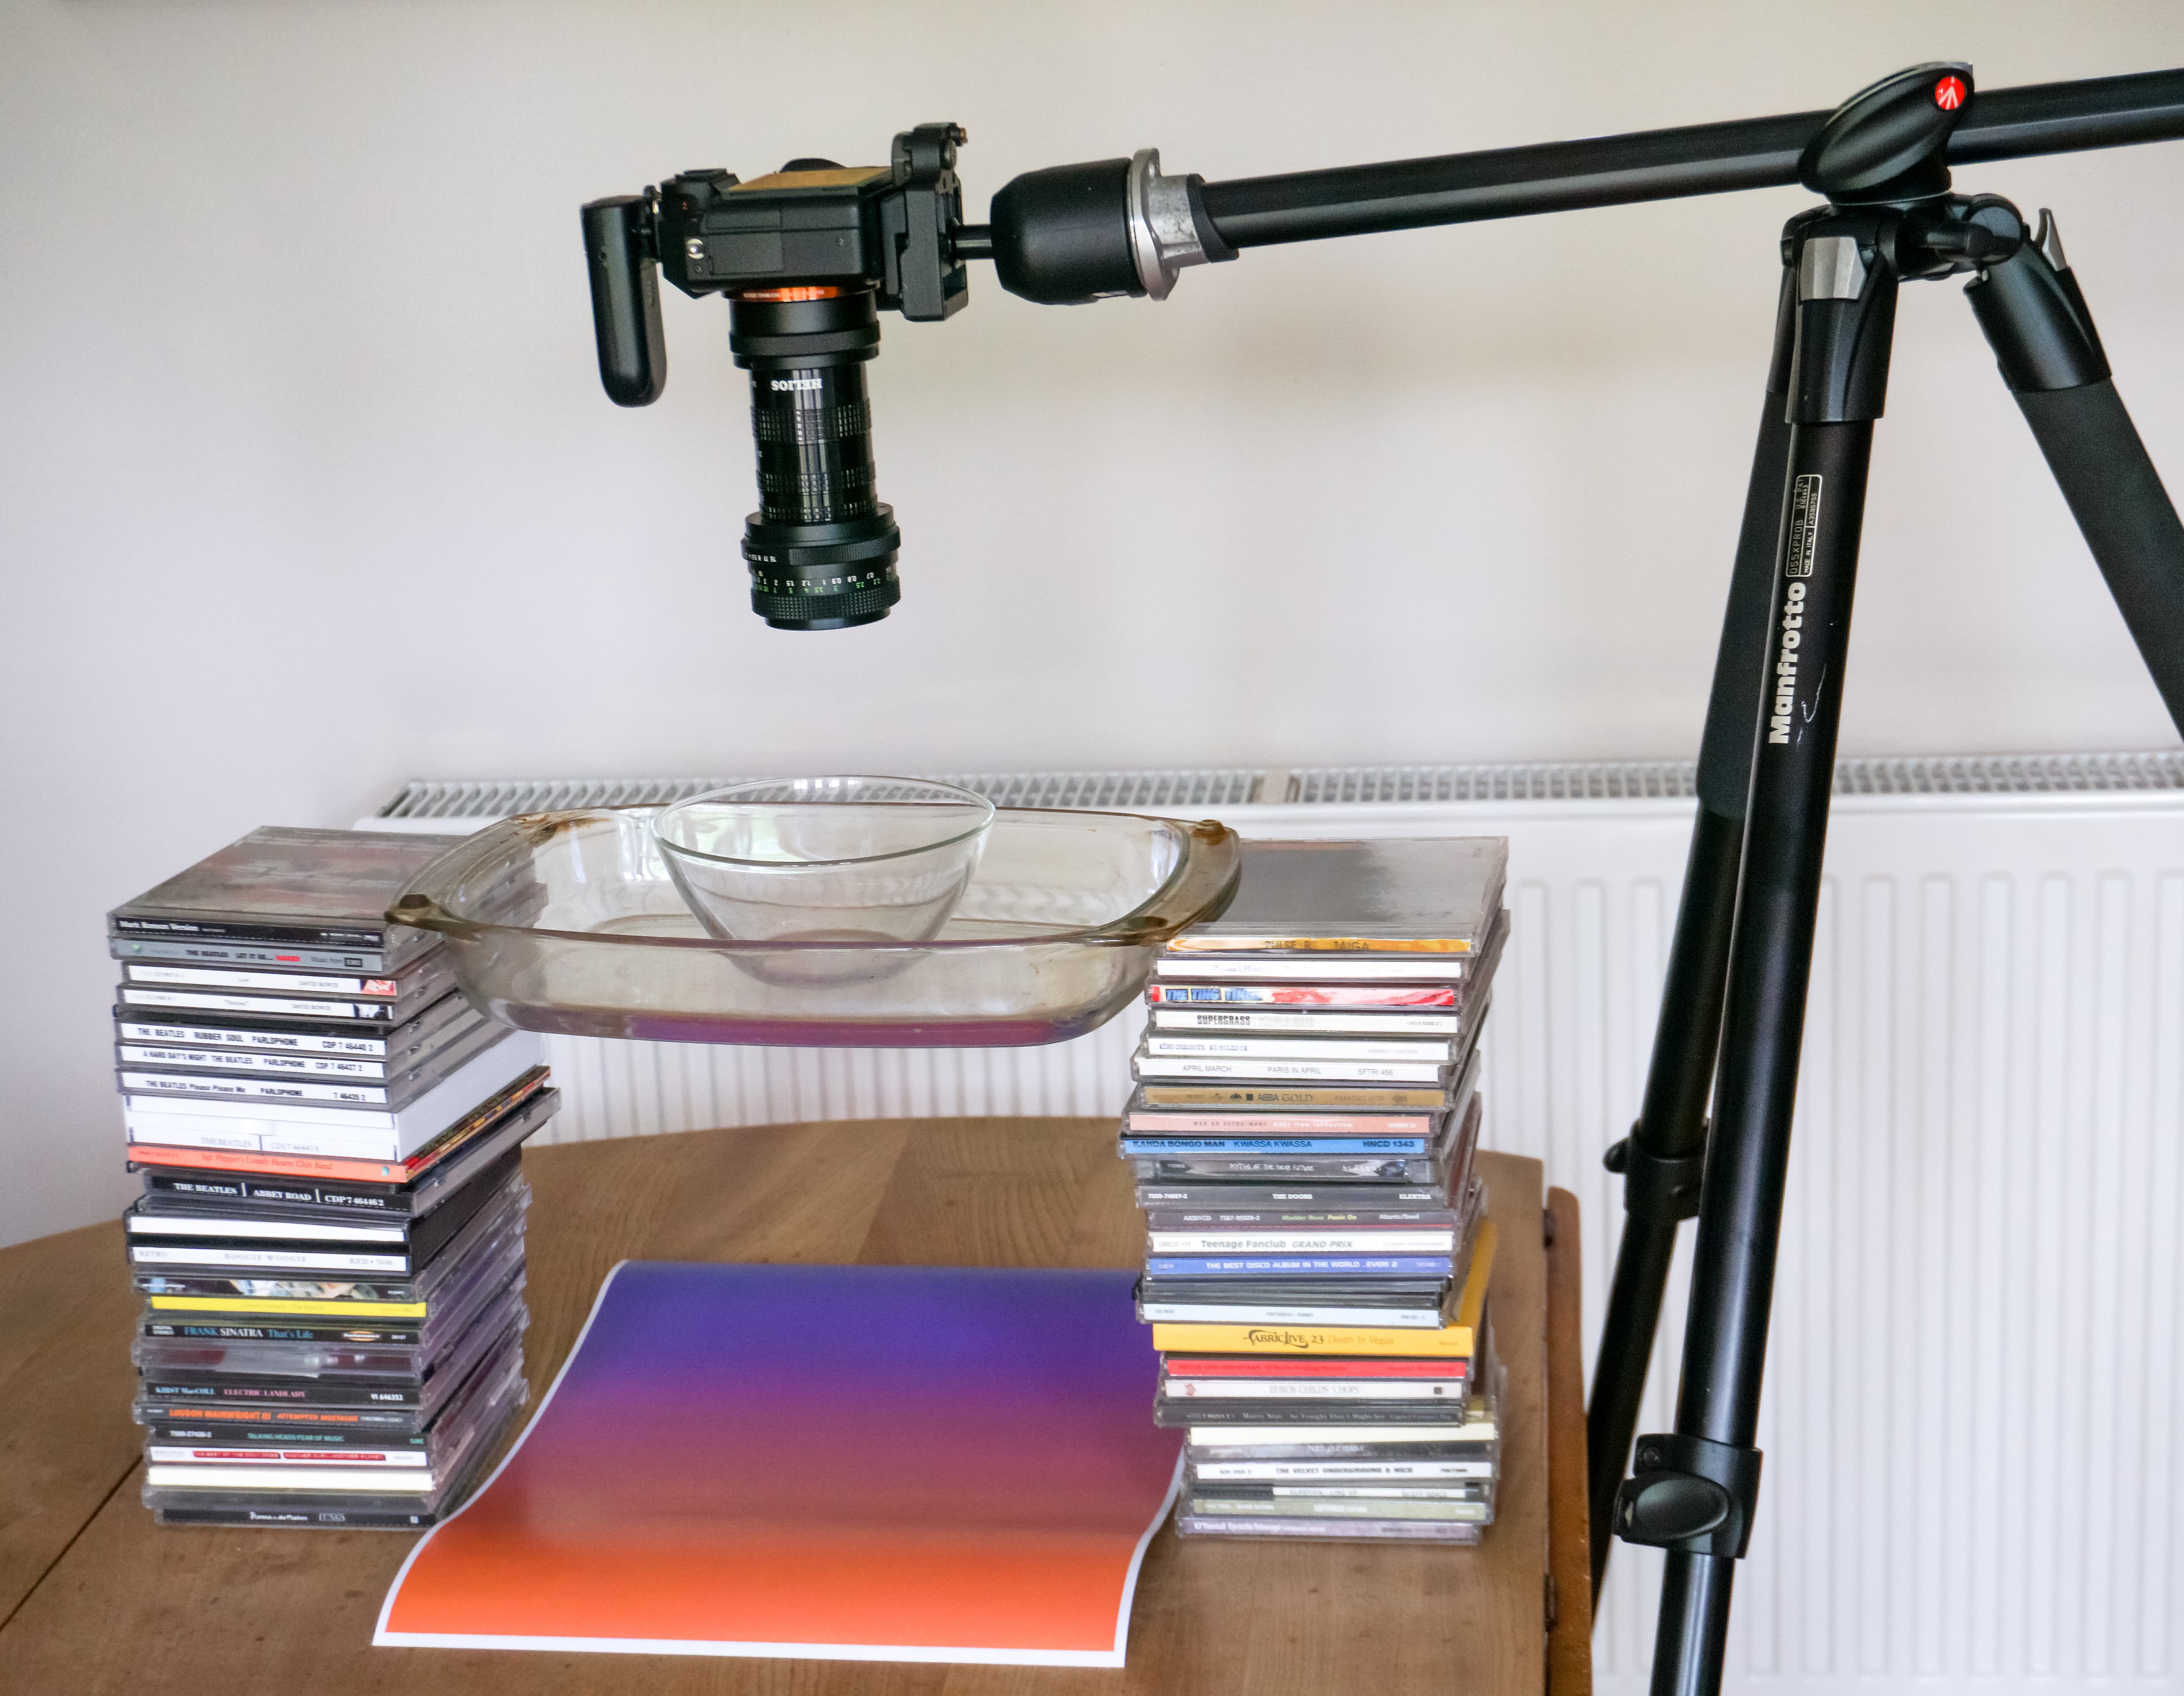
Robin’s simple set-up for creative oil and water shots
1. Construct your set-up
Build two stacks of CDs or books to 20cm tall and place a glass dish across the tops with a gap between. Set the camera on the tripod, facing directly down onto the dish.
2. Add water and oil
Half fill a glass bowl with water. Using a pipette or syringe, place a few drops of cooking oil onto the surface of the water. This bowl can then be placed in the glass dish beneath the camera.
3. Fine-tune focus
With the camera in Live View, set an exposure so you can see the bubbles of oil, or use the ‘bright monitoring’ mode. Focus on the bubbles by raising or lowering the tripod (and/or by changing the number of extension tubes), and fine tune this with the lens’ focus ring.
4. Set exposure and flash
Set the camera to manual mode for full control and use trial and error to expose for the brightness of the flash. Ideally you want to use an aperture around f/8 for optimum sharpness.
Kit list
Extension tubes
Instead of a dedicated macro lens, I bought a vintage mount adapter and then used a set of extension tubes with a vintage 50mm lens I already had. Extension tubes are a very inexpensive way to let a lens focus very close to a subject, and are available for most camera mounts as well as vintage models.
Tripod
To face the camera directly down onto the oil, use a multi-angle tripod or invert the central column.
Flashgun and trigger
A flashgun and trigger is required to fire the flash off-camera. To reduce the flash brightness I also taped a sheet of paper to the flash to act as a diffuser.
Props
You’ll need water and oil, any cooking oil will do. In addition to this, a glass bowl to put the water and oil in, an additional glass dish to place this in and a pipette. Lastly have some CDs or books to hand for stacking (see far right).

Your guide: James Abbott
James is a landscape and portrait photographer based in Cambridge. He’s also a freelance photography journalist and editor specialising in photography techniques, tutorials and reviews. See more of his work on his website
2) Making a splash
One of the things that make photography so special is its ability to extend the limited capabilities of human perception to show us the world in exciting ways, and liquid splashes are just one example. The key ingredient for capturing water splashes, apart from the liquid of course, is the use of high-speed flash to freeze the movement of the water. Since the duration of a burst of flash becomes longer as flash power output is increased, it’s a low flash power output that’s required.
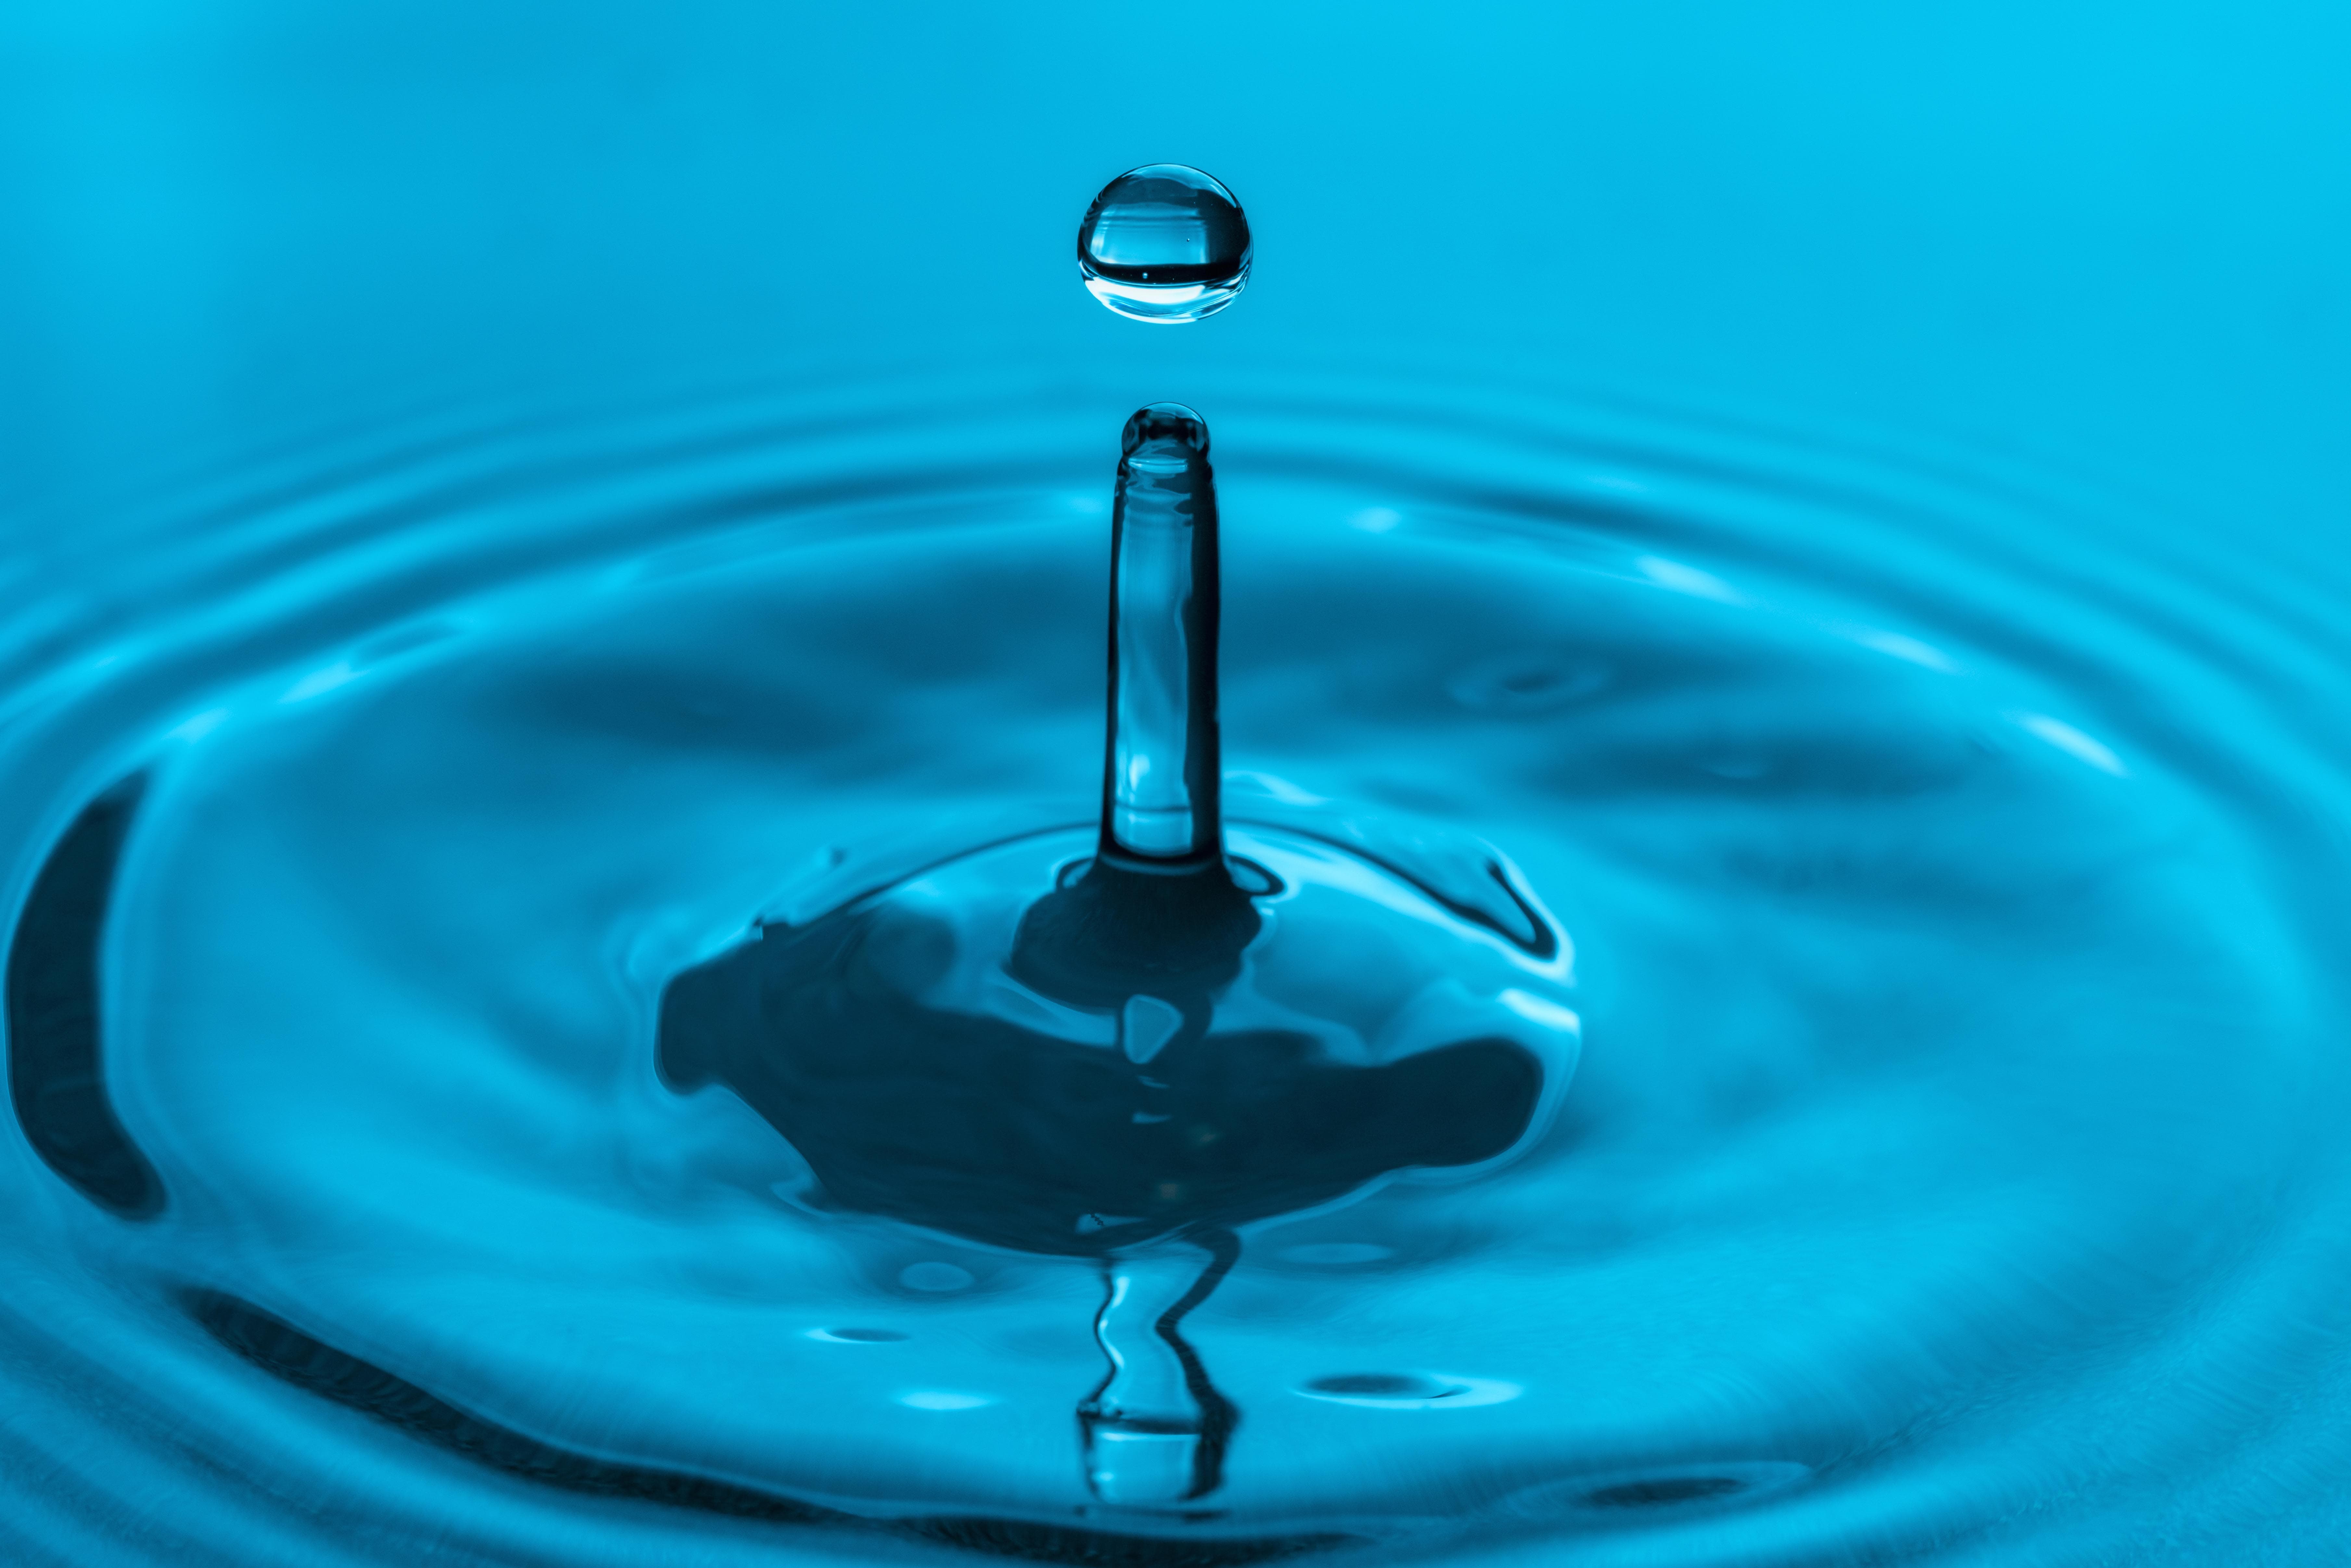
Generally speaking, you need to set flash output somewhere in the region of 1/64, which means you’re effectively shooting at the equivalent of a shutter speed faster than any standard camera is capable of. The most impressive liquid splash images are taken using drop kits, which are machines with timers and valves that can release droplets at different intervals and trigger the camera shutter. Quite often, these are used to make two or more droplets collide and this creates the stunning results we’ve all seen. These kits are, of course, specialist gear, and although they’re often reasonably priced between £150 and £200, this is still quite an expense for the casual liquid splash photographer.
Fortunately, it’s possible to create simple water splash images with basic household items; with the most advanced kit being a flashgun with manual power control and wireless flash triggers. A macro lens is useful, but the short minimum focusing distance of most kit lenses make them a great option too.
Step by step: how to capture water splashes
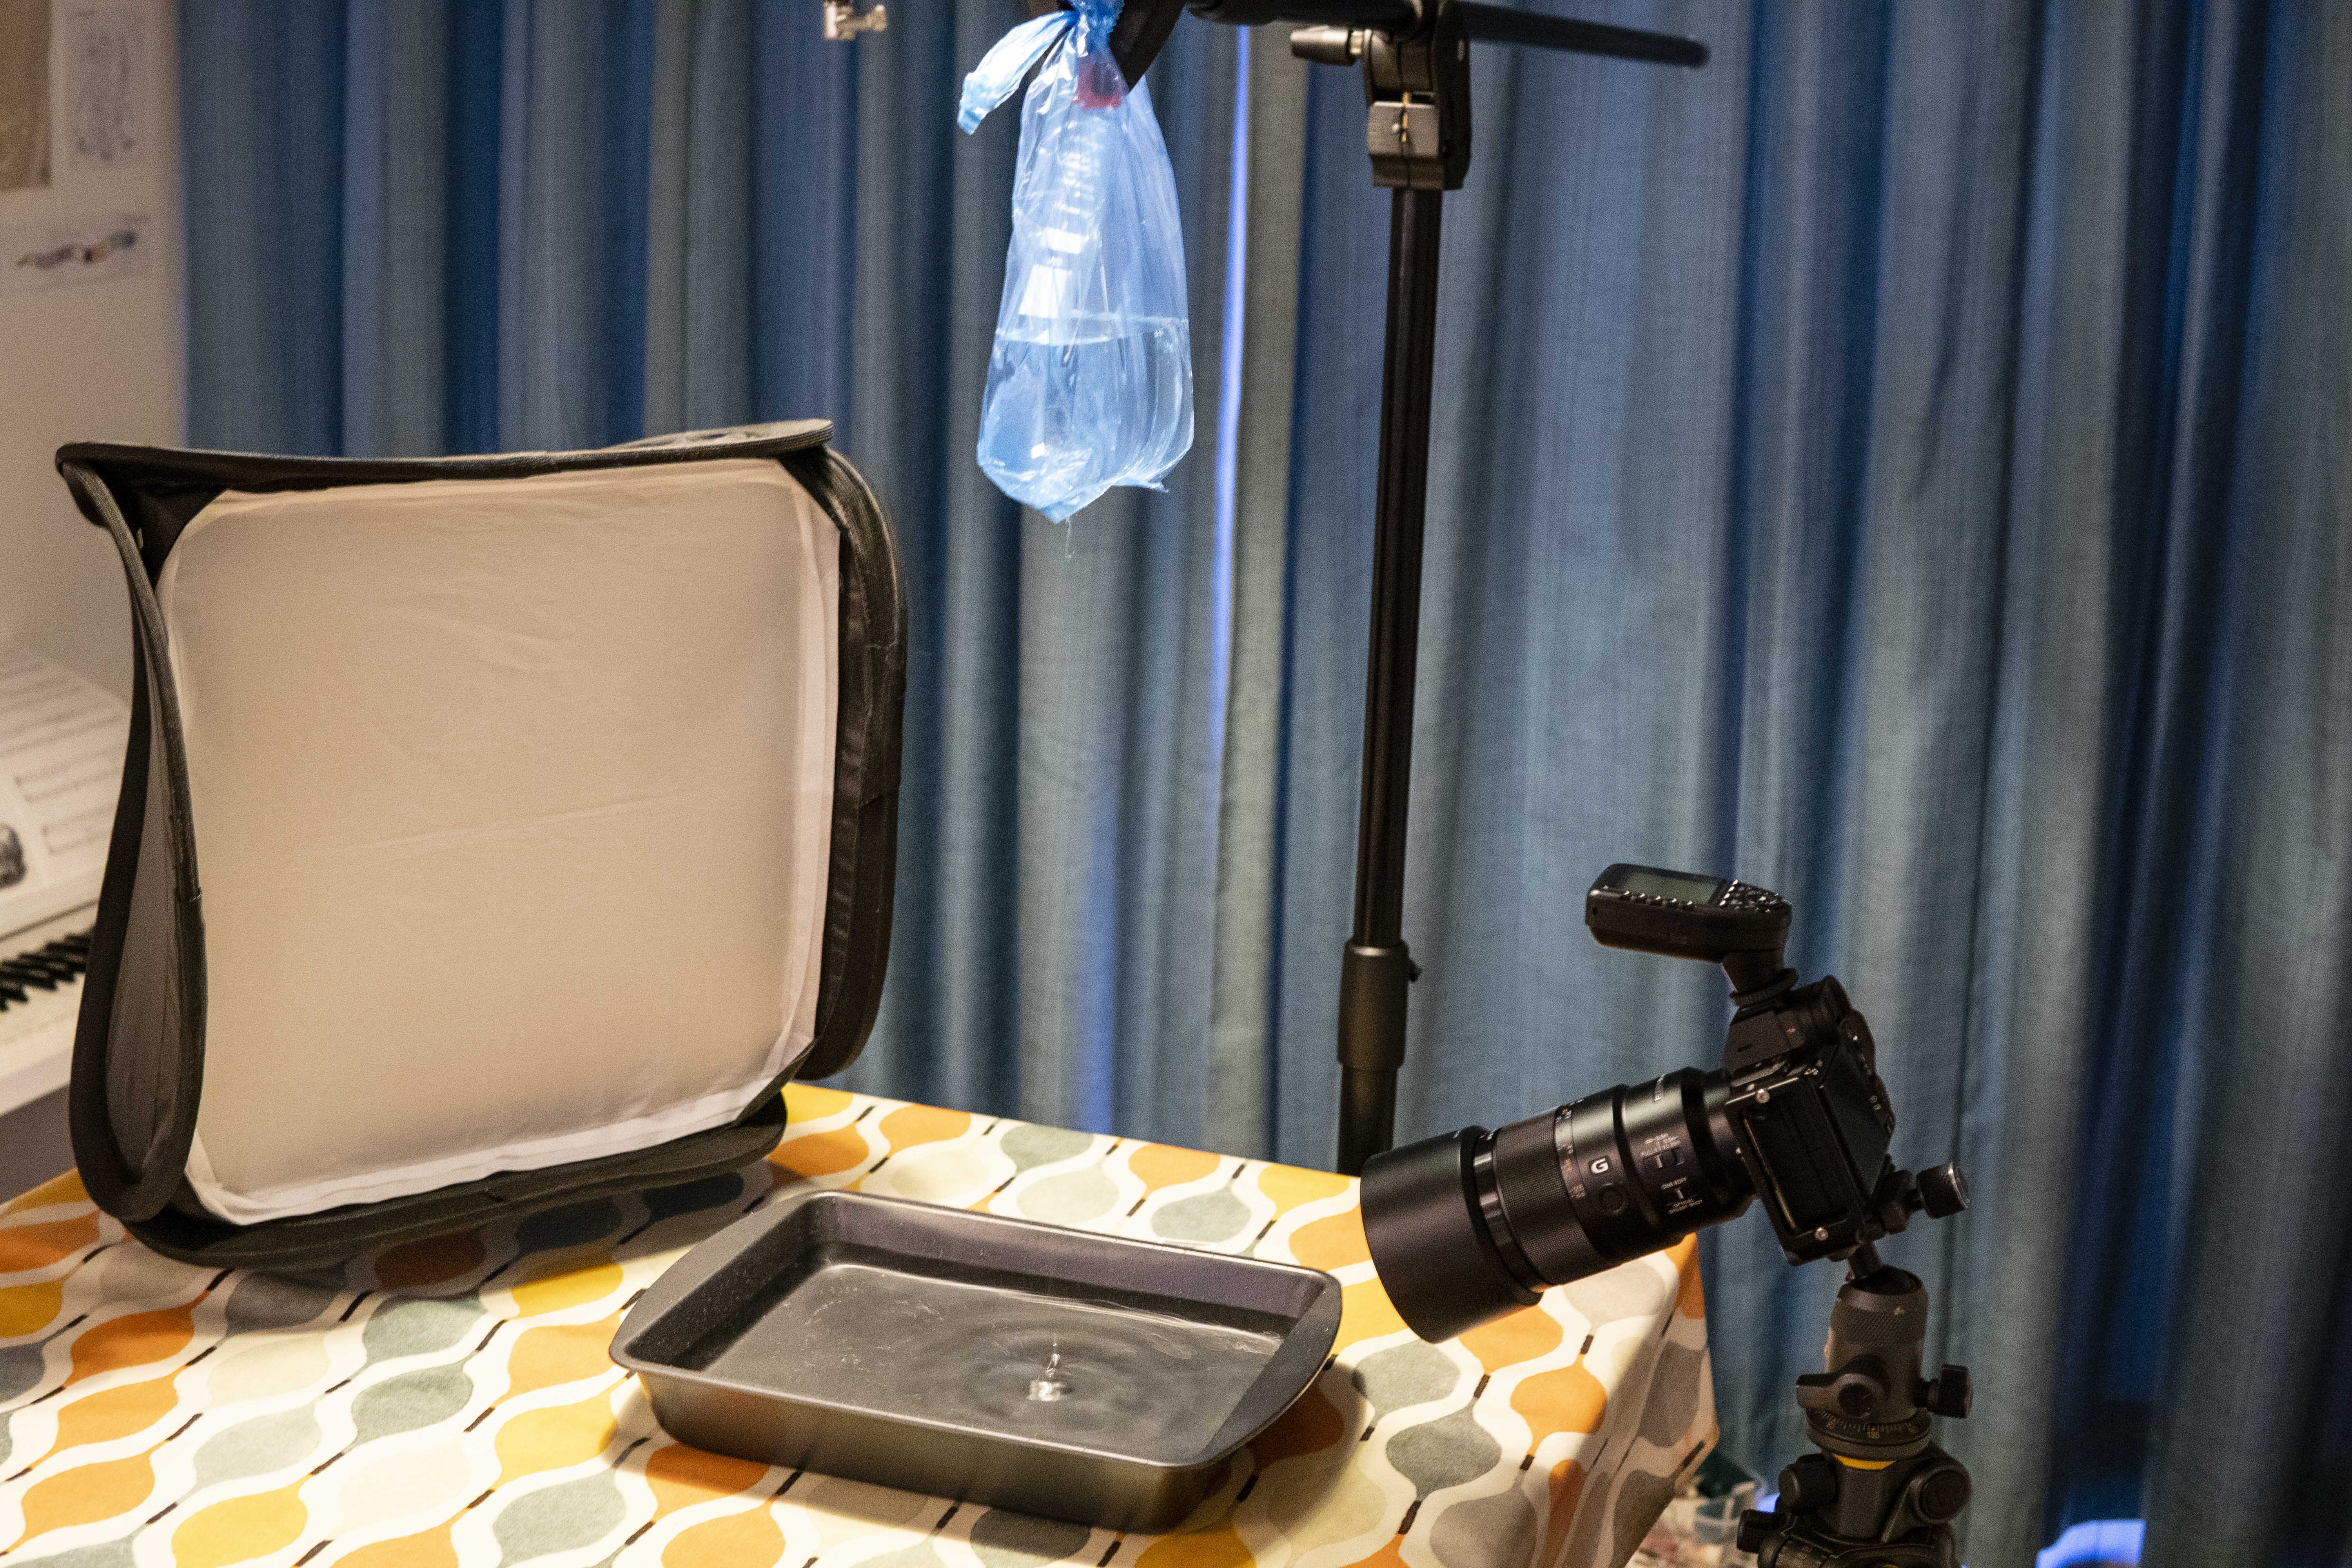
Basic set-up
The set-up is extremely simple. The best place to shoot is on a table using an off-camera flashgun and a softbox (directly opposite the camera) behind a tray of water. The flash can be on a light stand or rested on the table. You then need to hang a plastic bag of water from a stand such as a boom arm, tripod or light stand roughly 50cm above the tray of water.
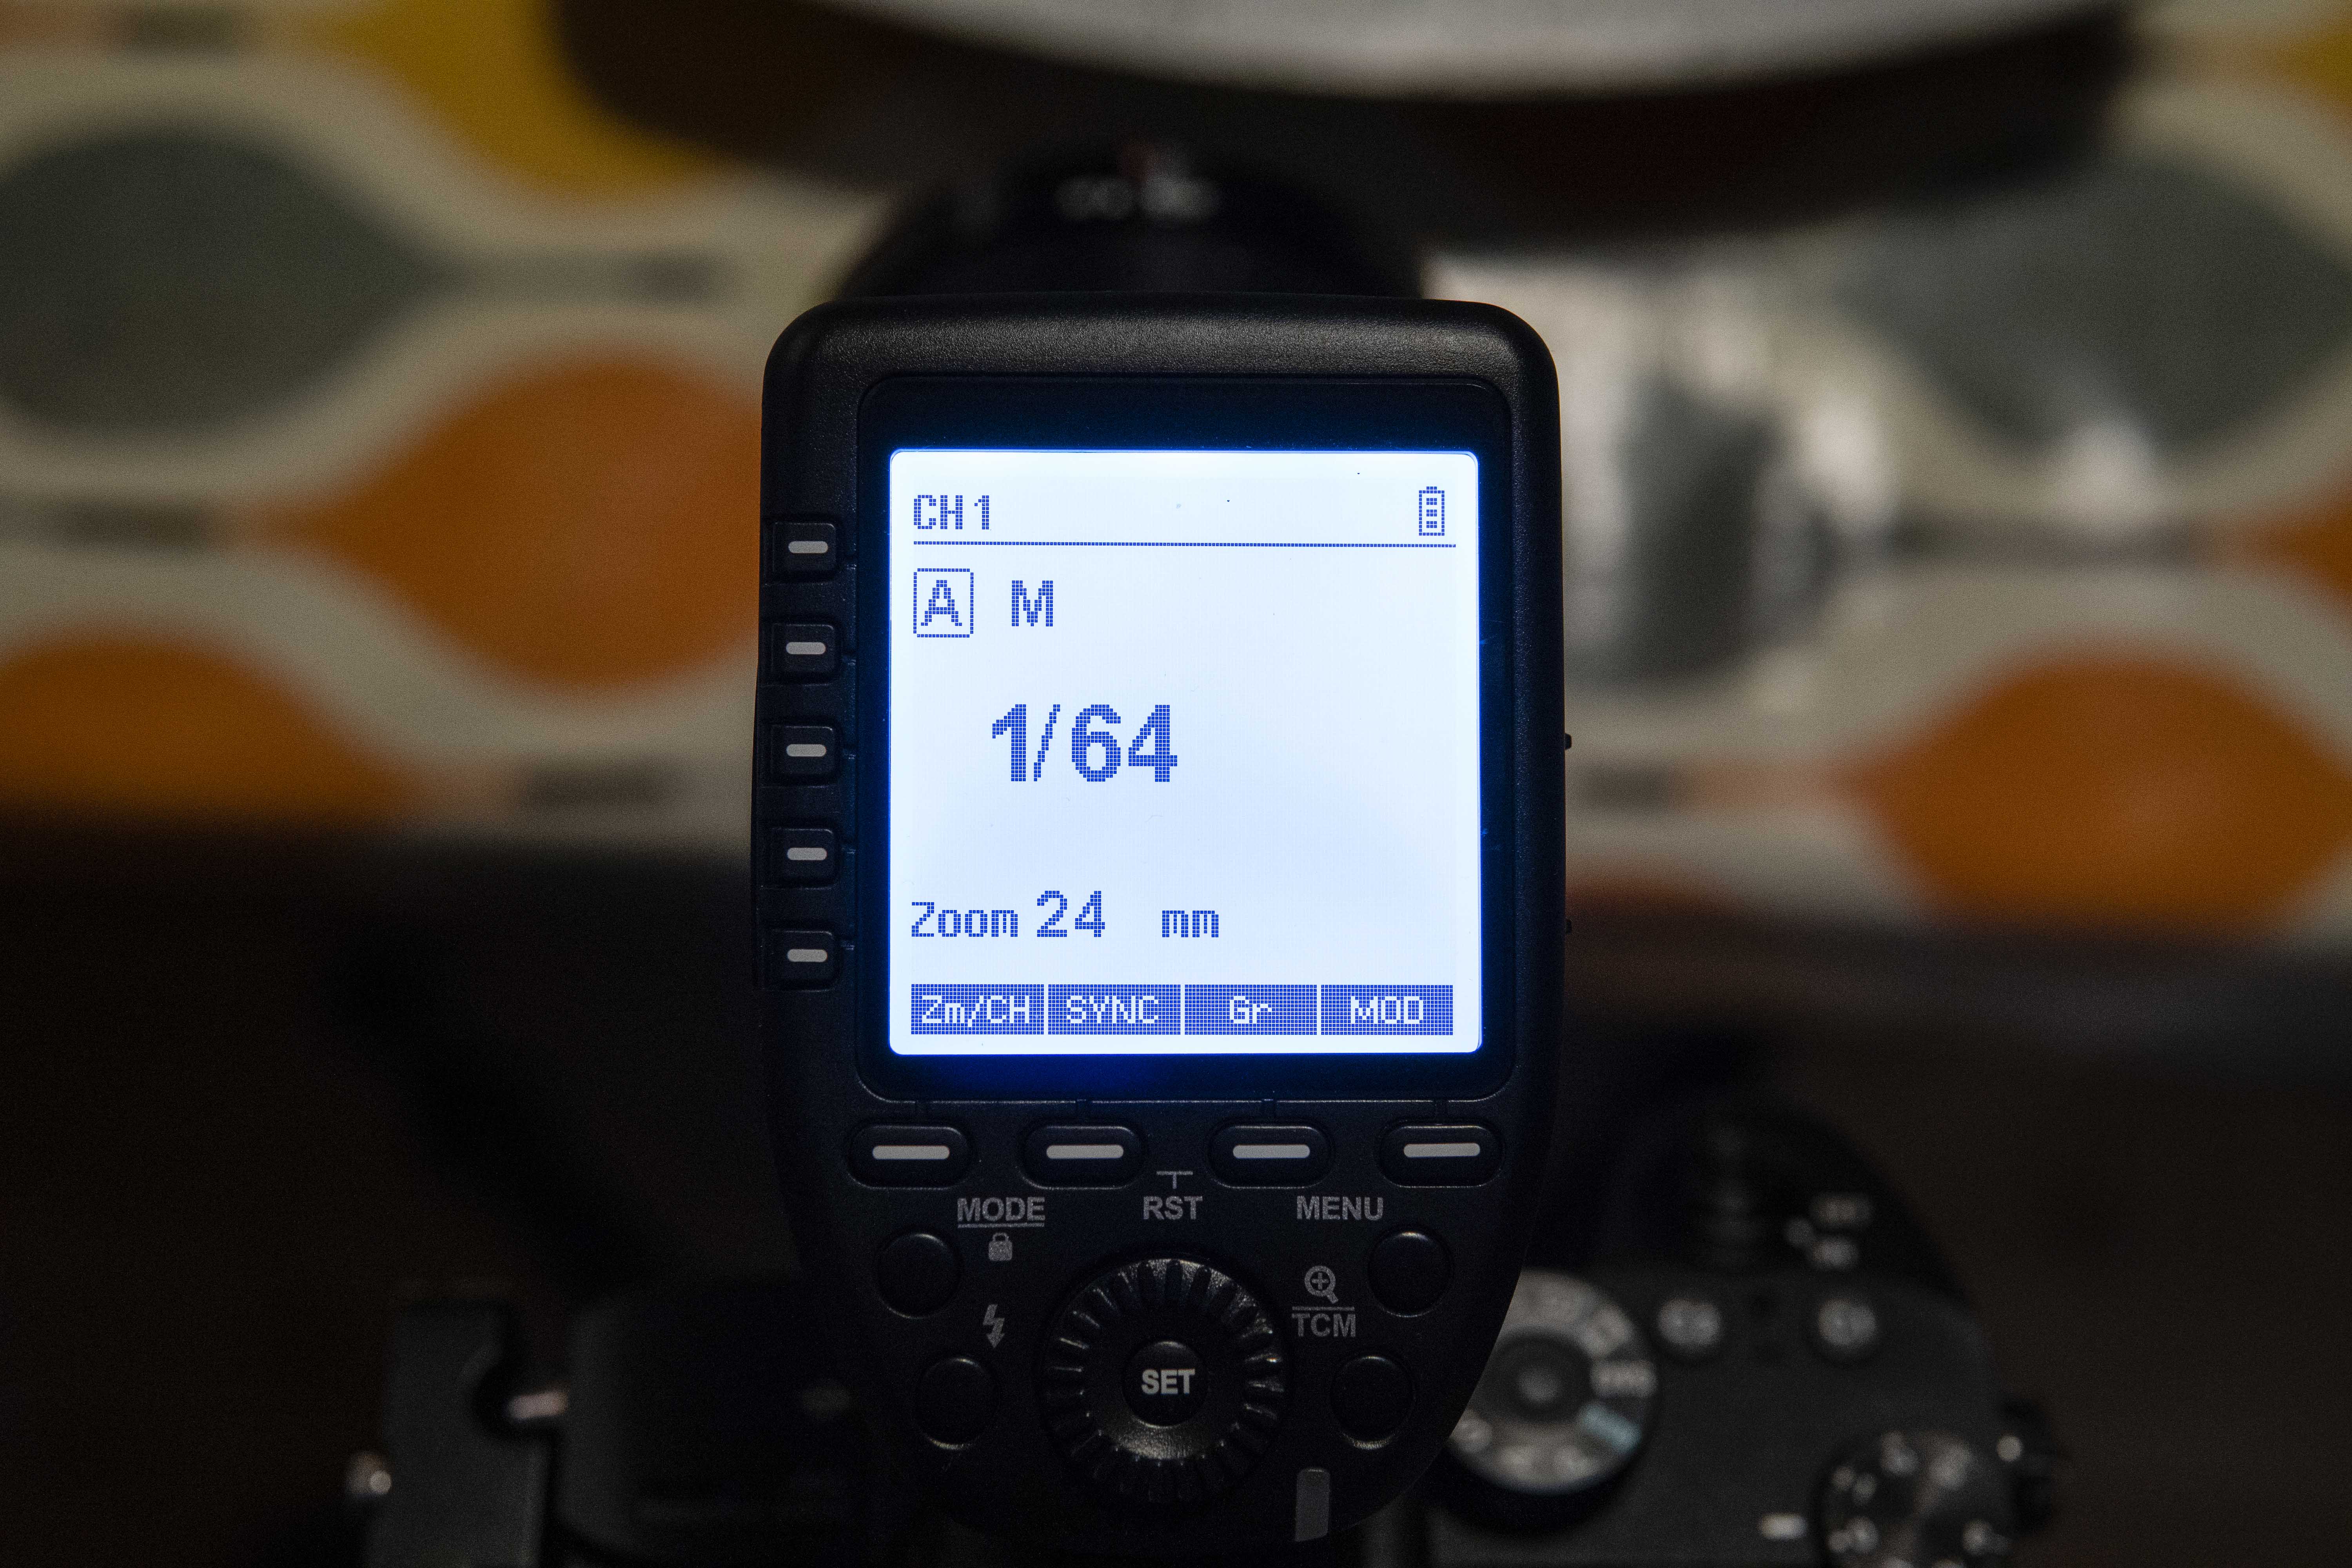
Camera and flash settings
Set your camera to manual mode with shutter speed at the flash sync speed, often 1/200sec, ISO 400 and aperture at f/11. Set white balance to Incandescent for a blue tone. Attach the flash triggers and set flash power output to 1/64 in manual mode. This may need to be increased to 1/32 or higher depending on the overall power output of flashgun use.
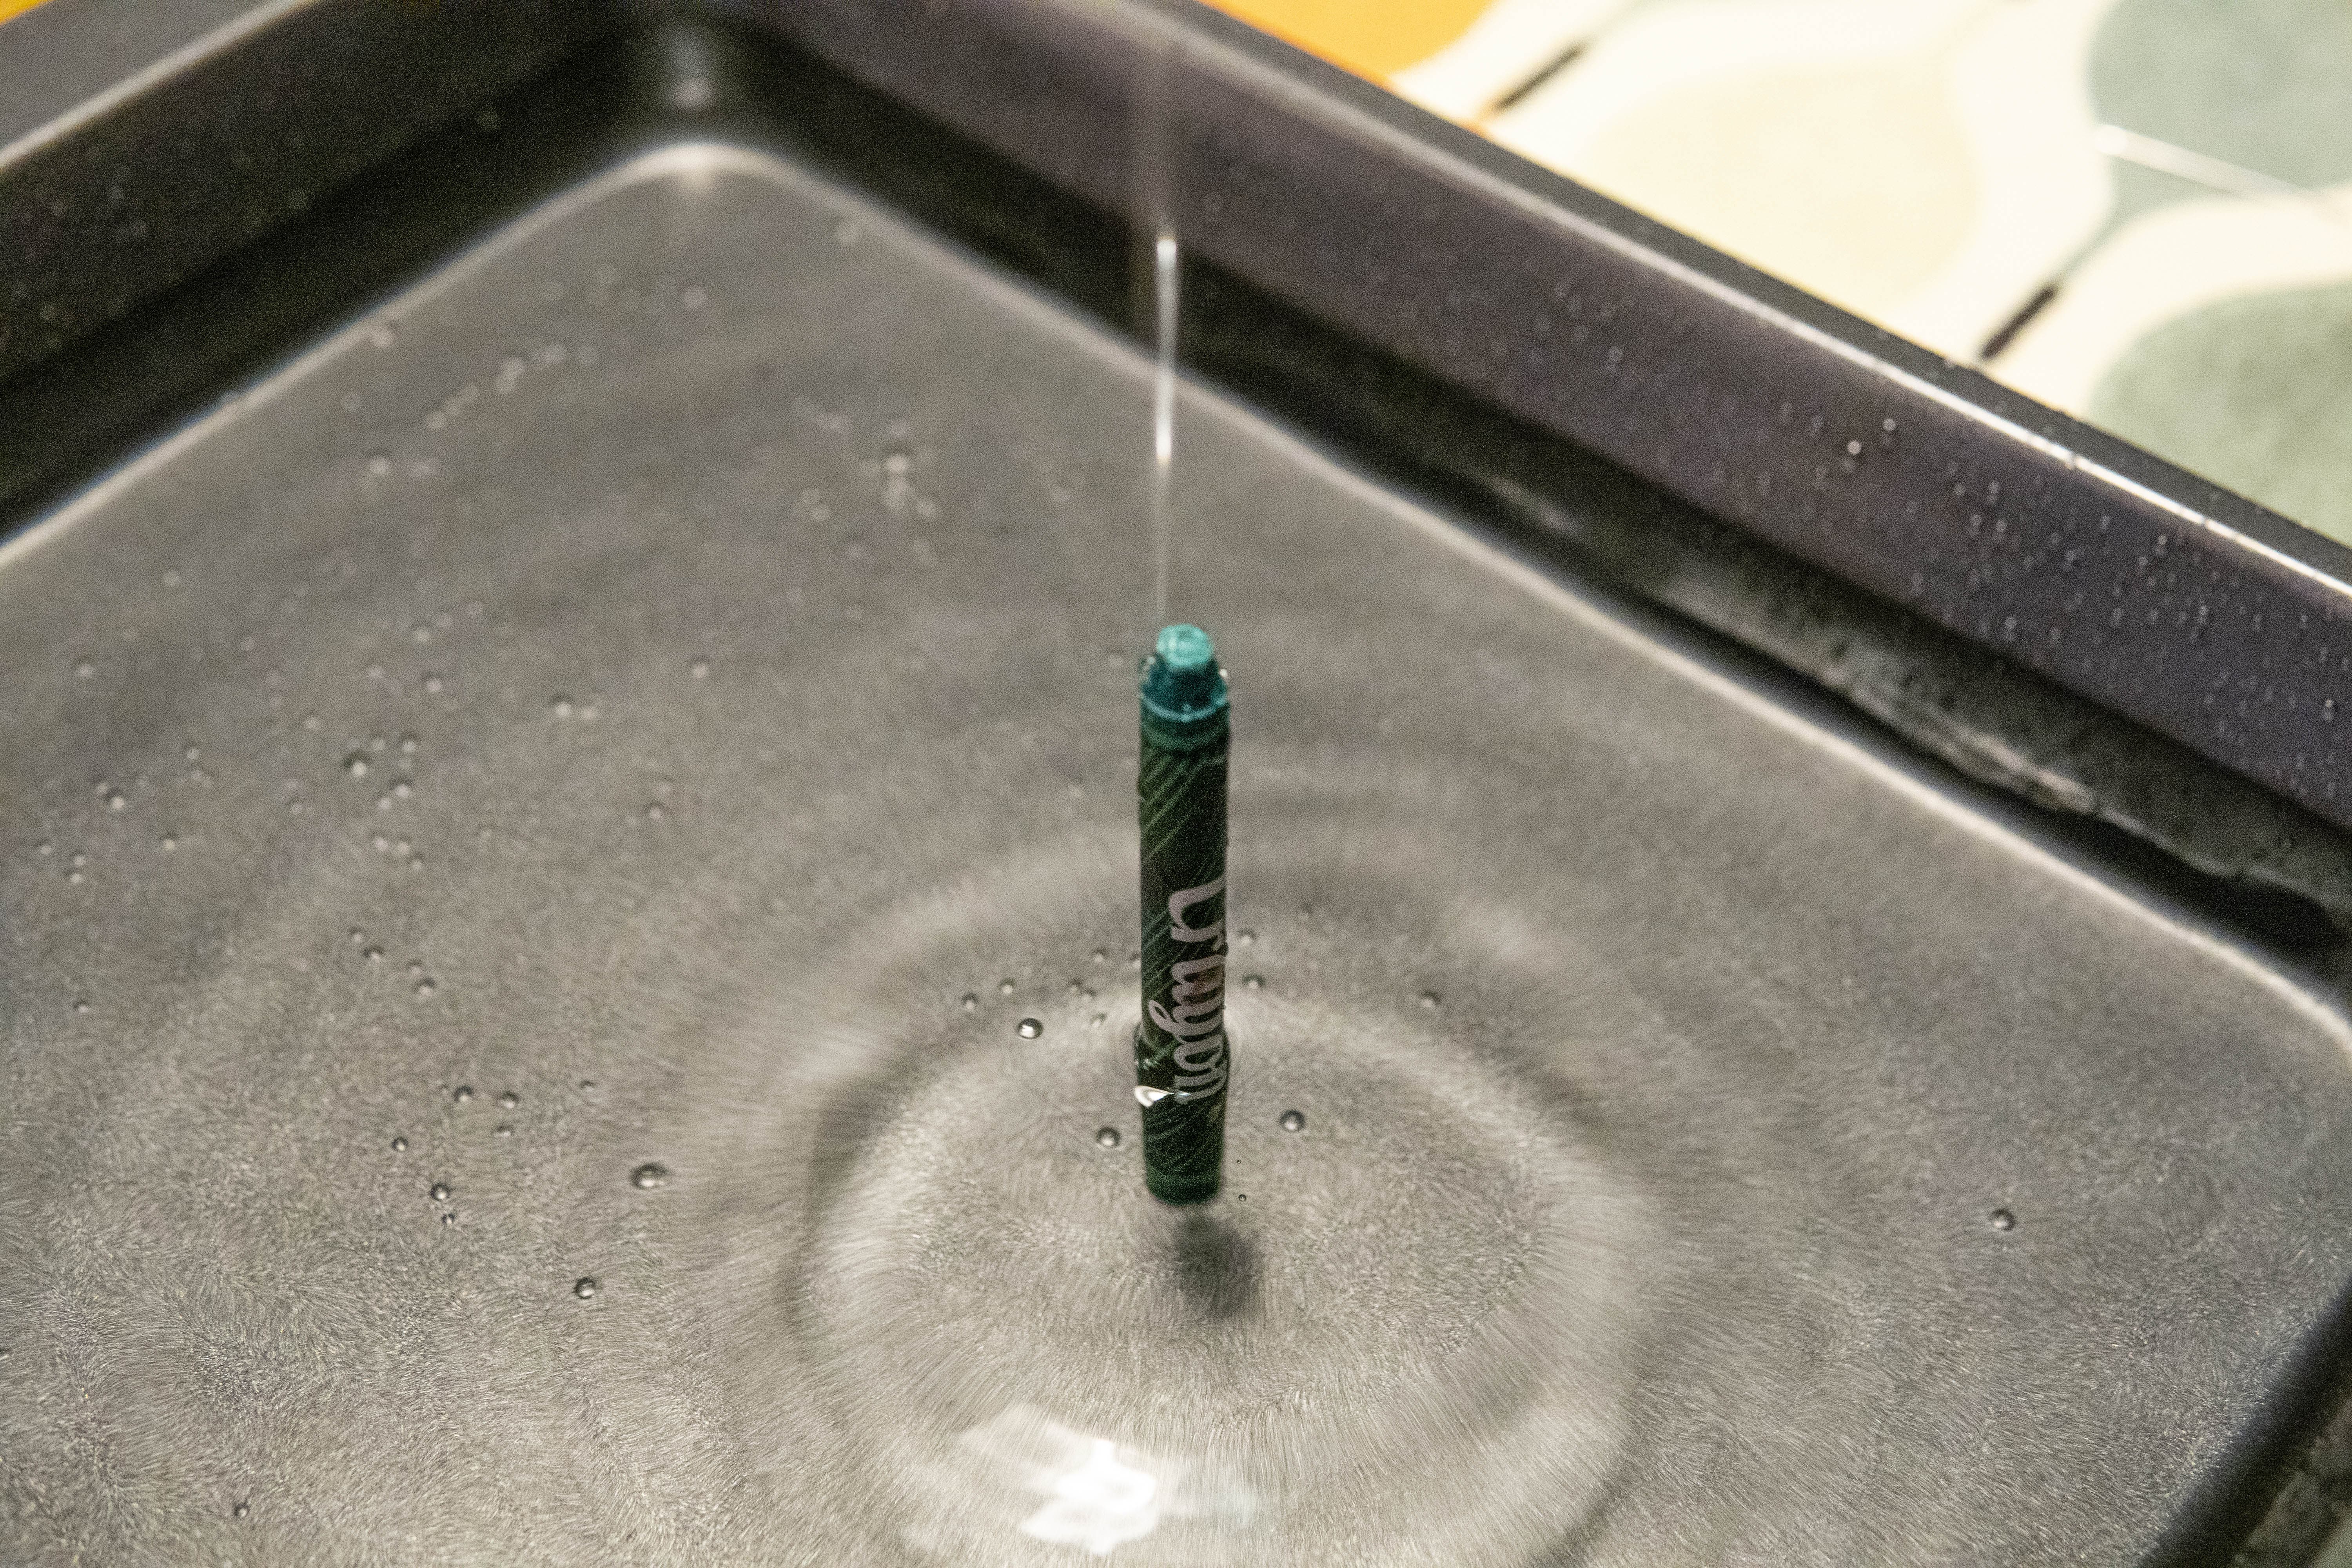
How to focus
Take a needle and prick a hole in the bag of water. This will create a stream, so gently rub the hole with your finger until the stream stops and becomes drops before moving the tray into the best position along with the camera. Place an object, such as a screw or crayon, where the drops are falling and manually focus on this object before removing it.
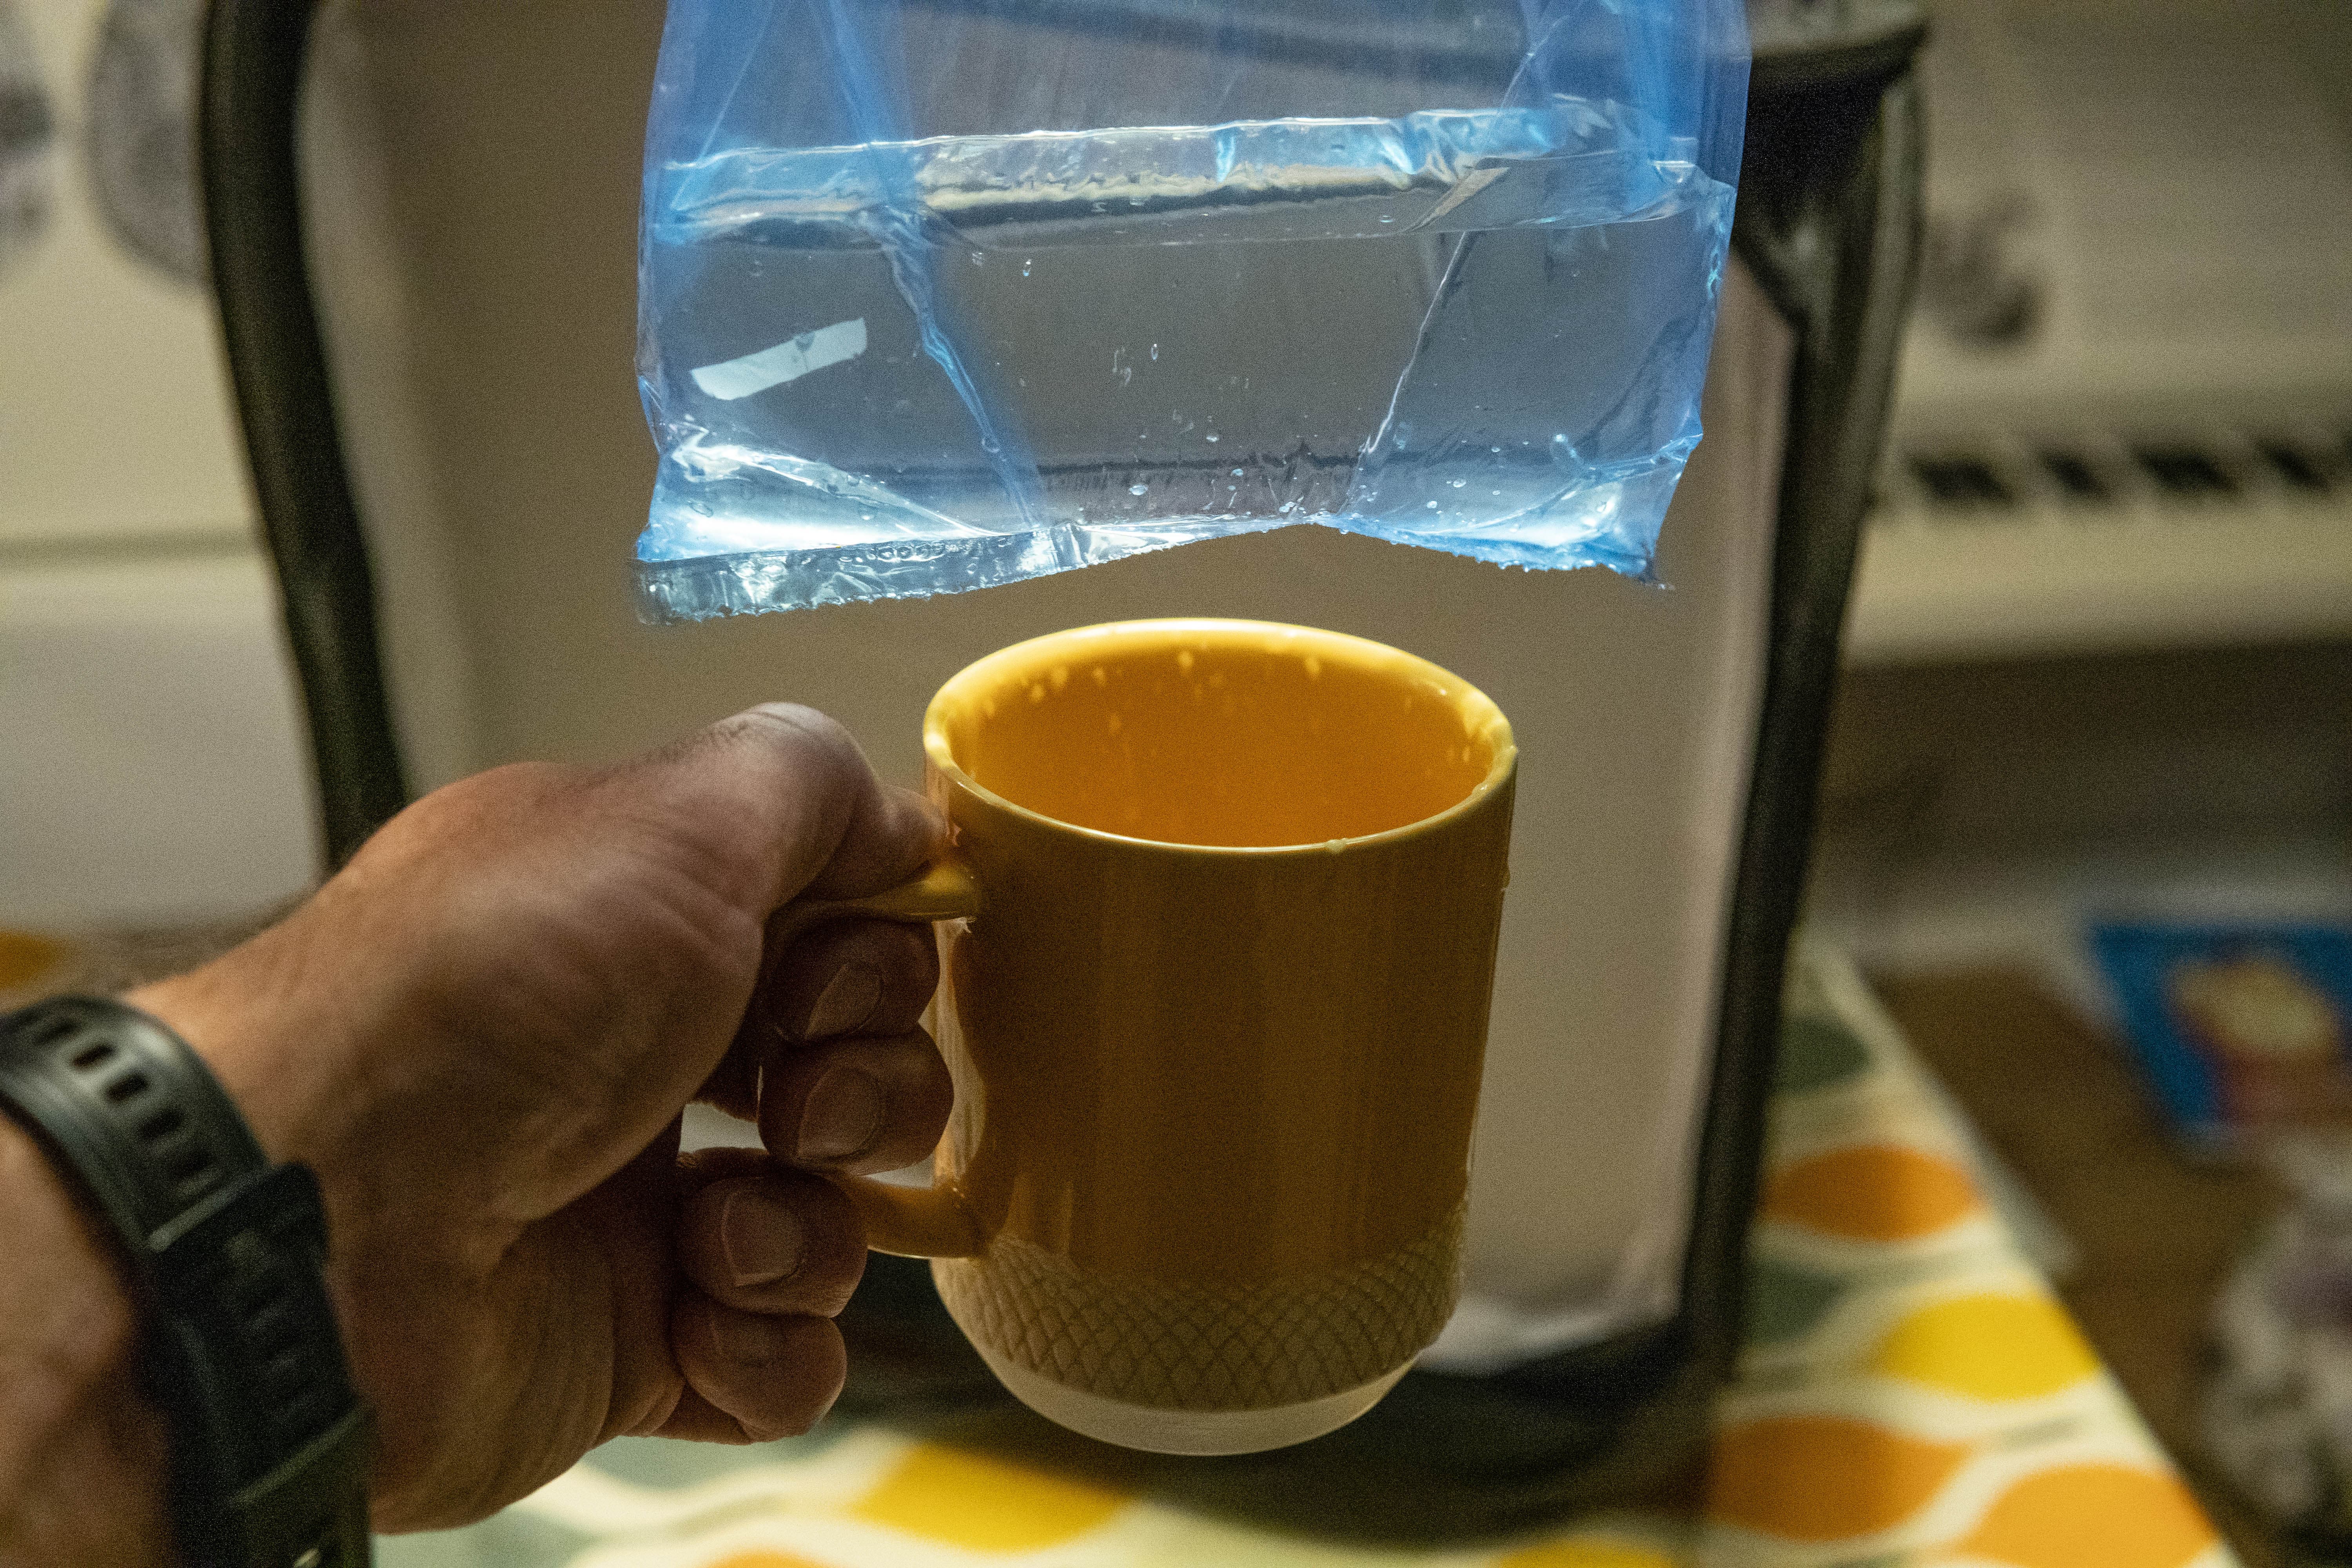
Calm the water
You’re now ready to shoot and simply need to press the shutter button at the right time. With drops falling in quick succession, the water will become disturbed so you can stop the drops from hitting the water by holding a cup below the droplets. Once the water in the tray has calmed, move the cup, release the shutter and repeat until you have the shot you want.
Timing your shots
Timing is everything and the more you shoot, the more in tune you become as to when to release the shutter. But even with a great deal of experience, tackling this technique at this basic and manual level means that there will be lots of trial and error. Take many more shots than you’ll need so you have plenty of options.
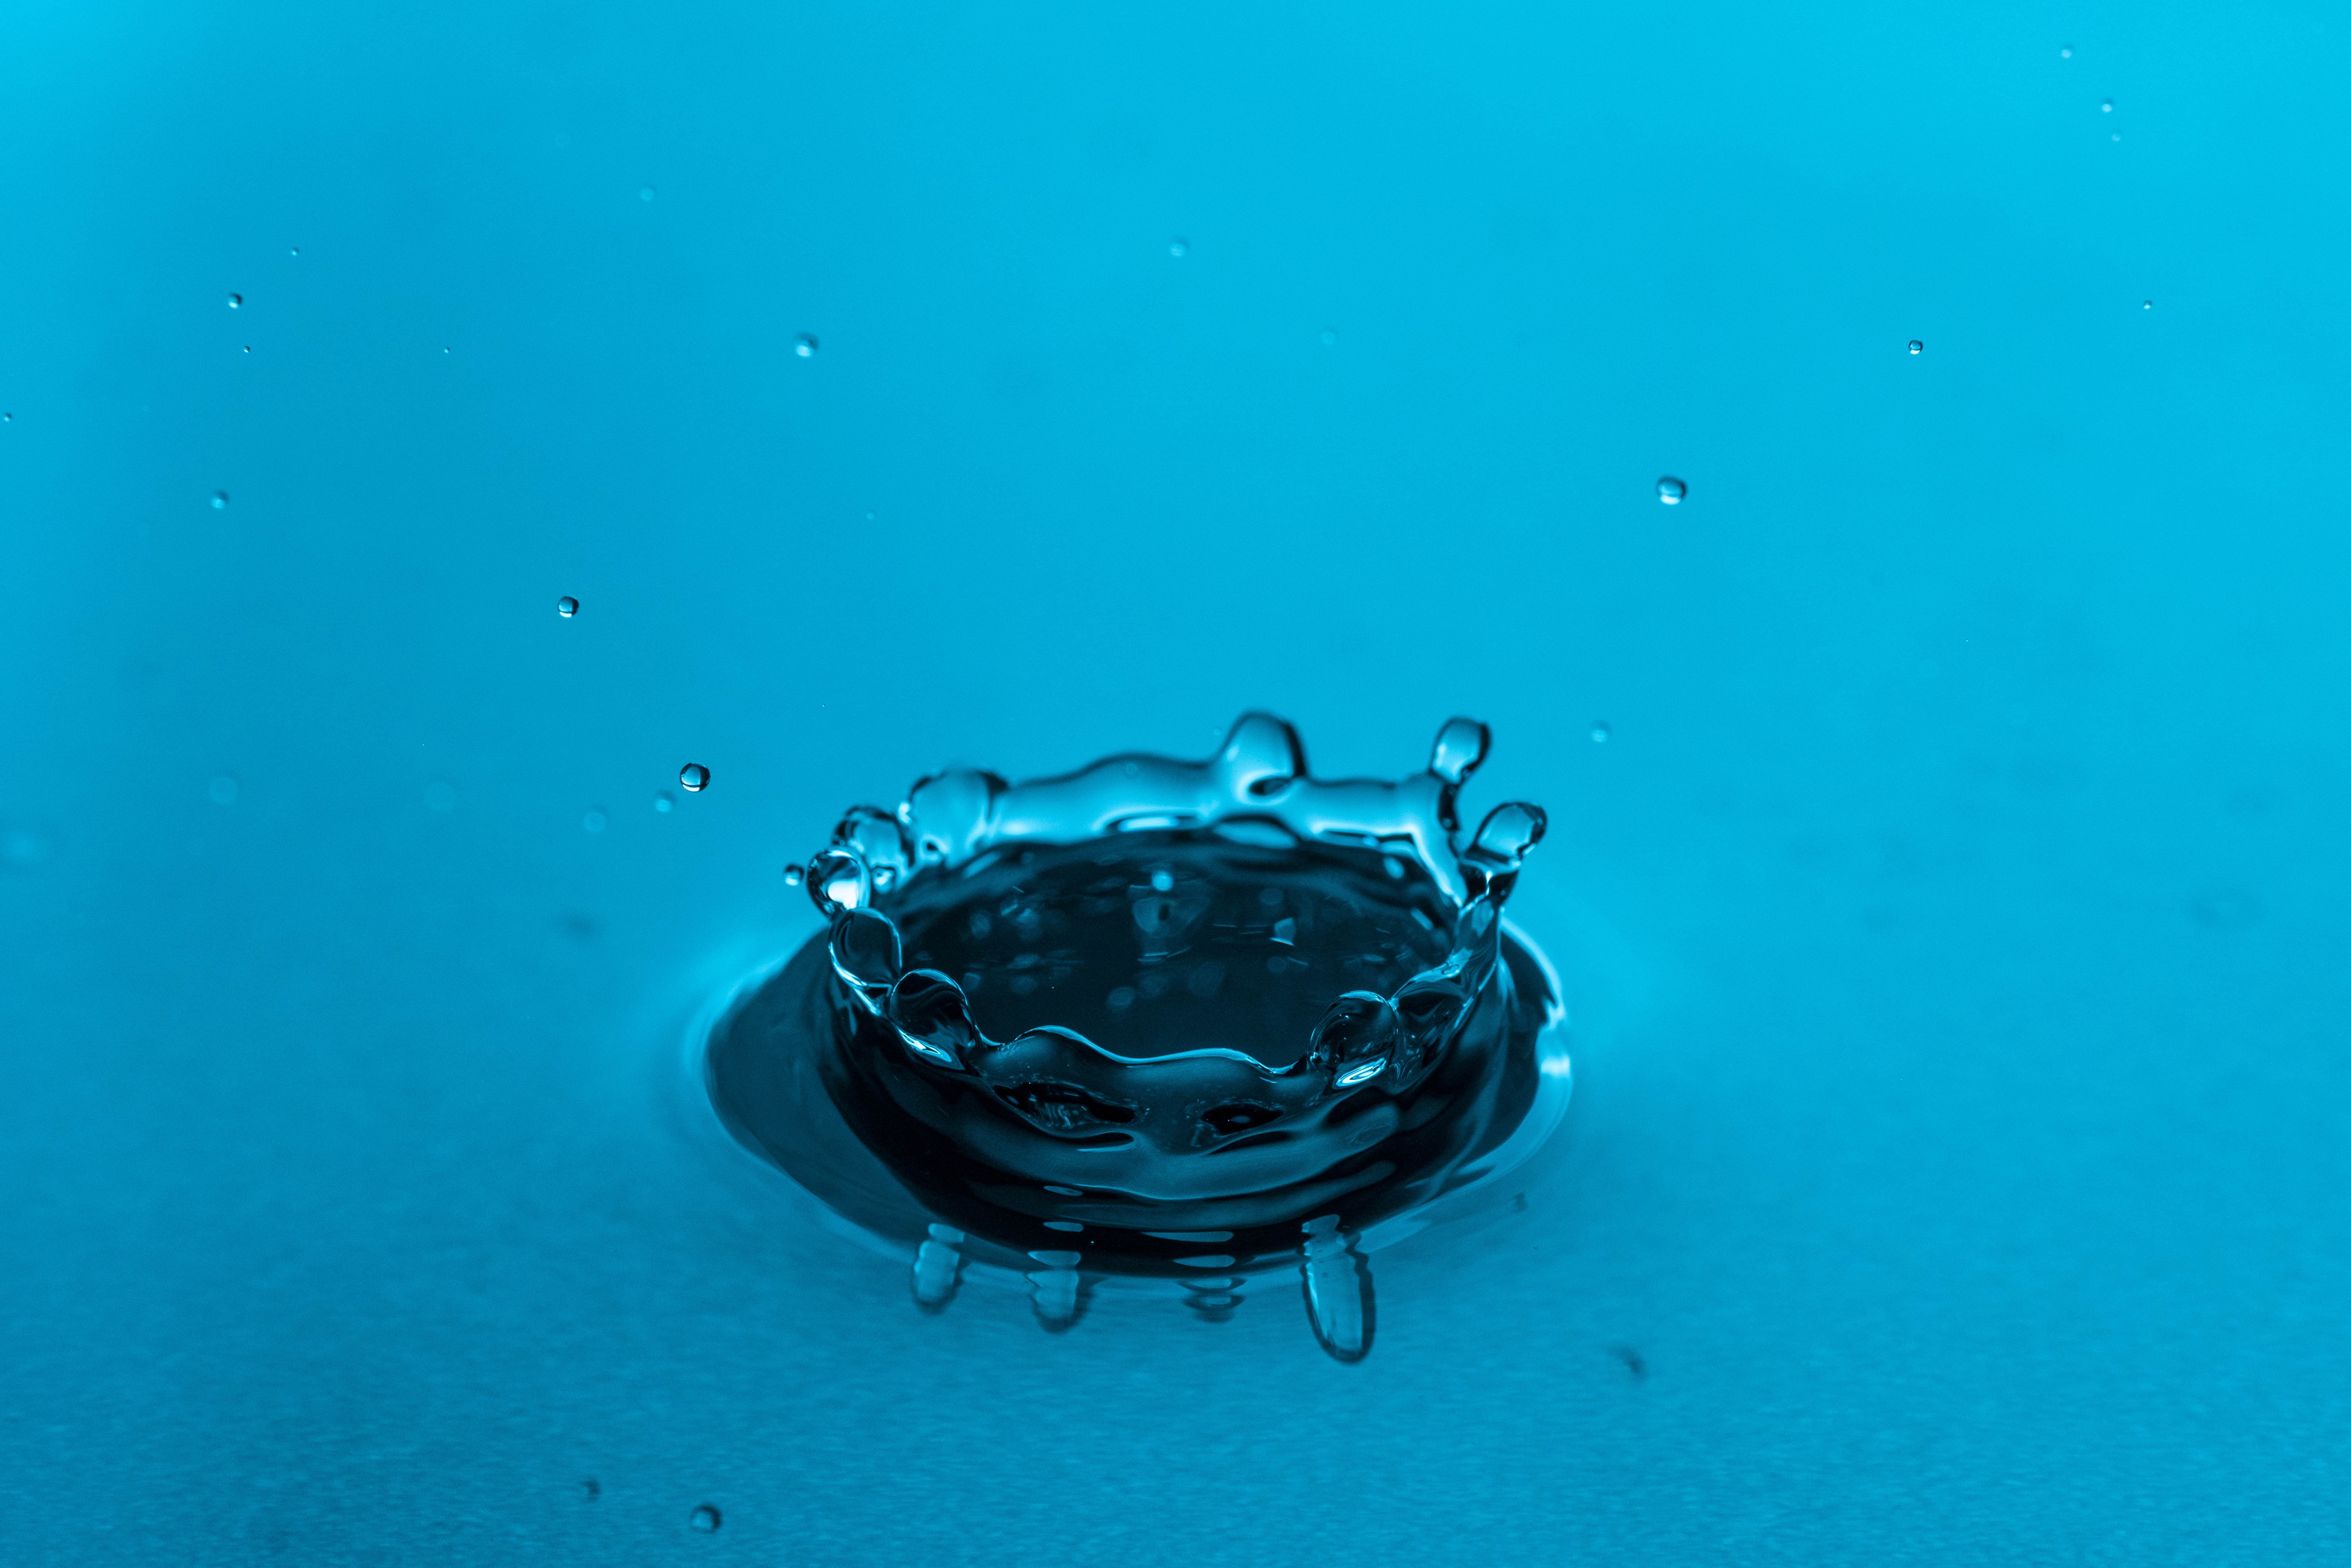
Here we have a perfectly timed crown
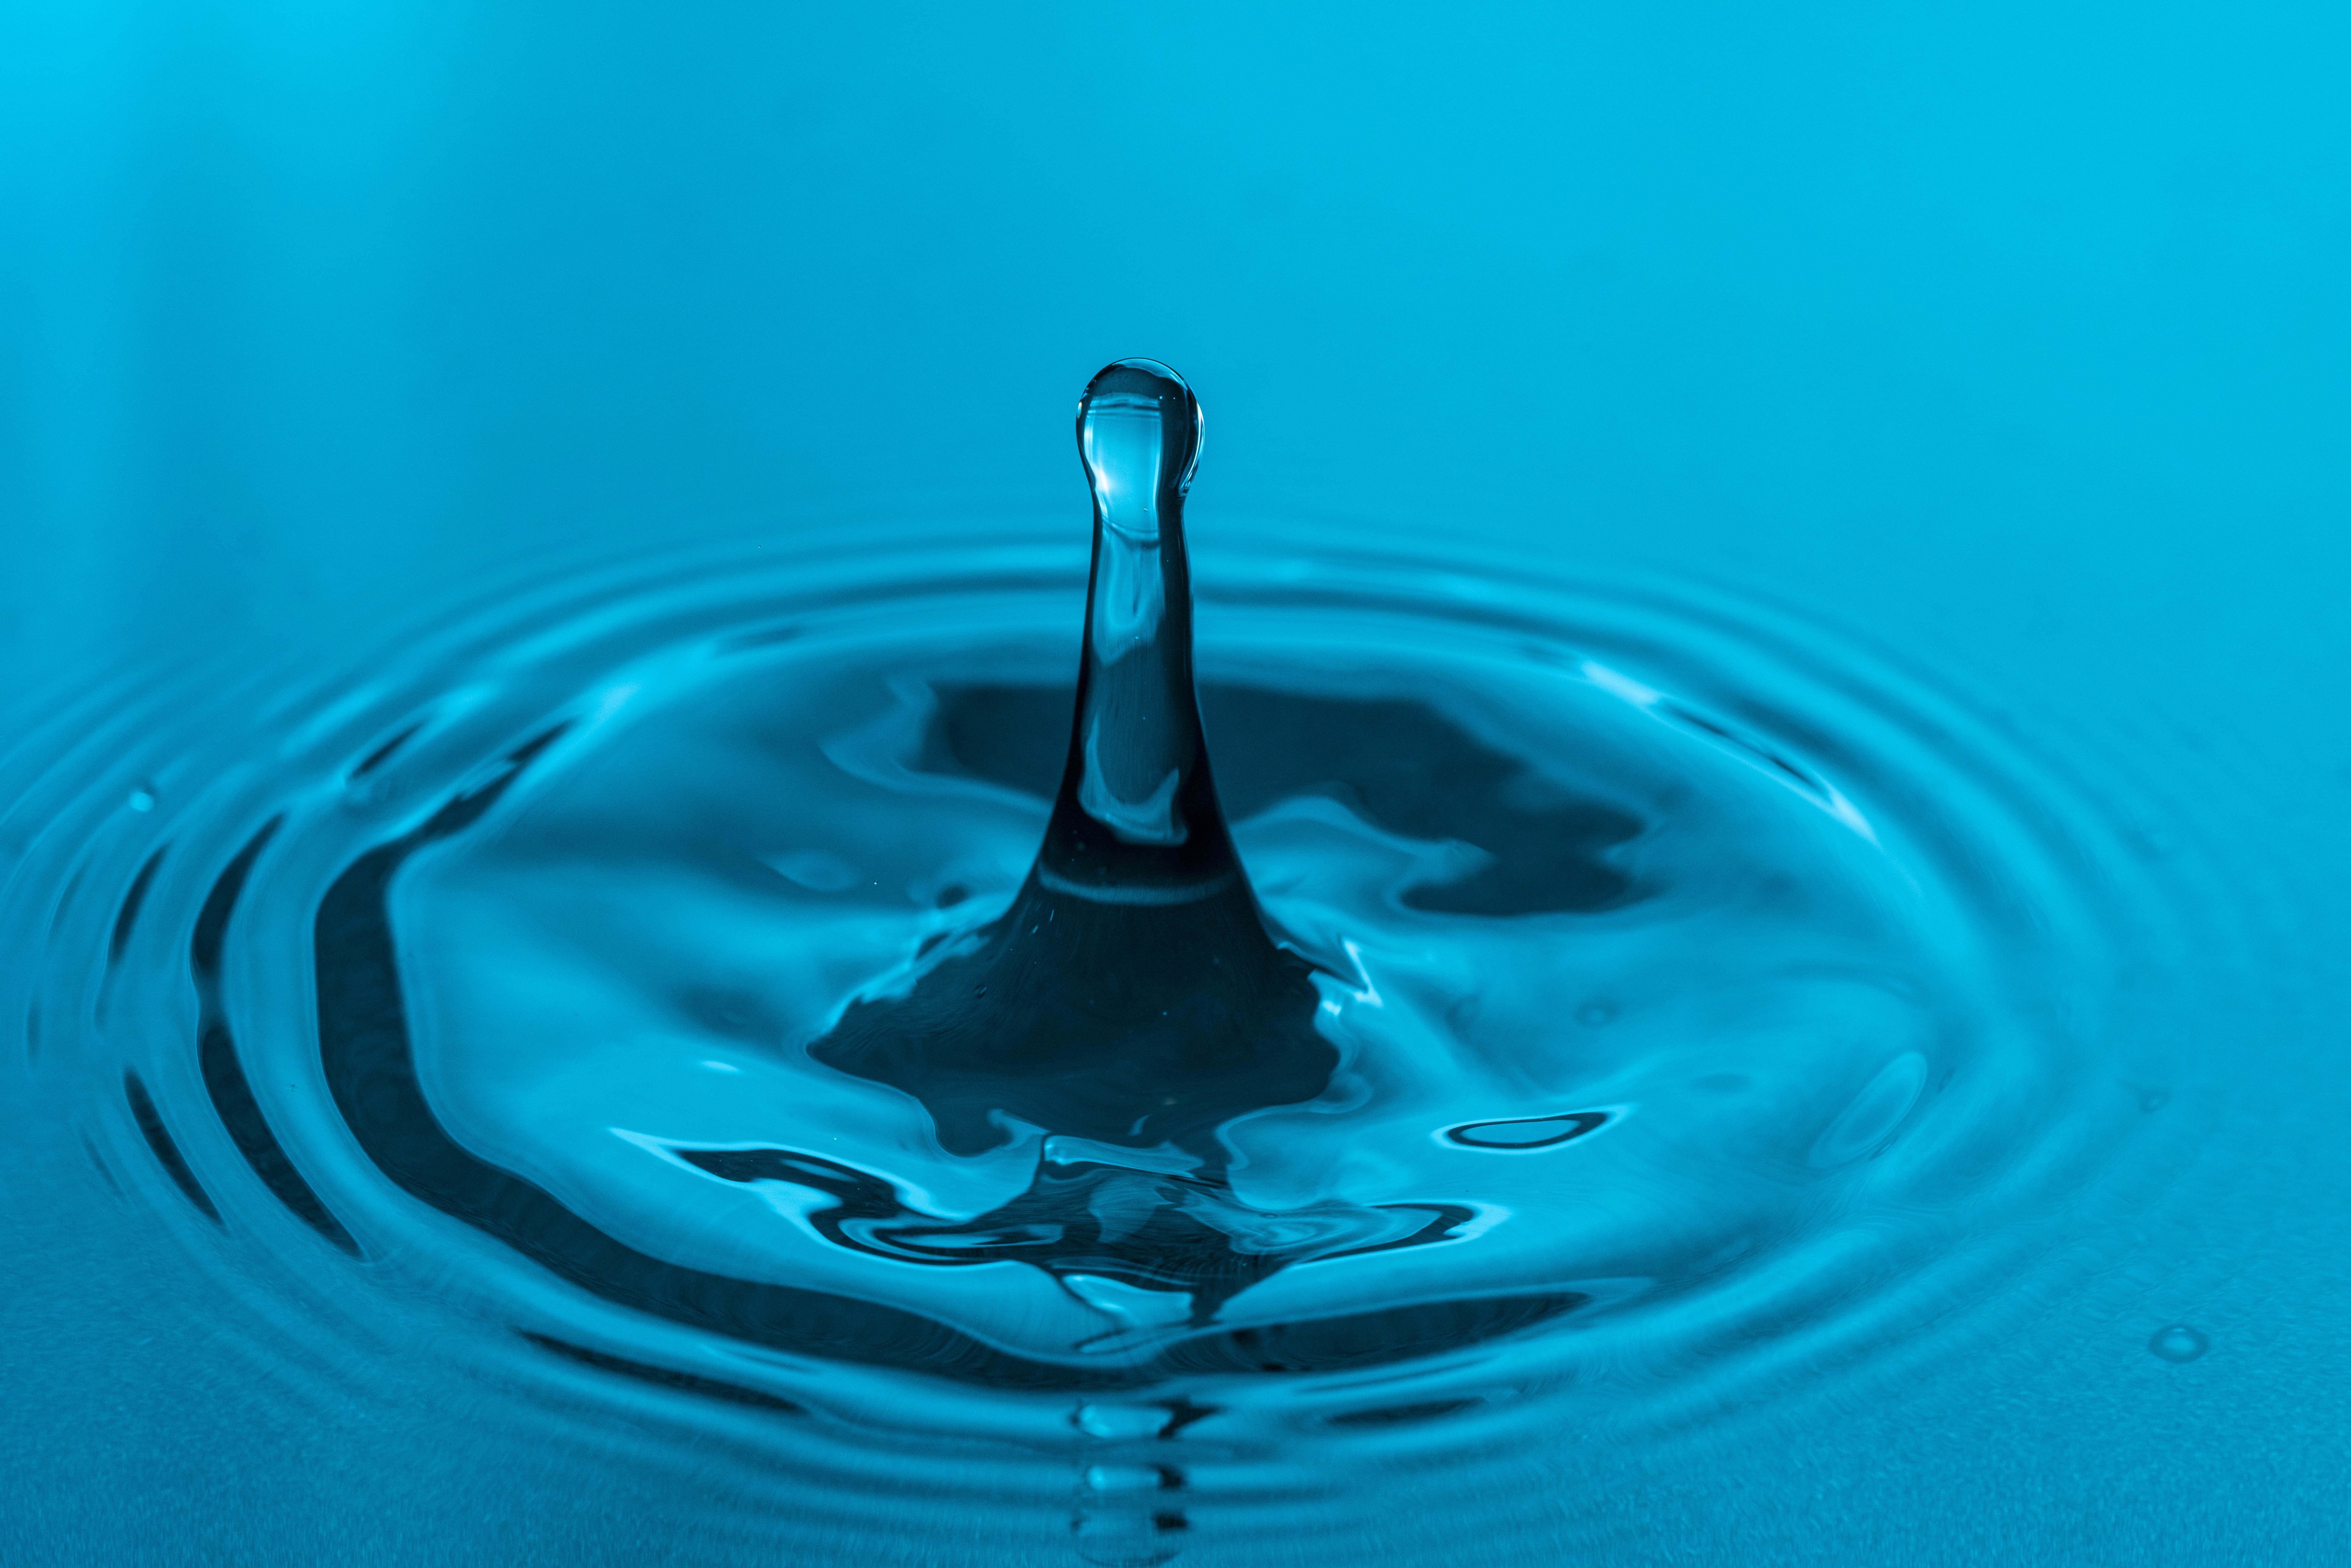
In this scenario the shutter button was released too early
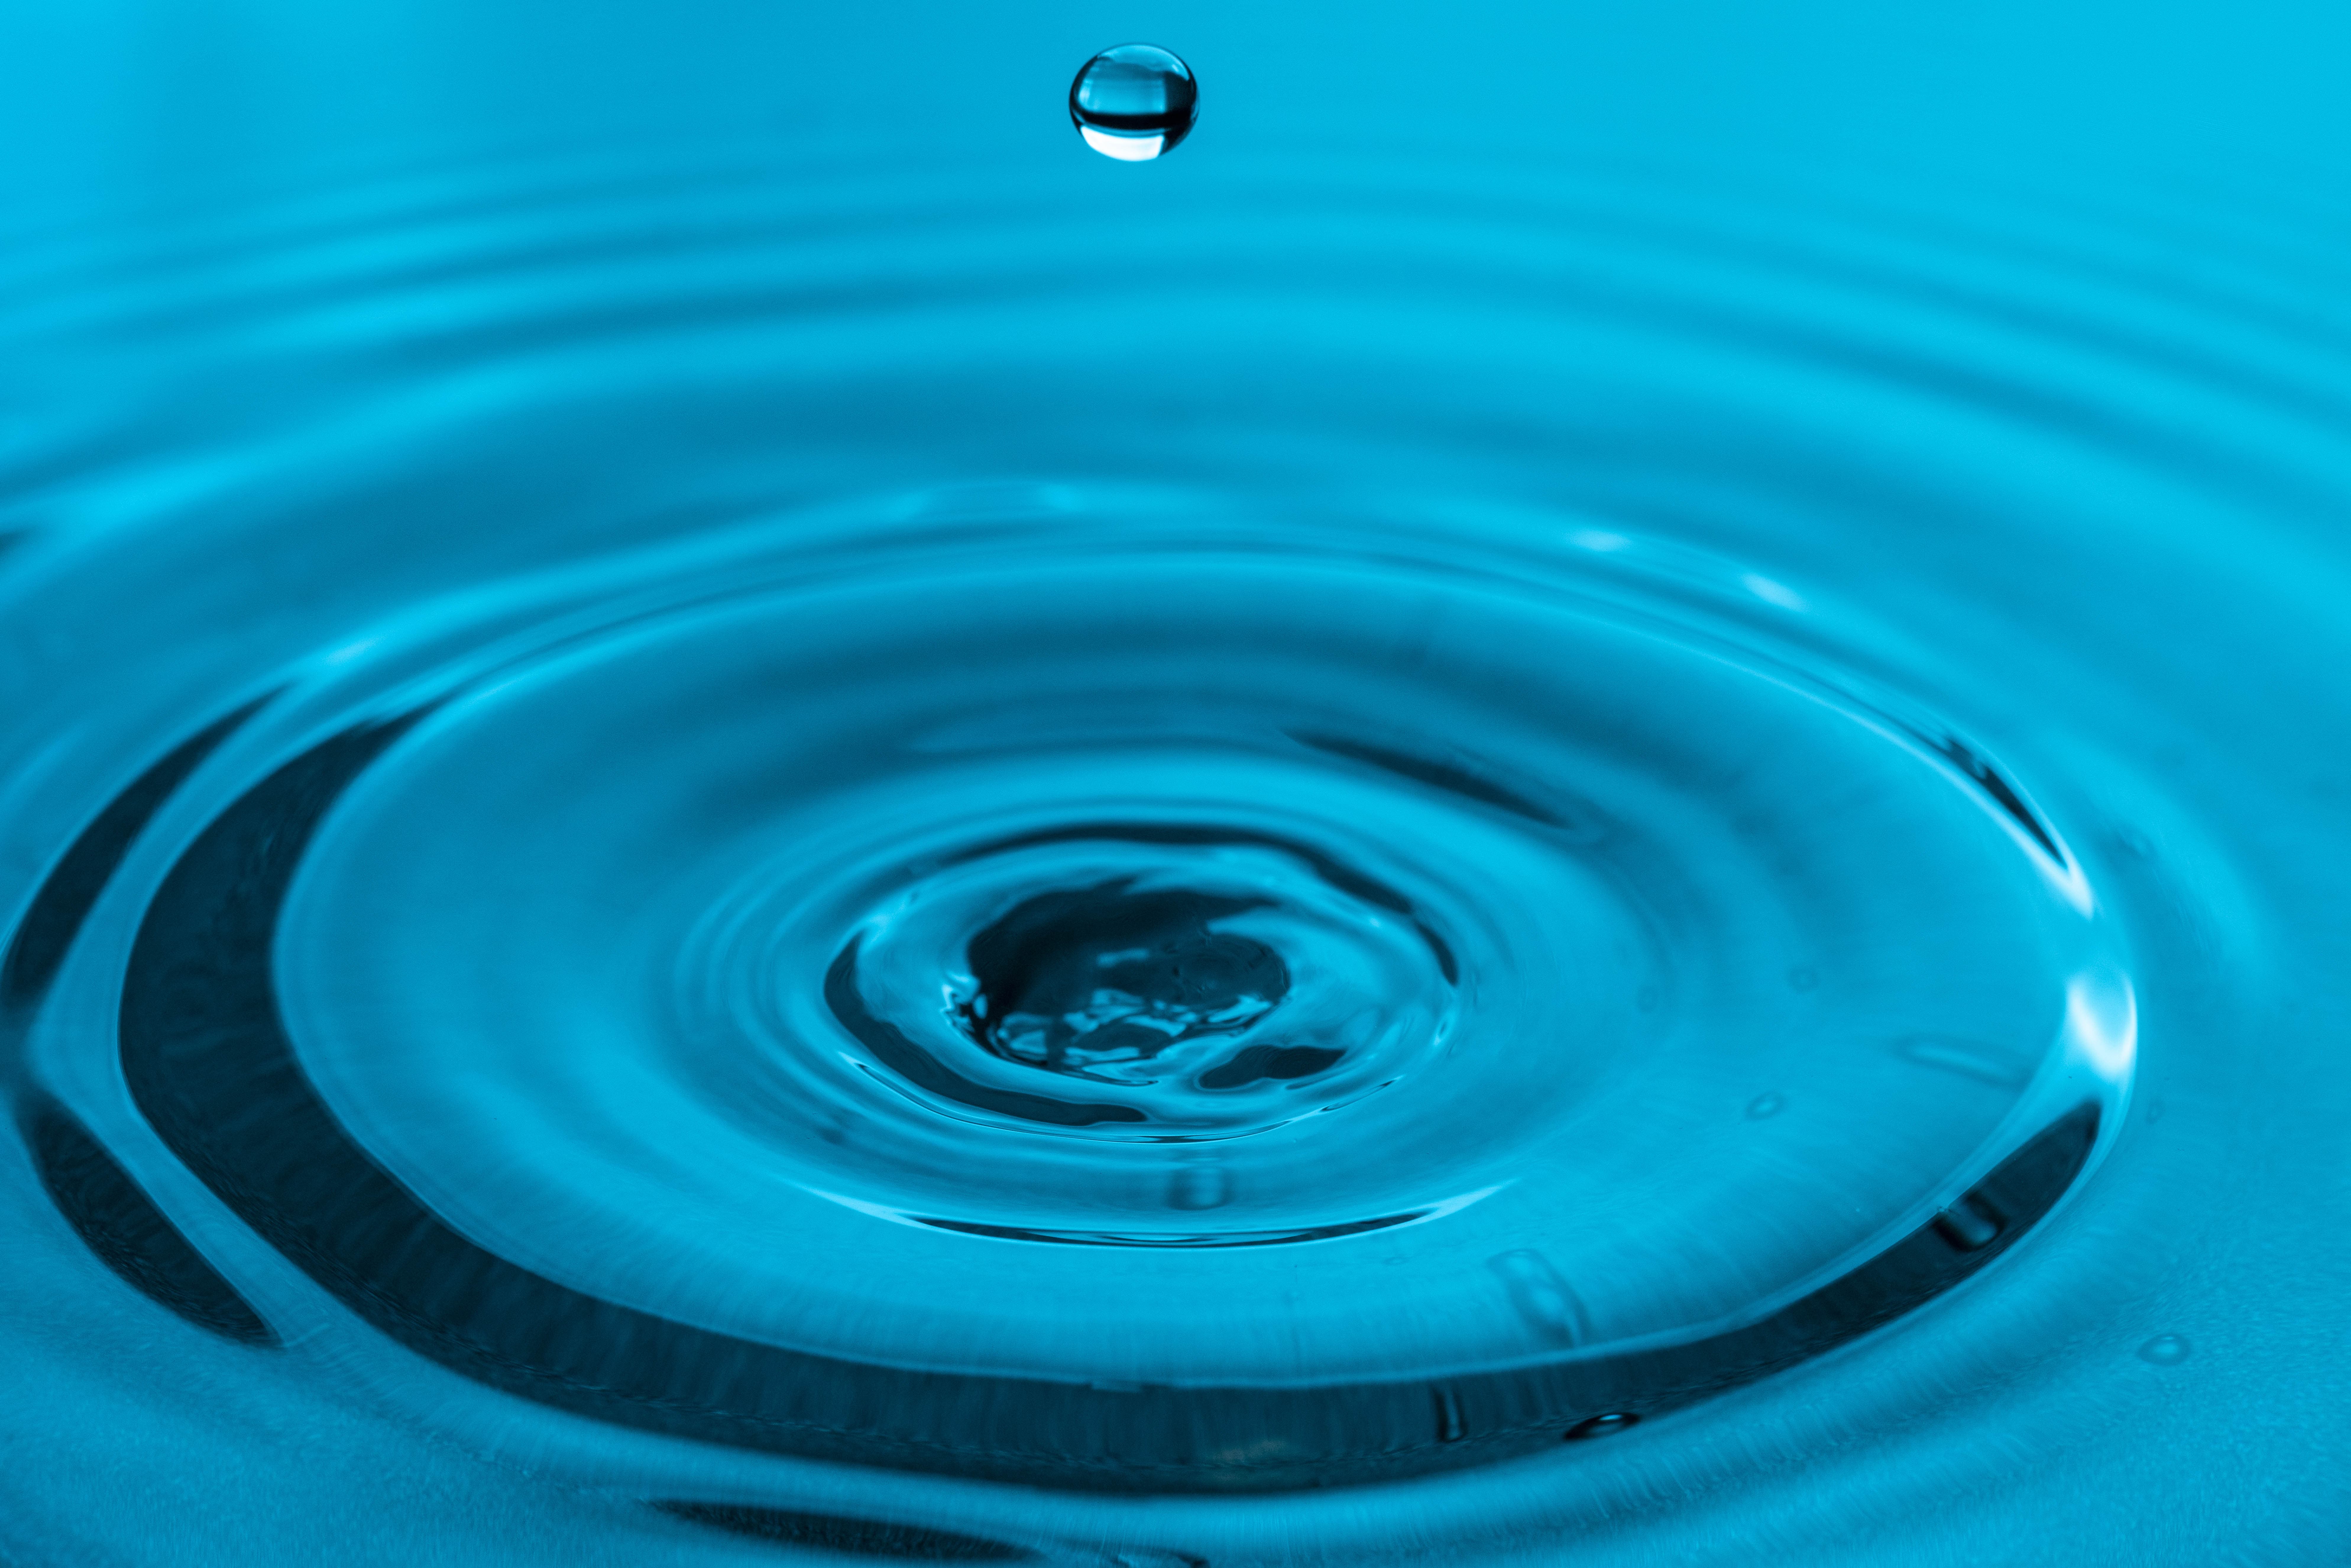
In this example we have the opposite problem and the shutter was released too late
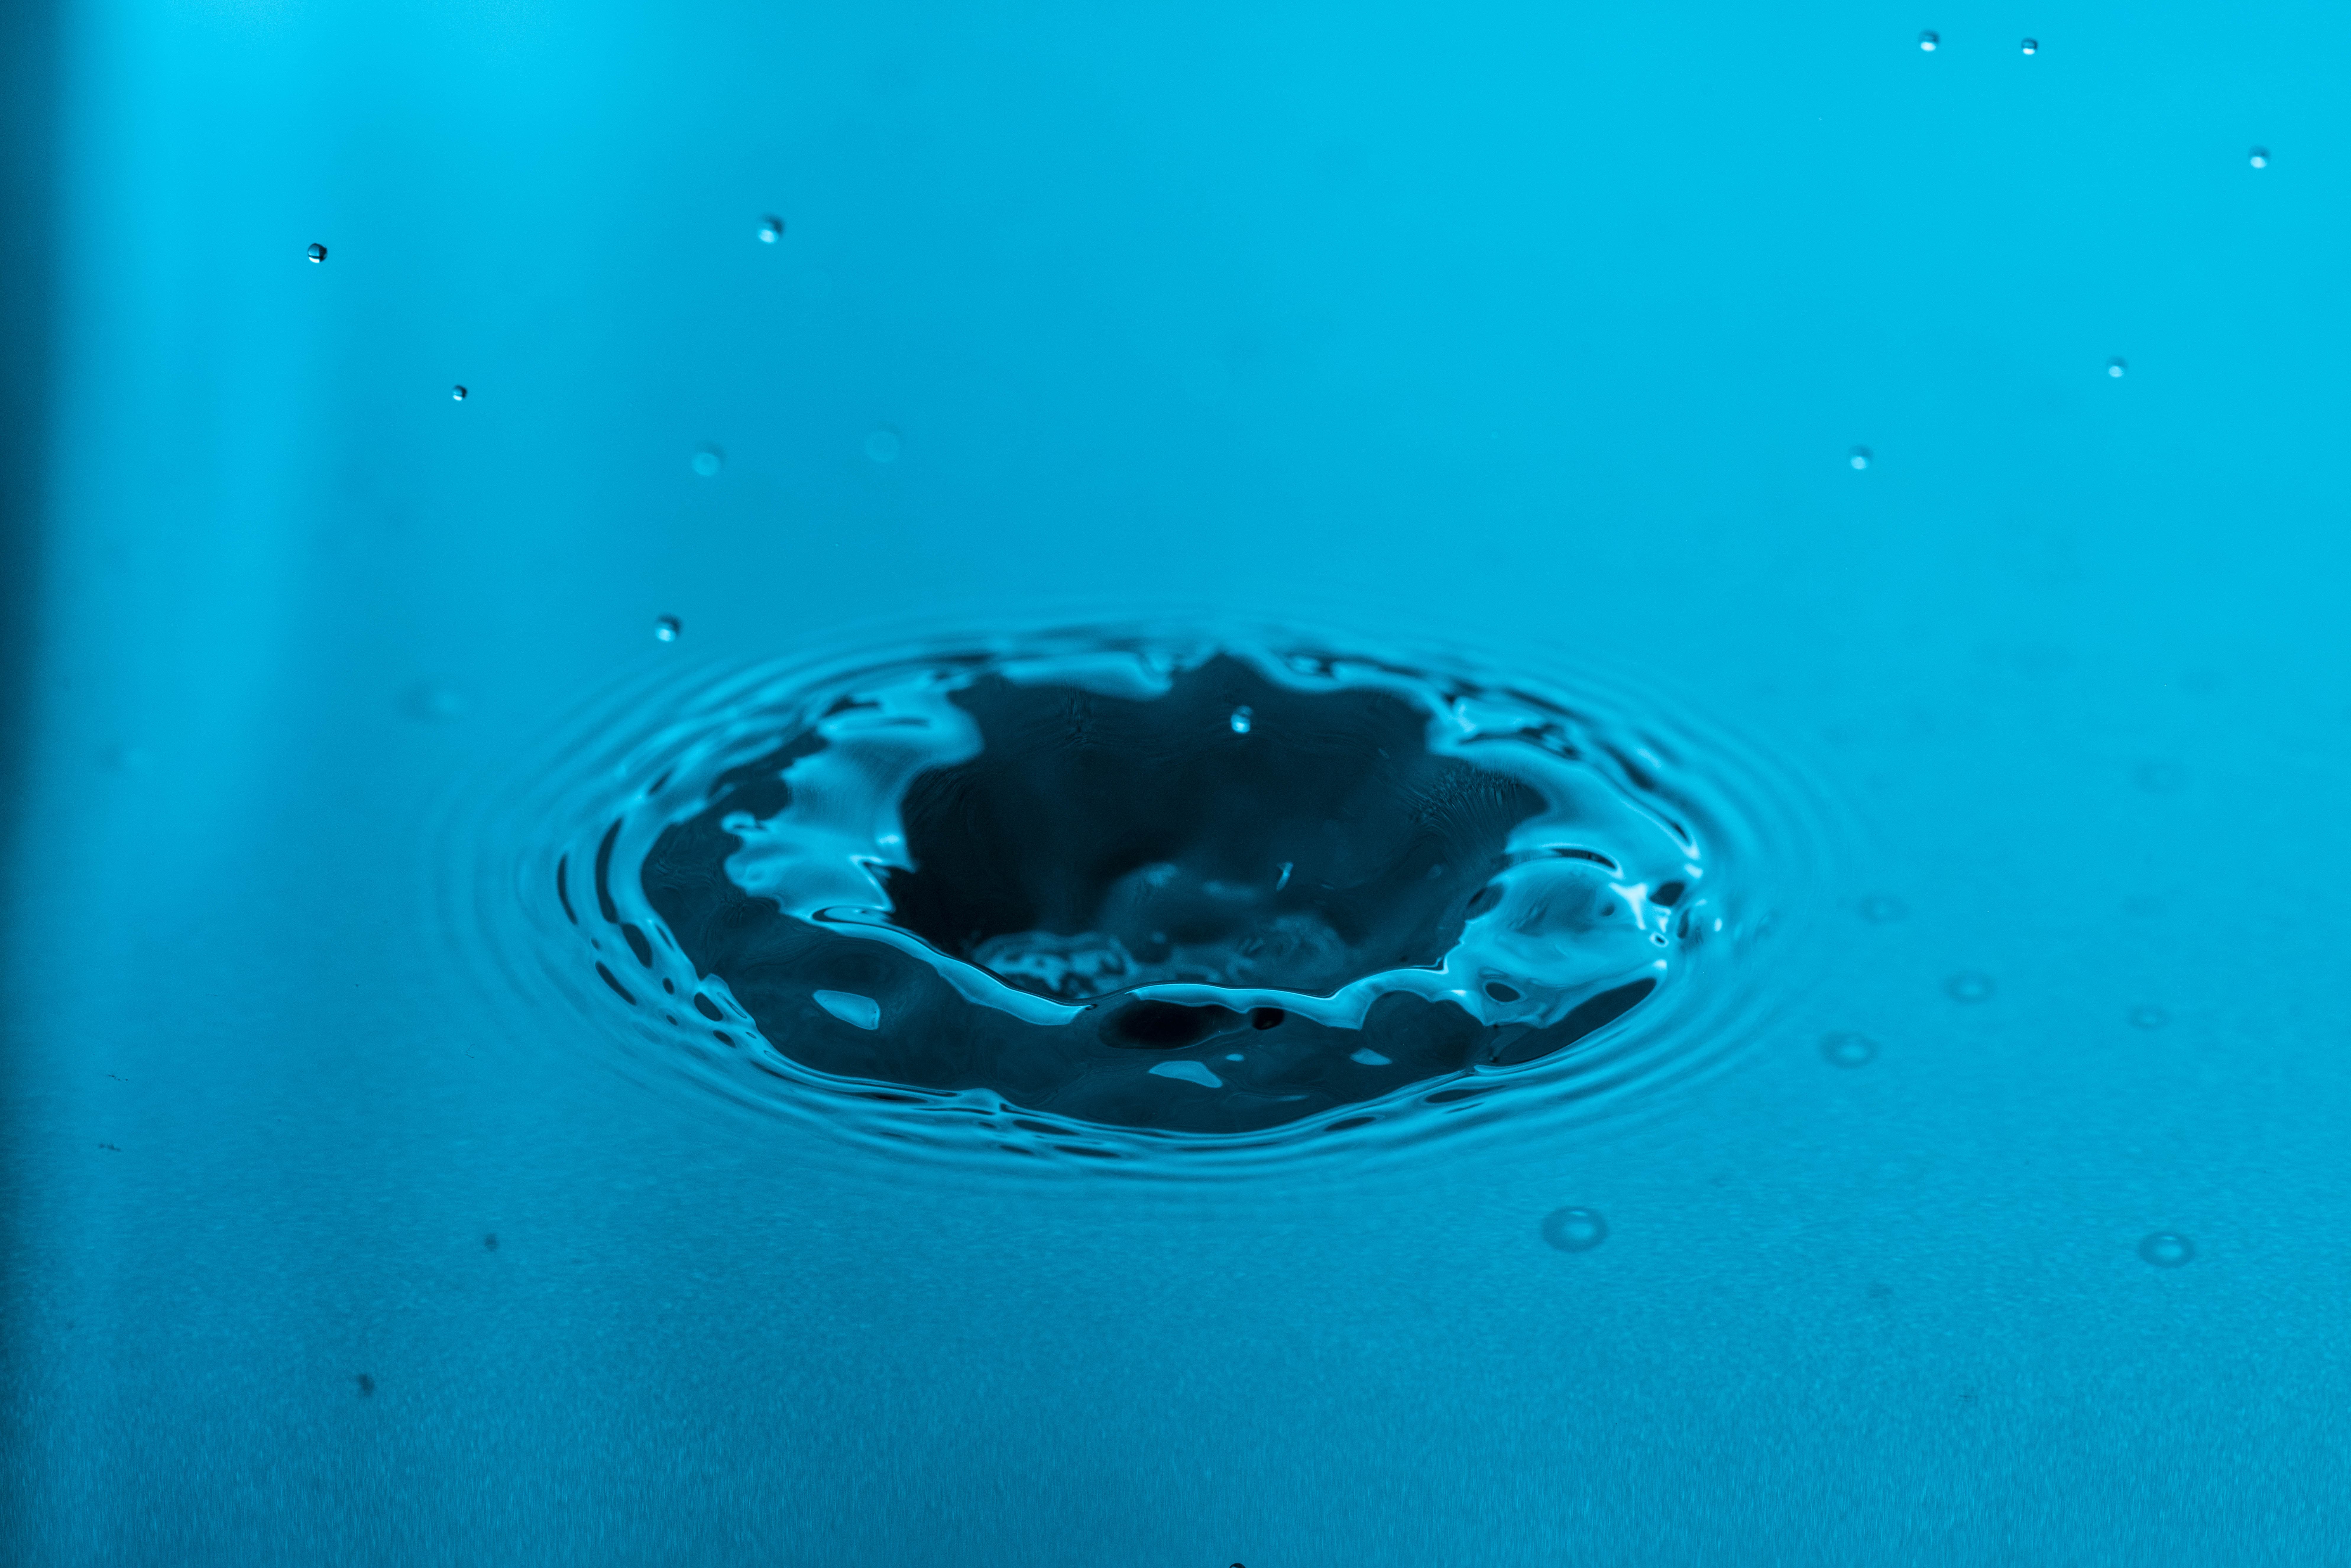
In this shot, the shutter was fired too early
Kit list
Flashgun
Any flashgun with manual power control is perfect for this technique, and this can be used with a softbox or bounced off white card to illuminate the water.
Flash triggers
For firing the flashgun, wireless flash triggers or even a flash cable are essential because the flashgun is positioned opposite the camera.
Tray for water
Baking trays, grow-bag trays and any kind of tray (ideally black) are perfect for catching the water drops and creating the splashes.
Stand and arm/grip
A light stand with an arm, a boom stand or a tripod with an articulating centre column is essential for holding the bag of water with a pinhole in it above the tray.
Your guide: Mark Mawson
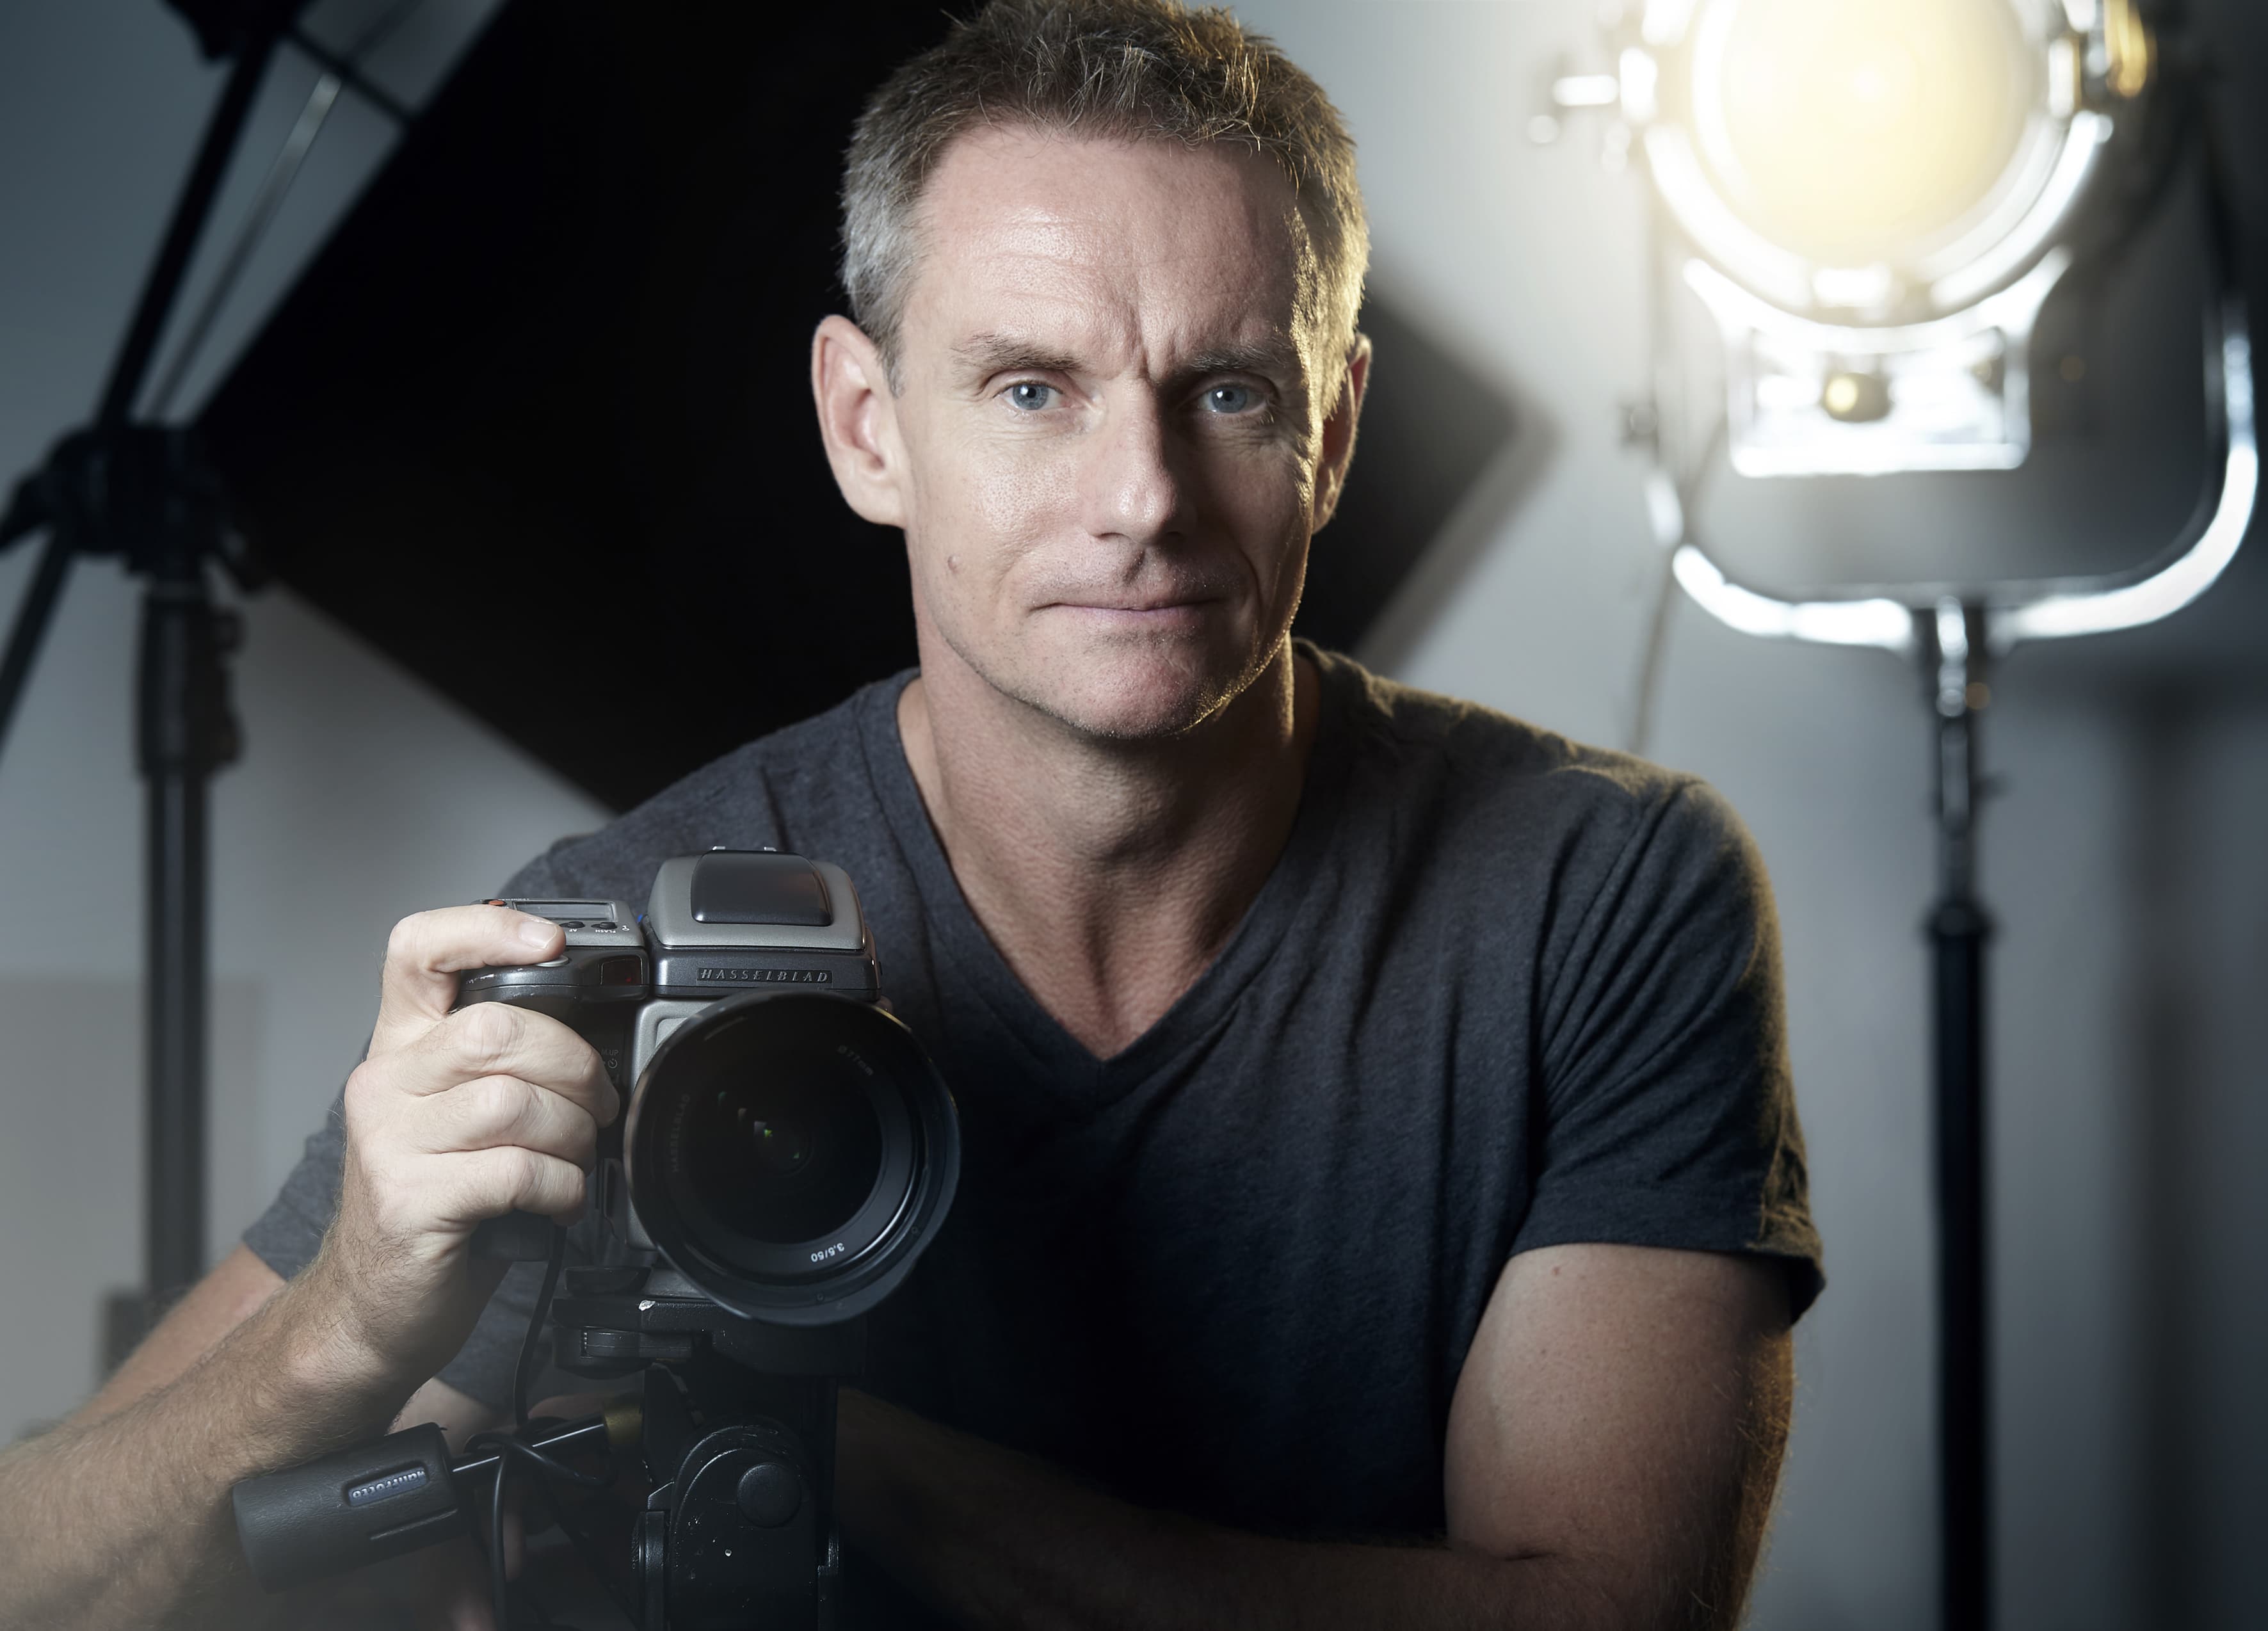
Mark is a London-based advertising and art photographer and director with 30 years’ experience producing beautiful, creative and inspiring pictures. Mark specialises in shooting liquids and his colourful work titled ‘Aqueous’ has become very well-known and collectable. See more at his website
3) Liquid art
I have been shooting my ‘Aqueous’ liquid work for 15 years. It started out as a fun, personal project during some downtime while I was working as a fashion and portrait photographer. The idea was rolling around in my head for some time before I got around to trying it. I had seen lots on ink-in-water images but I wanted to create something that gave more body to the shapes, so I experimented with paints of varying densities. That was a couple of years before I switched from shooting film to digital – I shot my first experiments and my first series using a Mamiya RZ67 camera on Fujifilm Provia 120 transparency film. Shooting liquids can be a hit-and-miss experience as the shot is over in a fraction of a second and they are not 100% controllable.
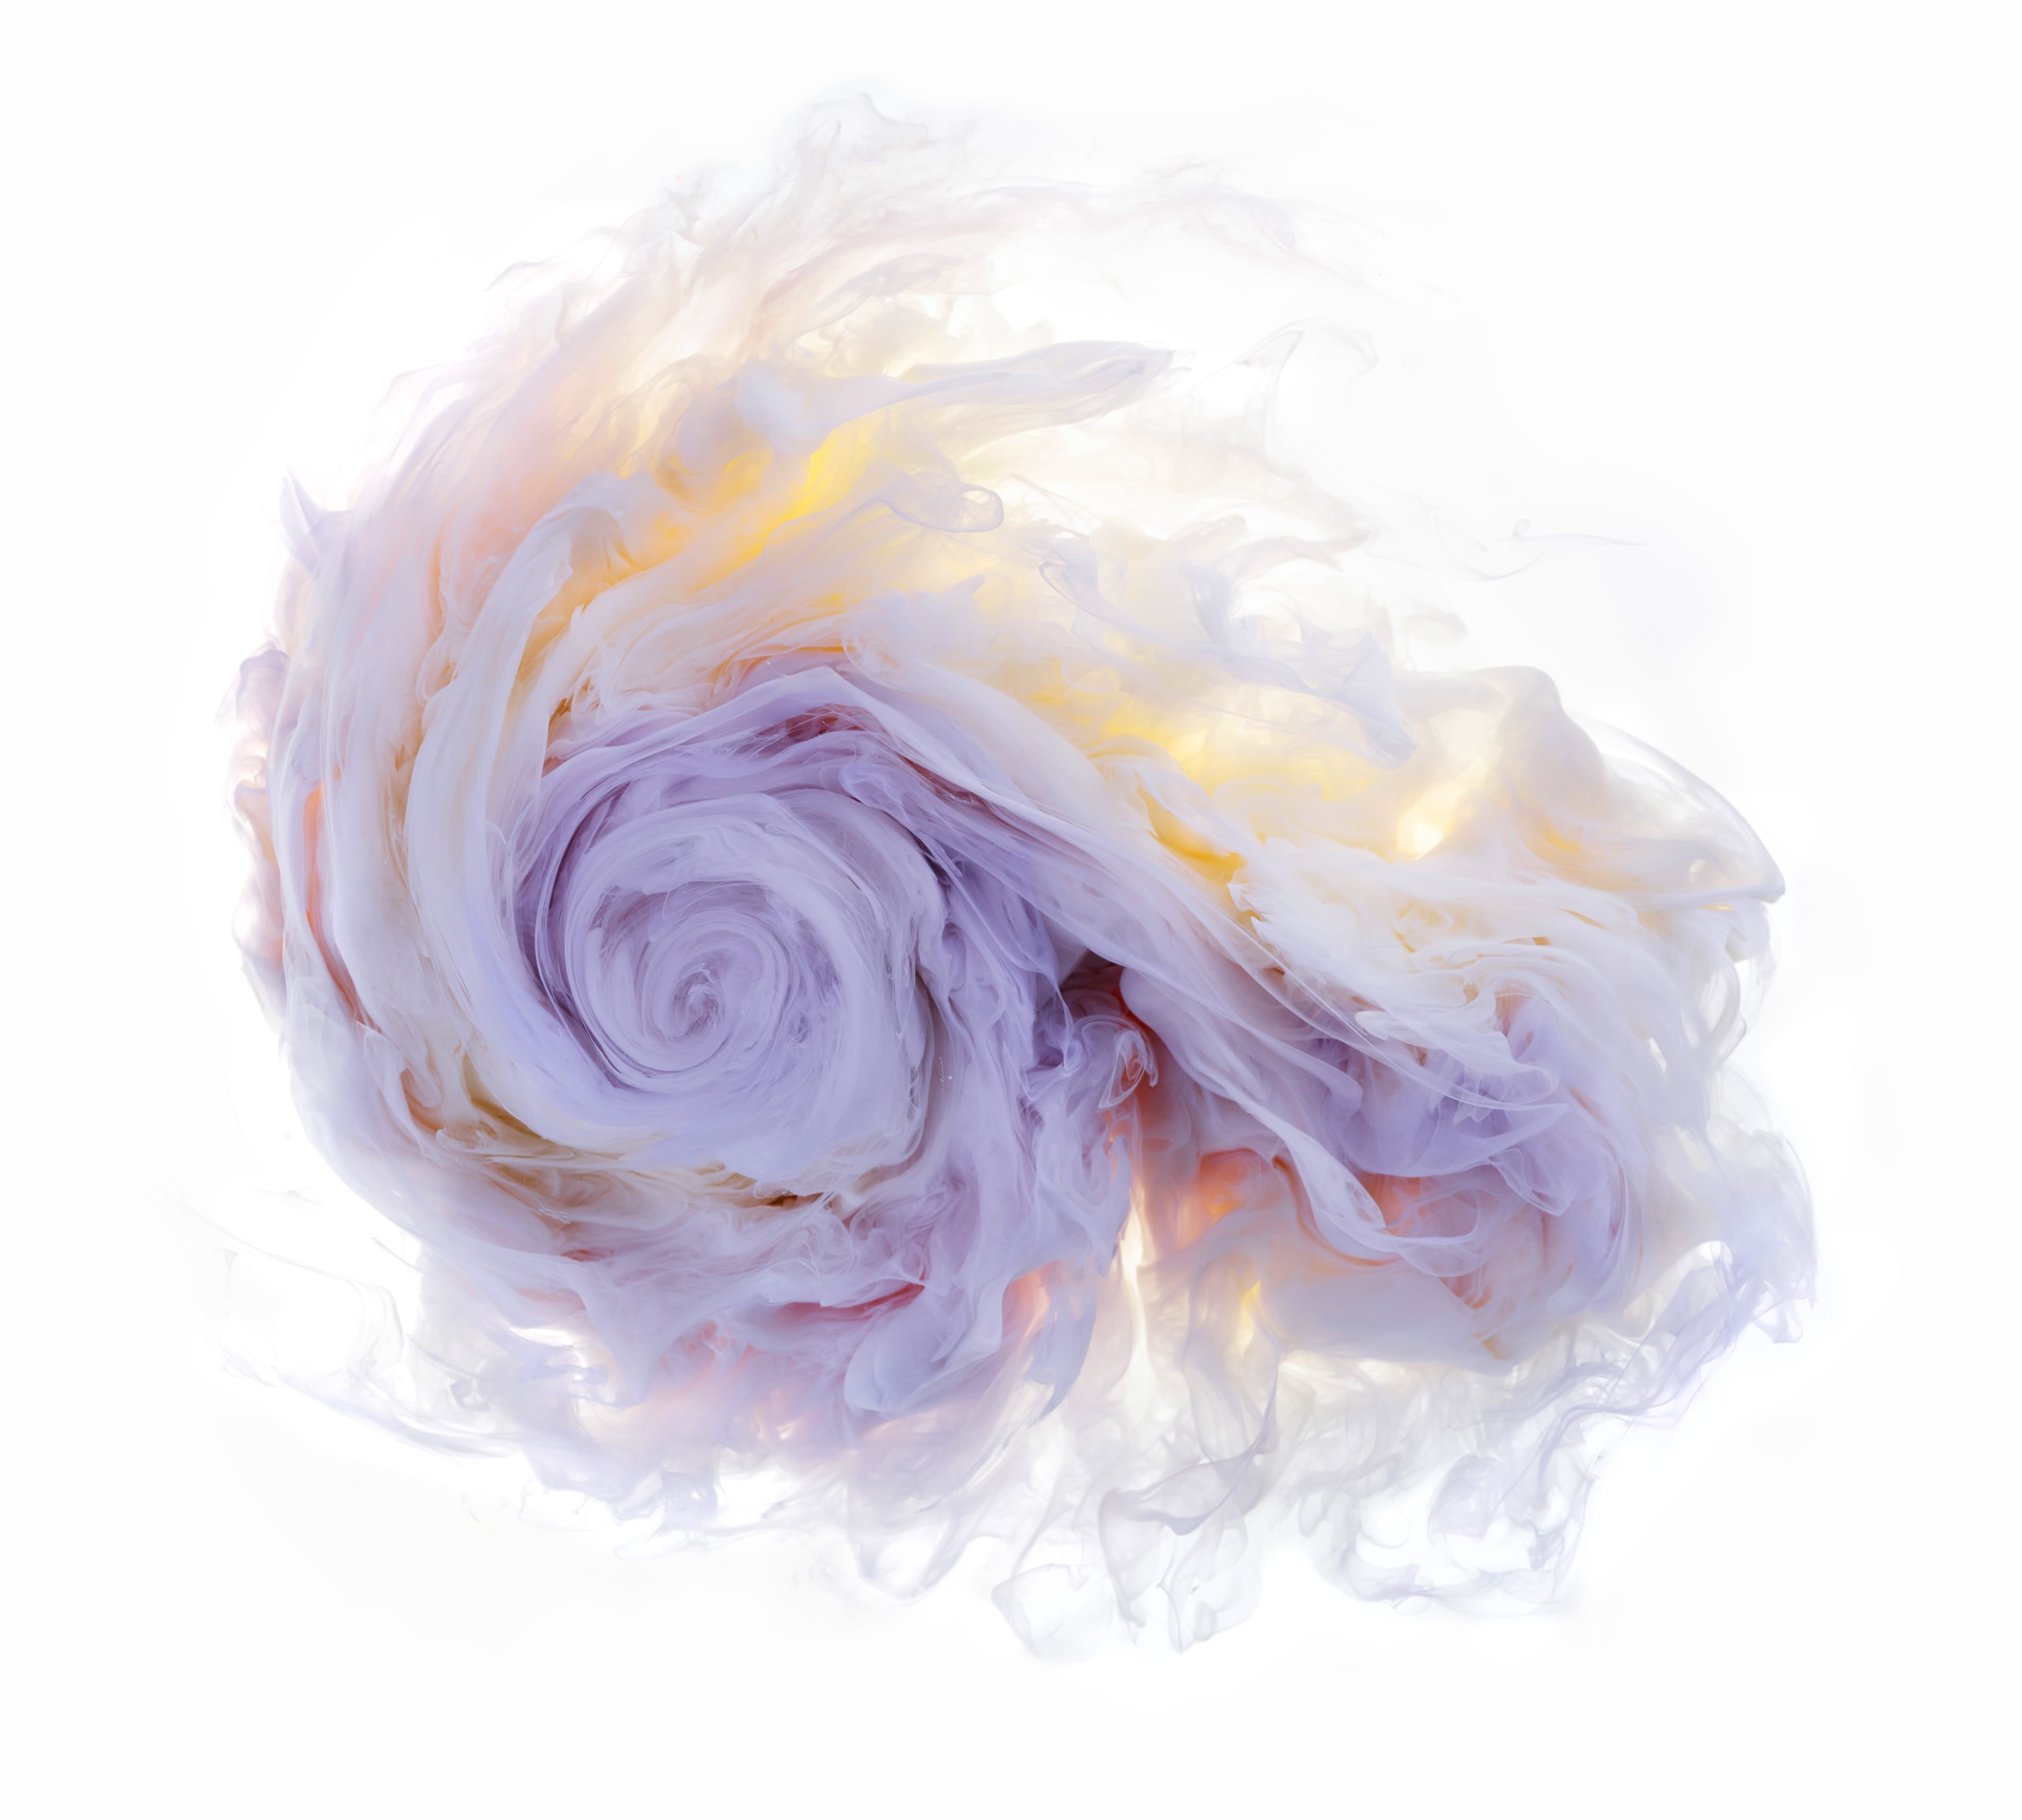
From the series ‘Aqueous Roses’ – inspired by the delicate shapes of rose petals. Violet and yellow paints were used. Hasselblad H1 with a Phase One digital back, 120mm, 1/800 sec at f/13
I had to be quite precise with what I shot to avoid rolls and rolls of wasted film. Now, with digital it’s much easier! The work initially gained quite a lot attention and has since become very popular, so much so that I decided to specialise in shooting liquids in 2010. I like to work with colours from the opposite sides of the colour wheel, colours that complement each other but also subtle and pastel colours are nicely suited to this style of work. Sometimes I work with exact colours that clients need for their products.
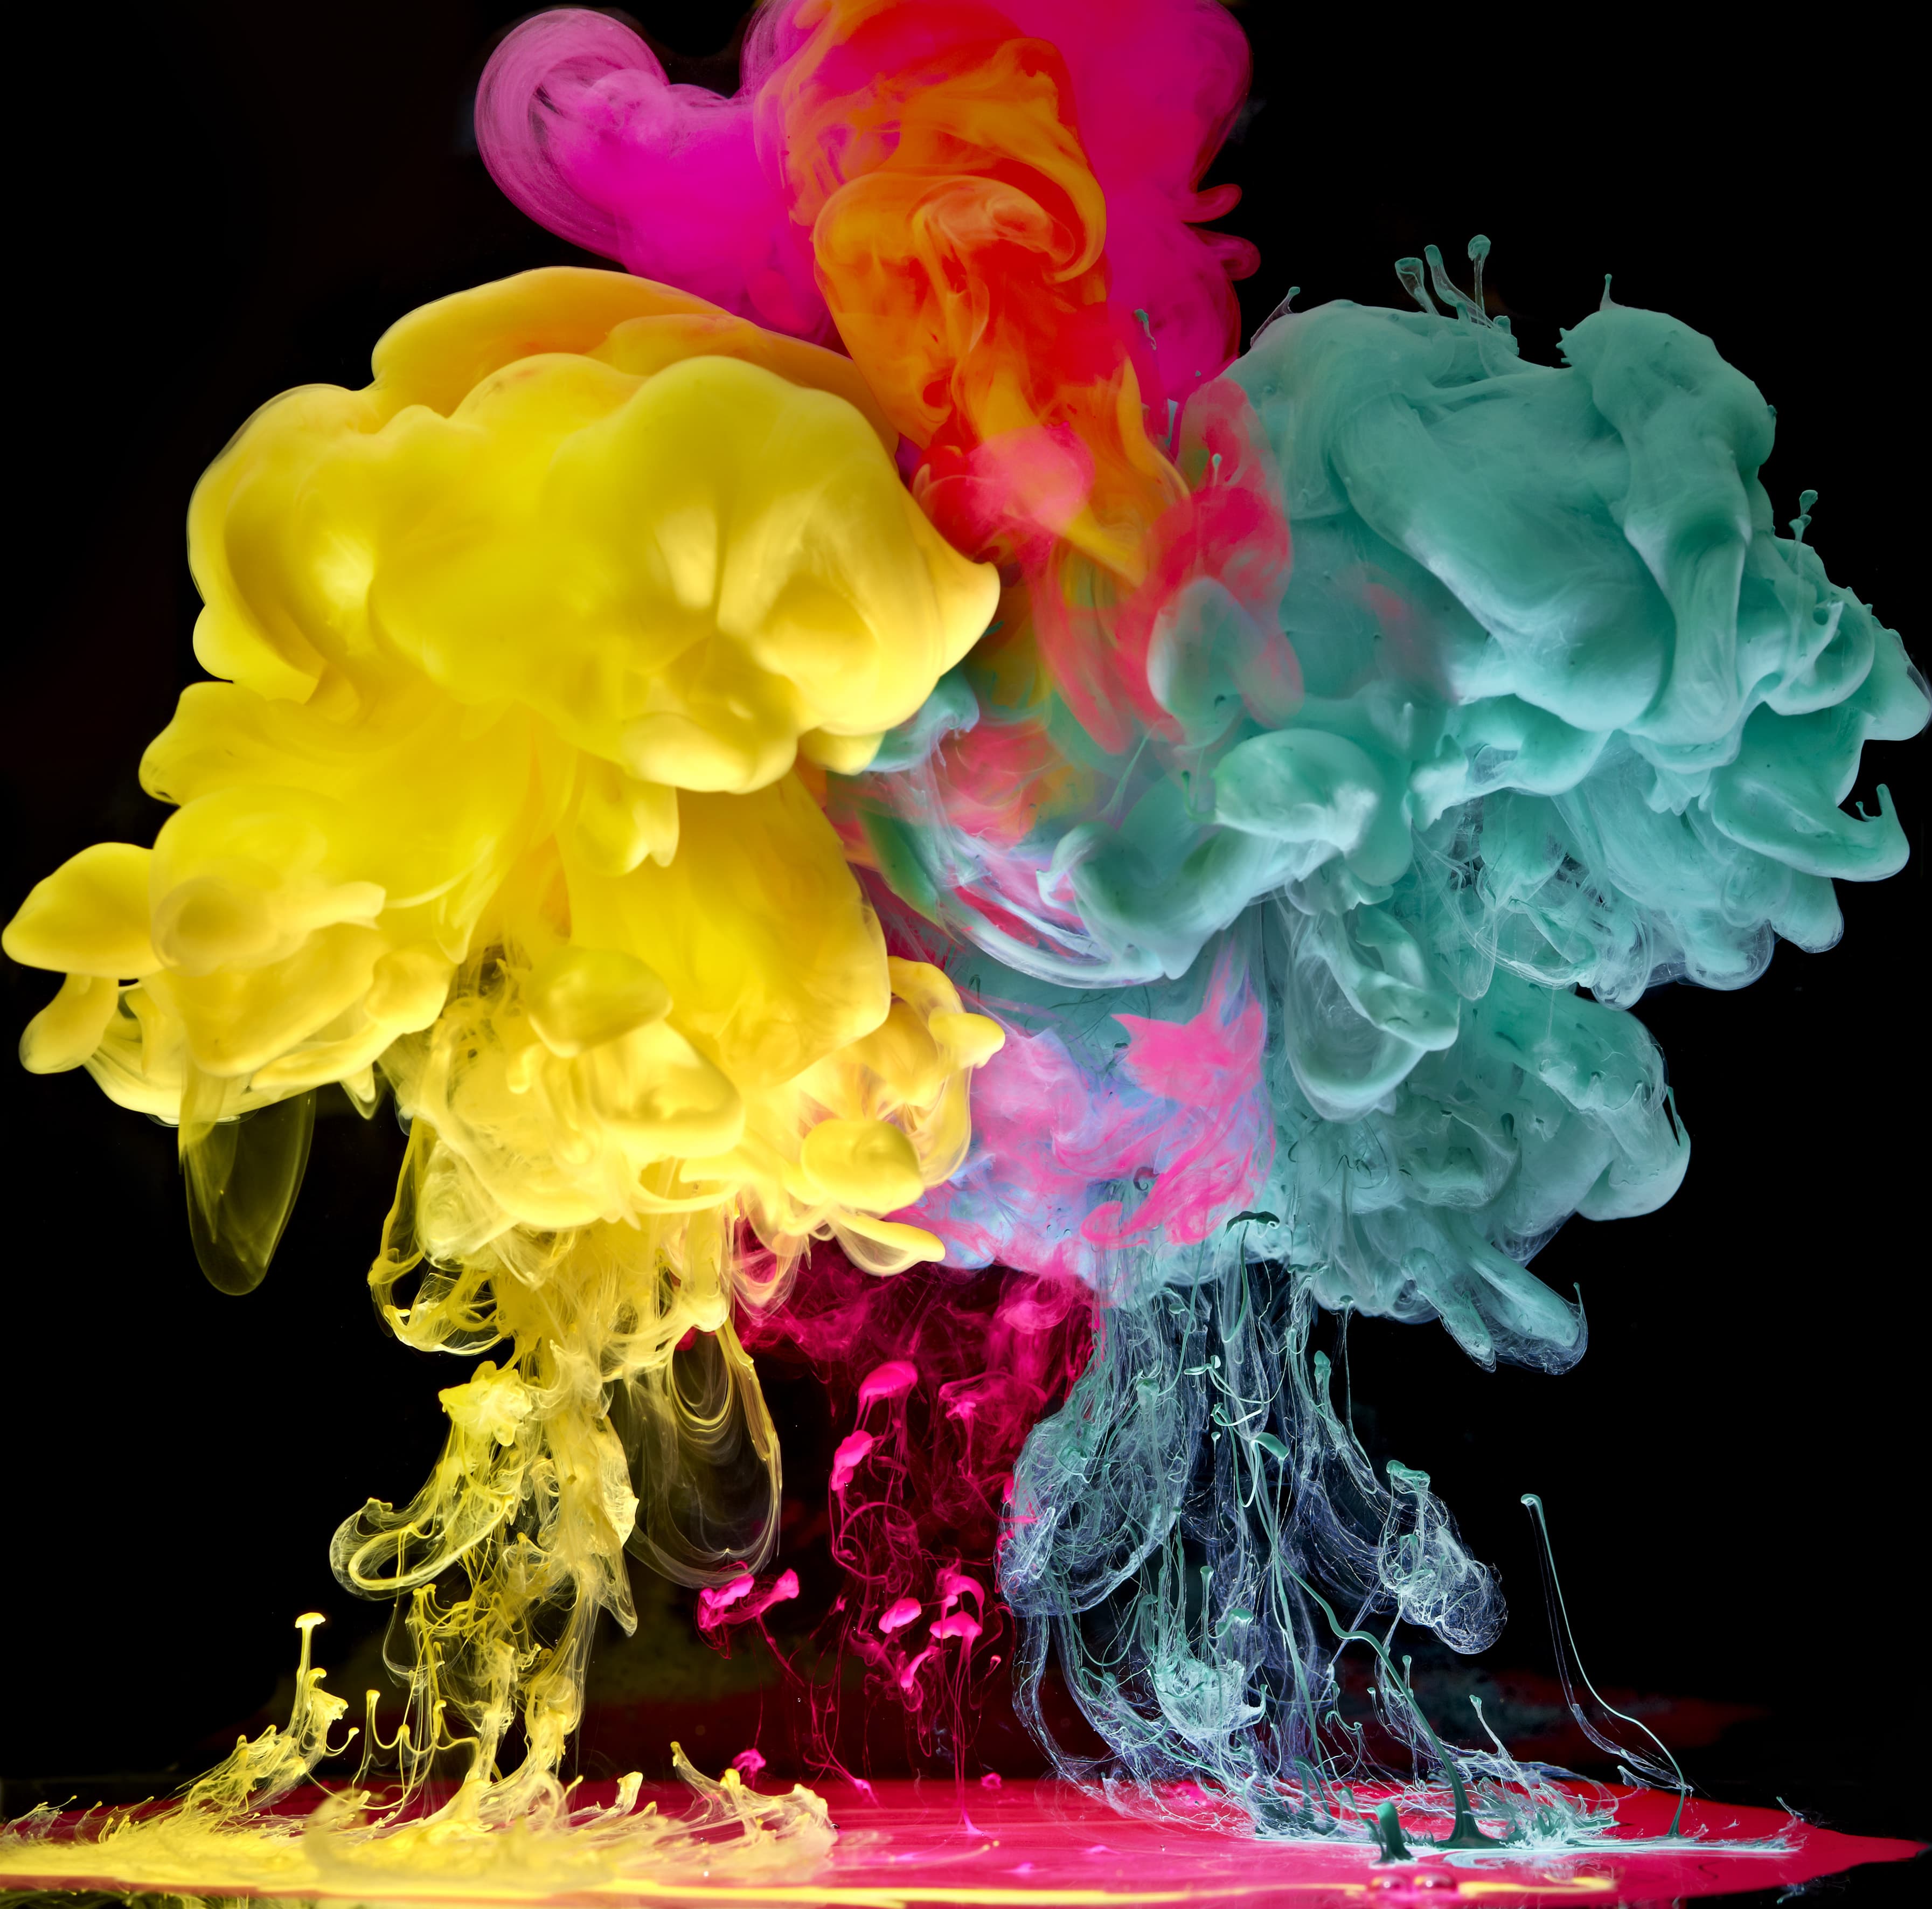
From the ‘Aqueous Fluoreau’ series that is all about colour – using cyan, magenta and yellow paints. Hasselblad H1 with a Phase One digital back, 120mm, 1/800 sec at f/13
Shooting set-up
Camera set-up
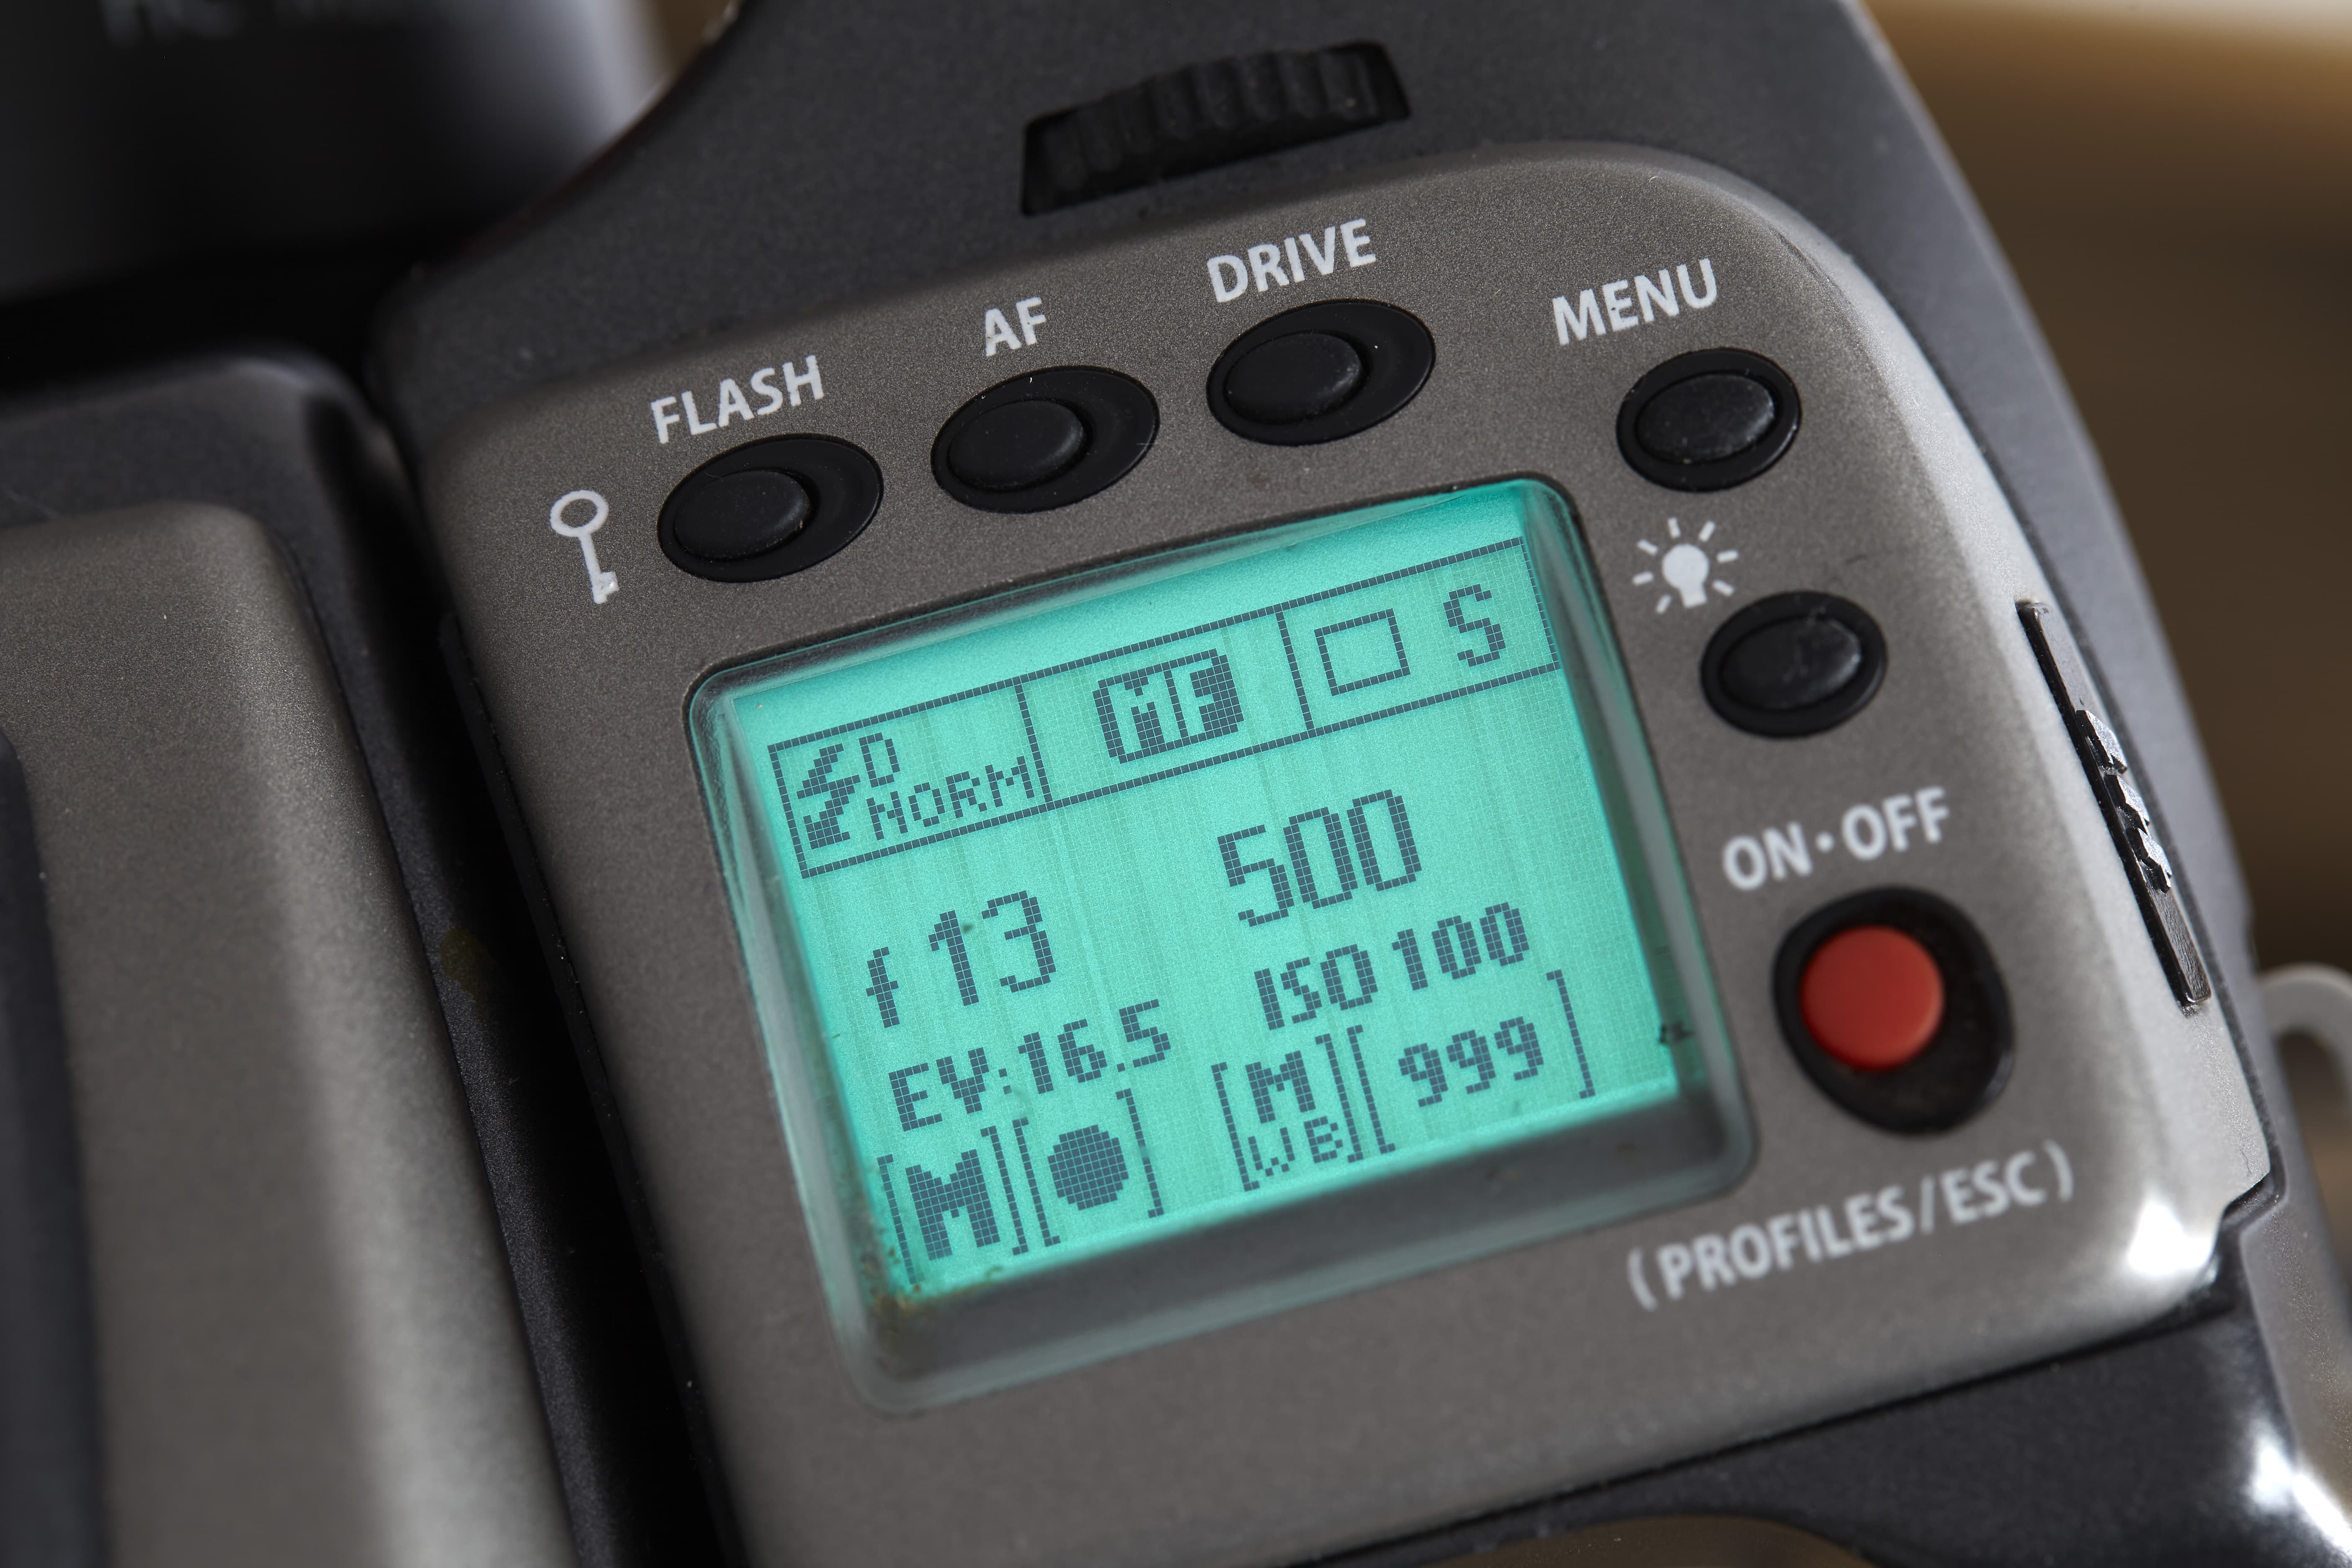
I shoot on a Hasselblad H series camera with a Phase One digital back mounted onto a Manfrotto tripod. I set the camera to 1/500sec to avoid any ambient light, as the flash is what freezes the motion of the liquids. I use a 50mm, 80mm or 120mm macro Hasselblad lens set to f/13. I find this aperture value gives me the nicest results.
Lighting
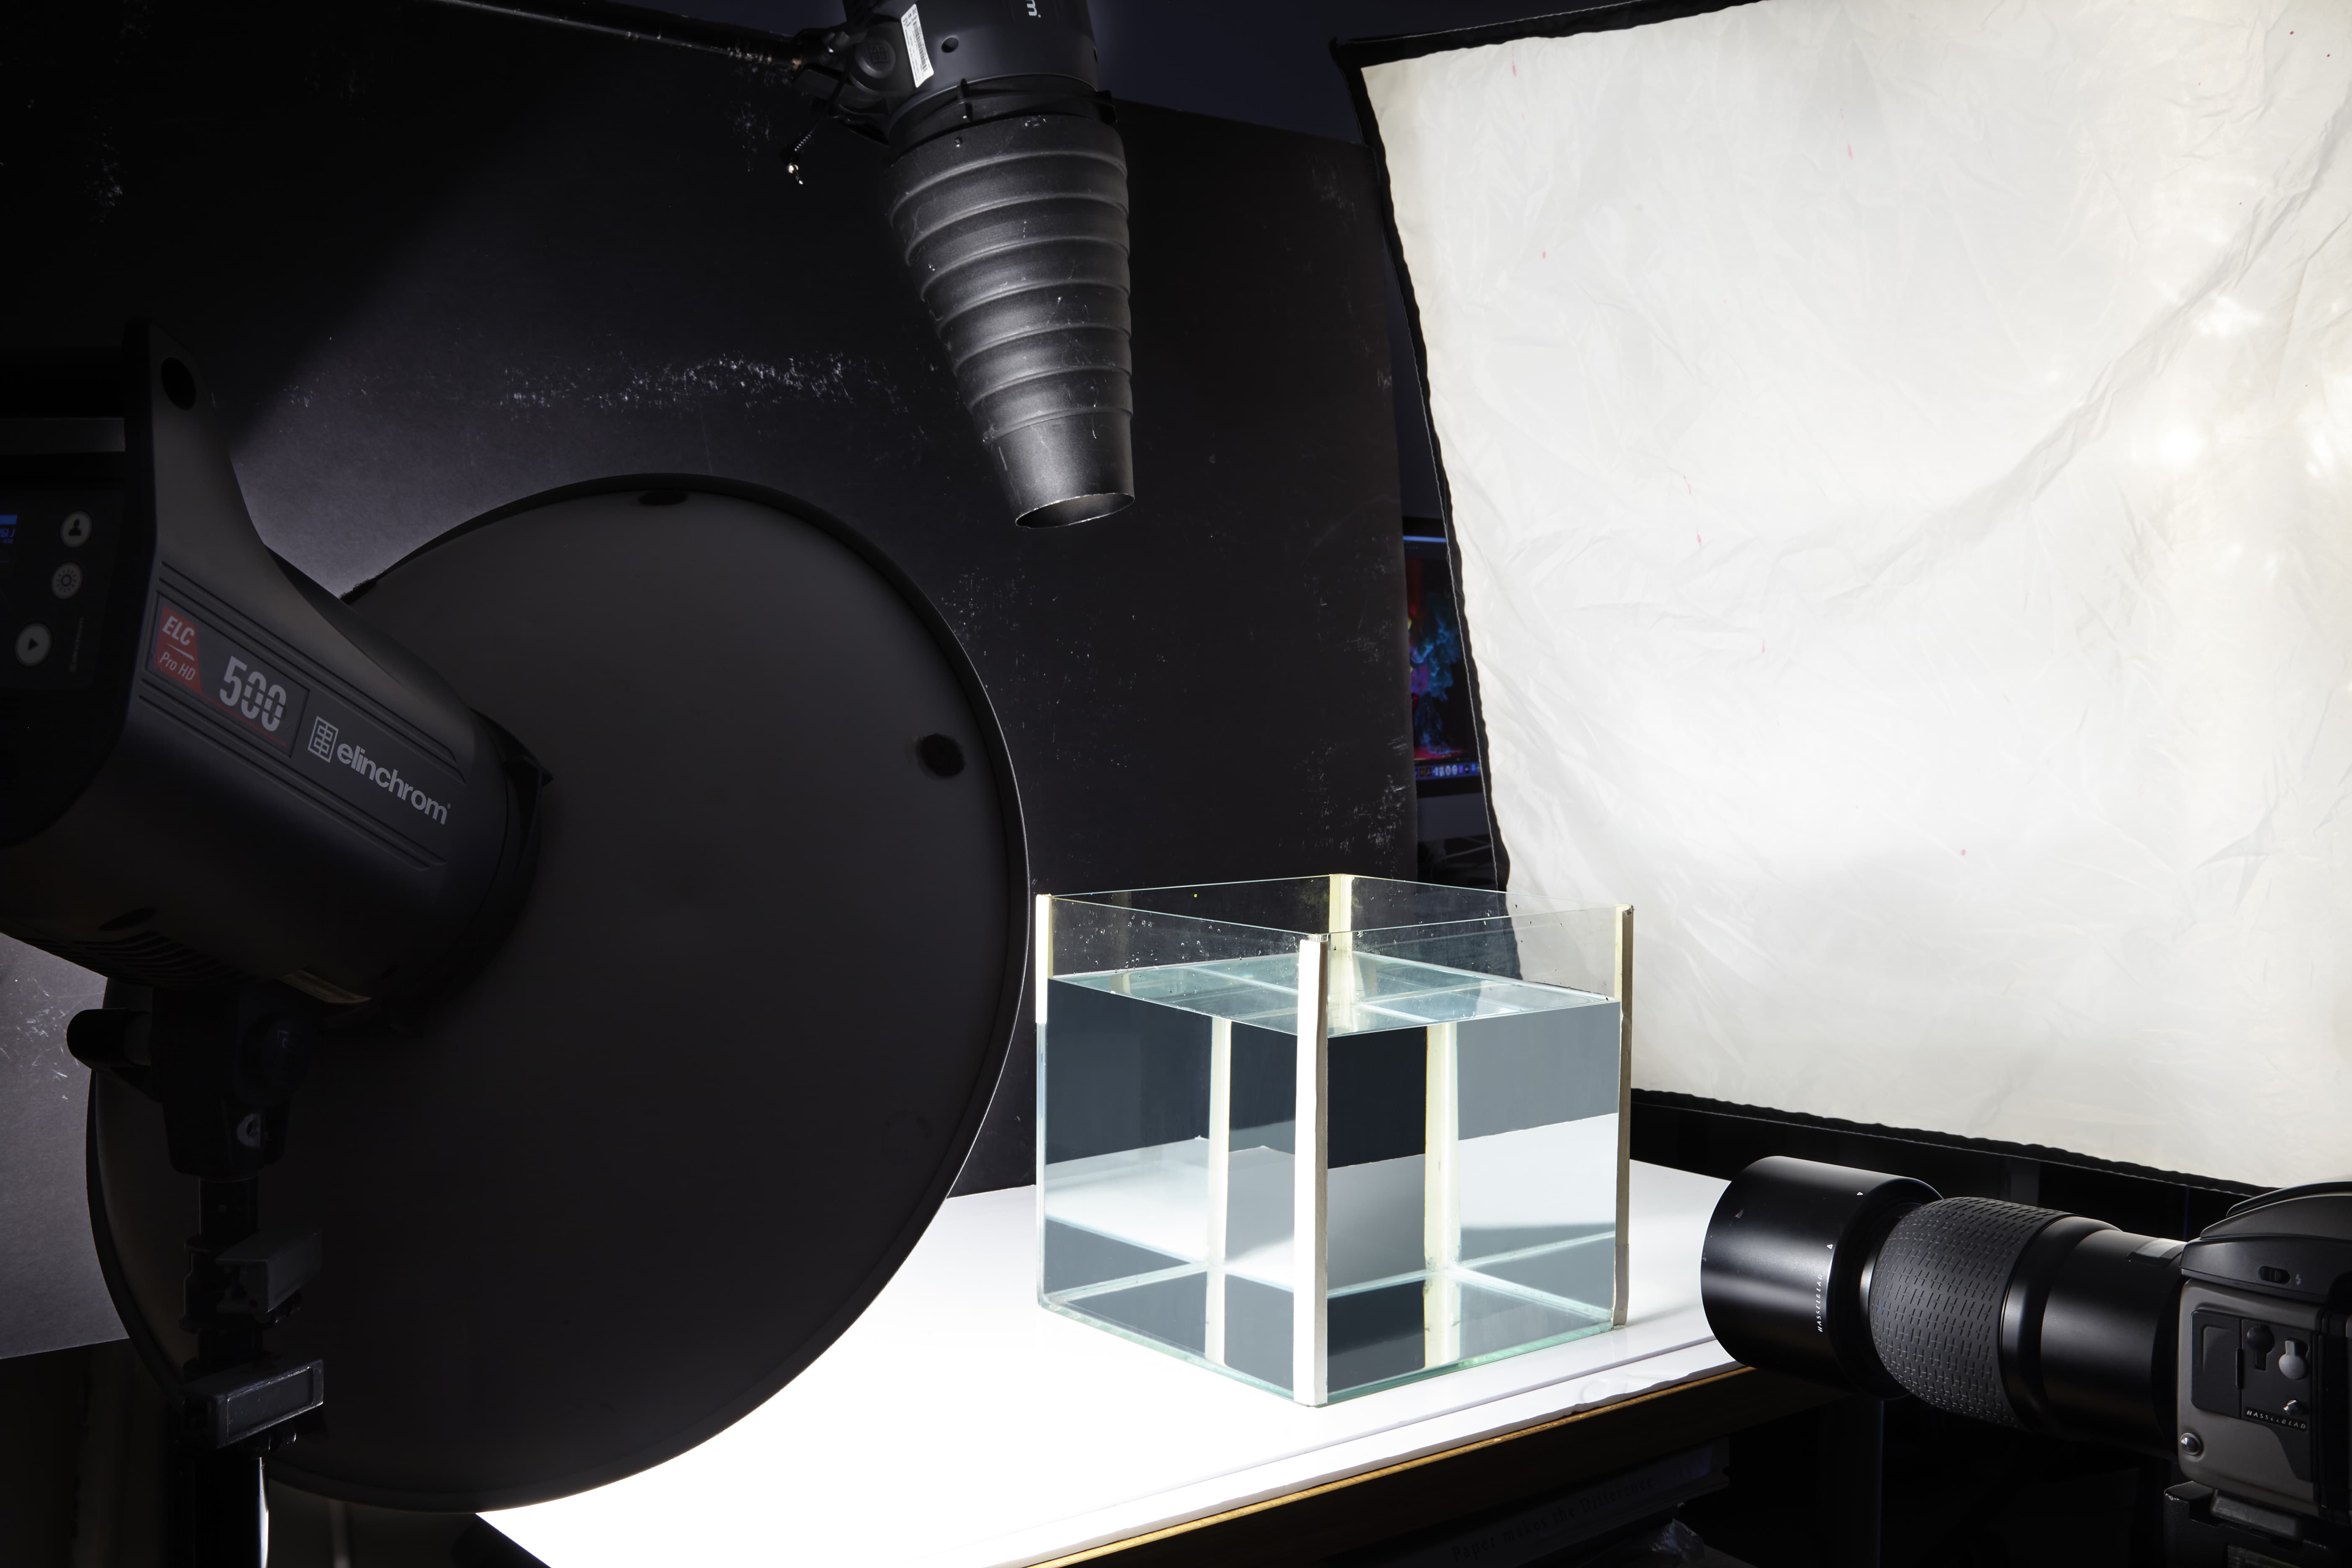
To avoid unwanted reflections on the glass surface, positioning is vital. I use Elinchrom studio lights but flashguns could do the job. I typically use a key light from the side with an opposite fill and a top or backlight to create depth when needed. Soft boxes or large reflectors are good for a soft look and cover a large area or snoots for small areas of light.
Paint
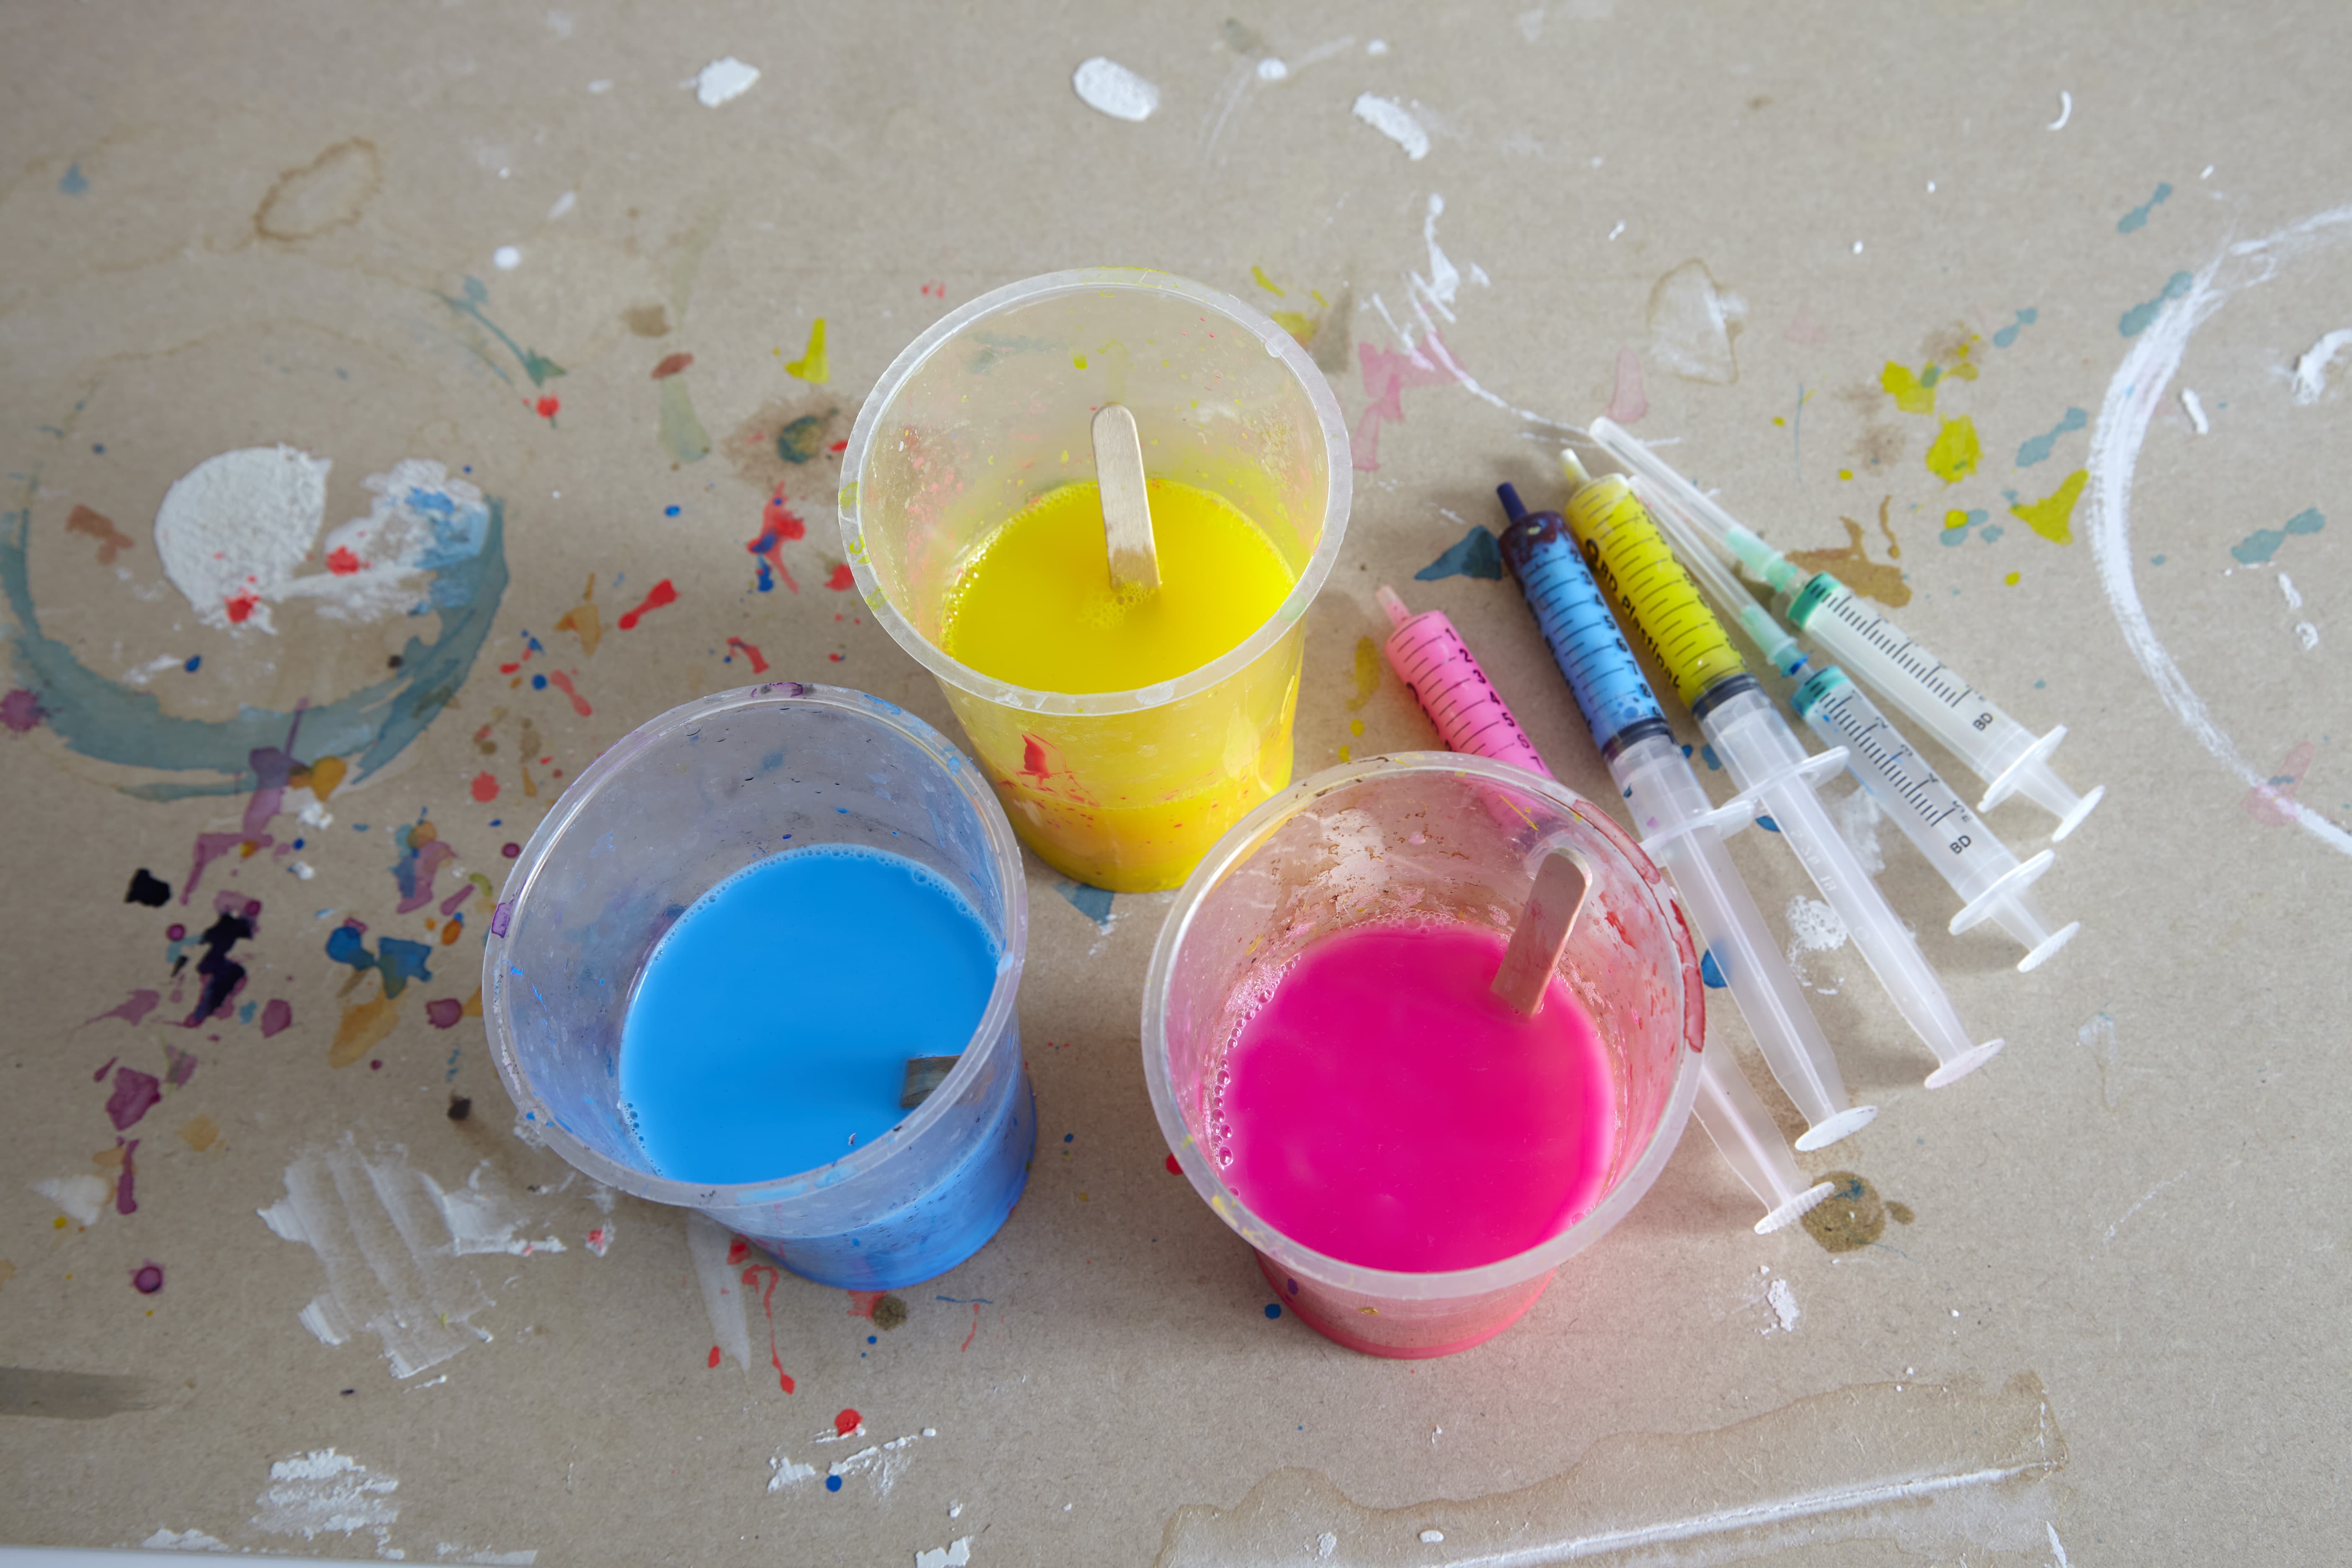
I usually use acrylic paints for my images as they work well in water but I also use oils to create spheres and other interesting shapes. I prepare the paints in plastic cups and use syringes and tubes to introduce them into the water; or if a larger volume is required, I pour them in or use bottles I can squirt the paints from.
Timing
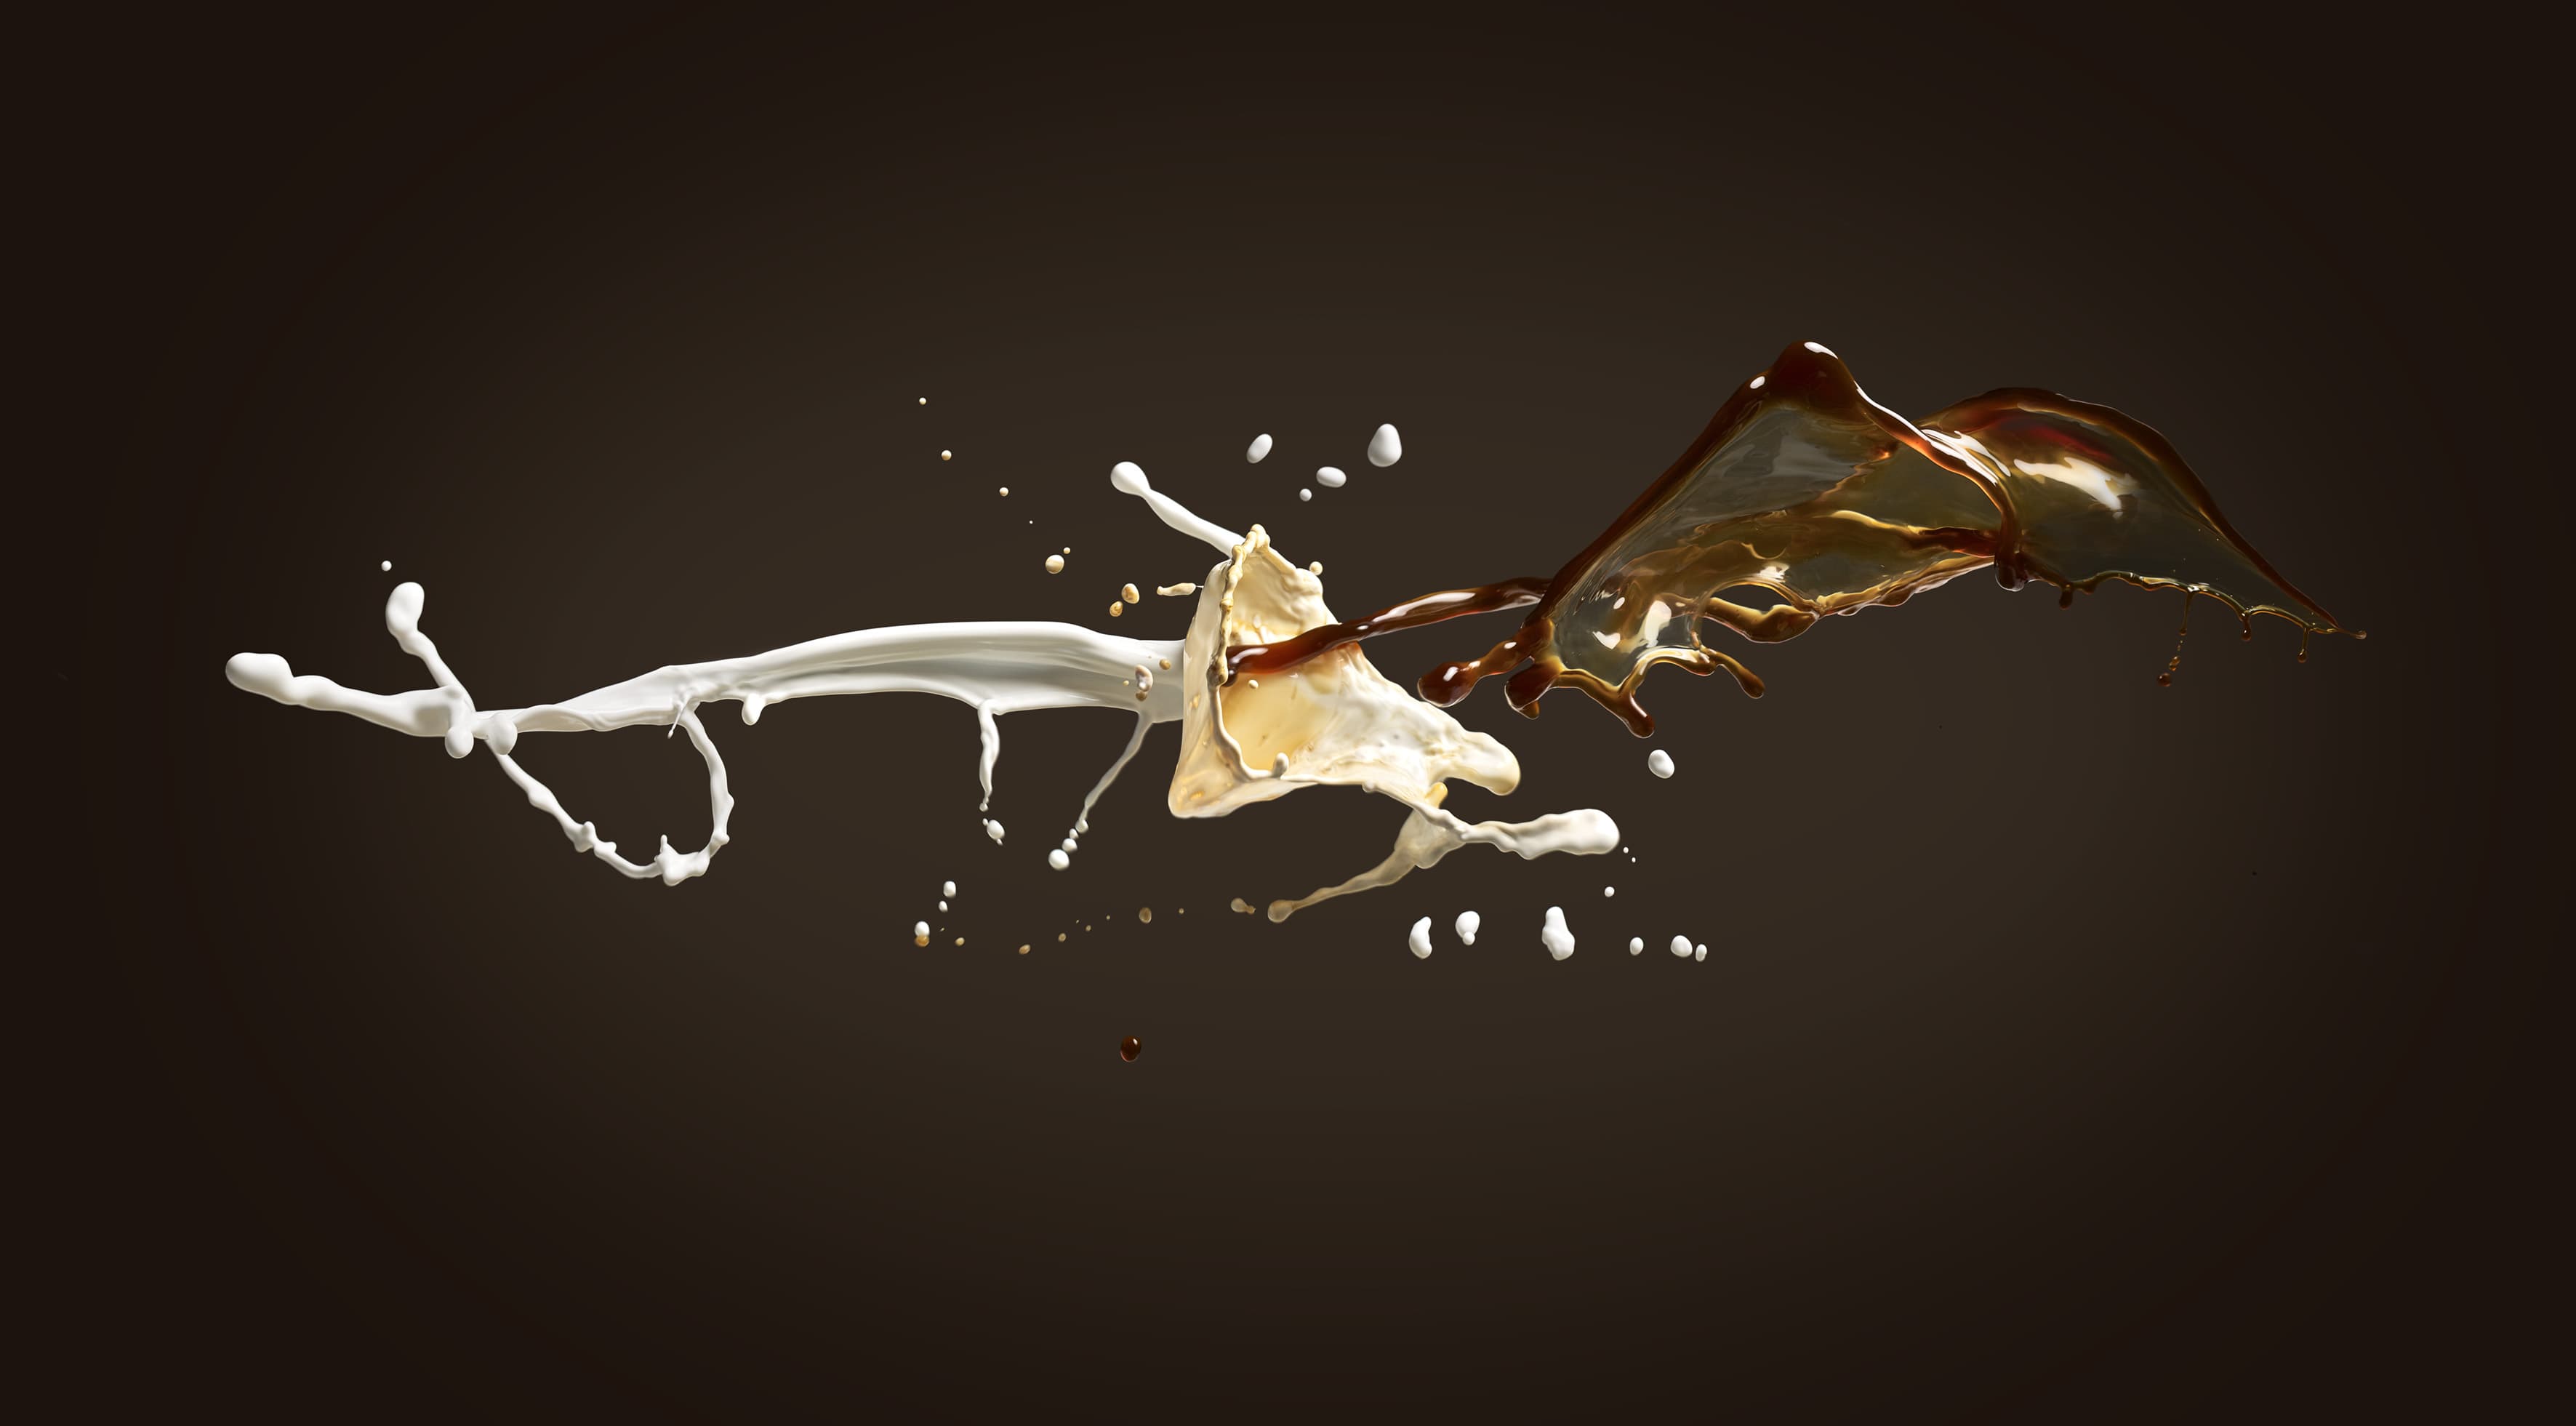
To capture the exact moment when liquid collides, timing is everything. This is best illustrated when I was shooting coffee and milk splashing together in mid-air. Given the usual slight reaction delay when pressing the shutter release, I had to slightly anticipate the moment and there were many frames when I fired too late or too early.
Capture
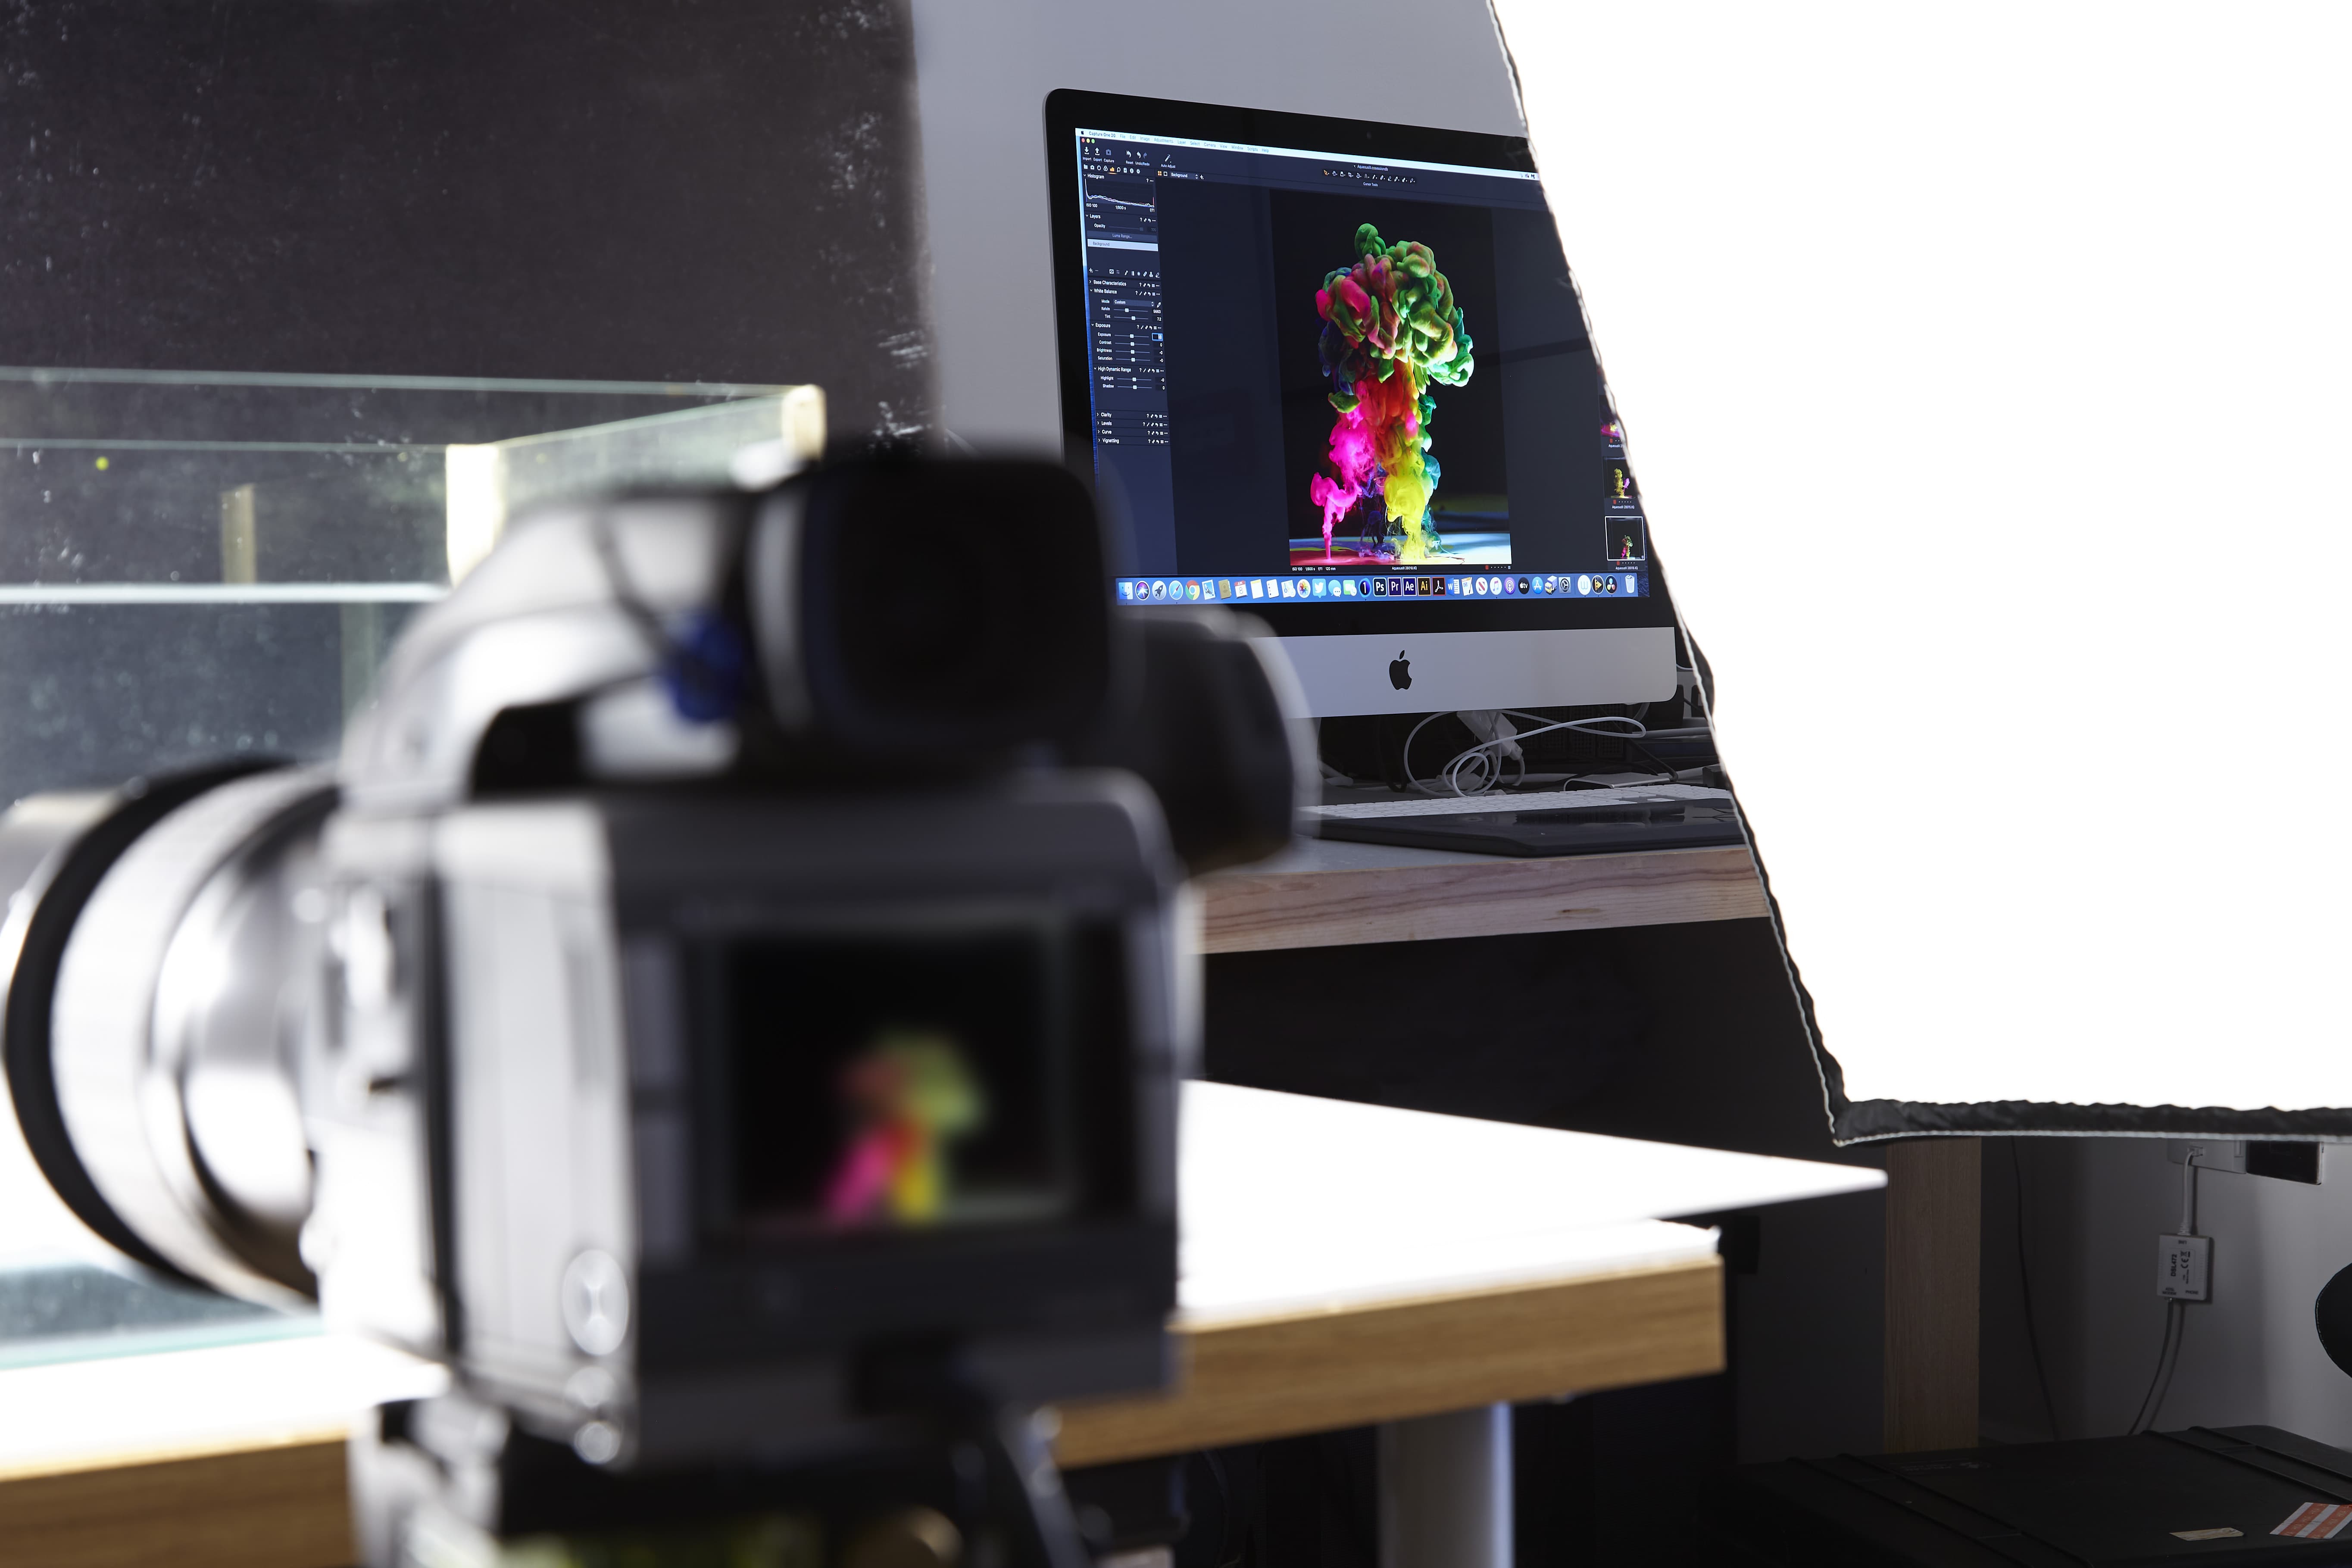
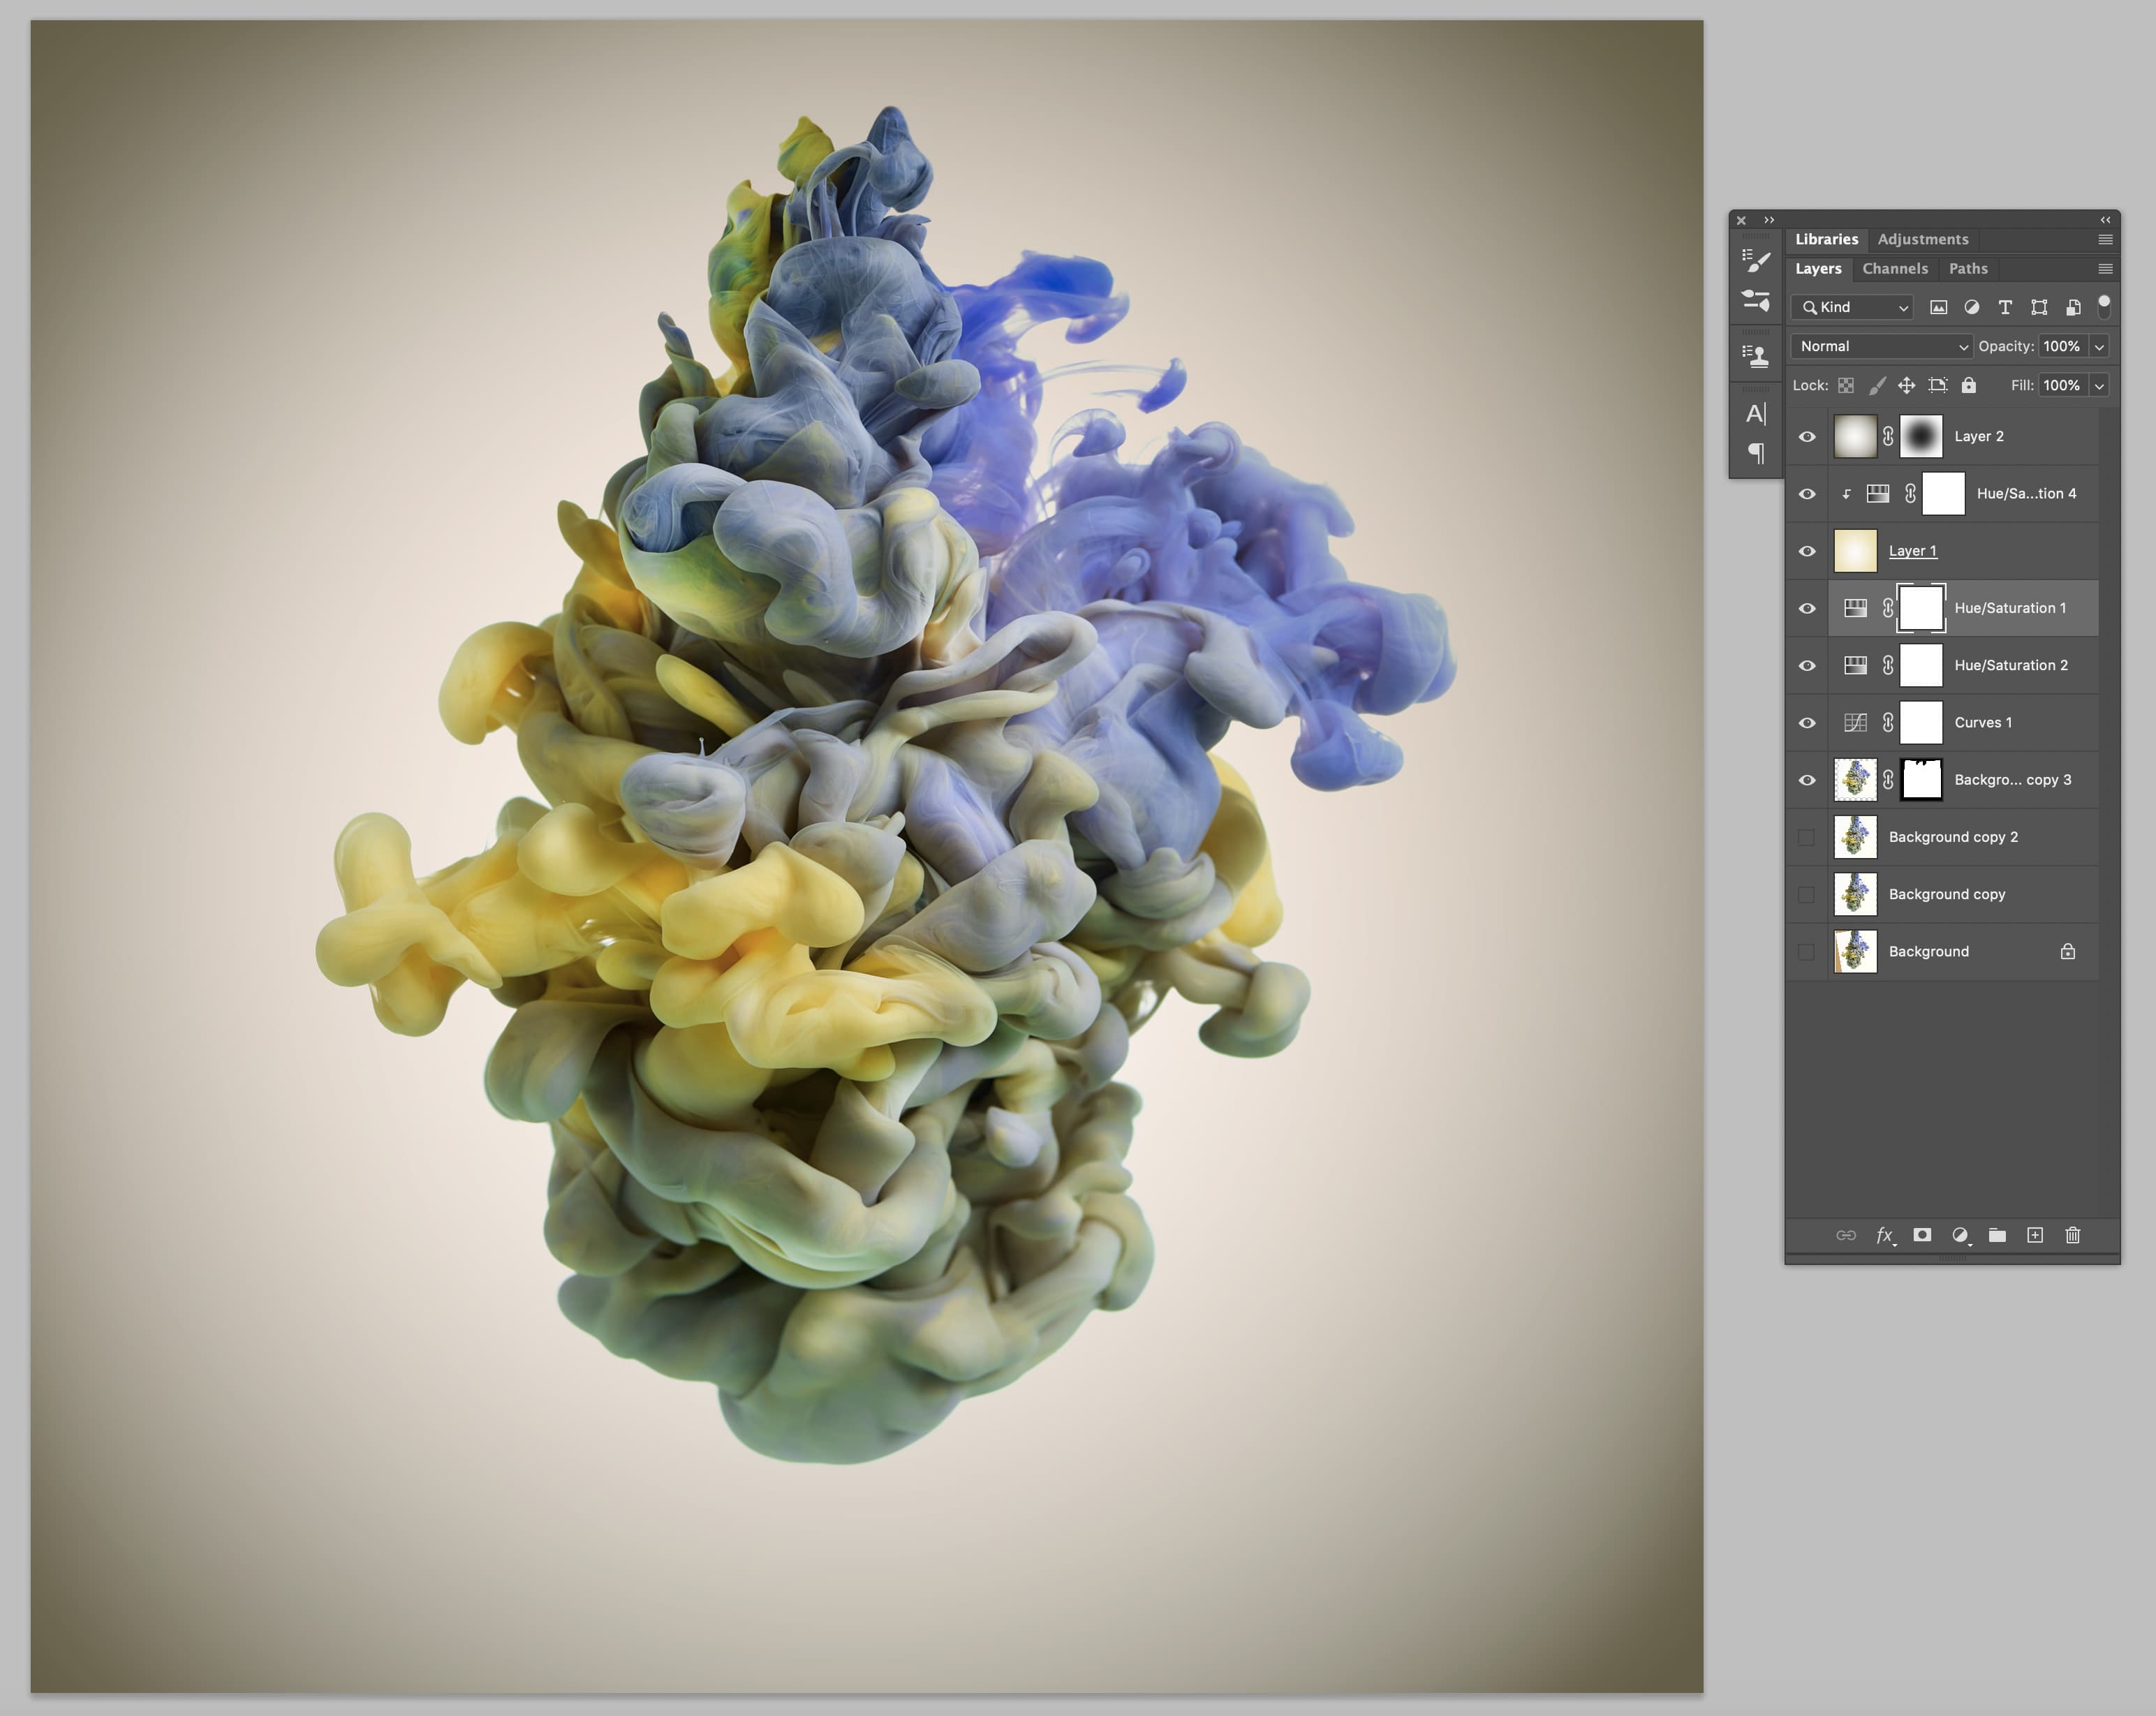
I always shoot in raw and tethered to a Mac using Capture One Pro 20 so I can see the images straight away on the monitor. Once I’ve captured the images, I use C1 Pro to make any adjustments and process them out to 16-bit TIFF files. I then go into Photoshop to do any other clean up and retouching as required.
Post production
For my own work, I try to shoot as much as possible in-camera and only do minor adjustments and clean up of the images – there are often a few particles in the water that need removing. For commercial work, there are occasions where multiple files need to be layered and combined to produce the final image.
Tanks
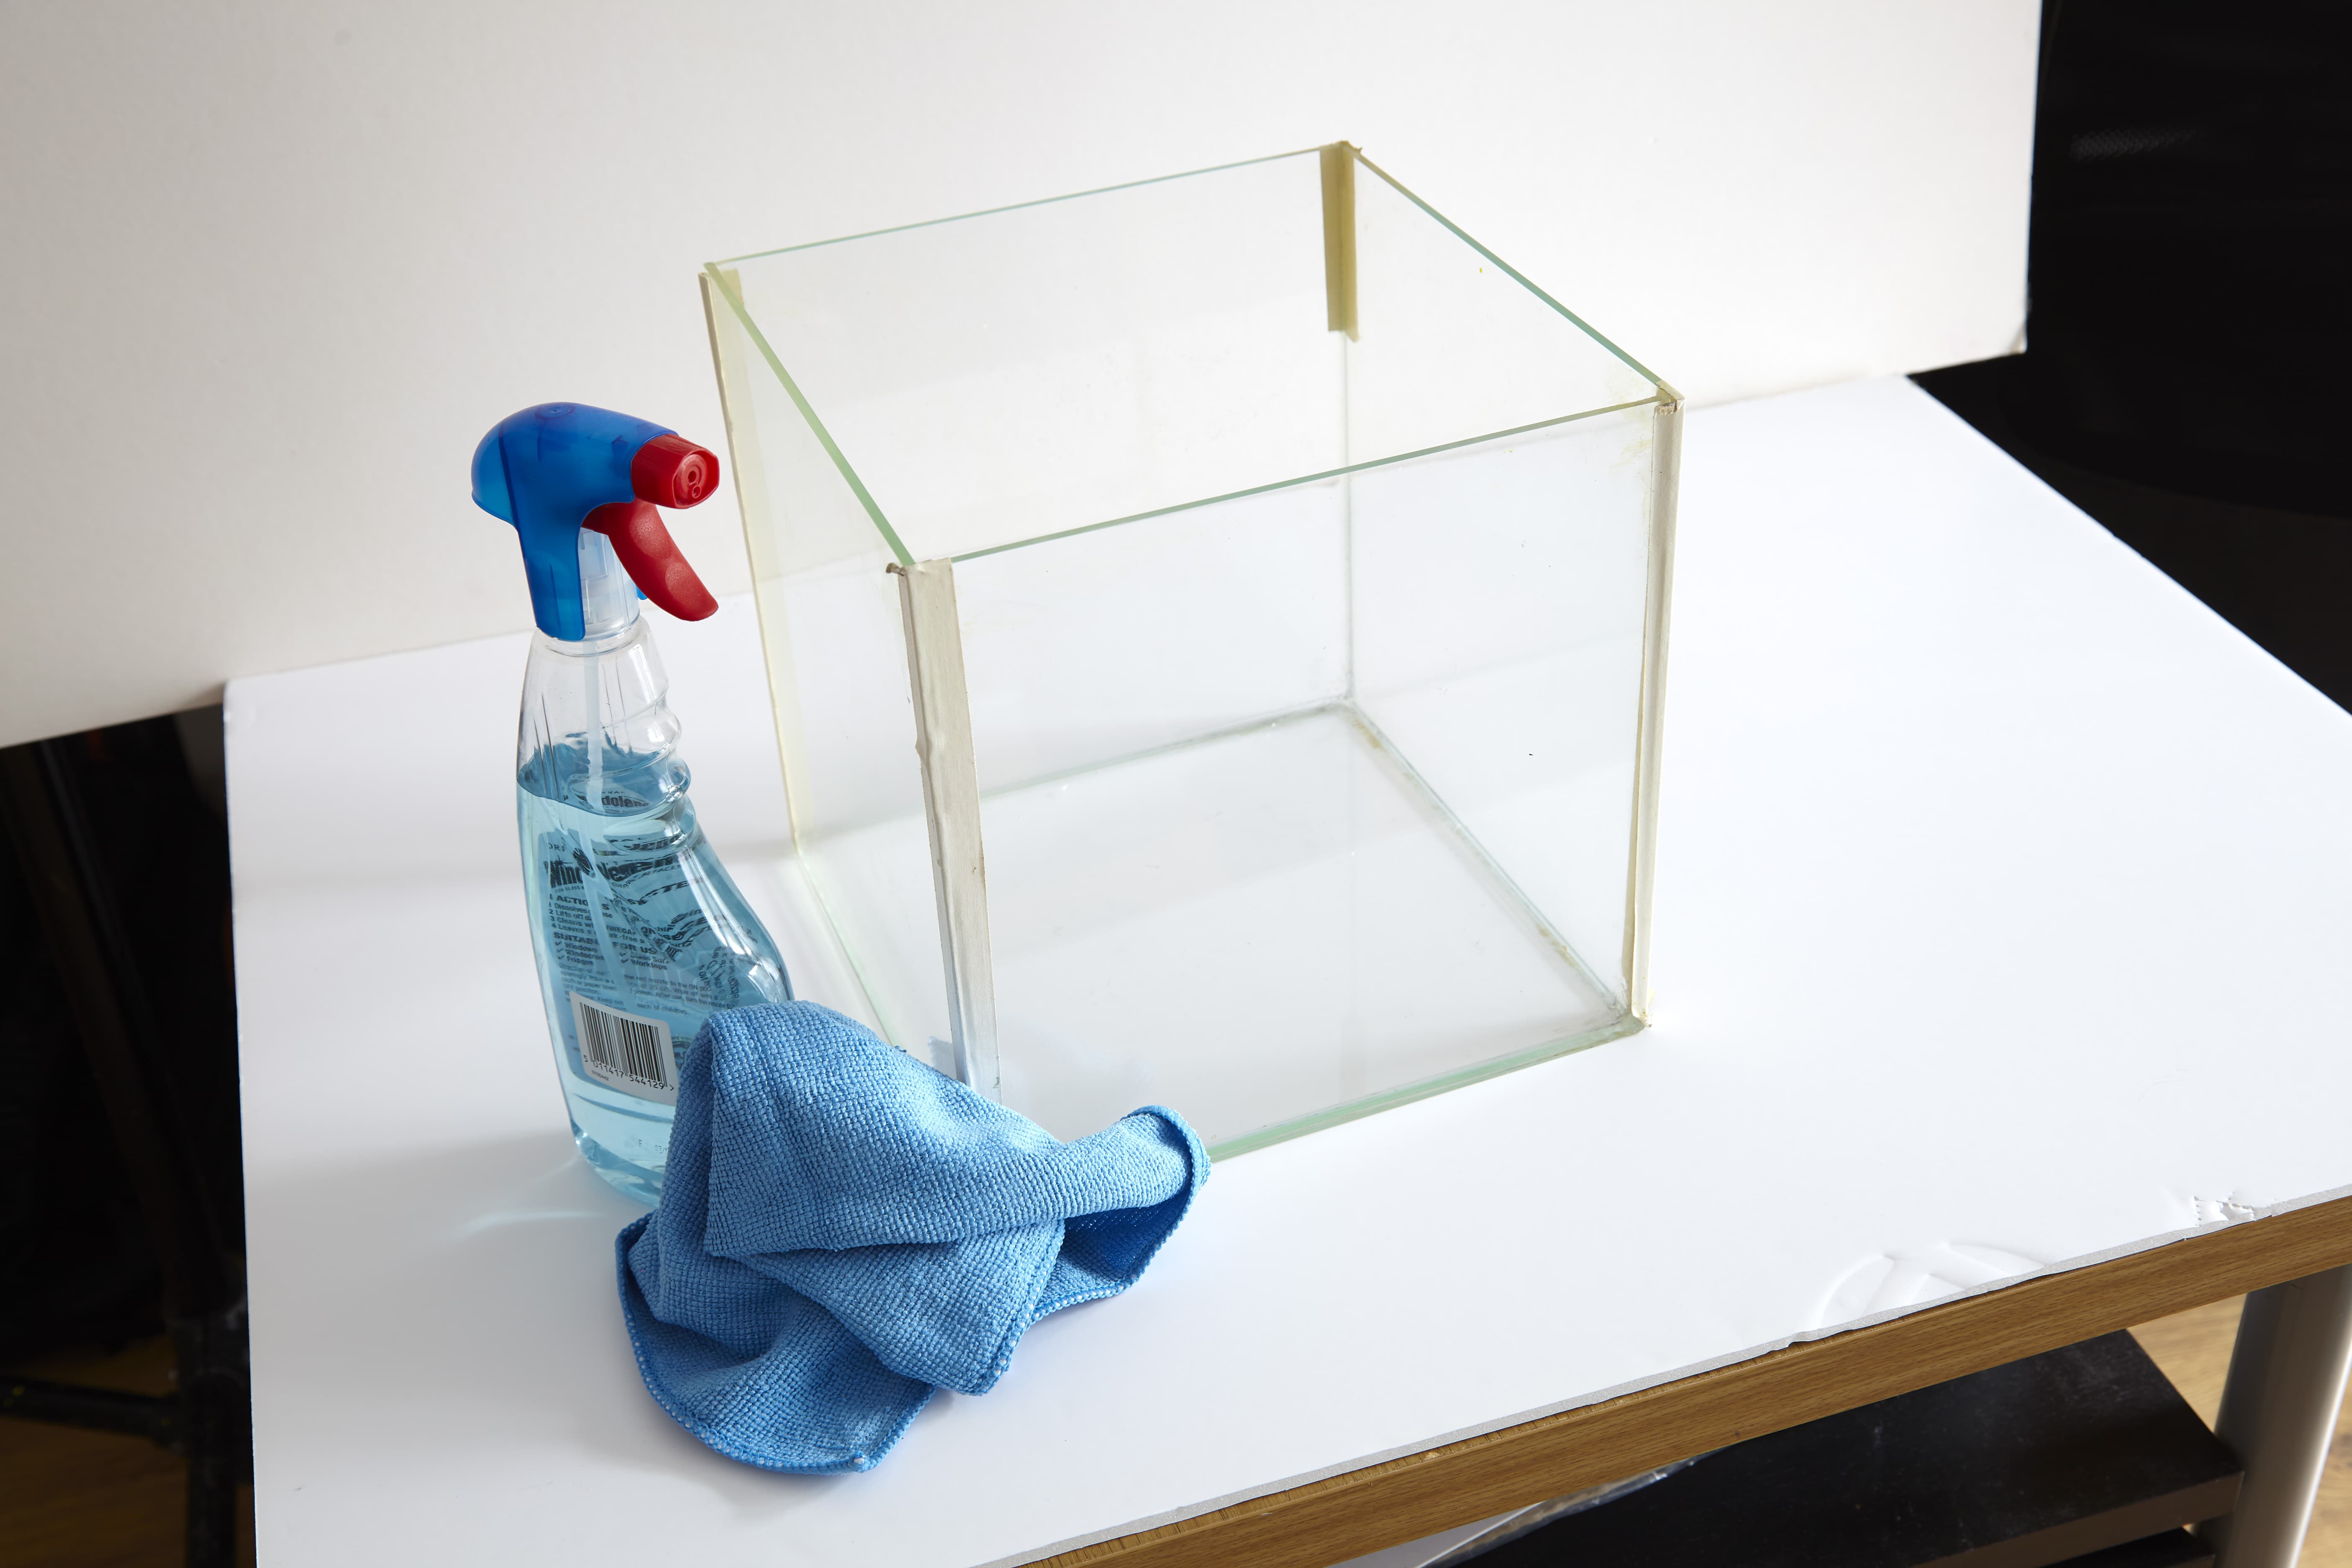
I work with glass tanks of varying sizes depending on the results I want to achieve. Single drops can be photographed in a small tank, or even a large glass, using a macro lens. Very large tanks are used if products are also to be in the shots. For a Nespresso ad I shot last year, we used a huge tank which had a coffee machine submerged in it. The tank took about an hour to fill, then clean and refill before we could do another shot.
The most important thing with the tanks is to make sure the glass and the water are crystal clear and clean, so the first thing to do while we are setting up is to give them a good clean. With every shot, as soon as the paint is poured in, the tanks become cloudy and need to be emptied, cleaned and refilled. It’s a laborious process but worth it when you see the result.
Your guide: Nick Dungan
Nick is a professional motorsport and automotive photographer. He has over 10 years’ experience working with brands like Aston Martin, Nissan, McLaren and Jaguar. See his website here and @nickdunganphoto
4) Light painting
Being stuck around the house more doesn’t need to stop you learning or improving your photography skills. When it comes to automotive photography there are a few techniques that you can try at home using a toy car that you can apply later in full scale. One of the key techniques to master when lighting a car is light painting. This is where you use a constant light source to ‘paint’ light onto a subject during a long exposure. It is a great way to light cars in the dark in a controlled and cost-effective way.
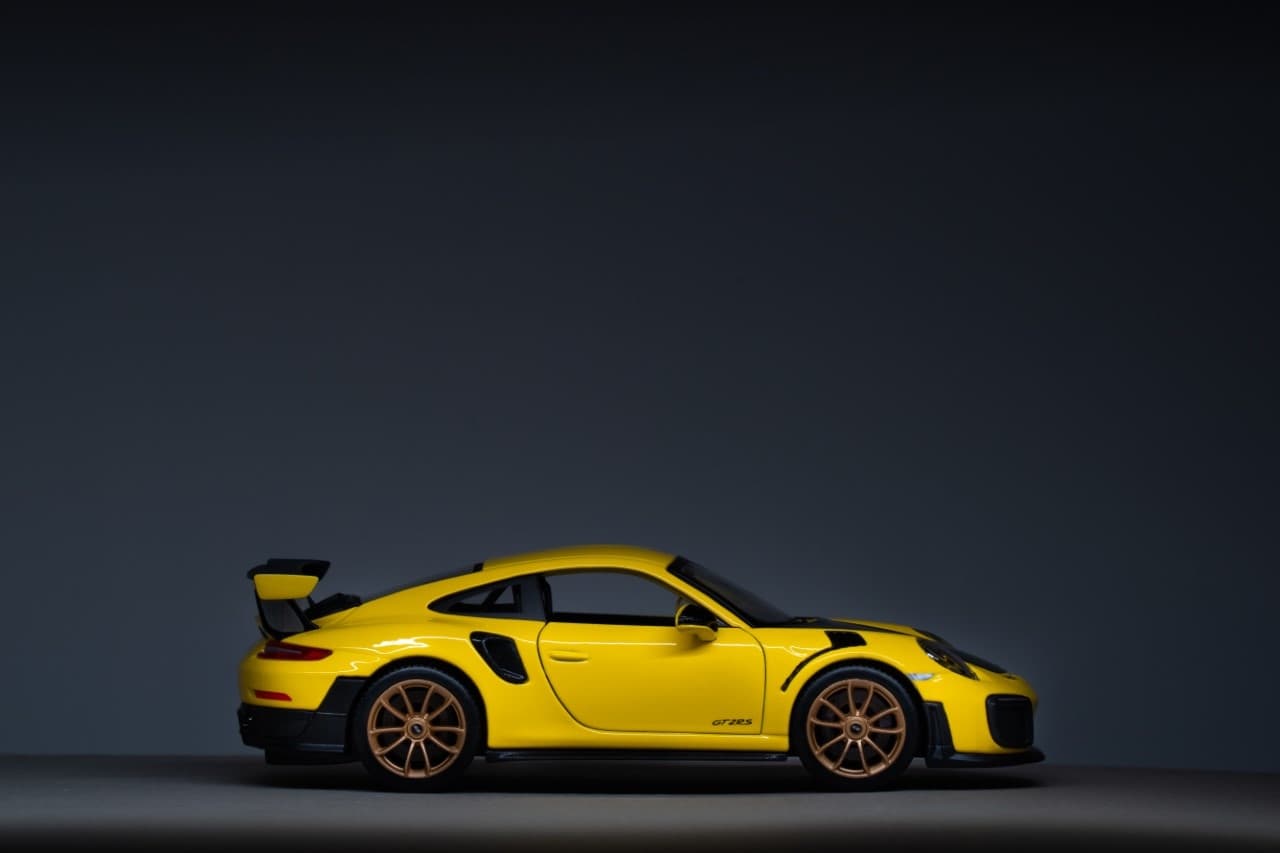
Nick’s simple set-up for lighting cars
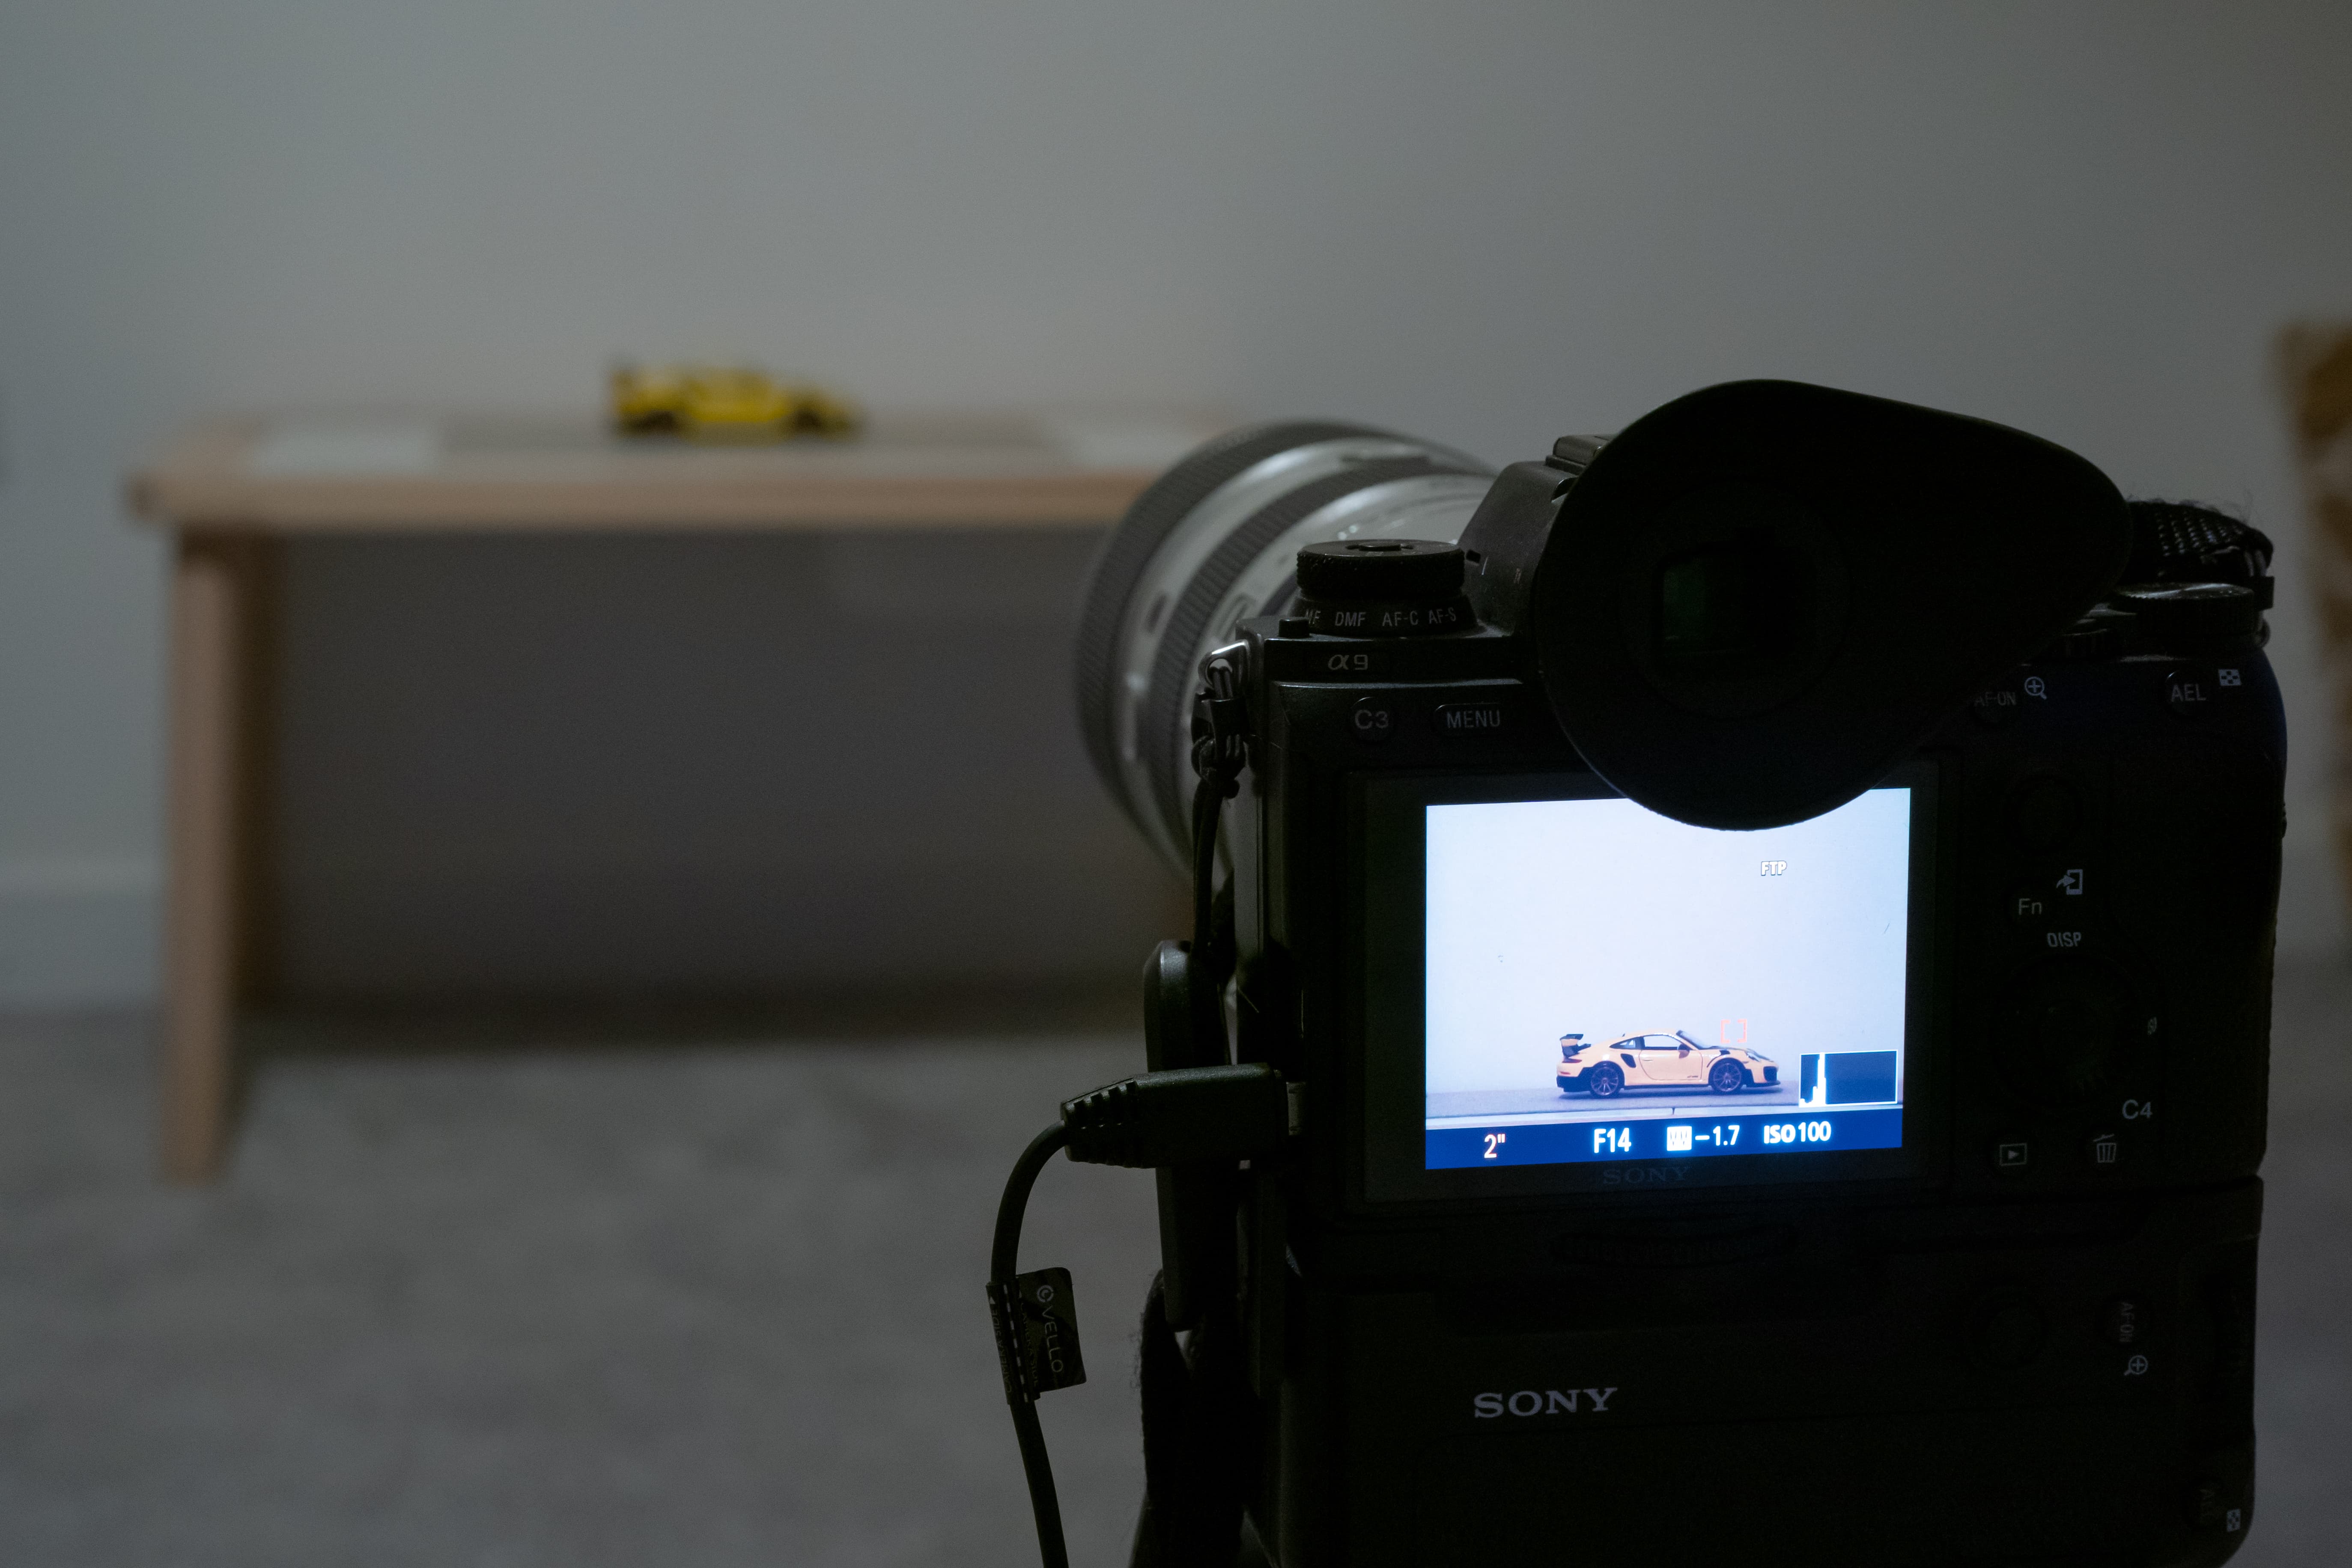
Get ready
Position your camera on a tripod, compose and switch to manual for full control. The shutter speed needs to be long enough for you to complete a full pass of the car. On a full size car this can be 6-10 seconds, a model car may be more like 2-4 seconds. To ensure the car is sharp from front to back, set a narrow aperture of f/10 and start with your ISO as low as it goes (usually ISO 100)
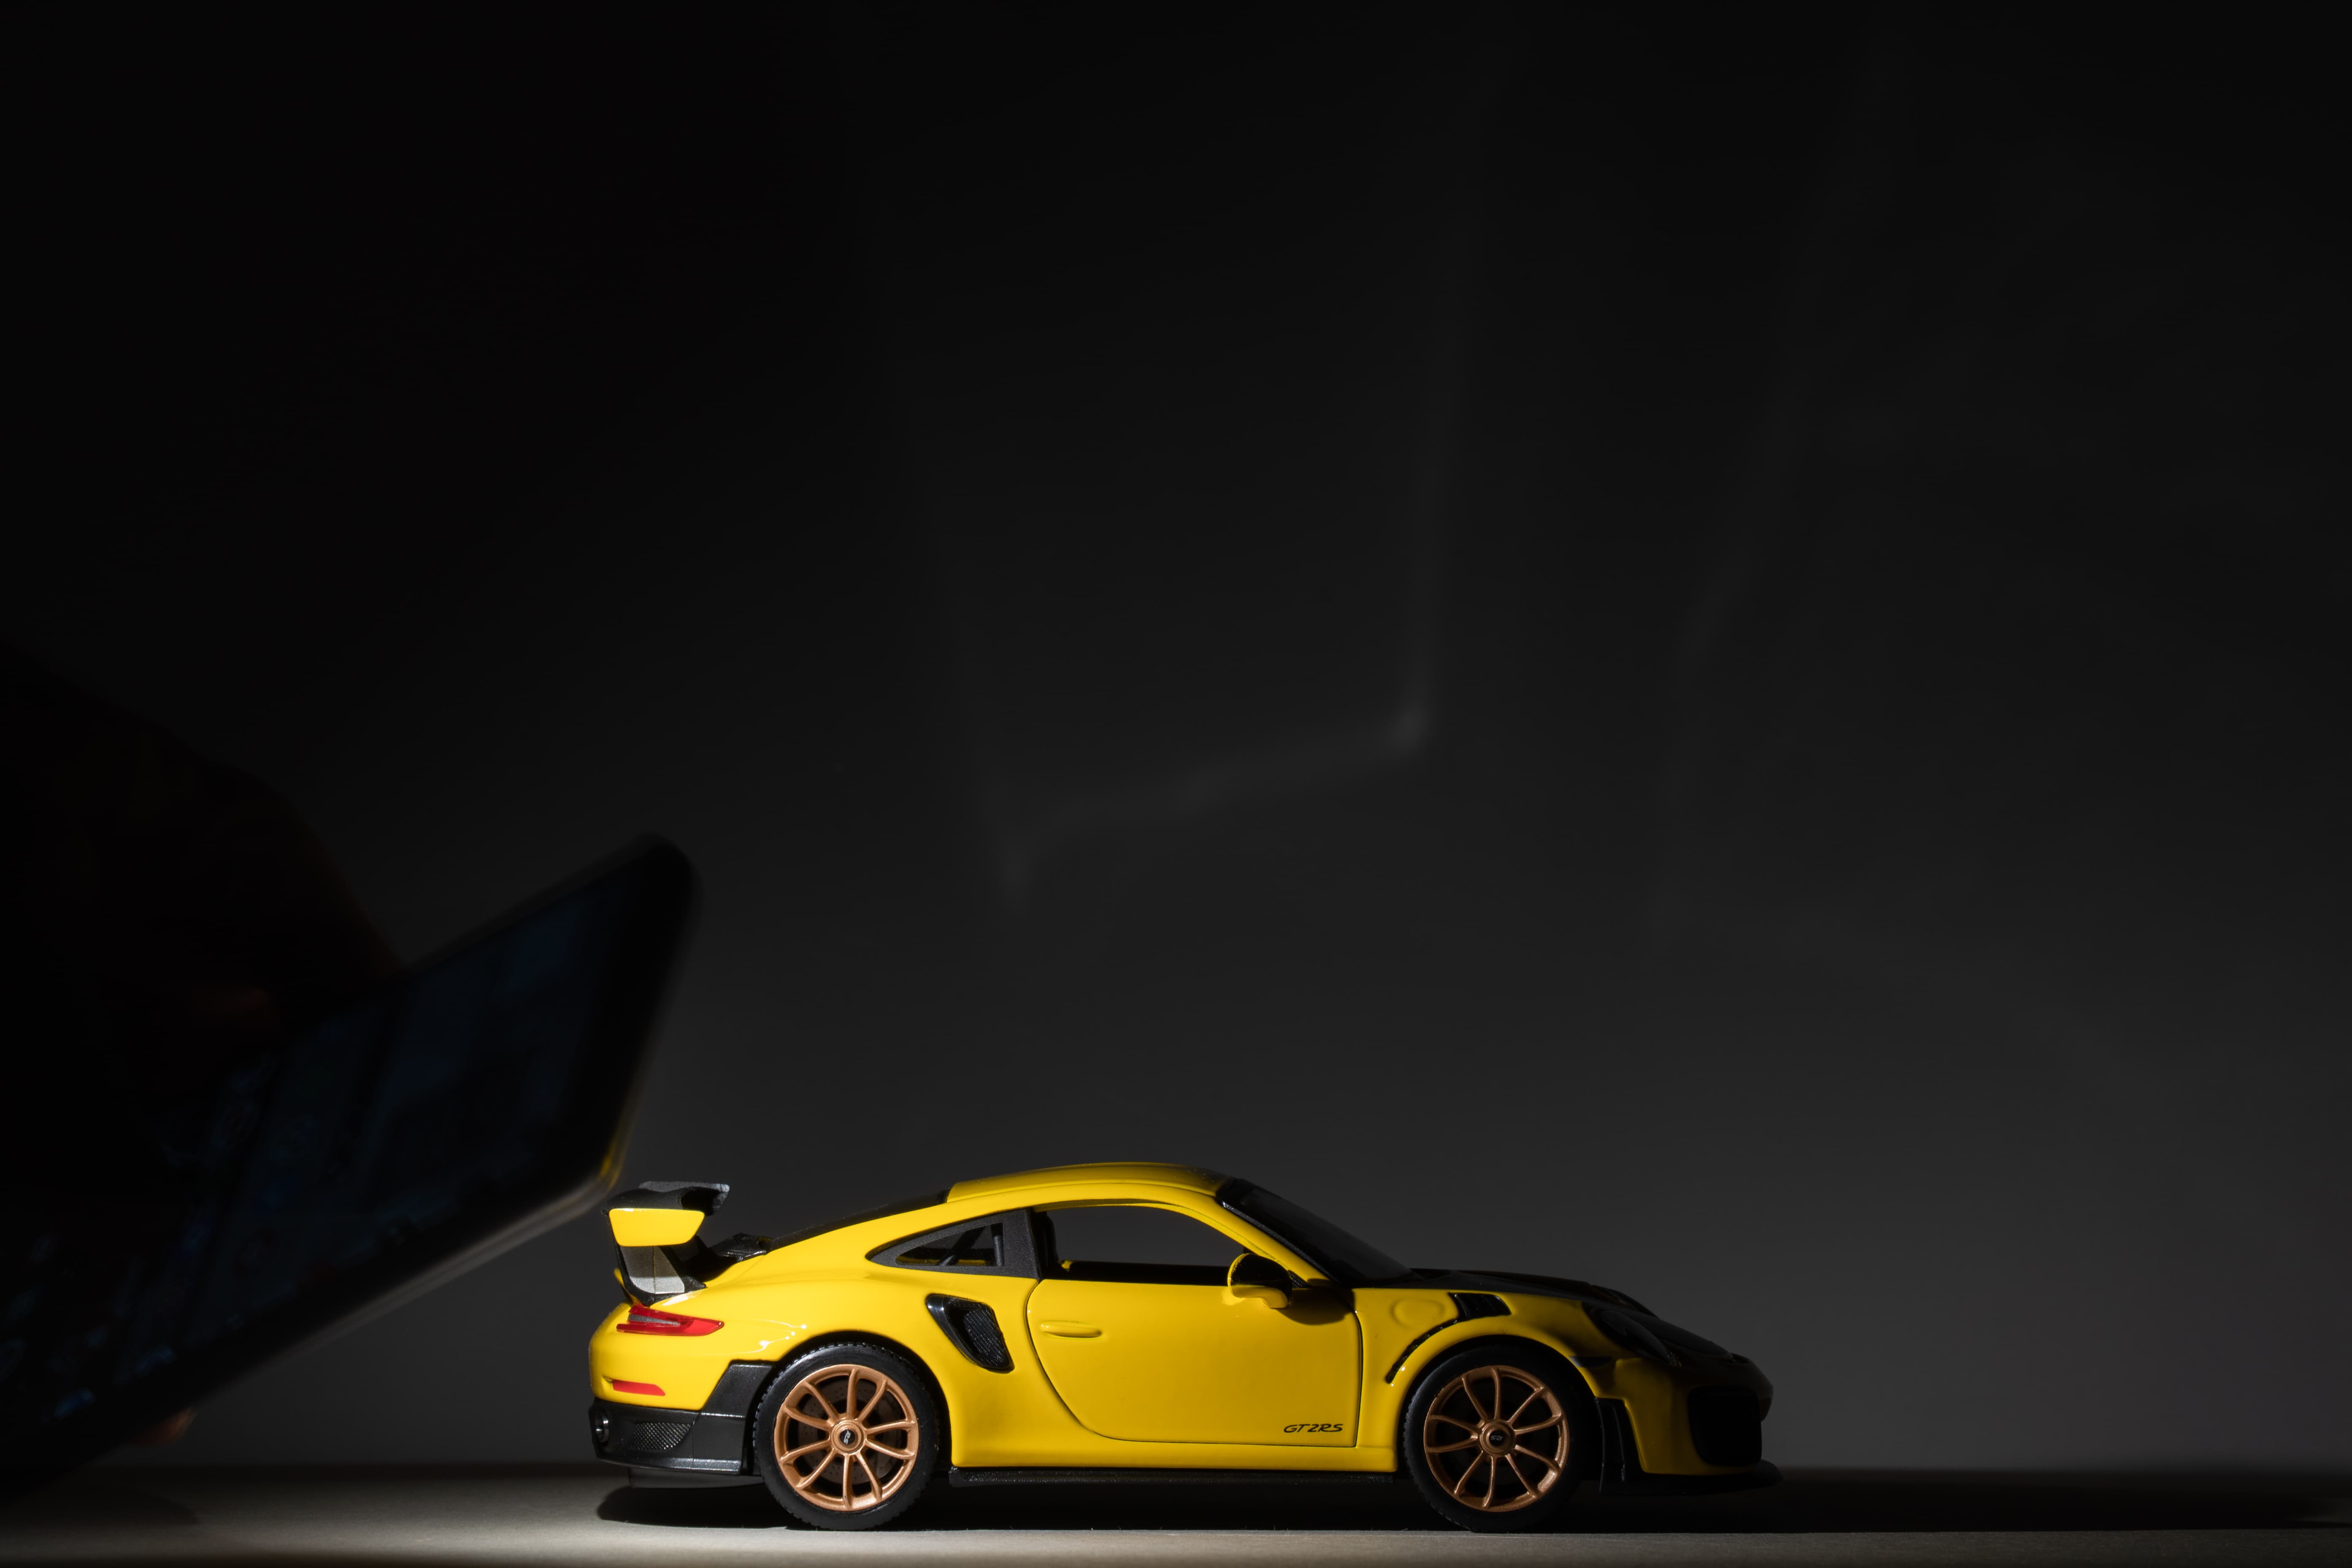
Additional settings
When shooting in the dark your camera may find it tricky to lock focus. Use your light source to help you. If using automatic focus, switch to manual focus after to lock it in place. Turn off any image stabilisation settings and get your remote release (or self-timer) ready. Ensure the camera is set to record in raw so you can tweak white balance in post production.
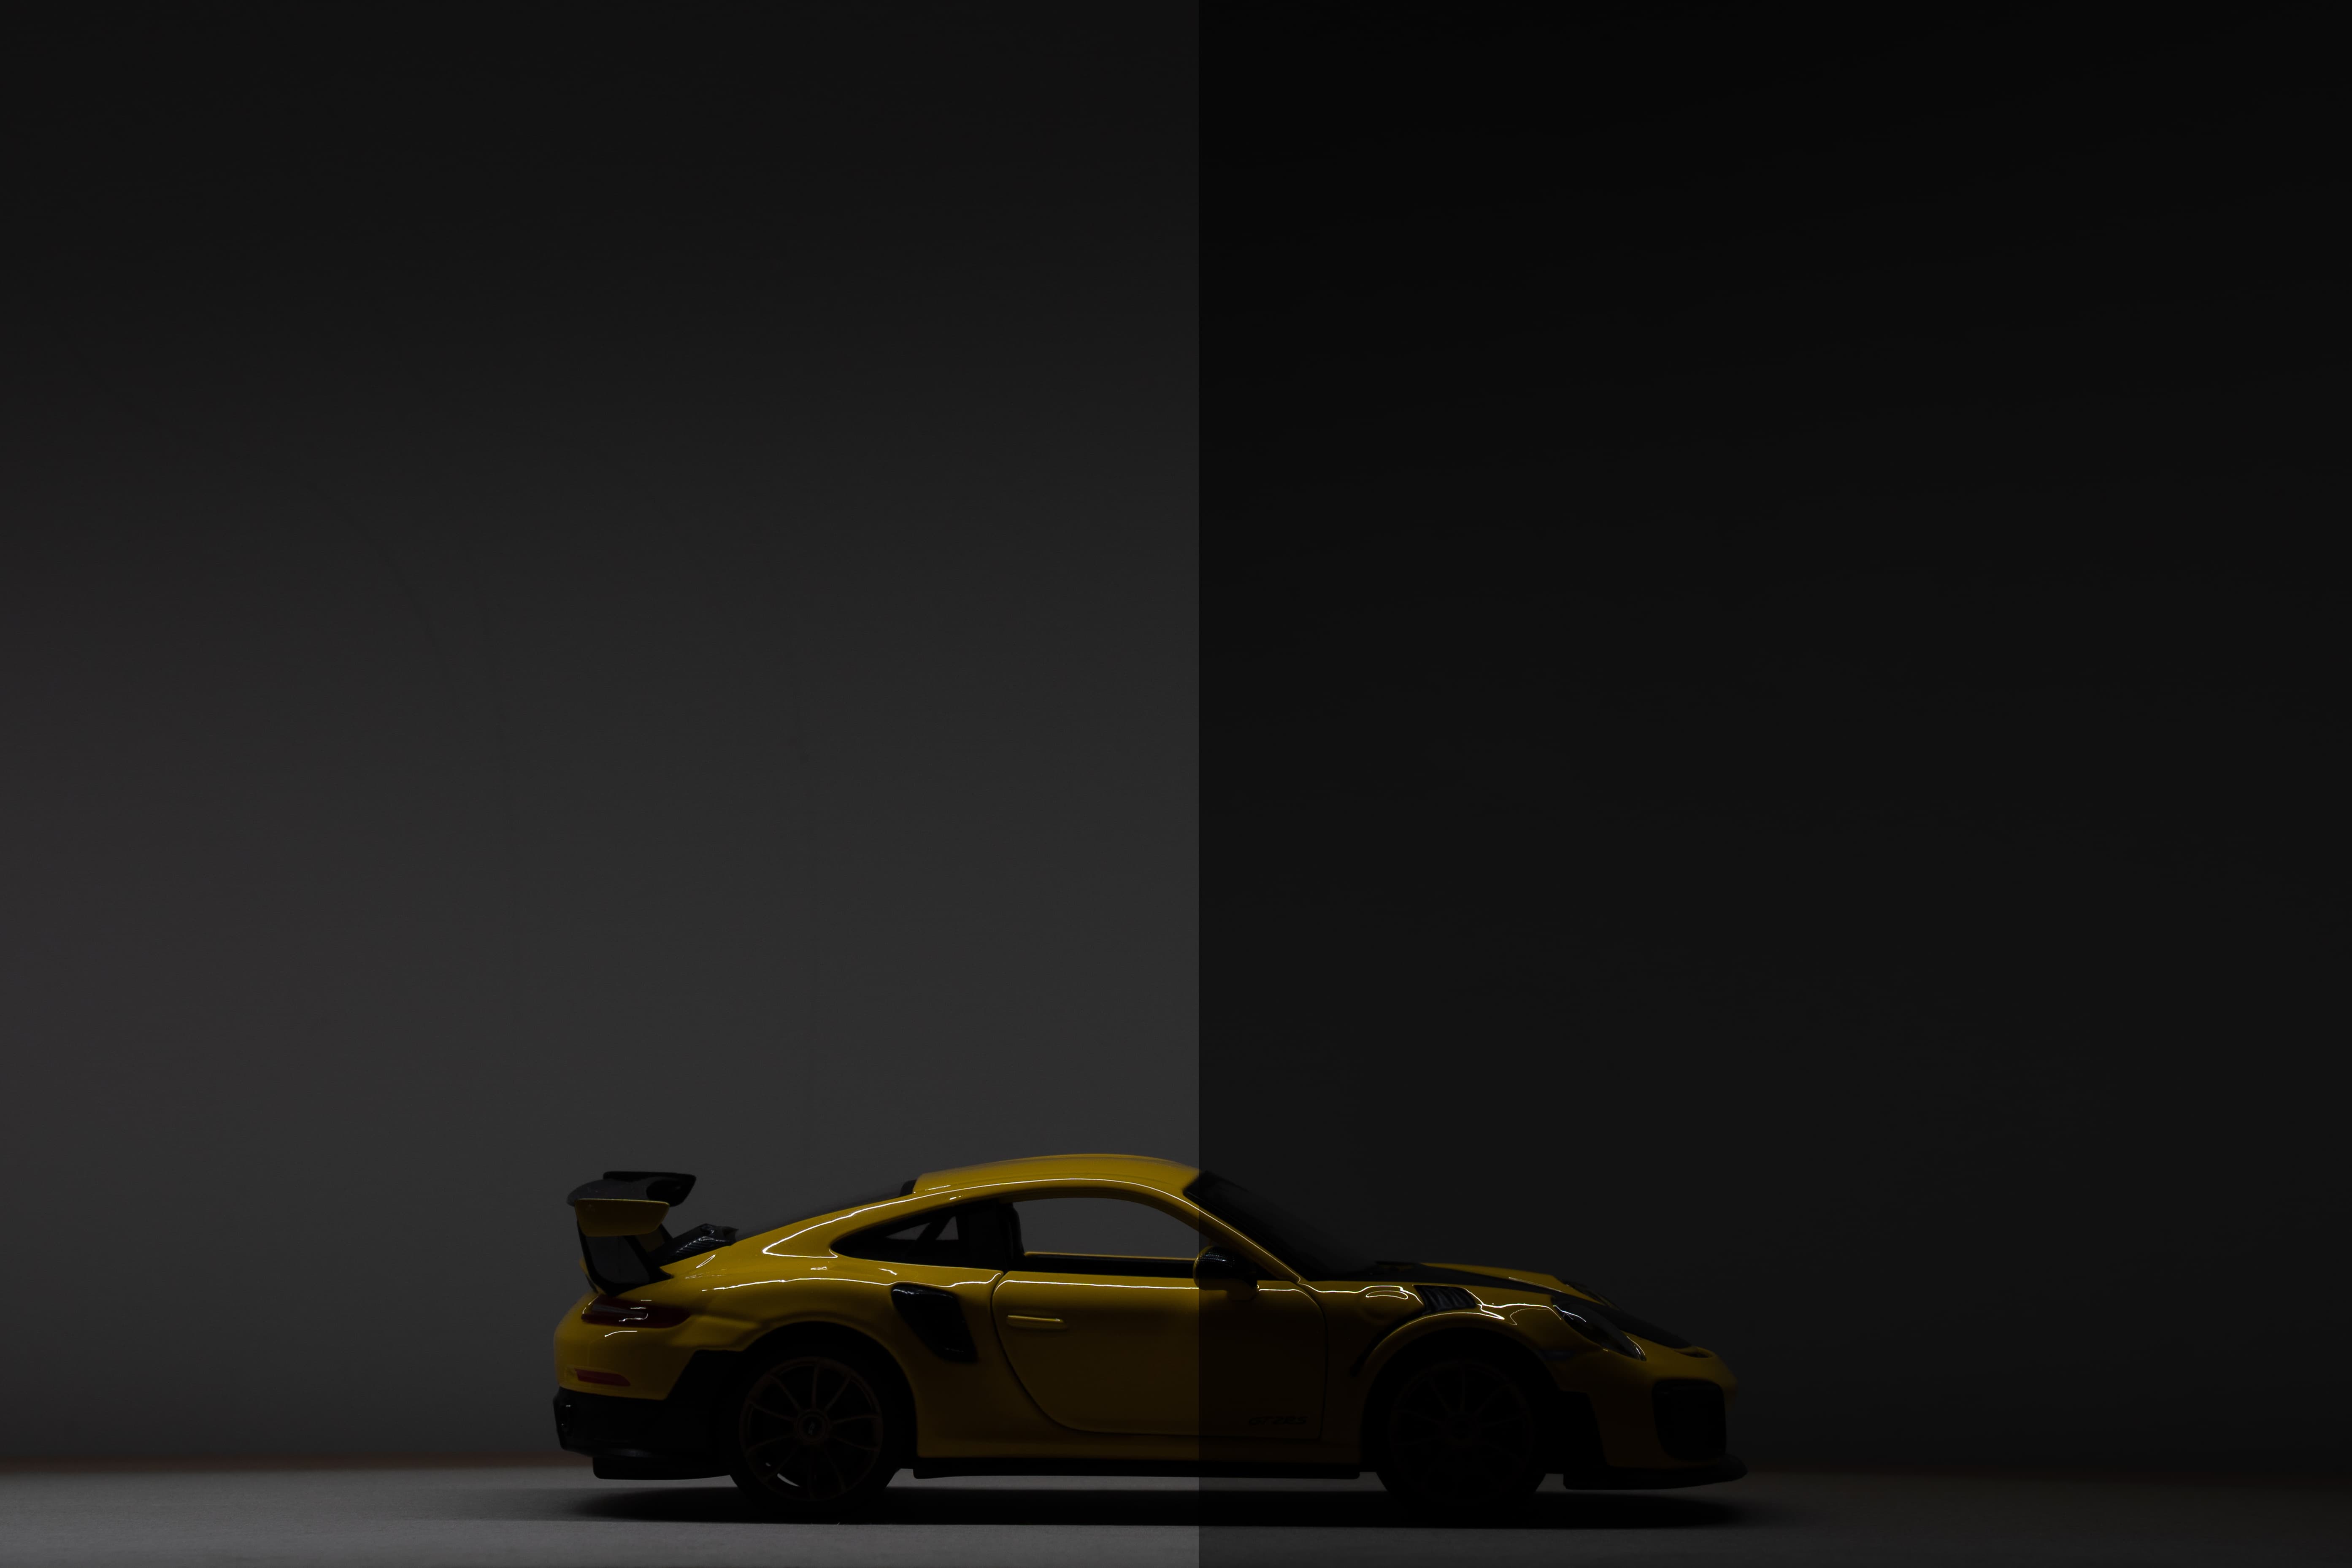
Lighting
Practice makes perfect here and there isn’t really a right and wrong way of light-painting a car. Each car shape is different and you can capture a range of effects. Experimentation is key. If you reach a point where you find your images are underexposed you can either increase the brightness of your torch or increase the camera ISO value.
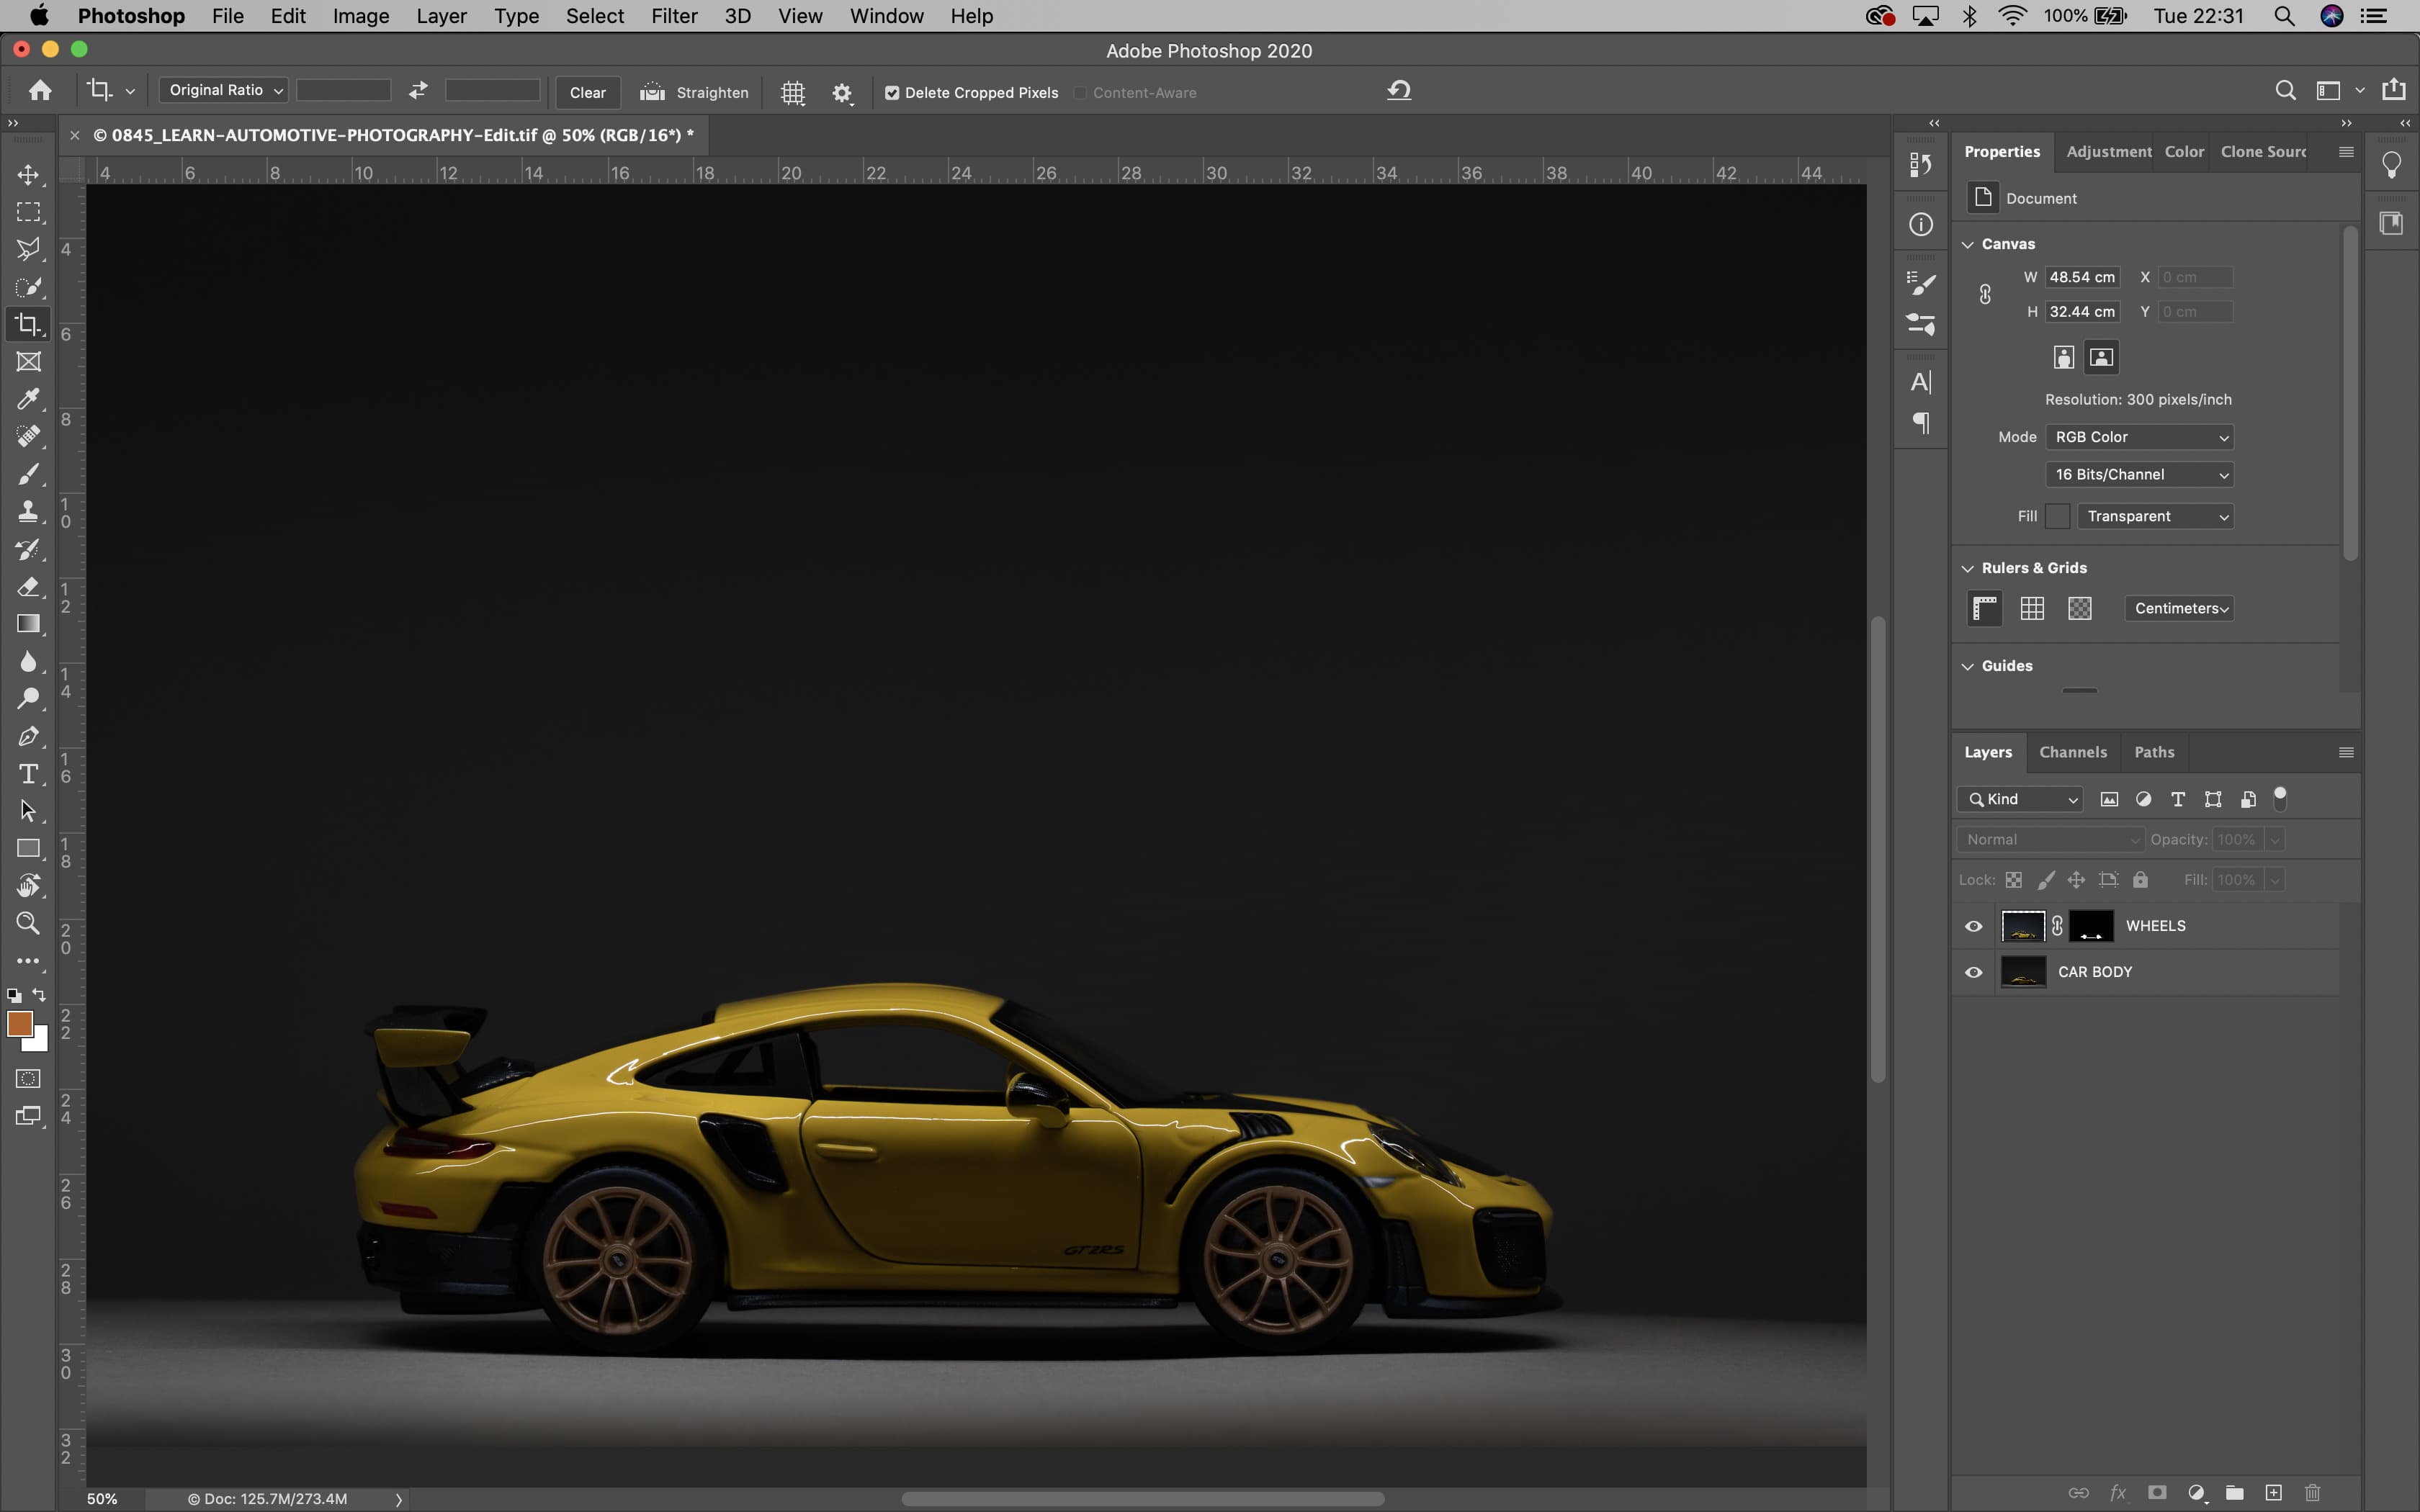
Composites
This technique works well when combining multiple exposures of different areas of a car lit in Photoshop as a composite image. This also takes the pressure off trying to light everything in one exposure, although this is still possible to do with practice. There are a number of tutorials online explaining how to combine multiple images using layer masks and blending modes.
Experiment with light painting
If you walk behind the car then you will produce nice clean reflections that outline the shape of the car. This can be a great image on its own or, if shooting multiple images for a composite image, it can be used to get a frame of a key light around the car. You can light the front (part facing the camera) of the car by walking between the car and the camera.
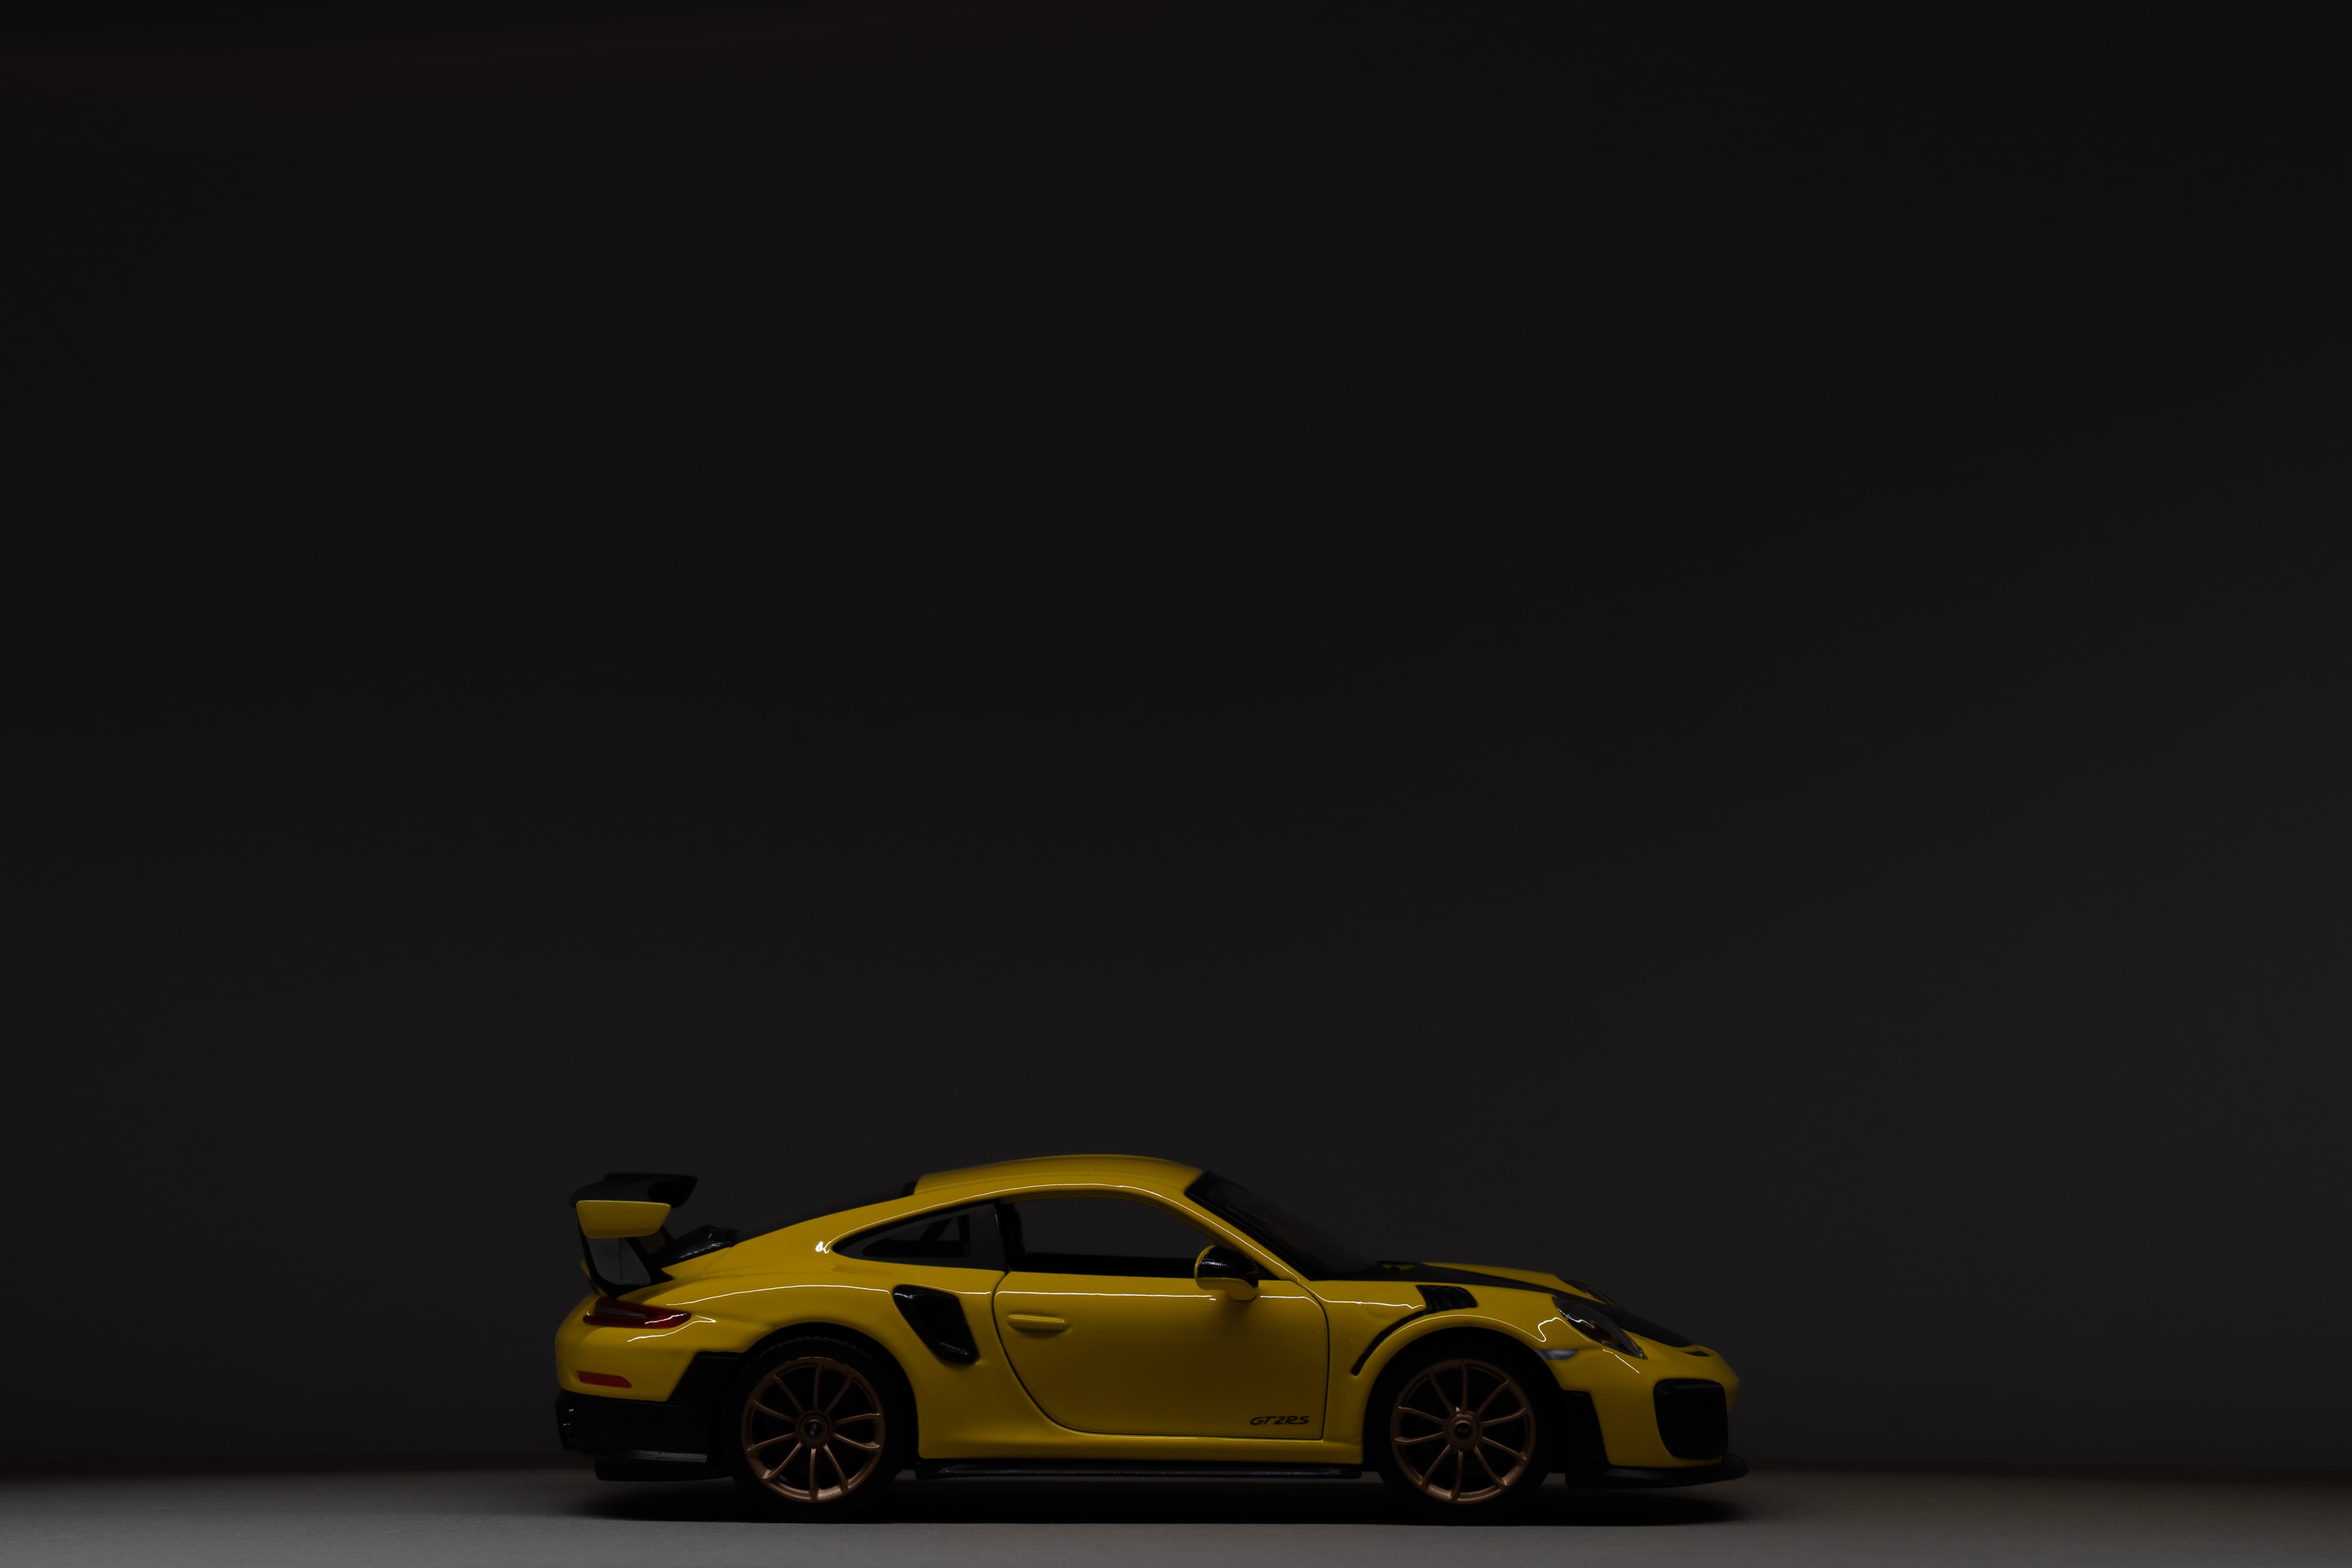
Directly lighting the side of the car
As long as the light is turned away from the camera it won’t appear in the exposure. You can also stand still and wave the light to give the impression of a large soft light source. I find that lighting from above the car works well and produces nice shadows on the bodywork to show the shape of the car. I like to start with the light directly over the car and then on each subsequent pass trying moving it closer to the camera.
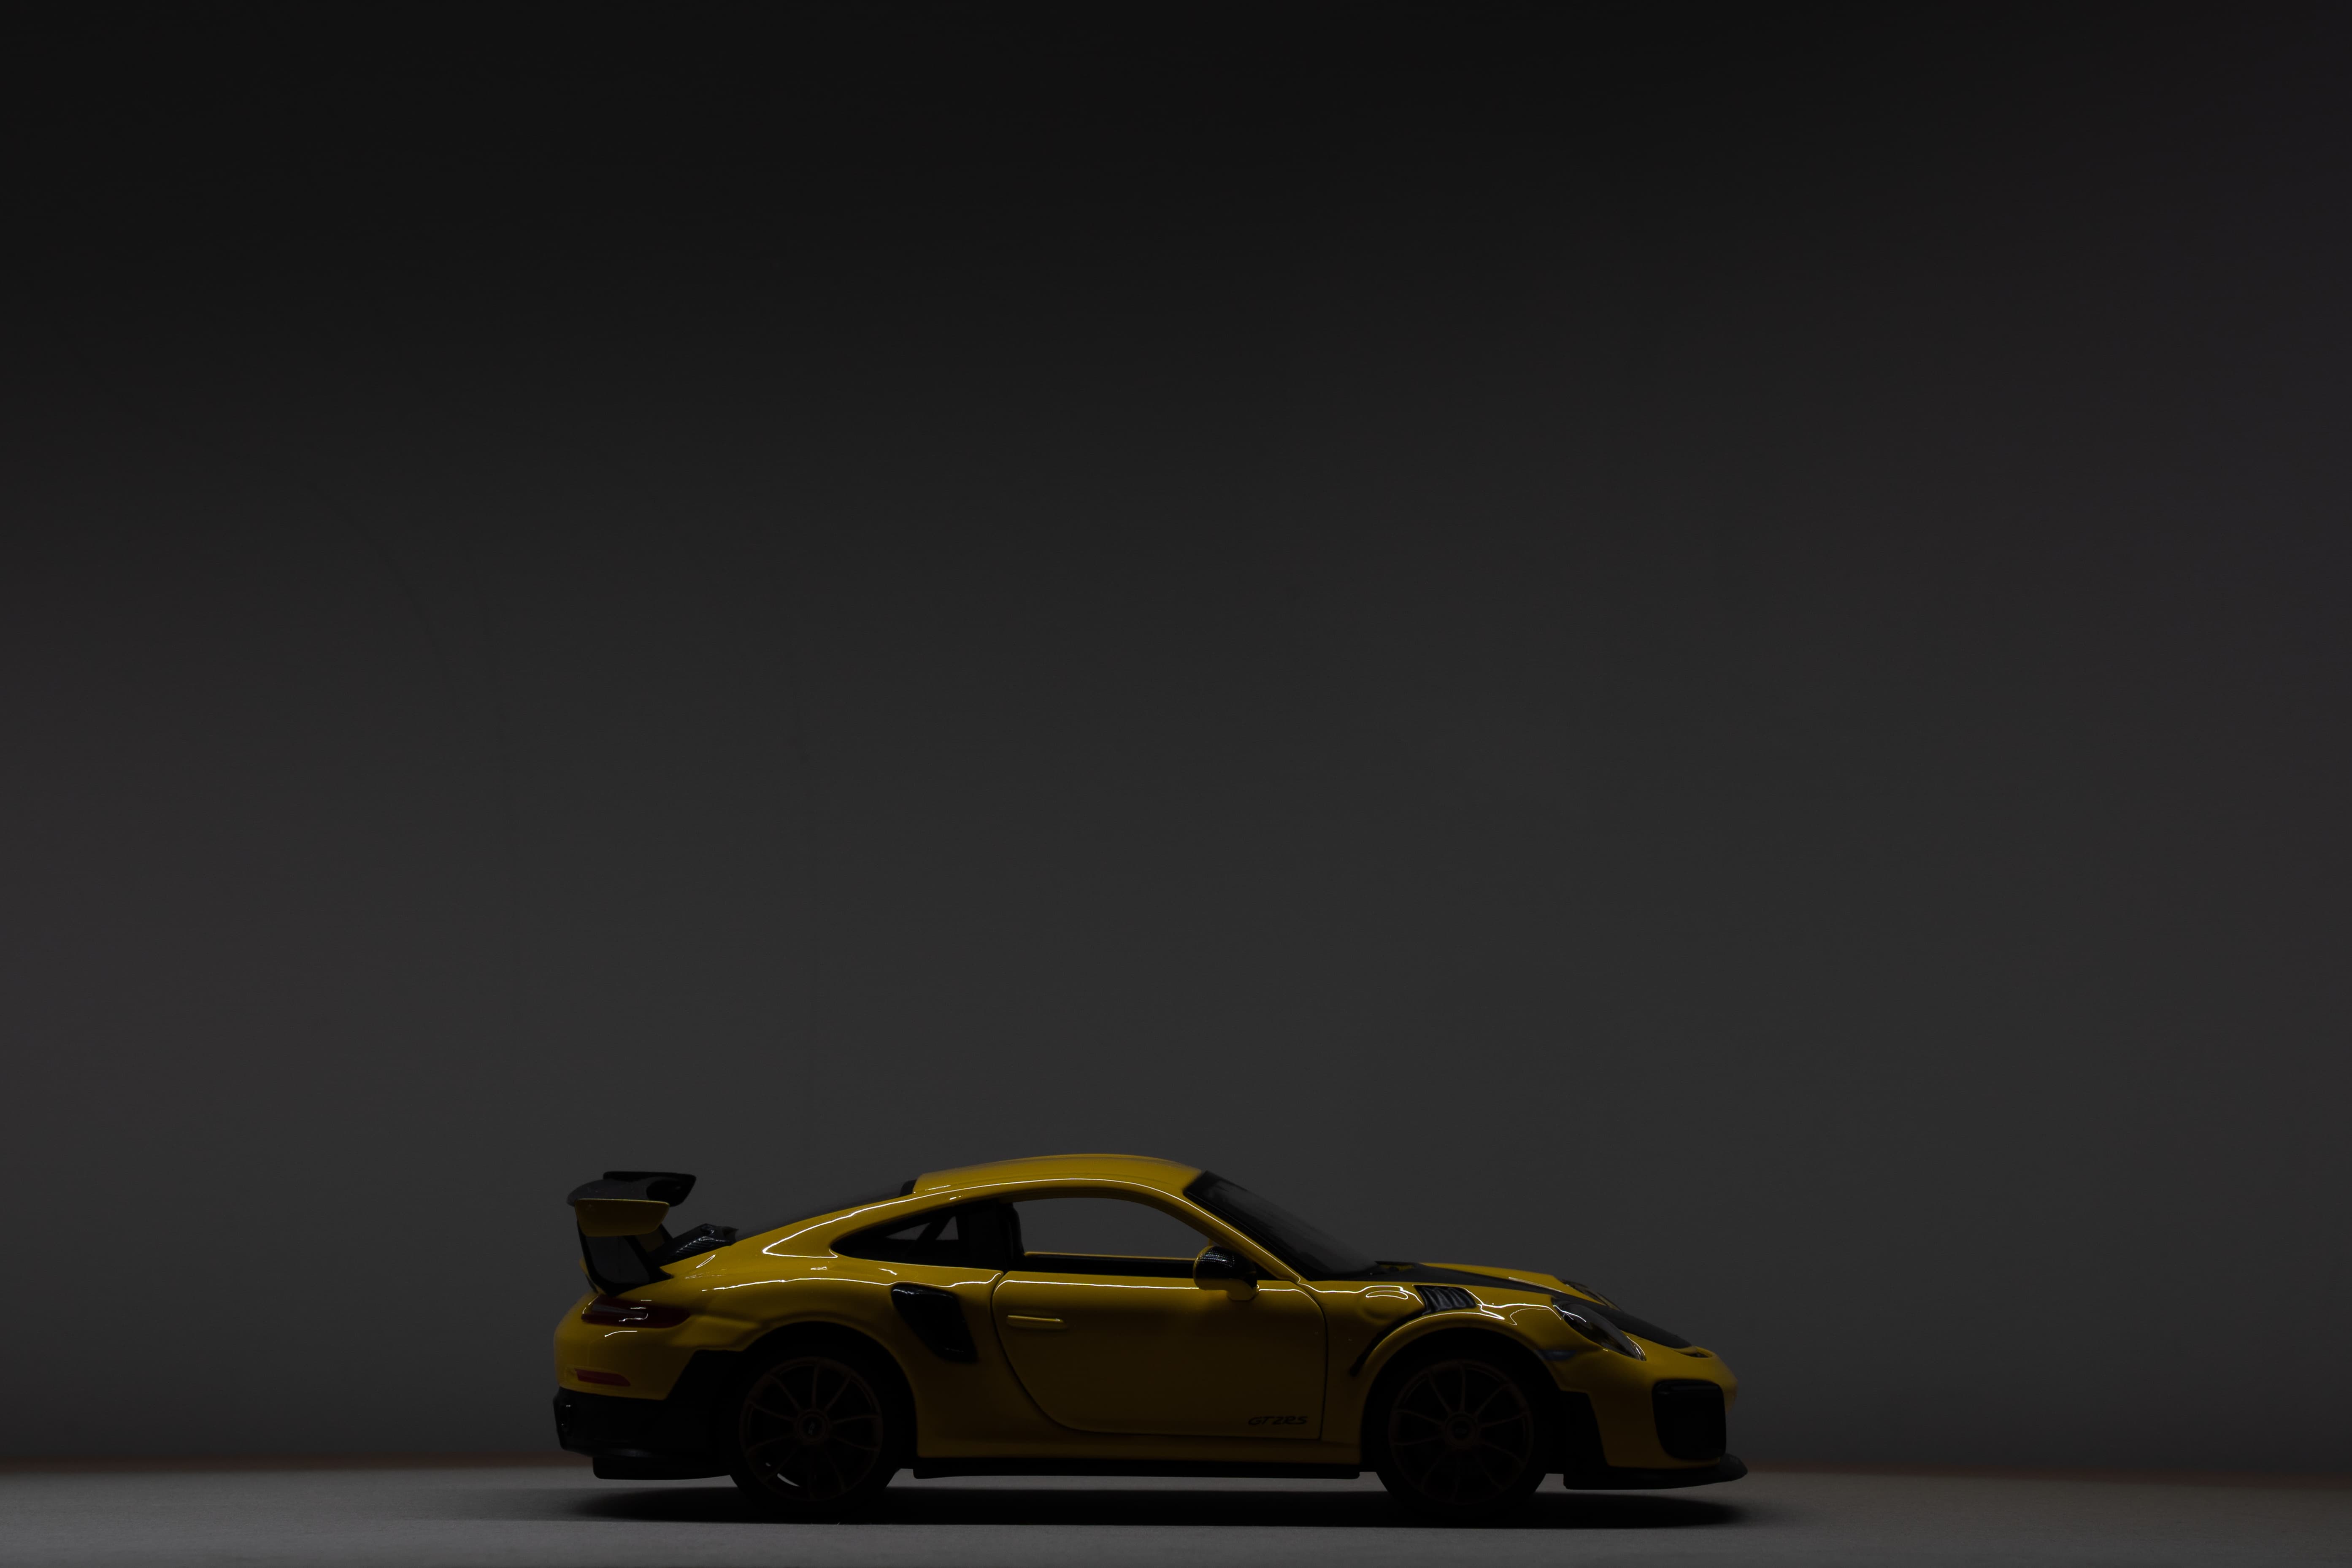
Lighting the car directly from above
You will find the light starts to light the side of the car more, but you lose some of the shadows that give it shape.
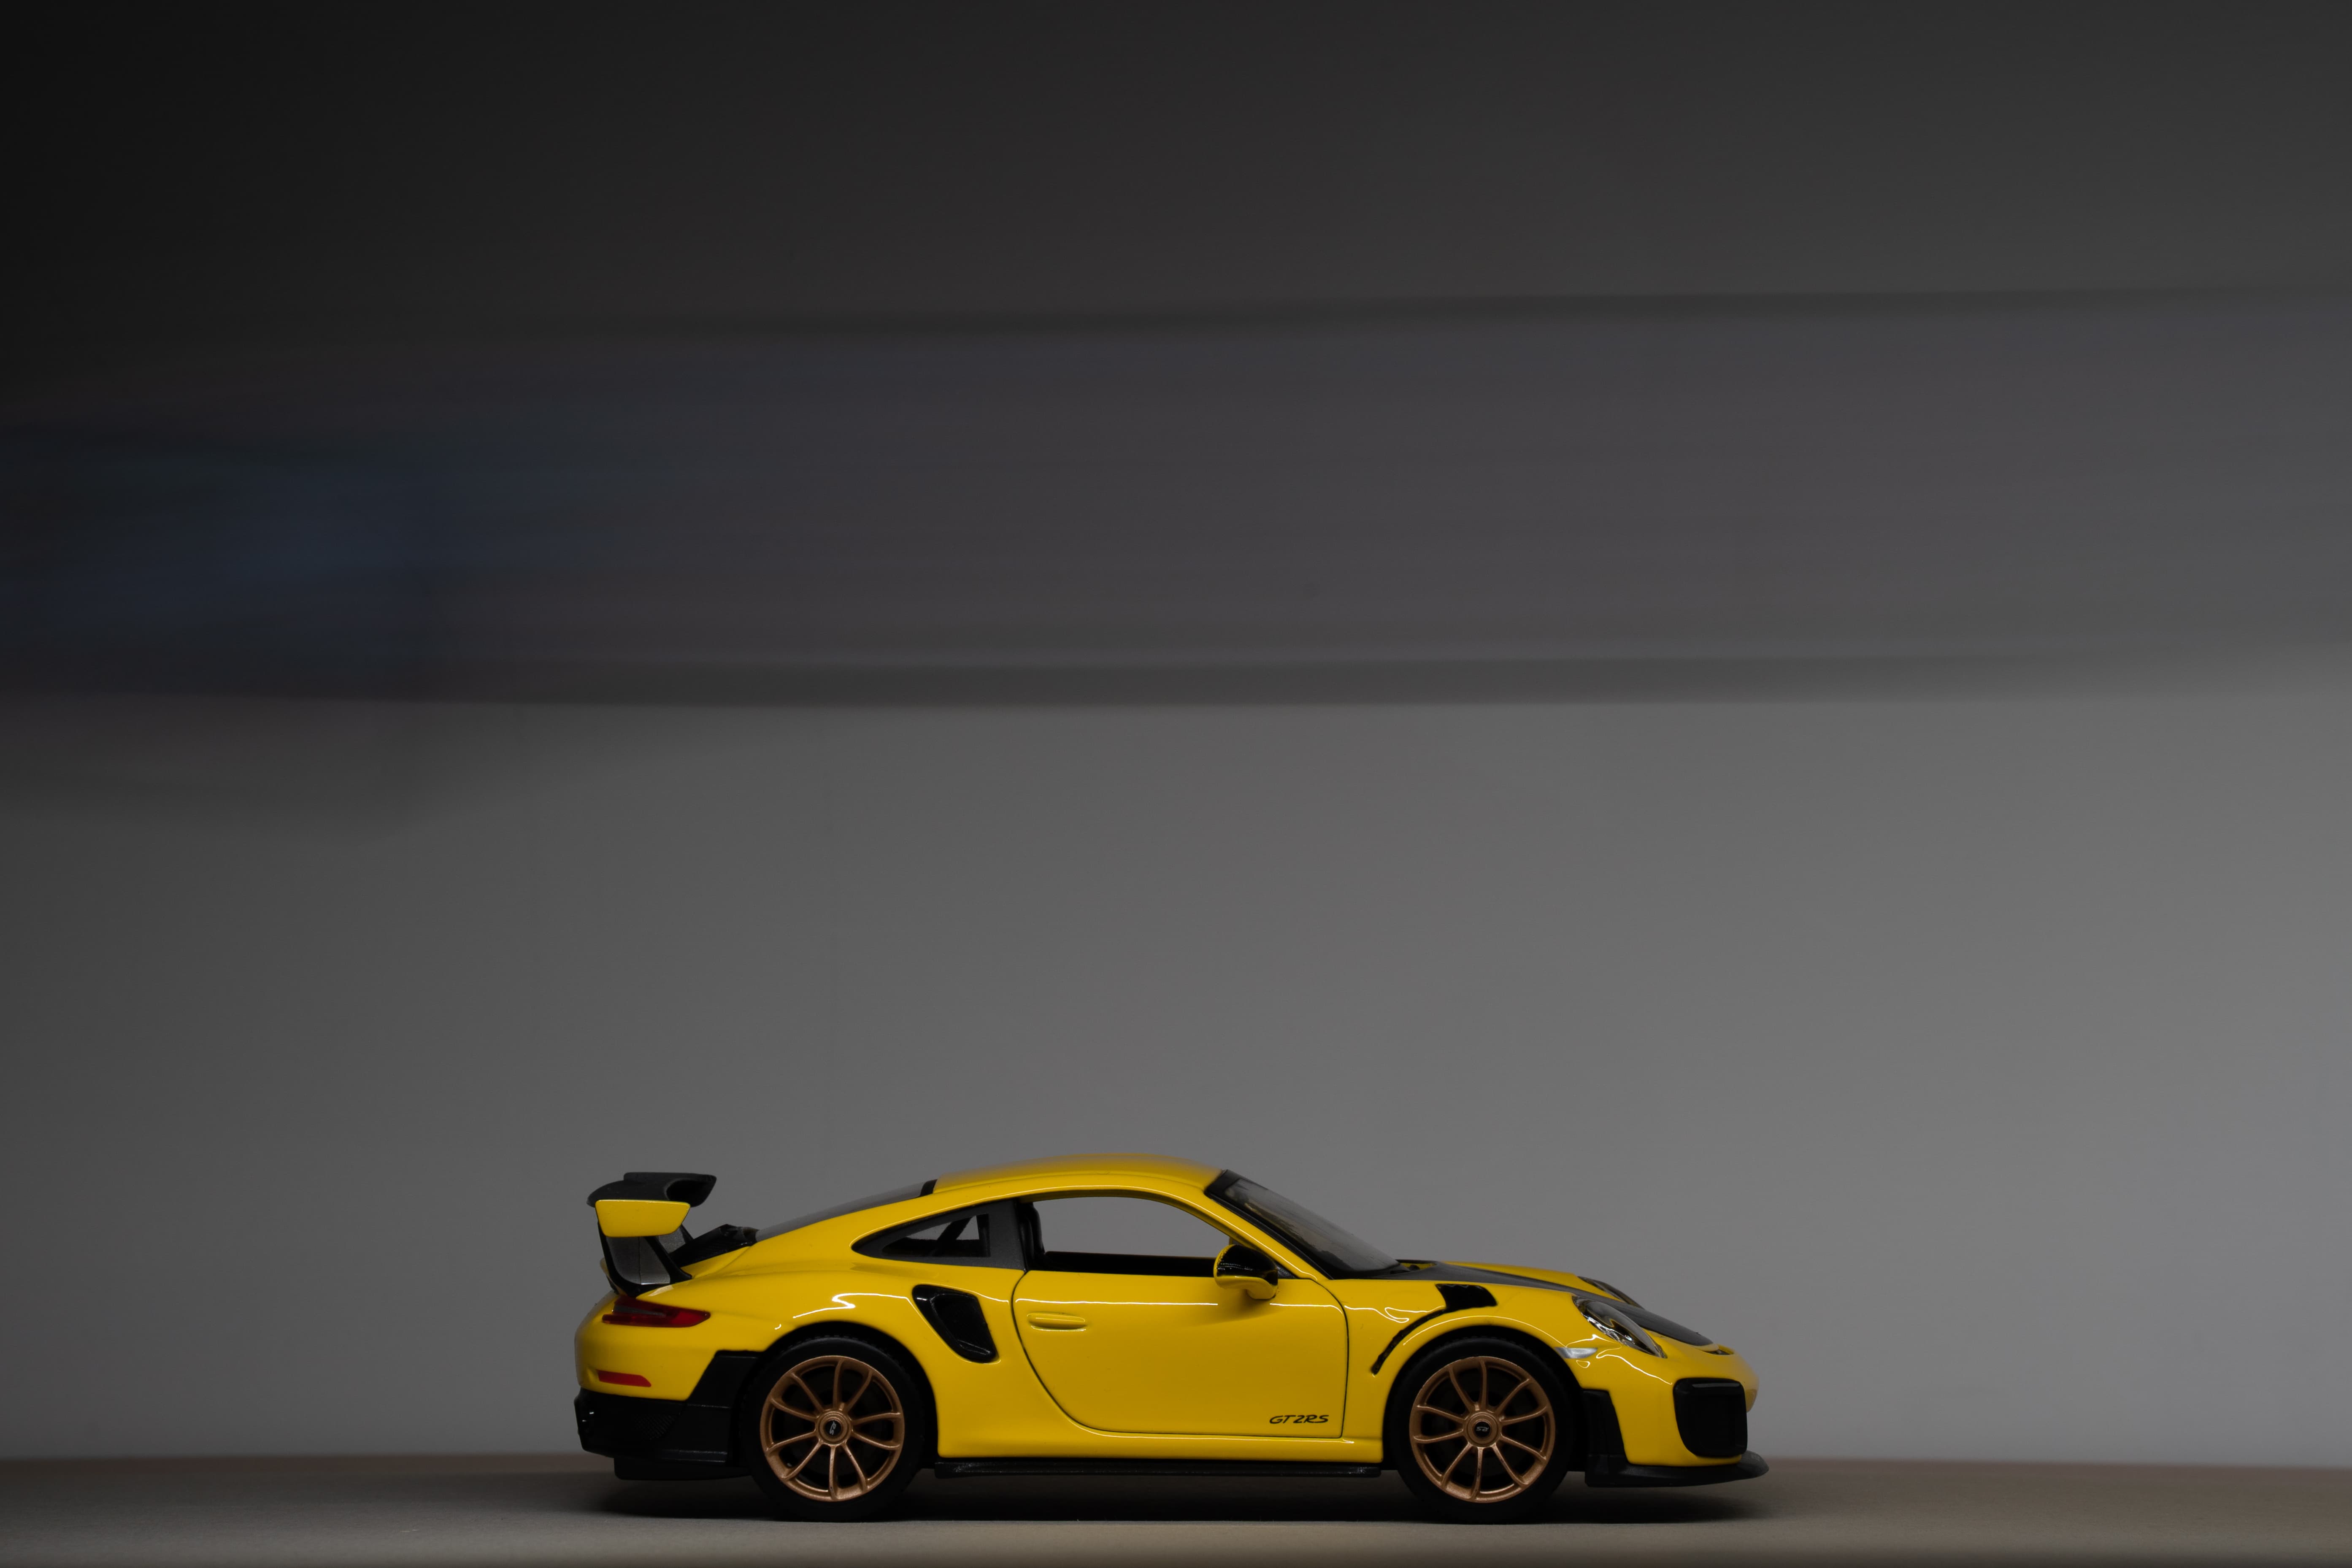
Lighting the side of the car from above
Kit list
Tripod
A tripod is vital for this technique to ensure your camera remains in a fixed position to avoid camera shake during a long exposure. It will also allow you to shoot hands-free so you can ‘paint’ light around the car.
Remote release
For firing the camera hands-free you will need a remote, ideally one of the wireless variety for greater range and flexibility. If you don’t have one, use the self-timer mode on your camera.
Toy car and torch
A toy car of your choice and a torch – any will do, even the one on your mobile phone is adequate for the job when it comes to light painting toy cars.
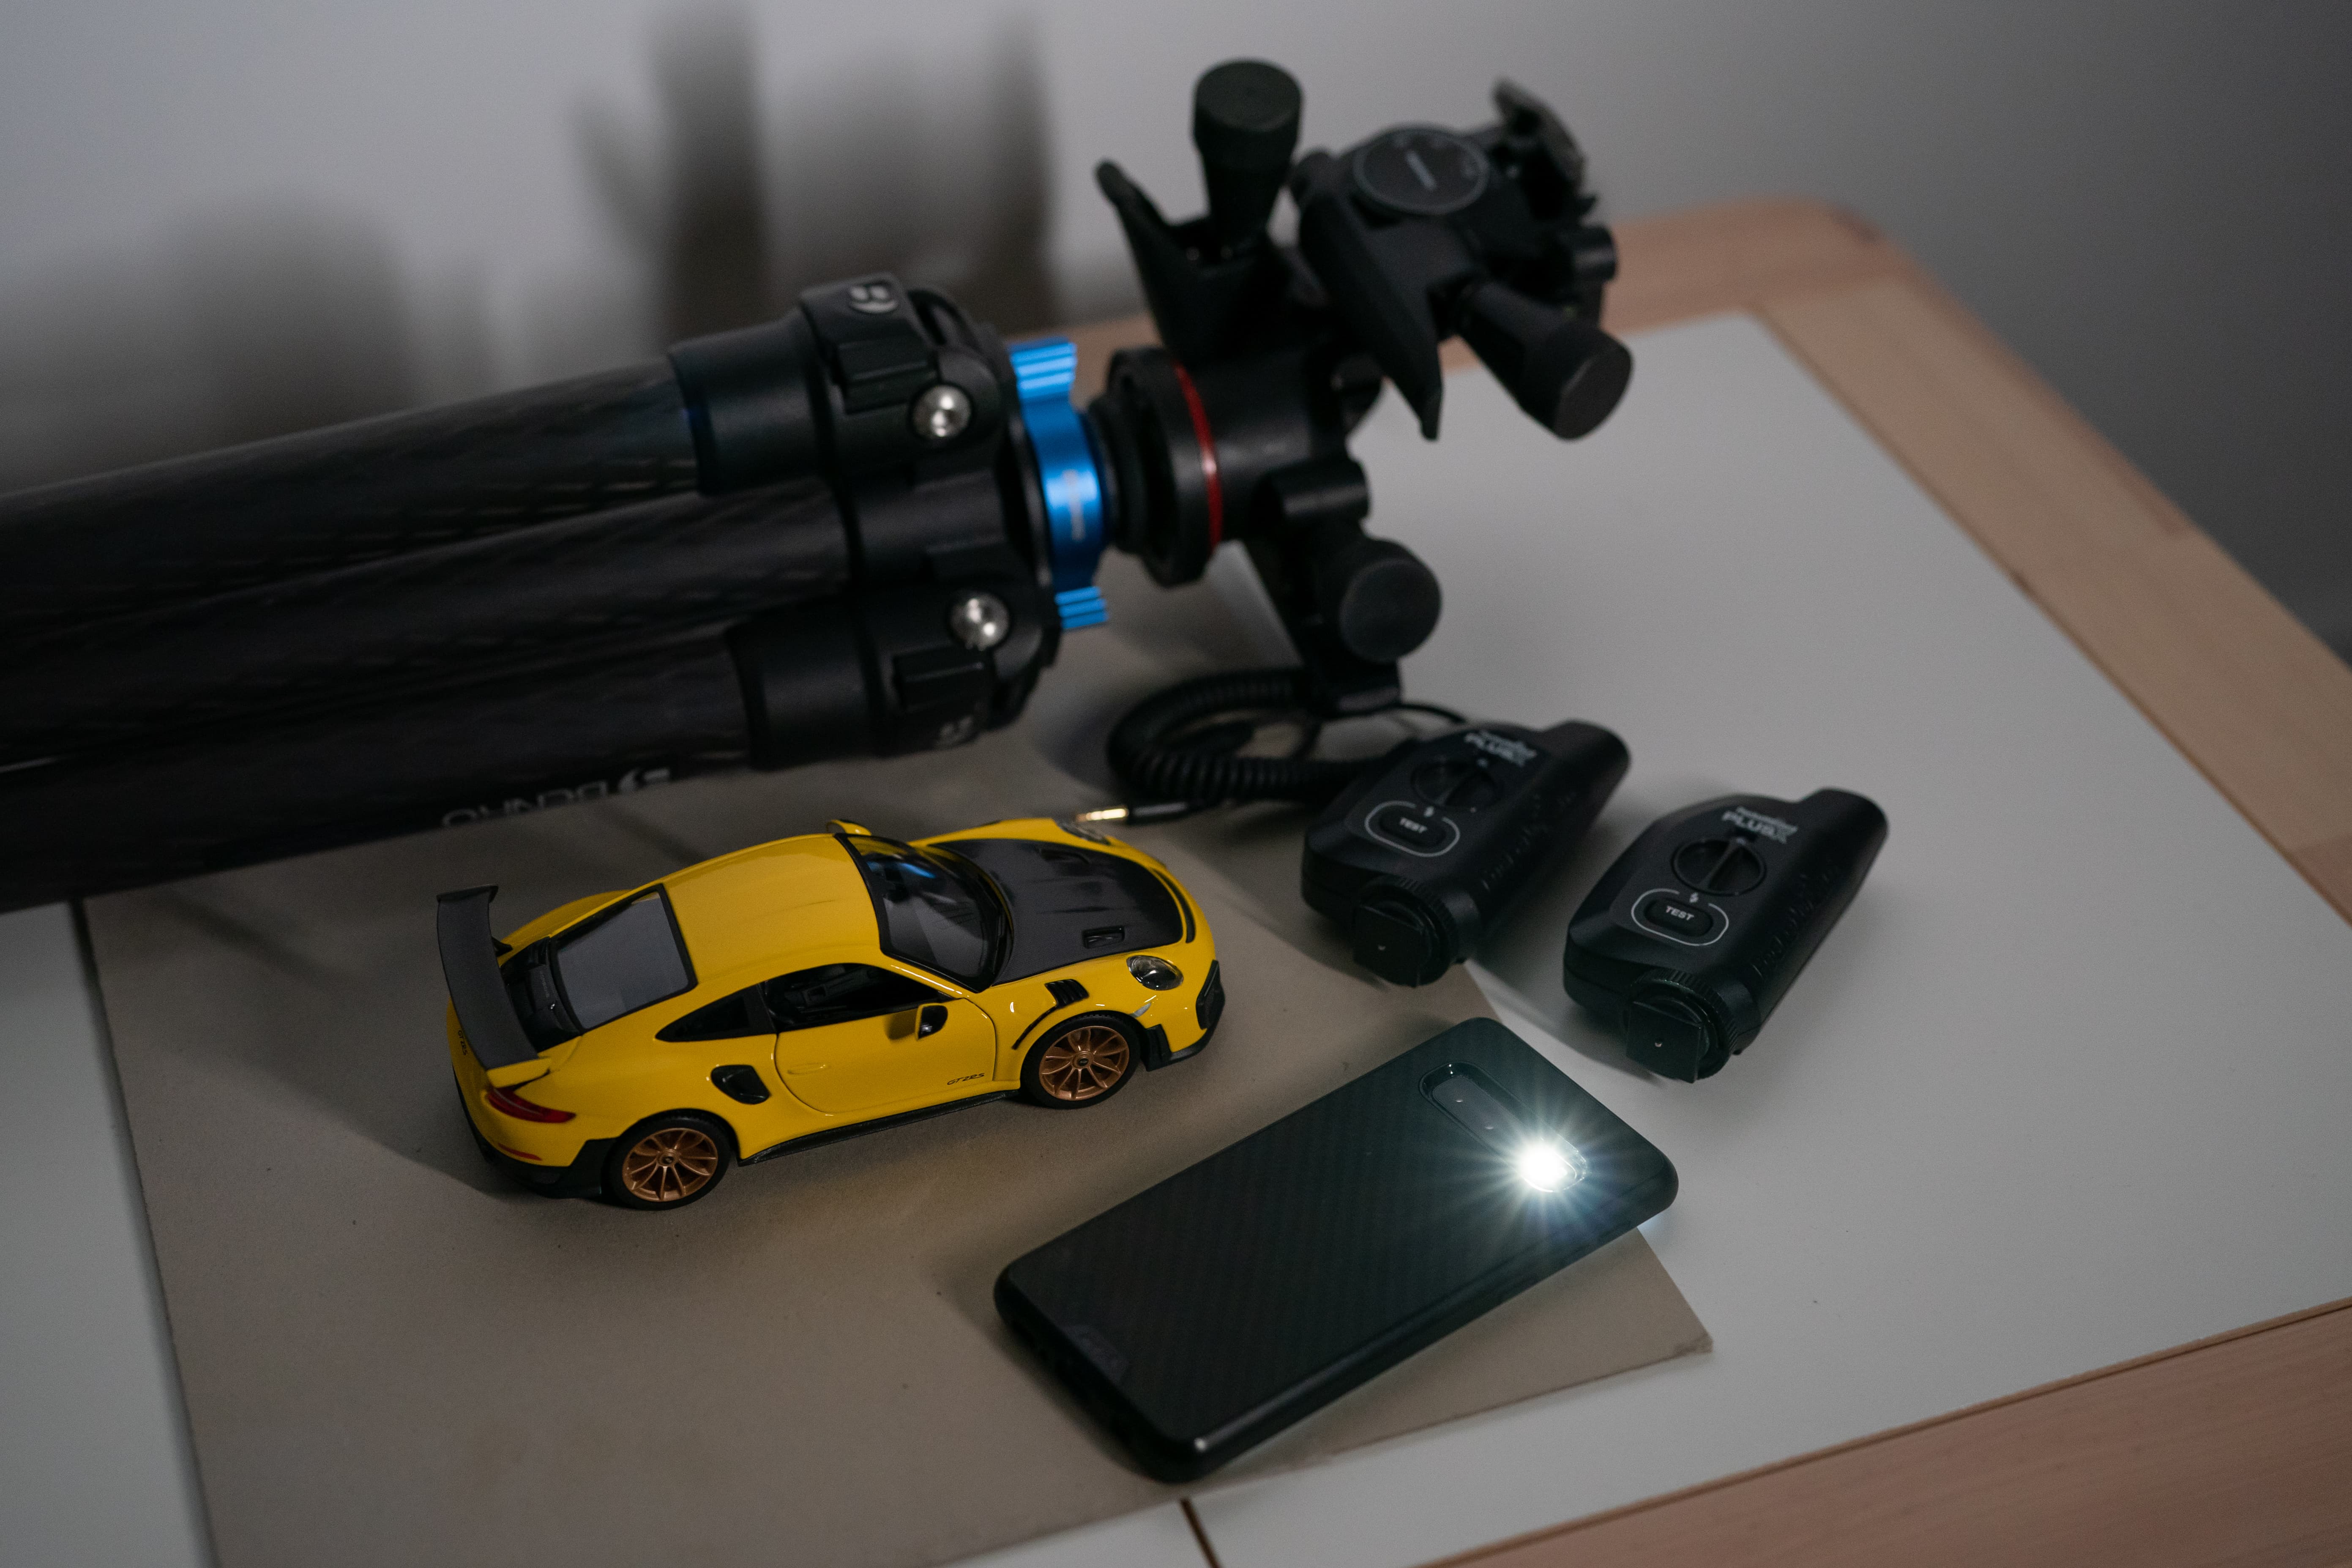
Keep the set-up simple and focus on lighting


