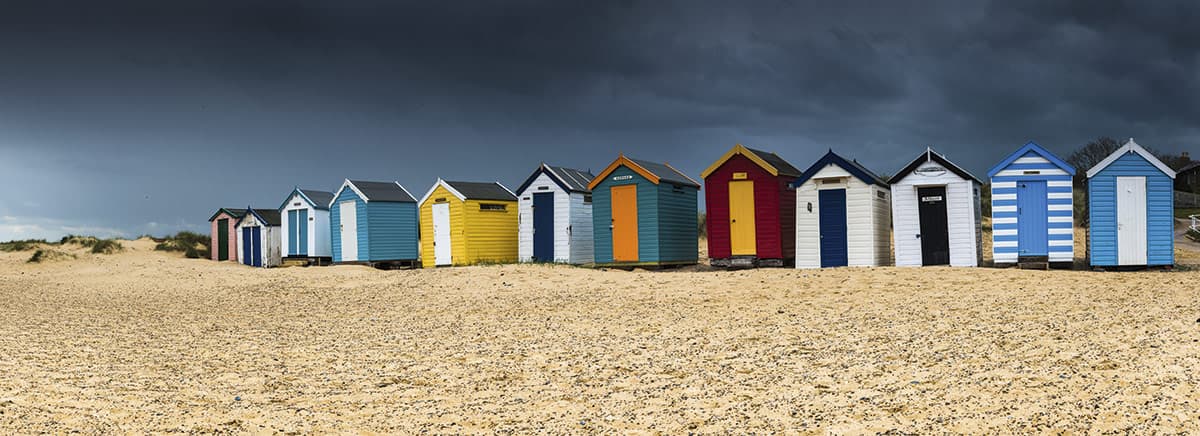
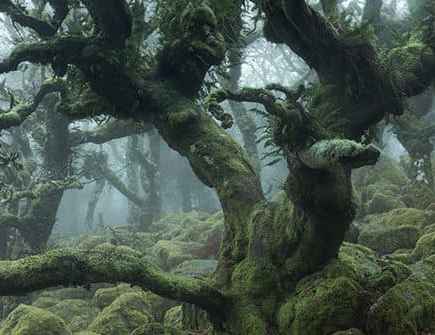
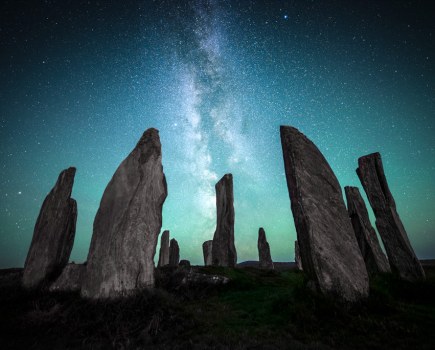
I don’t know about you, but I find photography incredibly frustrating at times. Although when I say that, I’m not really talking about it in the sense of taking pictures. There’s no doubt it can be challenging when out in the field and things aren’t going quite as you’d hoped – whether those things are in or out of your control.
No, what I’m talking about is the frustration that manifests when you haven’t been out taking photos for a while. You can read about photography, look at other’s images for inspiration or drool over expensive kit, but there’s no substitute for getting out there yourself.
Many of us would love to dedicate huge swathes of time to our photography, but often work and family life make this an impractical aspiration, so it’s crucial to make the most of any time you do get to go out. While you can grab the odd hour to two before or after work during the week if you’re lucky, it’s the weekend that presents the widest window to get out with your camera.
With some careful planning (and possibly negotiating some time off from other commitments), you’ll be surprised by the number of images you can capture in a weekend, while still having time to edit and share them before you’re back at work on Monday, frustration having subsided – for now, at least.
With this in mind, let’s look at how you can maximise your time so you can plan, shoot, edit and share your images in a weekend.
Planning
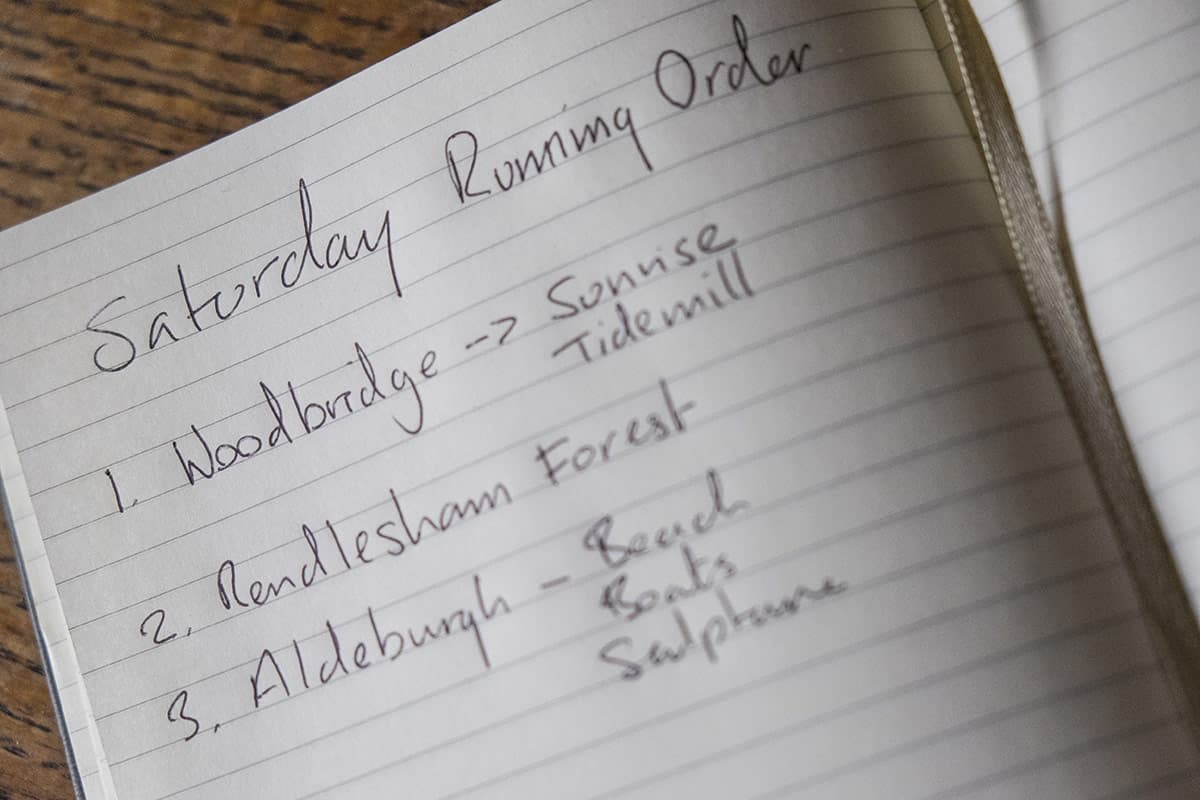
Without sounding too much like an applicant on The Apprentice, if you fail to plan, you plan to fail. As soon as you know you’ll have a clear weekend, start planning. The biggest decision is whether you’ll remain relatively local to your area or will be travelling further afield.
There are advantages and disadvantages to both. Stay close to home and you have local knowledge on your side: knowing the roads and how sites can be accessed, and the ability to do a possible recce or two beforehand. However, if you’ve shot these spots before, they may not give you quite the same buzz as a new location – which is why it might be worth booking a B&B and going further afield.
This can give your photography fresh impetus, but comes with the drawback of extra costs and not knowing much about the locations you plan to visit. For my weekend shooting, I opted for the best of both worlds and headed to Suffolk. I know the area well and, happily, I can stay with family.
Kit list
Torch
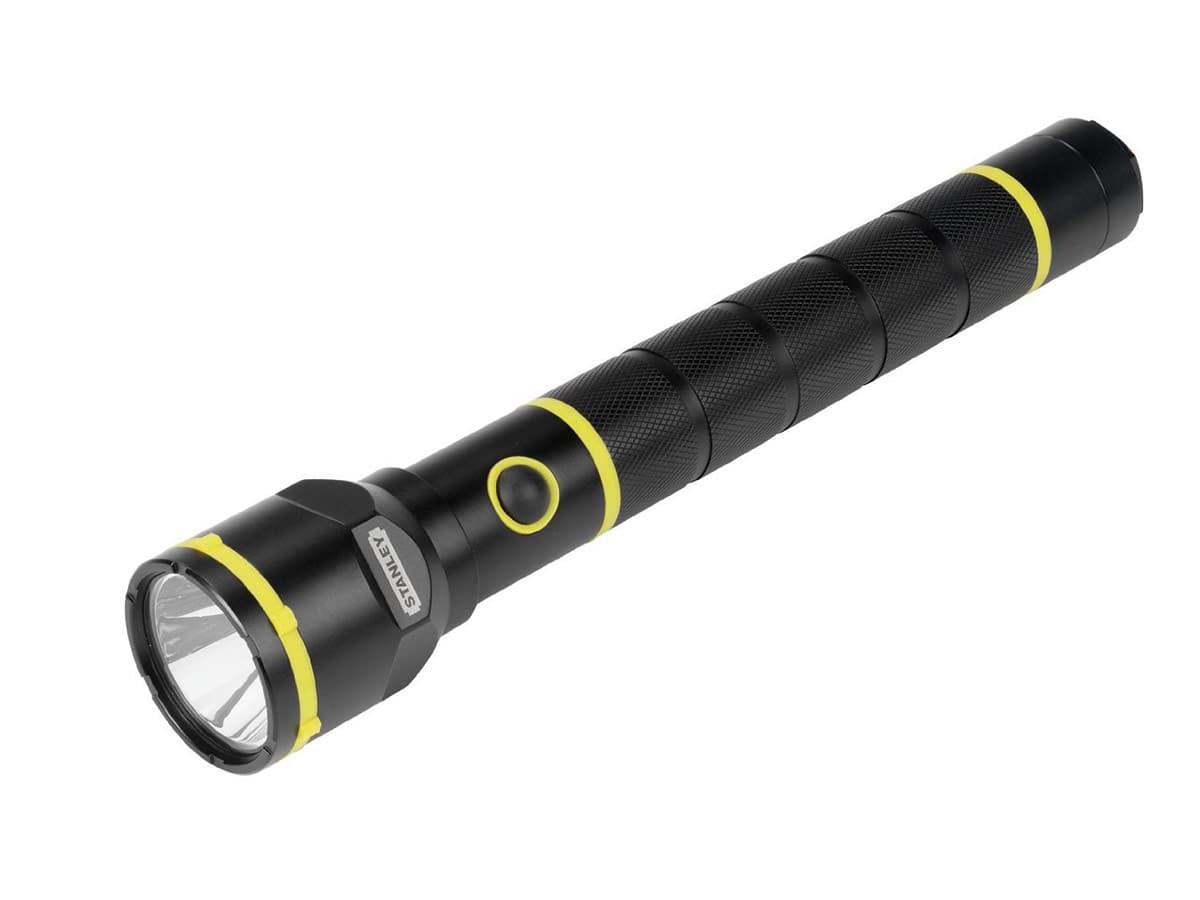
Whether you opt for a handheld one or a head torch, this is a handy piece of kit to take with you, especially if you have to walk to or from your car when it’s dark.
Comfy shoes
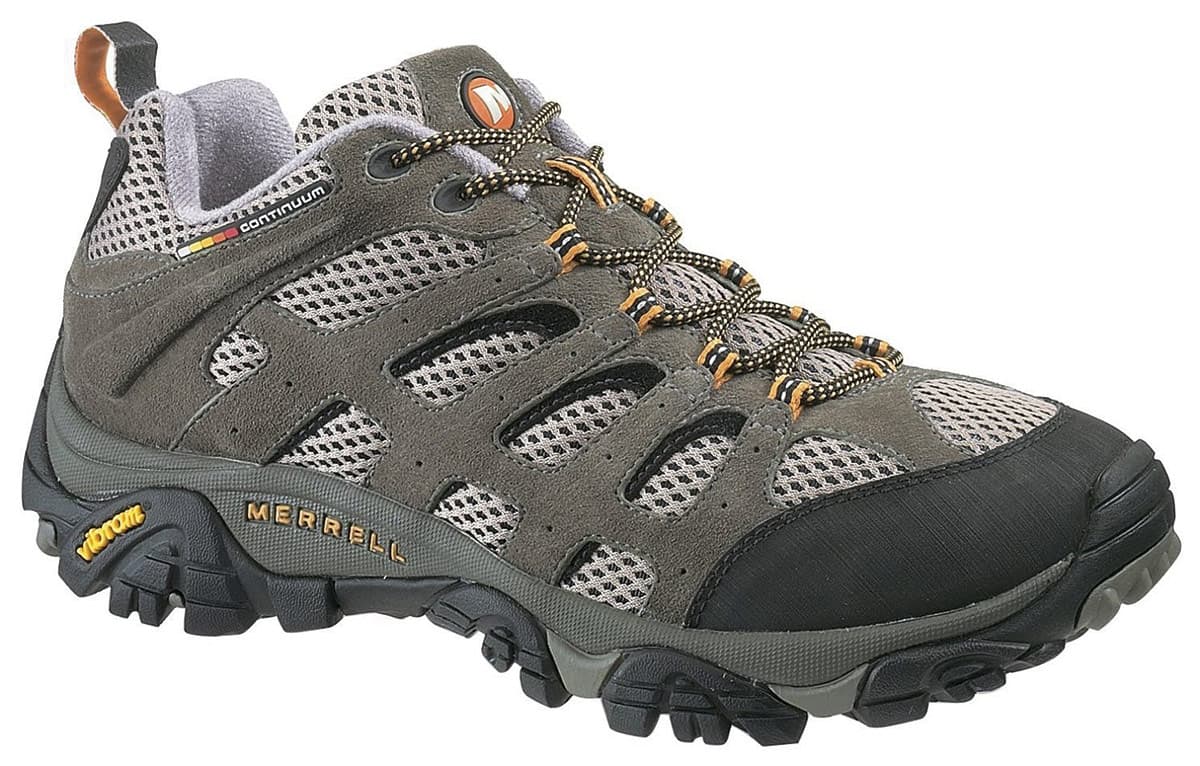
You’re going to be spending a lot of time on your feet, comfortable and durable shoes are a necessity. You’ll probably also want to pack a pair of wellies if you’re working near water.
Filters
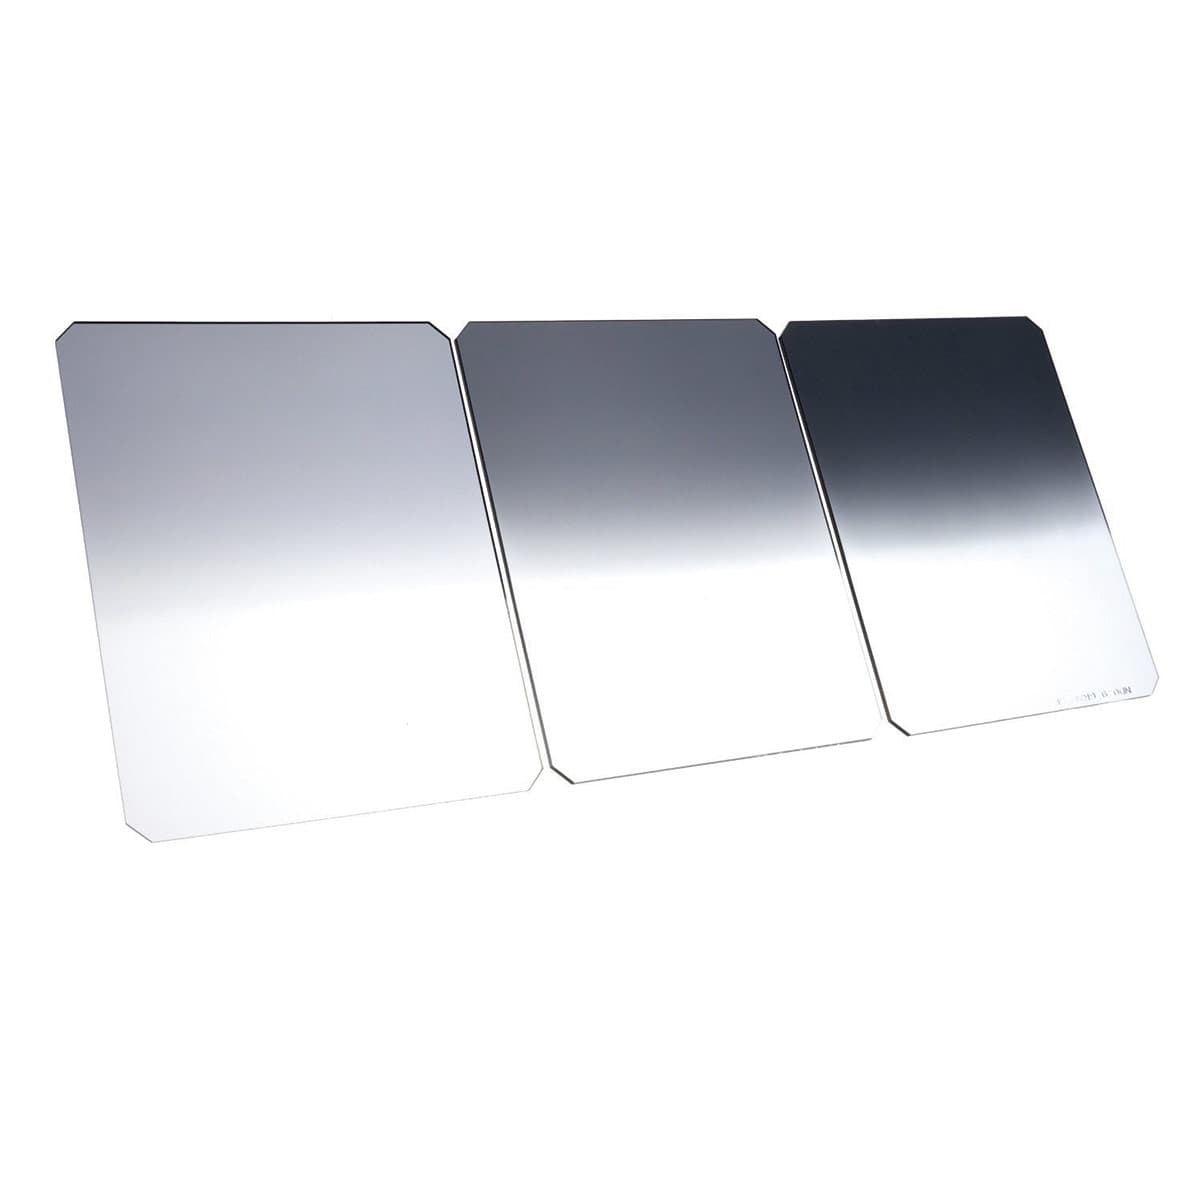
It goes without saying that you’re going to need filters. A couple of graduated neutral density filters are a good bet, while something like a Lee Big Stopper to shoot long exposures is also handy.
Lenses
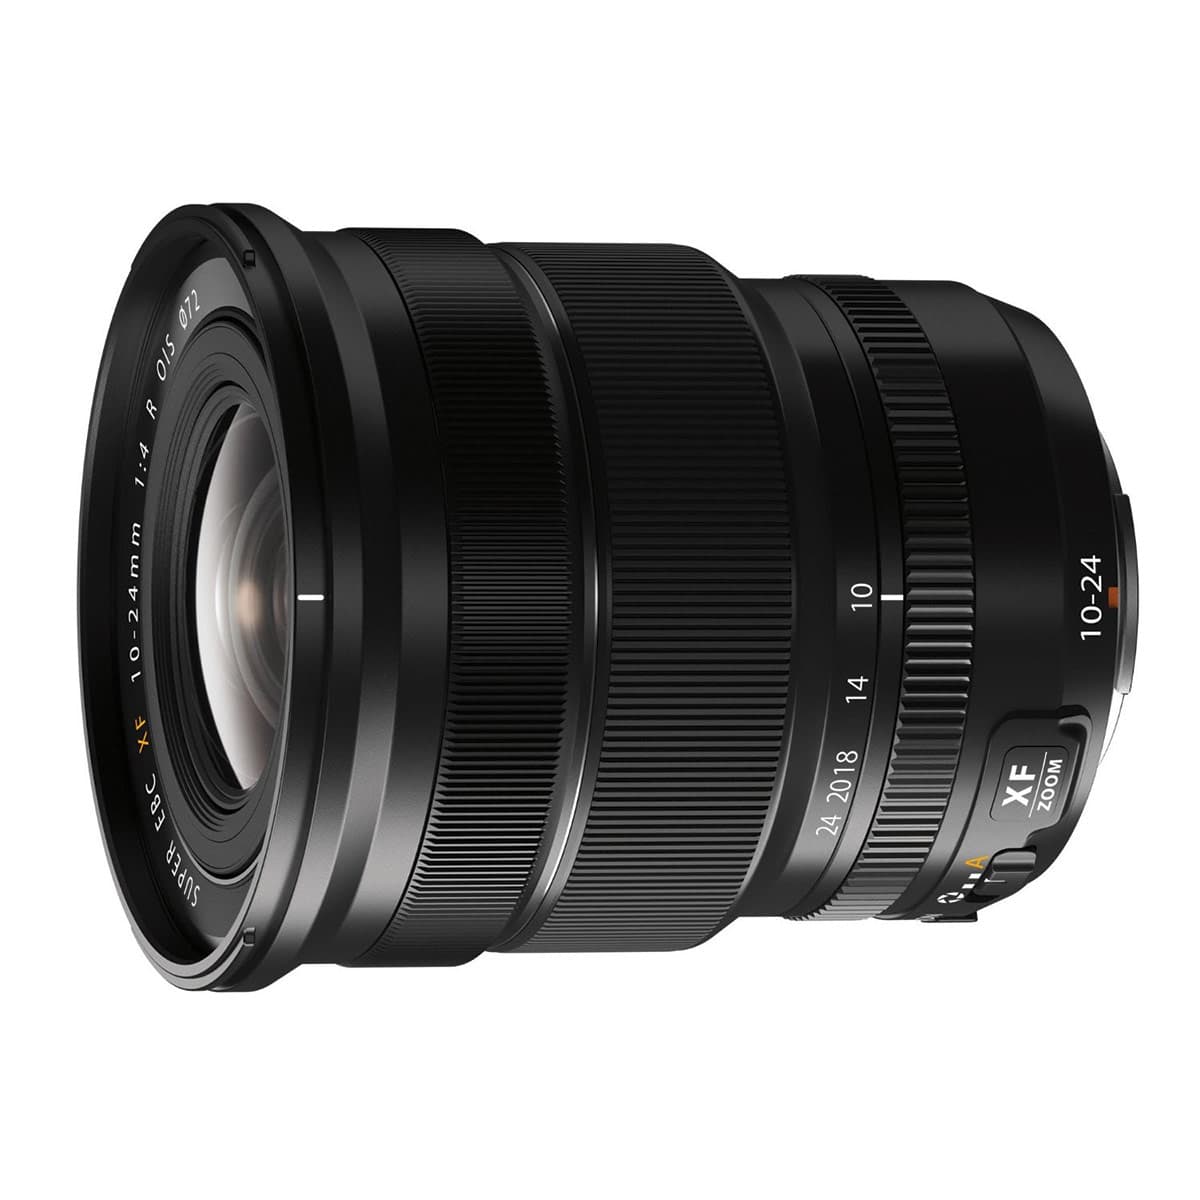
A wideangle zoom like a 16-35mm is ideal, although a standard zoom will still do a decent job. Don’t forget to pack a telephoto too – something like a 70-200mm – for a slightly different view.
Shooting list
Once you’ve decided whether you’re going to stay put or travel, it’s time to line up a shooting list of where you’d like to take pictures. In this instance, I’d planned to shoot from Saturday morning until the evening, with another early start on the Sunday in order to finish at lunch and allow time for editing. If you’re stuck for inspiration, Flickr is a good place to begin pinpointing locations you’d like to visit. Start by making a list of potential spots, before finalising a running order of where you’re going to shoot over the weekend.
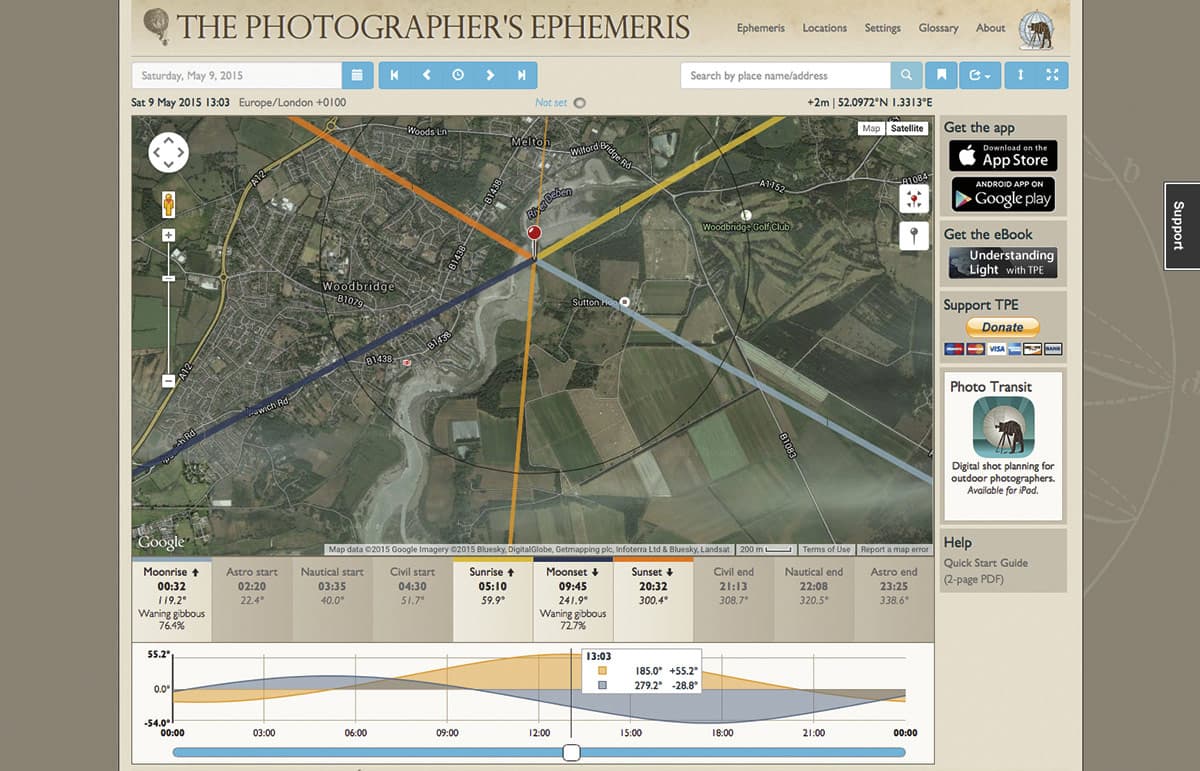
It’s important to maximise your time, so to avoid travelling back and forth too much between your locations, plan with a start and end point in mind, visiting two or three locations along the way. Along with a map and The Photographer’s Ephemeris (the desktop version is free to use), you can plan a route and assess how the light will fall on the spots you’re visiting.
Shooting
With your planning done, cameras charged, and kit cleaned and checked, it’s time to set your alarm clock in anticipation of the early start needed for your first location. Double-check sunrise times, and make sure to leave enough time to get to your chosen spot and set up before the sun breaks over the horizon.
Once you’re over the initial shock of such an early morning (especially on the weekend), there’s nothing like the sense of excitement and anticipation as you head out towards your first location. However, don’t feel too deflated if things don’t go to plan when you arrive. The weather, quality of light or a range of other elements out of your control may not be as good as you had hoped.
In my case, I arrived at the Tide Mill in Woodbridge to discover not only that there was scaffolding adorning the front of it, but also that the light wasn’t as dramatic as I’d wanted. This resulted in formulating a quick Plan B and wandering further along the river walk so the Tide Mill wasn’t as prominent in the scene, while several other subjects presented themselves to focus in on.
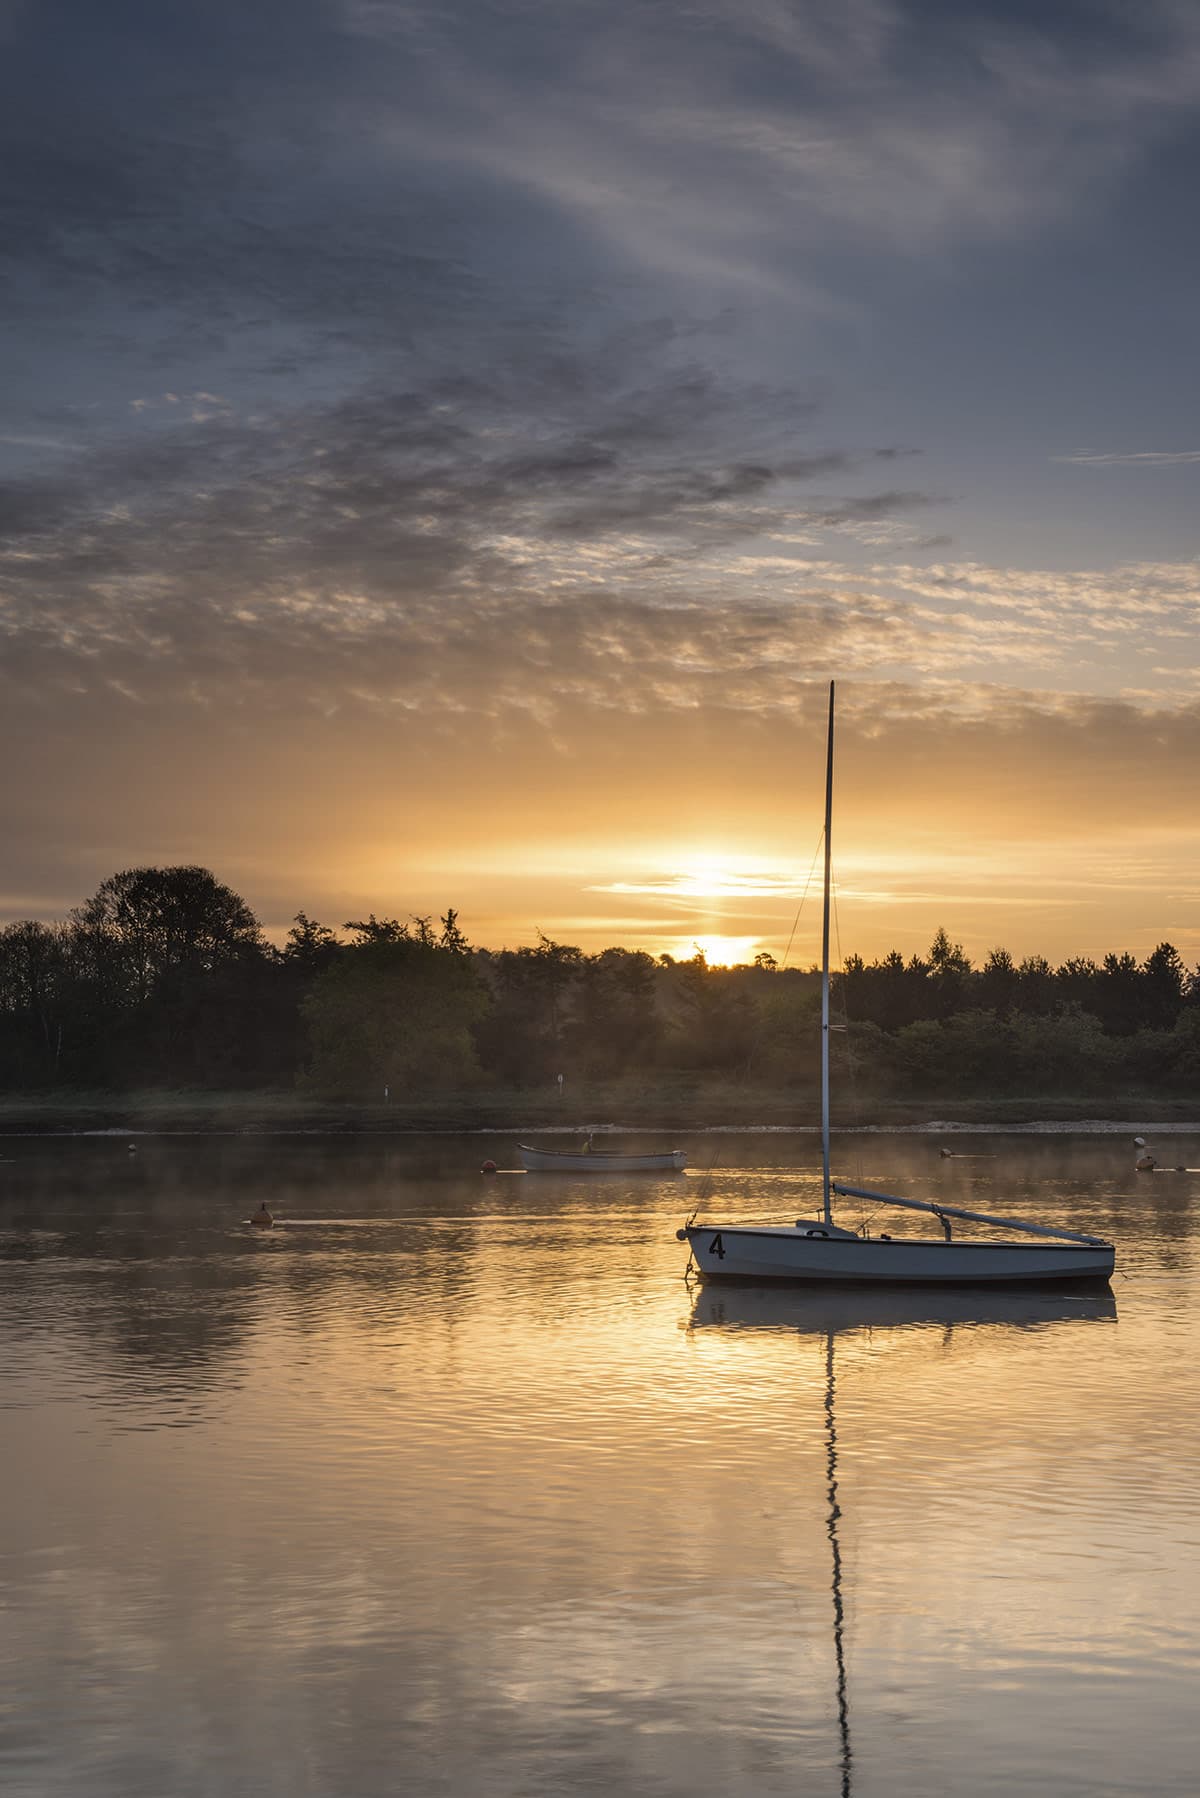
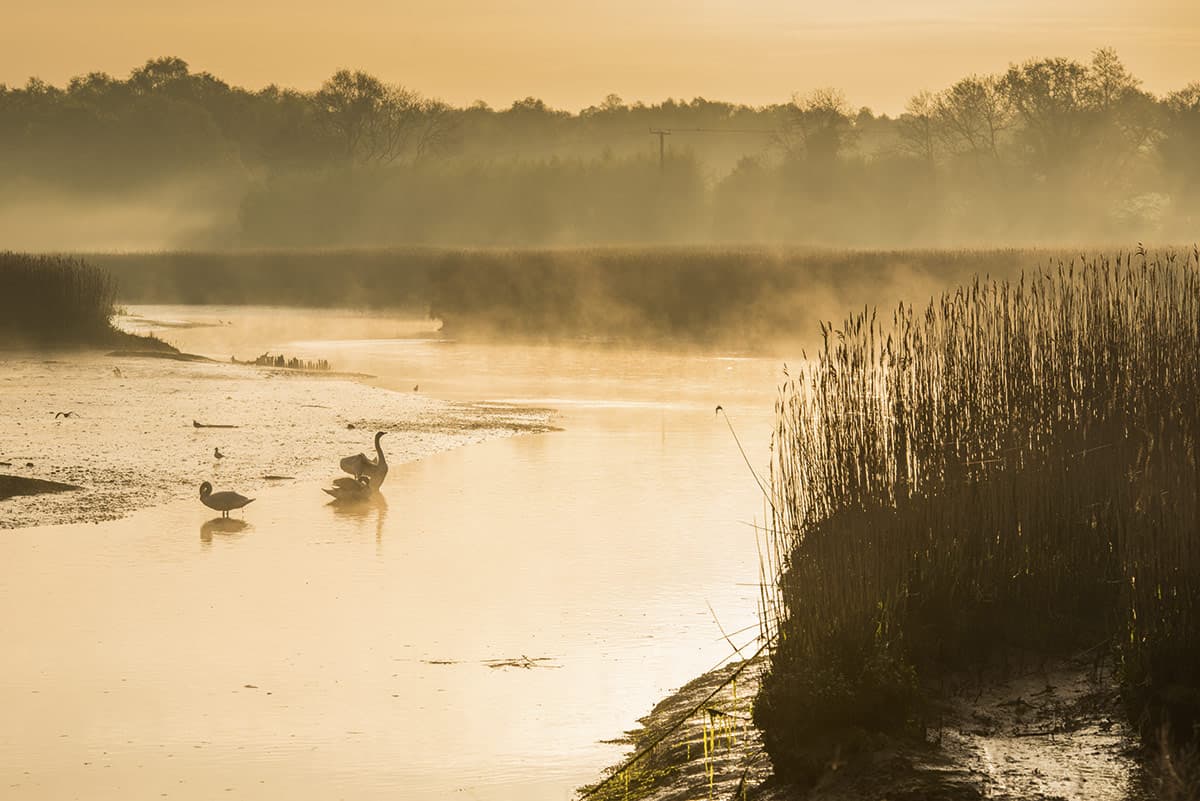
Having got some shots I was reasonably happy with, I decided to cut my losses and head back to the car. It was as I was driving to my next location, feeling a bit disheartened with how the morning had turned out, that I noticed how the sun had started to warm the riverbank to form morning mist. It wasn’t part of the plan or a location that would normally lend itself to a good shot, but the mix of conditions and light meant it couldn’t be ignored. The opportunity for an unplanned stop resulted in some images I was really happy with and spurred me on to the next location.
Details
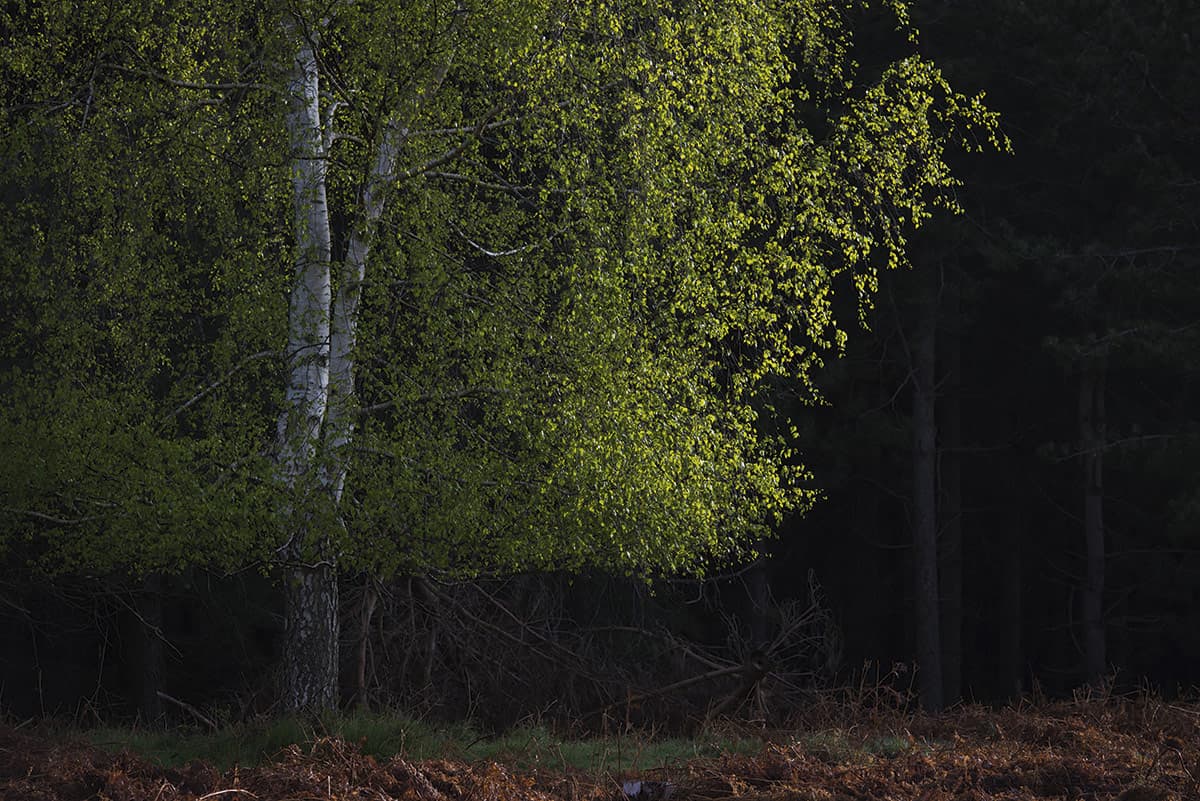
Landscapes don’t always have to be broad vistas. Shooting in Rendlesham Forest, I was drawn to a birch tree that was set against a wall of pine trees, with the sunlight highlighting the right-hand side. However, shooting wideangle just didn’t provide the shot I was after, so, after swapping to a 70-200mm, I focused in more tightly for an image that was altogether more low-key:
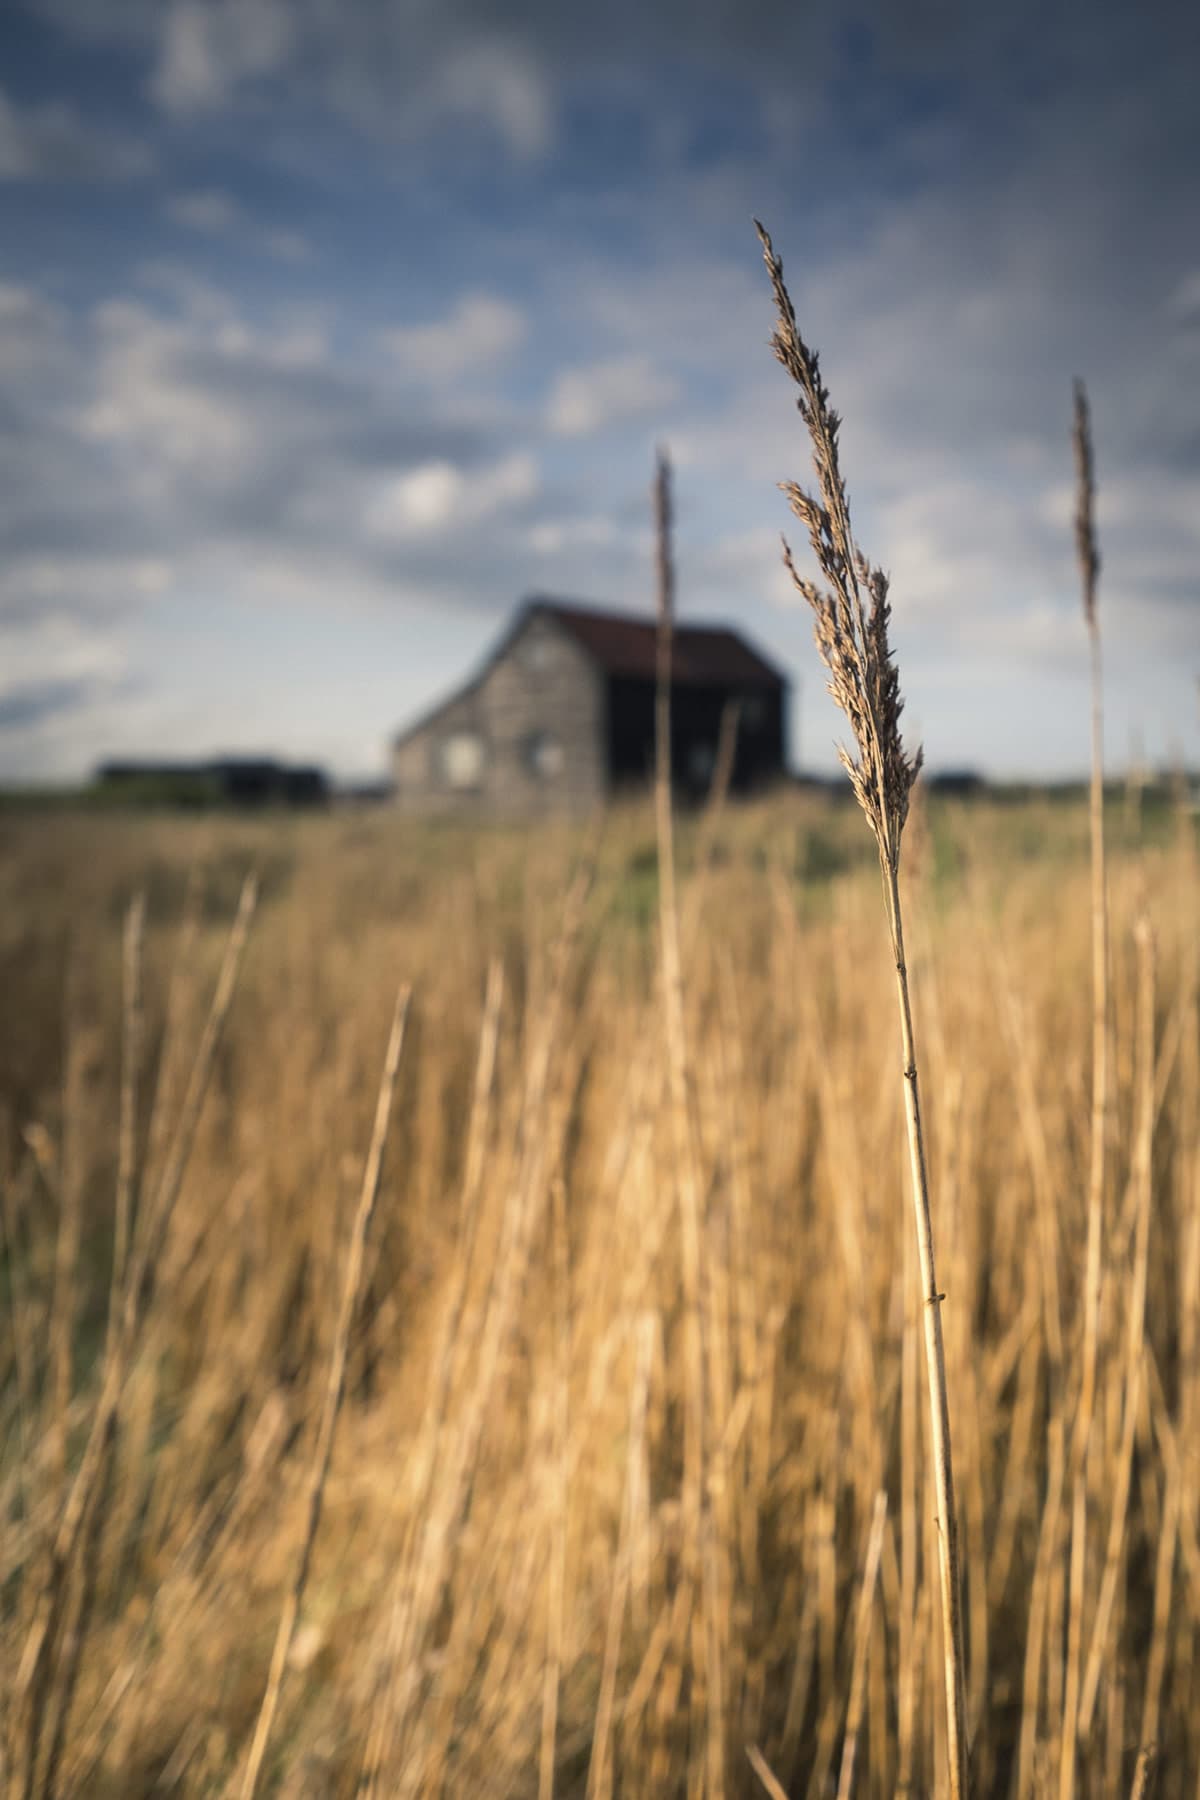
While you may be inclined to shoot everything with a large depth of field, some scenes benefit from a little experimentation with apertures, to direct the viewer as well as create a three-dimensional effect.
Walberswick Harbour has been shot numerous times and, while I took some traditional wider views, I wanted something a little different. By getting down and focusing on the reeds in the foreground at a wider aperture, the wooden black huts in the distance were de-focused just enough to provide a more abstract result:
Shooting a panorama
Another option for your weekend – try your hand at a panorama. While there’s no substitute for a dedicated nodal slide, it’s still possible to get decent-looking panoramic images with a ball-and-socket or three-way head. Avoid using a wideangle lens as this will lead to a lot of distortion, with a 50mm focal length being a good starting point. Here are the steps:
1. Set up
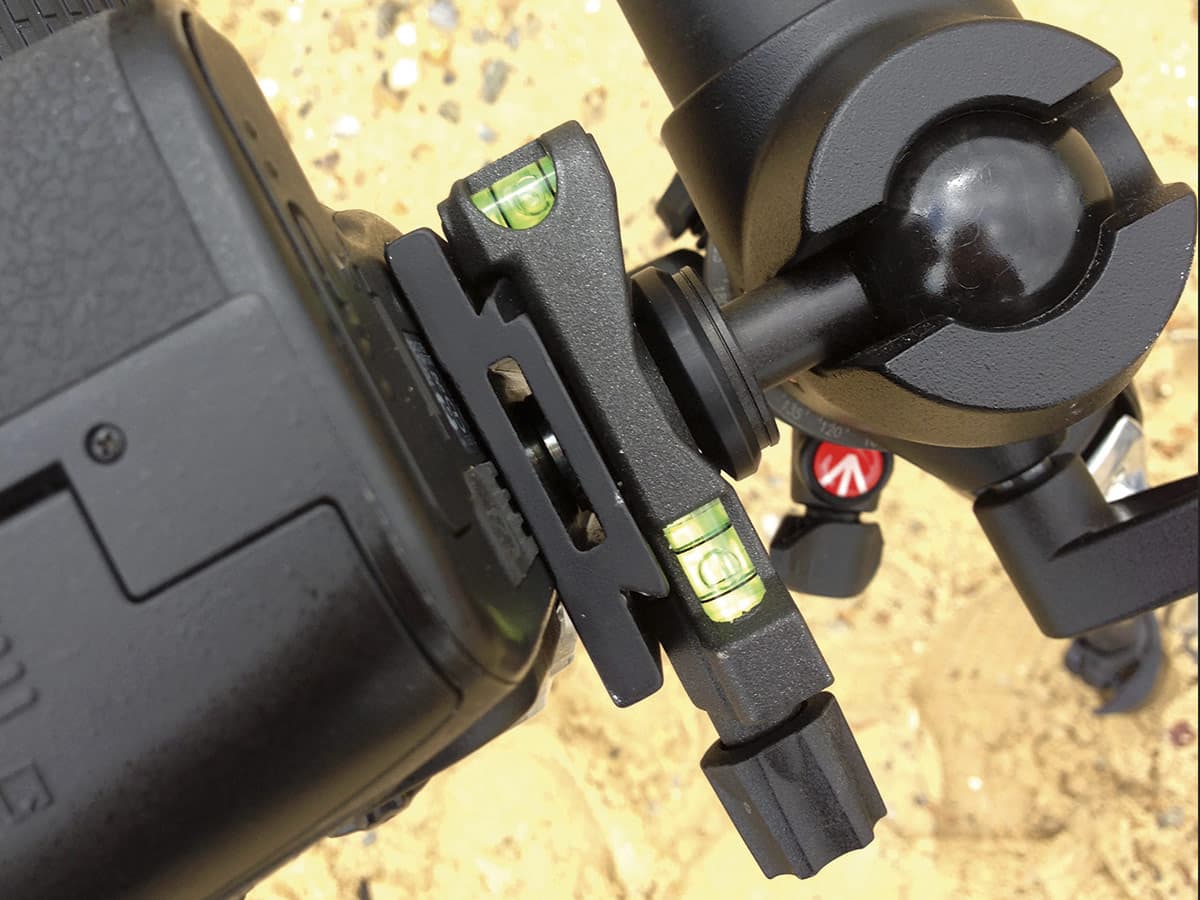
Position the camera in portrait format and make sure your camera is dead level using your tripod head’s spirit level. Once that’s done, check that the camera sweeps through the vista without dipping down or rising at your end point.
2. Shoot
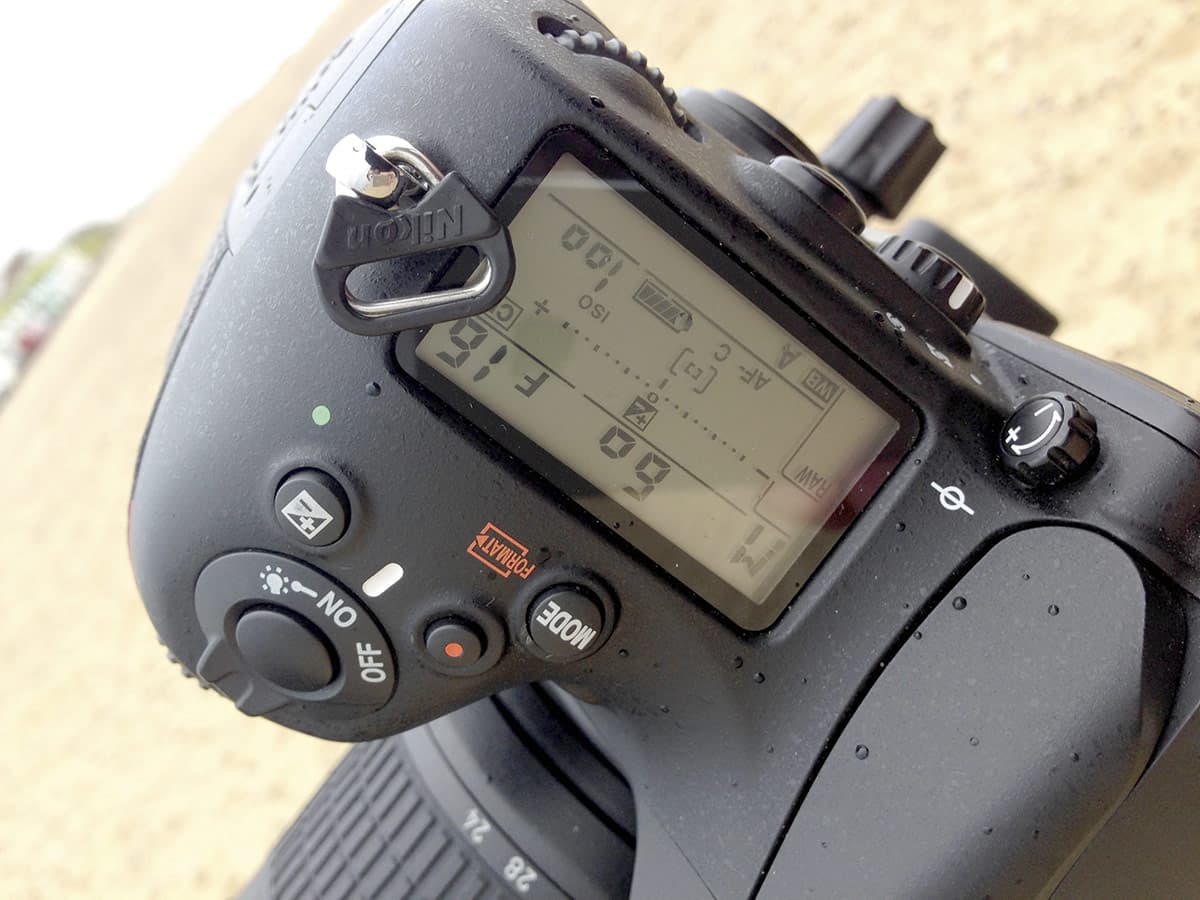
Shoot in raw and set the exposure manually to avoid any discrepancies. Also, set and lock-off your focusing so it doesn’t shift as you move from left to right across the scene. Start shooting, making sure there’s at least a third of an overlap between each frame.
Shooting a long exposure
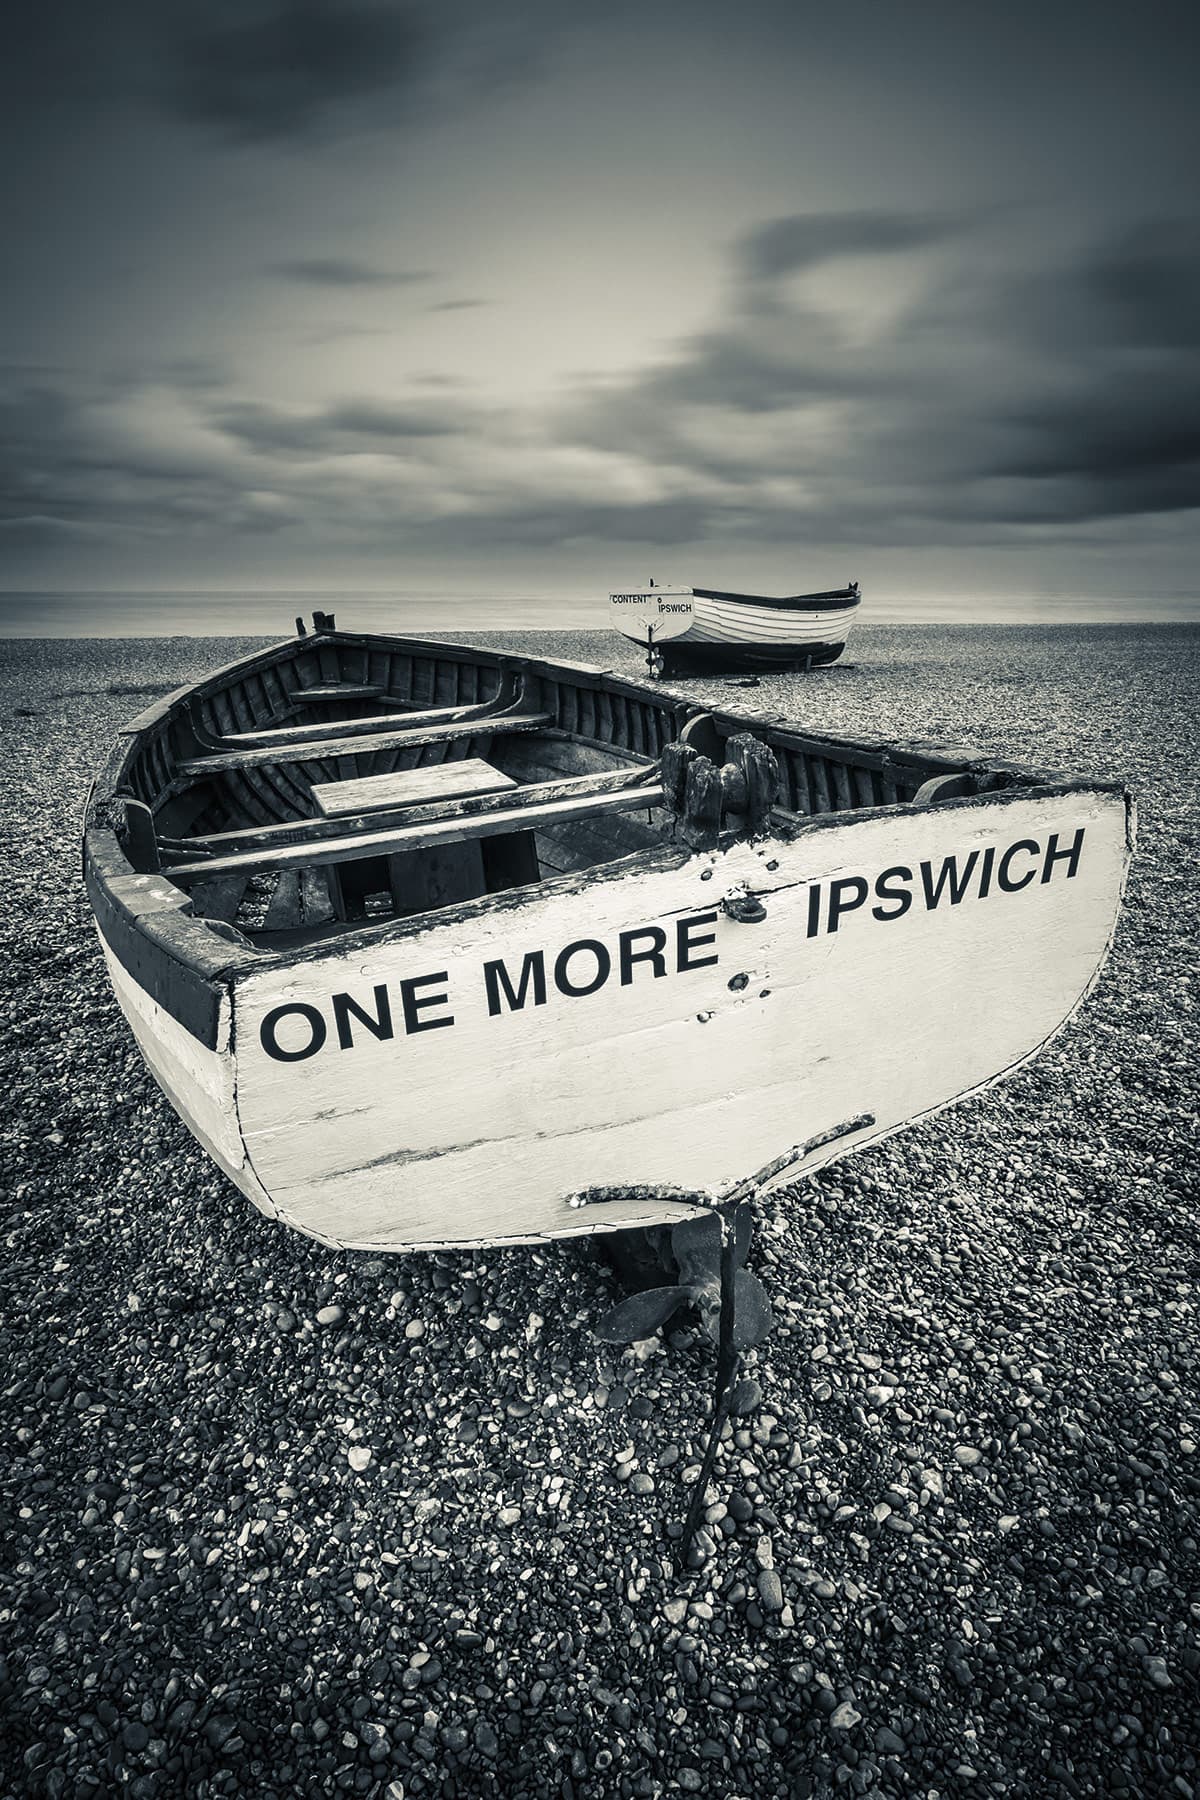
With blustery conditions at Walberswick and with the tide receding to reveal the remnants of the old pier, it was the perfect opportunity to shoot a long exposure. Let’s look at how to set up and shoot with a 10-stop neutral density filter.
1. Metering
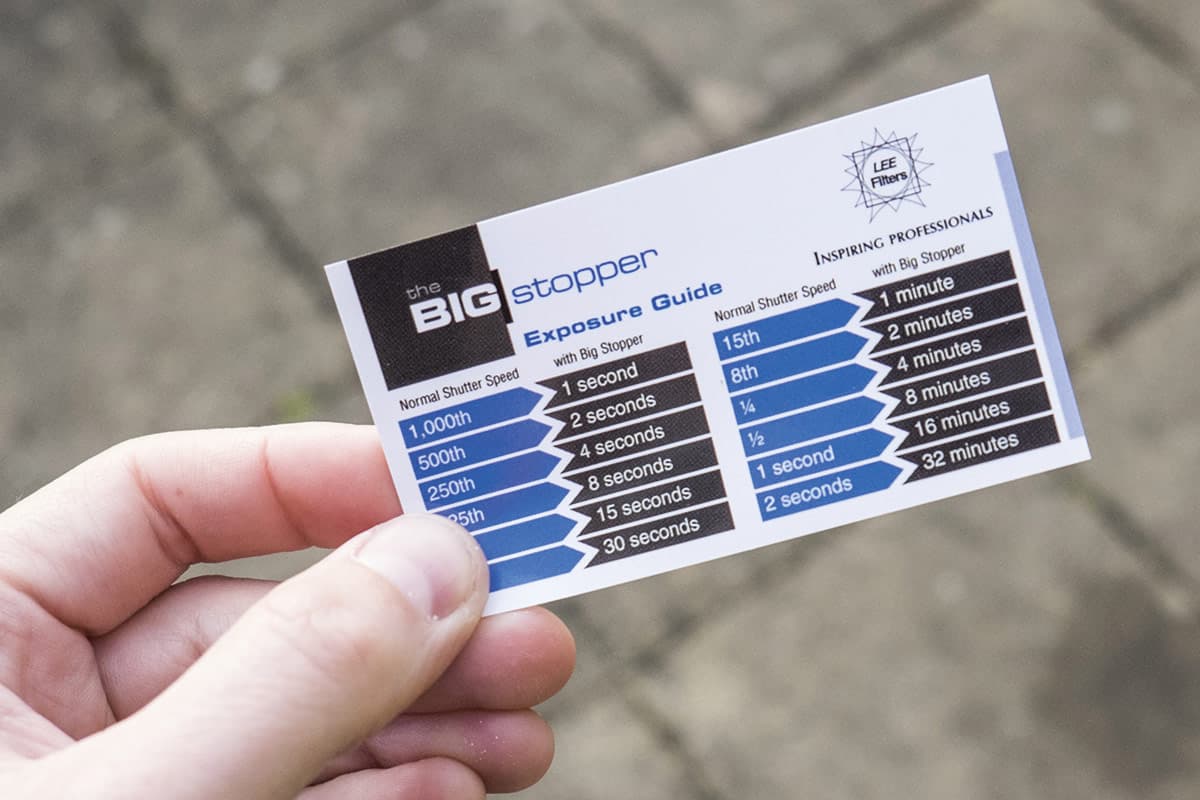
Compose and focus your shot before taking a meter reading without the filter in place. The Lee Big Stopper comes with a handy exposure guide, so you can easily work out the adjusted exposure once the filter is in place.
2. Settings
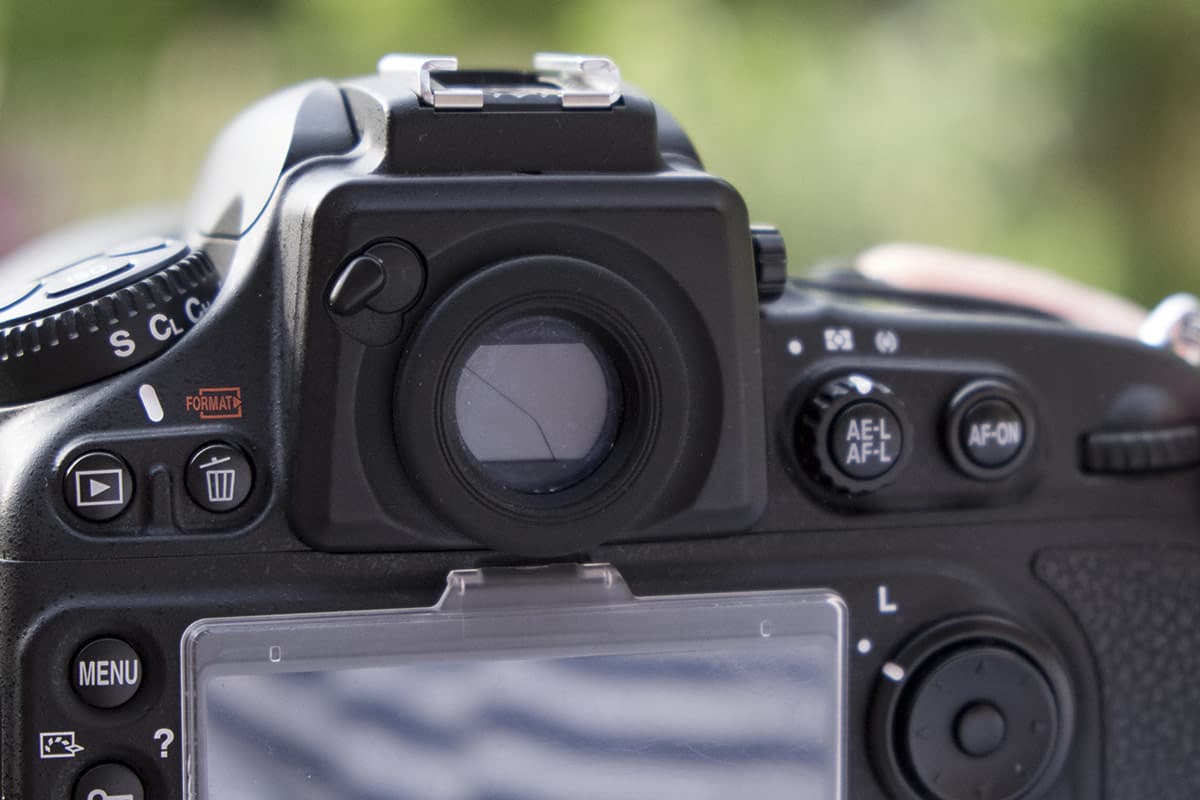
With your camera in manual mode, dial the adjusted shutter speed into the camera, then cover the eyepiece to avoid any light leaks. A remote trigger is often necessary to avoid any unwanted camera shake – if you’ve got a smartphone, then look at Triggertrap app and mobile kit.
Editing
Whether you carry your laptop around to edit images in between locations, or make time at the end of your weekend to sit down and go through them individually, try make the time to post-process some, if not all, your pictures (depending on how successful you’ve been). Otherwise, it’s all too easy to let them linger on your card or hard drive. Everyone has their own way of editing and post-processing images, but here are some tips and tricks that will give your images
that polished look.
1. General adjustments
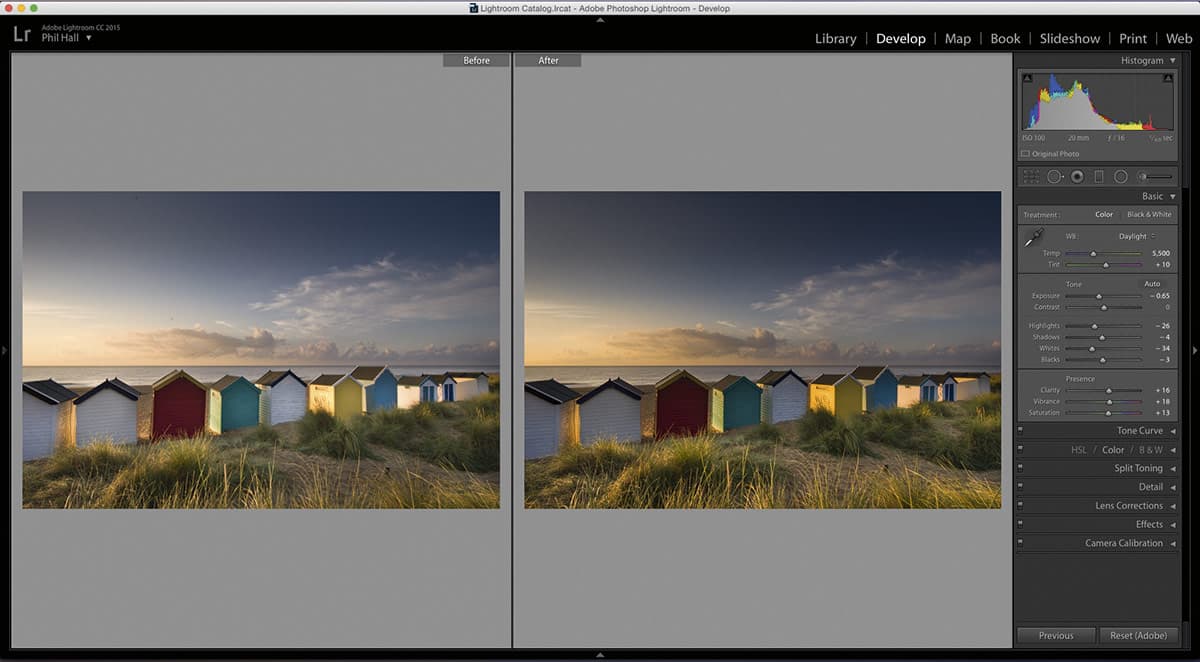
Spend time getting these core adjustments just right. Pay attention to your histogram, using the Whites and Blacks sliders to make sure you maintain both pure black and white in the image. Use both Clarity and Vibrance to add punch to your image, while the Graduated Filter and Adjustment Brush tools will allow you to darken skies and tinker with other elements of the image, particularly the foreground, to balance the image further.
2. Lens correction
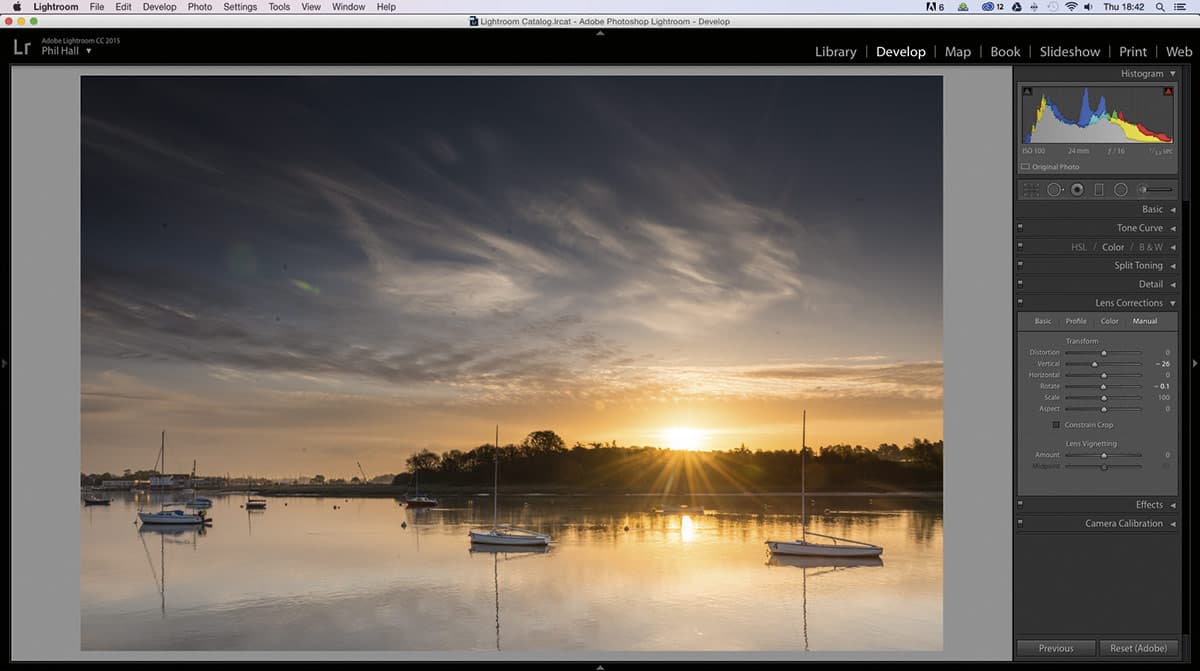
Even the best optics can benefit from a little fine-tuning, so whether you’re using Lightroom’s Lens Correction tab or the similarly named tab in Photoshop Adobe Camera Raw (ACR), make sure you tick the Enable Profile Corrections box. Some subjects with man-made elements sometimes require a little manual adjustment, particularly if you’ve got converging verticals, so spend time with the manual sliders to tweak the image a bit further.
3. Creating a panorama
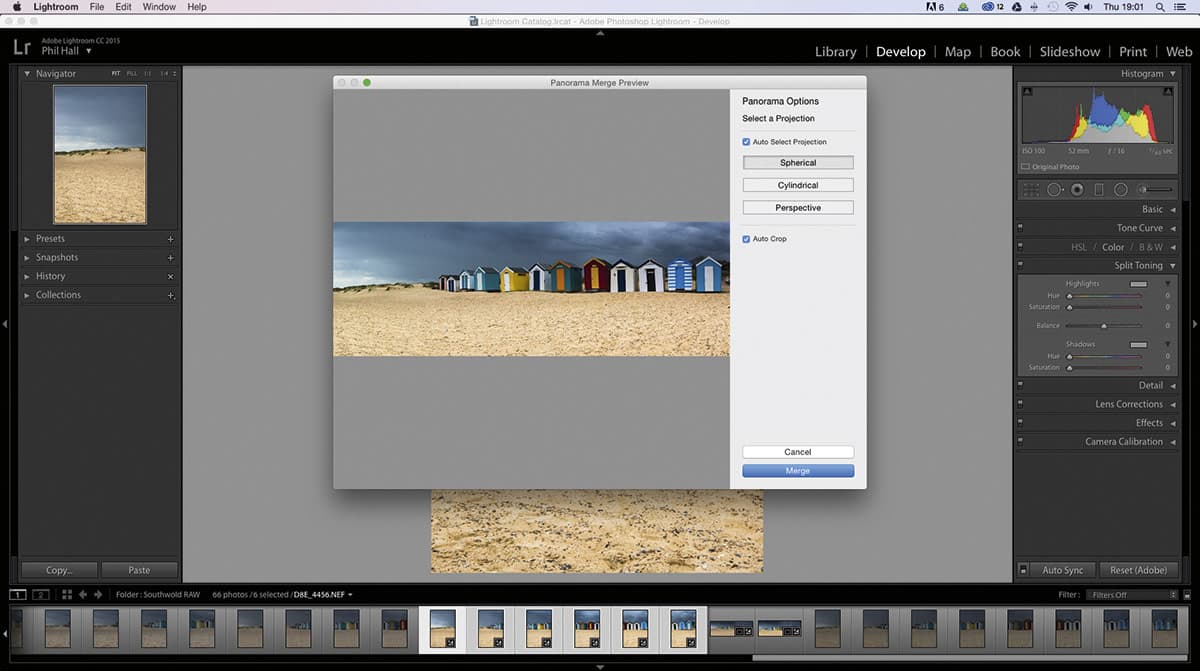
You’ve learned how to shoot one (above), but here’s what you need to do once you’ve downloaded your images. In Photoshop, make a batch raw conversion and save them all in one place. Then go to File, select Automate and then Photomerge. Find your files and select Auto for the layout. In Lightroom CC, simply select your images, right click and select Photomerge from the drop-down menu, before selecting Panorama. Choose your Projection and Auto Crop.
4. Add a split-tone effect
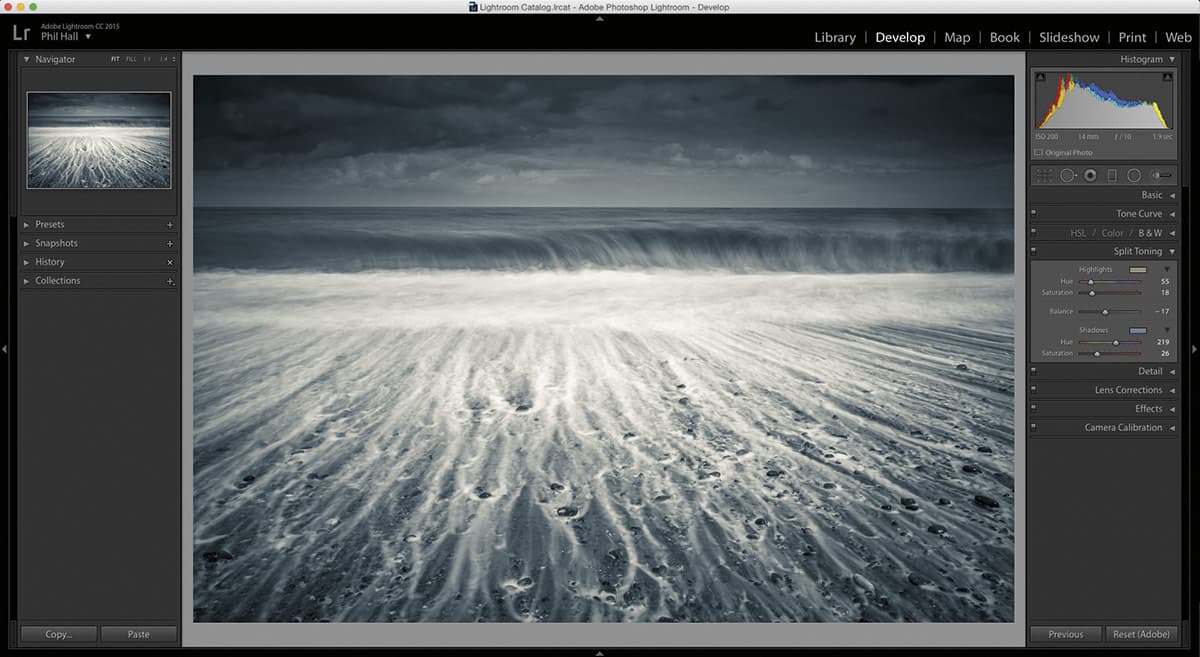
If you want to give your mono images a little twist and add some subtle hints of colour to the shadows and highlights, split toning is a great way to achieve this. Using the Split Toning panel in either Lightroom or Photoshop ACR, you can set the Hue for both the Highlights and Shadows, toggling the Saturation of each, while the Balance can have a big impact on the overall look. Aim for lighter colours in the Highlights and darker tones in the Shadows.
Sharing
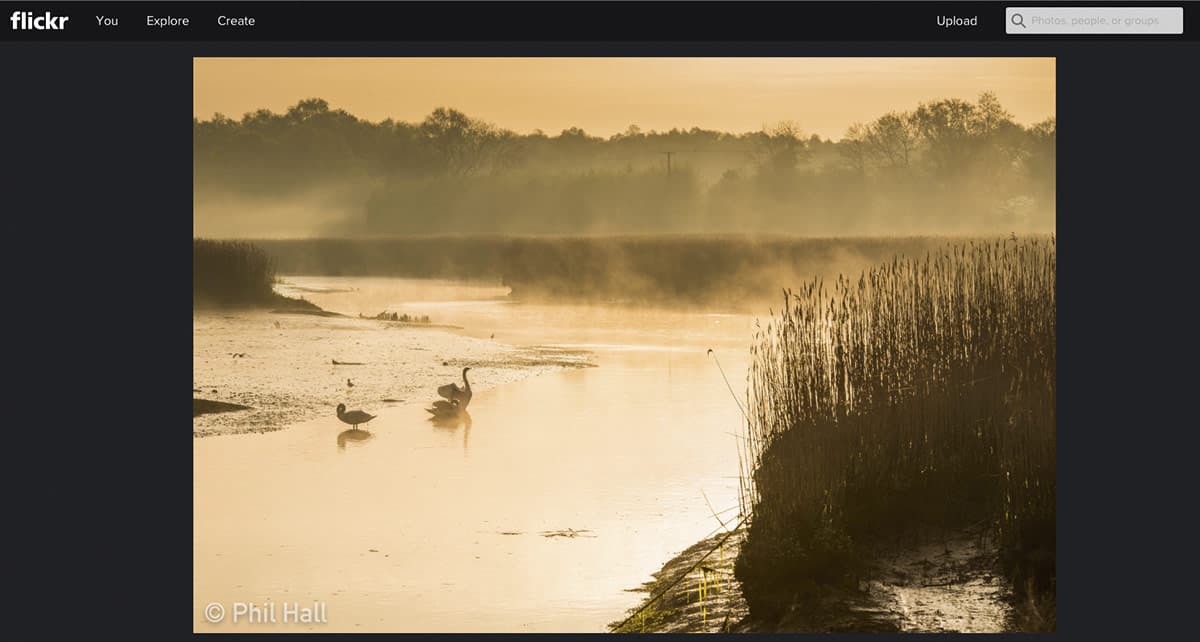
Once I’ve finished editing my images, I often find it’s a good idea to leave some time before coming back to them. Returning with fresh eyes will often let you see photos in a different light – they may not be quite as good as you remember, or some that were down the pecking order may have taken on new appeal. Once you’ve settled on a couple of favourites, though, make sure you share them. Image-specific social sites like Flickr and 500px are great places to start, but don’t forget the likes of Twitter, Instagram and Facebook to reach a broader and more-varied audience.
Finally… My five top tips
1. Buddy up
If you can, shoot with a friend. It will make the day even more enjoyable, and you won’t be tempted to ignore the early alarm call if someone else is depending on you to get up.
2. Stay fed
Make sure you eat when you can. Long days shooting mean you’ll need to keep your energy levels up – have breakfast before you start, pack snacks and enjoy a good lunch.
3. Be flexible
Remember that the plan is not set in stone, so be prepared to adapt depending on the conditions. If you see a shot while travelling between locations, get out (if it’s safe to do so) and shoot.
4. Keep your spirits up
Don’t get down hearted if things aren’t going quite as planned. Make the best of the location, as you never know what you might come away with. Use the time to experiment.
5. Enjoy yourself
It’s the weekend and you’re out shooting rather than stuck at home. Regardless of the weather or any other uncontrollable factors, make the most of it.

