Martin Evening presents the various factors that affect digital camera exposure and how to improve your shooting technique
Modern camera sensors can be very forgiving when it comes to making exposure mistakes. Even so, it is useful to have a basic understanding of how digital cameras capture images plus how the raw processing, either in-camera or applied during post-capture, affects image quality.
Sure, it is easy enough on the computer to correct photographs that are under- or overexposed, but if you are keen to achieve optimum image quality, you’ll want to do all you can to nail the exposure at the capture stage. When looking at digital camera exposure, forget everything you think you know about film negative or transparency emulsions. The digital capture process is entirely different.
Sensors and raw conversions
In the early years of digital capture the exposure selection was critical because most cameras then had a fairly limited dynamic range and consequently less exposure wiggle room. This restriction put off some photographers from going digital because digital did not compare well to shooting, say, film negative.
Therefore, early adopters of digital photography had to be extra careful when setting their exposures. This is where techniques such as ‘Exposing to The Right’ (ETR) were thought necessary. Fast-forward to today and the current generation of sensors are now so good that getting the ISO and exposure right is nowhere near as critical as it used to be.
The newest camera technology combined with the latest raw processing means there is plenty of scope to miscalculate the exposure and still obtain good-looking images.
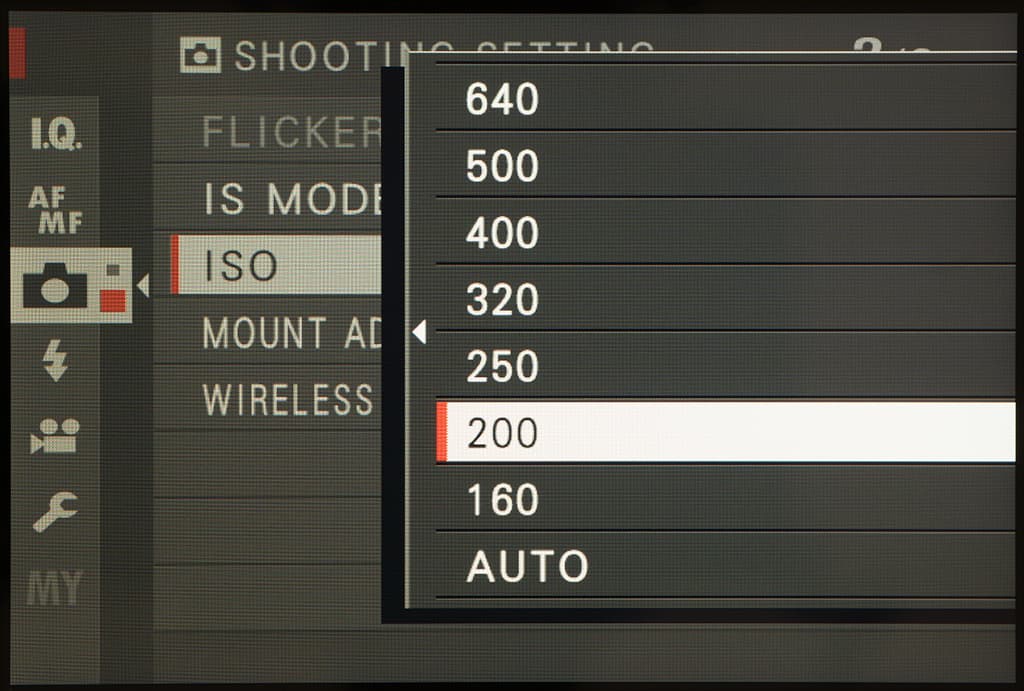
You can select the desired ISO setting from the camera menu options. But the ideal, or native ISO may not always be the lowest ISO setting available from the menu
The sensor in your camera is actually an analogue device. Whether it is a CCD, CMOS or X-Trans sensor, the light hitting each photosite produces an electrical signal that is processed using an on-board Analogue to Digital Converter (ADC). This creates a digital output that can be saved as a raw file, or further processed to create a JPEG image.
When evaluating a sensor it is important to consider the sensor’s noise signature, as the noise signature is inherent whichever ISO setting is used. Noise only becomes an issue as you increase the camera ISO setting. The native ISO for any digital stills camera is the ISO setting where no gain is applied when capturing the image.
The native ISO will vary from camera to camera and may not necessarily be the lowest ISO setting available. Selecting an ISO lower than the native ISO will involve a reduction in gain, which in turn limits the performance of the sensor capture and means you are capturing at a reduced efficiency.
Essentially, your camera only has one ISO setting and all the lower and higher ISO settings are achieved by reducing or applying gain. Increasing the gain basically ‘amplifies’ the basic analogue signal. If you can remember the days of audio cassettes, you will recall how the background hiss would get louder as you increased the volume of quiet recordings.
The same kind of principle applies when boosting the ISO. The good news is that nearly all cameras these days are capable of capturing fine quality images at ISO speeds up to ISO 1600. When you couple that with image stabilisation technology, we now have the freedom to work in low-light conditions and still expect to take good pictures. But for optimum quality it helps to know what the native ISO setting for your camera is.
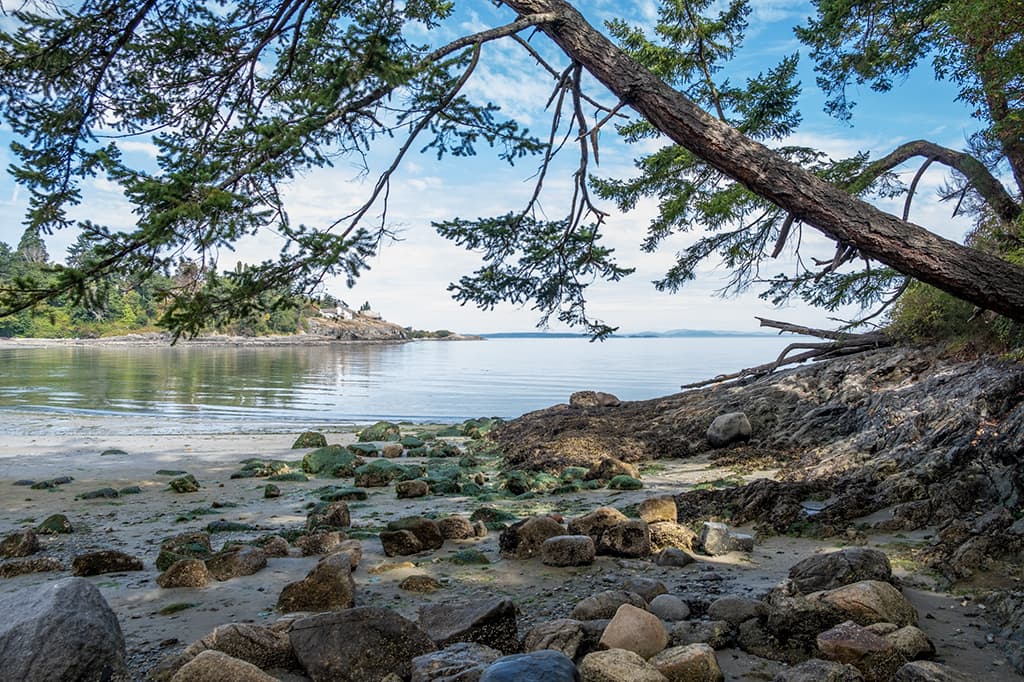
When shooting raw there is a better chance of recovering detail in the extreme highlights. Raw (overexposed by one stop).
Shadow and highlight detail
The raw capture data has to be processed to create a viewable image and, as explained in the sidebar ‘Raw Conversions’, part of that processing includes a gamma tone curve lightening adjustment. You see, silicon sensors count photons in a linear fashion, where twice as many photons equals twice as much light.
But that’s not how human vision works. Our eyes compensate in a non-linear fashion where our perception of increasing levels of brightness is compressed. Therefore, the shape of the gamma tone curve adjustment is necessary to convert silicon vision to human vision. What happens though is that the raw capture shadow levels end up being stretched further apart, while the highlight capture levels are compressed.
As a consequence of this the highlights zone retains the most number of tone levels while the number of tone levels decreases towards the shadows region. This is true for all raw processed files, including JPEG captures processed inside the camera (although JPEG captures may have additional tone adjustments applied).
Most of the time few of us notice. This is mainly because the sensors these days are so good, but also because not everyone wants to go pixel-peeking in the shadows to see just how much tonal information is actually there. It becomes more of an issue if you significantly underexpose your digital captures.
If you underexpose by, say, two stops you will end up with around quarter the number of tone levels information compared to a correctly exposed image. The highlights will look fine because there will be lots of tone levels information recorded there.
But it is in the extreme shadows that you’ll start to see a difference, such as less smooth detail. Similarly, over-lightening the shadow areas with dodging adjustments can reveal the lack of tone detail.
So, in the case of the shadows, under-exposure leads to a ‘progressive’ loss of shadow detail. With the highlights though the overexposure cut-off point is sudden and can’t always be fixed.
However, if you shoot raw there is a greater opportunity to rescue clipped highlights. For example, the Camera Raw/Lightroom software can repair clipping in one of the RGB channels by blending usable highlight detail from the other two (unclipped) channels. With JPEG captures though no amount of highlight recovery processing can restore highlight information if it is missing in the master JPEG image.
Dynamic range
One way to avoid the above problems is to extend the dynamic range of your camera capture files, i.e. the range of tones from light to dark. Human vision has a dynamic range of around 22 EVs. As our eyes scan a scene we can adjust to see clearly over a wide range of light levels. The current Sony A7R IV scores an impressive 14.8 EVs on the DXOMark website.
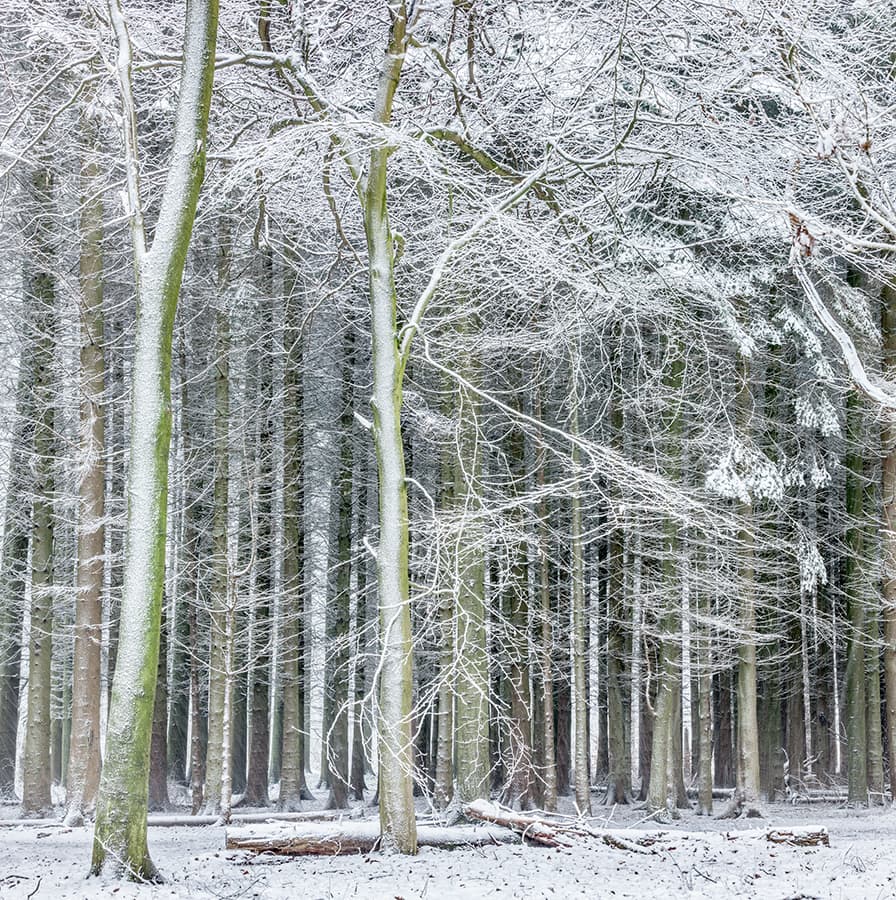
When shooting a wintry scene like this you will need to overcompensate the camera metering because of all the predominant light tones in the scene
This may not match the range of human vision, but it is significantly better than the 11 EVs rating for the Canon EOS-1Ds that I bought nearly two decades ago. You can extend the dynamic range of any camera though by shooting bracketed exposures, then merge these to create a high dynamic range image (see sidebar on ‘High Dynamic Range processing’).
Alternatively, the process of bracketing exposures can be useful for selecting the best single exposure image to edit. This exercise can also help you gain a feel for the way your camera sensor performs at different exposure settings.
Ideal exposure
The ideal capture exposure depends on the shooting circumstances and what you are photographing. With a controlled studio-type lighting set-up I would recommend you optimise everything. Set the ISO to the native ISO setting, or as close as possible. Set the lens aperture to the optimum f-stop for that lens and push the exposure as high as you can (i.e. expose to the right).
In such situations you will have time to test the camera and lighting set-up, import test photos to a computer and check the raw histogram. This is not the same as reading the camera LCD histogram, which will be based on an in-camera JPEG conversion (see the sidebar on ‘Checking histograms’).
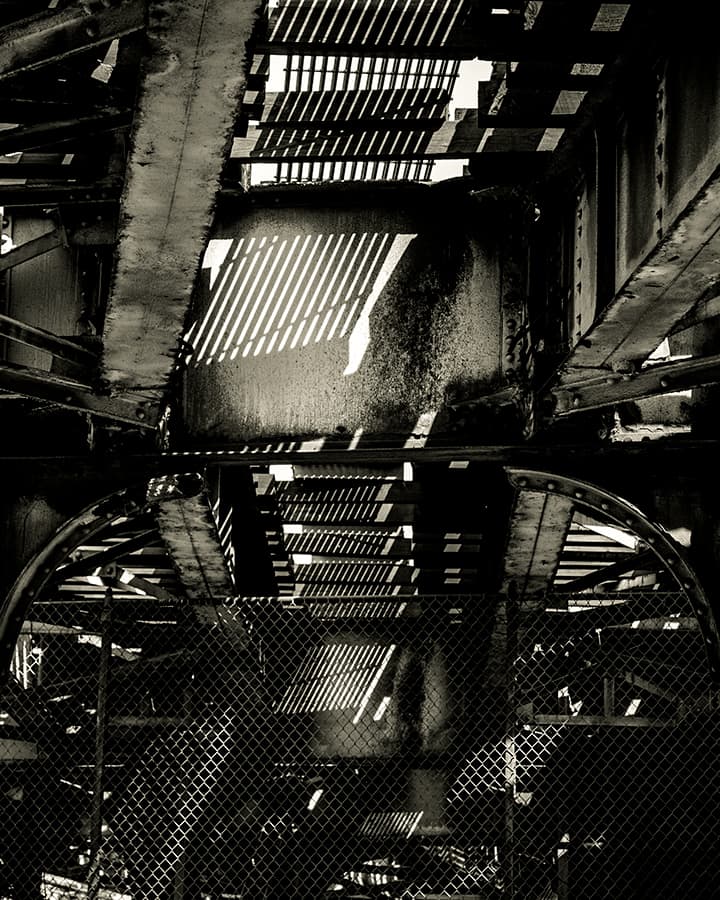
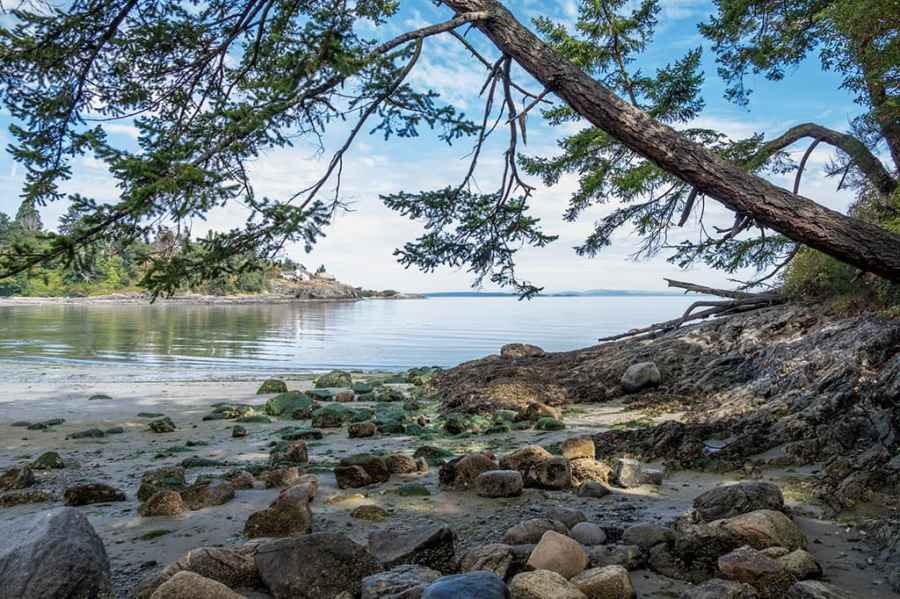
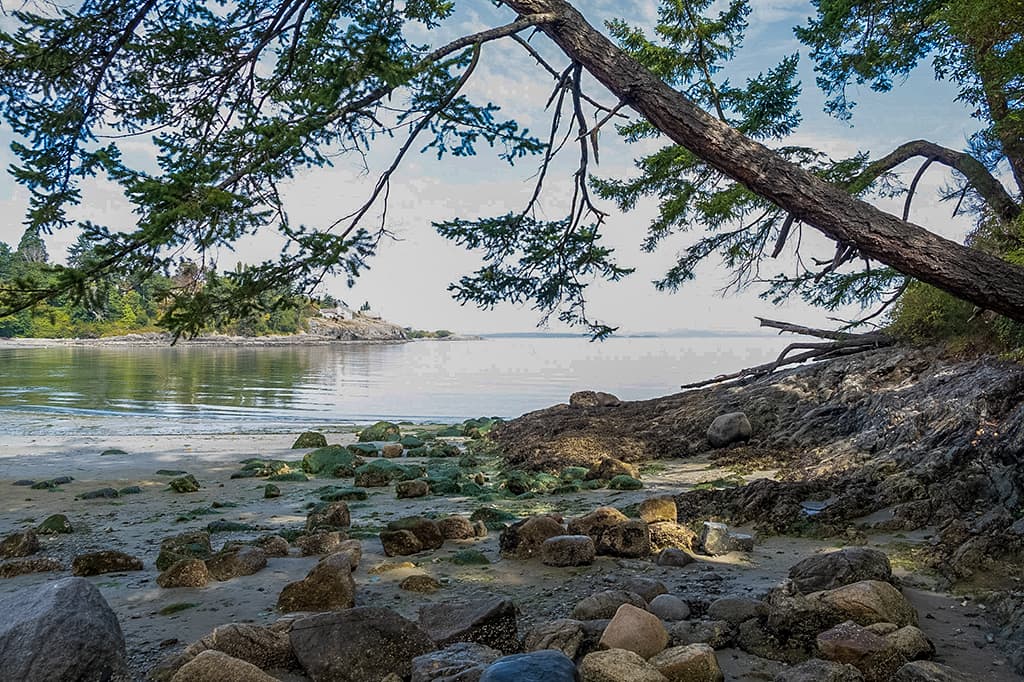
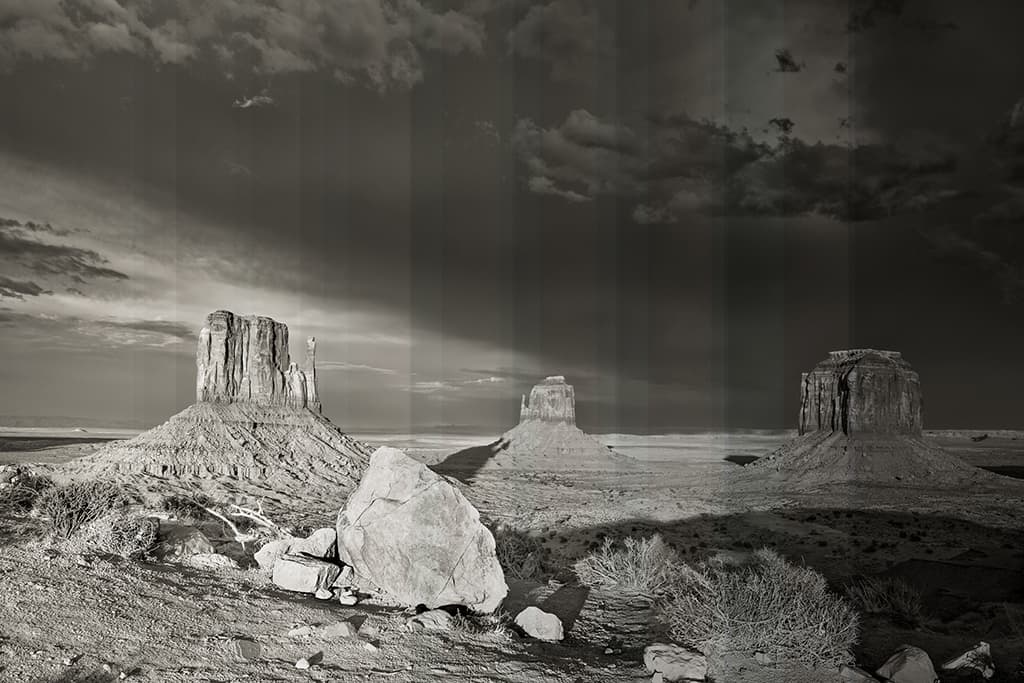
When editing a scene such as this one it can be okay to deliberately let the shadows and highlights clip
When shooting on location I rely on the camera meter more for guidance. This is because the scene subject matter can affect the camera exposure readings. For example, if photographing a high-key wintry scene I know the camera meter will tend towards underexposure.
Other times the scene conditions may mean the camera meter is indicating too bright an exposure and I will manually override to underexpose, especially if there is important highlight detail to record.
Does correct exposure really matter?
Just because your camera can capture a wide dynamic range, or the tools are there to let you extend that range, doesn’t mean you need to preserve all the highlight or all the shadow detail. Unless you need to record sunspots on the surface of the sun, it is only the non-specular highlight detail at the highlight end that matters.
So, in any scene where there are bright sunlight reflections, you’ll want to allow these to clip. And at the shadow end, do you always need to see detail? Some images will have more impact if they have solid black shadows. It is perfectly acceptable to expose for a specific range of tones and let everything else go to solid black or white.
At the end of the day, ideal exposure is neither about exposing to the right or exposing to the left, but about exposing for the scene and dependent on your shooting circumstances. Any time that I find myself compensating with the Exposure slider in the software processing, I regard this as an indication of poor shooting technique on my part.
Underexposure makes sense for some extreme shooting environments, such as live stage performance where your camera may not be able to cope with sudden, high-contrast lighting changes. Overexposing remains a risky strategy, because if you get it wrong and overexpose too much there is only so much that can be done to rescue burnt-out highlights.
Overall, it helps if you understand the digital capture process, the way photons hitting the sensor are converted to pixels and the factors that affect image quality. Then make your own mind up as to what is right for your own photo shooting technique.
Optimum shadow detail
The raw processing gamma tone curve adjustment already stretches the shadow tone levels somewhat. Therefore, if you are forced to compensate for a heavily underexposed photo by lightening the image further, you shouldn’t be so surprised to find that the shadow tones will degrade the most.
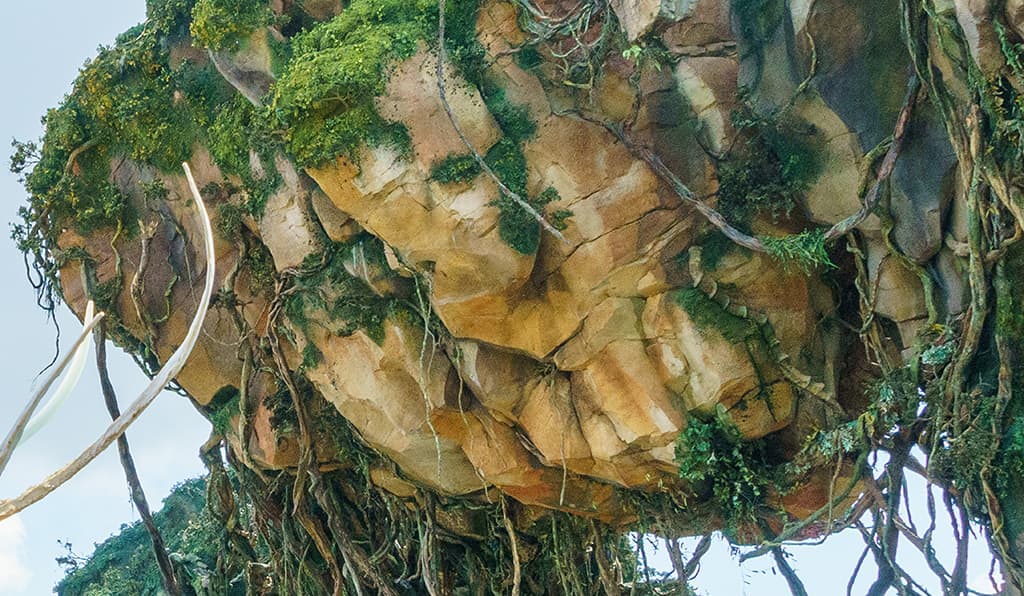
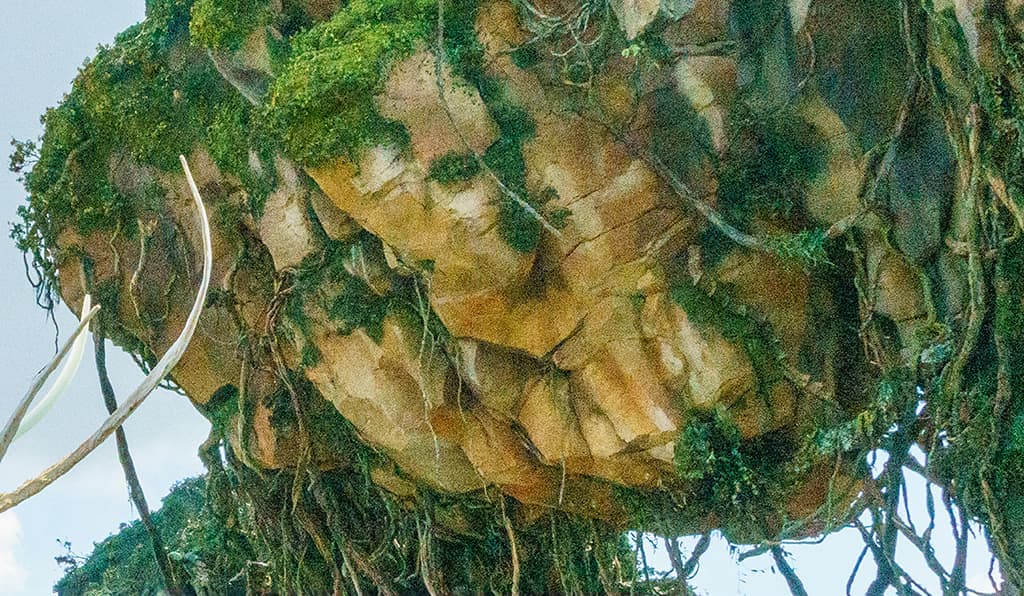
In the photo example shown here you can see a close-up view of a photograph where the shadows were lightened by one stop at the raw processing stage. This is compared with another exposure that was two stops underexposed and therefore received an additional +2 stops exposure adjustment.
This exposure adjustment did not have too adverse an effect on the midtones and highlights, but if you compare the close-up views of the shadow areas you can see how the underexposed shadows contain less tone levels detail and have more visible noise.
Raw Conversions
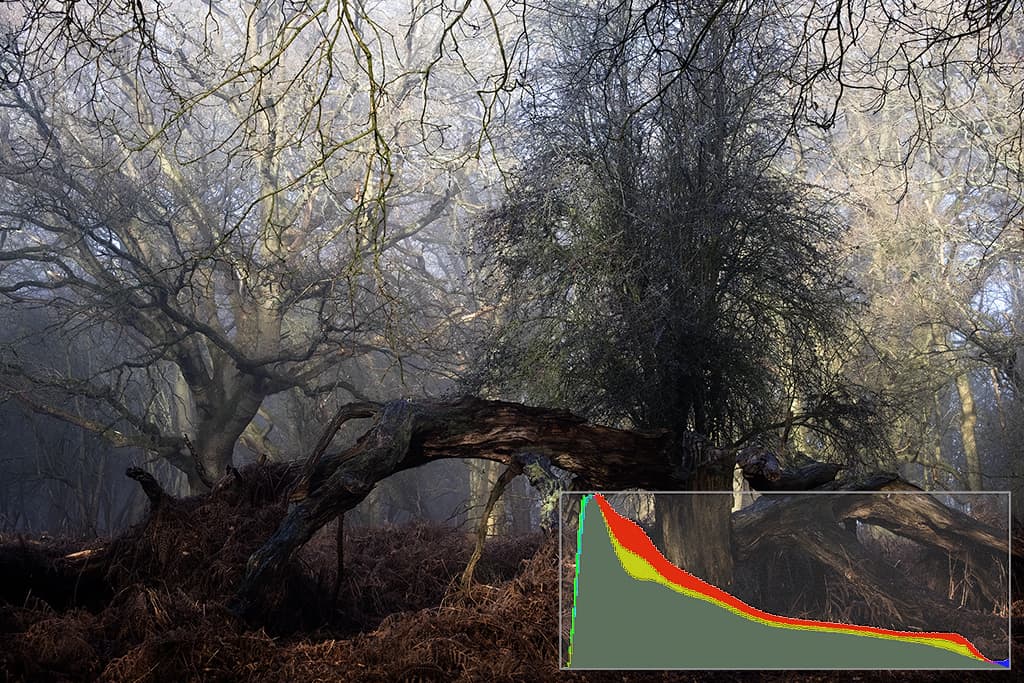
When a linear gamma raw file is demosaiced and gamma tone curve-adjusted, this produces a colour image that looks something like the original scene. If you could see the image prior to the gamma tone curve adjustment it would appear much darker, with the tone levels in the histogram bunched up to the left.
A gamma tone curve is like a Photoshop Curves lightening adjustment where the shape of the curve applies the steepest increase in output to the input tones at the shadow end and the least steep output increase to the input tones at the highlight end.
Shown here is a simulation of what a raw photo would look like after being demosaiced, but before the gamma tone curve adjustment. The accompanying histogram shows how the levels are weighted towards the shadows.
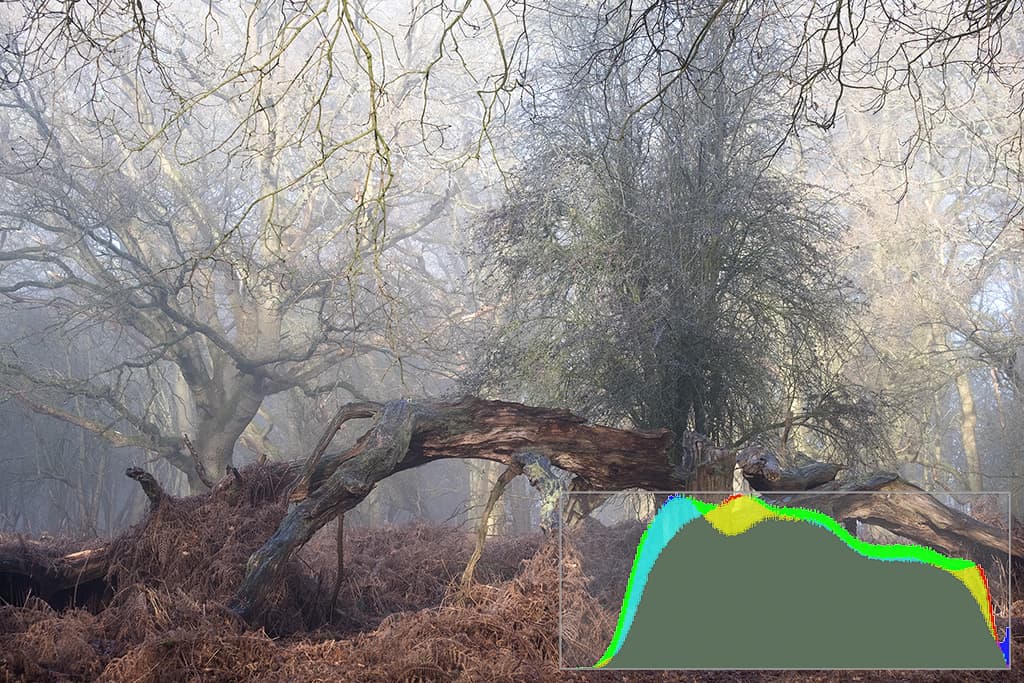
The raw processed version shows how the gamma tone curve adjusted image appears when opened with the default raw settings applied. The histogram for this image shows a more even distribution of tones. This would be the starting point for further raw processing.
High Dynamic Range processing
High Dynamic Range (HDR) processing can help overcome problems of exposure selection. If you photograph two or more captures at different exposures you can process these to create a merged HDR image.
This can extend the range of tones captured from the shadows to the highlights and thereby provides you with more exposure choice when editing a HDR image.

In the example shown here, I captured three exposures, two stops apart. These were blended in Lightroom using the Photomerge to HDR feature to create a new master HDR DNG image.
Subsequent image editing allowed me to decide how best to balance the final exposure between the shadows, midtones and highlights.
Checking Histograms
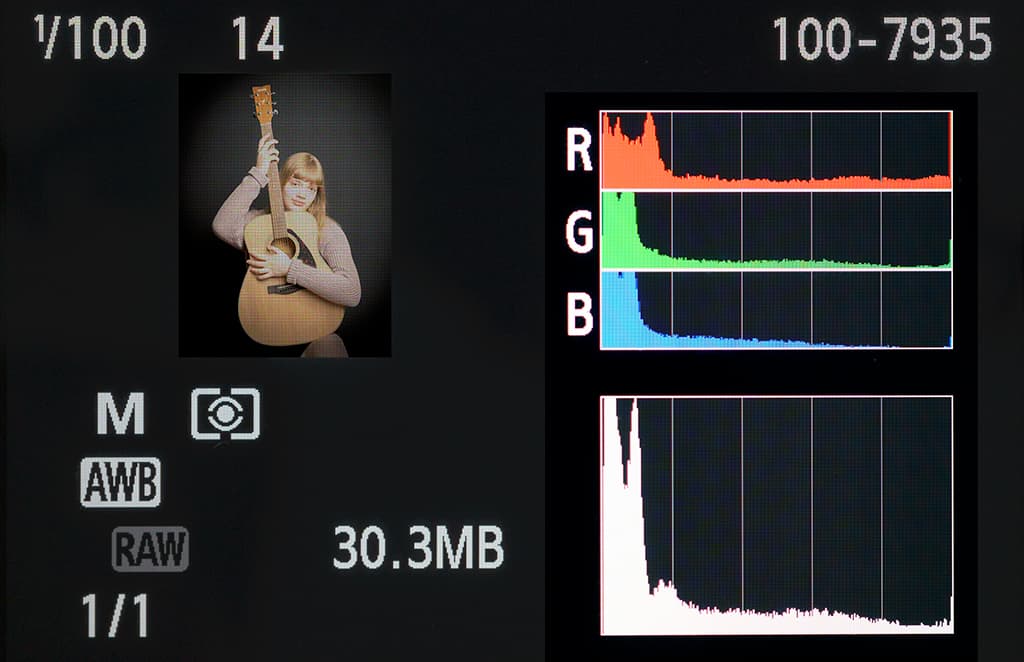
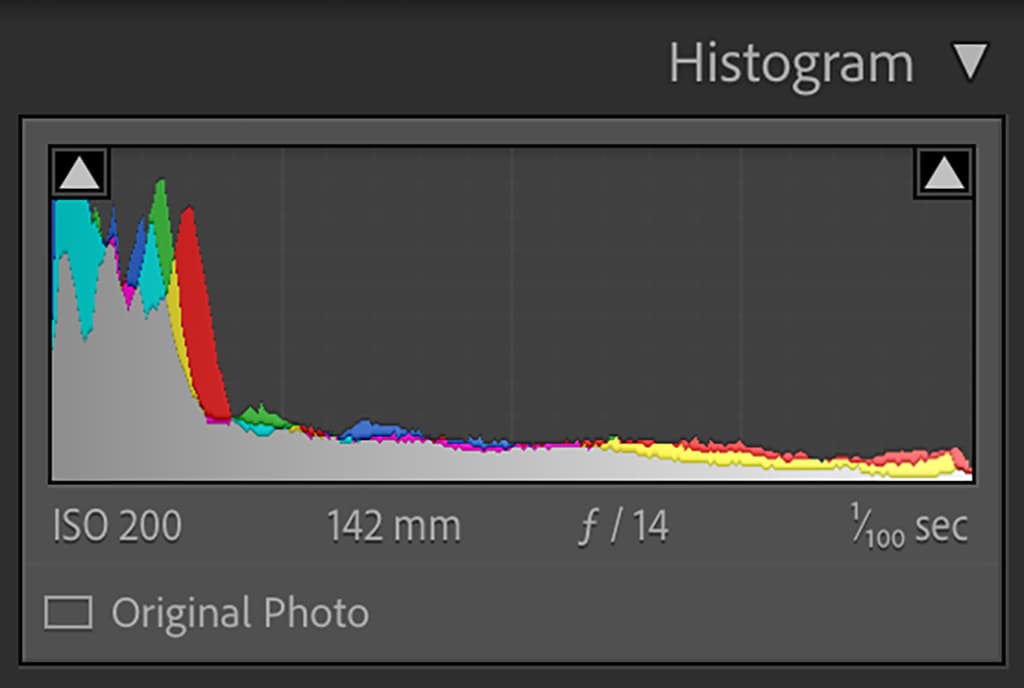
The camera histogram display cannot be relied upon to assess a precise exposure setting. Basically, the histogram you see on the LCD display is based on an in-camera generated JPEG preview. Although the camera may indicate clipping in the shadows or highlights, this only applies to the JPEG data.
It does not show the true histogram for a raw processed raw capture. If you are able to import a test capture into the raw processing software you can more accurately evaluate the true histogram and check for undesired clipping. This may allow you to overexpose slightly for optimum tone detail, while checking to ensure the highlights aren’t clipped.
Further reading

