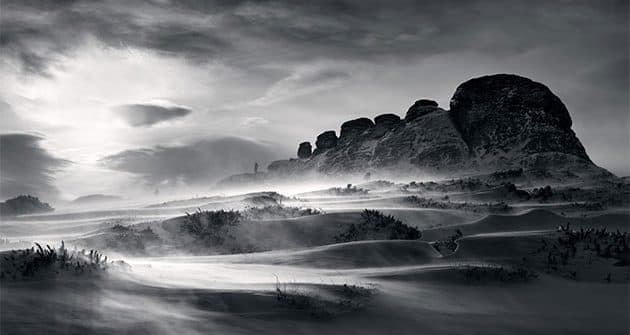
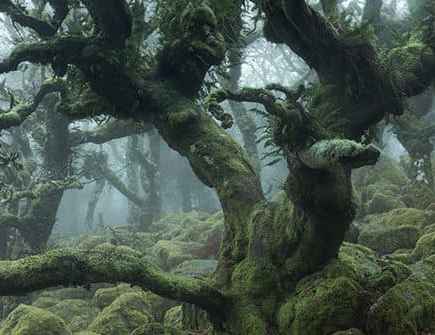
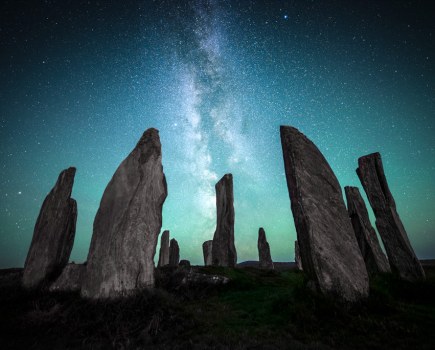
As the days turn grey and the nights draw in, it’s the perfect opportunity to capture the surrounding landscape in beautiful black and white. Read on for tips from three of the UK’s top landscape photographers on how to photograph winter landscapes in black & white.
Paul Sanders on how to photograph black and white winter landscapes
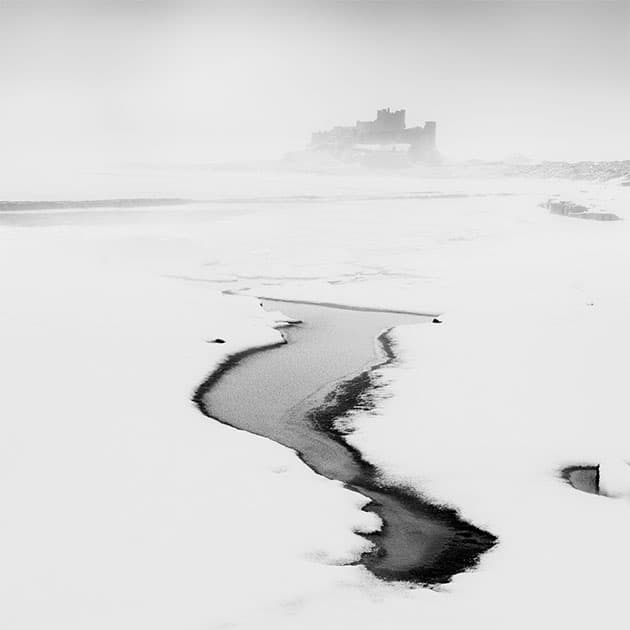
Credit: Paul Sanders
1. Footprints
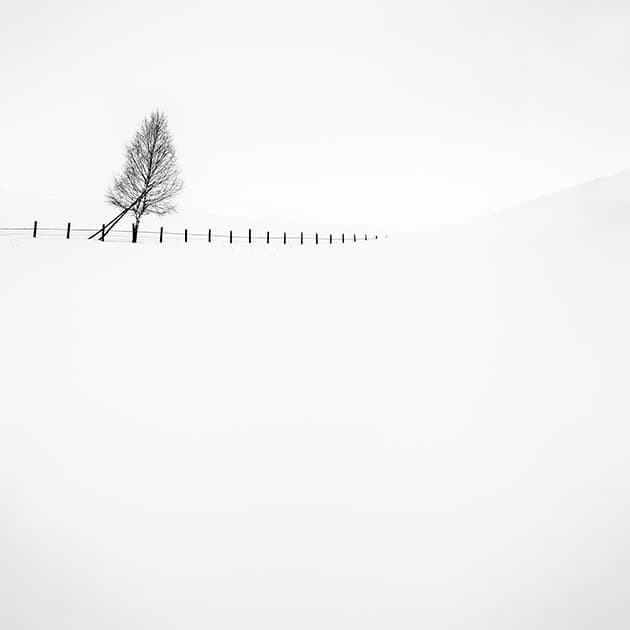
Nothing destroys a potentially beautiful photograph like a set of footprints, usually those of the photographer trying to decide on the best composition. I always work towards something and tread lightly, perhaps walking the long way around the edge of a field. I spend time thinking my shots through before I even venture into an area of pristine snow.
Credit: Paul Sanders
2. Light
There is no such thing as bad light – light is what it is and we should be grateful we can see it. Flat light works better for me than the wonderful golden light I see in others’ work. Flat light is just as valuable as golden light because it lowers contrast and loses shadows, which can be useful when shooting in snow that’s been walked on.
3. Wrap up
This almost goes without saying but dress sensibly. When walking to a location you might get warm so pack spare layers that you can wrap up in when you stop. Standing still will create snowy masterpieces but will cause your body temperature to drop, especially in your hands and toes.
Credit: Paul Sanders
4. Weather
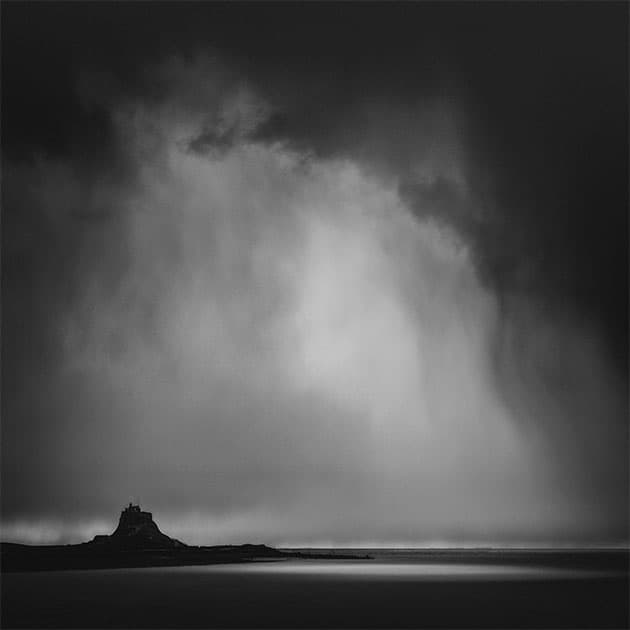
The uncertainty of winter weather is something we should embrace. If it’s cloudy one minute, the sun will burst through and deliver spotlight illumination, or the rain will be backlit as it tumbles from the heavens. Adapt to the changes and enjoy the opportunities they present, and you won’t be disappointed.
Credit: Paul Sanders
5. Get up, get out
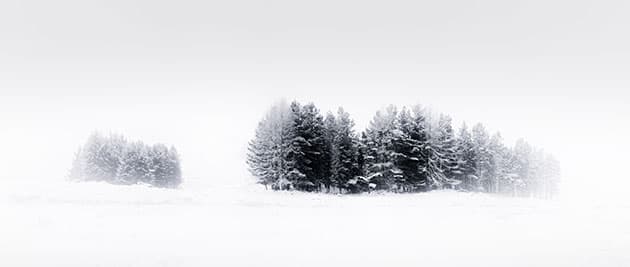
Whatever the weather, get out of bed and go. Pictures don’t take themselves and the biggest barrier to successful winter shots is our comfy cosy bed. Get out of bed an hour earlier than you think you need and get on the road. Prep your kit the night before so you don’t leave anything behind. With any luck you’ll be back before breakfast!
Credit: Paul Sanders
6. Simplify
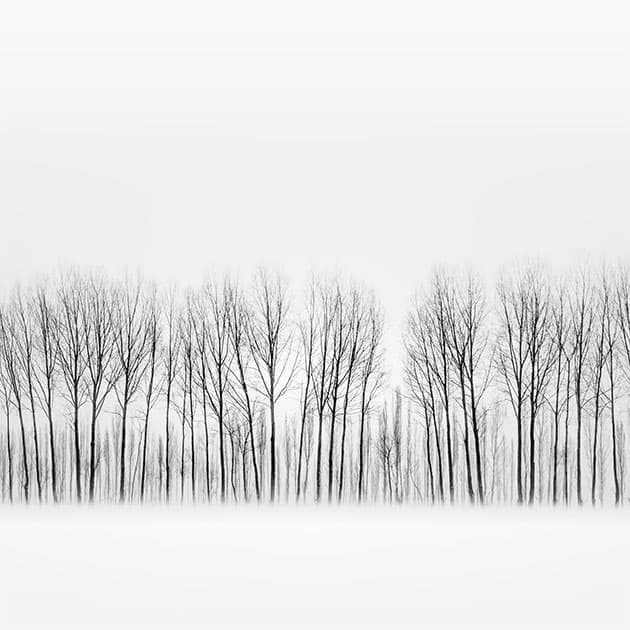
We all try to cram too many elements into our work. I prefer to compose from the inside out, starting with my main subject and expanding my view. I use this so that I don’t become obsessed with certain elements that in the end detract from the story I’m telling rather than add value.
7. Patience
Patience is the biggest break you can give yourself. I often turn up at my chosen location to find things looking good but not quite feeling the power of the place. Waiting, watching and enjoying the experience will yield a better connection and deeper vision of a location. Be patient in all things.
In my kit bag I always have:
- Coffee and cake It’s important to wrap up warm but your body uses energy so I always take a flask of hot milky coffee and cake – lemon drizzle is a favourite.
- LEE Filter system I always use filters in the winter, especially graduated filters. When it is snowy or frosty, I usually invert the filter to tone down the foreground of the shot.
- Blunt umbrella It shields the wind, rain and snow off my camera. The Blunt umbrellas are pretty much indestructible which makes them a good investment.
Paul Sanders has over 30 years’ experience as a professional photographer and picture editor. He began photographing landscapes to escape the pressure of his previous job, and uses mindfulness techniques to draw inspiration. He works mainly in black & white as he finds colour distracting.
Photographer Neil Burnell shares his top tips for taking monochrome landscape images in the freezing depths of winter
Credit: Neil Burnell
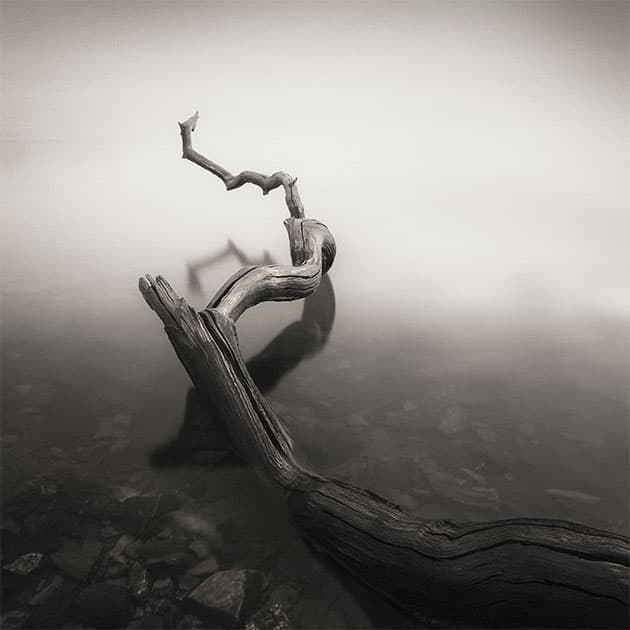
8. Flat light
People seem to avoid going out in dull overcast winter conditions, but this is when I head out to shoot minimal long-exposure seascapes. I’ll often wander to my local river looking for small scenes of driftwood or fallen trees. I tend to shoot towards the soft light which makes the water brighter and helps isolate the subject.
Credit: Neil Burnell
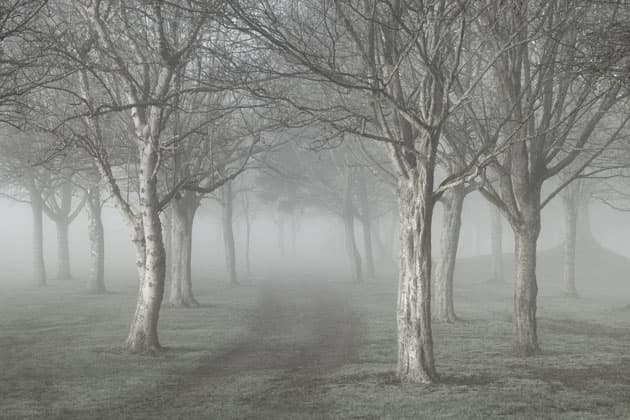
9. Muted
Sometimes I’ll envisage a scene as monochrome but actually prefer the muted colours. This is a shot I thought would be better in mono because I didn’t like the greens in the raw file. Once I started to process it I decided to mute the colours considerably and lose the harsh greens.
Credit: Neil Burnell
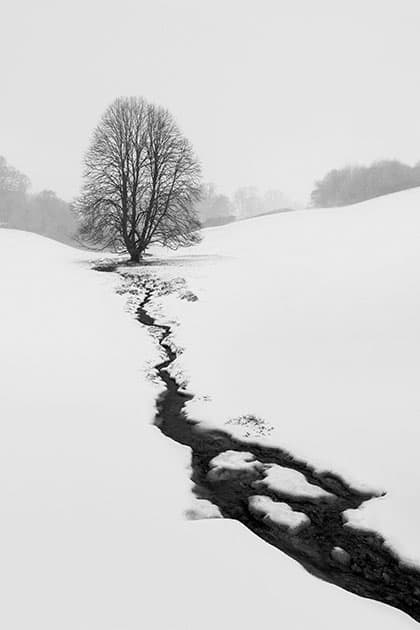
10. Shoot local
I don’t have a suitable car to get me up on the moors when it snows, which can be frustrating. Last year I decided to go for a walk locally when I couldn’t get to work in my car, and I was happy to find a few scenes that were completely transformed by the blanket of snow, which certainly transforms well as a monochrome image. Yes I’m lucky to live close to this scene, but it’s somewhere I wouldn’t have tried if I was able to go further afield. It’s always worth getting out
Credit: Neil Burnell
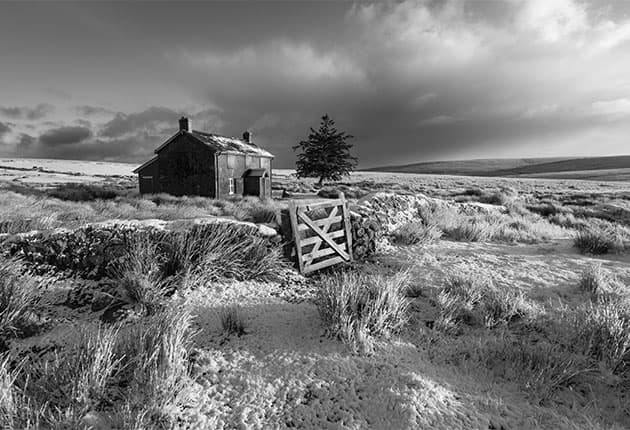
11. Plan ahead
Nun’s Cross Farm is a place I’ve shot a few times during the year, but it’s somewhere I’ve always wanted to shoot as a winter scene and one I had planned with a friend for some time. There are some places that just work better in the snow and nine times out of ten they work even better in black & white
Credit: Neil Burnell
12. Mood
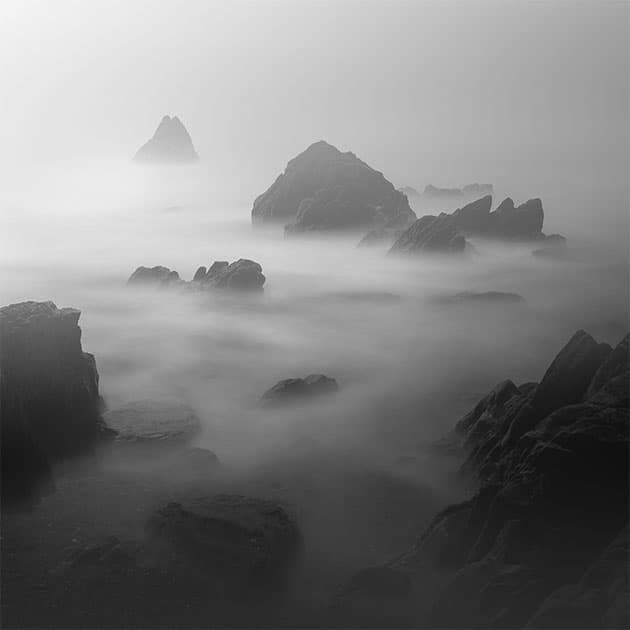
Fog, mist and stormy weather are among my favourite conditions to shoot in and it’s why I prefer the colder months, because this is when these conditions are more frequent. Such conditions often translate really well to black & white, and this style of atmospheric shot are my favourite images to shoot. I’ll often look to the coast when I know there will be slightly rougher seas and just have fun playing with various exposures.
Credit: Neil Burnell
13. Noise
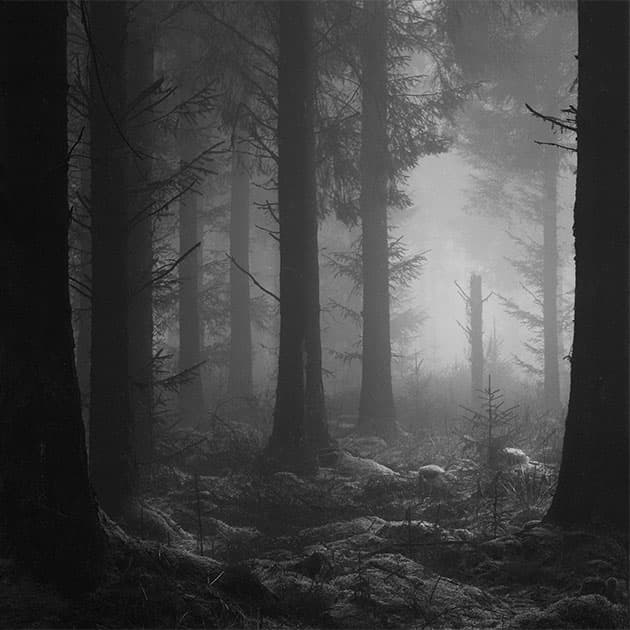
I’m going through a phase where I’m shooting more handheld images at higher ISO in certain scenes. Sometimes I feel you don’t have to pick out every detail so the grain rendered by shooting high ISO does not detract from the scene and can actually help create an atmosphere. In this shot I’ve actually added grain and contrast to create a more atmospheric image
Credit: Neil Burnell
14. Ray of light
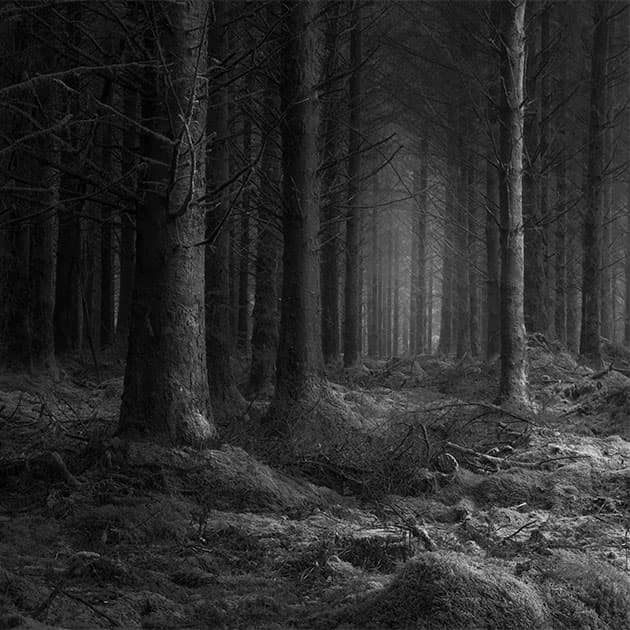
Woodland is not an easy subject, and it’s especially hard to pick out compositions that work in black & white. I tend to look for a natural pathway through a woodland and pockets of light that help lead the viewer into the image, as this can work well for monochrome images in a woodland scene, particularly when there is a lot of chaos.
Credit: Neil Burnell
15. Shifting sands
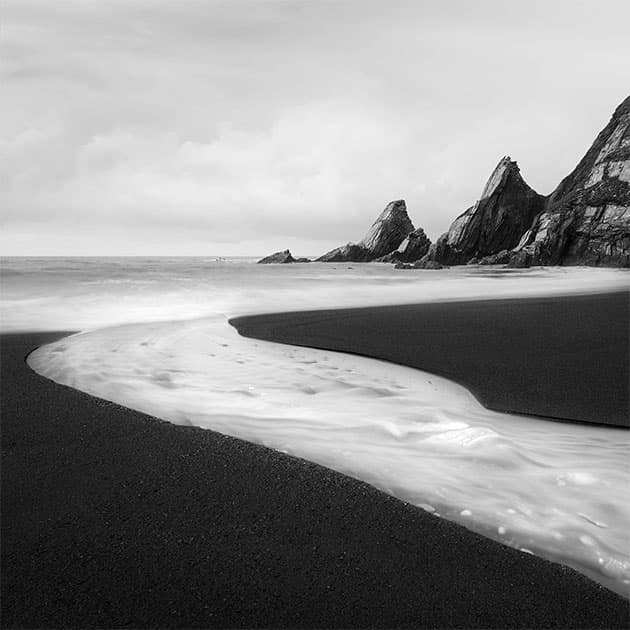
I’ll often shoot the same areas throughout the year and it amazes me how the environment can change throughout the seasons. This image of Westcombe Bay was taken during the winter months after heavy rain and rough seas. As a result the sands had shifted and the rainfall had created a stream running to the ocean.
In my kit bag I always have:
- Shutter release To avoid nudging the camera during those long exposure times, Neil uses a remote shutter release.
- Lens cloth There’s nothing like a big raindrop running down the front of your lens to ruin your image. A lens cloth is essential.
- Umbrella To keep the water and snow off your lens and camera, an umbrella can come in handy.
Neil Burnell is a multi award-winning photographer (including Amateur Photographer of the Year 2018) from Devon in the South West of England. Shooting the dramatic coast and moorland on his doorstep, Neil is an expert when it comes to cold and dramatic weather conditions.
David Clapp shares his top tips for achieving perfect winter landscape photos
Credit: David Clapp
16. Study and learn to see
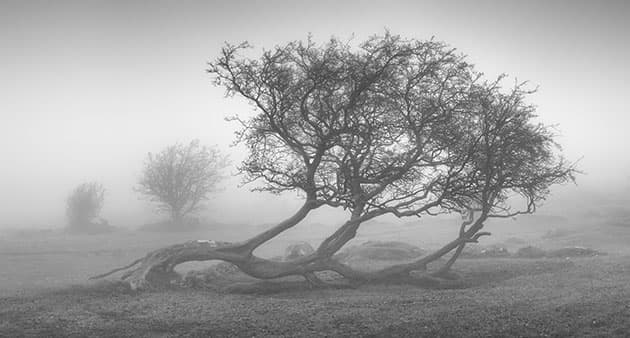
Black & white is not a resting place for uneventful colour imagery. This medium requires light and magic, but many photographers make the classic mistake of simply converting a flat colour image in an attempt to rescue an image for their efforts. It is imperative that the image is studied for its colour content. Conflicting or unharmonious colours can make an image unbalanced, so learn to spot these clashes. Do not fall into a boring black & white trap just because there’s simply no light.
Credit: David Clapp
17. Don’t overdo the plug-ins
I have found that black & white plug-ins can be one of the worst places to process your images. The push-button stylised results can be destructive on image quality. Learn to use subtle approaches, and explore the image’s colours through the corresponding black & white sliders.
Credit: David Clapp
18. Texture and form
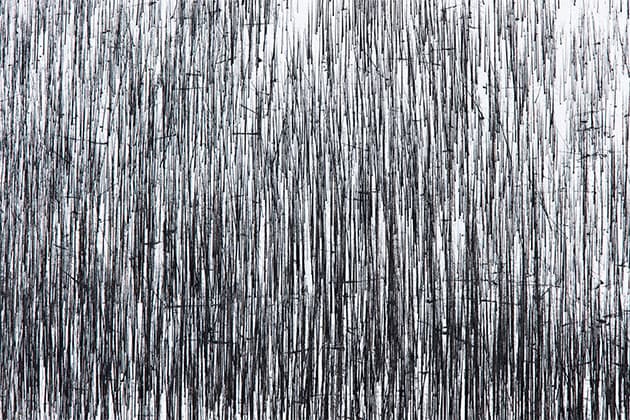
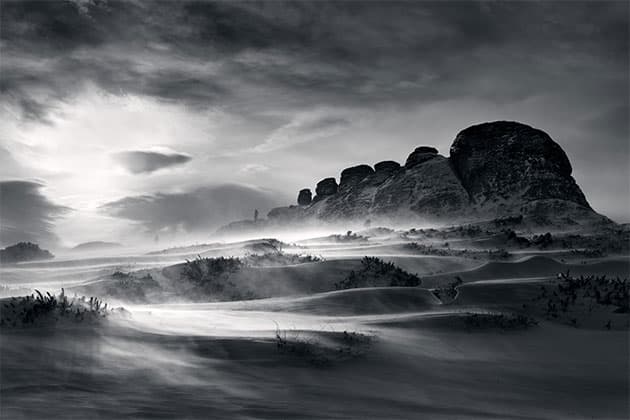
By removing colour from an image, you give the viewer the opportunity to explore texture. Fine details, albeit jagged or smooth, become a sensuous experience when the colour is removed. Sometimes this can be an overload, but at other times a delight, especially with rocks, trees and other natural surfaces.
Credit: David Clapp
19. Experiment… a lot
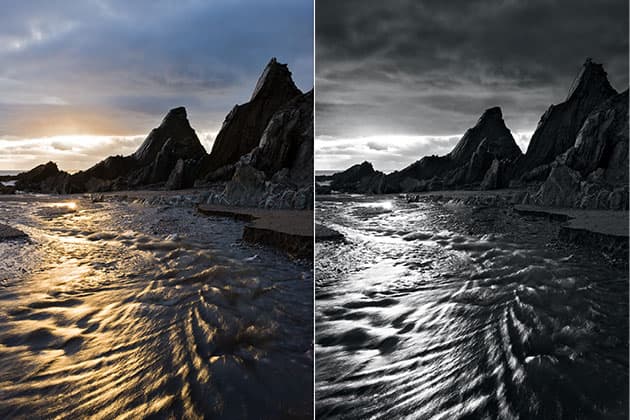
When reviewing an image, it’s a great idea to hit the ‘Black and White’ option in raw or Photoshop, to see how the image responds. This early step can push the image to success, or indeed double the success when you realise the image works in both monochrome and colour. Making fundamental decisions at an early point can help you understand the power of black & white landscapes.
20. Inky darkroom effects
One fabulous way to get an inky darkroom effect is to use the Colour Balance adjustment layer in Photoshop. This subtle tool gives a cross-processed effect in colour, but also tones black & white images, by adding colour into your shadows, midtones or highlights. Play very carefully with the settings (just +3 or -3 is enough per channel), adding subtle amounts of cyan or blue to the shadows, as well as red and yellow into the highlights.
In my kit bag I always have:
- Ski goggles Believe it or not these work brilliantly in the snow! When you get into blizzards they can save your sanity.
- Paint brush If you get snow in your lenses/camera kit you can literally brush it all out of the buttons and dials with a brush.
- Refuse sack Always keep a refuse sack in your camera bag to put over your tripod-mounted camera.
David Clapp is a landscape, architectural and travel photographer. A jack of all trades, he works for Canon UK, is a stock photographer for Getty Images and leads popular photographic tours across the world. David recently received a direct fellowship from the RPS.

