
In our top tips for photographing cats and dogs we show you how to get the best pet portraits in your own home…

As we are a nation of animal lovers it’s no surprise that our pets find themselves with a camera lens inevitably shoved in front of their faces.
And why not – they’re part of the family and great subject matter. The trouble is, when photograhing cats and dogs they often don’t appreciate the attention, making them tricky to photograph.
Don’t worry though, as WDC is on hand to offer you a stack of shooting advice that will allow you to get the best portraits possible of your pets. To help us out, we headed along to the world famous Battersea Dogs & Cats Home to find a willing subject or two.
Photographing cats and dogs: Camera set-up
Pets are unpredictable at the best of times, so you’ll need to set your camera up so you can work fast and react quickly. Here are our tips on how to set your camera up…
Just like people portraits, animals also benefit from a shallow depth-of-field to isolate them from their background.

An 18-55mm kit lens that comes with a DSLR is great as a starting point, but these don’t offer a fast maximum aperture of f/2.8 or faster that’s needed blow the background out of focus significantly.
The good news is that there’s a selection of affordable prime lenses out there for a range of systems, including the excellent Nikon 35mm f/1.8G AF-S DX at £165 and Canon EF 50mm f/1.8 II at £89.
For shallow depth-of-field portraits, set your camera to Aperture priority and open the lens up as wide as possible – ideally to f/1.8 if you’re using one of the lenses above, but f/3.5-5.6 will do a reasonable job if you’re using a 18-55mm kit lens.
If you’re going to be shooting indoors, flash is not a good idea because it can frighten your pets and produce unflattering light. A tripod is also pretty impractical when shooting pet portraits, so if you’re going to be photographing them inside and even with your aperture wide open, it’s a good idea to boost your ISO sensitivity to ensure you get a shutter speed fast enough to avoid camera shake. This will depend on your lighting, but try ISO 800 as a starting point and aim for a shutter speed of 1/60th of a second or faster.
To give you the best chance of being able to control the look of the final image, shoot in Raw rather than JPEG. This will allow you to easily adjust the look of the shot and give you much more flexibility than a JPEG file will.
Photographing cats and dogs: Shooting tips
Get some help! You’ll find it’s much easier if you’ve got someone on hand to keep your often- distracted subject in position and help keep their attention by waving/dangling toys/making noises just behind you so they’re looking towards the lens.
Some of the best pet portraits are shot at their own eye-level. Try to look for uncluttered backgrounds to make your subject really stand out. If you want to go for a high-end studio look, try placing your pet on a white sheet. Keep sessions brief. Pets can get bored easily, so rattle off a few shots and then try again later if you’re not successful the first time.
Finally, try to have a camera to hand all the time. Make sure you have it with you when you take your dog for a walk or within easy reach when you’re at home as pets will typically do something photogenic when you least expect it. Don’t forget to make sure your camera is charged and a memory card is loaded too.

Set your camera to Continuous AF – that way, you can keep refocusing as your subject moves around.

If you’re going to be shooting your pet indoors, then it’s a good idea to increase the ISO sensitivity of your camera to ensure you get a shutter speed fast enough to avoid camera shake.

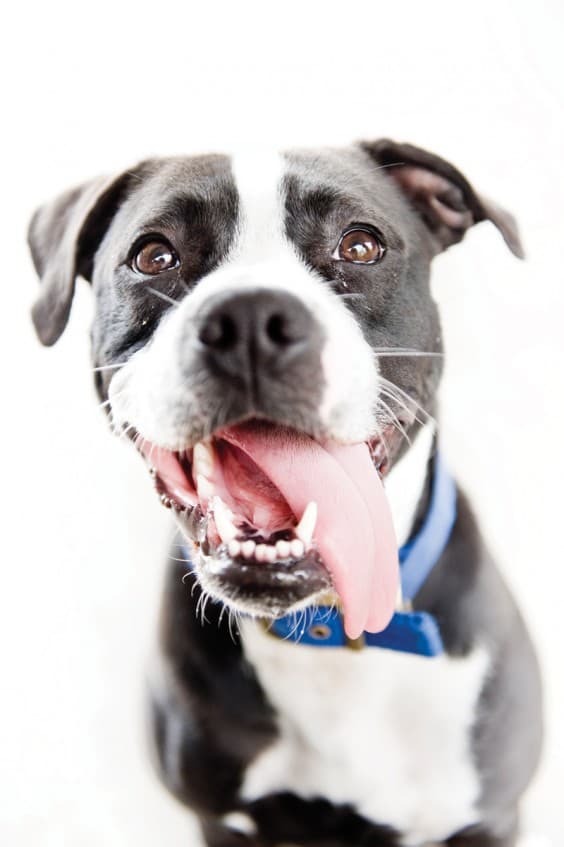
Dark coloured pets can trick your camera’s meter, making it think the scene is darker than it is. Exposure compensation will sort this out – normally about -0.7 will do it.
Author: Matt Tuffin


