
In my previous article on inkjet printing, How to make the best photographic prints, we looked at the main choices you need to consider when buying a photo printer. You’ll need to take into account the maximum size of the prints you want to make – for example, A4 or A3+ (19x13in) – and whether you’re more into colour or black & white photography. There’s also the matter of dye-based versus pigment-based prints, where dye inks give a smoother finish on glossy photo paper, whereas pigment inks tend to resist fading better if you’re going to hang your prints on the wall.
The choice of dye or pigment inks also affects print speed. Dye-based prints are pretty much touch-dry even as they leave the printer, especially when using glossy or lustre paper. In comparison, you might need to leave pigment-based prints for an hour or so before they feel fully dry. It’s generally accepted that you should leave them for 24 hours before framing, although it’s good practice to leave both dye- and pigment-based inks to dry for at least a day before mounting them behind glass.
Getting back to longevity, it’s not uncommon for dye-based prints to have a life expectancy of 200 to 300 years when kept in an album, and 100 years or so when mounted behind glass. For protection, it’s also worth noting that some framing companies offer optional glass with UV protection, which can further extend print life.
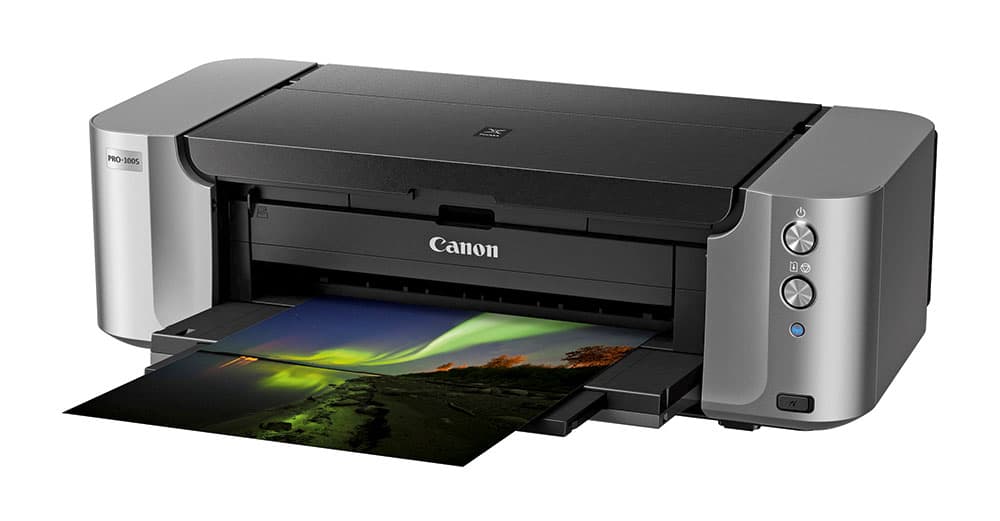
The Canon Pixma Pro-100S A3+ format printer runs on dye-based inks and is unbeatable for print quality on glossy and semi-gloss or lustre paper
Over the rainbow
While six inks are generally the most you can expect in an A4 printer, large-format printers often add extra colour and grey inks to boost the gamut for colour printing and to deliver enhanced mono photo output. For example, the Canon Pixma Pro-10S uses an additional red ink along with multiple black and grey inks, while the new Epson Expression Photo HD XP-15000 dye-based A3+ printer retains a six-ink line-up but ditches the usual light cyan and magenta colours in favour of red and grey. Overall, the Pro-10S has 10 inks (including a chroma optimiser), but the Pro-1000 bumps up the ink count to 12, including red and blue inks.
It’s natural to think that if a printer has more cartridges under the bonnet, it’s going to be more expensive to run, but that’s often not the case. If you have more ink colours in the mix, you’ll tend to use less of each colour for any given print. A bigger consideration is the capacity of the ink cartridge and its selling price.
As an example, the Canon Pro-10S uses 14ml ink cartridges and the price per millilitre works out at 71p, making it one of the cheapest printers on the market in terms of running costs. The Epson SureColor SC-P600 has much larger capacity cartridges, at 25.9ml, so you won’t have to change them as often and the price per millilitre is still a reasonable 85p. In contrast, the Epson XP-15000 has comparatively low-capacity cartridges, with even the ‘XL’ option only containing about 10ml of ink, and the price per millilitre is relatively high at £1.44. In effect, the ink works out at more than twice the price as that for the Canon Pro-10S.
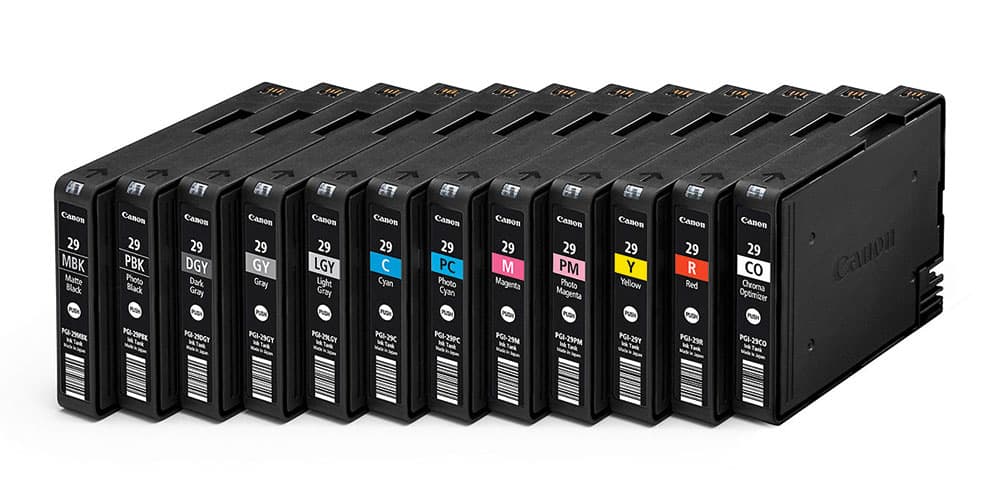
Having a greater number of ink cartridges doesn’t necessarily make a printer more expensive to run
It’s in the paper matters
With own-brand ink and papers generally being expensive to purchase, it’s tempting to go with cheaper alternatives, but it’s a bad idea. This is especially the case when printing photographs, where you demand accuracy in the rendition of colour and tone, as well as sharpness, without inks of different colours bleeding into each other on the page. Cheap, non-genuine consumables can be a nightmare (see ‘Beware cheap imitations’ below).
The chemistry between ink and paper is quite complex when it comes to photo printing, and manufacturers formulate the ink and paper together when designing printer drivers, which allows photographers to produce accurate and consistent results. While sticking to own-brand ink and paper generally ensures the best print quality, some printers have drivers that support high-quality, independently manufactured papers from reputable manufacturers such as Hahnemühle and Canson. Even so, a good range of photo media is generally available from the printer manufacturer itself, such as glossy, semi-gloss, lustre and matte, along with fine-art media including canvas, ‘photo rag’ and more.

Credit: Getty Images
Get set for printing
Most printer drivers for computers come with automatic ‘photo enhancement’ or ‘auto correction’ facilities. They’re usually switched on by default, and are designed to boost the visual appeal of prints for portraits, landscapes and other genres of image. They can work well up to a point, especially if you’re printing photos direct from a camera that tends to be ‘faithful’ or neutral rather than vibrant in its image processing. However, these enhancements have a tendency to go over the top, resulting in prints that lack subtlety for skin tones in portraits, and lurid, overly saturated colour rendition for landscapes with fake-looking greenery and impossibly inky-blue skies.
If you’re editing your images on a computer, it’s best to apply colour-correction, and adjust brightness, contrast and other image attributes on screen, then create prints with corrections switched off.
For some subject matter, especially when viewed under typical artificial room lighting, the difference in print quality when using normal and high-quality print modes might seem marginal at best. However, the greater resolution used in top-quality modes enables smoother graduations and better definition throughout highlights, mid-tones and lowlights. Prints will take a little longer to create, but it’s worth the wait.
As well as selecting quality and speed modes, it’s also important to select the right paper type in the printer driver before creating a print. This goes beyond simply choosing between glossy and matte options. You need to pick exactly the right stock that you’re using, for example Canon Pro Platinum or Epson Premium Glossy. Doing so will help to maximise colour accuracy and ensure your prints look their best.
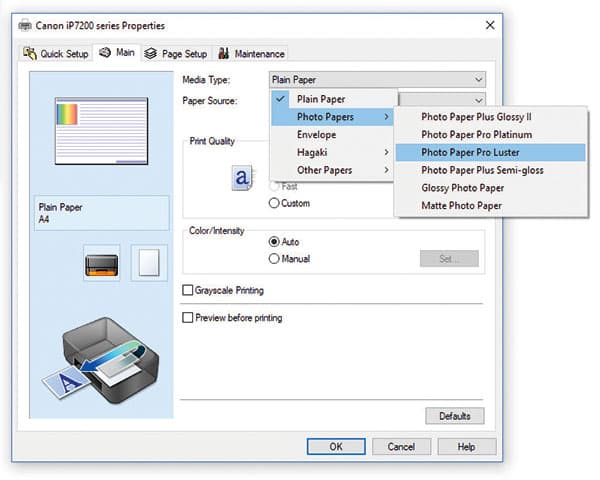
Select the right paper stock in the printer dialogue box; this ensures the correct amount of ink is applied and optimum colour accuracy is achieved
Calibrate for correctness
Naturally, if you’re hoping for integrity between what you see on screen and on paper, you need your computer monitor and printer to be on the same page, so to speak. Many top-end monitors for computers come with preset display modes for alternative sRGB and Adobe RGB colour spaces. Similarly, printers often have options in their drivers for sRGB and Adobe RGB, with the latter having an extended colour space.
You might be lucky and have a good degree of success with sRGB and Adobe RGB presets, but it usually pays to calibrate your monitor yourself. Factory settings might not be particularly accurate and, even if they were bang on at the time of manufacture, colour accuracy can drift over time. Calibration tools such as the Datacolor Spyder5Pro and the X-Rite ColorMunki Smile start at around £100 and can make a massive difference to the
accuracy of your monitor.
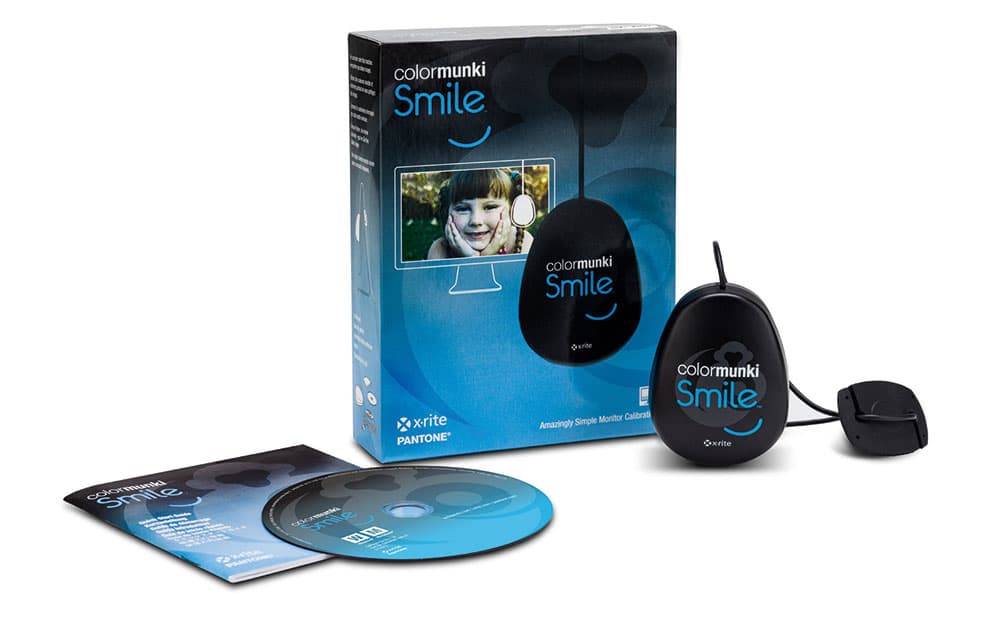
Calibration tools such as the X-Rite ColorMunki Smile can help ensure consistency between screen and paper
Beware of cheap imitations
Over the years, a lot has been said in the press about the exorbitant price of printer ink, and how it’s more expensive drop for drop than the finest Champagne. Naturally, though, you need much less ink to create an A4 or A3 print than even the tiniest sip of bubbly. It’s equally true that it costs manufacturers a lot of time, effort and money to research and formulate inks, and they need to recoup their cash further down the line. If you buy non-genuine supplies, the real price of ‘cheap’ ink and paper might be more than you think. Based on independent lab testing, the anti-fade longevity of photo prints created with some cheap ink and paper supplies has been rated in weeks or months rather than decades. Another problem with cheap inks is that they might contain impurities that can block up the nozzles of your print heads. These blockages can be difficult or impossible to clear.