Given that it’s perfectly possible in Britain to experience the weather patterns of two seasons in the same day, the exact moment that spring arrives might be a matter for debate. Generally, however, we start enjoying more sunshine, and the midday sun gradually gets higher.
If deprived of it, we crave sunshine and there’s a widespread feeling that it’s basically good for photography, however much we may justify the restraint and subtlety of soft grey light (otherwise known as ‘boring overcast’). Nevertheless, whatever it does to landscapes, and however much we like bathing our faces in warm sunshine, it can be a little problematic for portraits.
There’s an inconsistency here. Why would crisp sunlight, that beautifully details trees, hedgerows and the contours of hills, not work just as well with faces? The problem is flattery. Implicit in almost everyone’s idea of portraiture is that it ought to make the person being photographed look good, or at least as good as possible. The fight against wrinkles and creases isn’t confined to just the cosmetics industry. Most of us want our portraits to look flattering, and skin just doesn’t look smooth under raking light. Soft lighting on the face allows the really important things to shine; things such as the expression from the eyes and mouth. Get these right and you’ll always have a portrait that will please – and if you’re shooting with a cooperative subject, rather than candidly in the street, pleasing tends to be important. When it comes to lighting, that means keeping hard shadows off the face.
Ultimately, it is a matter of taste, and you should always be wary of prescriptions, even these here, which work for me but may not for you. What I’m promoting here are my preferences and they’re generally variations on a common theme, which is to shoot mainly when the sun is quite low, keeping it behind or slightly to one side so that it adds sparkle and contrast to a shot that is lit mainly by shadow and reflected light. Within this basic prescription, however, there are nuances, and each needs a particular approach.
Three-quarter backlighting
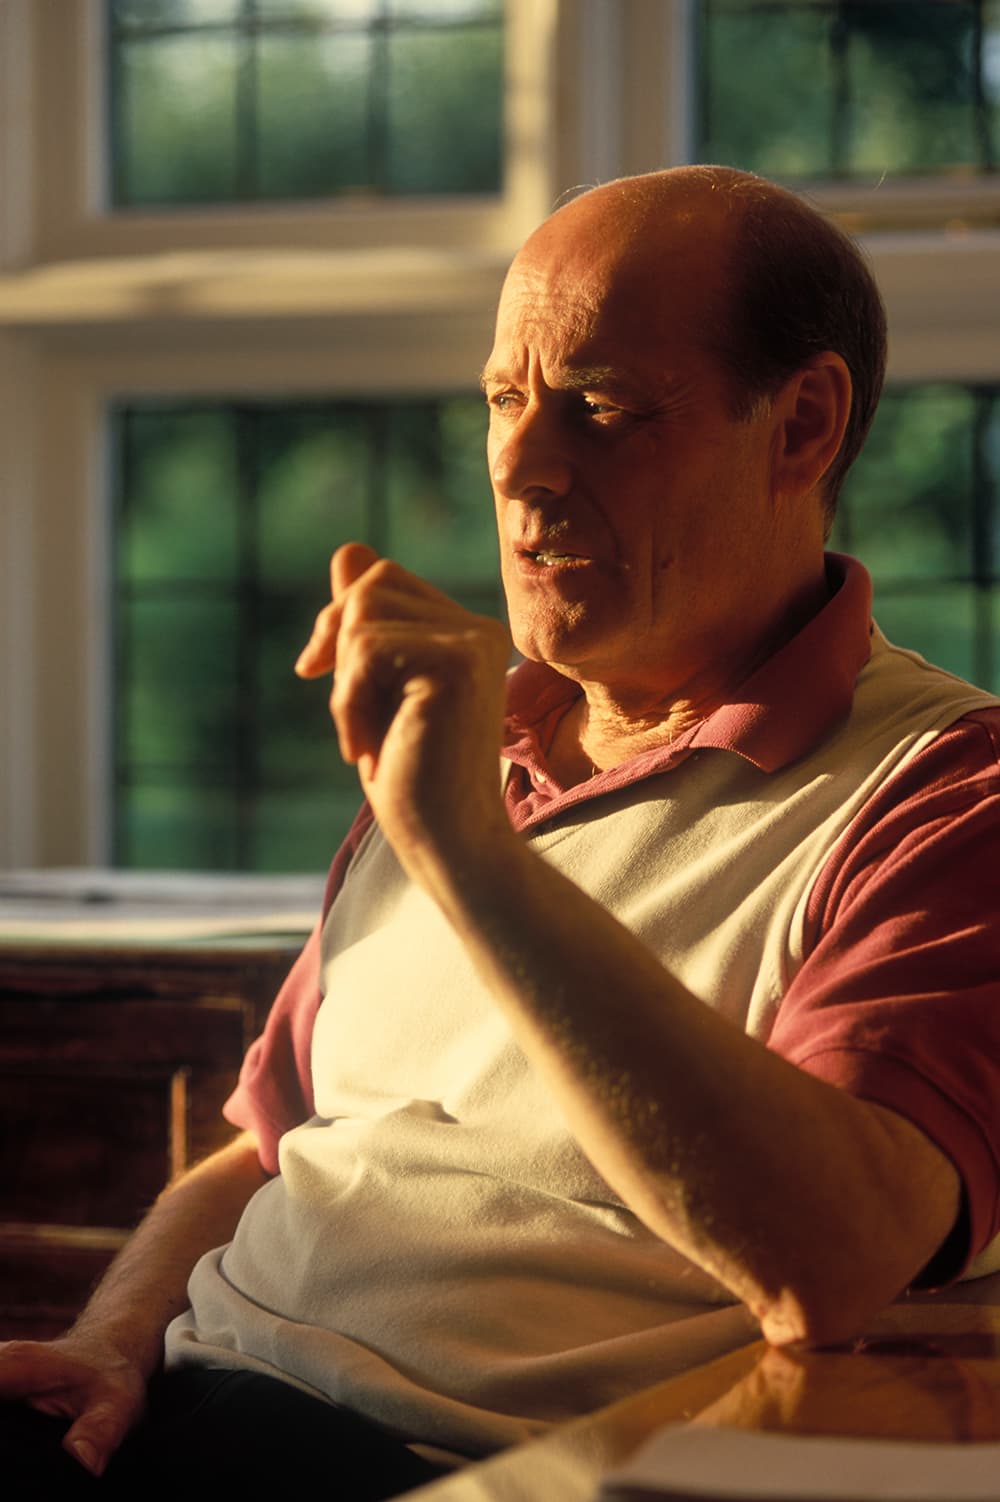
The rather clumsily named three-quarter backlighting (I can’t think of a better descriptive term) gets sunlight onto the face, but only on a small area – about a quarter or a third. This usually looks good when the portrait is active, with someone actually doing something such as talking, because for it to work, the face has to be looking off-camera, as in the shot above. One of its better features as a lighting technique is that it gets across the impression of being bathed in sunlight, and if you keep the exposure to just below clipping of the highlights, it won’t go out of range.
Move to the shade and reflect
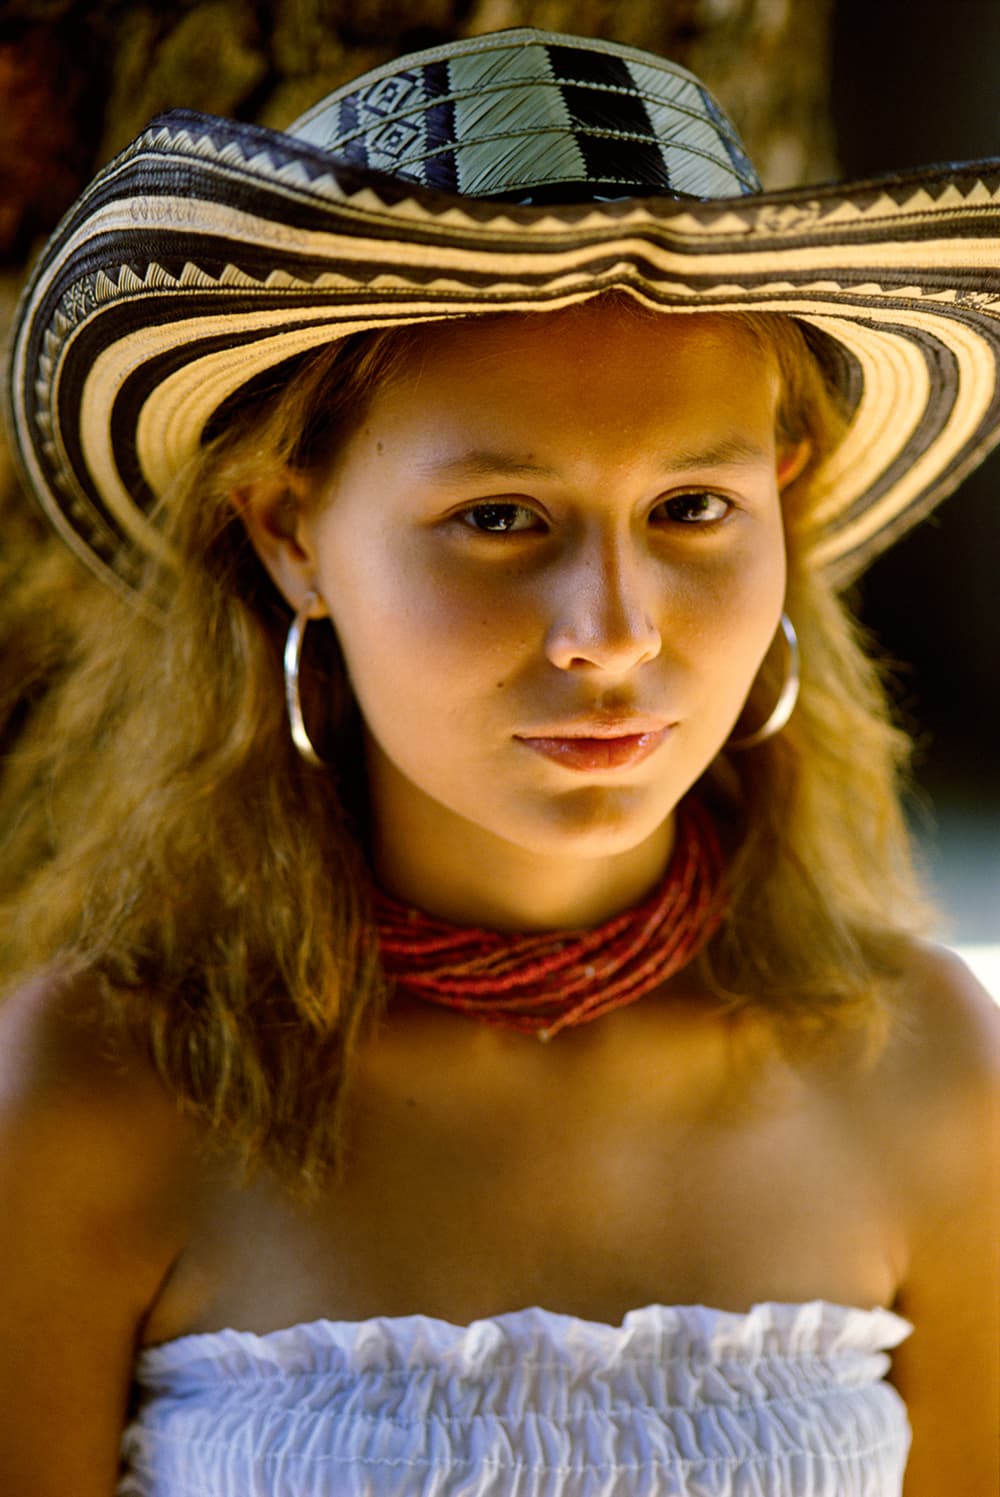 This is the catch-all, fail-proof technique. Move into the shade, but only just into the shade, so there’s a nearby blast of sunlight you can catch with a reflector and bounce onto the face. Experiment with the angle of the reflected light, as it can work from many directions: play with frontal, from below or from three-quarters back. It helps to have a friend or assistant to handle the reflection while you concentrate on shooting and expression.
Expose for the shadow
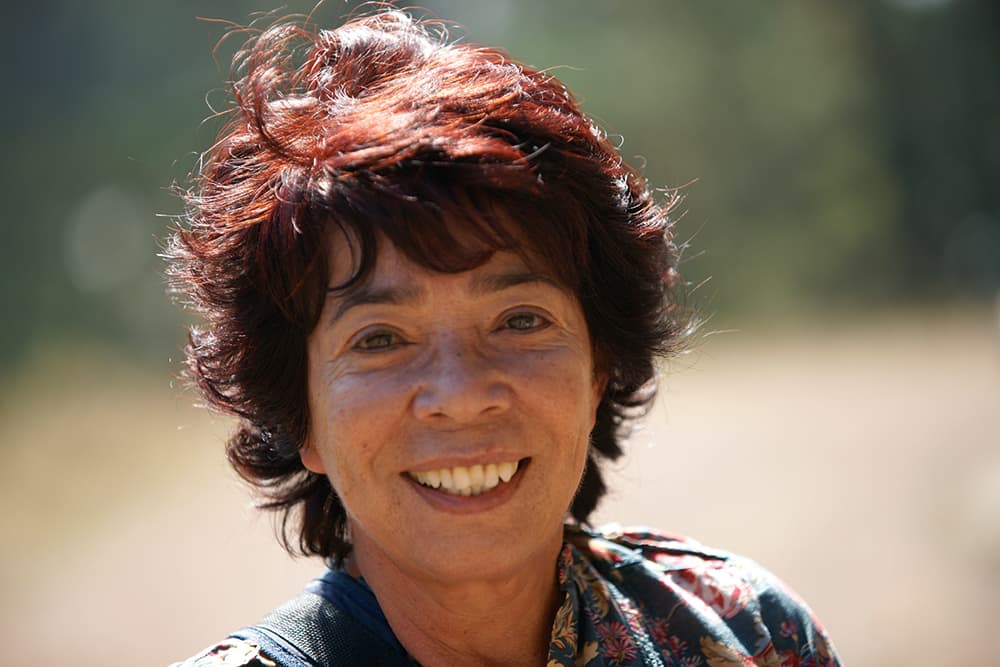
Try to keep the sun behind and expose for the shadow. Modern high-range sensors, smart metering and raw processing have removed most of the technical problems from this approach, and it remains only to shoot into the sun with your subject’s hair lit up. Exposure is critical. Yes, the high dynamic range we’ve all become used to in recent sensors will give you the latitude to recover highlights and open up shadows, but remember that clipping means lost highlights. Make sure you’re familiar with whatever metering method you favour. Even smart metering may need exposure compensation. I use smart metering and the compensation dial to open up by around 2/3 stop in an example such as this.
Hard sunlight
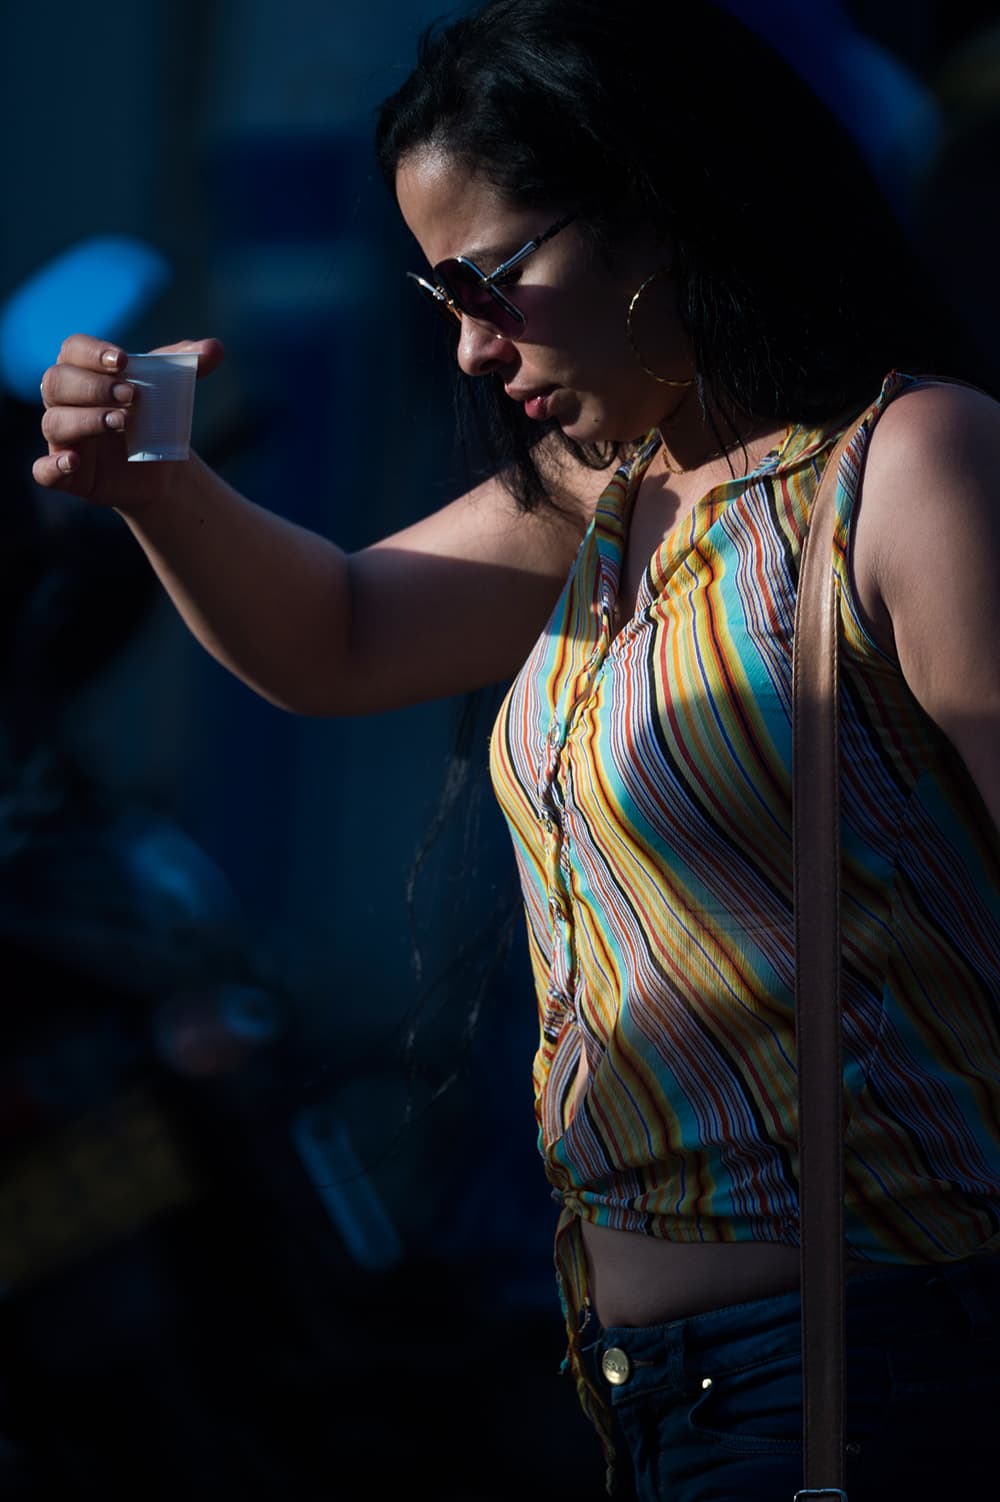
This is a more personal style than the others mentioned here, and it has less to do with the portrait looking conventionally attractive than making a stronger graphic impact with good contrast, so for me it’s more a choice in street photography. It relies on side lighting, more or less at right angles to the sun, low sun and – something that is absolutely key – a shadowed background. Given these conditions, it tends to work best when the person is facing into the sun, making it a profile shot. During processing, I recommend resisting the temptation to open up shadows. Keep them dark and you’ll have an image with stronger lit shapes.
Edge lighting
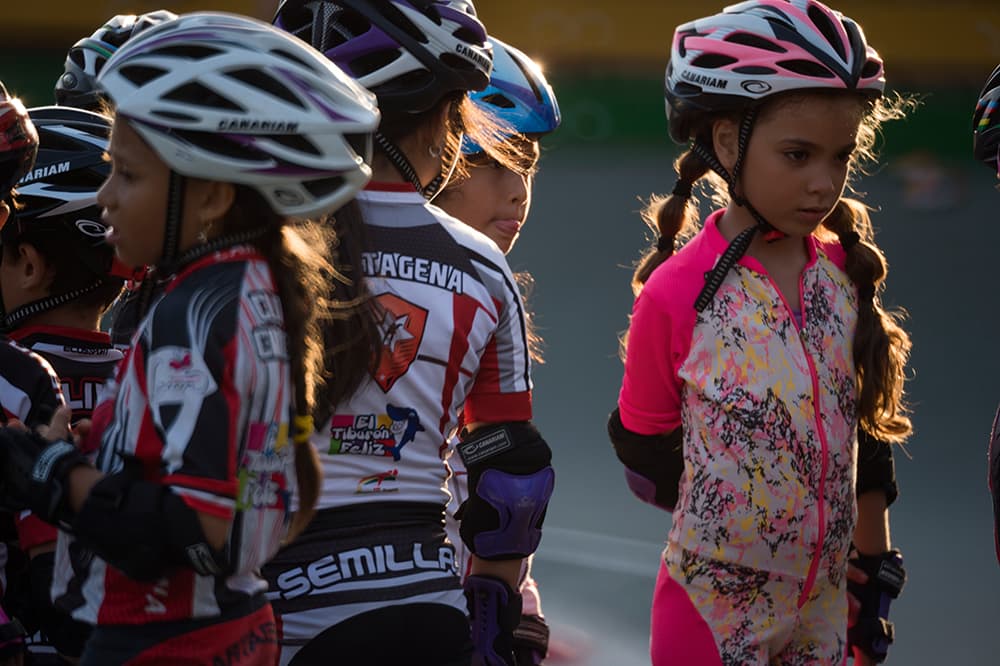
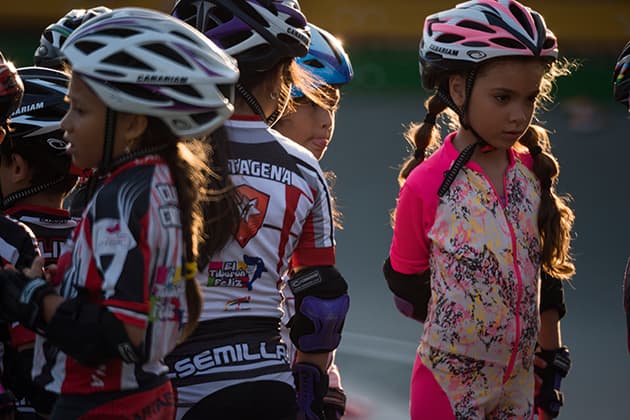
Edge lighting will help you define outlines and lift the hair. Wait until the sun gets low – around 10° above the horizon – and you have the possibility of low-intensity edge lighting, as in the above picture of a young roller-skating team. The key to this kind of shot is having hair catch the warm sunlight. The sun is a lot less intense now, so it won’t overexpose and will keep the colour. As with the backlighting method, expose for the shadow areas, but evaluate this during raw processing. There is rarely one perceived best level of brightness.
Michael Freeman is a British author, photographer and journalist. He has written more than 40 books on photography, focusing mainly on technique and practice. To learn more, visit www.michaelfreemanphoto.com

