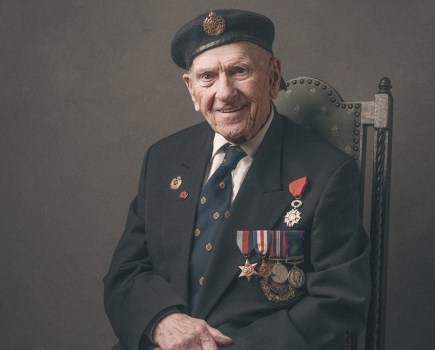
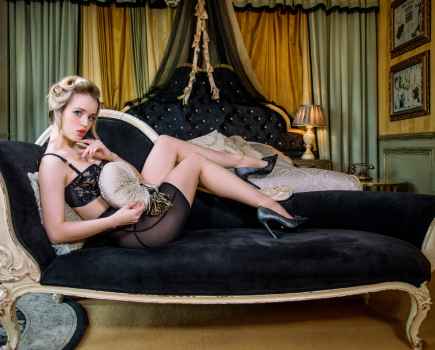
There’s a lot more to portrait shooting than you, a model and a set of studio lights. There’s no shortage of creative projects you can try, with a host of different subjects, that’ll result in some striking and singular images.
As photography can be a rather solitary pursuit it’s healthy to get out of your bubble to involve a few other people, so here are some projects that’ll get you thinking creatively about portraiture.
Portrait Photography Projects
Shadow Portraits
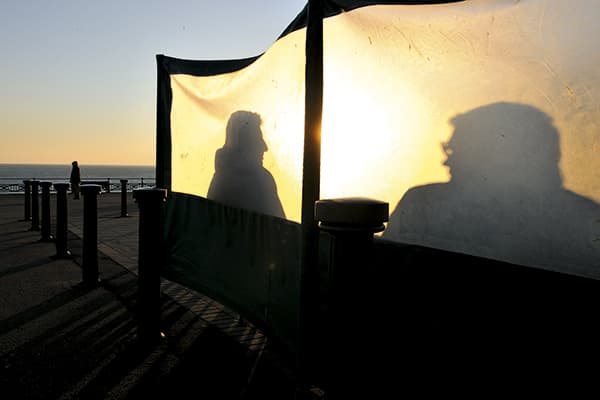
The setting sun projected huge shadows onto the windbreak of this beachfront cafe, making the diners look like giants. Photo by Nigel Atherton
The hard, direct light of summer is far from ideal for many types of photography, but one of the benefits that it offers is the appearance of strong shadows, which can make great subjects for your camera. One of the interesting qualities of shadows is that their shape and scale can be distorted by the angle of the sun, and the surface they’re projected onto.
The beginning and end of the day provide great opportunities to shoot long, distorted shadows on the ground cast by a low sun. Although something as simple as railings can offer great potential, people can also make good shadow subjects. Whether running, jumping, walking the dog or just enjoying a coffee, their shadows create interesting graphic shapes that have the potential to make striking photos.
- For best results you’ll need to shoot on a bright, sunny day when shadows are strongest. Avoid the middle portion of the day when the sun is directly overhead and shadows are reduced to a small pool directly below the subject.
- The ground is where you’re likely to find the best shadow potential, but also look at walls and other vertical surfaces. If you find an interesting one, it’s worth waiting around for a good subject to come into shot.
- Use shadows as a graphic element in your composition. Shooting into the light produces shadows that stretch towards the camera. Using a wideangle lens and shooting from a low angle will accentuate these.
- When photographing shadows you generally want high contrast, so turn off any HDR or Dynamic Range-expanding functions. For the deepest shadows expose for the highlights, and shoot raw so you can fine-tune later.
Child’s Portrait
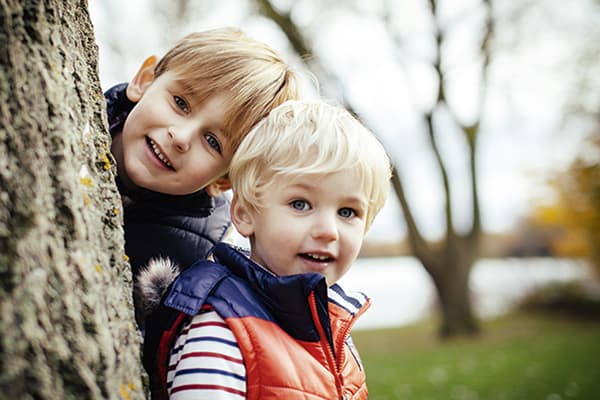
If you’ve got young children in your family, then you’ll appreciate the truth behind the saying, ‘They grow up so fast.’ That’s why capturing stunning photos of them while they’re still young is incredibly rewarding.
Whether it’s your own children, grandchildren or a relative’s child, capturing child portraits is a fantastic way to sharpen your core photography skills, as it requires speed, dexterity and a watchful eye to snap the right moment. Let’s face it, children (especially younger ones) won’t want to sit nicely for very long, so it’s important to ensure that you stay alert with your camera in hand, ready to snap that all-important shot whenever the opportunity arises.
- Prime lenses are great for portrait photography as they offer a wide maximum aperture that allows you to blur the background and isolate the subject. If you’re photographing babies, use a 50mm lens wide open and focus on the eyes.
- If you’re photographing a child that is old enough to walk or run, then it’s vital that you switch your camera’s drive mode to continuous, as this will allow you to rattle off multiple shots and keep up with the action.
- Children have a much shorter attention span than adults, so it’s important to keep them entertained throughout the shoot. Try getting them to pull funny faces at the camera and then showing them the results.
- For older children, invite the family to go for a walk around a park and photograph the children as they play. You can always ask them to climb trees, play or kick up fallen leaves to keep them entertained.
Hazy Portraits
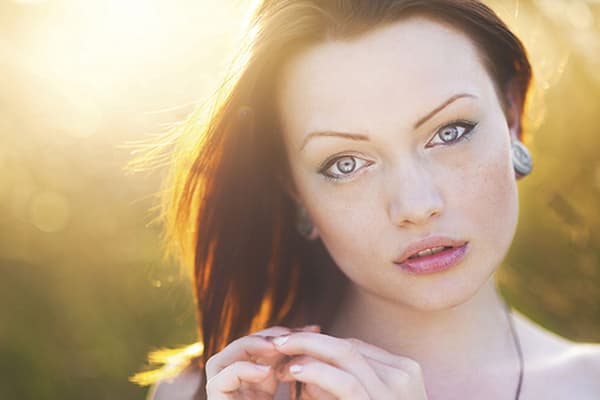
We’re often told that lens flare is a bad thing, and that it’s something that should be avoided at all costs with the aid of a lens hood. While this advice certainly has its merits, instead of viewing flare as something negative, why not try and use it to your advantage?
For those who don’t know, lens flare is caused when light glances across the front element of the lens, which causes rings or orbs of light (also known as artifacts) to appear on the final image. Although it can be added to just about any type of photography, it works well with portraiture, allowing you to add a warm and hazy glow to your images. It’s incredibly easy to do and requires little more than a light source (the sun), and a willing model.
- To intentionally achieve lens flare, simply position your camera at roughly 45° from the light source so that the light is shining across the lens element – the severity of the effect will alter as you move the lens around.
- Position your model so that the light source (in our case, the sun) is behind them and then while looking through the viewfinder, adjust your position until you’ve achieve the desired amount of lens flare.
- As your model will be backlit, a reflector can really come in handy as it will allow you to bounce back light from the sun on to your subject’s face for a more balanced exposure.
- Looking directly in to the sun is never advised and the same goes when looking through your camera’s viewfinder. If the light is too bright, try holding down the depth-of-field preview button to temporarily shade the viewfinder.
Self Portraits
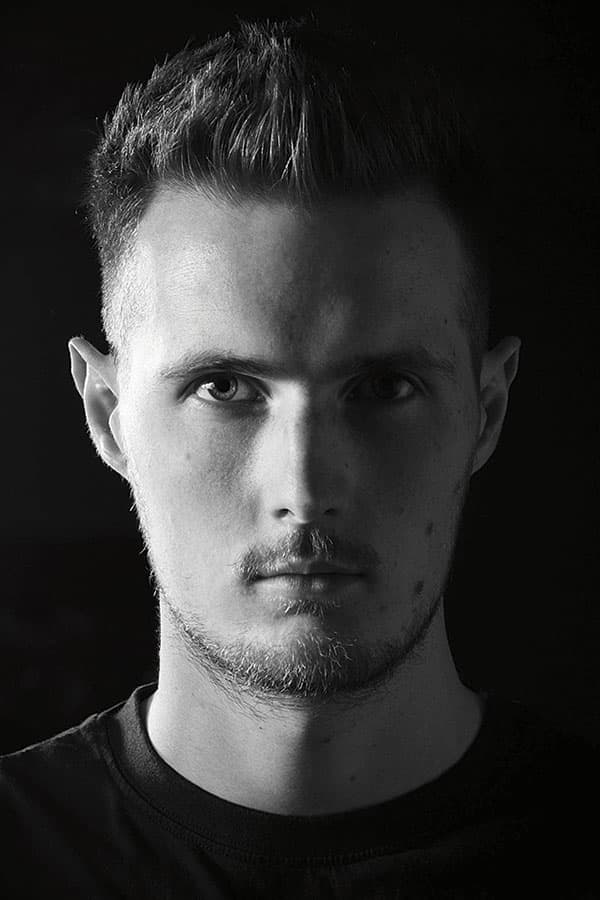
If you enjoy taking portraits, but have run out of willing subjects to photograph, why not try turning the camera around and using yourself as the model for a change?
Generally, most photographers prefer to be behind the camera rather than in front of it, but there are many skills to be learned from taking a self-portrait. Just to make things clear, we aren’t talking about joining in on the unabashed seflie craze that is currently in full throttle across social media. On the contrary, this project involves creating a professional self-portrait image.
Just as you would when you shoot a regular portrait, good lighting and composition are key factors to be considered when attempting a successful self-portrait, as well as a little bit of patience into the bargain.
Being both the model and the photographer at the same time can also mean it takes a little longer to set up and shoot, although arguably the results will be all the more rewarding for it.
- Your choice of lighting should be carefully considered. For a moody, low-key shot, try turning out all the room lights and close the curtains, then use a single off-camera flash or bright desk lamp to illuminate your face.
- For a much softer, high-key effect, try placing yourself next to a large, bright window to take full advantage of the soft diffused light spilling in from outside. Alternatively, you could head outside on a nice day.
- Investing in a wireless remote trigger, or even a cable release with a long-enough lead, will allow you to take the shot while comfortably seated. Or, you could ‘cheat’ slightly and ask a volunteer to press the shutter.
- If your camera has a vari-angle screen, take full advantage of it by flipping it around so you can see the screen while in position. Then activate the camera’s live-view mode to help you better compose the shot.
Get the film effect
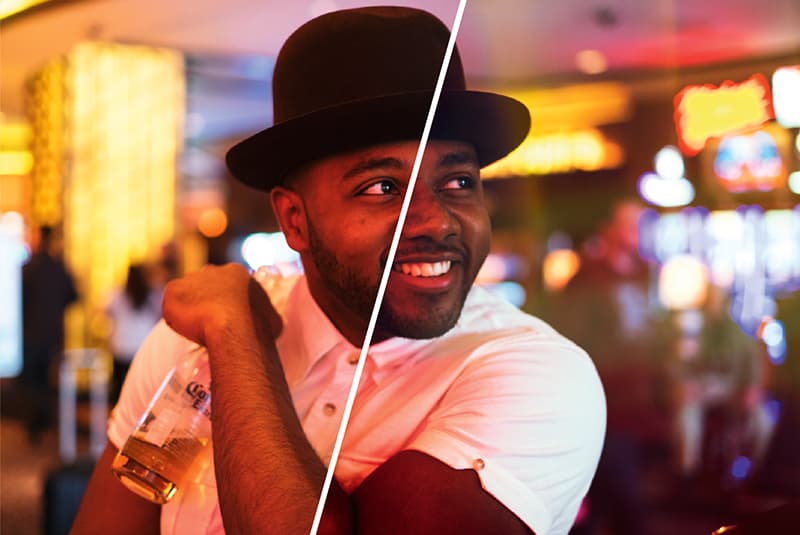
The left side is DxO FilmPack 5 using Fujifilm Velvia and the right is done in Photoshop using curves and added light leaks. Photo by Callum McInerney-Riley
Shooting film is great fun. There’s also a certain magic to handling photographs that were shot on this medium. Each film type has its own colour, tone, contrast and grain, which gives it a sense of character, and most photographers have a particular preference for the films they use.
It is possible, using software such as FilmConvert (filmconvert.com) or DxO FilmPack (www.dxo.com), to replicate film effects on digital files. These will accurately replicate a variety of popular films, such as those from Fujifilm and Kodak. It’s also possible to replicate a more general film-type look and tone using image-editing software. So, this weekend, why not try to turn a digital file into a fun filmic creation.
- If you have film-simulation software, try the same film effect out on different shots, ranging from portraits to high-contrast landscapes, to find which software effect suits each image type.
- To achieve a film-like tone in image-editing software, tweak the midtones, highlights and shadows of the red, green and blue channels on the curves adjustment. Keep refining until you have the desired effect.
- A big part of the film look is its grain. Most image-editing software has an option to add or reduce noise in an image. Be sure to make adjustments to any sliders available to get the right look.
- If your software has the option to create layers, then adding a film-burn or light-leak effect gives the image a more authentic look. Paste an image onto a new layer, change the blending mode and adjust the layer opacity.
Pet Portraits
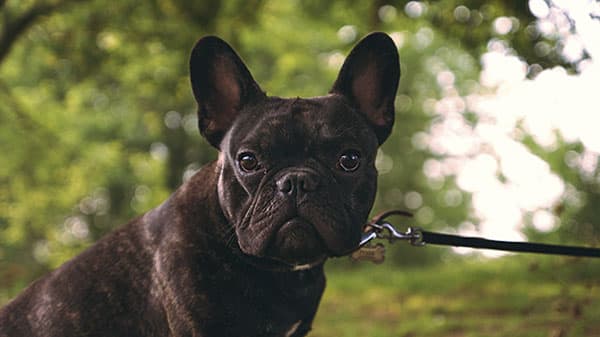
‘Never work with children or animals’ is a well-known adage in show-business circles. Often, animals – and children, for that matter – are not very compliant when it comes to being caught on camera. Animals move around a lot, get distracted easily and can be quite unpredictable. This makes them rather difficult subjects to capture.
However, they do make fantastic subjects and owners often place great sentimental value on images of their pets. Every pet has its own personality and working out how to capture that will teach you much about photographing animals in general. Here are a few tips to try out that will help you get the best shots of your pets.
- Shooting with a large aperture, such as f/2.8 or even larger, will give you a shallow depth of field. Using this technique and ensuring the focus is on the animal’s eyes will help concentrate the attention onto the subject.
- Using props such as a cat toy or a dog bone is a good way to capture the attention of an animal. With the prop positioned just above the camera’s hotshoe, you should get shots of the animal looking in the direction of the camera.
- Often, animals will interact with the props. For example, cats may try to play with the toy or dogs may bark for the bone. Using the burst mode and shooting at high frames per second can capture some great action shots.
- As animals will often be moving around, using a flash can be difficult. Instead, try using a small LED panel to add more light to the subject. This helps add depth to the image without the need for constant flash adjustment.

