While the best photography tip we could give you would be practice, practice, practice, more specific portrait photography tips will help direct that practice and help you see big improvements in your images. We share 13 quick tips below.
To take the best portraits there are a variety of techniques to consider, a combination of which will assist in making your best possible photographs. Wide apertures, standard lenses, soft lighting and available light all have different impact to the way you can shoot portraits, so peruse our collection of portrait photography tips from the experts that will help you continue to develop your work.
13 portrait photography tips
1. Prefocus your picture

Increase your chances by prefocusing. Credit: Niki Boon
Niki Boon
To increase my chances of a sharp result I often prefocus – this involves aiming the lens at an area I know the subject will enter into, rather than chasing movement with the camera. I prefocus, and when I see the subject entering the frame and about to do something interesting, I release the shutter.
2. Stay sharp with shallow DOF
Credit: James Abbott
James Abbott
Fast primes are fantastic for shooting portraits. Whether you’re going in close for a head and shoulders crop or full length, the shallow depth-of-field they can create looks stunning. The difficulty is in getting the shots sharp where they should be – on the eyes. The zone of focus is so narrow that if you move a tiny amount between focusing and releasing the shutter, the point of focus is lost. One way around this is to set the camera to burst mode, and after focusing take three shots in quick succession. This will triple your chances of getting a sharp shot.
3. Add some flare

Credit: Tom Calton
Tom Calton
Traditionally lens flare has had a bad reputation in portraiture. It’s often regarded as something damaging to your photographs and should be guarded against with the use of a lens hood. Although in some instances this way of thinking has its merits, flare can also be viewed in a more positive light (pardon the pun) and can be used to add a dream-like haze to portraits, giving them a wow factor. The key to achieving good lens flare is in the positioning – or more specifically, the angle at which light glances over the front element of your lens.
Positioning yourself so that the sun is approximately 45° from the front element of your lens is a good place to start; then while peering through the viewfinder, slowly pivot the camera away and towards the sunlight (but don’t look directly at the sun) until you achieve the desired effect. The size of the front element of your lens will play a role in the type of lens flare you achieve. Lenses with larger front elements tend to generate a soft haze, while smaller lenses will produce concentrated rings and orbs of light.
4. Shoot with the camera tethered to laptop
Shoot tethered to see the results clearly as you go. Credit: Amanda Thomas
Amanda Thomas
www.amandathomasphotographer.co.uk
When shooting fashion portraits, I always shoot tethered to a computer in the studio or a laptop on location. This makes the working process much easier and smoother as you can view the images on a bigger screen while you are shooting. With a clearer view you will then know instantly if you need to make any changes as you go along. Stopping to crowd around the screen on the back of the camera to view a set of images will not only slow you down, it will break the contact and flow with your model.
5. Experiment with different materials

Materials create fluidity, used with slow shutter speeds. Credit: Trevor & Faye Yerbury
Trevor & Faye Yerbury
Very soft organza, or silks of pastel tones, can add a new dimension to your pictures. Material can be wrapped around your model in a number of ways, used as a veil or encouraged to blow in the wind, where it creates fluidity and movement when combined with slow shutter speeds. It can be advantageous to have an assistant on hand to help arrange materials in a particular way. Flimsy and light material slips off easily and having a stylist or assistant can help fix things while you wait to shoot so it doesn’t slow you down.
6. Sculpt the light
Use diffused light to add a glow to portraits. Credit: Jason Lanier
Jason Lanier
Budget should be no barrier to controlling lighting so that you can model and sculpt it to flatter your subject. Reflectors and diffusers are cheap to buy. Finding the best position for a reflector is a matter of trial and error but there’s one important rule: get it as close as possible. As you move the diffuser closer to a subject’s face, the subject will start to glow and you’ll get that catch light. This is applicable not just for natural light but also strobes, LEDs or anything you use. The closer you can get the light or modi er to the subjects, the more they will light up.
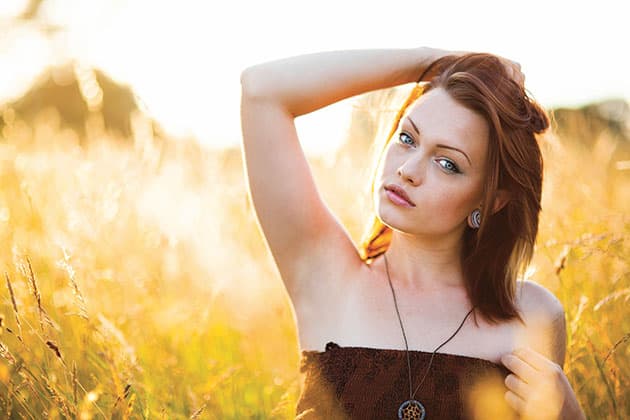
7. Use soft light

Nikon, 85mm f/1.8 lens, 1/500sec at f/4.
When shooting portraits outdoors, harsh directional sunlight can cause areas of deep shadow that spoil the mood of a portrait. Instead, try shooting in the soft light of open shade to create diffusely lit images, which will often prove more flattering to your subject.
In the shade, the mild, almost shadowless quality of light is gentle on skin tones and textures and gives a similar effect to using a huge overhead softbox in a studio set-up. Professional studio photographers frequently try to emulate this type of lighting, but this natural source of daylight is the real thing and, better than that, it’s free.
This image proves that you don’t need expensive lighting to shoot eye-catching people images. Just natural daylight with its wide, soft palette of colour, contrast and tones will often be enough to capture arresting shots.
Placing large reflectors below a model’s face will bounce light into shadowed areas, add catchlights to the eyes and soften the light even further – for a very flattering portrait.
8. Use a wider lens to show the environment

Canon, 24-105mm f/4 lens at 28mm, 1/60sec at f/16, ISO 100
Wideangle lenses can be used to great effect in certain types of portraits. Due to their inherent optical characteristics they tend to exaggerate perspective by emphasising the foreground and creating a strong sense of depth. This is useful for ‘environmental’ portraits when you want to show both the subject and the location, to tell a story about the sitter.
Wideangles do need to be used with some caution, though. While great for dramatic images, they aren’t good if used close-up, as they can create unwanted distortion, such as an alien-shaped head or a bulbous nose; something your sitter will not thank you for.
This portrait of a reed cutter with his wooden scythe uses a 28mm focal length to dramatically enlarge the sharp blade of his handmade tool. The strong perspective effect runs from the blade edge in the immediate foreground to the distant reed beds, which sweep around the back of the subject creating a strong sense of place and revealing the environment he works in.
9.Use window light

Canon, 50mm f/1.2 lens, 1/160sec at f/2, ISO 200
The subtle and delicate quality of light that a window can transmit is perfect for many types of portraits. On an overcast day, window light is wonderfully diffuse and has a very flattering effect on skin tones and textures. The resulting images will have a natural and timeless quality about them that no other kind of indoor portrait can match.Best of all, window light is free and when the conditions are right absolutely no additional equipment is needed.
However, on a bright sunny day you need to take care, as window light can be somewhat high contrast, and it can be difficult to balance the dark shadows of an interior with the bright highlights of the window.
Always review the image on the LCD screen and tweak the exposure to obtain the best results, remembering to hold detail in the highlights of your subject’s face.
Don’t include the actual window in the image as it will more than likely burn out and ruin the shot. Instead, go for a closer crop of the head and shoulders. If you find the contrast is still too great, try using a small reflector to bounce light back into the shadows.
10. Blur the background by using a large aperture

Nikon, 70-200mm f/2.8 lens at 200mm, 1/500sec at f/4, ISO 100
When the background behind your subject is a little distracting, why not blur it to make your subject stand out? This can be achieved in-camera in several ways, including shooting with a long lens of about 200-300mm and/or shooting at wide apertures such as f/2.0-5.6. In addition, the closer the subject is to the camera, the more the background will blur.
By combining all three techniques, you’ll be surprised by how easily a distracting background can be turned into a smooth transition of colours and tones – creating a perfect backdrop for portraits with impact.
This almost candid shot (above) was taken on a beach in early autumn. The bright pink hat contrasts well against the muted yellows of the sand and the pale blue of the sky. Using a long telephoto lens, with a wide aperture, the background has blurred to create a strong, clean composition.
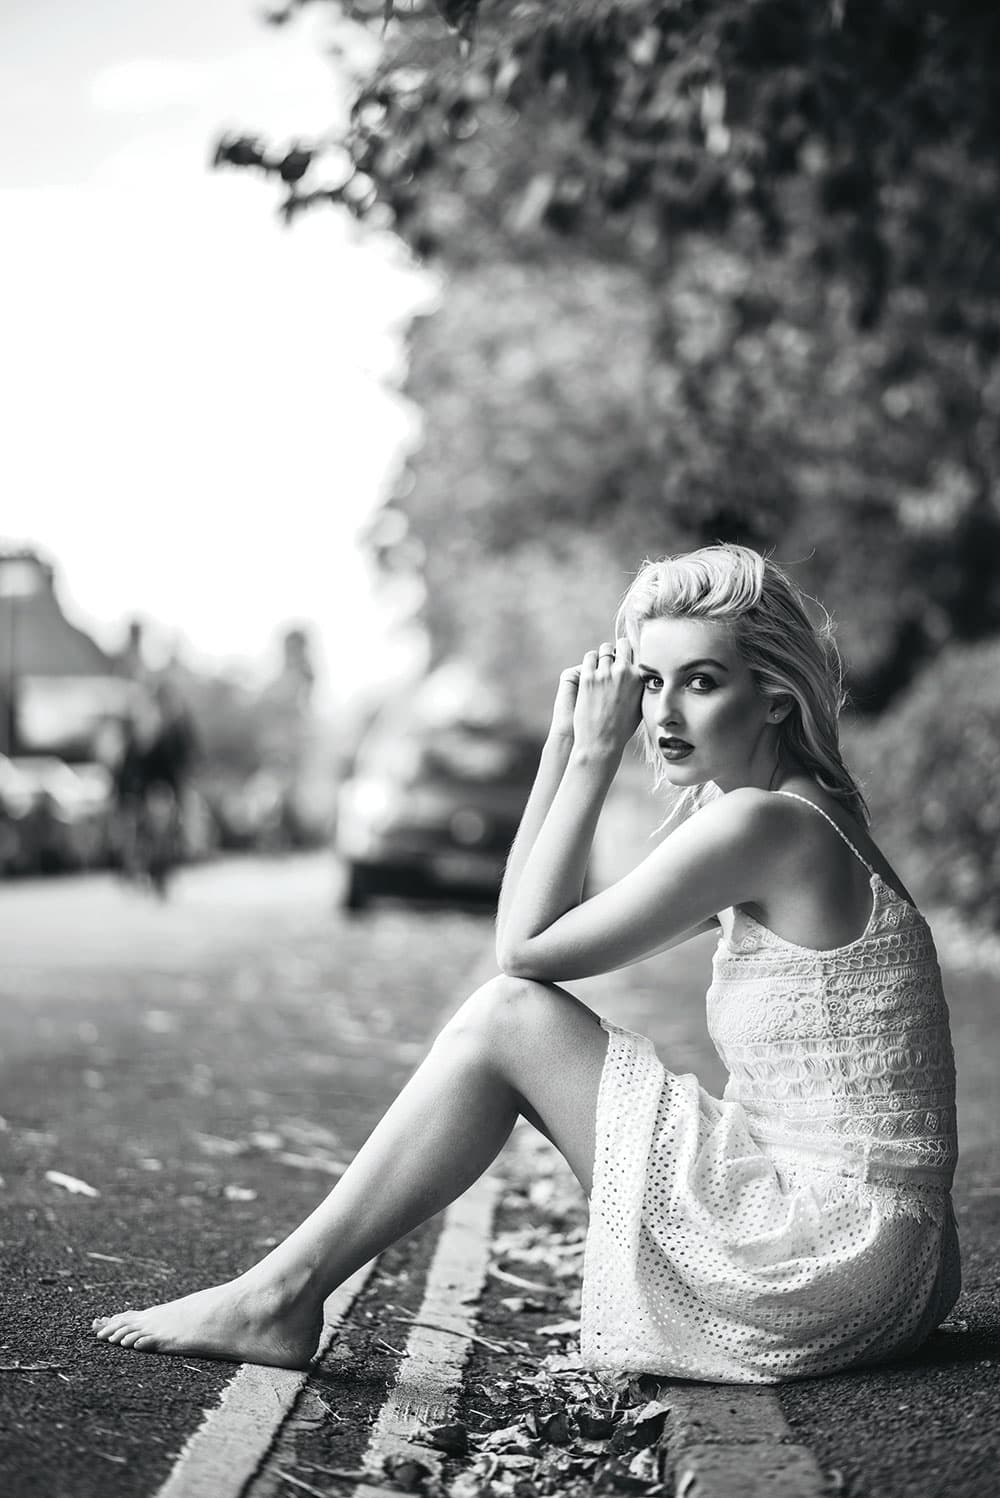
11. Use shapes and lines for strong compositions

Kodak, 17-35mm f/2.8 lens, 4sec at f/5.6, ISO 160
While portraiture is about portraying the character of your subject, think about the design too.
To produce visually compelling images you need to understand the basic rules of composition. This includes the ‘Rule of Thirds,’ strong shapes and symmetry, lines to lead the eye around the picture, and diagonals to add drama and tension to your shot.
Good design skills can be learned and, once mastered, effective composition will become more intuitive. This shot of fellow photographer Tom Mackie uses shapes, light and strong lines to lead the viewer’s eye around the image toward the subject posed on a spiral staircase.
Owing to the very low levels of light, I needed a long exposure, so this is one of the rare instances where I used a tripod. The subject is also positioned within a large triangular shape, which adds dynamism and frames him perfectly.
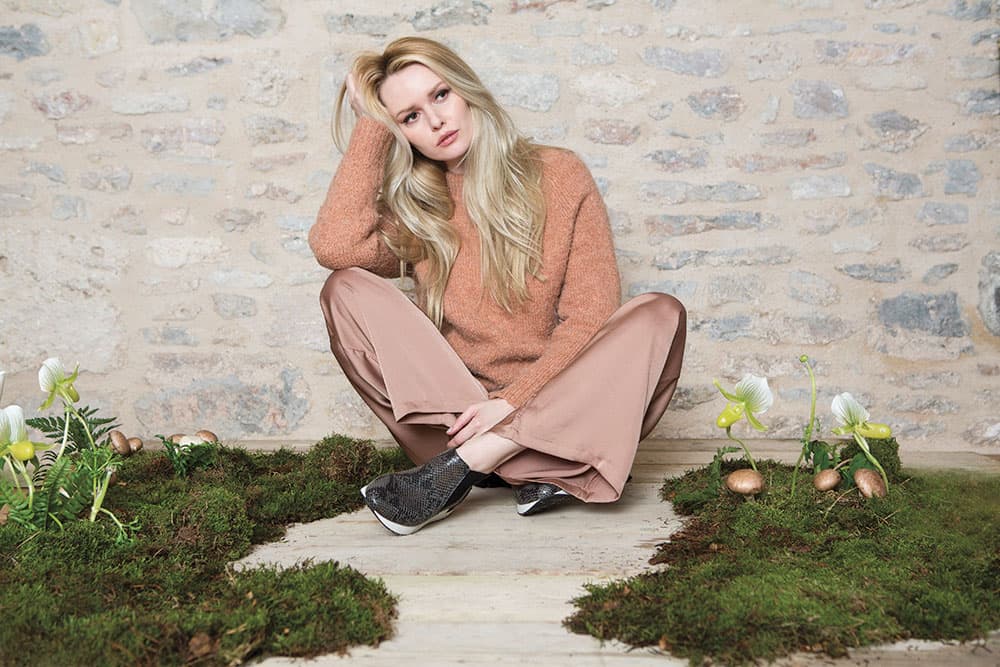
12. Be more creative in your use of strong colour

Nikon 70-200mm, f/2.8 lens at 200mm, 1/250sec at f/4, ISO 100
The use of strong colours can be a powerful way of composing visually compelling images. Juxtaposing bold shades such as reds, blues and greens can create concordance or discordance in a shot, thereby generating a certain mood or tension. Alternatively, by using colour a little more cautiously – perhaps a single accent shade or tone – it’s possible to emphasise your subject just as effectively.
The subtle use of muted colours in an image with a splash of discordant colour can be an equally successful way of creating a photograph with a strong and vivid composition. This technique can be just as useful when working in black & white. Rather than using bright primary colours, try placing contrasting tones together, such as black against a white background or highlights against a midtone grey.
This model portfolio shot is a colour image with almost monochrome tones. I could have added a bright red hat or other primary colour, but that seemed just a little too obvious, so instead I chose to use a black hat against the pale-coloured wall and spiral staircase.
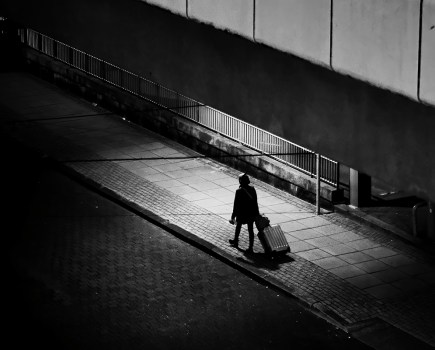
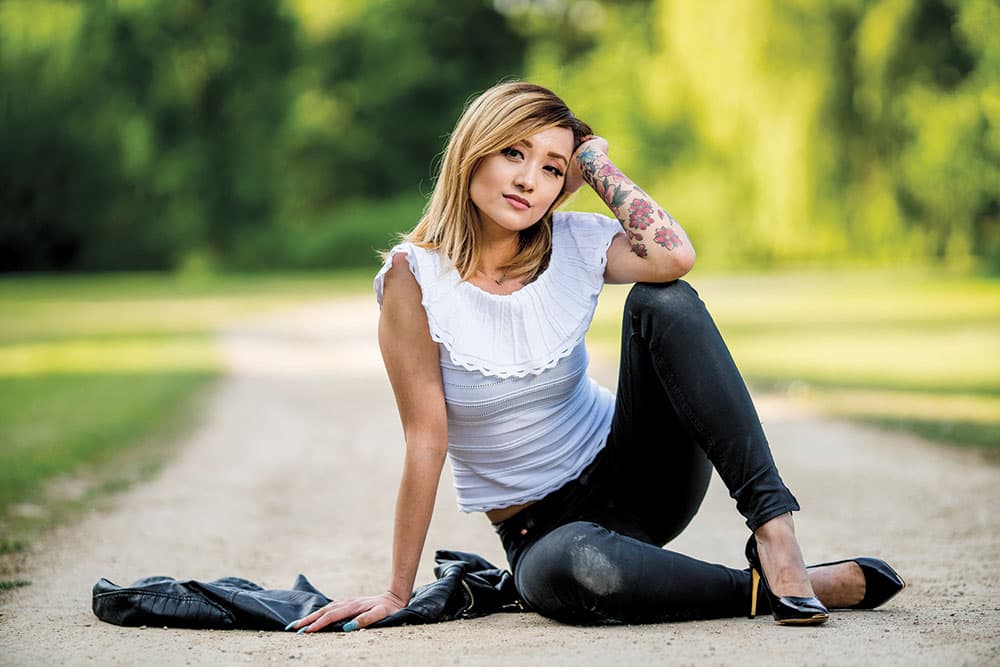
13. Keep your subject’s hands busy

Mamiya, 55mm f/2.8 lens, 1/30sec at f/5.6
How to shoot better portraits – keep subjects hands busyWhen photographing non-professional models, you’ll often find that your sitter will feel uncomfortable about being in front of the camera.
In order for your subjects to look natural in your photographs they must feel relaxed, and it’s your job to try to achieve this.
One aspect of people photography that is of frequent concern is what do with your subject’s hands. If your sitter is feeling anxious, you’ll be able to read this in their body language and this in turn will be translated to your photographs.
To remedy this, try to keep your sitter’s hands busy and pose their body in a way that they feel comfortable with. This can sometimes mean giving your subject something to hold on to or perhaps even getting them to slip their hands into their pockets. By doing this, your subject will feel more at ease and the resulting images will look far more genuine.
This photograph of a sea fisherman standing in his old wooden boat is a fine example of this technique in action. He felt awkward about having his picture taken and took considerable persuading to allow me to photograph him, but the weathered character in his face was too appealing to resist capturing.
After a few minutes of conversation to break the ice, I positioned him inside his boat and got him to rest his hands on the side. This gave him a far more relaxed demeanour and his almost heroic stance rewarded me with a definitive character study.