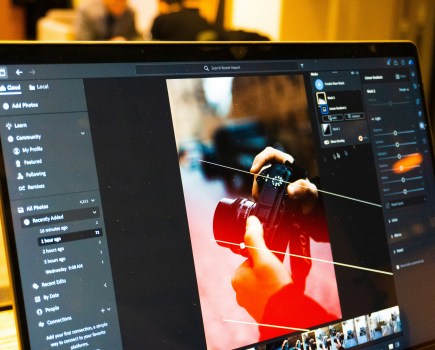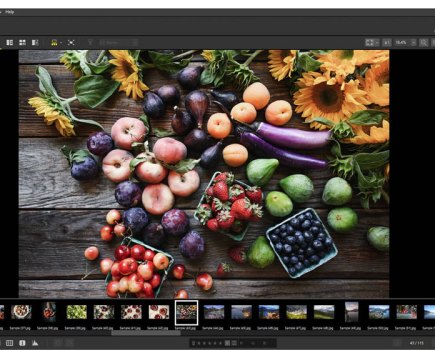
One way of using Lightroom to catalogue, edit and export images on the move is to download it to a laptop. This is great if you own a lightweight notebook, but lugging a heavy and bulky laptop around isn’t any fun – not to mention the hassle you can encounter when trying to find mains power to charge it.
Adobe’s answer is Lightroom Mobile – a free app developed on the success of the Lightroom interface. Designed to allow Creative Cloud users to synchronise a desktop library with a smartphone or tablet, it syncs all your adjustments with the desktop Lightroom Library via the Cloud. It’s an essential app for photographers who rely on Lightroom and want to speed up their workflow when out in the field or on the move.
How it works
To get Lightroom Mobile up and running, first ensure that you’re running the latest version of Lightroom, before installing the Lightroom Mobile app on your mobile device. In its infancy, the Lightroom Mobile app was only available for iOS devices, but now it’s also available for Android users via the Google Play store.
After linking Lightroom and Lightroom Mobile to a Creative Cloud account, the two automatically join forces and sync any images that are grouped and enabled for sync under Lightroom’s Collection tab.
To prevent enormous and unnecessary volumes of image data being synced to mobile devices that have a limited capacity, Lightroom Mobile doesn’t sync the entire image catalogue, nor does it duplicate images listed under the Folders tab within the Library module.
To prevent large files clogging up mobile devices, images are resized at the synchronisation stage to around 0.9MB, creating what’s known as a Smart Preview. These previews may only be a fraction of the size of the original image, but they’re optimised to display excellent resolution, with the facility to pinch and zoom to a high magnification and inspect detail and sharpness. After the sync process is complete, a square thumbnail of the first image in the collection appears in the app. Tapping the bottom right of this thumbnail reveals various Collection options and it’s from here that you can select Enable Offline Editing. This option downloads the Smart Preview of each image in the Collection to the mobile device you’re using. This is essential if you’d like to work on images on the move, but aren’t within range of a Wi-Fi hotspot.
However, bear in mind that Smart Previews take up more storage space on your mobile. You’ll need to think ahead to ensure you have them downloaded and ready to use before you’re in an area without Wi-Fi. Thankfully, the app provides an option to select Sync Only Over Wi-Fi, which should be switched on if you frequently pair devices via a personal hotspot and want to prevent using your 3G/4G data allowance at additional expense. When your mobile device is reconnected to Wi-Fi, it automatically updates the adjustments that have been made in Lightroom Mobile to the Cloud, and then to the original desktop Lightroom Library – a process that can take a while, depending on the speed of your connection.
Interface and tools
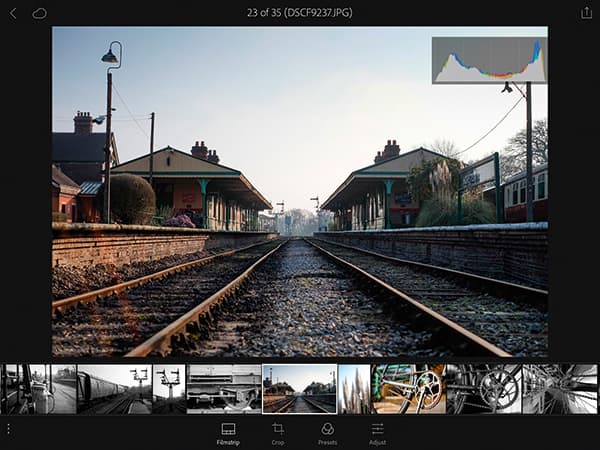
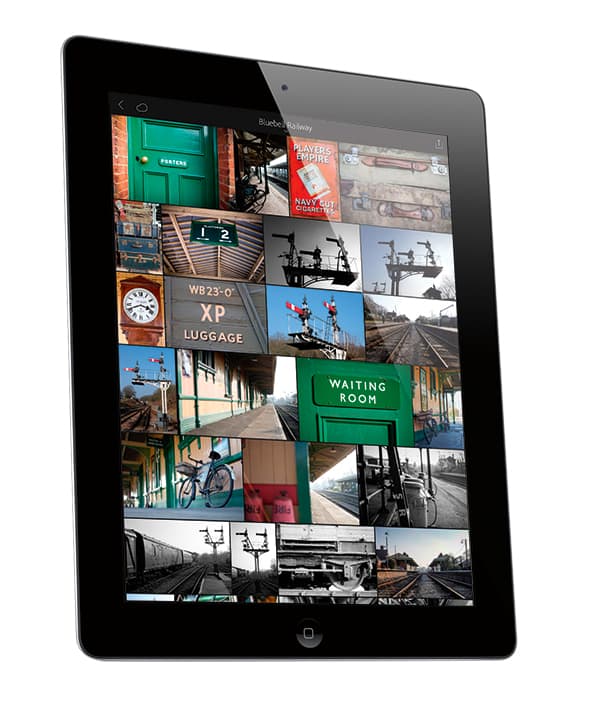
Lightroom Mobile has a clean, uncluttered design that’s as easy to navigate as the desktop version. After loading the app you’ll be greeted by a list of the Collections that have been synced, and opening a Collection brings up all images in a well-presented gallery with portrait-orientated images neatly slotting in alongside landscape ones. Tapping an image loads the editing area from which adjustments are made, and the way it allows you to rotate your device to view the Smart Preview at a larger size (whether shot in landscape or portrait format) feels intuitive. Exif data and a histogram are displayed at the top left, but you can tap the image to hide these. There are a number of finger-gesture shortcuts, too, one of which involves holding three fingers on the screen of your mobile device to view the difference between the original image and the adjustments you’ve made.
Directly below the Image Preview are four icons. The furthest on the left loads a Filmstrip to help navigate the collection quickly, while the next icon along enables the Crop mode. Here you’ll find options to change the aspect ratio, straighten the image, rotate it or apply a new crop. In the usual way, any crop that’s made is done so non-destructively, making it possible to return the image to its original dimensions.
The Filmstrip helps navigate images in a collection.
Beside the Crop mode is a Presets icon – the gateway to 42 filter presets. It’s possible to apply a previous effect to other images instantly, but those wanting to create their own or apply custom-made presets will be disappointed to find that this hasn’t been included in the mobile version. The Adjust icon will probably see most use and reveals all the adjustment settings you’d expect to see in Lightroom’s Basic tab, such as white balance, temperature, exposure, contrast, highlights, shadows and clarity. Adjustment of these frequently used settings is made via a slider scale, and with today’s highly responsive touchscreens it makes for a very intuitive image-adjustment experience. There is an Undo icon at the top right of the interface if you’d like to take steps back in your workflow, plus a Reset option if you’d like to return the image to its original state.
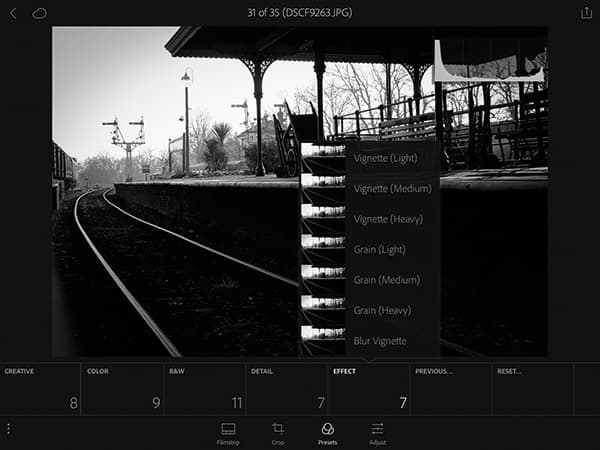
There are 42 presets available and these are found listed in columns.
Swiping the Filmstrip, Crop, Presets and Adjust icons to the right with your finger gives you the option to pick, unflag or reject an image. There’s also the facility to rate images based on the same one-star to five-star ratings you’ll find in the desktop version, which is useful when you’re on the move and want to mark images you’d like to edit later in a large batch.
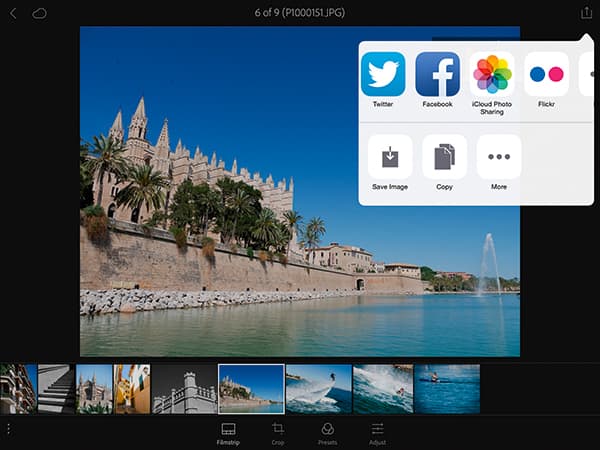
Lightroom Mobile offers a good selection of output and sharing options.
Give it a try
The best thing about Lightroom Mobile is that it’s free to download provided you have an Adobe ID and are running Lightroom 5 and above or Lightroom CC. If you’re a frequent user of Lightroom and own a tablet or a smartphone, you’ll quickly fall in love with the control and functionality it offers for editing or rating images on the go. If you’re fed up with carrying a heavy laptop around, installing Lightroom Mobile may be the answer. If you’re not already using it, you’re missing out. What are you waiting for?
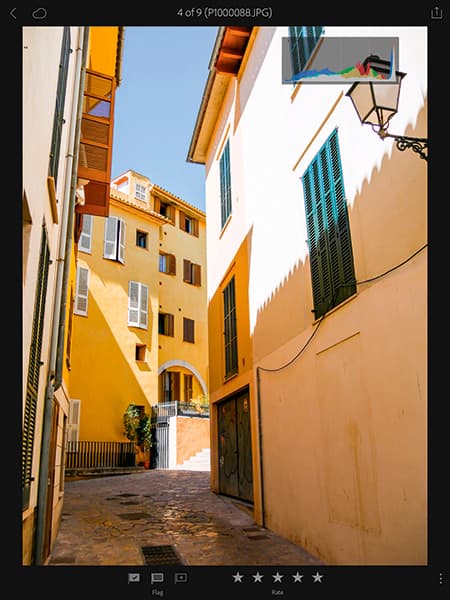
It’s possible to flag and rate images on the move.
Gesture Shortcuts
Collections, Grid and Loupe
Toggle info: Two-finger tap
Loupe
Pick/Reject: Swipe up/down
Before/After: Three-finger tap
Adjustments
Clipping mask – Slider: Two-finger swipe
Crop
Toggle gridlines: Two-finger tap
Reset: Double-tap frame

