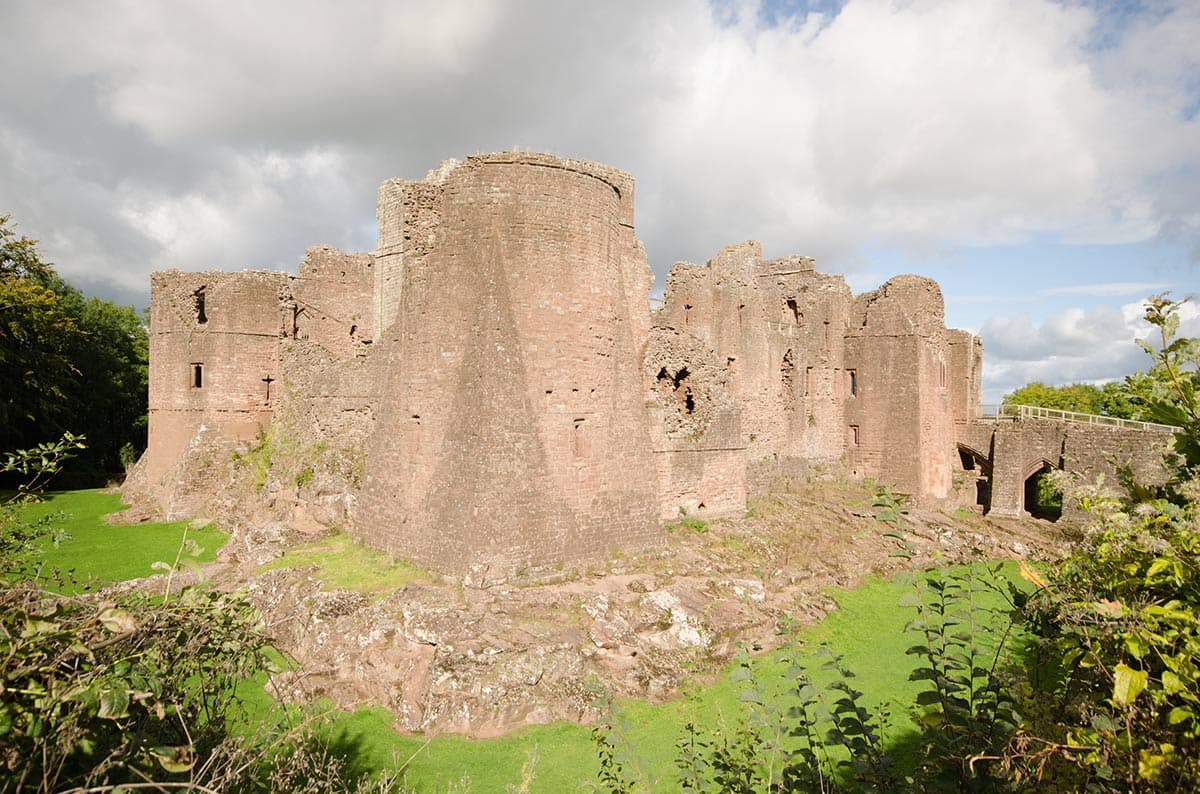
Before
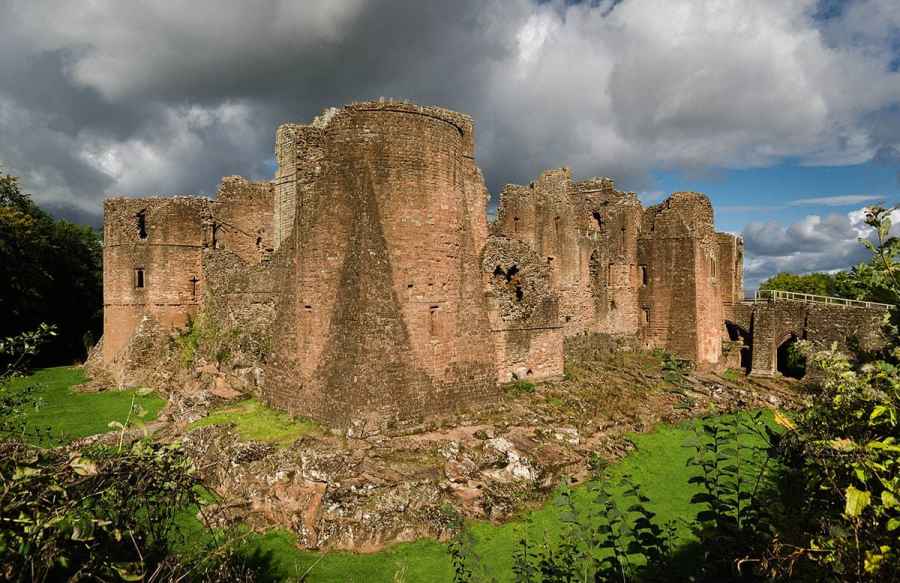
Colin Butler took this photograph around midday, with the sun poking through the clouds to create a dramatic contrast between the light on the castle and the dark clouds behind. Although the ‘before’ image looks rather overexposed, this is rarely a bad thing if you are shooting raw, and you can be confident the increased exposure will not result in any of the highlight detail becoming clipped. In fact, such overexposed raw images will contain a greater amount of tone detail for you to edit with at the raw processing stage. Darkening an image, like in this example, was clearly possible in Camera Raw to achieve the desired tone balance.
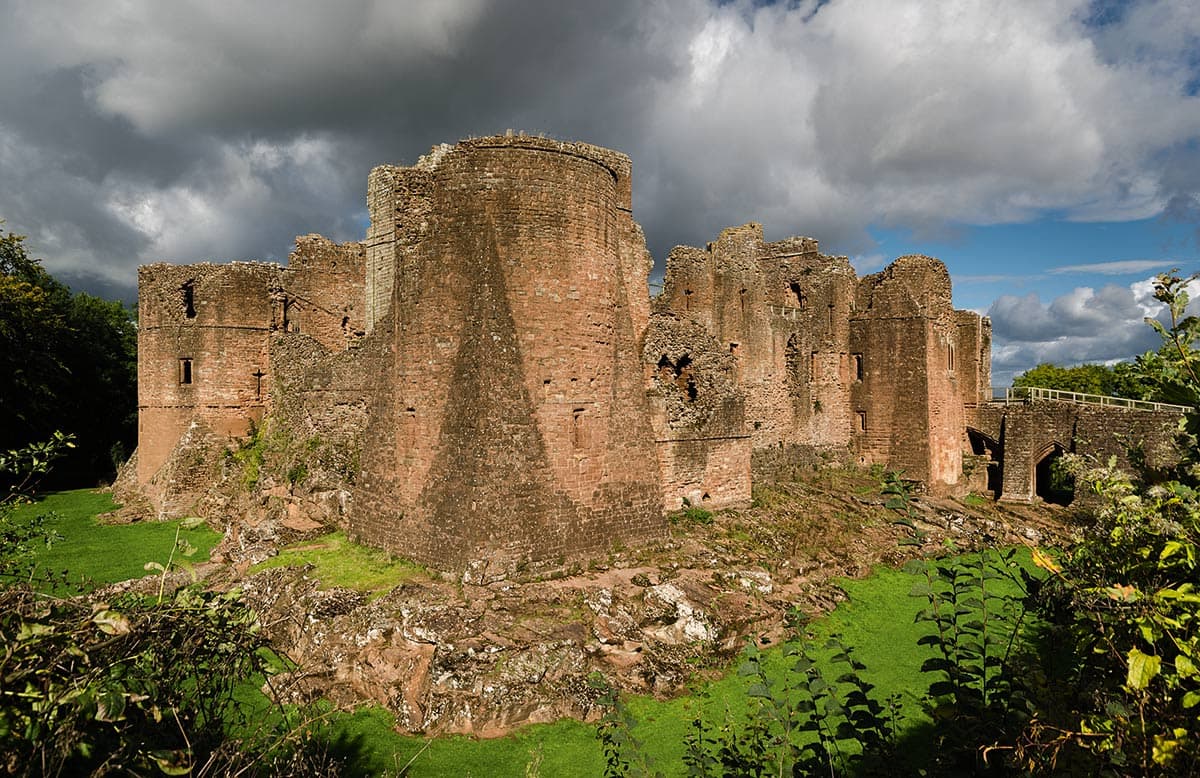
After
1. Basic panel adjustments
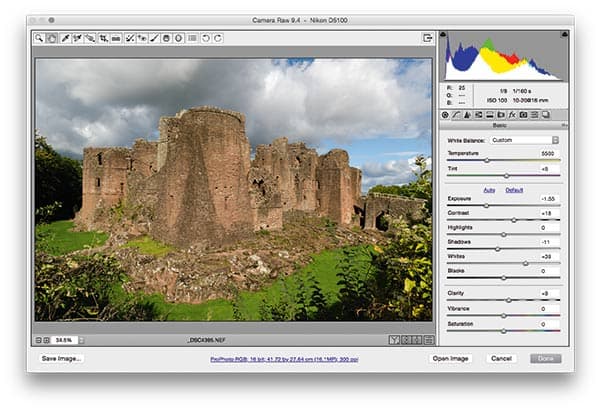
The first step was to darken the original image, which I did by applying a negative Exposure adjustment. Having done that, I applied a +39 Whites adjustment to set the highlight clipping point and preserve the cloud contrast. I added a small amount of Clarity to help bring out the texture of the stonework.
2. HSL panel adjustments
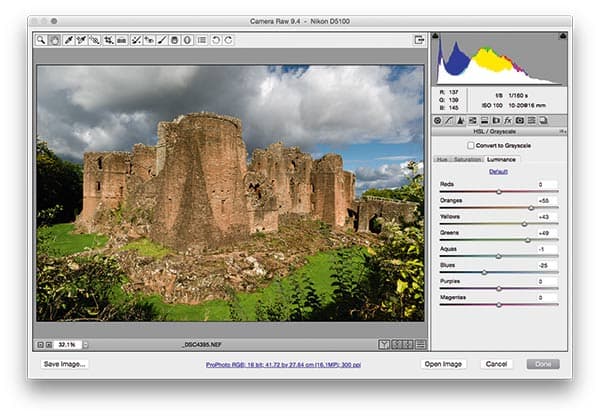
In the HSL panel, I adjusted the Luminance sliders to lighten the orange, red and green colours, and darken the blues. This added more colour contrast to the scene. At the same time, I adjusted the Saturation tab settings in the HSL panel to make the stonework richer in colour.
3. Add a Radial Filter
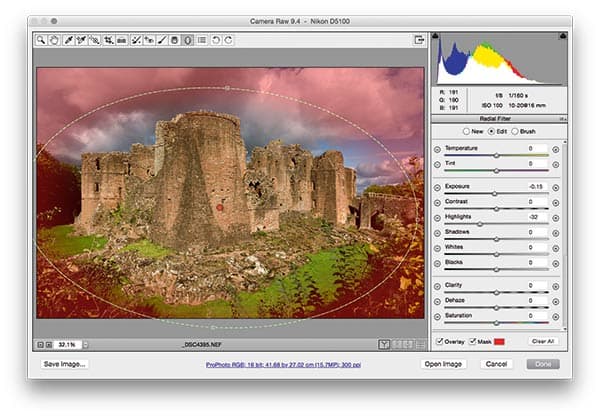
I applied an Auto Upright adjustment, combined with a clockwise rotation, to make the castle appear more upright. I then added a Radial Filter adjustment centred on the castle, where I applied the adjustments to the outer area of the filter adjustment. I also darkened the Exposure and Highlights slightly.

