

There are quite a few fisheye lenses available, but they are not usually found at bargain-basement prices. Fortunately, there are a few alternative ways to get the same look. As is often the case in this era of digital technology, some image-editing packages such as Adobe Photoshop and Photoshop Elements can be used to introduce the signature distortion.
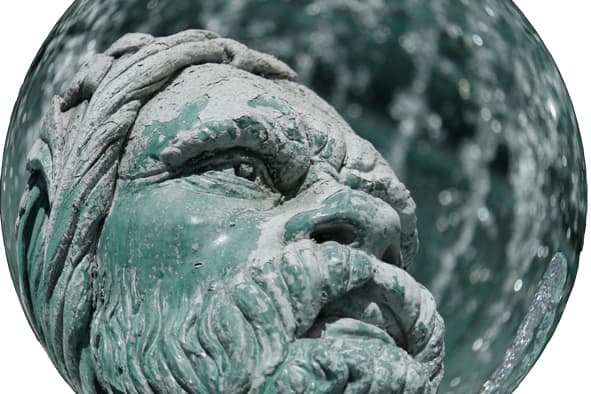
The easiest way to mimic the appearance of an image shot through a fisheye lens is to use the Spherize filter, but this only works on a central circular portion of the picture. Careful selection is required to remove the surrounding undistorted section of the image so that the circular fisheye look is created.
Another more satisfactory approach uses Photoshop’s Warp transformation. This is much more flexible than the Spherize filter and allows the photographer to stretch and distort the image to taste and still produce a rectangular picture with the original aspect ratio.
How to Create a Fisheye Effect in Photoshop – Diagonal Fisheye Look

Step 1 – Open the image and select it all using Select>All (Ctl+A). Now select Edit>Transform> Warp to bring up the grid that acts as a framework to distort the image.

Step 2 – Click on the grid inside the image and drag it out towards the edge of the frame, making the image bend outwards.
Now click on the other side of the frame and drag this in the opposite direction.
The image should now start to look bowed and more fisheye-like.
Continue to manipulate the grid, dragging the points in the centre of the edges inwards to increase the distortion.

Step 3 – Once you are happy with the image, hit the Enter key to confirm the transformation and then save the image.
How to Create a Fisheye Effect in Photoshop Elements – Circular Fisheye Look
Step 1

Open the image in Full Edit mode and select a square around the most important area using the Rectangular Marquee tool set to its Fixed Ratio mode, with 1 entered in both the size and height boxes.
To replicate the fisheye effect the selected area should really be at the centre of the frame, but the image can be cropped or the canvas sized changed to account for this at the end.
Step 2

Now apply the Spherize filter using Filter>Distort>Spherize.
Set the amount to 100% and make sure that the mode is set to normal before pressing OK.
I applied it twice on this image to get a more distorted result.
Step 3

Click and hold the Marquee tool to bring up its options and select the Elliptical Marquee.
Then click on one corner of the selected box before pressing and holding the Shift key while dragging across to the opposite corner (the square will have gone, so you have to find the approximate point).
Holding the Shift key while you drag ensures the selection is perfectly circular. The aim is to select the circular, distorted portion of the image.
Step 4

To make sure only the distorted part of the image is selected, use Select>Modify>Contract and contract the selection by 5-10 pixels.
Then soften the edge using Select>Feather and feather the selection by 10 pixels.
Step 5

Ensure the background colour at the bottom of the toolbox is set to black and then invert the selection using Select>Inverse (Shift+Ctrl+I).
Now delete the image surrounding the distorted section by hitting the delete key and turn off the selection using Select>Deselect (Ctrl+D).
If you wish, crop the image to a square to remove some of the blank areas of the frame.
Using PTLens to unwrap a fisheye

Occasionally, you may want the wideangle of the fisheye without the high-level distortion and that’s where software such as PTLens from www.epaperpress.com ($25/around £15) and RectFish from www.acapixus.dk ($30/around £19) come into play.
PTLens allows ten images to be adjusted at full resolution and without a watermark before a licence must be bought, and it can be used as a standalone or as a Photoshop plug-in.
I like the plug-in version as it allows me to use Camera Raw to reduce the chromatic aberration in raw images before working on them. The software is accessed via Filter>ePaperPress>PTLens.
The adjustments are all straightforward. Simply select the Fisheye option near the bottom middle of the control panel and move the Distortion sliding control to correct the image.
The image contorts into a bow-tie shape as it is adjusted, and although it is possible to crop the image within PTLens I prefer to do it afterwards as it is often necessary to level the horizon and there’s less restriction on the size ratio.
The chromatic aberration controls are useful when the coloured fringing is problematic.


