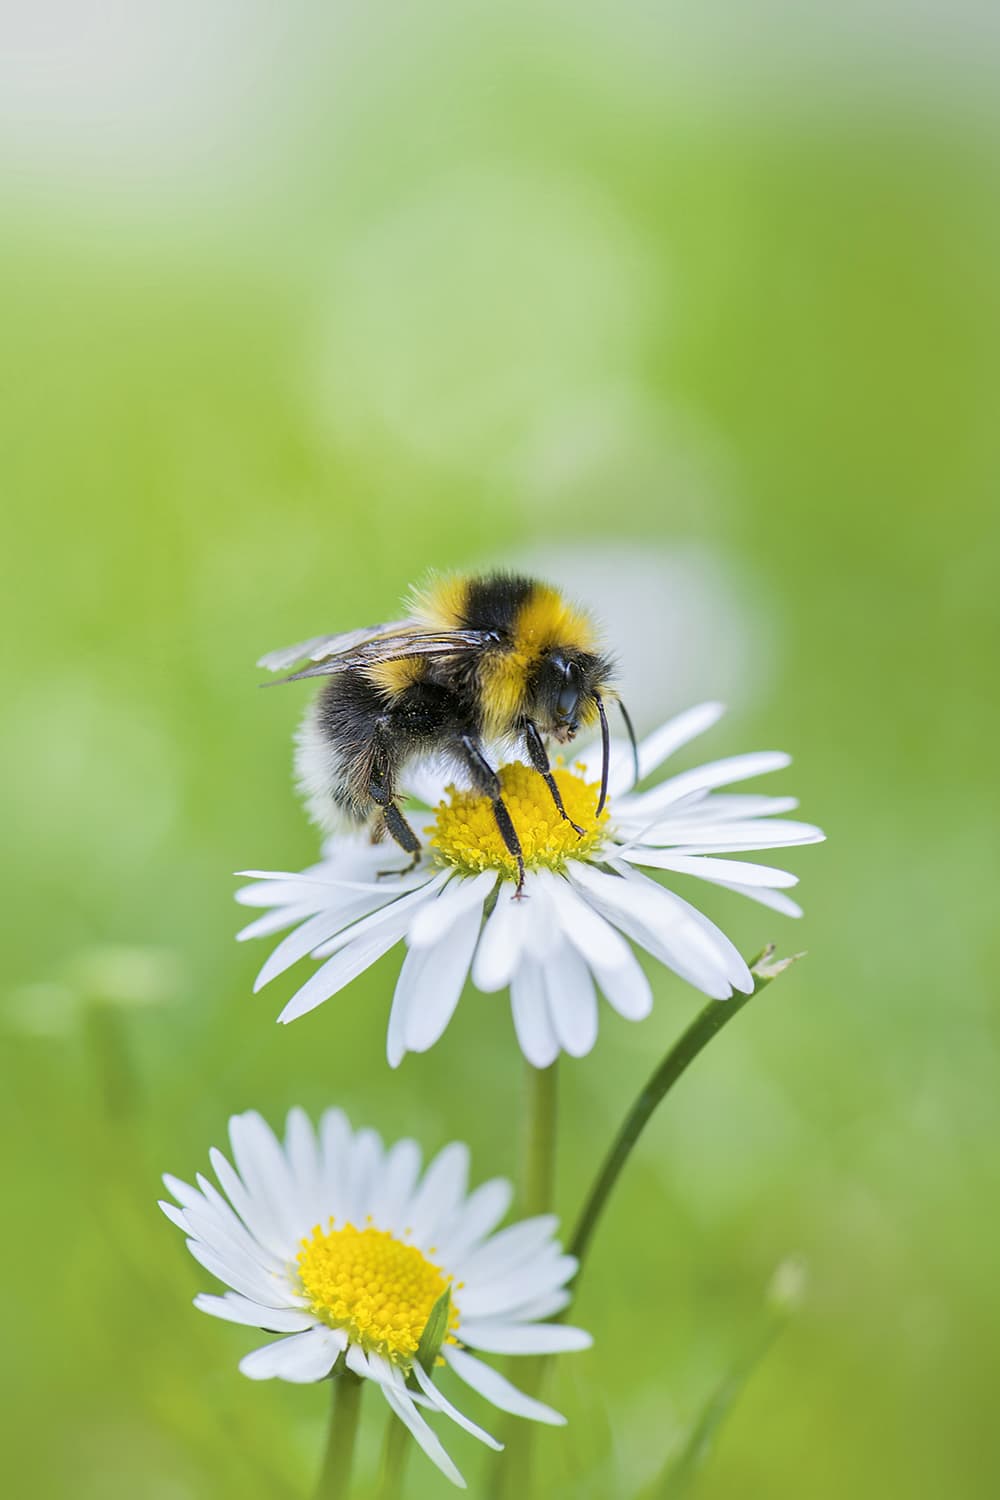
Nothing says ‘spring’ more than an image of a bee alighting on a flower. Nikon D700 with 105mm, 1/100sec @ f/8, ISO 200. All photos by Jacky Parker
Step out of your back door into the garden and you’ll find any number of extraordinary creatures and plants to photograph. As with so many photographic subjects, it pays to rise early, not only because of the light, but also because it’s when many creatures are at their most docile. There really is no excuse to miss out on the wonders of nature.
It never fails to amaze me how much the garden can change overnight. It helps to understand your plants, but basically nearly all flowers attract some form of wildlife. Nectar-rich plants such as buddleia, lavender and verbena are always safe bets, and hemp agrimony will tempt aphid-eating insects such as hoverflies.
The best thing about working in your own garden is knowing you won’t be disturbed, and you can lie among the foliage without the worry of damage to other plants. I head out with my trusty Nikon D700 and 105mm macro lens, and nothing else – apart from a mat to lie on as protection from the damp ground. Ditch the tripod, it really does just get in the way and doesn’t fit under most plants!
I am mainly known for my floral images, but I really appreciate the wonder of so many of the insects that pollinate these flowers. I have often grown and nurtured a flower to photograph, only to find that when it is just about to peak, it’s eaten overnight by some creature. We have to accept this as part of nature, and as a keen gardener, I appreciate and understand the flora and fauna food chain.
Tip 1 – Use a wide aperture
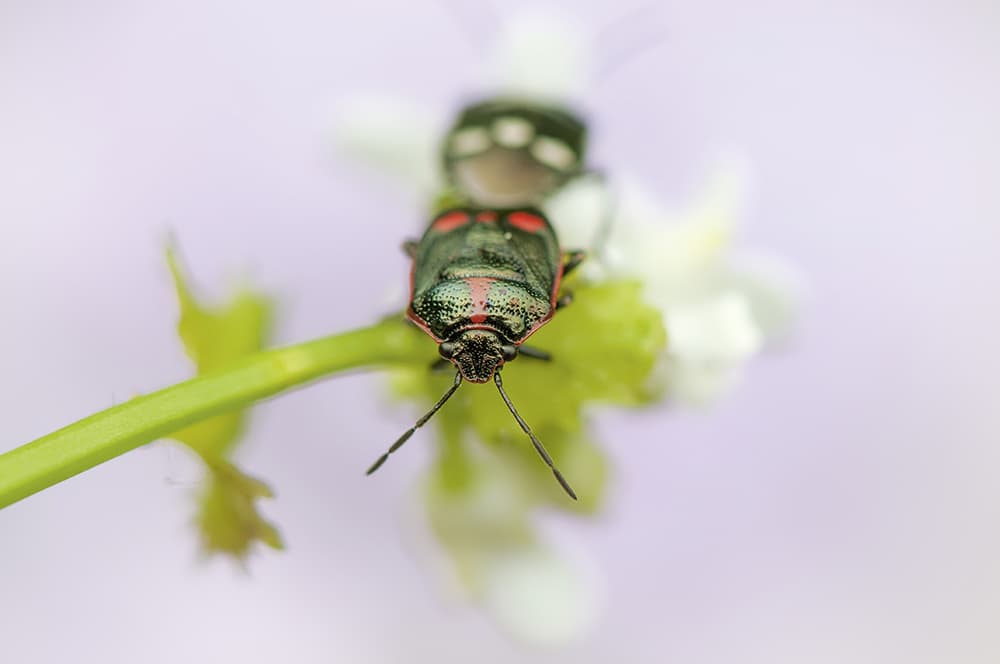
Shoot down at a slight angle to reveal the insect’s shape. Nikon D300 with 105mm, 1/320sec @ f/8, ISO 200
Shield bugs are a nice easy subject to photograph for anybody who’s a newcomer to macro photography. They are probably one of the most common bugs in the garden and not generally considered too much of a pest, and they do come in an amazing range of colours. For the colours to stand out, I find it is best to shoot them on the widest aperture at about a 45 degree angle to isolate the subject.
Tip 2 – Don’t have a garden? No problem
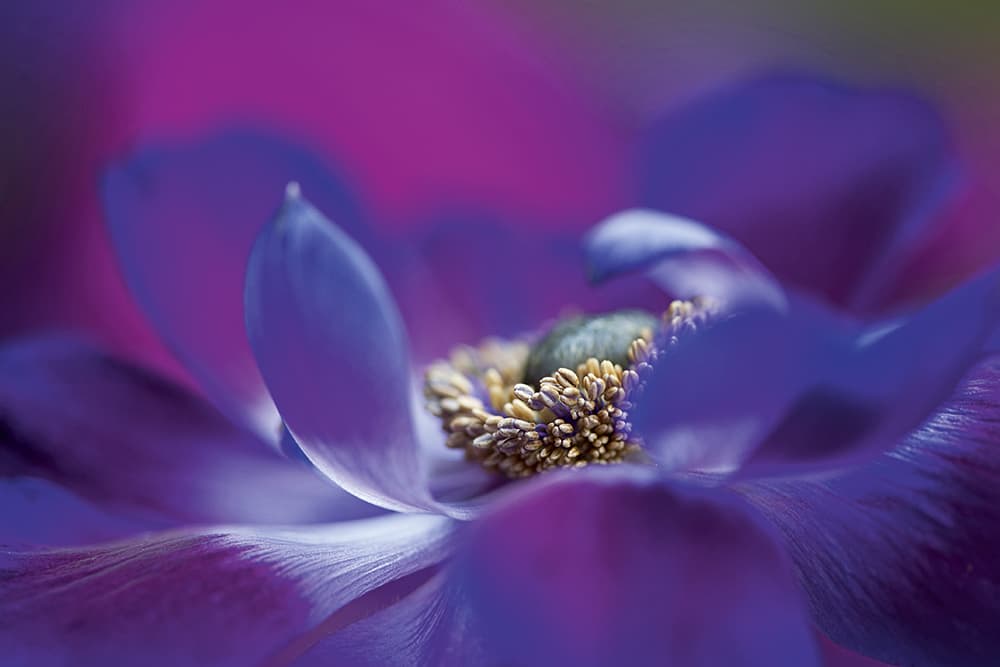
The same type of flower in the background provides a wash of colour. Nikon D700 with 105mm, 1/125sec @ f/5, ISO 250
The Anemone de Caen is a great spring flower and the image was actually taken from a bunch of flowers I purchased from a supermarket. I used a Wimberley Plamp – which attaches to my tripod at one end and grips the flower at the other – and placed the subject outside, with the rest of the flowers in the background to provide a wash of colour. An aperture of f/5 allowed me to focus on the centre of the bloom while everything else in the frame falls away into softness.
Tip 3 – Set up a bird table
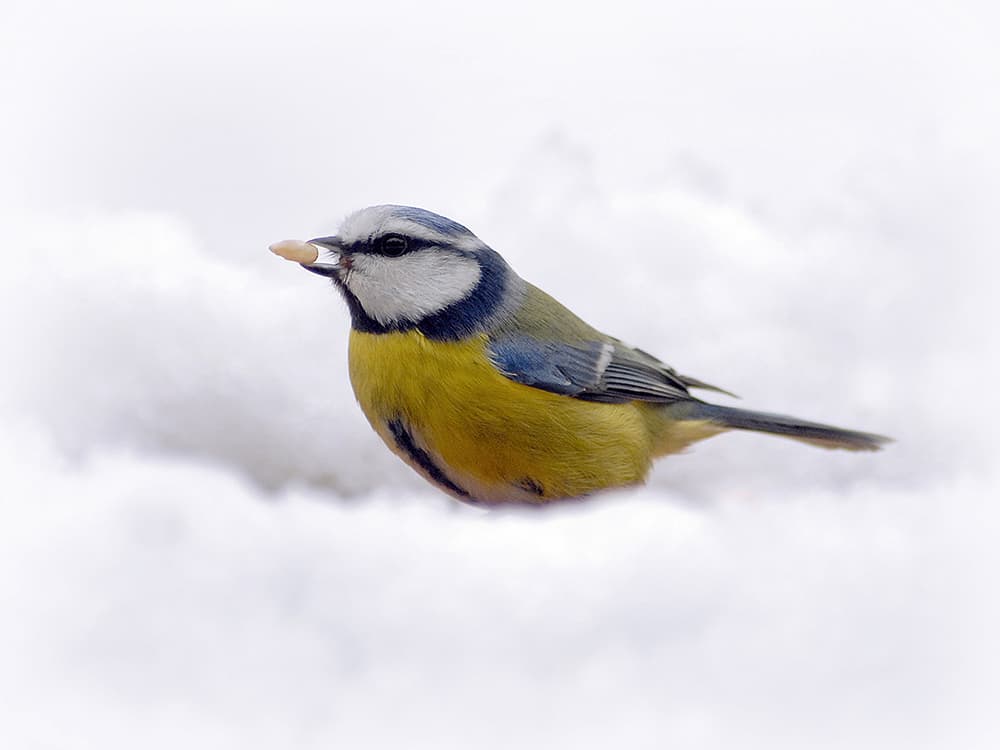
Thanks to careful composition, you would never know this blue tit is on a bird table. Nikon D200 with 300mm, 1/320sec @ f/6.3, ISO 500
If I don’t fancy getting down and dirty, or should the weather be a little suspect, I set up a bird table. I have one just outside my back door with foliage carefully placed in the foreground to hide the table, and twigs for birds to perch on while they pick at the seeds and sunflower hearts. This is the one situation when I do set up my Manfrotto tripod, as I use my 300mm f/2.8 lens from inside the house. As I have a stable-type rear door, so can close the bottom half and sit quietly indoors with the lights off and a cup of coffee and wait.
The first creatures to arrive are generally the grey squirrels, which I consider the advance guard ahead of the more nervous birds. The robin is next to arrive, who appears a lot bolder than other birds. We have four nesting robins in parts of our garden – they are very territorial and always wait for one to leave the bird table before approaching. After the robins come blue tits, nuthatches and hedge sparrows. This is also a good set-up for photographing birds in the snow.
Tip 4 – Lie in wait
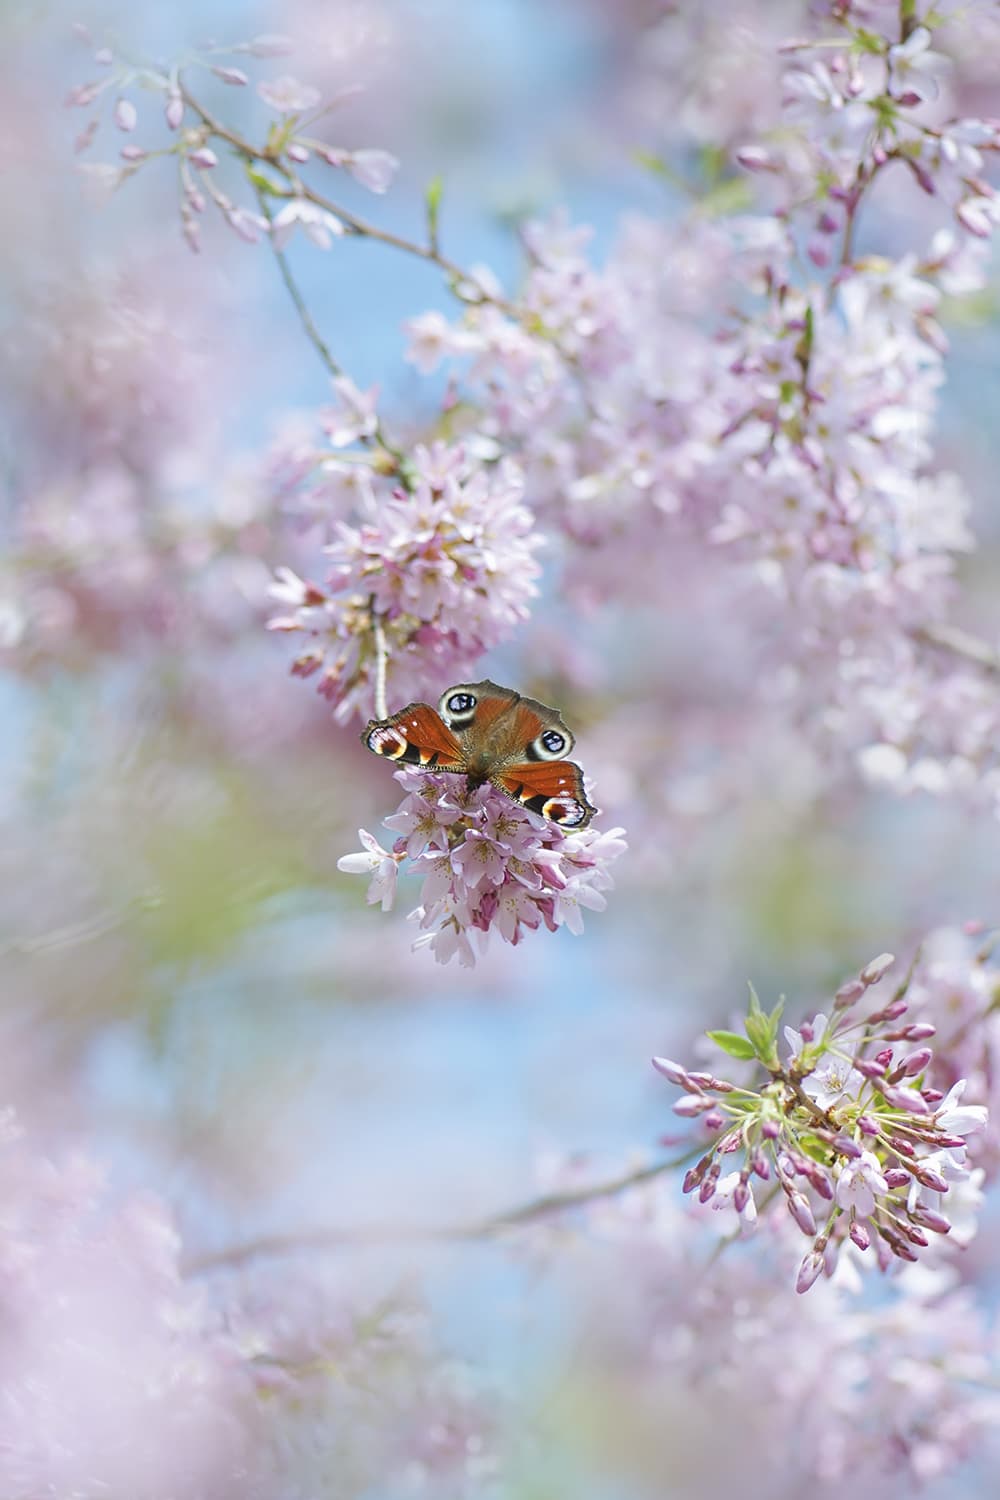
While it can be tempting to fill the frame with the main subject, try stepping back sometimes to include some context. Nikon D700 with 105mm, 1/2000sec @ f/3.5, ISO 200
I never get bored with photographing butterflies in action. I find the best way to snap these creatures is to make myself comfortable by a bush that I know they’ll be attracted to, then wait for them to come to me. Butterflies only have a lifespan of around 28 days and are amazingly nervous creatures. It’s very important to avoid sudden movements or noise, but more importantly, strange as it may seem, I find it best not to make eye contact! Keeping the camera to my eye, I find I am able to approach the butterfly and move around without spooking it. As with the ladybirds, these creatures are best to capture first thing in the morning when their wings are drying out and they are sleepy. Newly emerged young butterflies are also a lot less suspicious. Unfortunately, the one function of my camera I dislike is the shutter, which is a lot noisier than other cameras, and can often spook butterflies.
Tip 5 – Lift up leaves
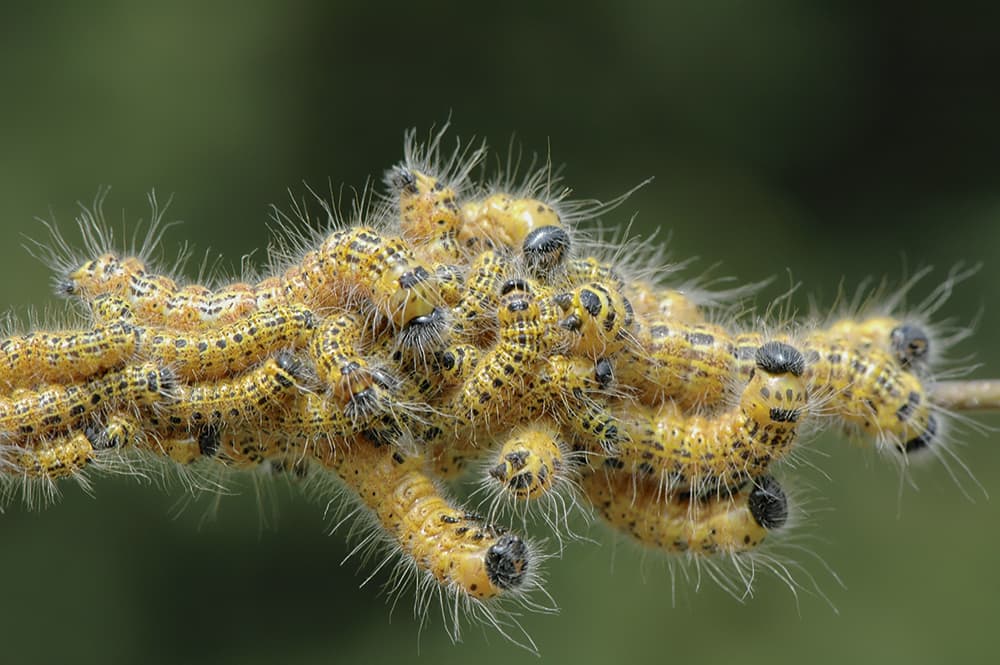
Always look underneath the leaves of any plant you photograph. Another insect considered a pest by some gardeners is the buff-tip moth larva, which appear suddenly overnight. These really do like the leaves from the silver birch tree and can produce a fascinating picture – this one was finalist in the RHS annual photo competition.
Tip 6 – Create a still life
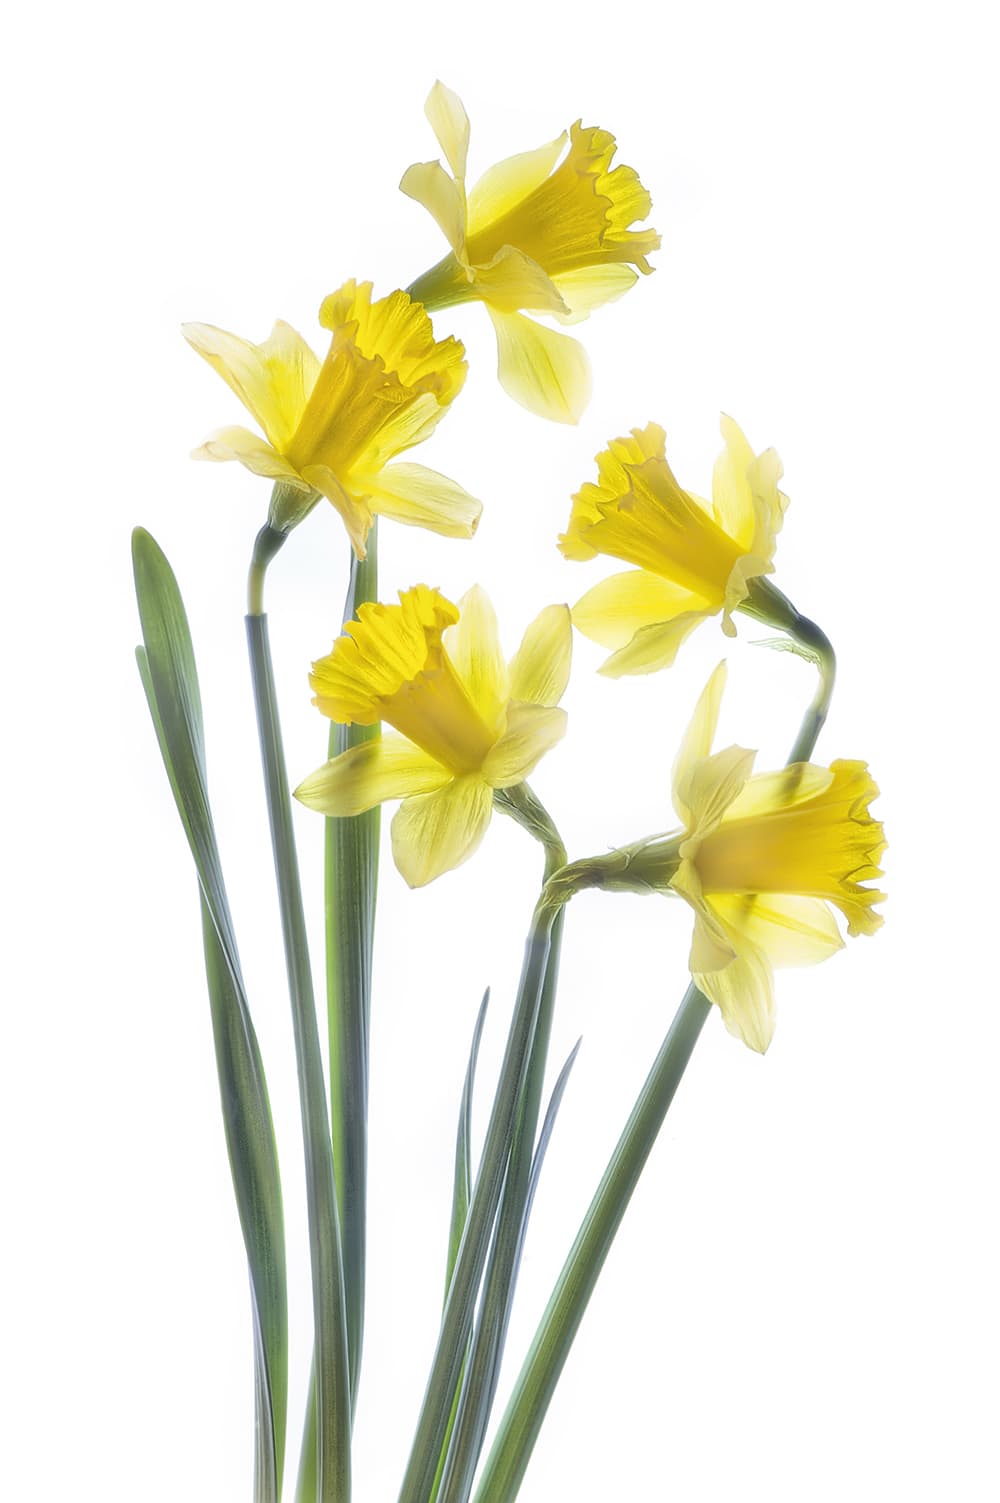
If the weather is poor, simply bring your subject inside and make a more structured still life. I arranged these daffodils on an A3-sized LED LightPad, which is a flat-surfaced lightbox. The lightbox was placed by a window to make the most of the natural light. This helped to balance out the light sources, while keeping the effect of translucence from the lightbox. When using a plain background, consider the spaces between the subject (the negative space) as well as the shapes created by the flowers.
Tip 7 – Peg back any intrusive twigs
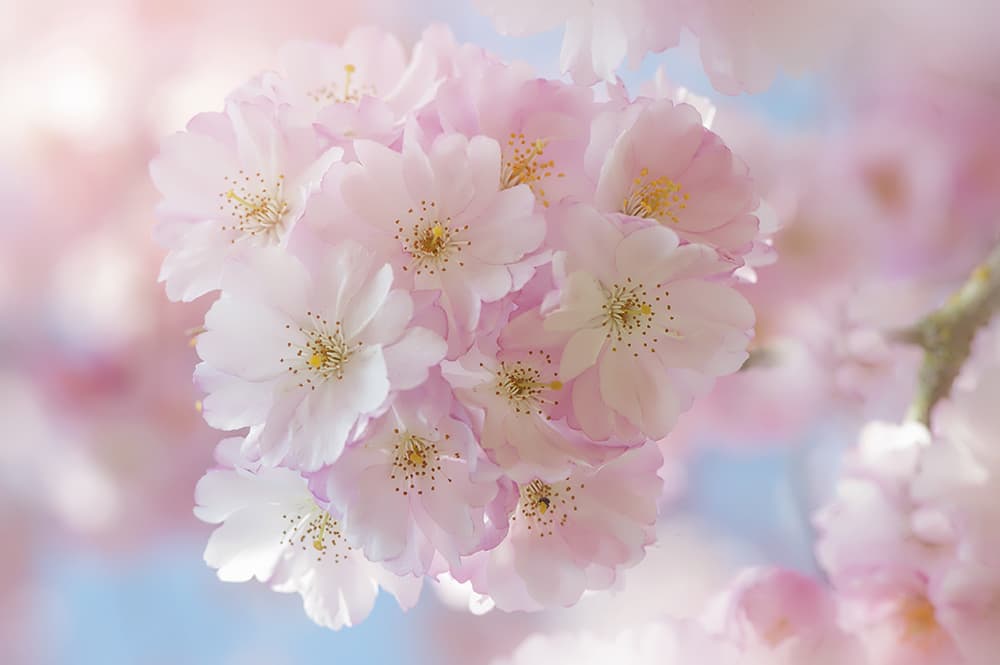
Make sure everything you include in the frame has a place. If it doesn’t, you can pin it out of the way. Nikon D700 with 105mm, 1/100sec @ f/8, ISO 100
This is the perfect time of year to photograph the wonderful cherry blossom. Get in among the branches and shoot through the blossom to create foreground blur, then move any branches that are in the way and secure them using a clothes peg. Use a wide aperture to isolate the subject.
Tip 8 – Approach with caution
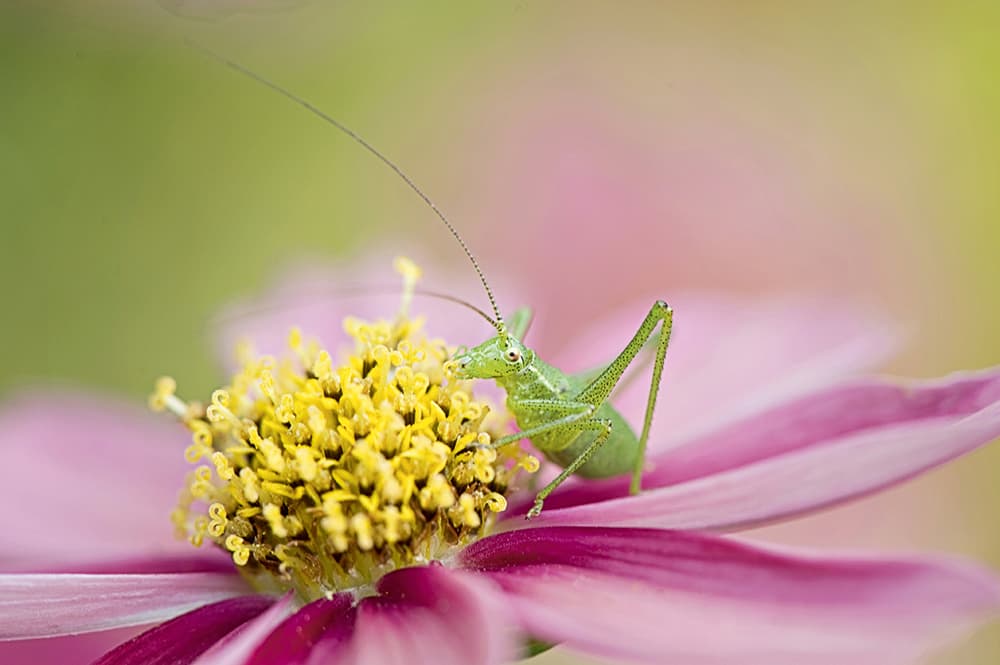
Another insect that is reasonably easy to photograph is the speckled bush-cricket. Although these are flightless insects, they are prone to jumping without warning, so it is best to approach cautiously and carefully. They are found resting on flowers and foliage between May and October.
Tip 9 – Shoot at different times of day
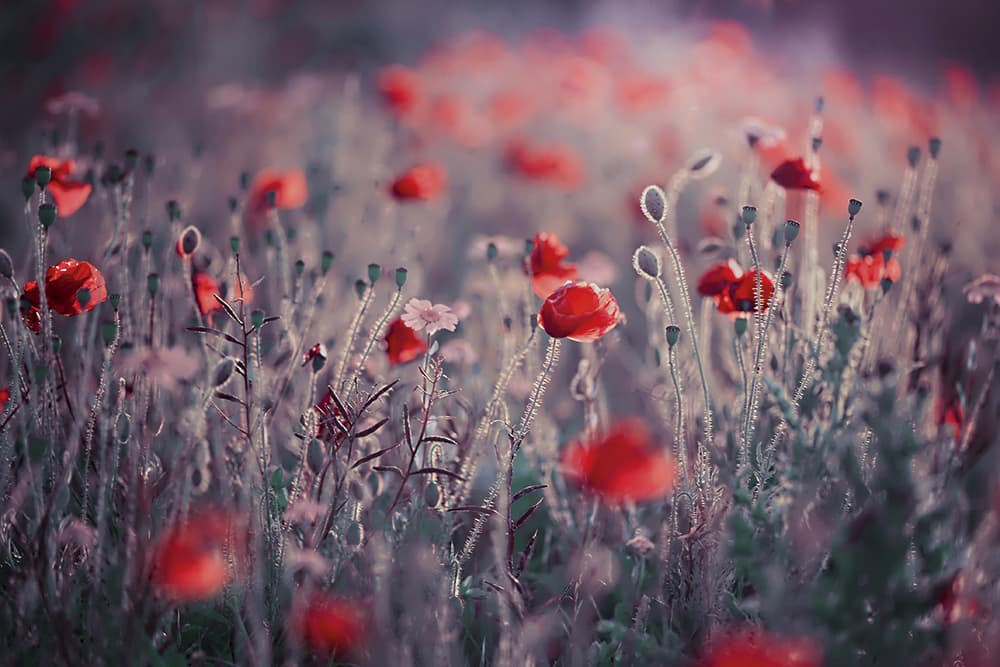
Low light gives an outline to the soft shapes of these tulips. Nikon D700 with 105mm, 1/640sec @ f/3, ISO 250
Nothing says summer more than a drift of poppies. I can happily spend the best part of a day photographing these flowers, studying them as the quality of light alters how they look. At midday, their vibrant red colour is what stands out, while at dusk the low light enhances the translucence of the petals and stems. As with so many nature subjects, the wide aperture is your friend, allowing you to lead the viewer into your image and creating a soft, painterly, impressionistic result.
Tip 10 – Play with artificial light
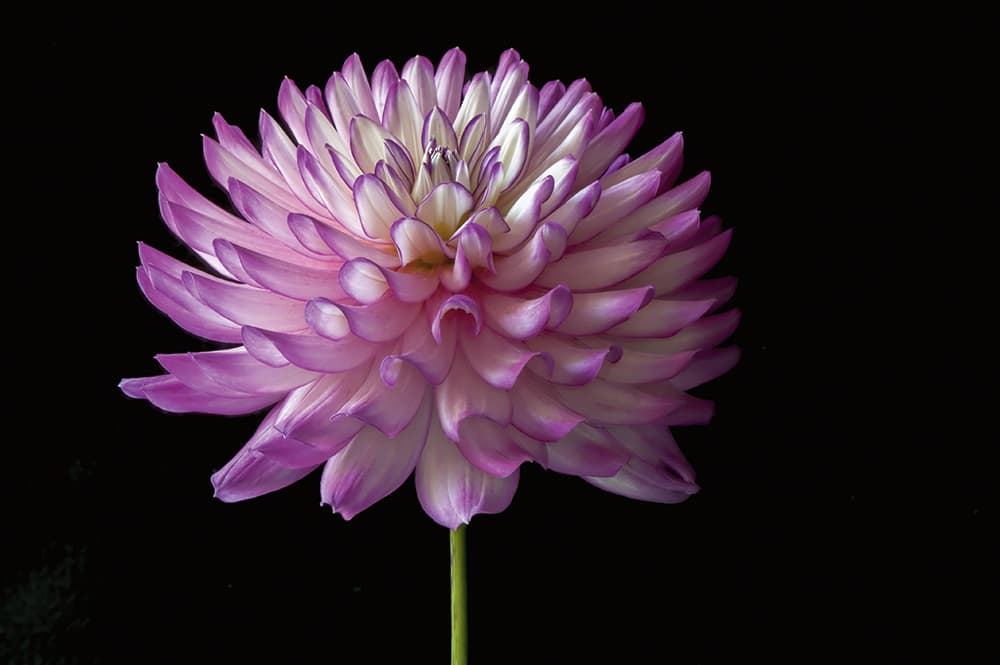
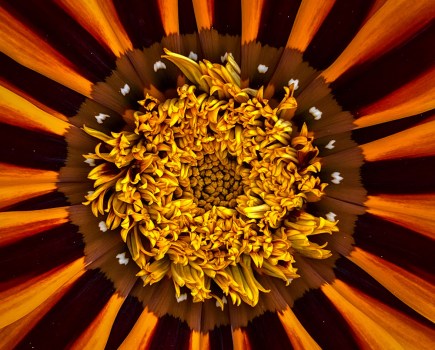
This dahlia was photographed indoors against a piece of black felt using a Sigma ring flash. A ring flash is a circular shape and fits around your lens, creating a soft, even wash of light in set-ups where standard flashguns would cast a shadow on your subject. Some ring flashes can be triggered wirelessly from the camera’s pop-up flash, which is a useful tool. As is often the case with my still-life images, I used the Wimberley Plamp to place the subject exactly where I wanted it.
Tip 11 – Even pests are your friends
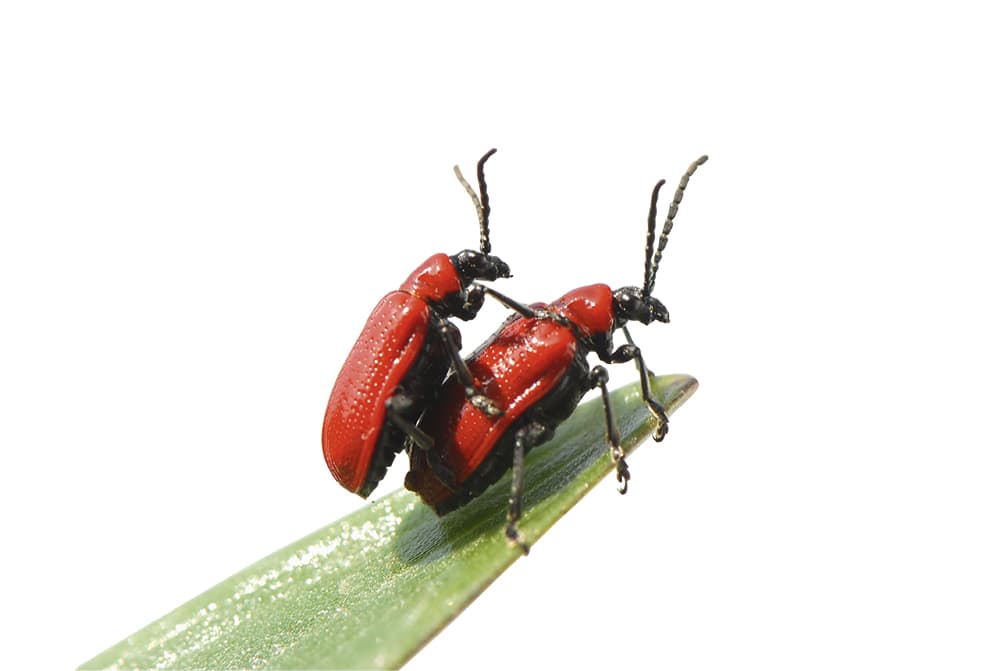
The lily beetle is generally regarded as a garden pest, but they can produce some funny pictures. They appear to have a very active sex life, which is why they are also known as bonking bugs. Adults emerge very early in the season and are often found munching on the new stems and foliage of fritillaries, for example, before attacking the lilies. Before attempting to eradicate them, spend a couple of days photographing these cartoon-like creatures – you won’t be disappointed.
Tip 12 – Pre-focus your lens
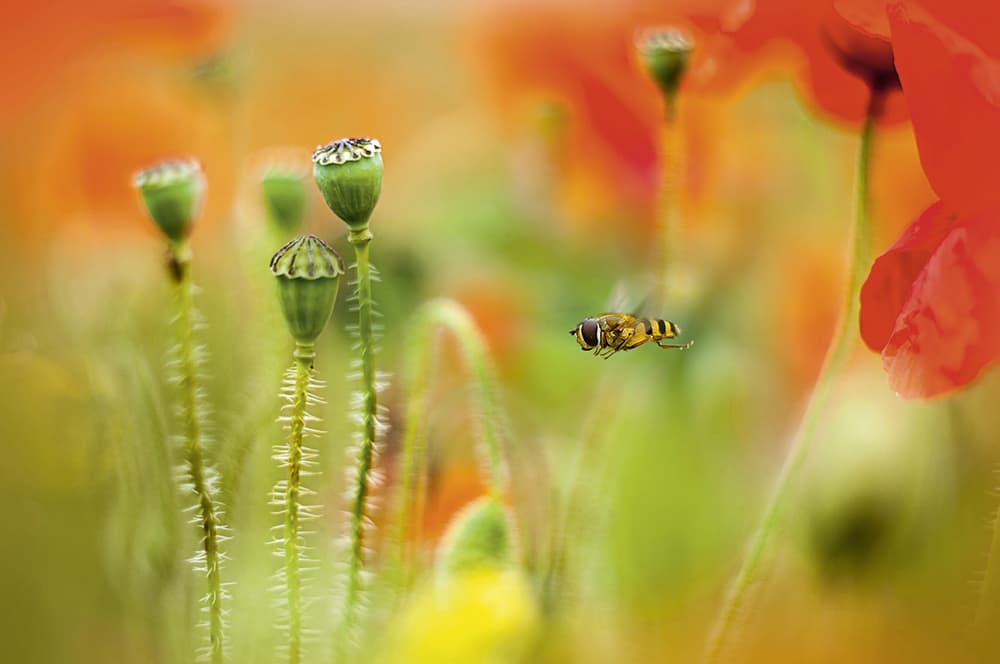
Set the focus, then wait until your subject flies into the frame. Nikon D300 with 105mm, 1/1250sec, ISO 100
Insects such as hoverflies and bees are generally a lot faster than many other insects, but again the principles for photographing them are the same. Make yourself comfortable among some nectar-rich flowers and wait. Because they move so fast, I generally pre-focus on an area such as a flower, set a fast shutter speed on shutter priority mode to freeze the motion, and wait for the creature to come to me.
Tip 13 – Provide a perch
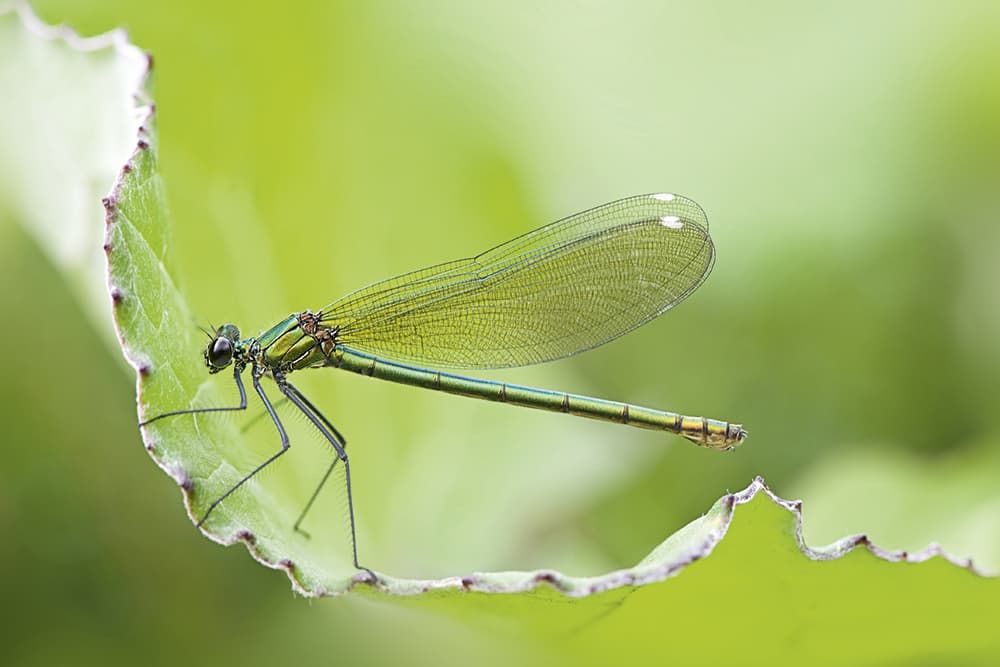
The curve of the leaf edge plays as important a role in this composition as the insect itself. Nikon D700 with 105mm, 1/100sec @ f/8, ISO 250
We have a small pond in our garden, which attracts a few dragonflies most years. These really are the most unpredictable and frustrating creatures to photograph. They do like the sunny weather to warm their bodies and dry their wings. I have found that by setting up a few sticks around my pond at 45 degrees for them to perch, I can then sit very still among them with my 105mm macro and just wait very, very patiently.
Tip 14 – Get to know your ladybirds
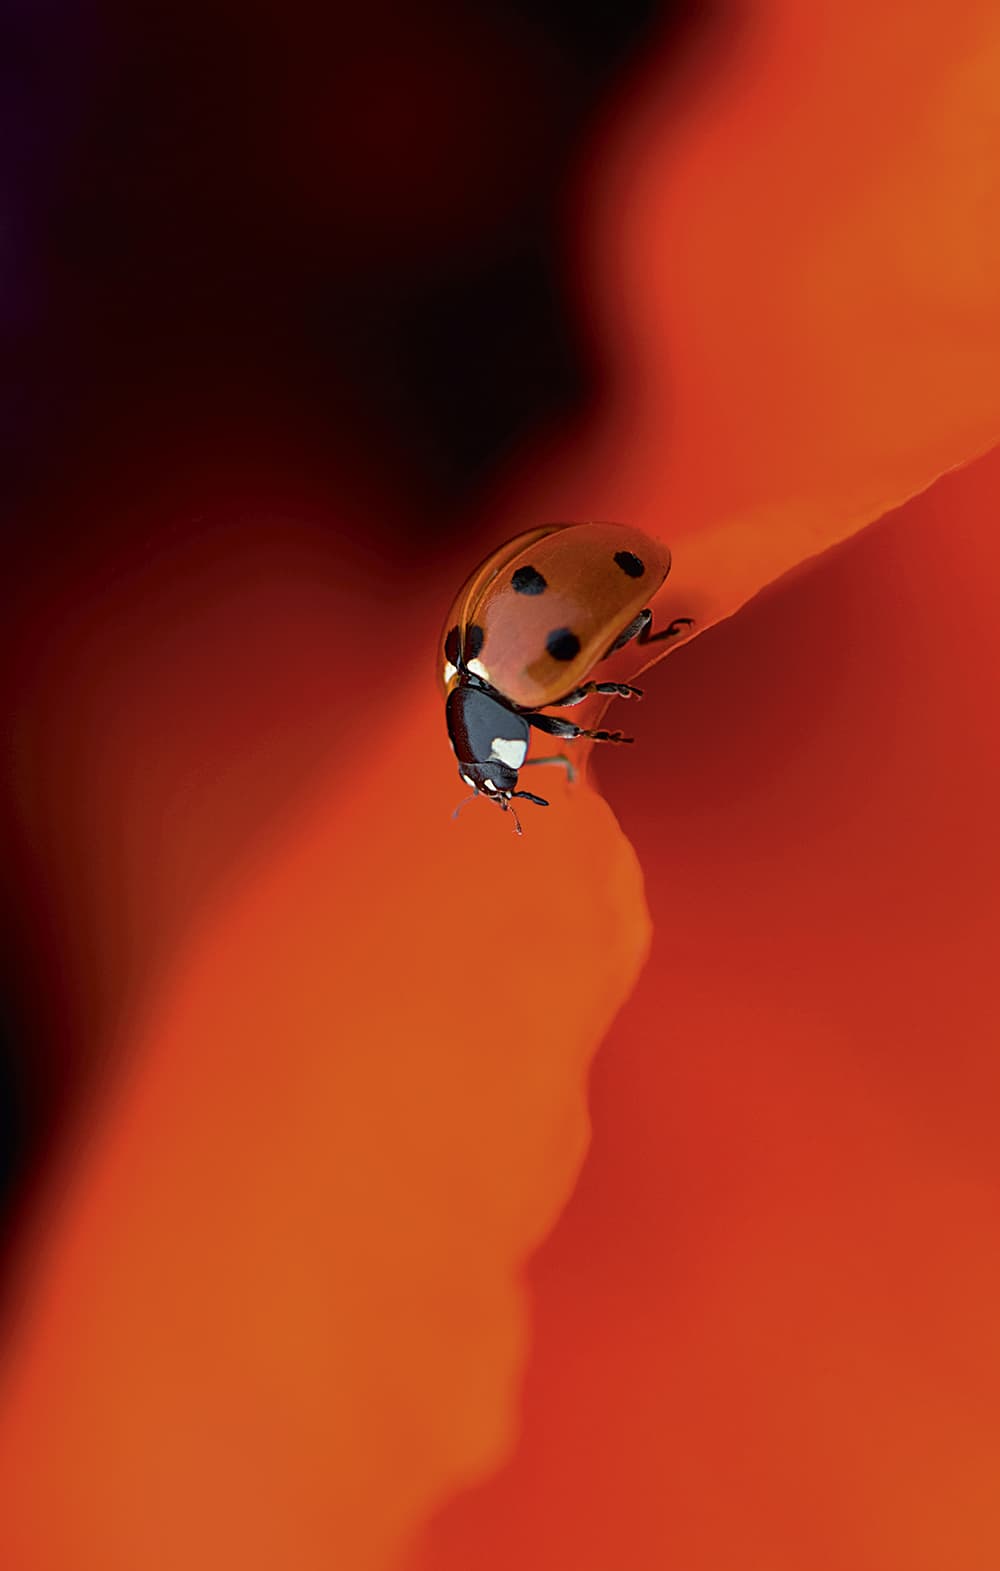
Consider placing similarly coloured subjects together, filling the frame with a single eye-catching tone. Nikon D300 with 105mm, 1/500sec @ f/5.6, ISO 200
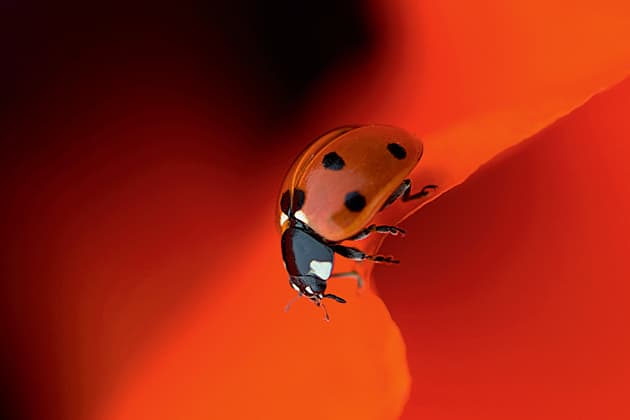
Ladybirds are one of my favourite insects to photograph, as generally they are so obliging. It is best to capture them in the morning, when they are still a bit dopey. The native seven-spot ladybird is usually far more co-operative than the harlequin, which moves a lot quicker. First thing, they are waking and warming up in the sunshine, drying off their wings. With a little coaxing and the aid of a small stick or leaf, it is possible to move them to another plant. However, it is not always necessary to seek contrasting colours. While a bright red ladybird on a yellow daffodil will definitely look pretty, one of my favourite pictures I have taken is of a ladybird on a red flower, which the computer firm Apple used in one of their advertising campaigns. Ladybirds have a lifespan of one or two years, and by the end of the summer I have come to know which ones are more co-operative.

