
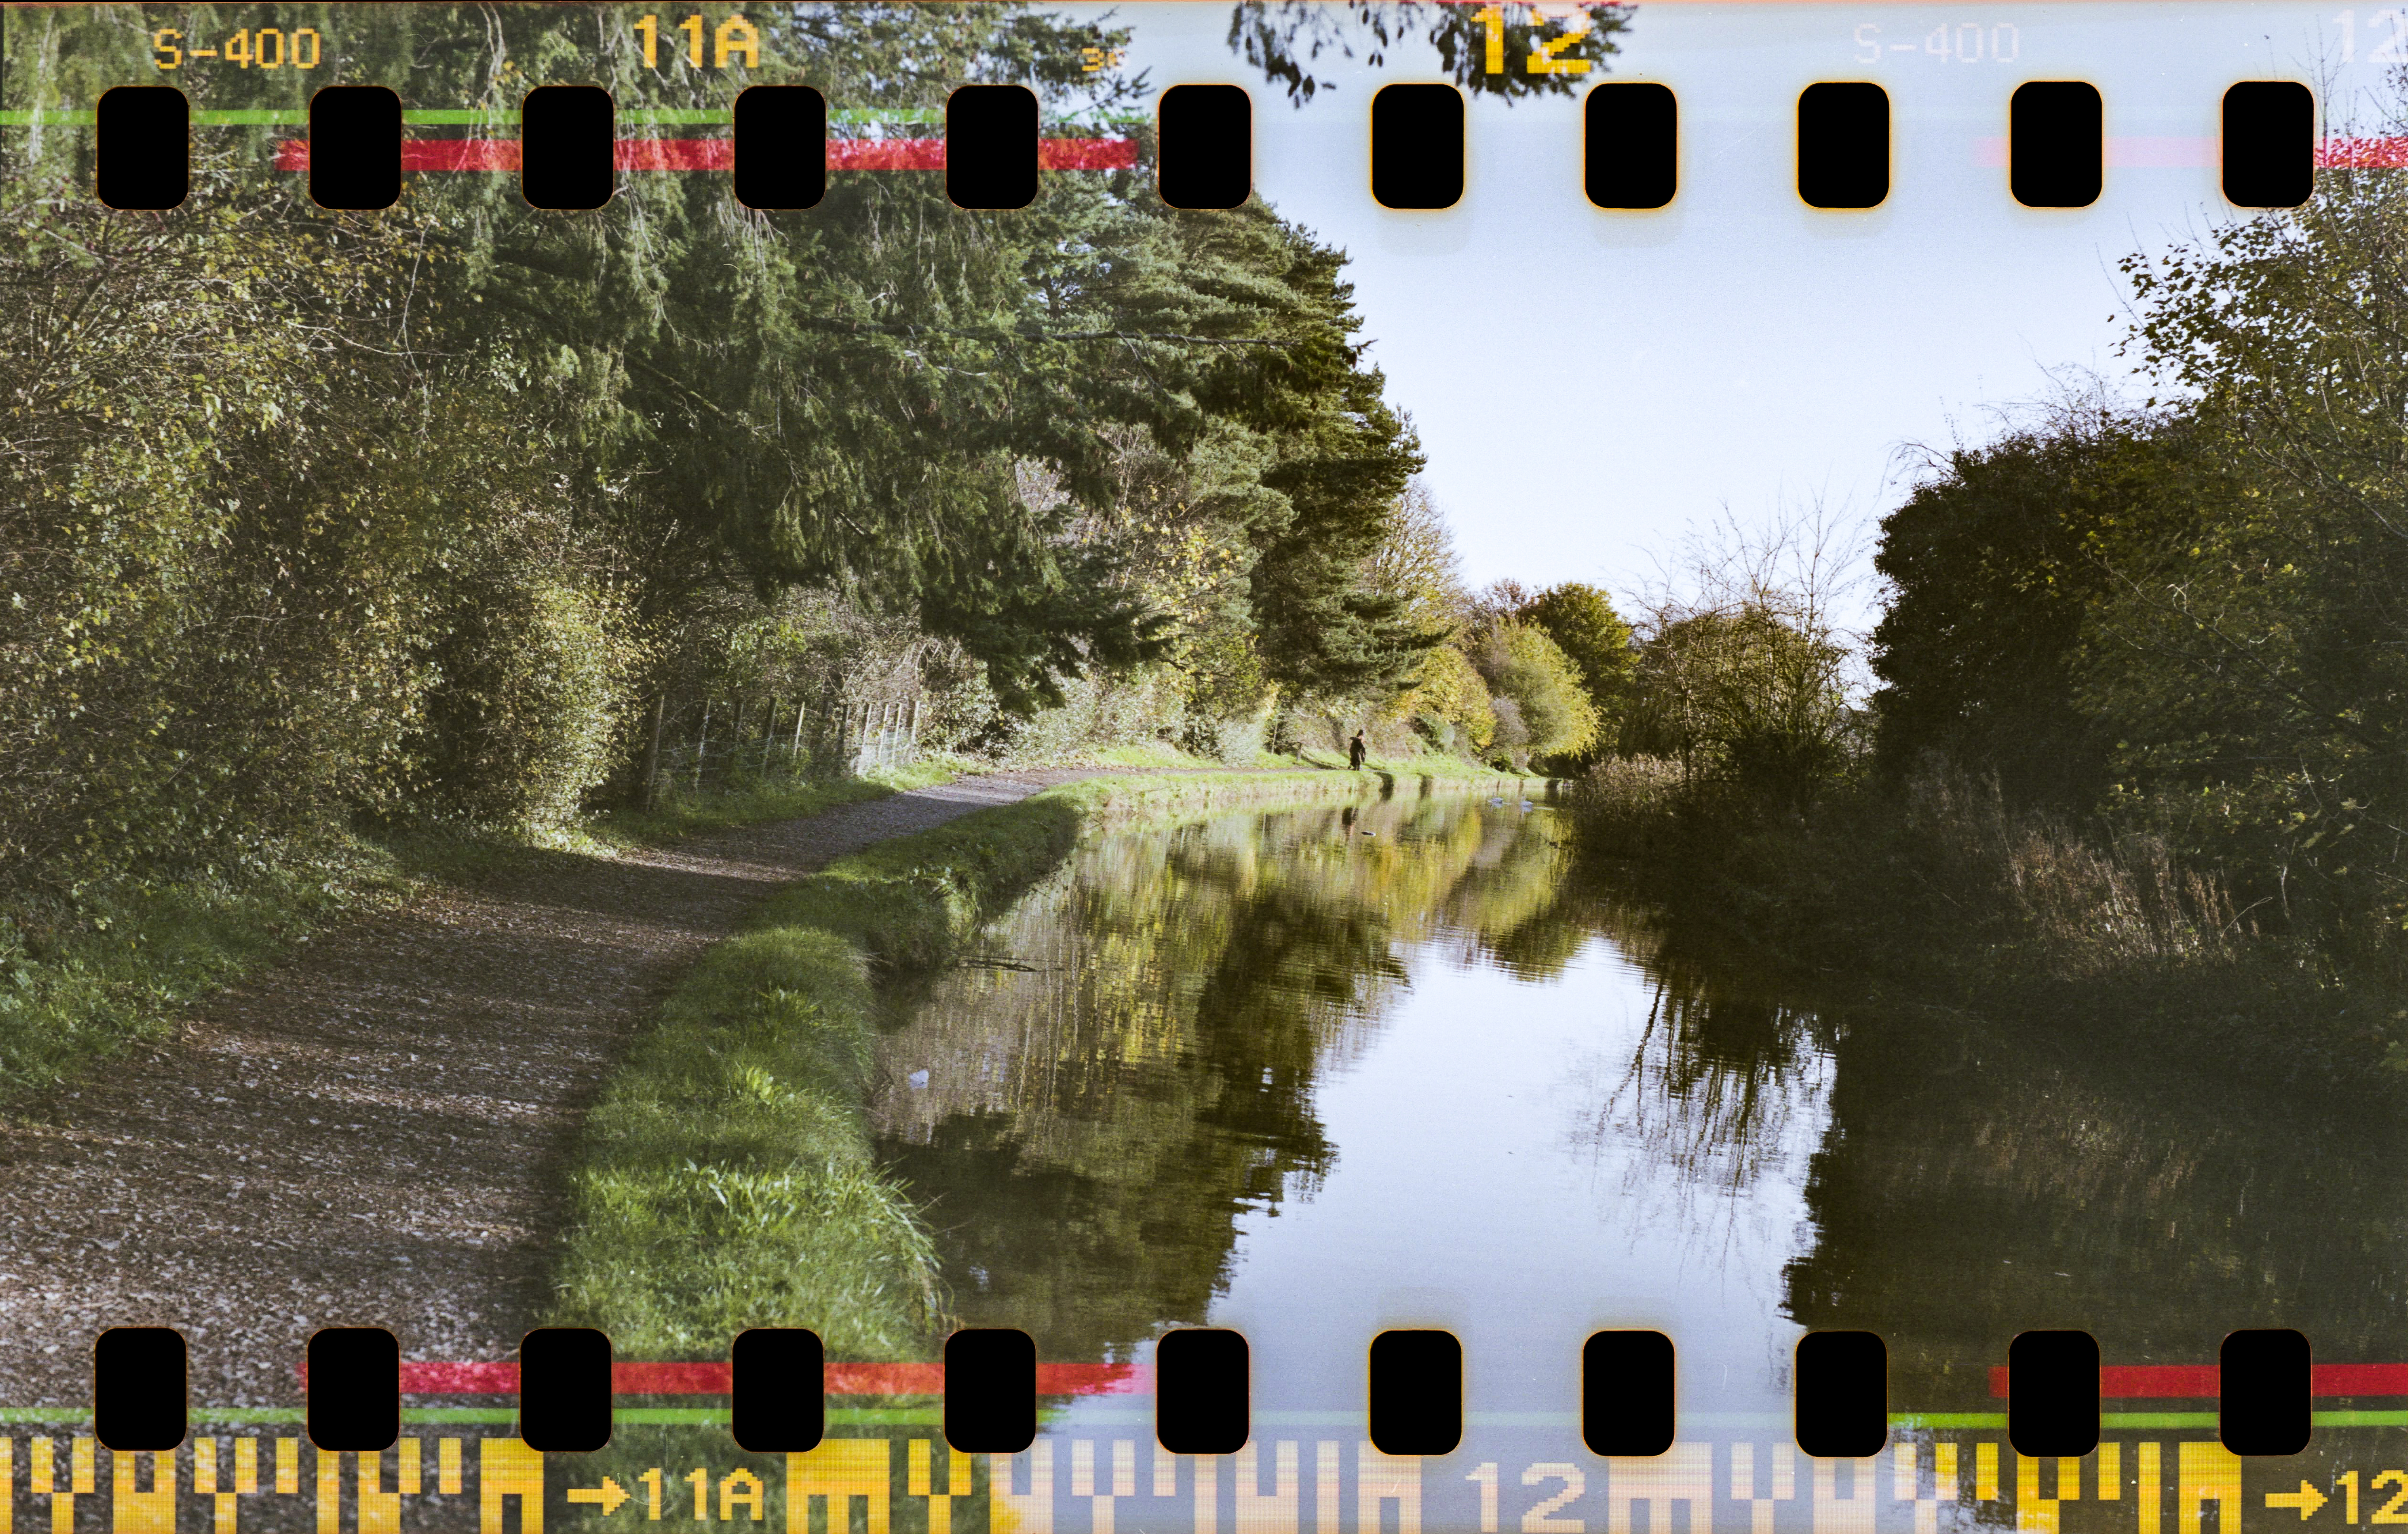
With the growing trend of rebate borders in film images being very much part of the scene, also on the increase are images where the scene or subject overlays the entire sprocket area to create cool-looking panoramic images. These are not created using Photoshop wizardry but are in fact a simple and fun thing to do in camera with nothing more than a couple of pieces of plastic.
Which cameras can be used for sprocket photography?
Aside from a few exceptions, most 35mm film cameras utilise a standard 24x36mm, 3:2 ratio frame and, unless you bulk load your own cassettes, you will usually have either 24 or 36 of these on each roll. What this unfortunately means is that it is not possible to expose the border area of 35mm film using a 35mm camera, unless you use Lomo’s Sprocket Rocket 35mm camera which has a fixed-focus, wide angle 30mm lens creating a 3:1 ratio panoramic image that includes the rebate border
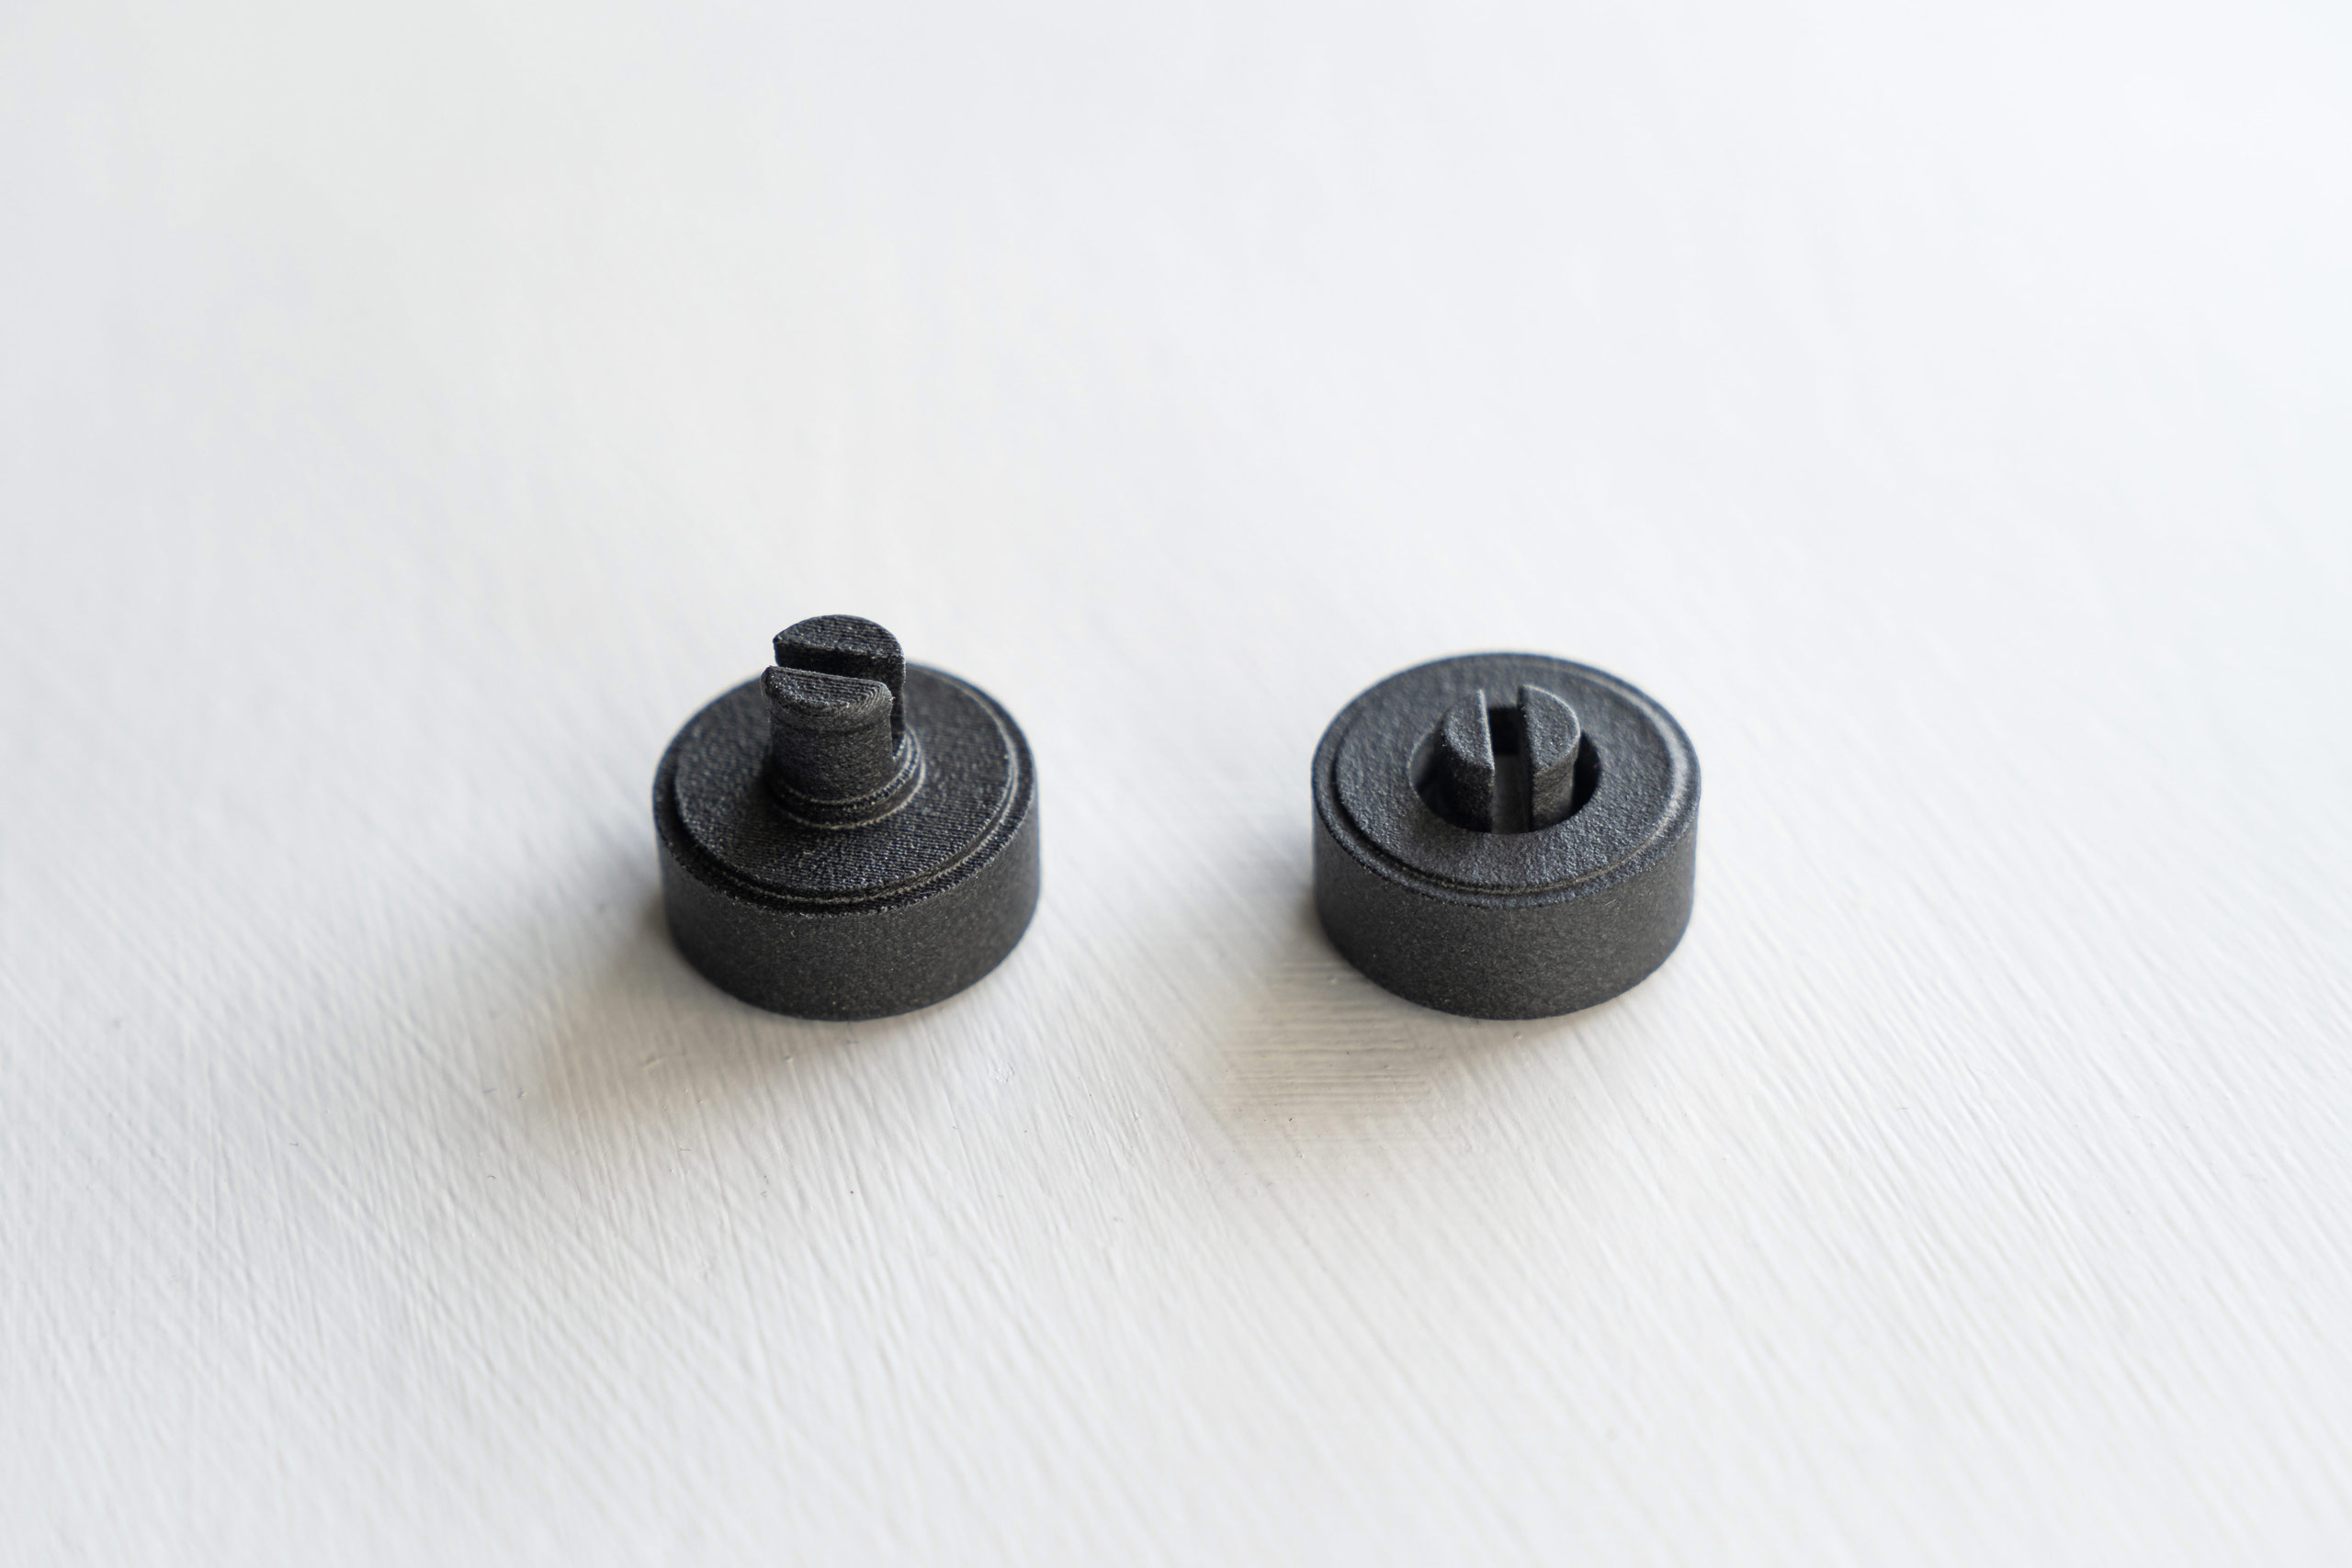
However, for anyone who owns a medium format film camera, there is a simple and cost-effective way to shoot sprockets using 3D-printed 35mm to 120 adapters.
Shooting sprockets – How do the adaptors work?
It is worth pointing out that medium format cameras differ considerably, and this may impact how these adapters work with your particular model including the size and number of images you are able to capture. However, the principle will likely remain the same (summarised in the step-by-step guide in this article).
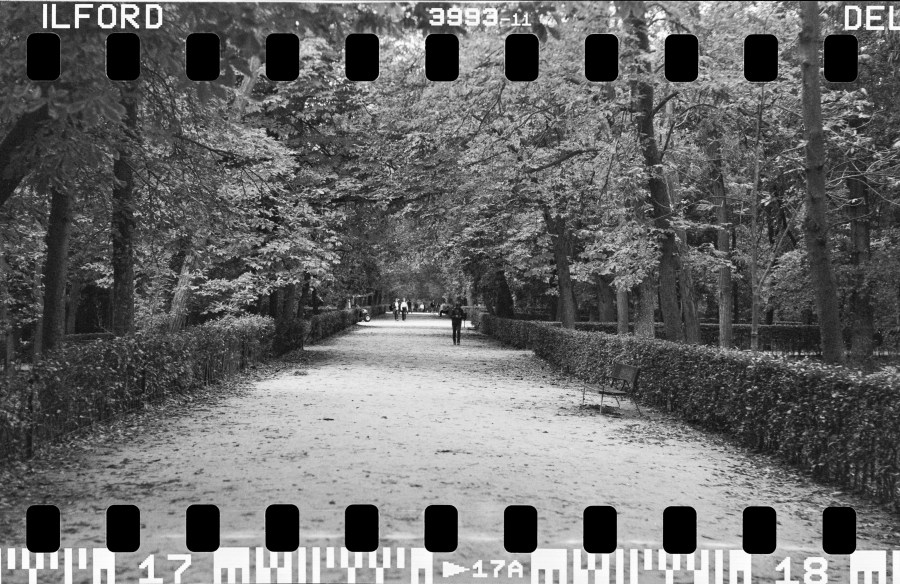
Wonky verticals: Pay extra attention when shooting scenes with vertical and horizontal lines as you cannot straighten these in post due to the inclusion of the sprockets. Photo credit: Matt Perry
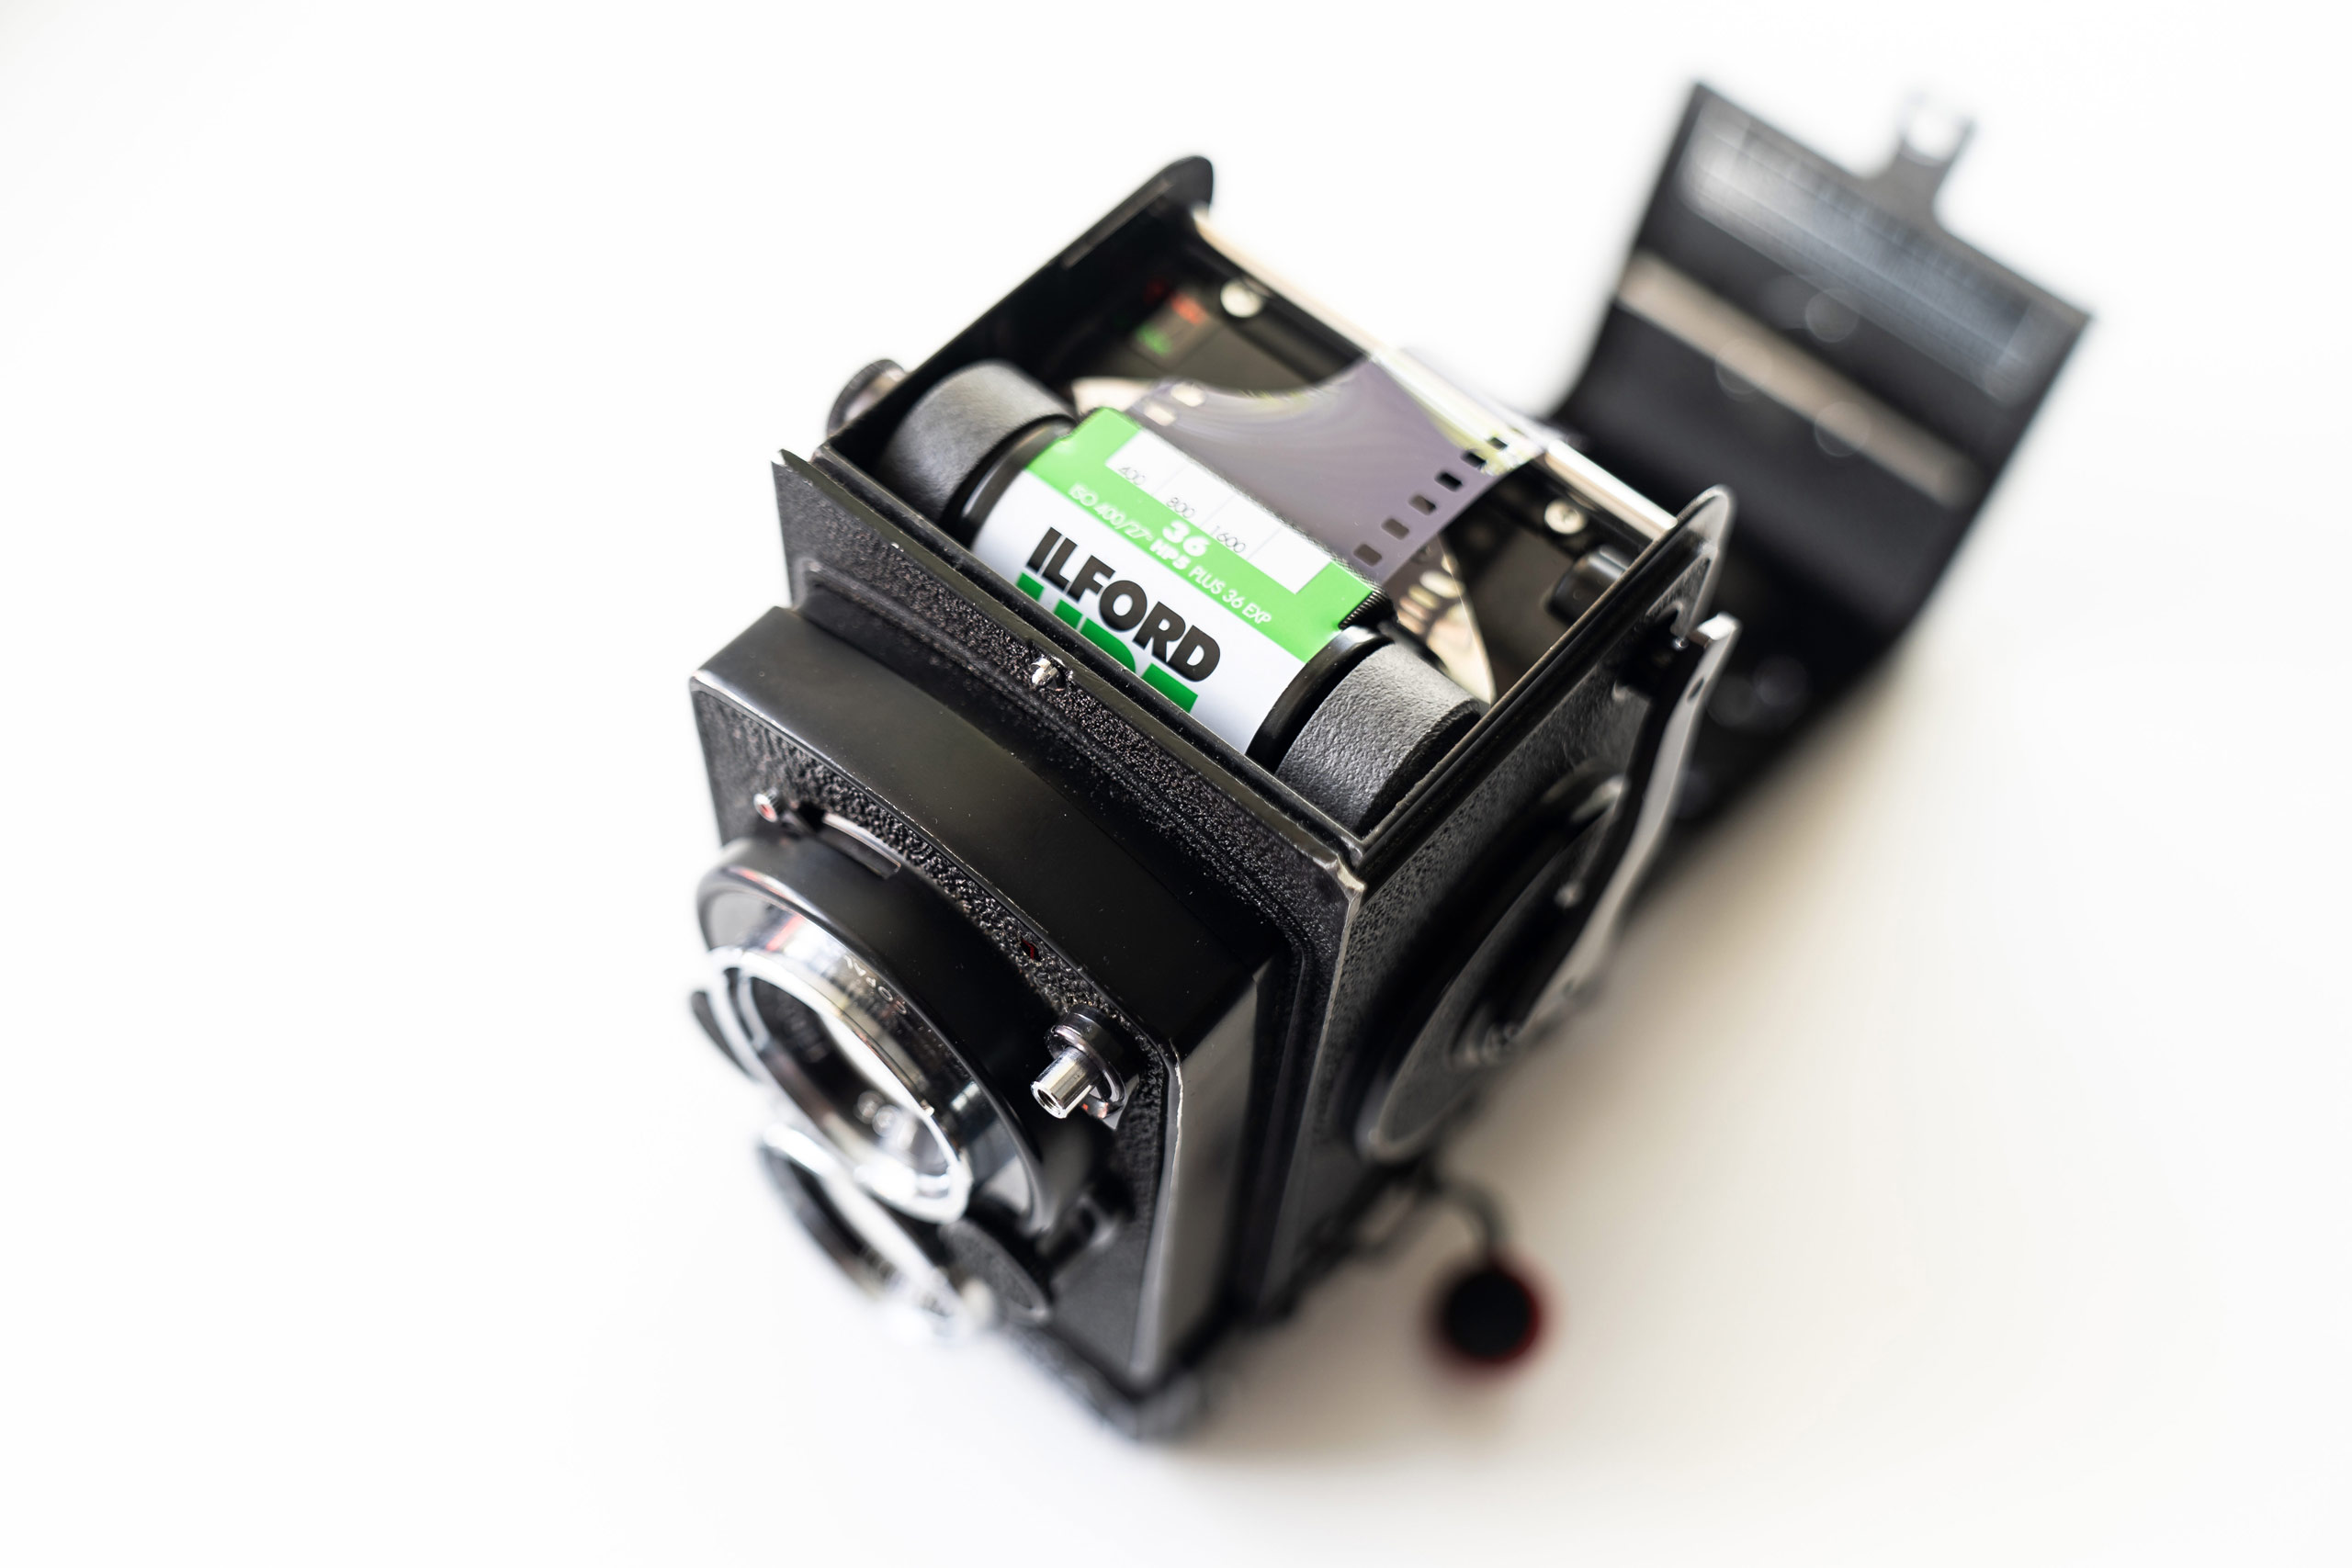
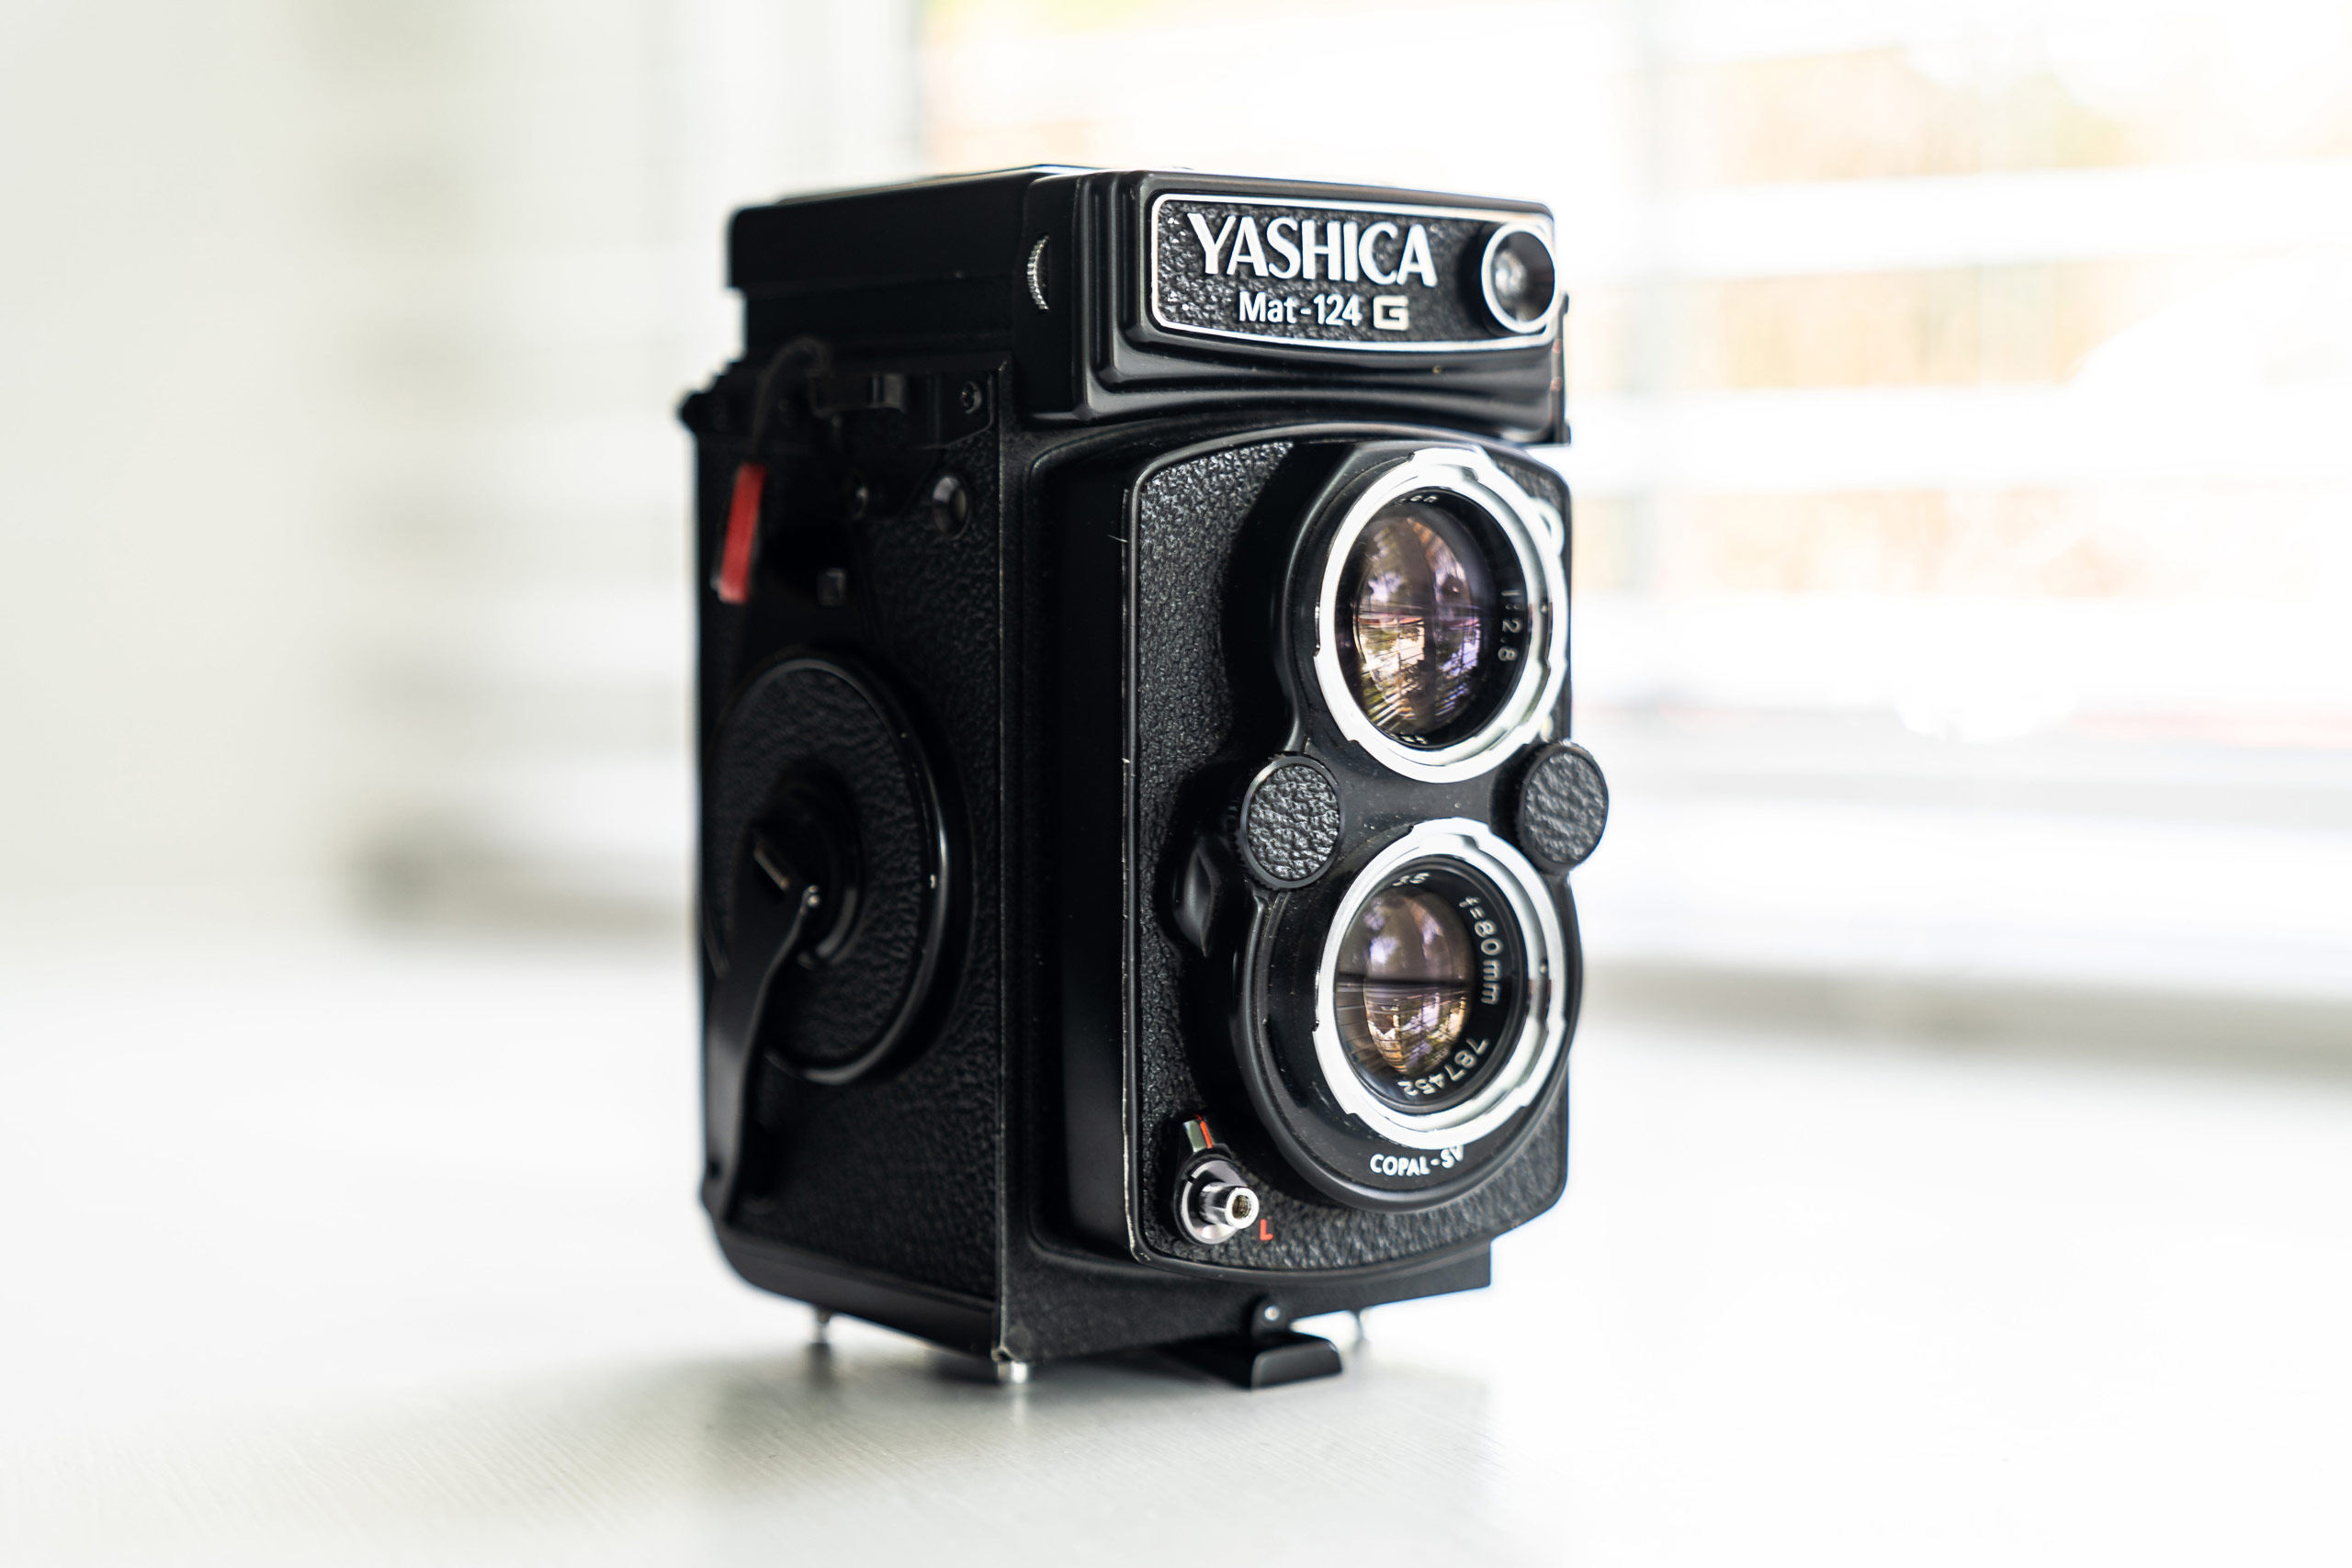
I tested these adapters in my Yashica Mat 124G, a wonderful and still relatively affordable TLR (Twin Lens Reflex) which captures twelve 6×6 images on 120 film. Rolleiflexs, Rolleicords, and other similar-style TLR models should work the same. As TLRs expose an area of film covering almost the full 60mm width of 120 film, and because film emulsions always run edge to edge, when using film that is only 35mm wide, its entirety will be exposed thereby overlaying its border and sprockets.
Maximising your exposures
Running an old or expired roll of 35mm film through your camera will first test if it is possible as well as the mechanics of loading and advancing the film, how many frames you can expect, and how to retrieve the film once exposed. However, rather than any hard or fast rules, the key to maximising how many exposures you can capture per roll will undoubtedly require some trial and error on your behalf.
Despite being much stiffer to operate, my Yashica’s film advance functioned as if it was loaded with 120 film and allowed me to take the customary 12 shots, despite the longer length of a 36exp roll. It also left over 20cm of unexposed, and therefore wasted film before the first frame appeared.

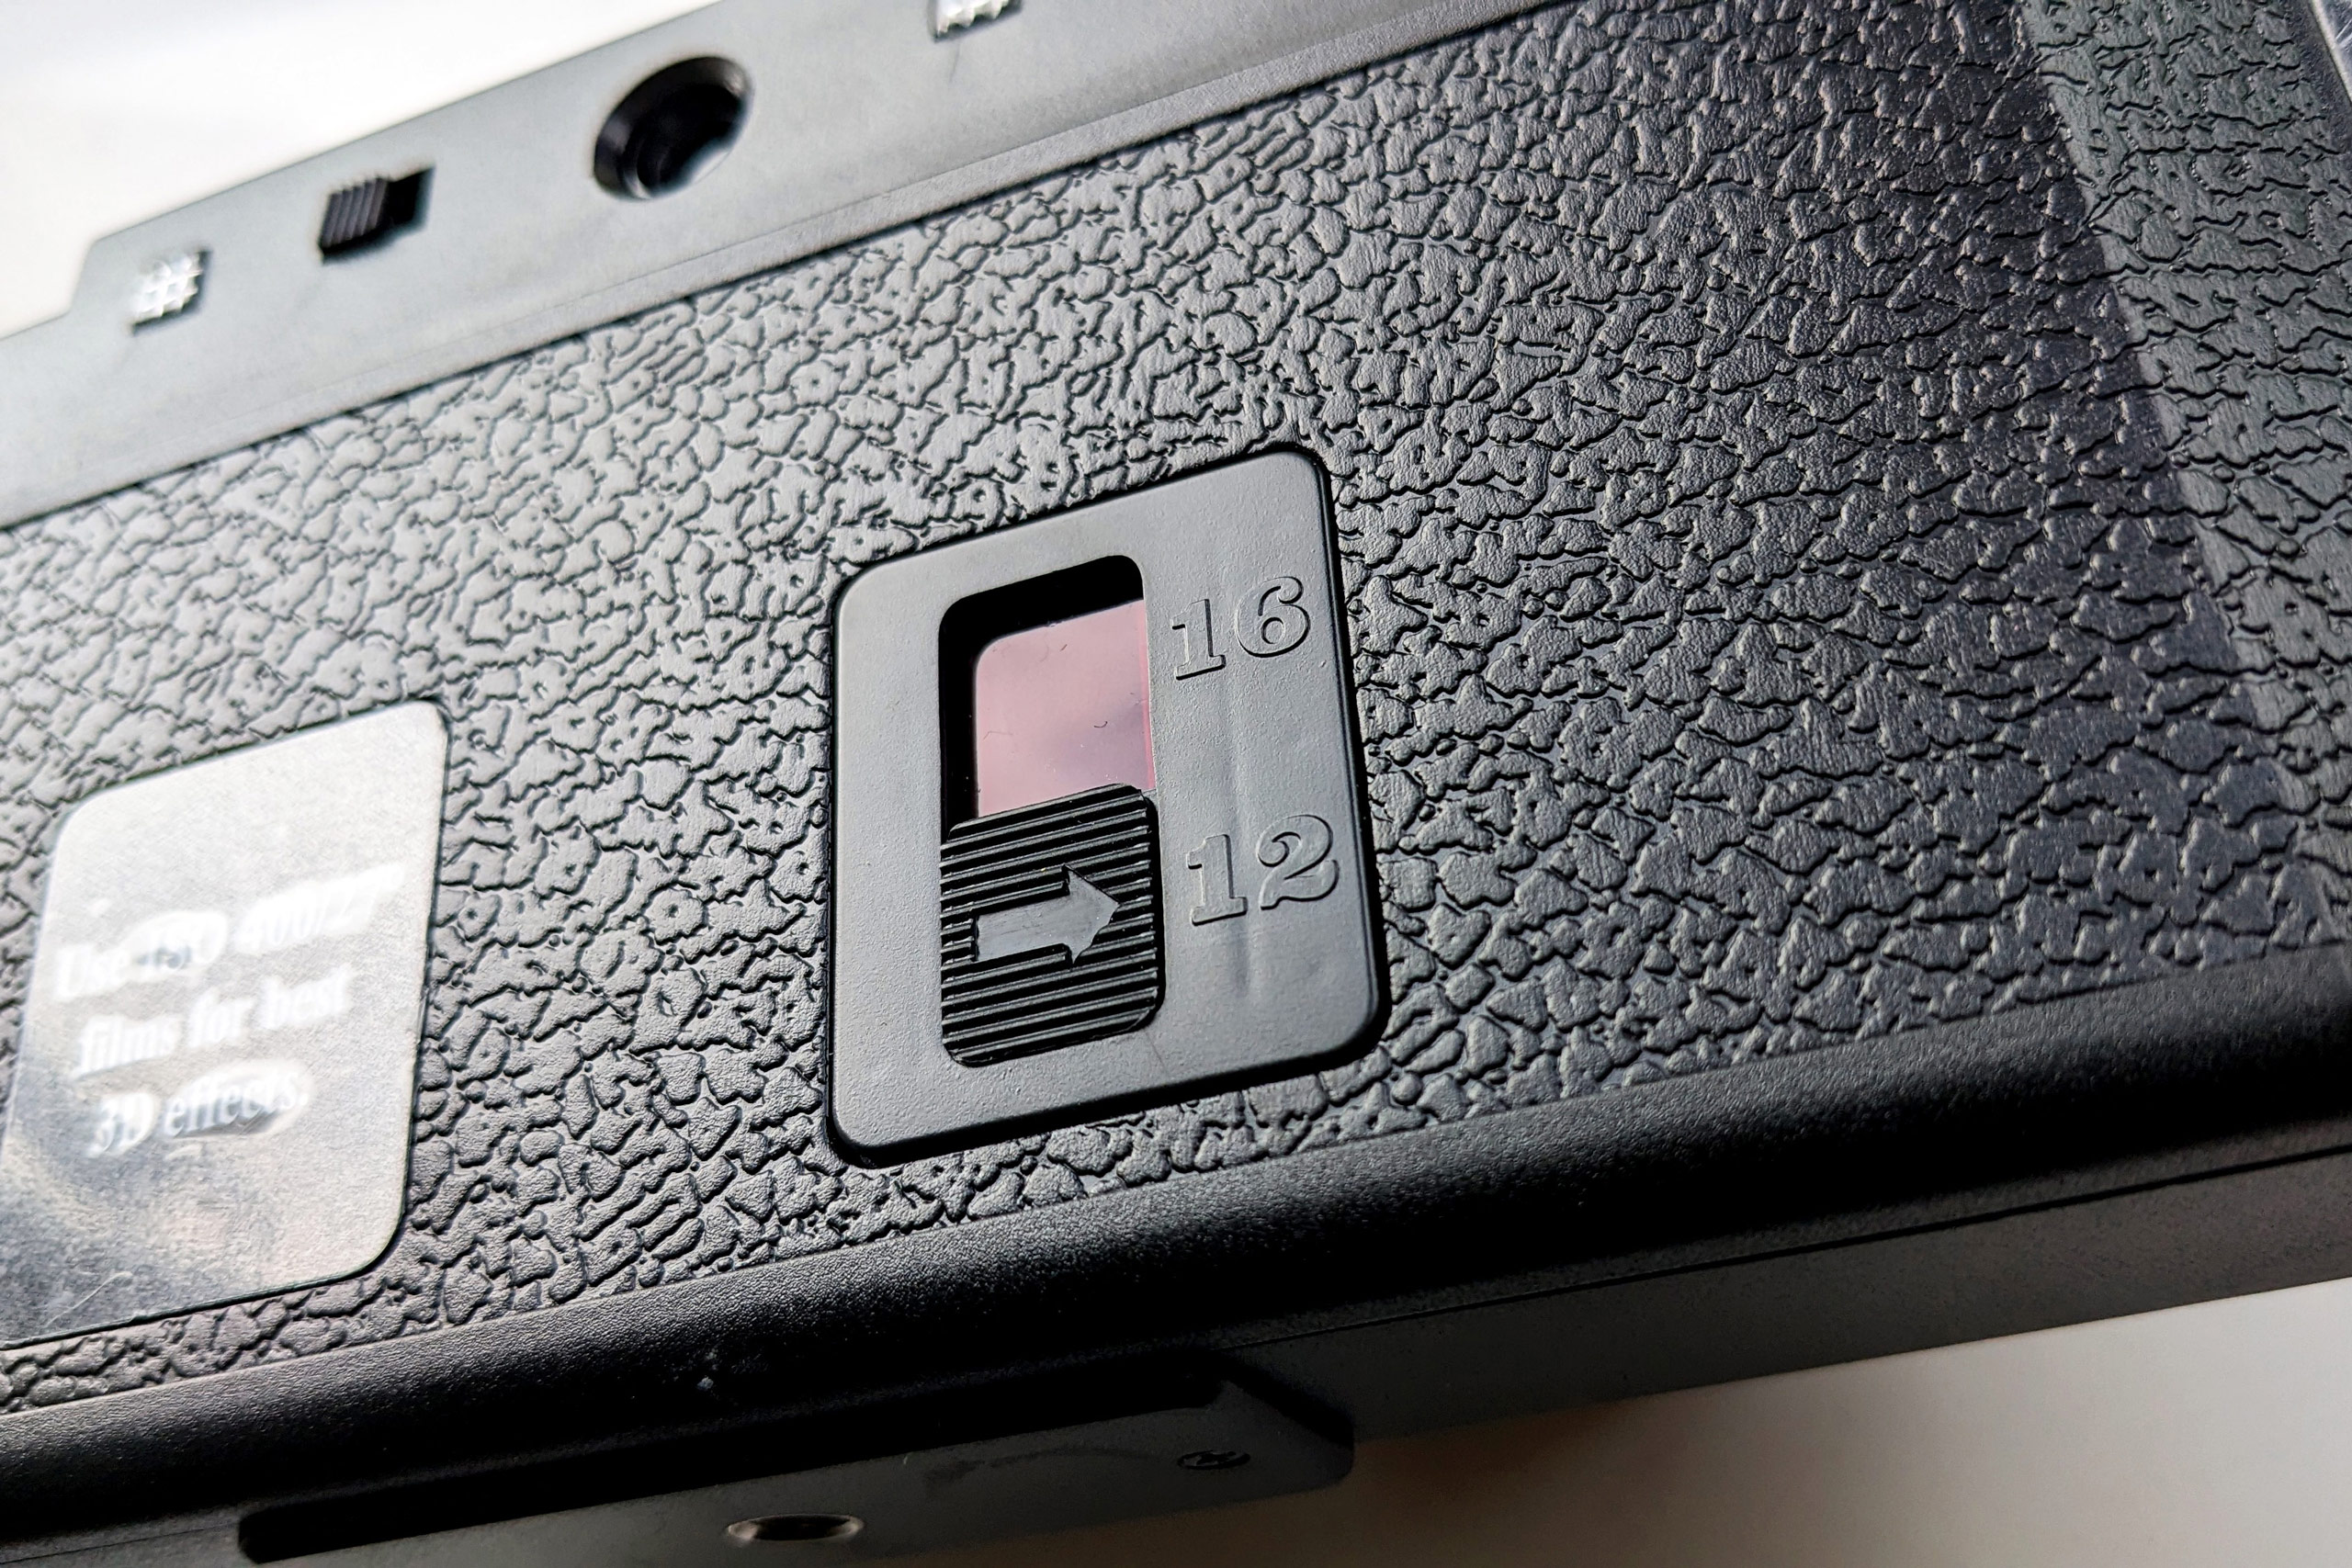
Switch to 220: If your camera or camera back takes 220 film, try this setting to increase the number of images you can capture Photo credit: Matt Perry
If your camera or camera back takes 220 film, essentially double the length of 120 but without the paper backing, then use this setting to prevent the camera stopping before the film runs out. It is worth noting that when I switched the Yashica’s plate to 220 I still only managed to squeeze 13 shots onto my 36exp film due to the long length consumed by the pre-wind.
I suspect this number could be increased on both formats by attaching a leader to the roll before loading – there are some good examples of this online using either 120 backing paper or a length of 35mm film, but as before I recommend doing some tests with your own camera system to determine what is possible as well as optimum leader lengths.
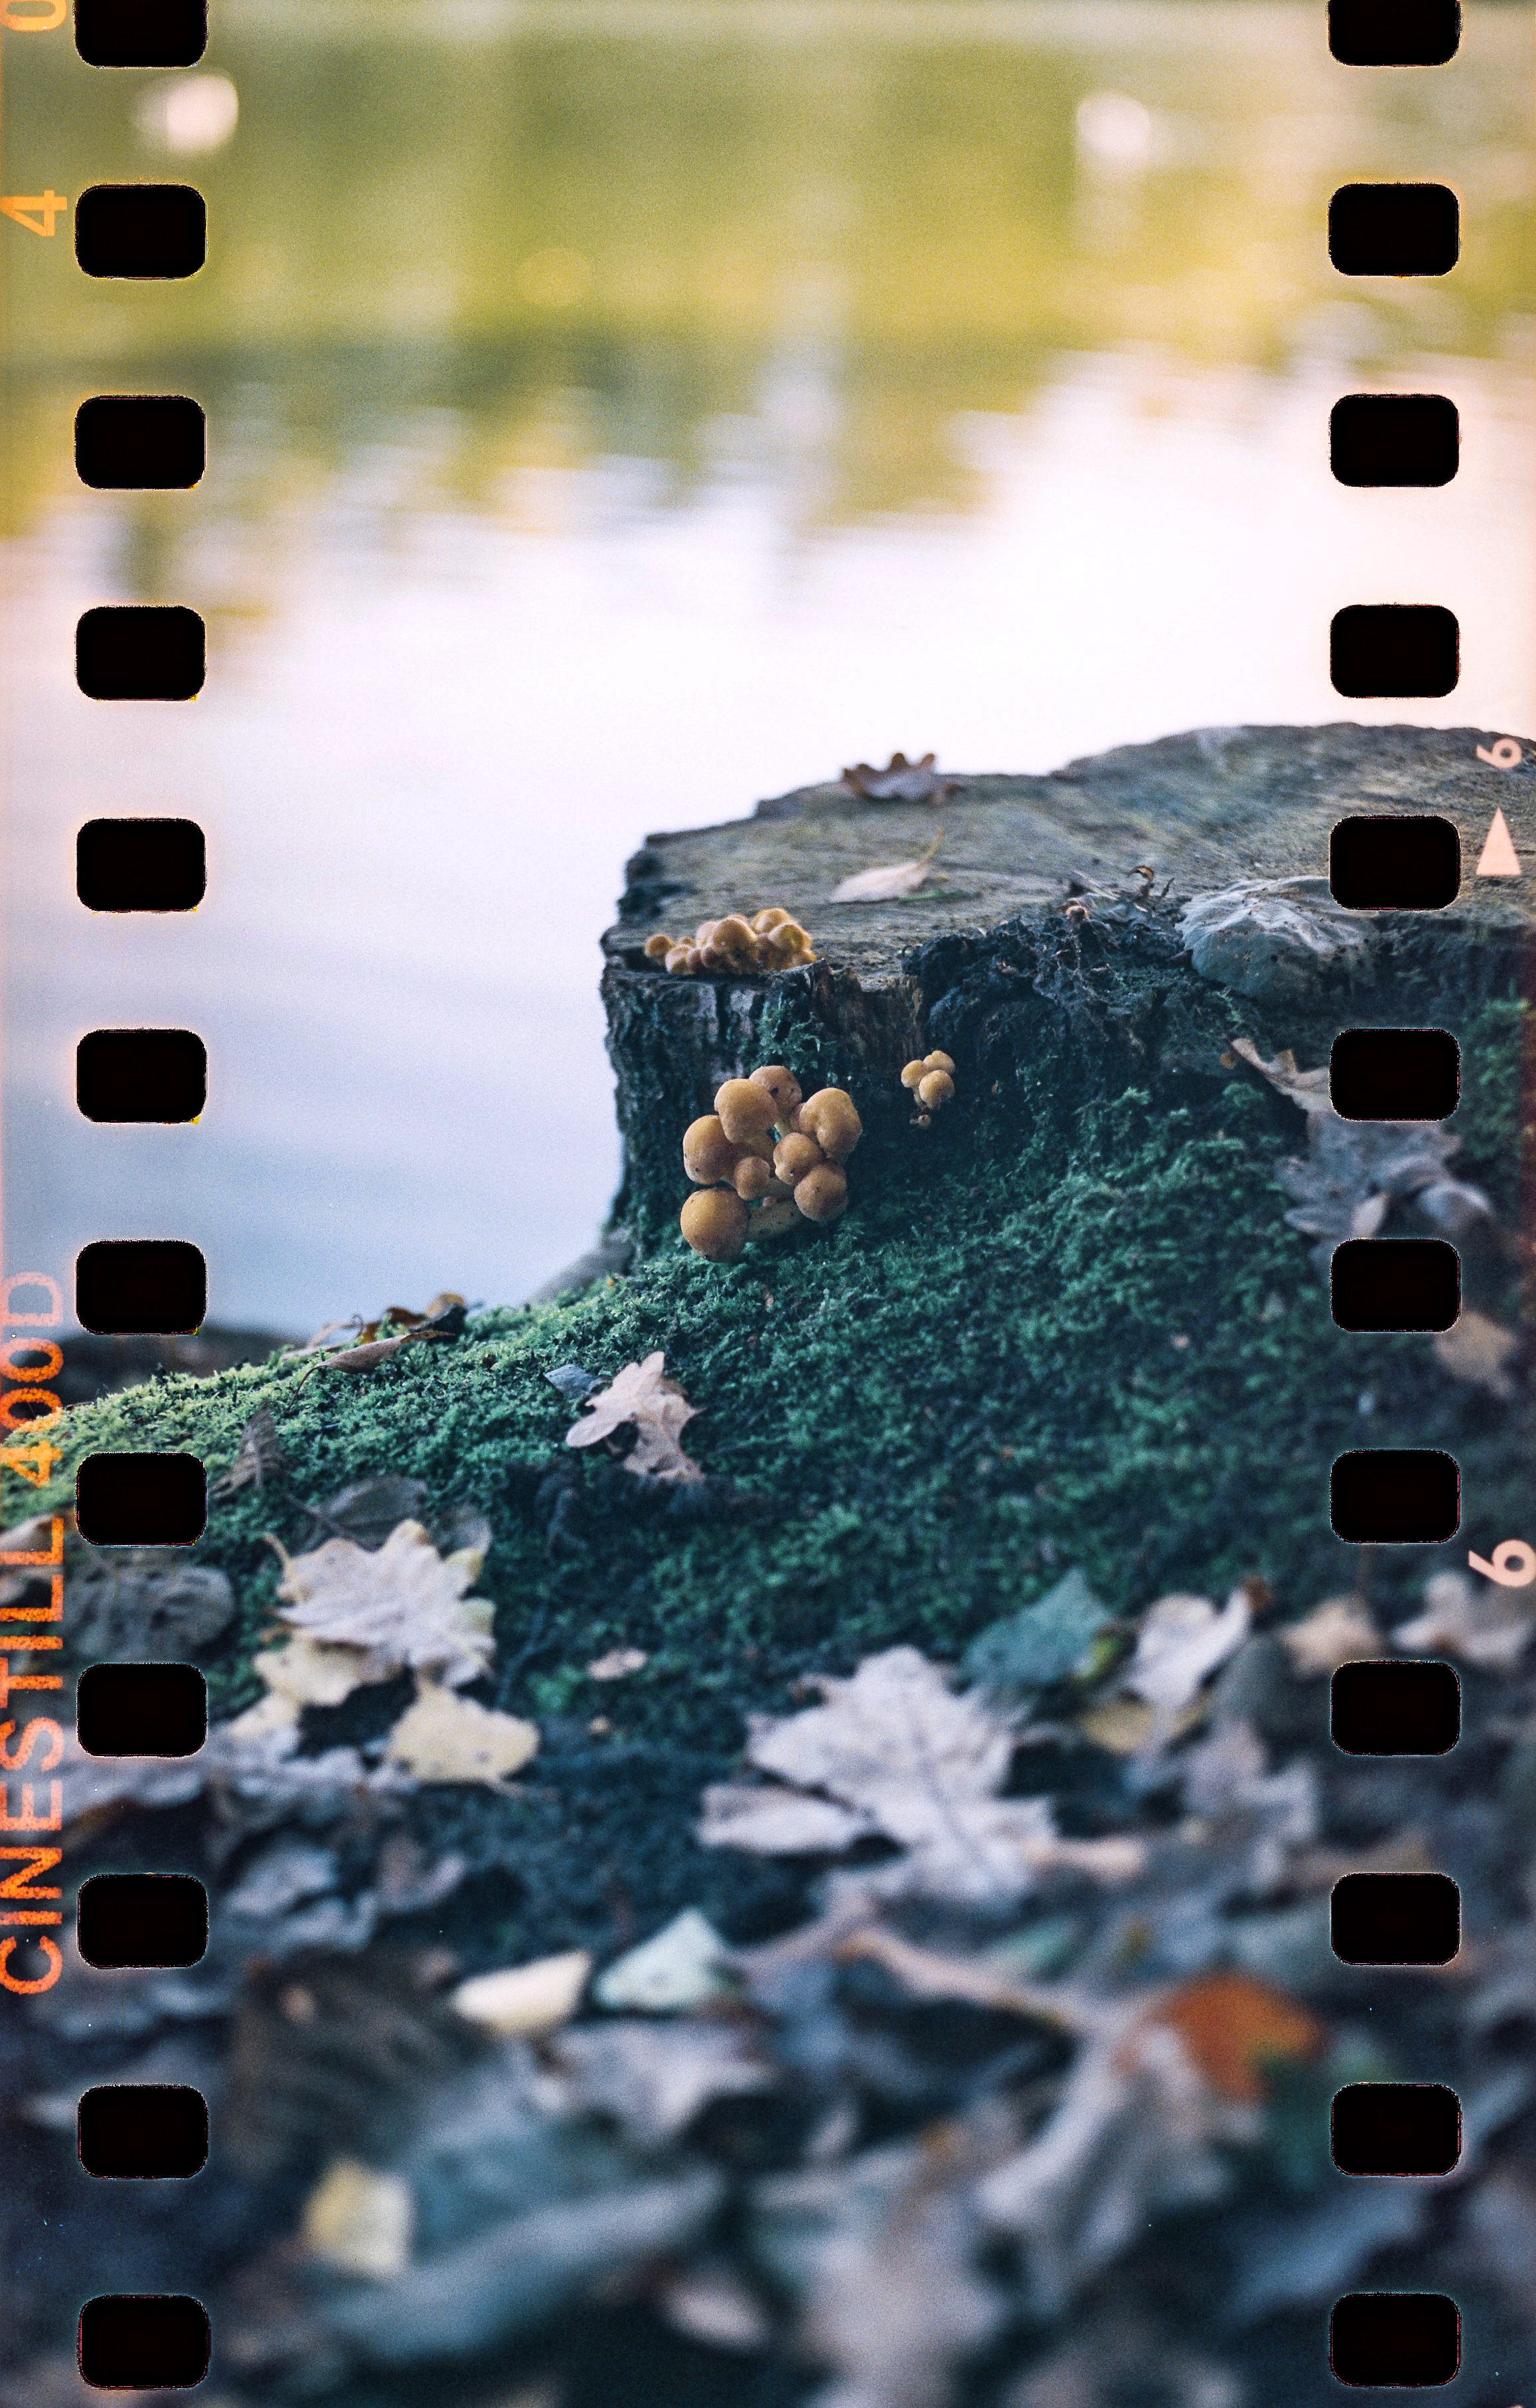
For more interesting and impactful results, try to include detail rather than empty space in the border area. Image credit: Matt Parry
Shooting sprockets – Orientation of the film
The orientation and direction of film travel differs in medium format cameras. While many cameras transport film horizontally across their film plane, a TLR vertically transports the film from bottom to top. This means that when holding a TLR camera ‘correctly’ it will create panoramic images in portrait orientation when using 35mm film.
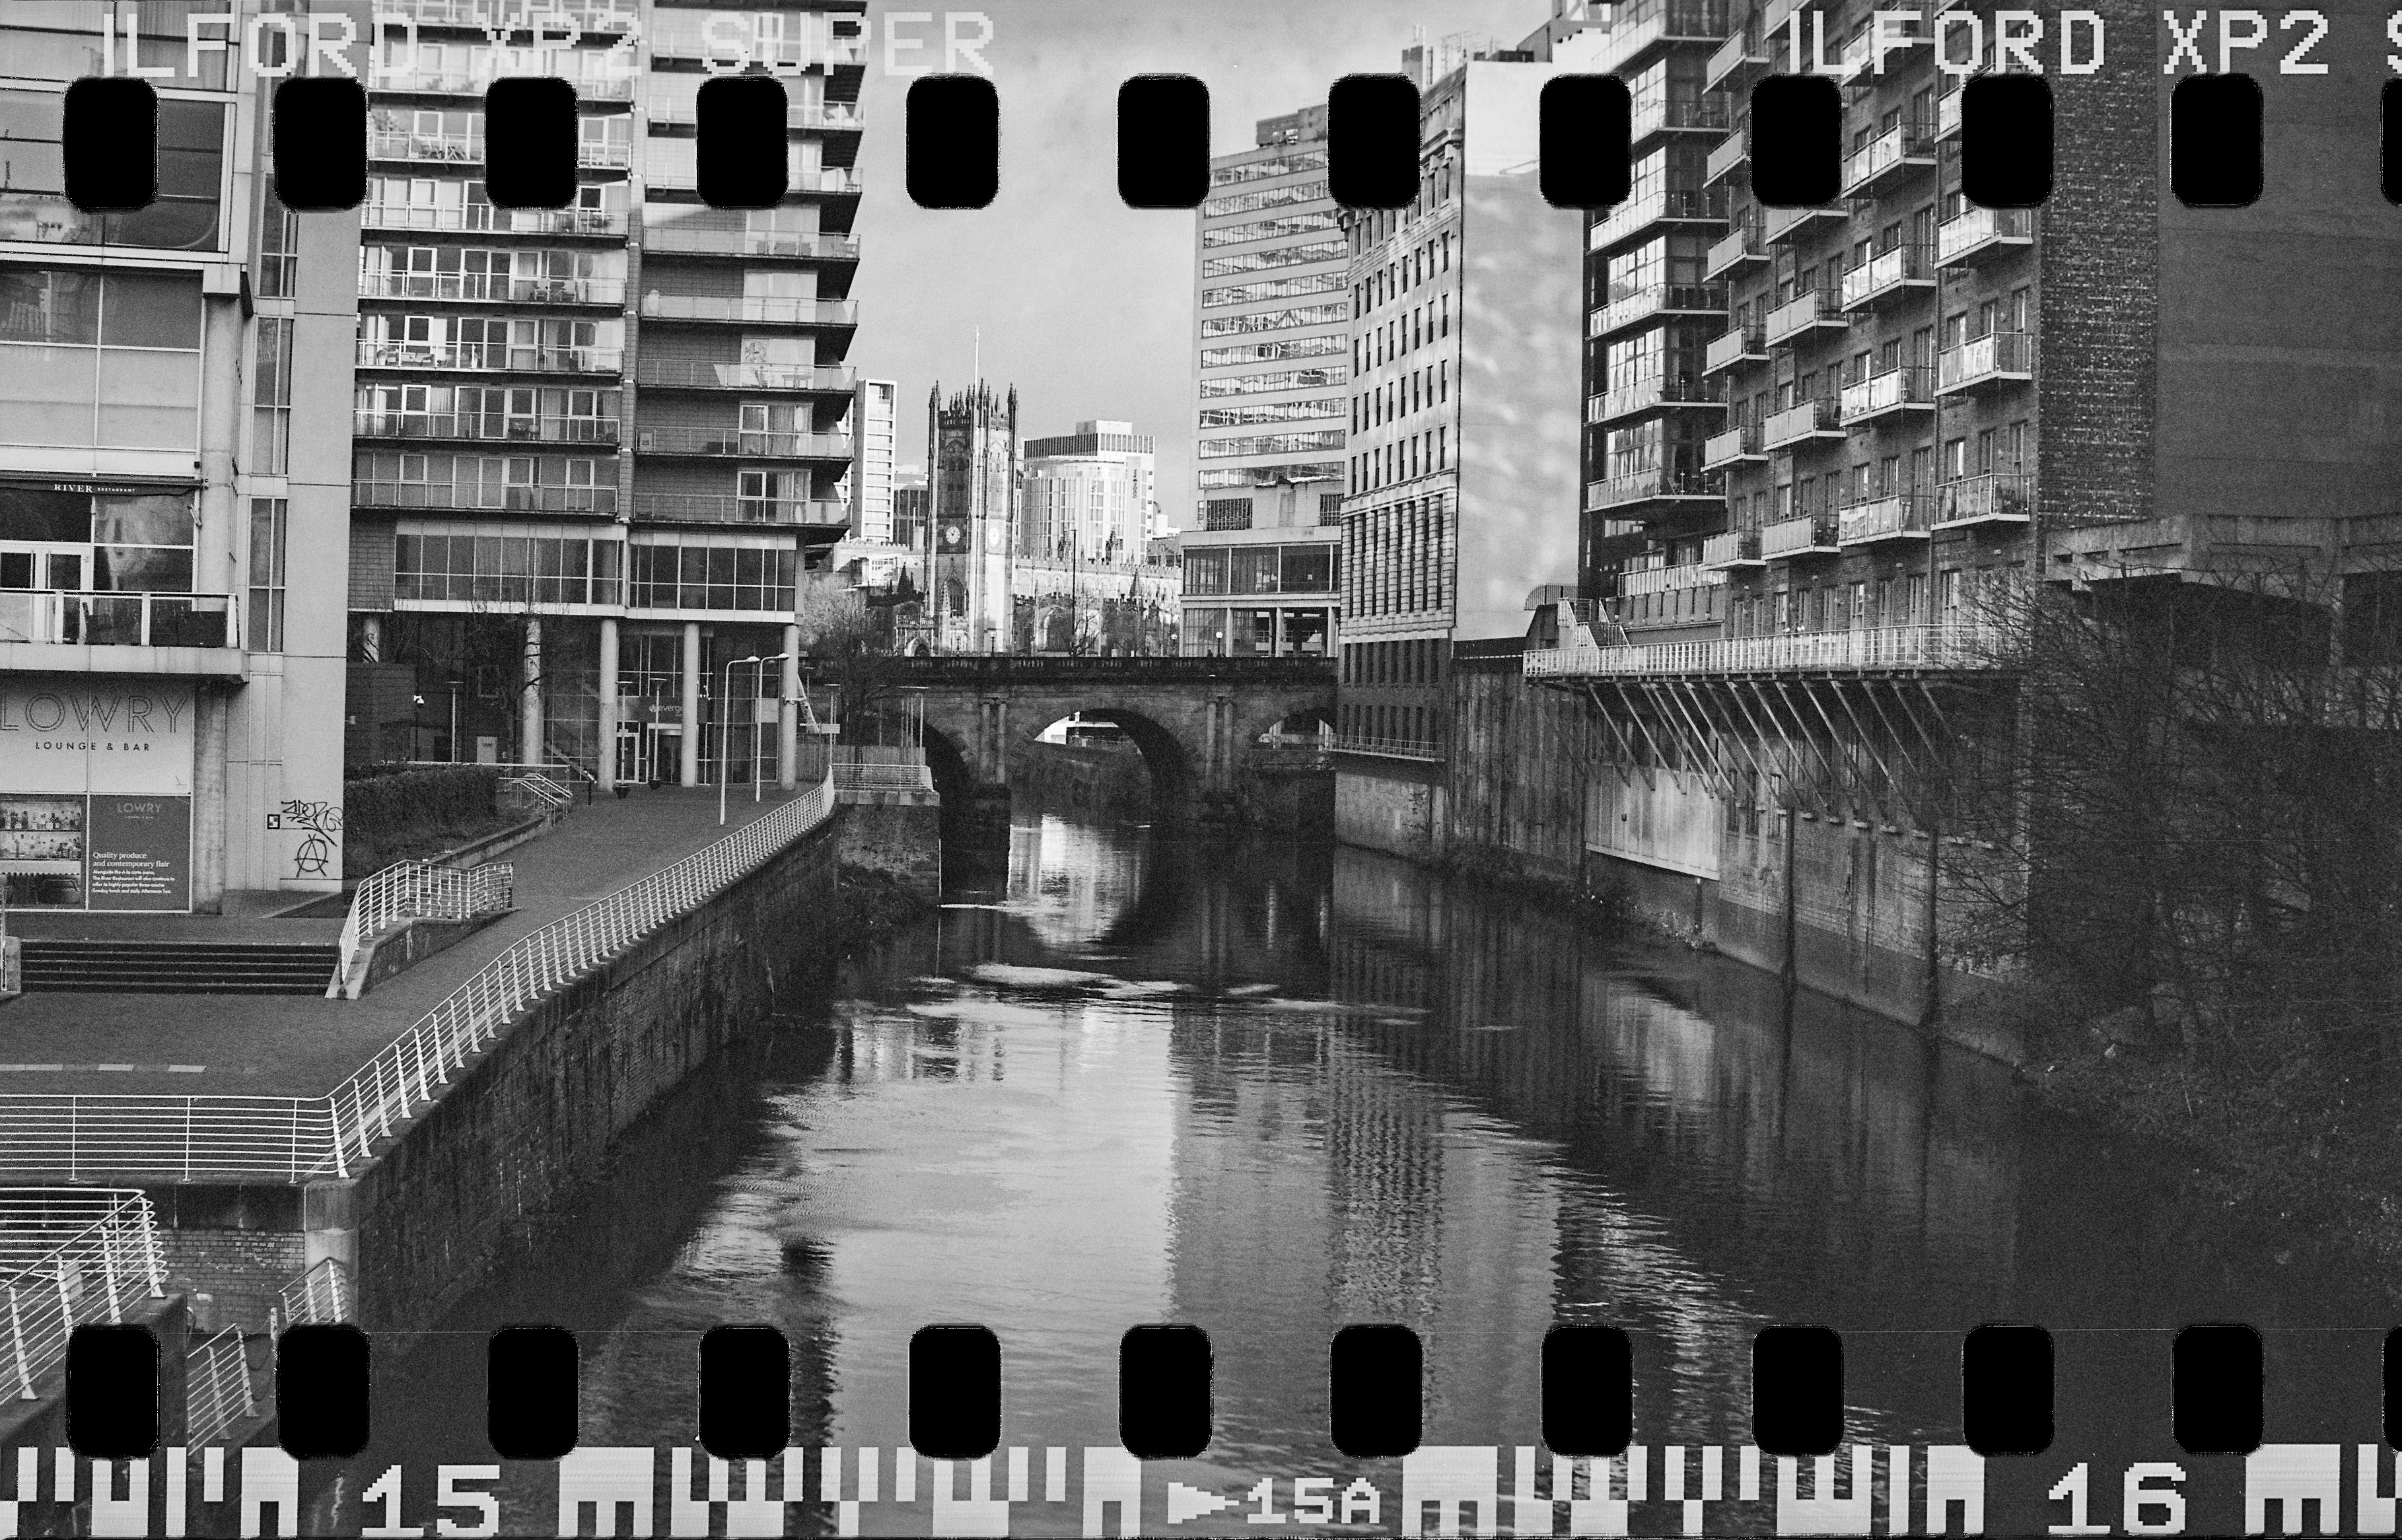
Due to their waist-level viewfinders, shooting landscape-orientation images with a TLR is tricky and takes some getting used to. You are forced to hold the camera sideways at eye level which feels (and looks) unnatural. However, regardless of camera orientation, if you want to include the sprockets and rebate in your scan it is important to pay close attention to any vertical or horizontal lines as rotation or cropping, either in the darkroom or digitally, is not possible.

Image credit: Matt Parry
Shooting sprockets – Unloading the film
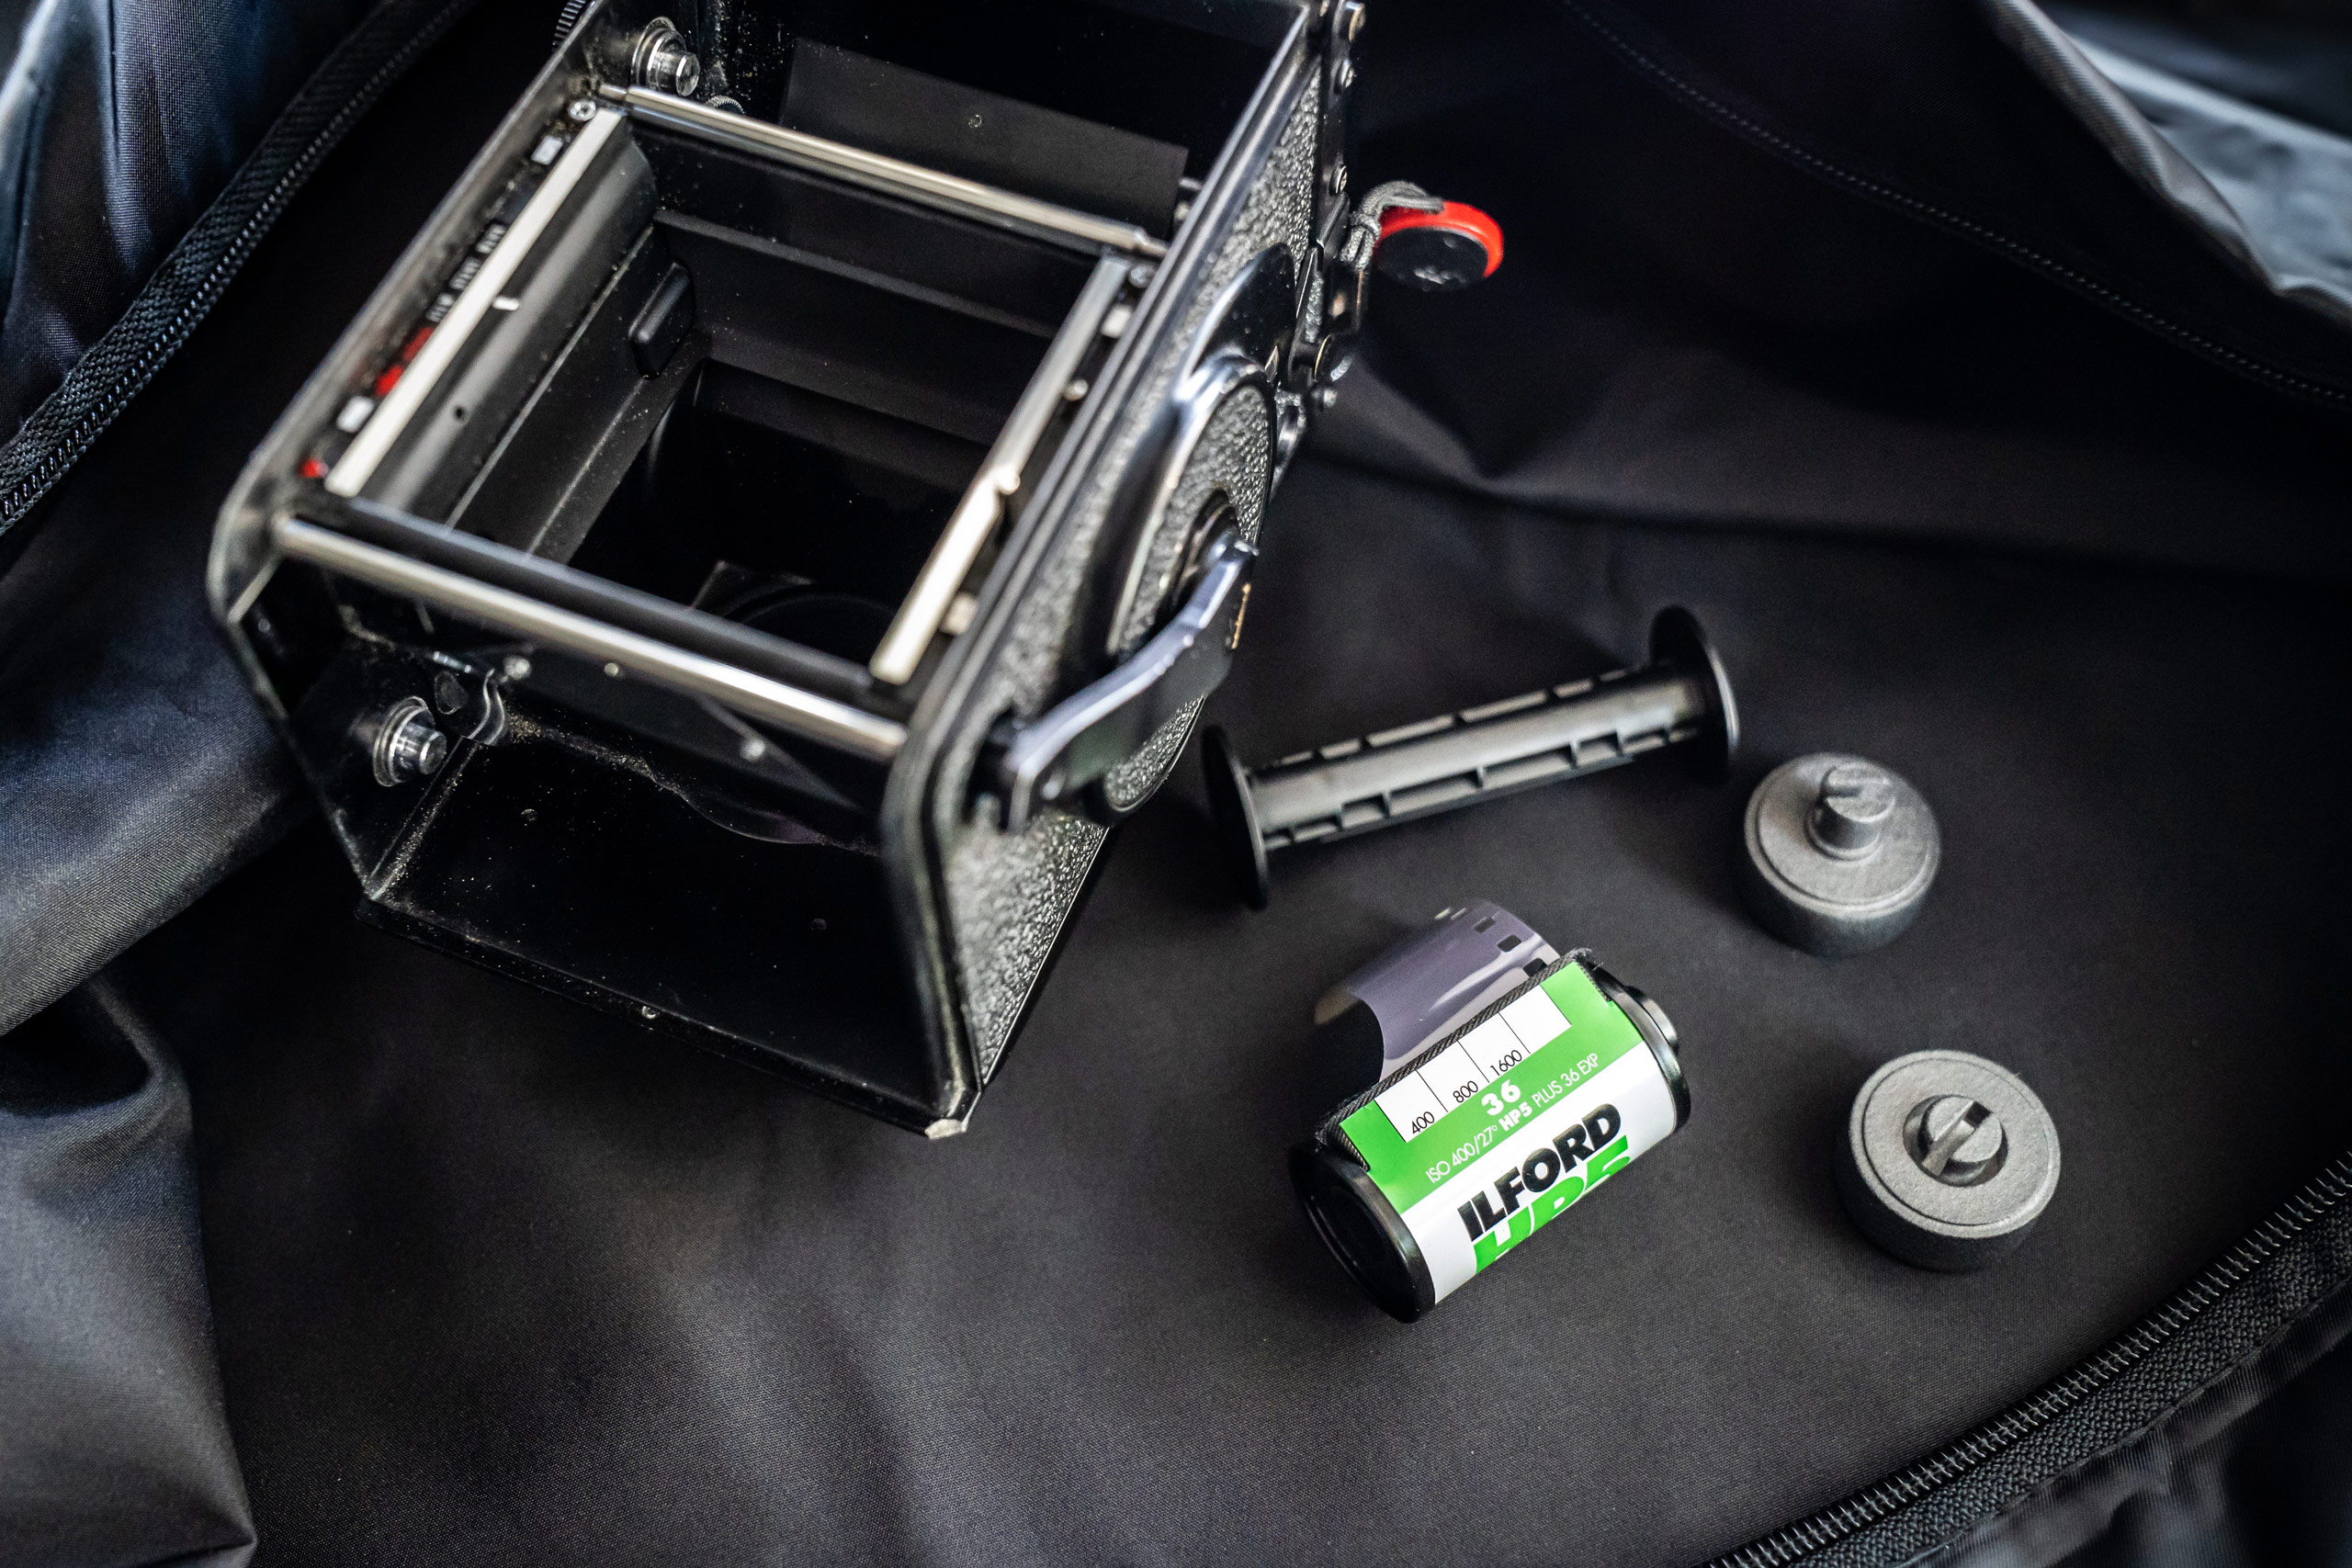
Once your roll is finished, a critical step when using these adapters is to safely extract the film from the camera without exposing it to light. 120 film separates from its original spool once shot; however, 35mm film will still be attached to its cassette with no way to wind it back while still in the camera.
Instead, you must manually rewind the film back into the cassette in a darkroom or dark bag. Unless you are willing to carry a dark bag with you on a shoot, this may limit how or where you are willing and able to shoot sprockets.

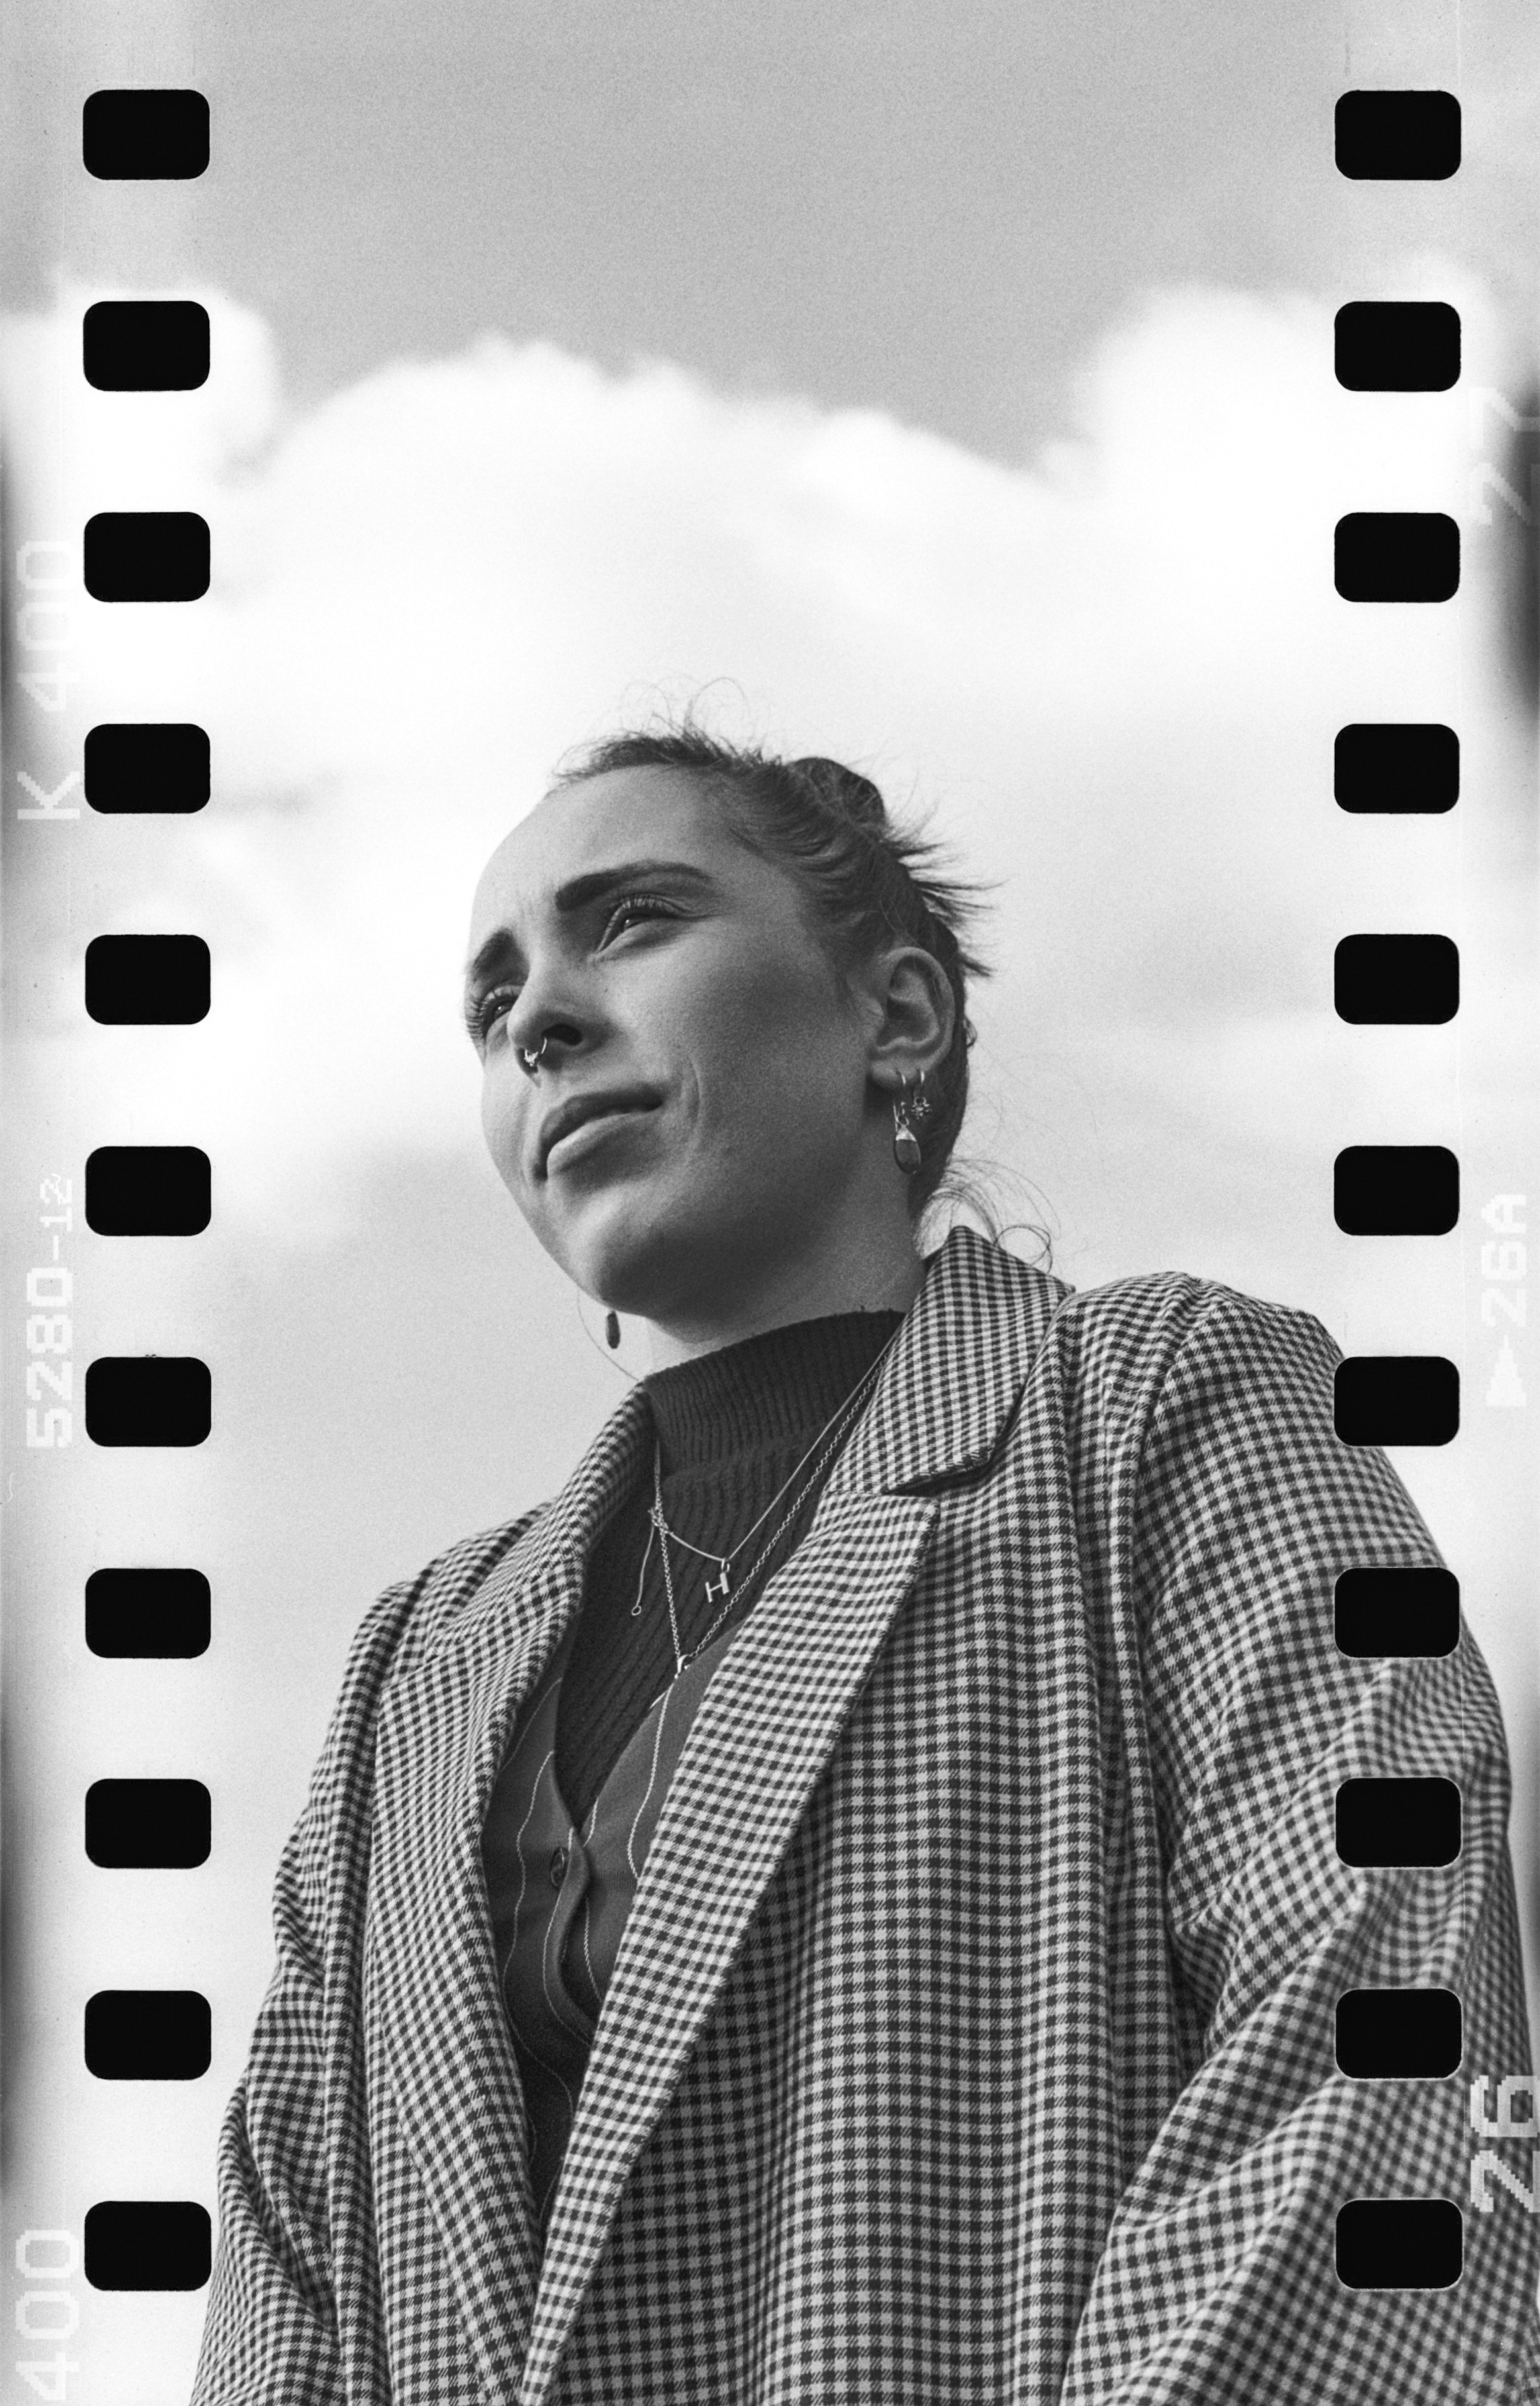
Due to the panoramic width, frame numbers and rebate text won’t always align to your image Image credit: Matt Perry
Shooting sprockets – Developing and scanning
Once you have extracted your film, you can develop it as usual. I did notice that when home developing, I would get a repeating pattern of undeveloped areas on the border, presumably from the grooves of the spiral where it holds the film in place. This wasn’t the case with my lab-processed rolls as they use a dip and dunk machine.
Home-processed film showed some repeating patterns of undeveloped areas along the edging possibly due to the Paterson spirals. Image credit: Matt Perry
If you send your film to a lab for ‘dev and scan’, first check that they offer sprocket scanning. Not all do and some may charge extra, given it is usually considered a non-standard or manual service. Most common automated lab scanners such as Fuji Frontiers don’t have a dedicated mask for 35mm rebate scanning and have to utilise the equivalent 120 mask for your camera and then crop to size in post.
As a result, you will likely find the density, colours, and contrast of the scans are not what you would normally expect. For black & white scans this is easily rectified in post-production, however, it can be much harder to get colours accurate. In these cases, you may find a flatbed scanner or digital camera a better option.

It can be tricky to get accurate and natural looking colours when scanning due to the sprocket holes. Image credit: Matt Parry
Sprocket Photography – Go Panoramic!
Shooting 35mm film in a medium format camera is a great way to capture panoramic images without investing in a dedicated camera. The ratio of your panoramas will vary depending on the camera you are using. As an example, a 6×6 TLR creates an image on 35mm film that is 57mm wide by 35mm deep (including the border and sprockets).
Cropping out the borders will create an approximate 5:2 ratio (24x57mm to be exact) image on 35mm film, compared to the standard 3:2 ratio (24x36mm). If panoramas are your primary reason for using adapters, then consider a 6×7 camera that loads the film horizontally.
Step by step guide to sprocket photography
1. Load film
Attach the adapters to your 35mm cassette and load as you would a roll of 120 film. Remember which way the emulsion needs to face, particularly if loading film backs.
2. Cover window
If you are using a Holga/Diana style plastic camera or a folding camera with a red window for the frame numbers, you will need to cover this up with thick tape to stop your film from fogging.
3. Extend film
Extend the film and hook it into your 120 take-up spool. Keep the film centred in the spool. 35mm film may feel stiffer than 120 film to load and advance so make sure it remains connected to the spool before closing. 
4. Fully advance each frame
If the advance distance is not fixed, make sure you have tested how far you need this to be before shooting to avoid overlapping frames.

5. Remove film
Place the camera in a dark bag and disconnect both the adapter/cassette and the take-up spool containing the film. Wind the film back into the cassette by twisting the 35mm spool.
6. Develop film
If you are sending your film to a lab, check they can include the sprockets/rebate area in the scan. The negatives can be curlier than normal so remember to keep them flat for the best scans.

What kit you need for sprocket photography
Medium format camera
From Holgas to Hassies (Hasselblads), most medium format cameras will be able to shoot sprockets using 35mm film. As their form and functionality vary, always test your camera to understand how it works with the adapters.
35mm to 120 adapters
3D-printed 35mm to 120 adapters are affordable and widely available online. While not essential, some versions also include a special take-up spool to help keep your film centred however, a standard 120 spool will suffice.
Viewfinder mask
For medium format cameras with a large viewfinder, especially waist-level viewfinders, it is worth creating a simple mask from card as this will help you to visualise and frame your shots.

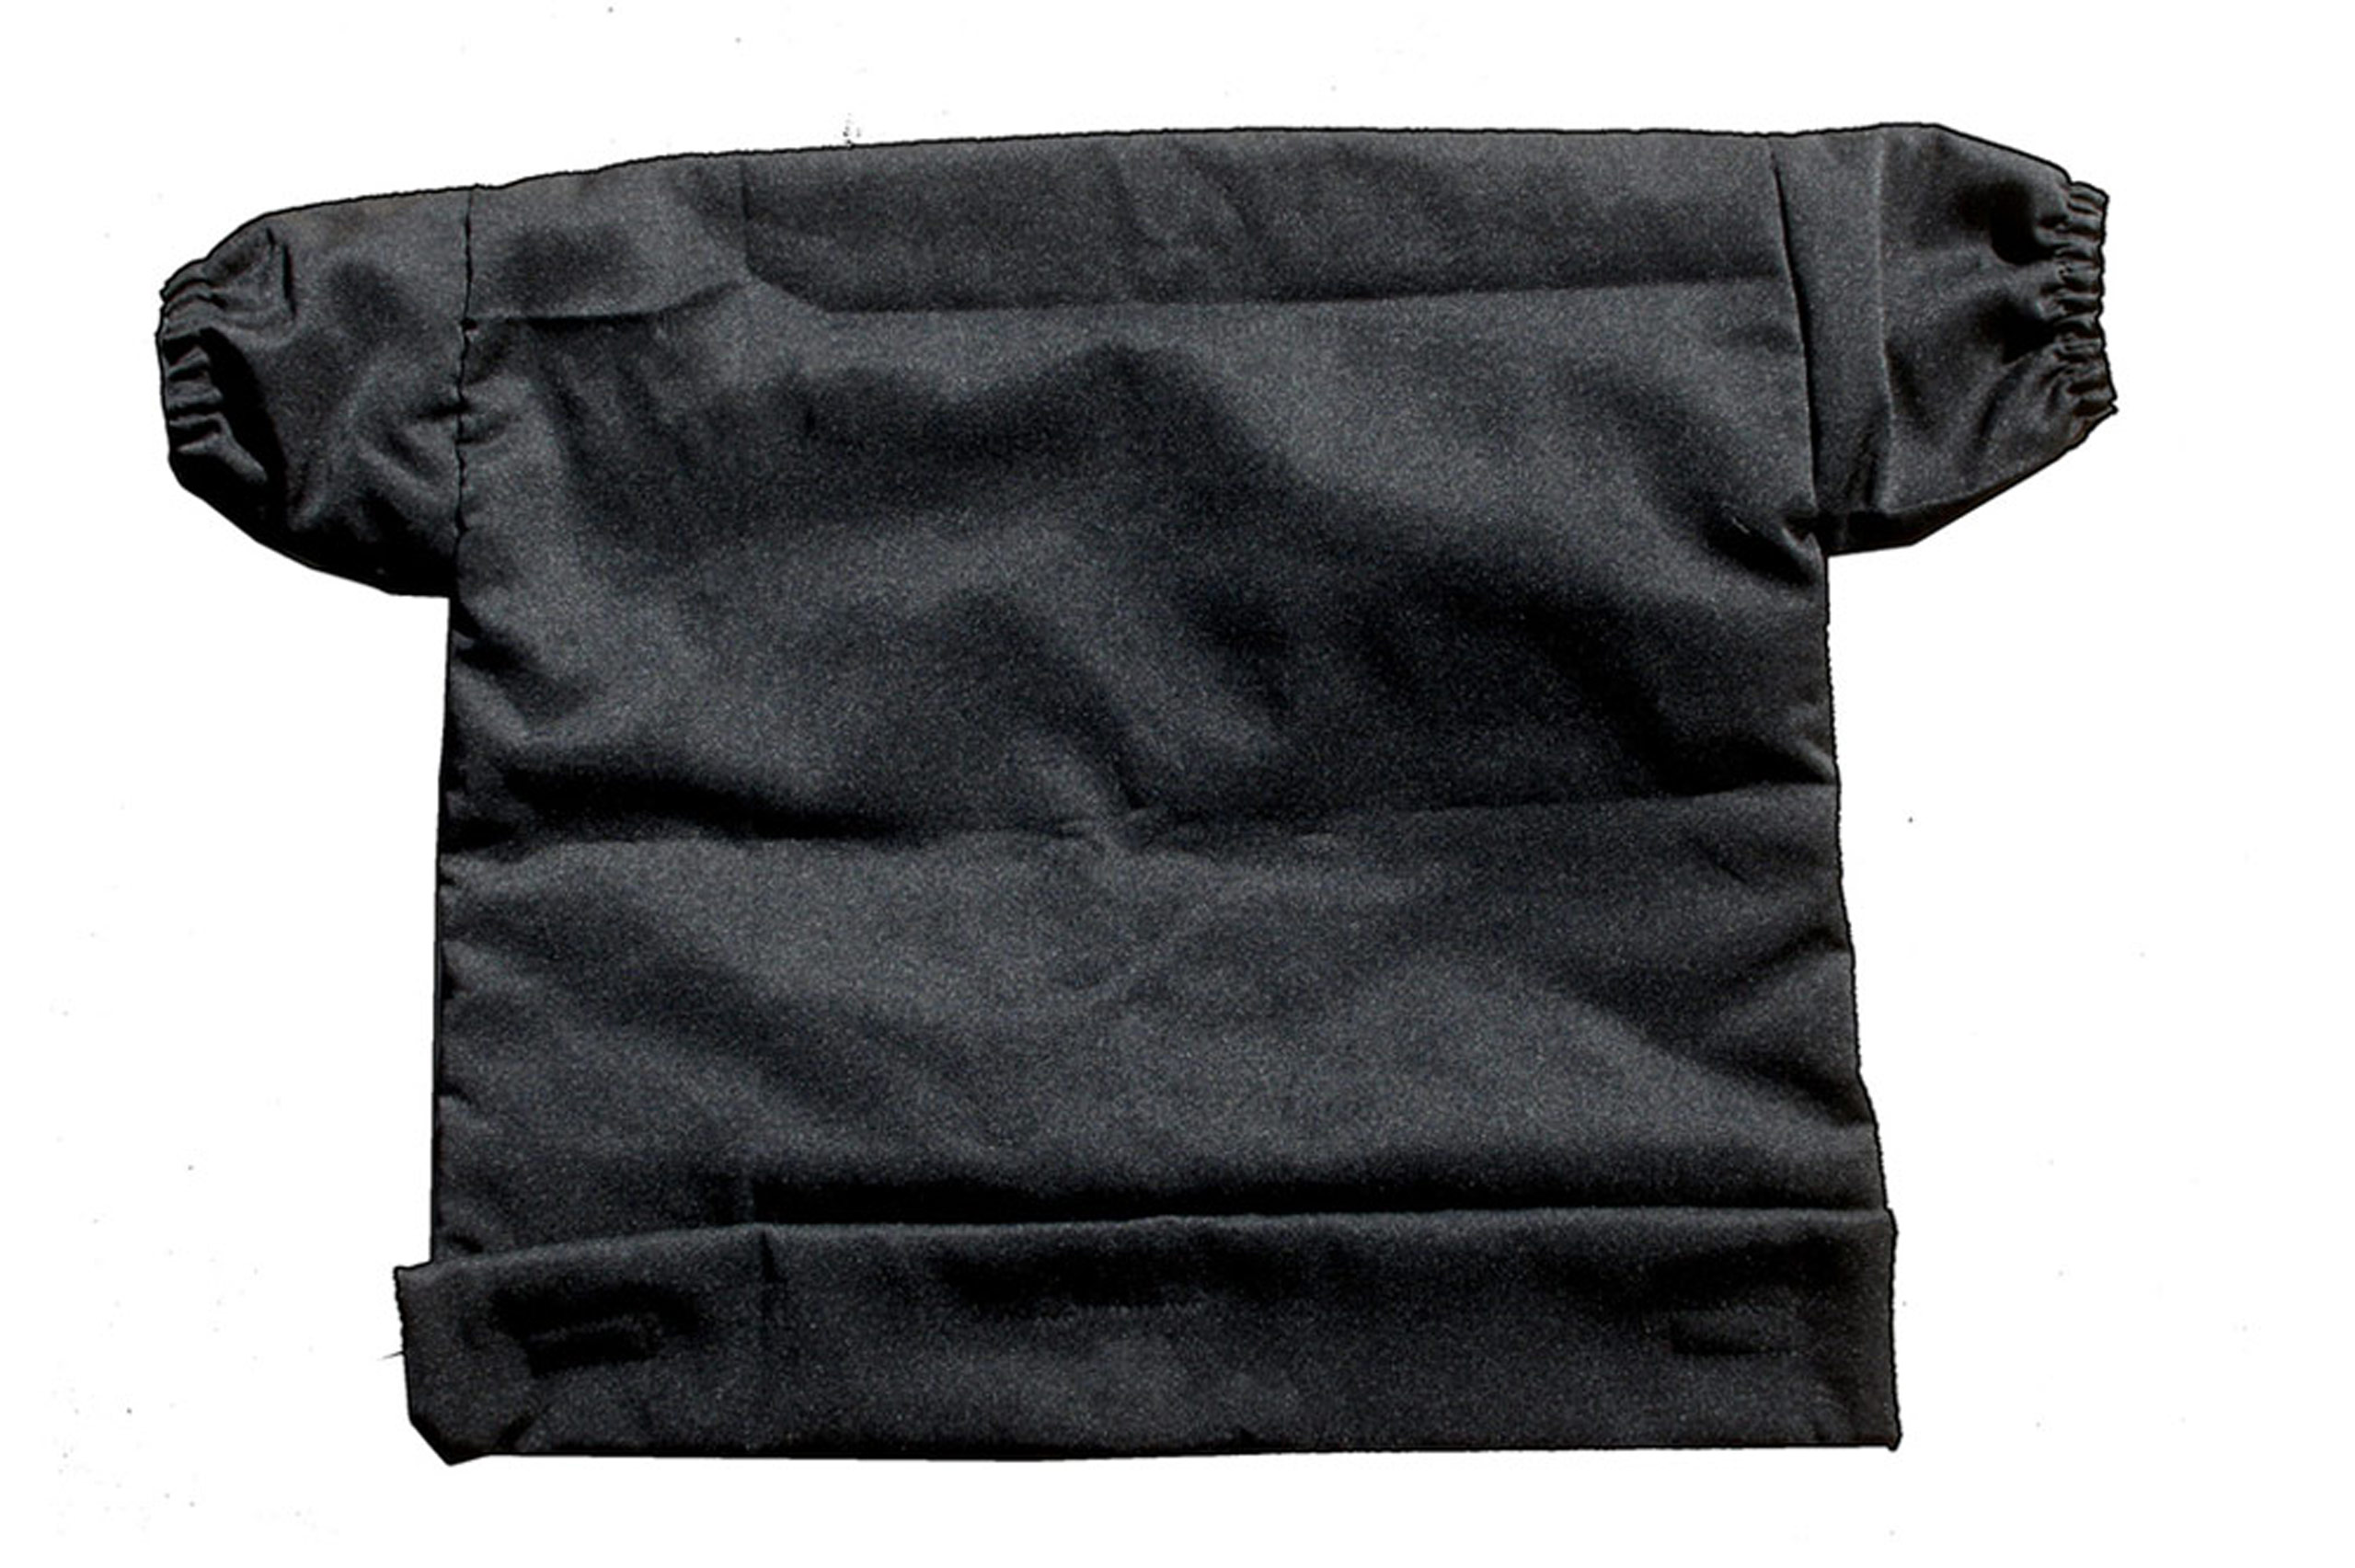
Dark bag
An essential bit of kit for anyone that develops their own film, your light-proof changing bag will be needed to remove the exposed film from the camera and manually rewind it back into the cassette.
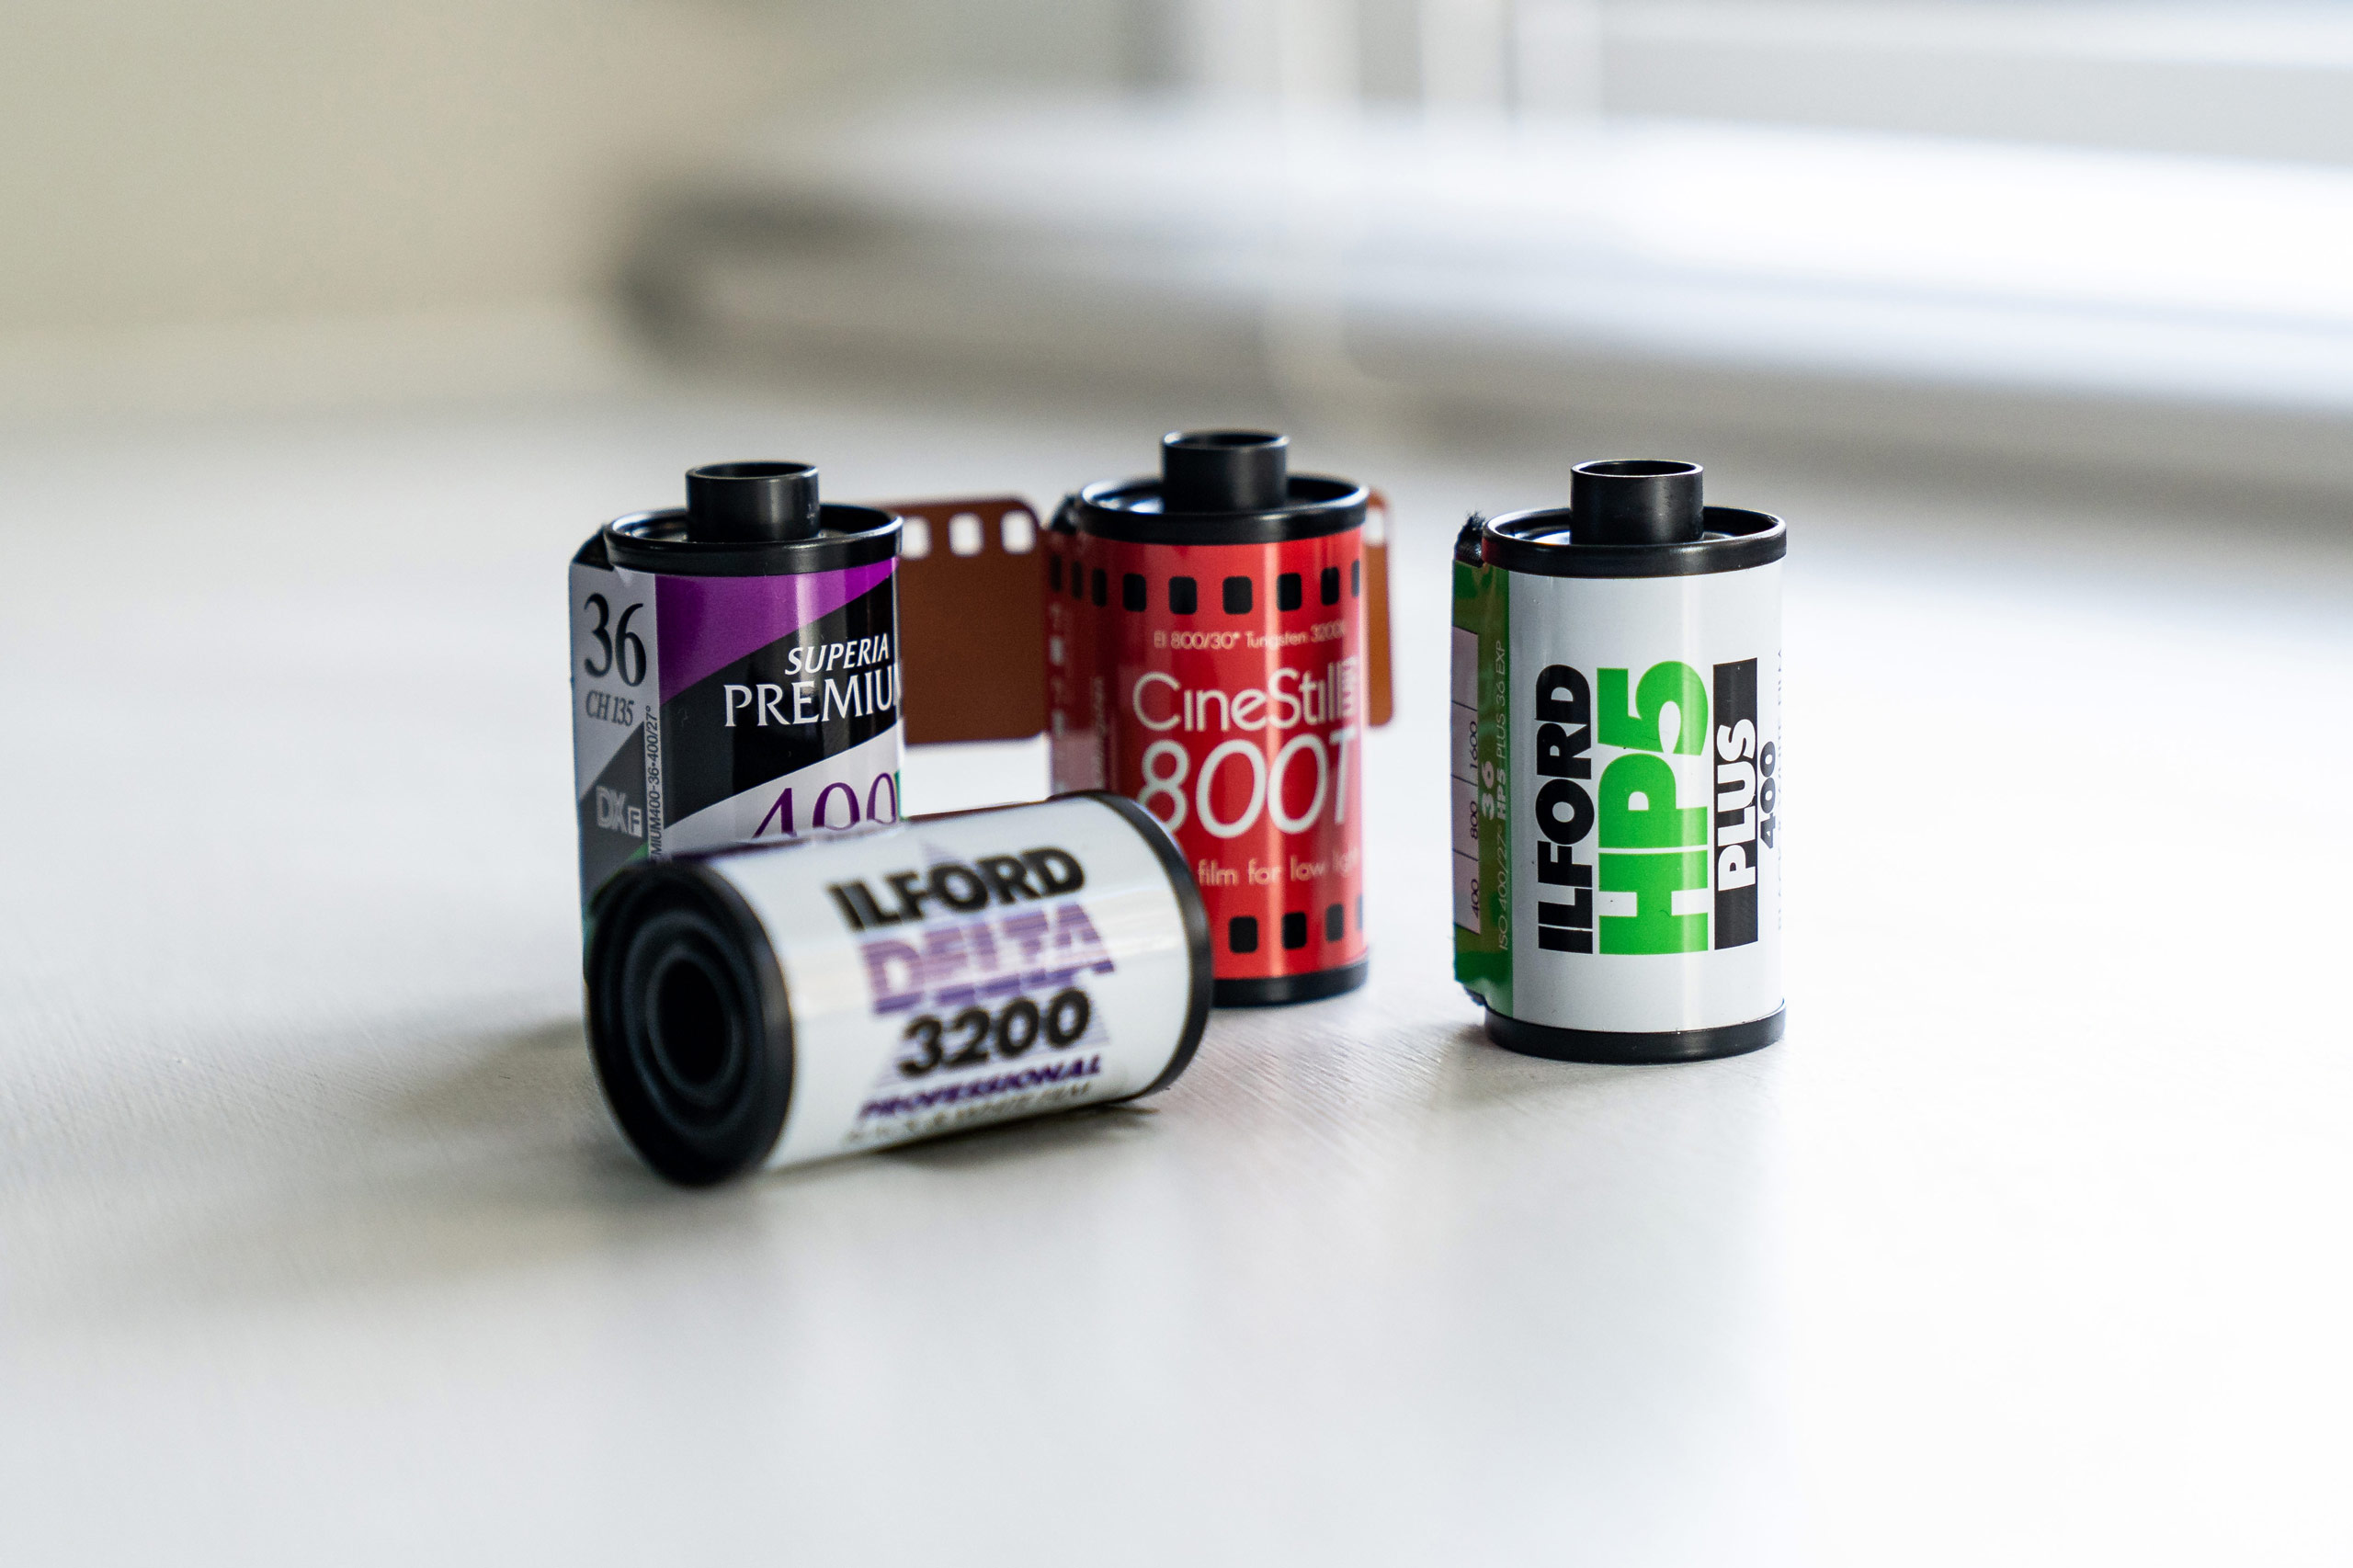
35mm film
Shooting sprockets will of course only work with 35mm film. However, this means that there is a greater range of films to choose from and to experiment with. Plus, it is often more widely available.
Read more on analogue photography:
______________________________________________________________________________________________________
Follow AP on Facebook, Twitter, Instagram, and YouTube.


