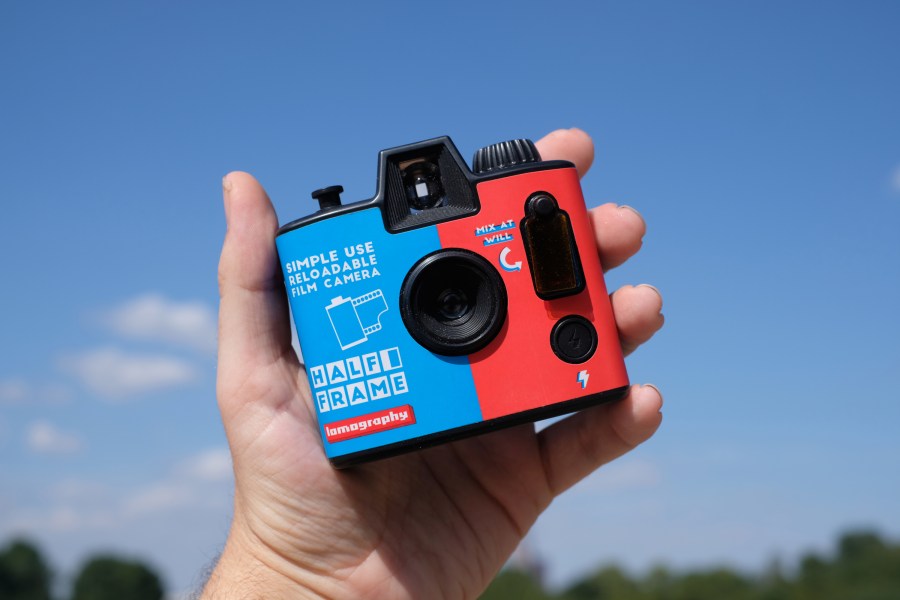
We’re seeing lots of easy-to-use compact cameras arriving these days – both digital and analogue. As a film photography aficionado, I love anything that makes the art from more accessible, and that’s why I was interested when Lomography informed me that it was making a half-frame version of its Simple Use disposable-style film camera. Having now tried it out, I believe it might just be the perfect camera for an analogue photography novice.
Lomo’s Simple Use point-and-shoots have already been quite a hit – essentially delivering a similar experience to shooting on an old disposable, but minus the waste as they can be reloaded. However, the Half Frame version does something interesting – it doubles the shot count you get from a roll of 35mm film by exposing only half a frame of film at a time. Your shots are smaller, but from a 36-frame roll, you get 72 of them.
This is not a new idea – it’s been around for decades, and has enjoyed a resurgence lately thanks to newer models like the Kodak Ektar H35N. But it makes total sense for a beginner-friendly camera like the Simple Use, which costs $29.90 / £21.90 for a version pre-loaded with black & white Lady Grey film, or $34.90 / £24.90 for one loaded with LomoChrome Classicolor.
Lomography passed me a sample of the colour version ahead of the release – so, I took it out for a spin.
Lomography Simple Use Half Frame Camera: In use
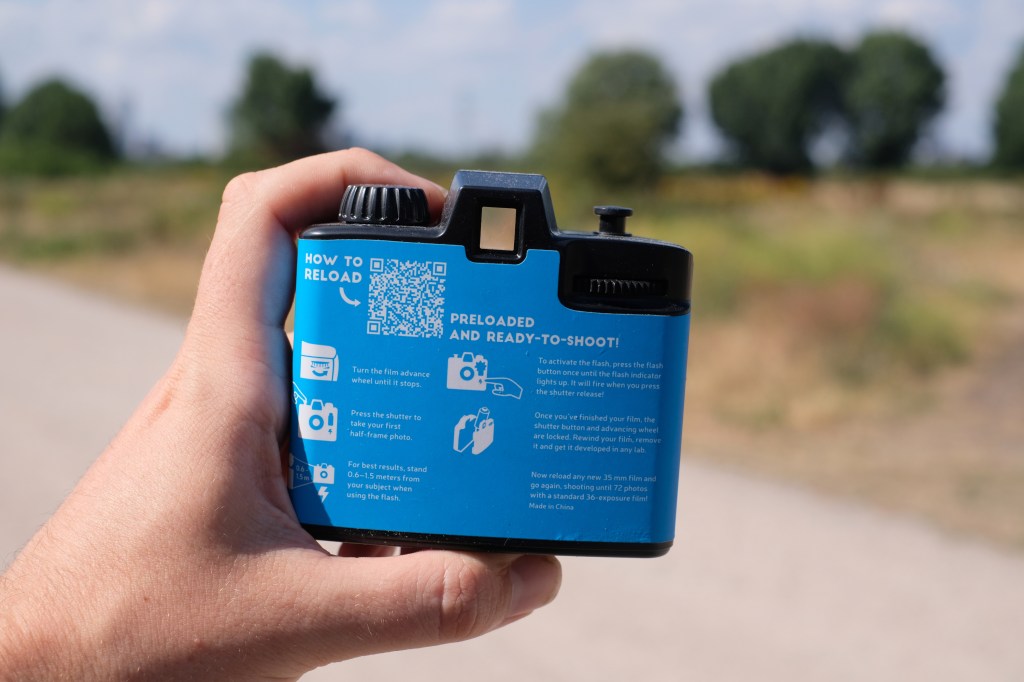
Lomography has put ‘Simple Use’ in the name of the camera, and they’ve truly fulfilled that promise because this is the simplest film camera I have ever used. It comes pre-loaded with a roll of LomoChrome Classicolor, though sadly with only 20 frames rather than the full 36. Still, on half-frame 20 frames equals 40 images, so you’ll have plenty of time to shoot before you need to worry about reloading.
Instructions are literally printed all over the camera, and further instructional stickers have been judiciously placed to try and physically prevent you from opening the camera before rewinding the film. And these really did make the camera foolproof – because I, a fool, initially did not bother reading the part about the camera being pre-loaded, and went about trying to open the rear door to put some film in. The stickers made me realise my mistake before I could do any damage. The system works!
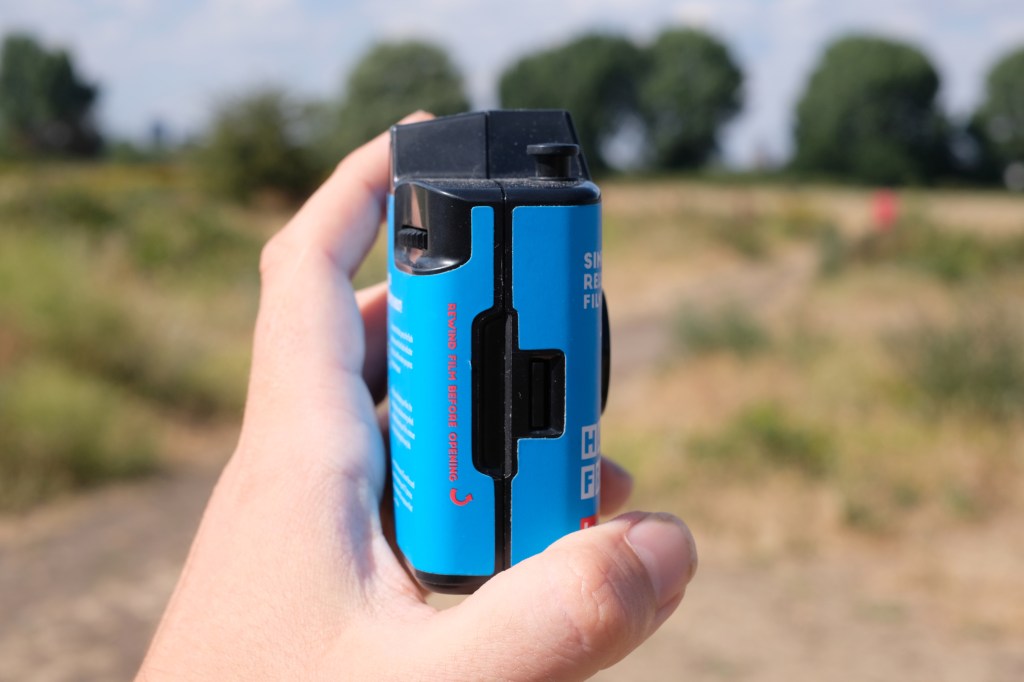
As far as operation goes, you’ll mostly use just the single shutter button, with settings and focus entirely fixed. There is one more button that activates the flash, and a selection of coloured gels that can be placed over the flash in different combinations to give your images different hues.
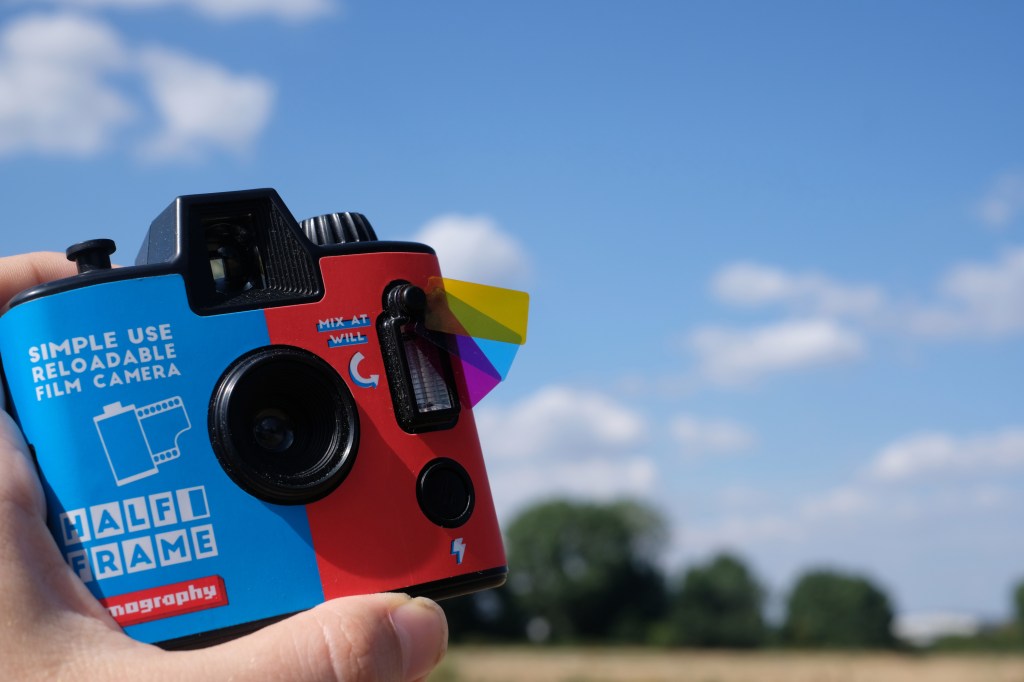
I didn’t try this out too much – coloured flash isn’t really my bag. But the flash itself is easy to use, you simply prime it with the button on the front, and fire once the orange light on the top of the camera is illuminated (although as far as I can tell, once it’s primed there is no way to turn it off other than firing it).
Composition is accomplished through the vertical viewfinder – which is vertically oriented, reflecting how your half-frame images are going to look when developed and scanned. When you’ve snapped a shot, you wind on via the wheel, with a little counter on the top plate helping you keep track of how many images you’ve taken.
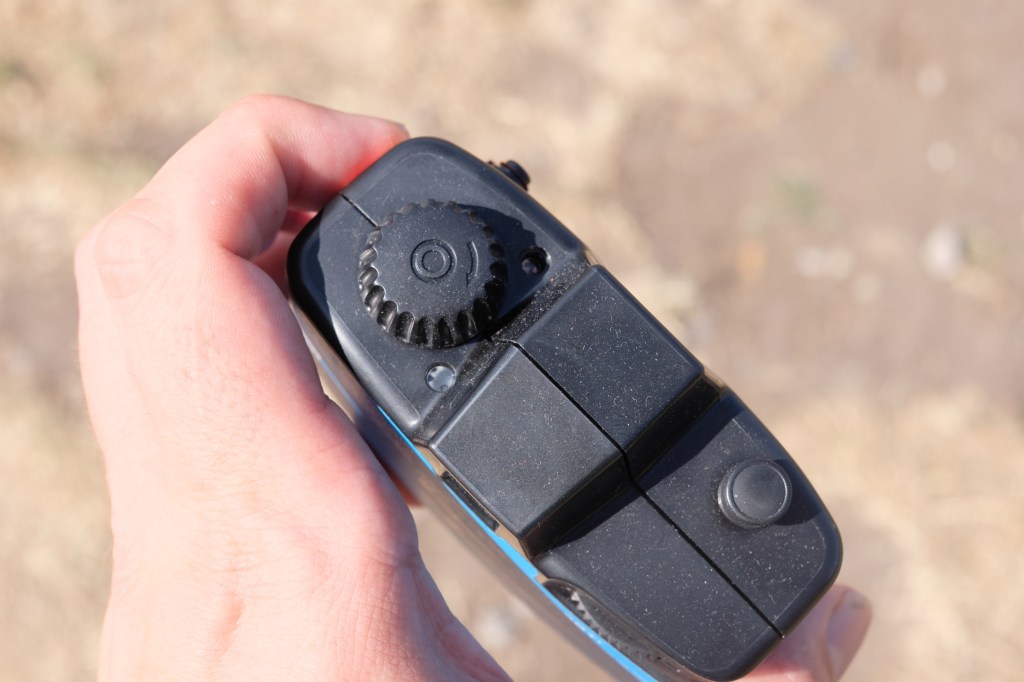
The rewind knob is a bit of a fiddle. It’s hard to grip and consistently turn, and I felt like I was wrestling with it for ages before I eventually felt the film disengage from the take-up spools. It did get easier as I went (I had ample time to practice), and I’m sure my next roll – which I’ve already loaded – will be easier to get back in the can.
Lomography Simple Use Half Frame Camera: Image quality
Half-frame images can take a bit of getting used to – and this is doubly true when they’re snapped on a camera with a plastic lens! You’re not going to get the level of quality you’ll get from a full-size SLR paired with a 50mm f/1.2, obviously. But I was pretty pleased with the majority of my images taken on the Simple Use Half Frame – and I had loads of images to be pleased with.

Photo credit: Jon Stapley 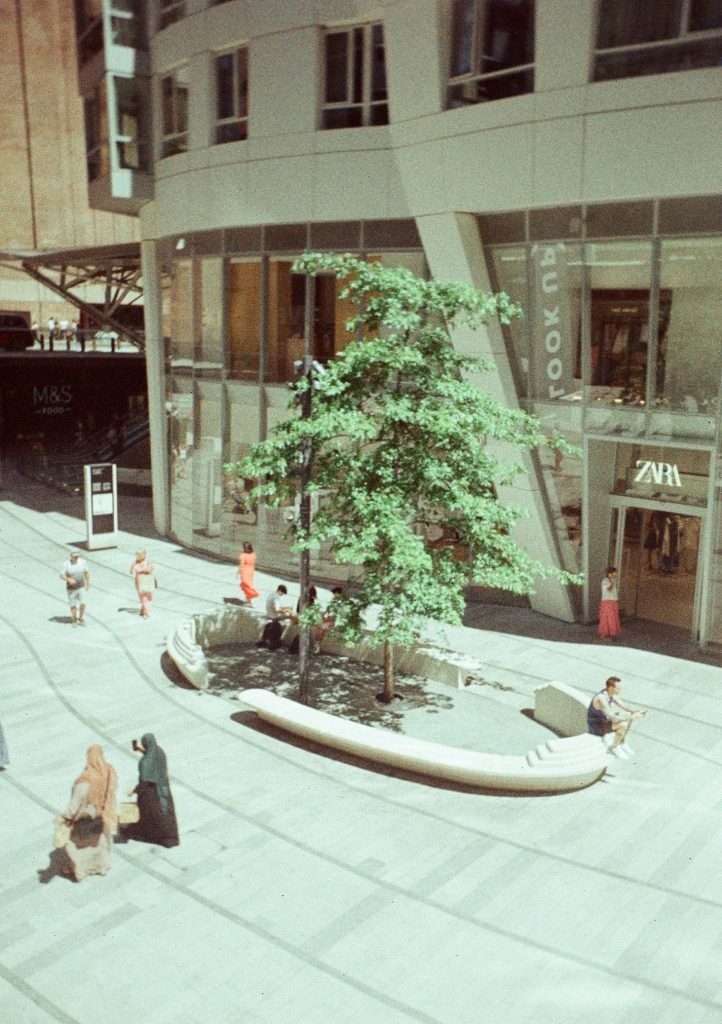
LomoChrome Classicolor 200. Photo credit: Jon Stapley 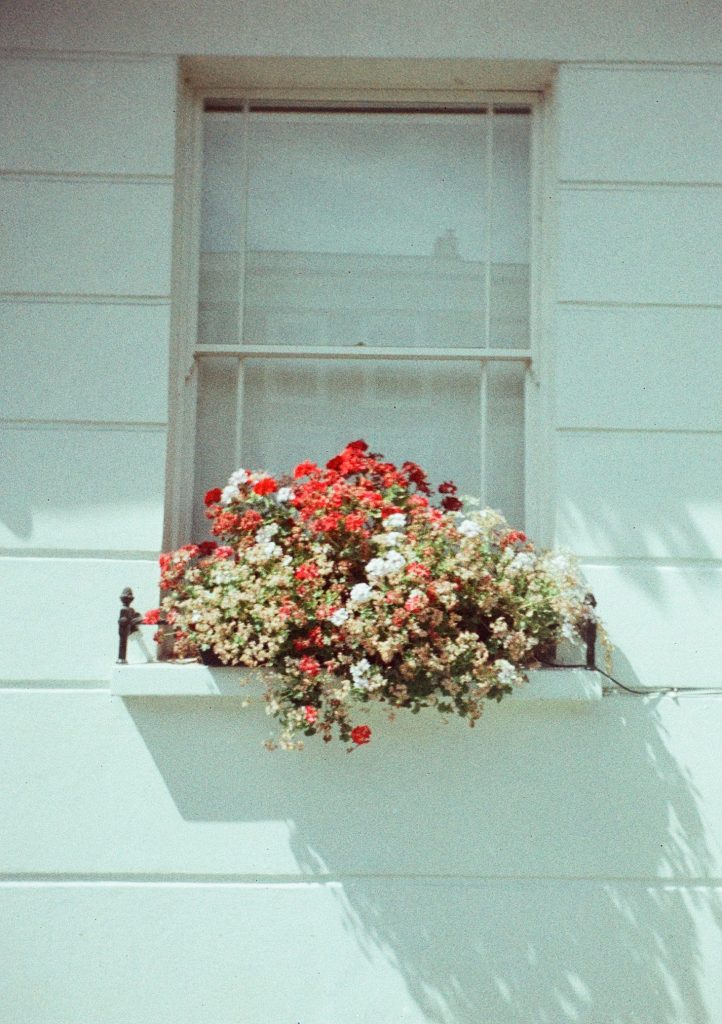
LomoChrome Classicolor 200. Photo credit: Jon Stapley 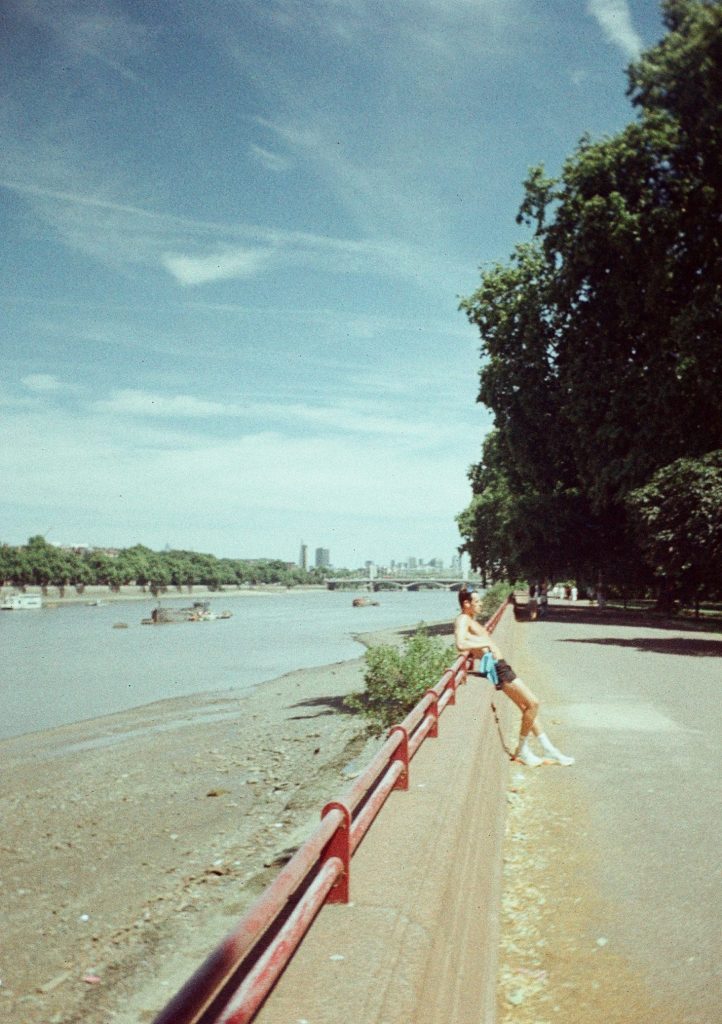
LomoChrome Classicolor 200. Photo credit: Jon Stapley 
LomoChrome Classicolor 200. Photo credit: Jon Stapley 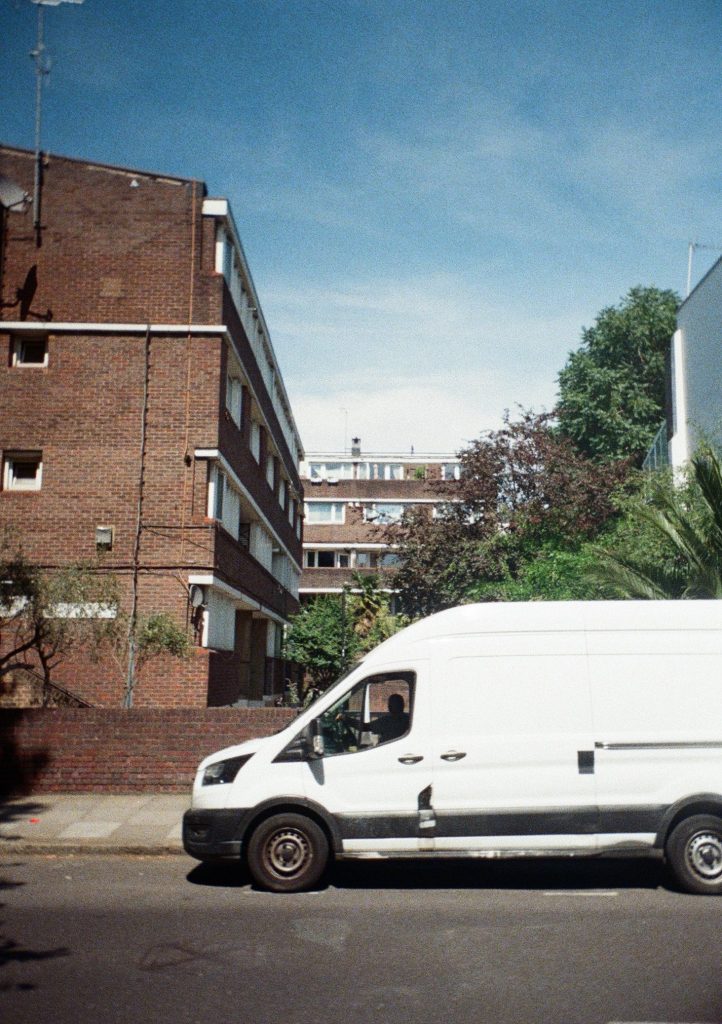
Lomo Color Negative 400. Photo credit: Jon Stapley 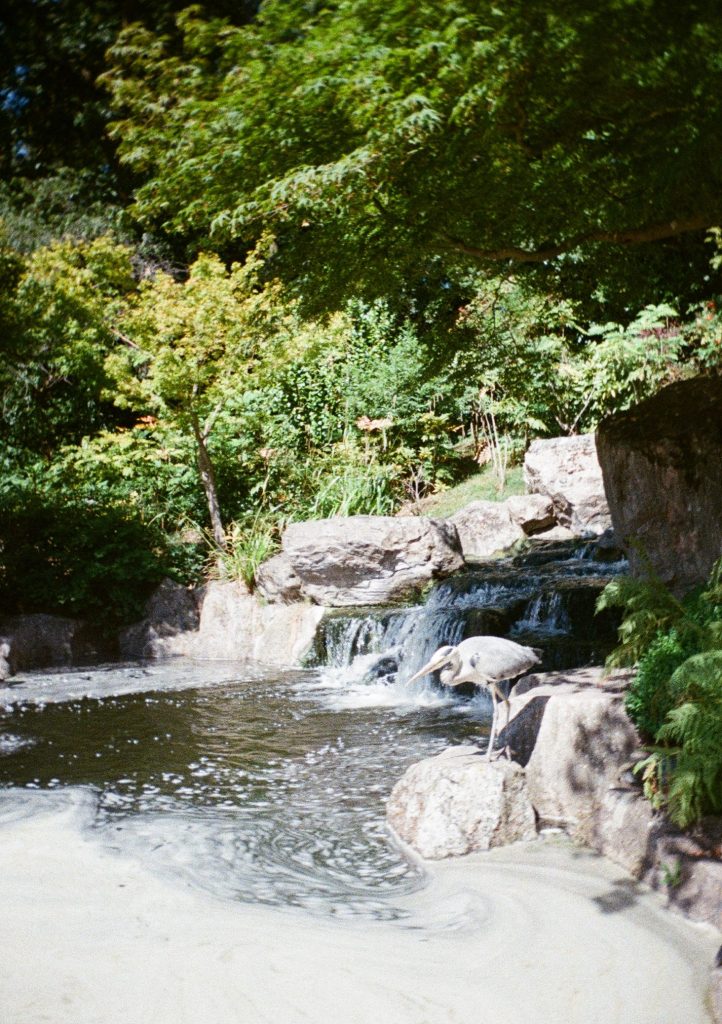
Lomo Color Negative 400. Photo credit: Jon Stapley 
Lomo Color Negative 400. Photo credit: Jon Stapley 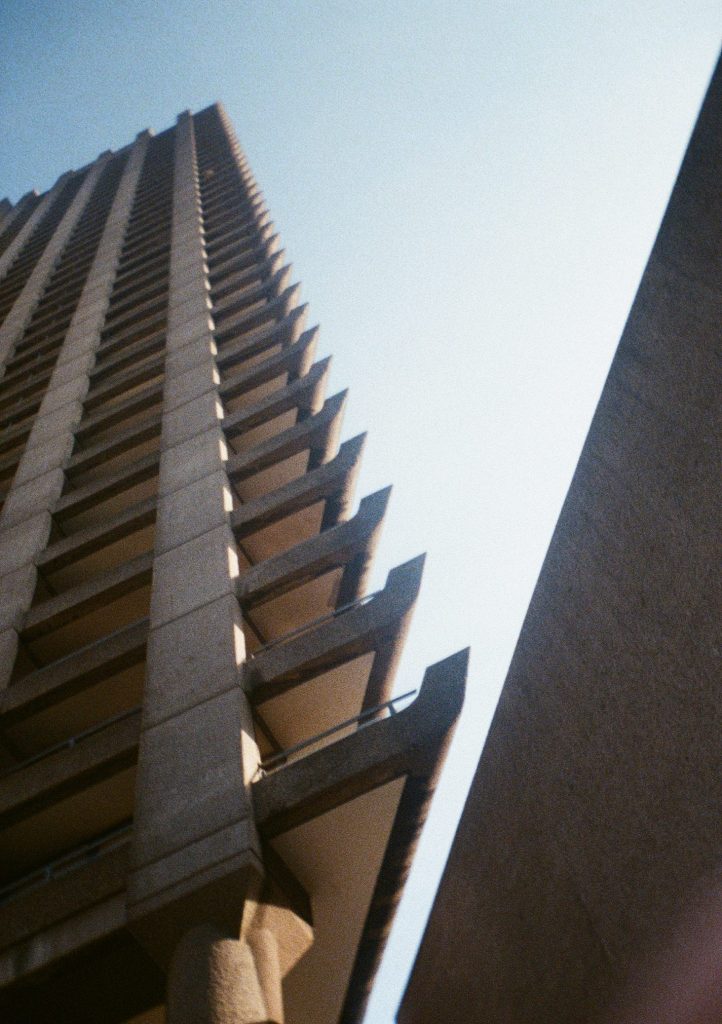
Lomo Color Negative 400. Photo credit: Jon Stapley 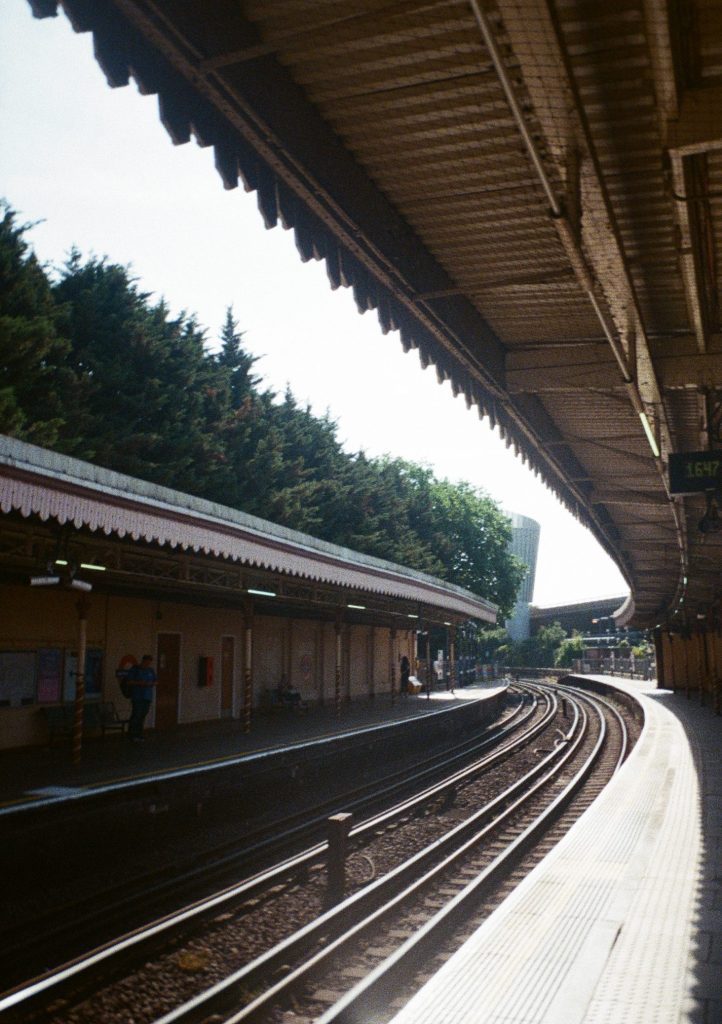
Lomo Color Negative 400. Photo credit: Jon Stapley 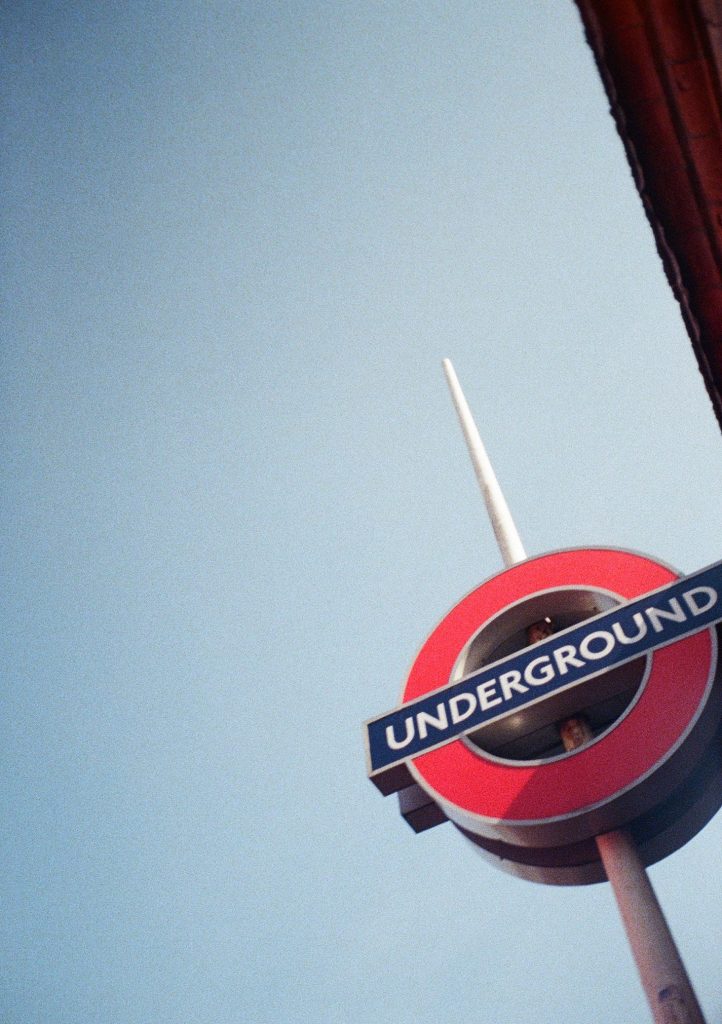
Lomo Color Negative 400. Photo credit: Jon Stapley 
Lomo Color Negative 400. Photo credit: Jon Stapley
You’ll get a few clunkers. It’s at its best with a little bit of distance, but not too much. Being too close to your subject tends to show up the fuzziness of the lens, with my attempts at flower shots coming out a bit blurry and indistinct. The same goes for trying to get scenic vistas – anything too far in the distance is just going to get lost. At a sensible mid-distance, however, subjects resolve well. The best way to get a feel for it is simply to shoot with it. Also – watch for your fingers! They can easily creep into the edges of frames.
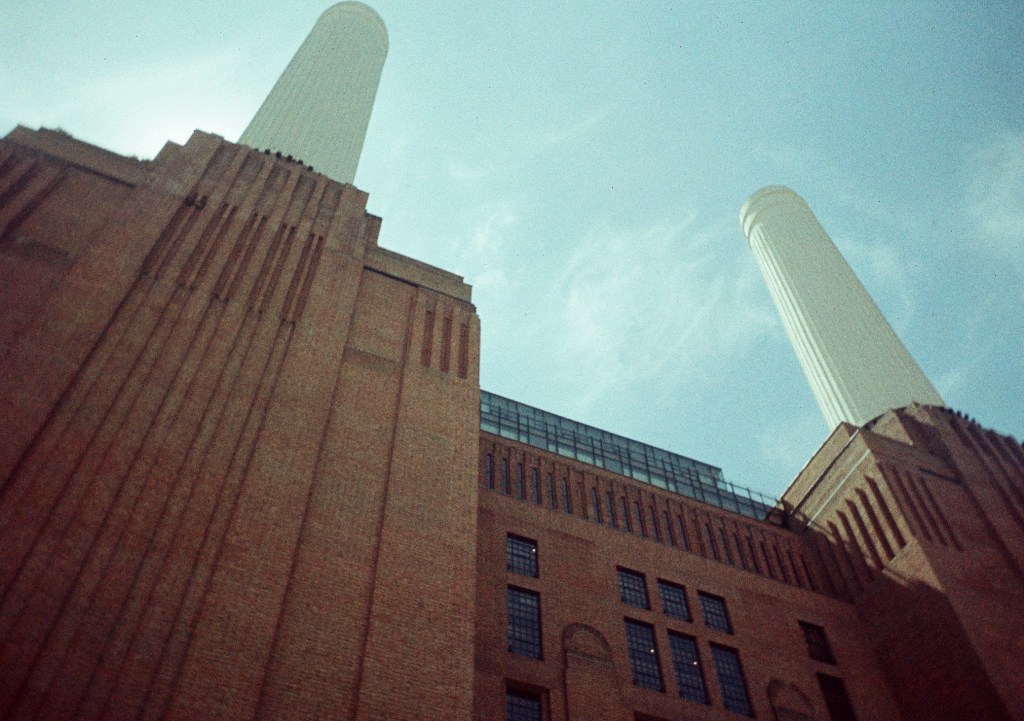
I blew through the initial roll of LomoChrome Classicolor, then reloaded with some Lomo Color Negative 400 and went again, which gave me a total of about 120 shots all-in. I loved having the freedom to experiment without worrying that I was burning through the film too fast. And while this is never going to replace my proper film camera setup, I think it would be absolutely perfect for anyone who has never tried film photography before and wants to see if it’s for them. The scope to go wrong is so limited that you’re all but guaranteed to get a usable roll of film on your first try – and I know plenty of film photographers who did not manage that. Including me.
So, if you’ve always wanted to try out film photography but haven’t been sure where to start – I’d say start here!
More reading:
- Lomography MC-A review – style and substance
- Instax vs Lomography: 3 reasons why Instax reigns supreme
- The new Kodak EC35 is a film camera so simple that absolutely anyone can use it – you’ll want to take it everywhere
Do you want to win some great prizes for your photography? Enter your photos in our International Amateur Photographer of the Year competition. Free entry for photographers aged 13-21.
Follow AP on Facebook, Instagram, YouTube, TikTok and Irys.