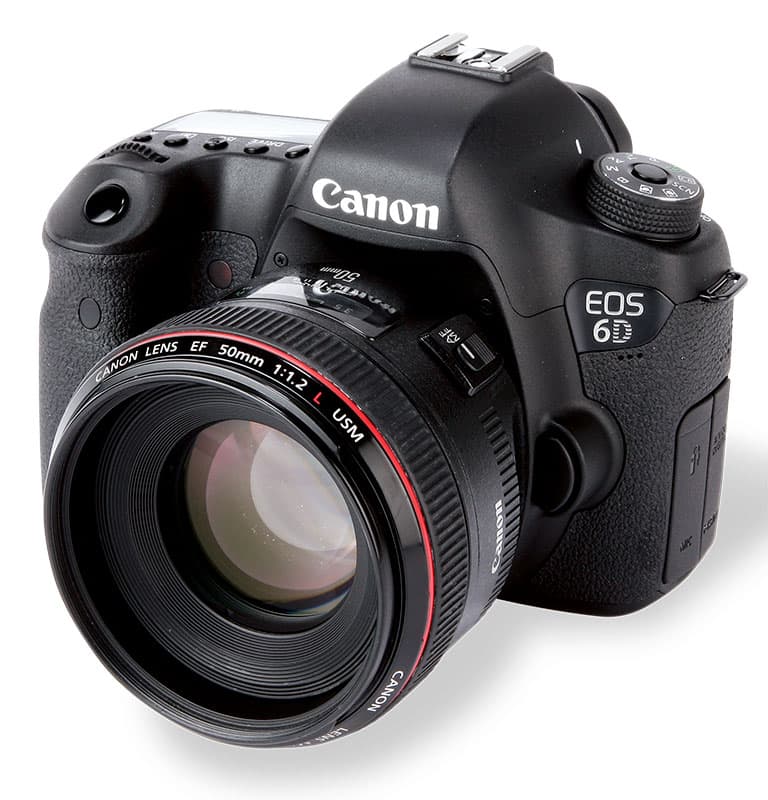
Canon cameras generally produce good-looking JPEGs, with strong colours and well-judged auto white balance and exposure, especially from its compact and mirrorless models.
Its built-in colour modes include some that are designed to be used directly, and others optimised for further post-processing. Its most recent cameras now include advanced sharpening controls to give cleaner rendition of fine low-contrast detail.
Here’s how to get the best out of them.
Picture Styles
Canon’s core colour settings are called Picture Styles, and offer a variety of different processing and colour looks.
Standard, Landscape, Portrait and Monochrome are all designed to give output that’s ready to use, while Neutral and Faithful are both somewhat muted with low levels of sharpening, and assume the user will do further post-processing on them before use.
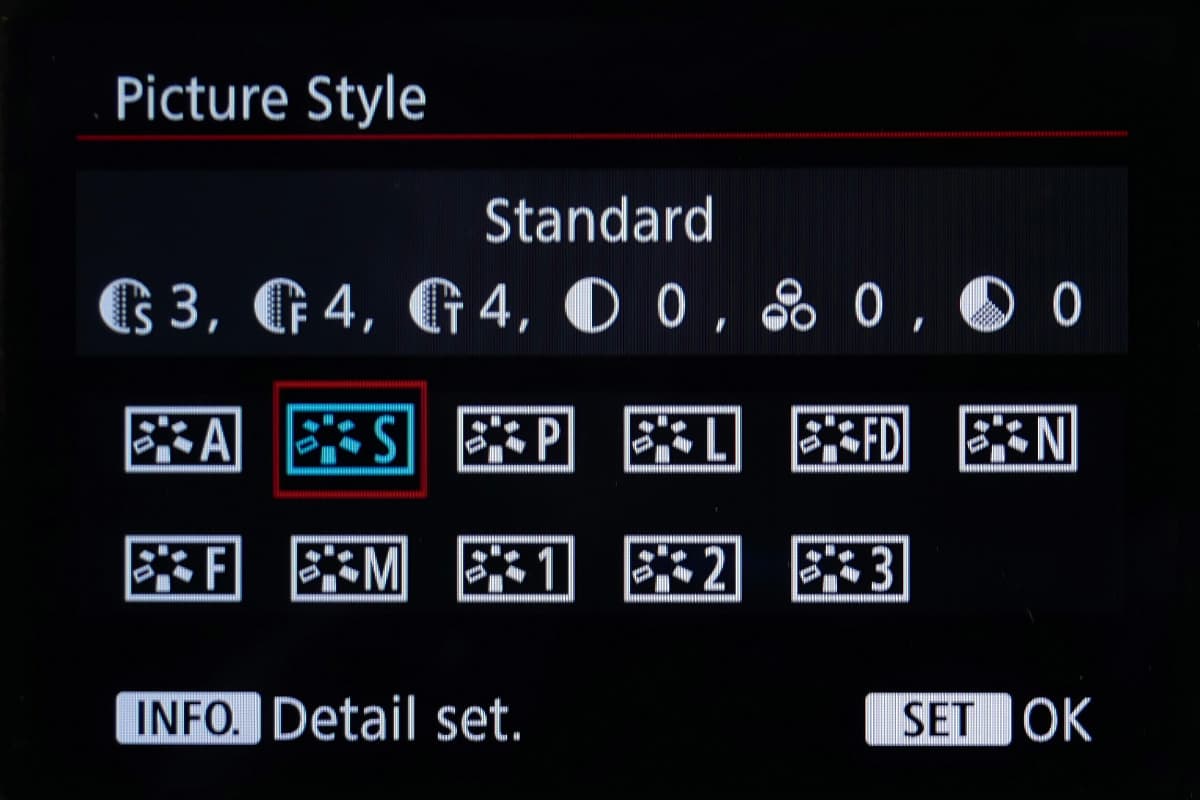
All these picture styles can be fine-tuned with respect to sharpness, contrast, saturation and colour tone, and user-defined variants can be saved within the camera, too.
A selection of more niche styles can be downloaded from Canon’s website and uploaded to your camera, such as Studio Portrait or Autumn Hues.
It’s also possible to define your own picture style, using Canon’s free Picture Style Editor that’s supplied with the camera.
You can adjust how the camera’s colour output will look pretty much as you please, and if you own several different EOS models, it’s possible to load your personalised picture style onto each of them.
Fine detail
Following the launch of the EOS 5D Mark III in 2012, Canon came in for some criticism for making more heavily processed JPEGs than on previous models, with over-enthusiastic noise reduction resulting in mushy, ill-defined shadow details.
This was compounded by unsubtle sharpening giving bright halos around high-contrast edges. Unfortunately, it’s impossible to get around this, even by turning down the noise reduction and sharpening.
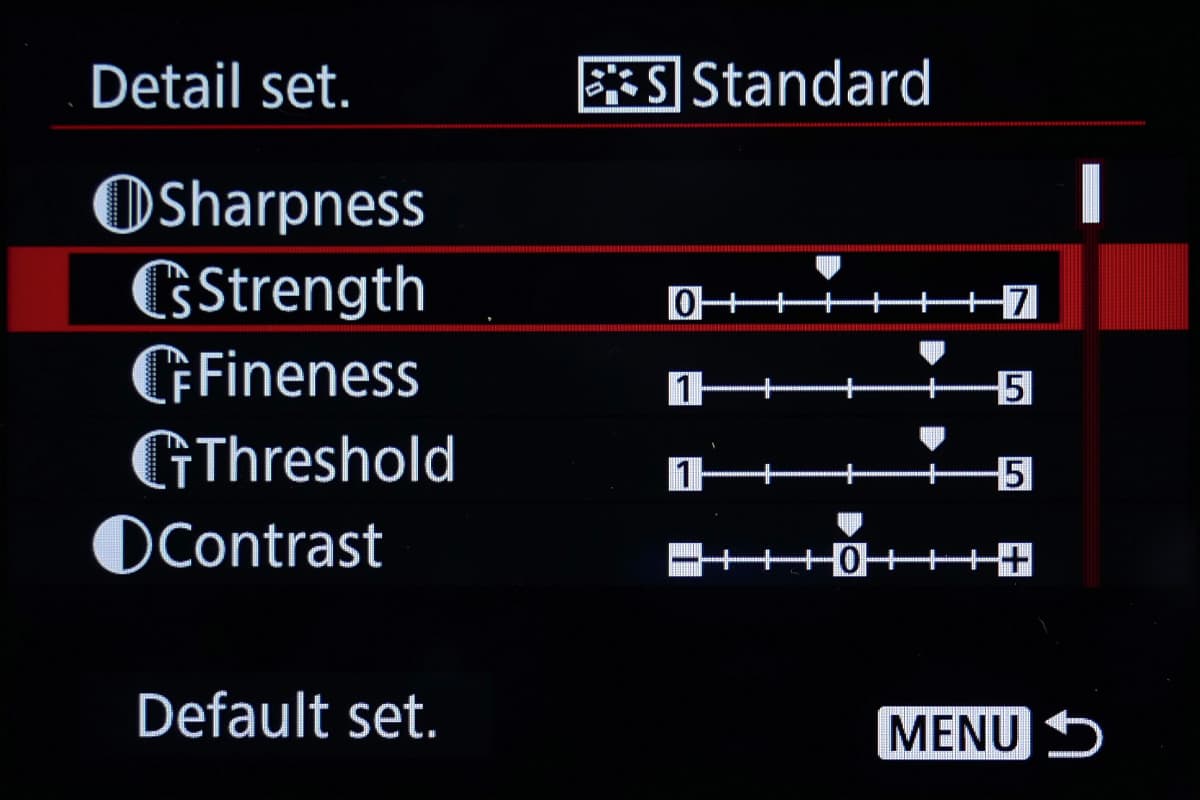
On its most recent models, however, starting from the EOS 5DS/5DS R, Canon has introduced much more subtle processing, including controllable fine sharpening.
This is incorporated into its Fine Detail picture style, which we’d recommend to anyone looking to make large prints or simply maximise pixel-level detail for on-screen viewing.
In terms of colour palette, this is based on the Standard style, but users can gain the same benefits by copying the sharpening parameters to other picture styles.
Highlight Tone Priority
Highlight Tone Priority (HTP) is a fairly straightforward dynamic-range expansion tool that enables an extra stop of information to be incorporated into the highlight areas of JPEGs before they clip to pure white.
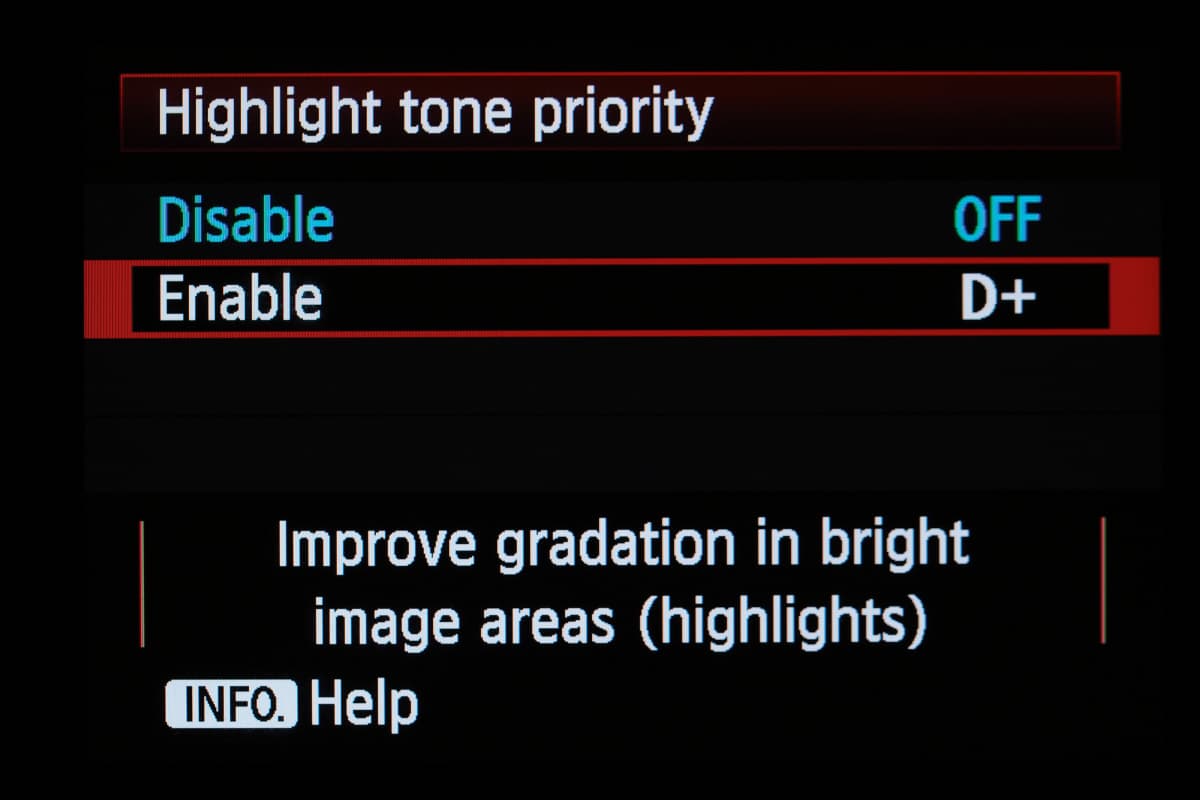
The penalty is that the minimum usable ISO increases a stop from ISO 100 to ISO 200 (as the process is similar to underexposing by a stop then pulling up the midtones and shadows in post-processing).
It’s most effective in high-contrast situations where you have large expanses of white in your images – for example, clouds, whitewashed walls or wedding dresses.
Auto Lighting Optimiser
Auto Lighting Optimiser (ALO) is similar to HTP in that it aims to help you get a better-balanced image in high-contrast situations, but it uses more sophisticated algorithms to balance dark areas of the frame against lighter regions, without losing overall tonal contrast.
For example, it can use face detection to identify your subjects and lighten them if they’re underexposed, without throwing away highlight details in the process.
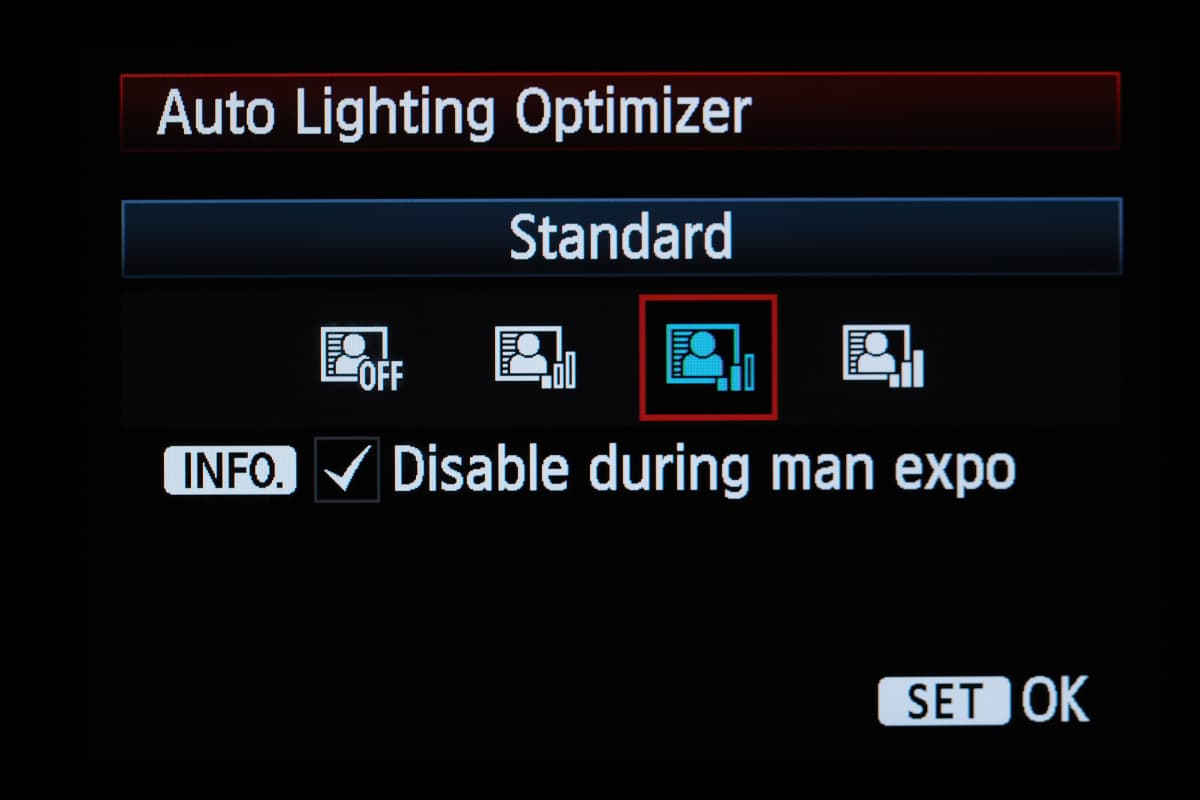
On some models it can be set to three different strengths, although the strongest can look somewhat artificial.
You can choose to disable it when shooting in manual-exposure mode while keeping it active in the other exposure modes, otherwise your images may end up with unpredictable brightness.

Here, the EOS 6D has given great colours and well-judged white balance
Other camera manufacturers:
How to get the best JPEG images from your Olympus camera
Our guide to the best JPEG image settings for Pentax cameras
Our guide on how to get the best JPEG images from your Fujifilm
How to get the best JPEG images from your Nikon camera
How to get the best JPEG images from your Sony camera
How to get the best JPEG images from your Panasonic camera

