Because home processing is less common these days, I think people are put off trying it, in the mistaken belief that it is difficult or dangerous. It isn’t, and once you have seen it done or tried it yourself, you’ll wonder why you ever hesitated to process your own photographs.
To begin processing you will need to buy a few things – it won’t cost much to get set up and the equipment will last for years. The most important consideration, though, is the chemicals you use as there are a large number of film developers available and many ways to use them.
The first chemical you’ll need is a developer. Some developers give finer grain and better detail; others give sharper-looking images, but with exaggerated grain. There are developers that you mix up from powder, and store as a large volume of working solution, and there are others that come as a bottle of concentrate that you dilute immediately before use. Some can be used many times over and others are discarded after one use.
I would suggest that the bottled concentrate is best to start with, as it will give more consistent results, as long as you are careful with your measuring. There is also less risk of you breathing in the powder as you mix it. Before you pour the developer into your developing tank and the awaiting film, you need to know three important factors for the process: the strength of the developer, the actual temperature of the developer, and how long it is in the tank.
The developer
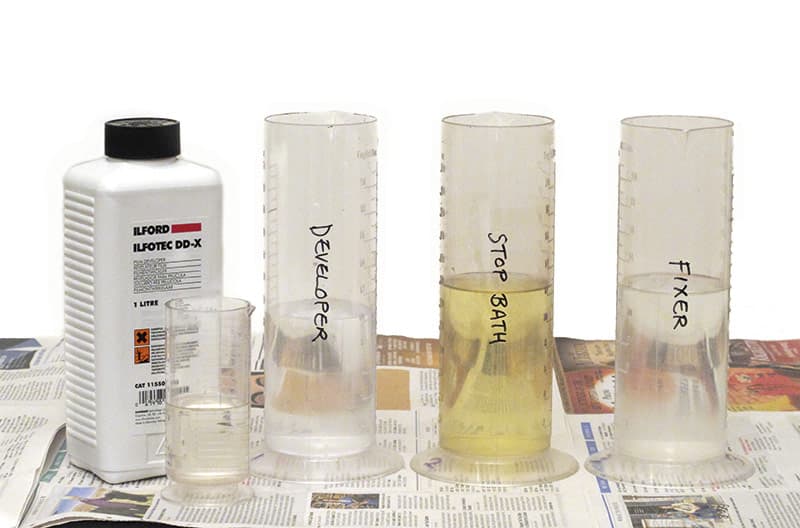
The developer I’m going to ask you to try first is Ilford Ilfotec DD-X. This is a superb developer and is easy to use. It is mixed with water to a ratio of 1:4 (in all the ratios mentioned here, the smaller number refers to the concentrate and the larger number refers to the water quantity).
The developer is working on the parts of the film that have received light, making them go darker and darker. If you stop development too soon you will have pale grey images that won’t scan or print properly. Letting the developer work on the film too long will cause those areas to go totally black, and this will prevent light passing through, making it virtually impossible to see any detail in those areas.
If the developer is too warm it will blacken the film faster, while if it is colder it will take longer. To help ensure you have the right developer temperature, get yourself a large jug of roughly room-temperature water. Put the thermometer in and keep adding hot or cold water until you have the water at 20°C, then measure out 280ml into your large measuring container. In a smaller measuring container, pour out 70ml of Ilfotec DD-X. Now mix together and give it a quick stir. You now have 350ml of working-strength solution. This is more than is needed to cover the film in the tank, but having that extra 50ml will ensure that the film is still covered, even when agitation causes frothing.
Stop Bath
The aptly named stop bath is simply a diluted acid, which stops the action of the alkaline developer and prevents it from going any further. The concentrate is rather strong, so don’t get it on your skin. Dilute it with water to get a working-strength solution – usually 1 part stop to 19 parts water – a slightly weaker mix is better than a slightly stronger one.
Finally, the third chemical in the process is the fix. The oldest type of fix was known as hypo, but it is slow to work. Most people use the quicker type known as ‘rapid fixer’. If you are buying Ilford products, you might as well go for Ilford Hypam rapid fix. This is mixed up at 1:4.
Washing
The fix, which is embedded in the emulsion of the film, will bleach away the images if it is not removed, so washing is essential. Put the tank in the sink and fill it with cold water. Rinse the whole tank, funnel and lid to get the worst of the fix off, then pour out the water and refill. Put the funnel in, the lid back on and agitate by inverting five times.
Pour out the water and refill, put the lid back on and invert ten times. Pour out the water and refill again, then invert it 20 times. Empty the tank, refill and leave it to stand for 10mins – this will allow small amounts of fix to diffuse out of the film. Then invert 20 times, remove the film from the spiral and hang up to dry. Some people advise that after washing you should always squeegee the film from top to bottom to get the water droplets off, but this can easily scratch or damage the film, so I never do it.
Kit list
Tools
- Rubber gloves
- Changing bag
- Bottle opener
- Scissors
- Thermometer
- 1 x 150mm and 3 x 1l measuring jugs
- Large funnel
- Negative storage pages
- Developing tank
Chemicals
- Ilford Ilfotec DD-X concentrate (1l bottle). Dilute 1:4 to use (70ml concentrate to 280ml of water)
- Ilford Ilfostop Stop Bath (500ml bottle). Dilute 1:19 to use (17ml concentrate to 330ml of water)
- Ilford Hypam (1l bottle). Dilute 1:4 to use (70ml concentrate to 280ml of water)
Step by Step Guide to Film Processing
1. Preparing your film
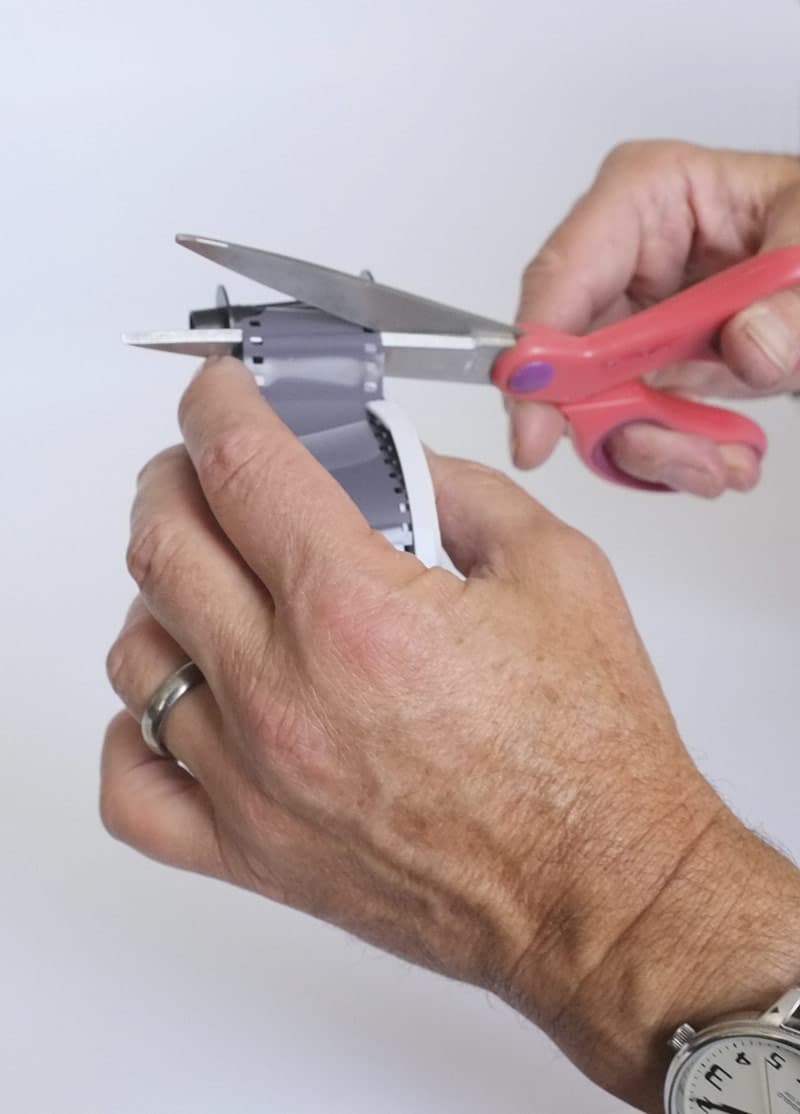 Using a changing bag, the film needs to be removed from its canister and fed into the spiral of the central reel from the tank. Cut off the thin end of the film (known as the film leader) and push the cut end of the film in where the lugs on the spiral protrude.
2. Loading the film
 If you can push the film in, continue in this way, but if it gets too stiff don’t force it, as you will crease the film.
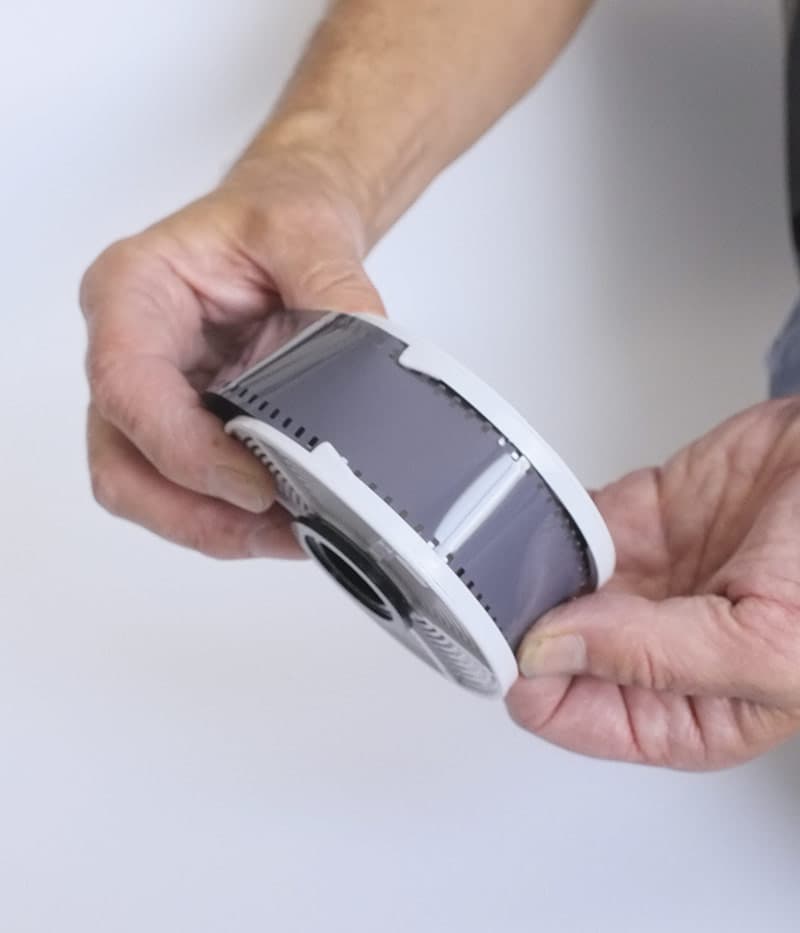
If pushing is not possible, hold the spiral with one side in each hand and twist it backwards and forwards, drawing the film in as it becomes gripped by the ball bearings.
3. Place in dev tank
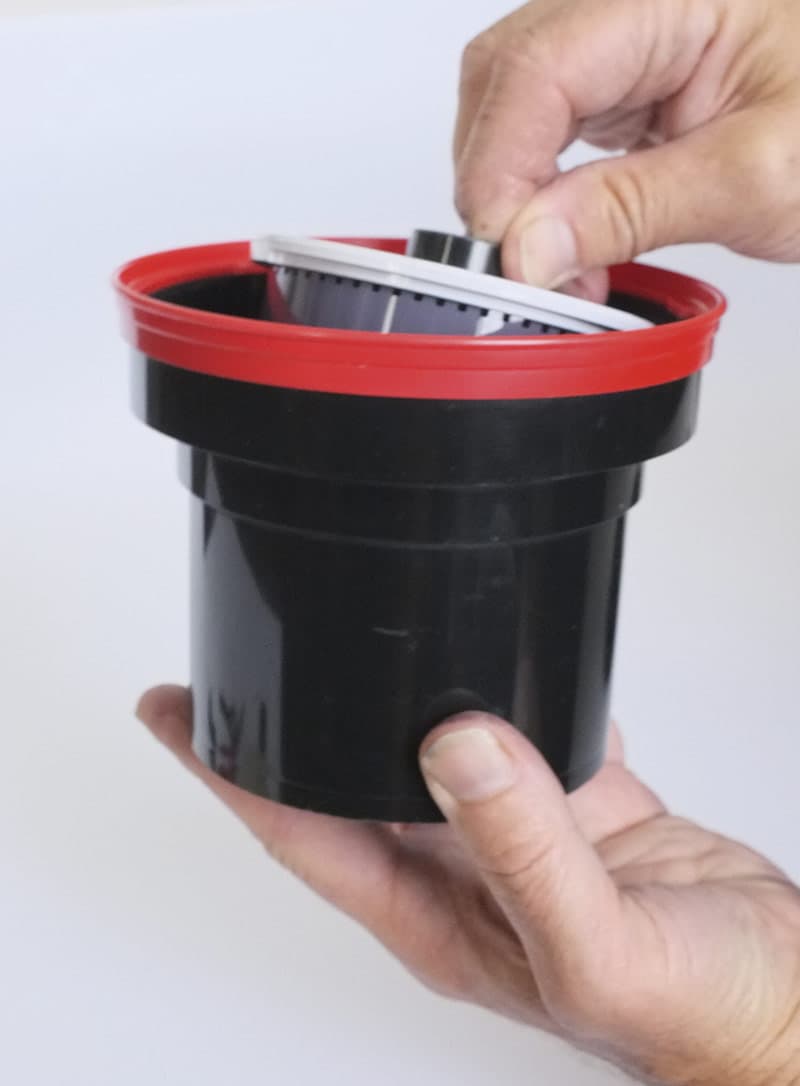 When the full length of the film is almost loaded, cut the film spool off the end and make sure all of the film is fully on the spiral. Put the spiral onto the central column and push it right down. Put the black funnel in and turn until it clicks.
4. Set out chemicals
 Once the tank funnel has been clicked into place, it’s time to get your chemicals ready. Wearing rubber gloves, I would also advise that you cover your table or work surface with plenty of newspaper in case of a spillage or splash. Ideally, your location should be the bathroom, not on the dining table.
5. Agitate
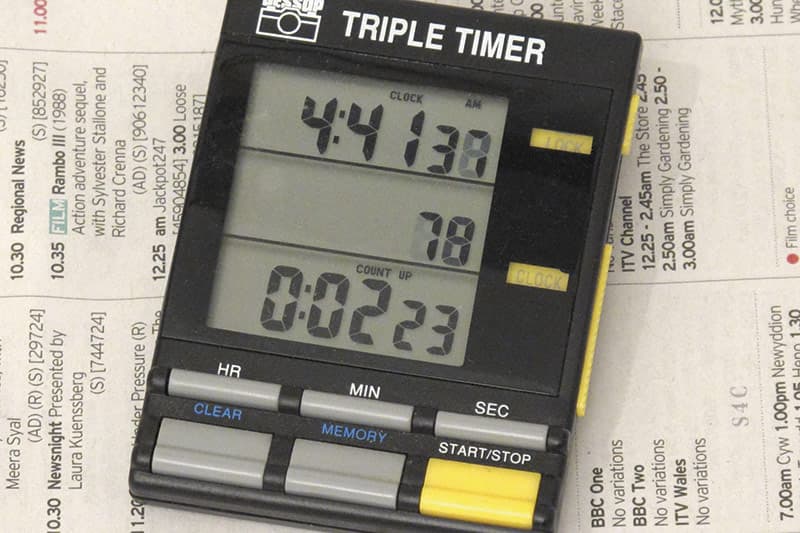 Pour the developer solution (ensuring correct temperature and ratio) into the tank and push on the rubber cap. Now invert the tank ten times, put it down and immediately start your timer. When 1min has elapsed, pick up the tank and invert it three times, then put it down again. Repeat this each minute until you get to the ninth minute.
6. Stop bath
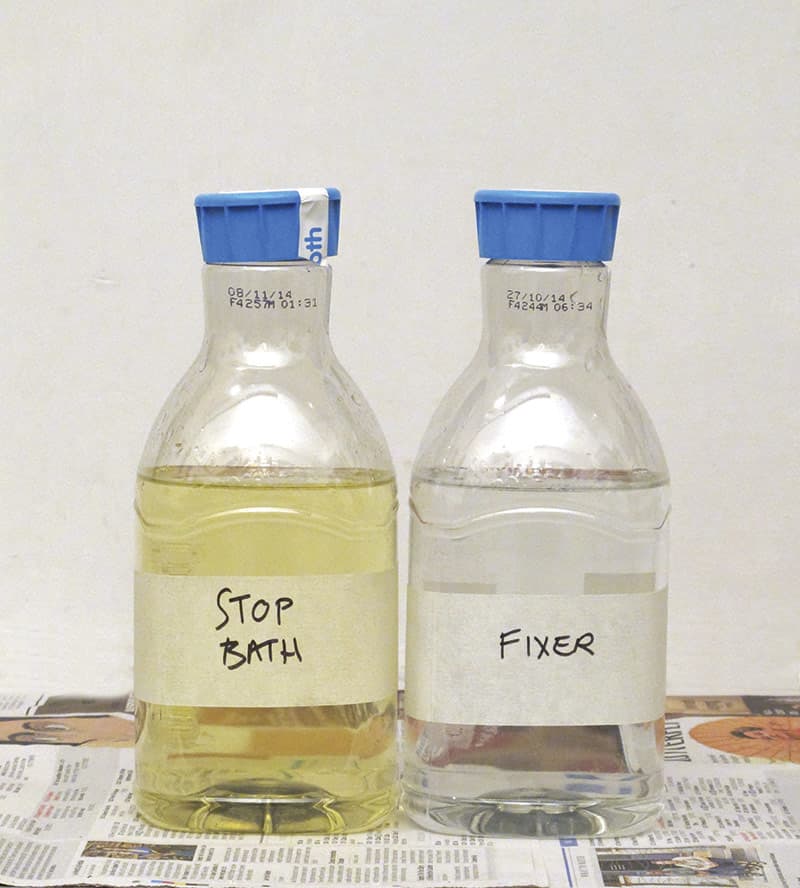 Remove the rubber cap only, pour away the developer and then quickly pour in 350ml of stop bath (1:19). Put the cap on again and agitate the tank by inverting ten times. Pour the stop bath back into the measuring flask to be used again (keep two bottles with good lids to store your used stop and fix), and pour in 350ml of working-strength fix.
7. Fix
 Start your timer and agitate the tank for 1min. Take off the rubber cap, take out the funnel and lift out the spiral. The film will look milky rather than clear. Put the spiral back in the fix and agitate it by turning it forwards and backwards, and lifting and lowering it. Check the milkiness every 30secs and look at the timer.
8. Moving
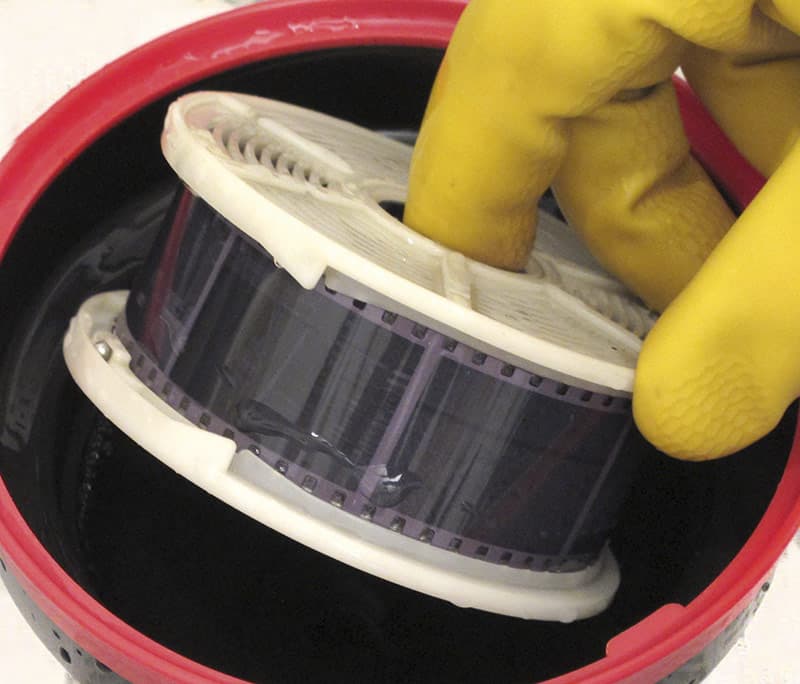 When the milkiness has gone, the film is half fixed, so double whatever time this is. Keep it moving round and round, up and down, throughout the fixing time (relatively quick in summer, quite a bit longer in winter, when the chemicals are colder). Once the film has been fixed, return the chemical to a storage bottle.
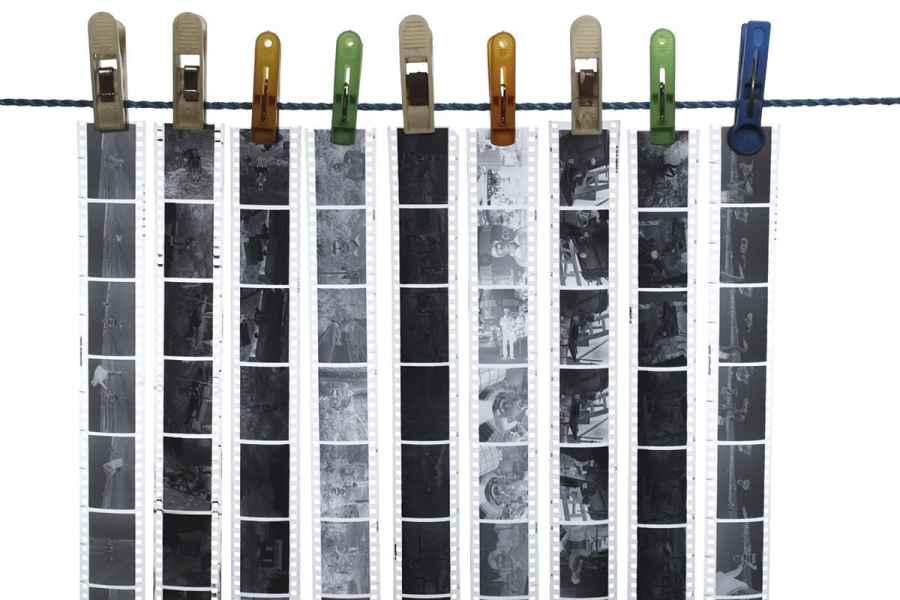
9. Wash and hang
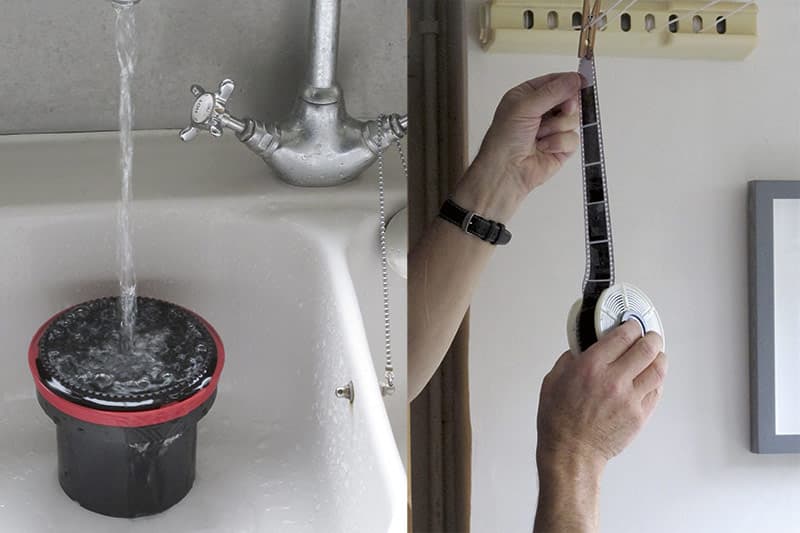 Washing is essential and then leave to dry. At this point, the film surface is vulnerable to damage, so avoid the temptation to look at it. A good place to hang your film is in the shower overnight. A bit of bent wire will hold it at the top, but don’t let it touch any surfaces. A wooden peg on the bottom will help to reduce curl when it dries.
Useful contacts
www.firstcall-photographic.co.uk