

Amateur Photographer has rounded up 30 lens tips to make sure you’re making the most of this vital part of your photographic kit.
1. Lens tips: Find the perfect depth of field
It’s not always practical to use a lens’s sharpest aperture because the depth of field may not be appropriate for your image. This means it’s well worth spending some time experimenting with different apertures so you develop a good understanding of the relationship between aperture and depth of field.

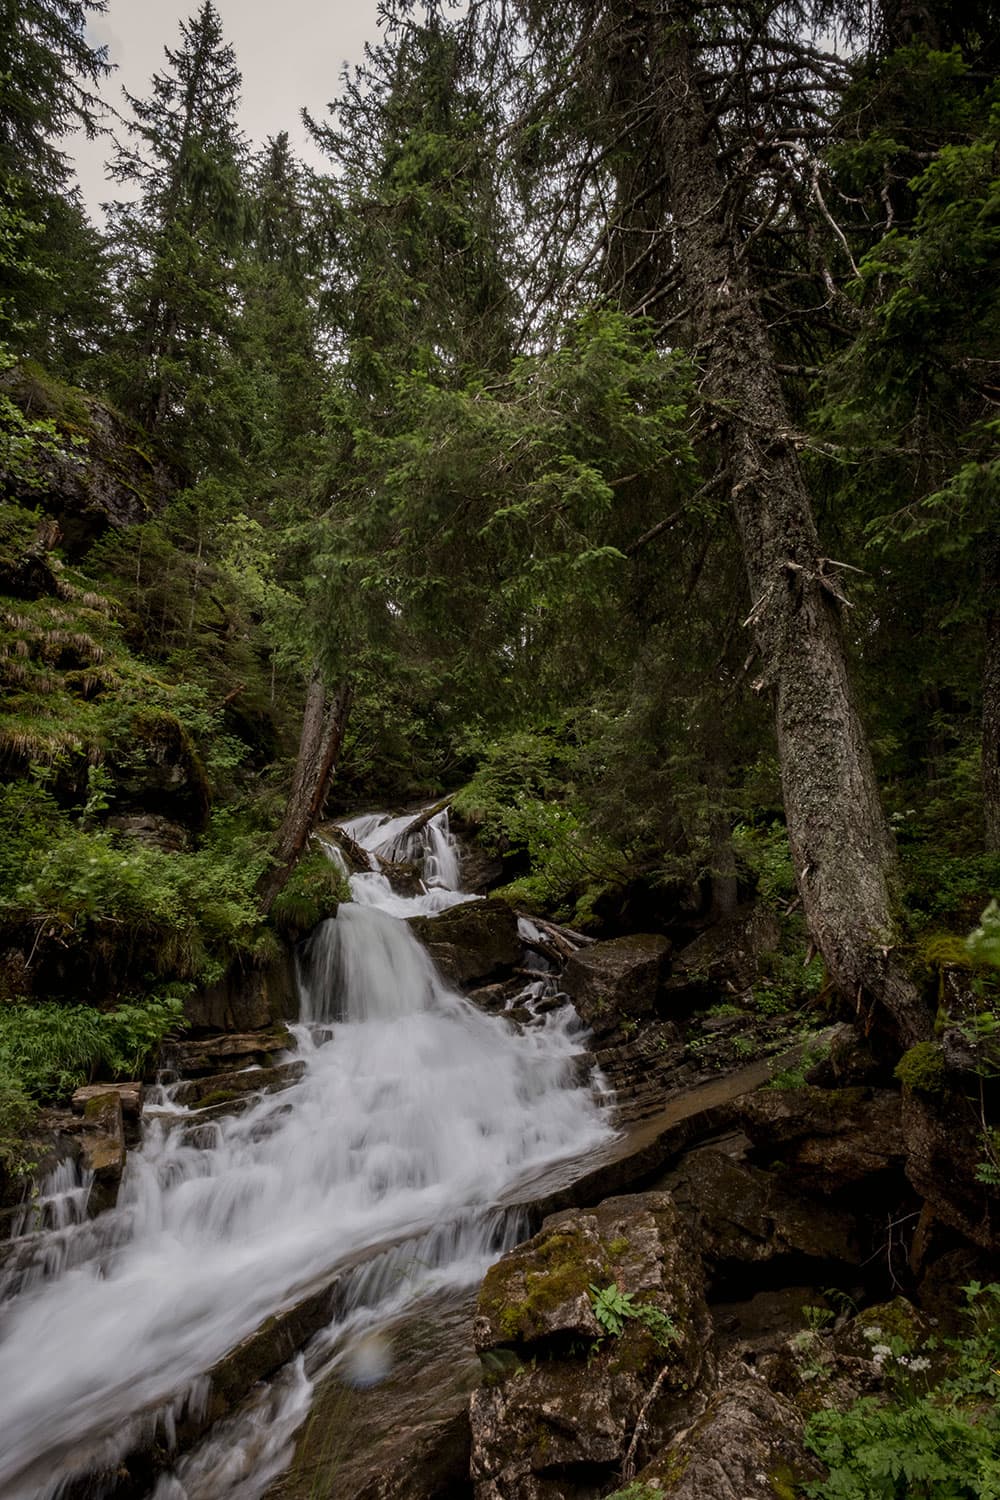
Front-to-back sharpness is usually desirable in classic landscape shots © Angela Nicholson
2. Lens tips: Find the best aperture
Most lenses produce sharper results when the aperture is closed down a little. Meanwhile at small apertures the effects of diffraction creep in, making images soft. Ensure you get the very best from your lenses by shooting at every aperture and finding the one that produces the sharpest results.
3. Lens tips: Shoot at one focal length
Dedicate some time to shooting at one focal length. It allows you to get to understand the angle of view, so when you’re confronted with a scene in the future, you instinctively reach for the right lens.
4. Lens tips: Find the nodal point
The nodal point of a lens is the point at which rays of light entering it converge, and it’s the ideal point around which to rotate the camera when shooting a sequence of shots to create a panoramic image. A simple way to find this point is to put a stick or wire in front of the camera and align it in the viewfinder with a more distant object.
Then try rotating the camera around different points along the lens barrel – ideally with the camera mounted on a panoramic tripod head. You’ve found the nodal point if the two objects stay in alignment during the rotation.

5. Lens tips: Shoot at one aperture setting
Applying limitations to your shooting can be a great way of helping you to think more creatively about your subject. If you want more depth of field, use a wider lens or move further away. To restrict it, go closer to your subject or use a longer lens.
6. Lens tips: Focus manually
The autofocus systems on cameras today are good, but you’ll find they’re not completely infallible. If you practise your manual-focusing skills on a regular basis, you’ll find you’re faster and better equipped when you need to do it in anger.
7. Lens tips: Shoot into the sun
Flare is often something that we try to avoid, but it’s become a fashionable look, especially in portraits. To get flare in your image, take off the lens hood and shoot with the sun close to the edge of the frame so the light passes across the element of the lens. For an even more dramatic look, shoot with the sun in the frame.

Softness and bleached-out colours are characteristic of images shot into the sun
8. Lens tips: Shoot wide open
Shooting with selective focus is a great way of drawing attention to your subject. Keep an eye on the background and change subject distance to find the right combination of subject sharpness and background blur. With wideangle lenses, you’ll be able to include more context.

Focus on an important element, then open your lens to its widest aperture, for an eye-catching effect © Angela Nicholson
9. Lens tips: Have them serviced
A good lens will last a long time but it needs to be looked after. Book your older lenses into an accredited service centre to get them checked over, serviced and calibrated (if necessary) by experts.
10. Lens tips: Fit a slide copier
You can digitise old slides or negatives easily using a slide copier mounted via a lens filter thread. Make sure your film is spotless and focus carefully to get high-quality digital versions using your camera.
11. Lens tips: Play with bokeh
Cut out a few discs of black card large enough to cover the front element of the lens, then carve shapes into their centres – stars, hearts and snowflakes all work well. Use the discs over the front of your lens when you’re shooting at wide apertures to give out-of-focus highlights a distinctive appearance.
12. Lens tips: Use a filter
Neutral-density, ND grads and polarising filters all produce effects that can’t be exactly replicated in editing, so give them a whirl. Shoot a long exposure, take out reflections or boost that sky – or all three – at the shooting stage by using a filter.
Filters open up all sorts of creative possibilities © Angela Nicholson
13. Lens tips: Shoot a zoom burst
Digital photography makes this technique far easier than it would be on film. Just compose your shot and set a shutter speed that gives you time to zoom your lens from one focal length to another during the exposure. A quarter or half a second may be sufficient but you can opt for longer. You need to zoom smoothly for a uniform effect.

Experiment with different shutter speeds when shooting zoom bursts © Angela Nicholson
14. Lens tips: Go slow
How slow can you go and stay sharp? Find the shutter speed where 50% of your shots are sharp at 100% on screen for each focal length on your zooms and with any primes. That way you’ll know (on average) you’ll have a sharp image if you take a couple of shots at that speed.
15. Lens tips: Prefocus
Prefocusing is useful in street photography, where you need to react quickly. Using an aperture of f/8 to give reasonable depth of field, set the lens to the hyperfocal focus distance in manual-focus mode and you’re ready to shoot whatever comes into range.
16. Lens tips: Use a lens hood
Some manufacturers have a habit of selling lenses without a lens hood. Although a lot of people still use UV filters in front of their lenses, it’s advisable to buy a lens hood as it’s better at helping to keep flare at bay and it also protects the front element from drops of rain and the odd knock.

A lens hood is a simple way of preventing flare in your images
17. Lens tips: Go into reverse
Another way to convert an existing lens into a macro is to use it with a reversing ring and mount it the wrong way round on your camera. This is often done with a simple threaded adapter so only manual focusing is possible – a lens with an aperture ring is usually favoured because this allows some control over depth of field.
18. Lens tips: Get some support
It’s tempting to shoot handheld but using a monopod will not only make framing a distant subject easier, but also reduce the chance of camera shake with long lenses.
19. Lens tips: Softly does it
For a range of soft, streaked effects, pop a clear filter on your lens, then apply a tiny spot of Vaseline and smear it around the edges, keeping the centre clear. Change the look of the blurred areas by making different marks in the Vaseline.
[collection name=”small”]
20. Lens tips: Ring ring
With its two male filter threads, a coupling ring enables you to mount one lens on the camera as normal and then attach a second lens in reversed position using the coupling ring in the filter threads. The reversed lens acts like a high-quality and very powerful close-up lens.
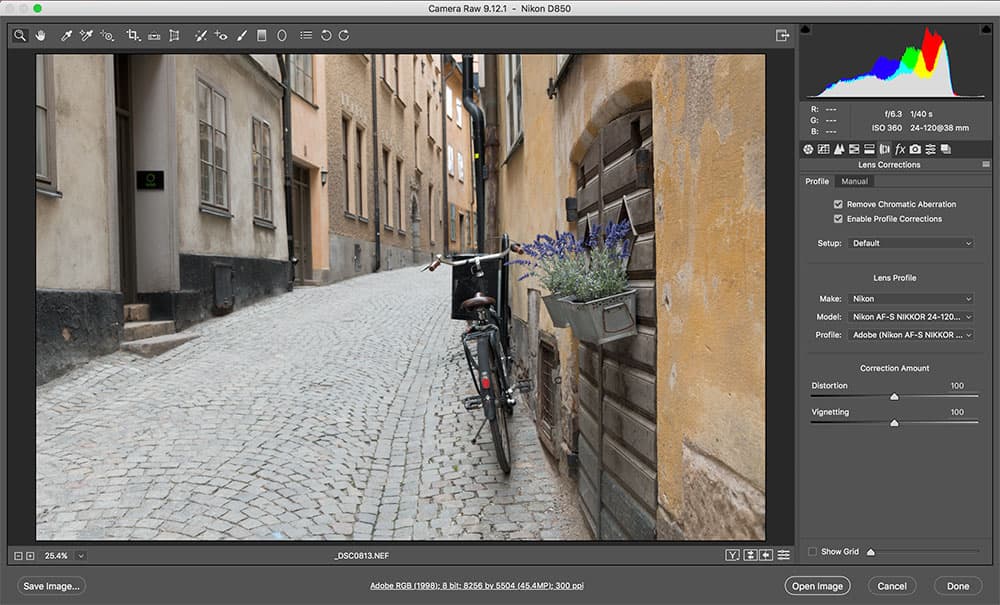
21. Lens tips: Use Lens Corrections or create your own
Adobe’s Camera Raw and Lightroom have a Lens Corrections section that provides a quick and easy way of correcting distortion, chromatic aberration and vignetting. If you have a lens that isn’t supported, you can print off some testing charts and use the Adobe Lens Profile Creator to create your own correction profile from your test shots. Download the creator tool and charts from https://helpx.adobe.com/photoshop/digital-negative.html#resources
22. Lens tips: Use an adapter and fit it to another camera
These days, you can buy an adapter to fit just about any lens on to any camera body, so if you’re switching systems, you may find that you are able to use some of your existing lenses on your new camera body.
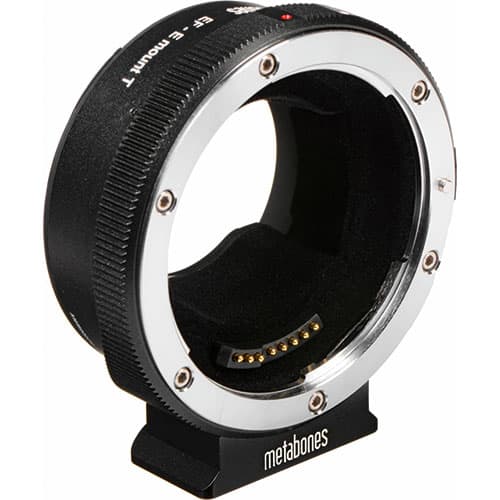
An adapter widens your lens options
23. Lens tips: Update the firmware
It’s not just cameras that have firmware updates. Some manufacturers issue them for lenses, too, so keep an eye out and update if necessary.
24. Lens tips: Use an extension tube
An extension tube that fits between your camera and lens enables the lens to focus much more closely to the subject than normal, turning it into a macro optic. With a long extension, or using two or three tubes, you can usually shoot at greater than life-size.

Combine extension tubes to go bigger than life-size
25. Lens tips: Try freelensing
Provided you don’t mind getting a bit of dust on your sensor, it’s possible to approximate the effect of a tilt and shift lens by holding the lens close to your camera but not actually mounting it on the body. As the lens isn’t mounted, you can use any optic on any camera body.
26. Lens tips: Embrace distortion
Distortion is usually seen as a flaw of lenses, but shooting with it in mind – especially when combined with exaggerated perspective and wideangle optics – can produce interesting, funky images.
27. Lens tips: Check the focus
Your DSLR’s autofocus system may not be perfectly in tune with all of your lenses, so if you check carefully, you’ll find it focuses slightly in front of or behind the intended target. Many cameras have an AF calibration system that enables you to adjust how your lenses focus so it gets it right.
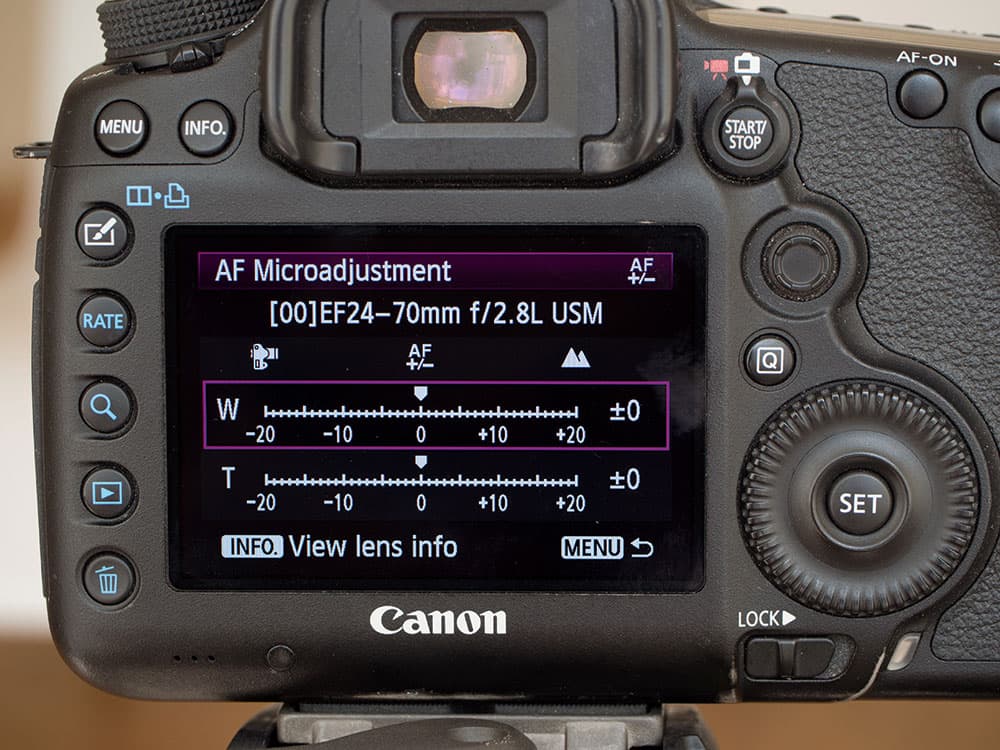
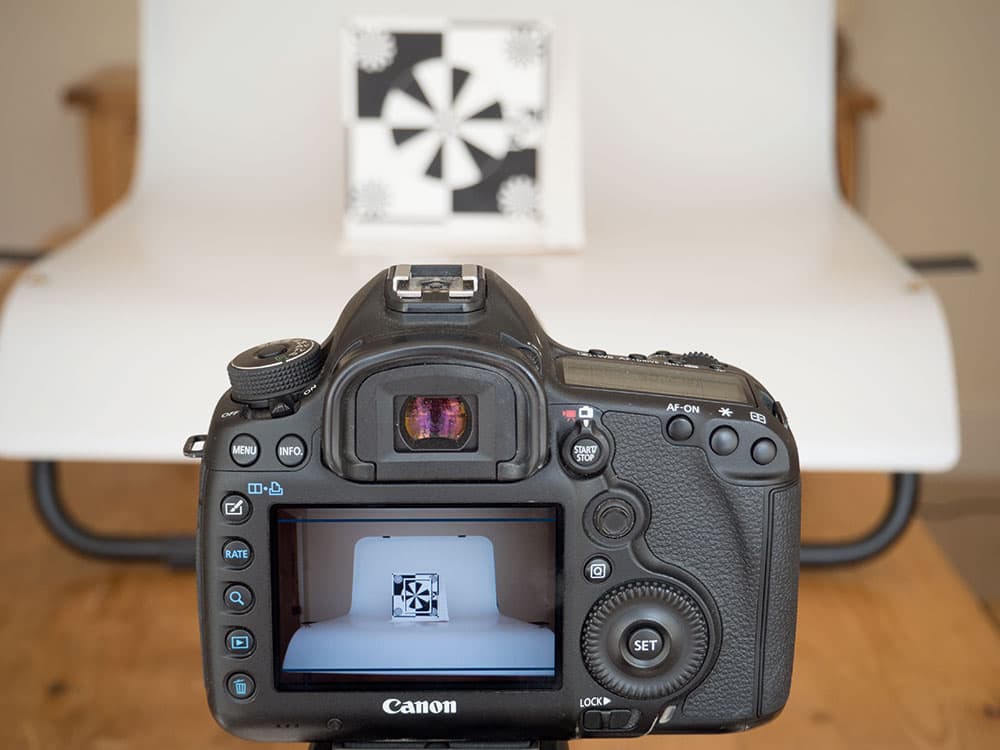
Calibrate your lenses to ensure perfect focus every time
28. Lens tips: Shoot out of focus
Most of the time we’re preoccupied with shooting images in focus, but occasionally you can really capture the vibe with an out-of-focus shot. You’ll find this easier to achieve in manual-focus mode. Experiment with different degrees of blur until you find the right level for the image; it needs to look deliberate while some elements are still recognisable.

© Angela Nicholson
29. Lens tips: Use a teleconverter
A teleconverter is a great way of making your telephoto lens longer at a fraction of the cost of a long lens. They usually have a 1.4x or 2x conversion factor and will reduce the aperture of the lens by a stop or two. This will have an impact upon the autofocus system, especially if the effective aperture is less than f/8.
30. Lens tips: Fit a close-up lens
A close-up lens that screws on to the filter thread at the end of your lens is an economical route to close-up and macro photography. These affordable optics come in a range of sizes and strengths.


