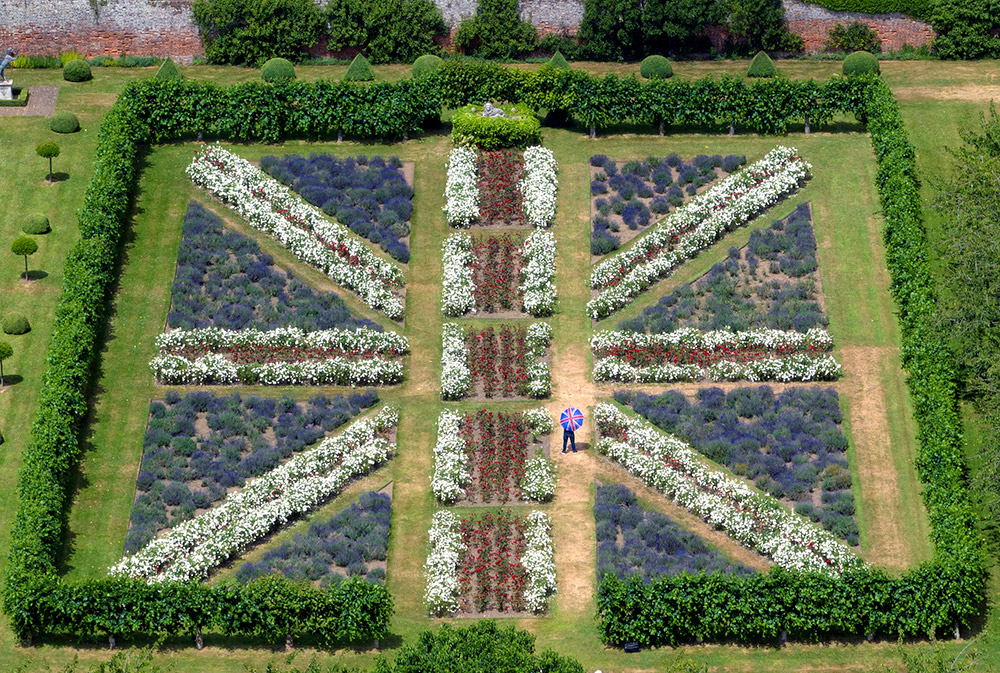
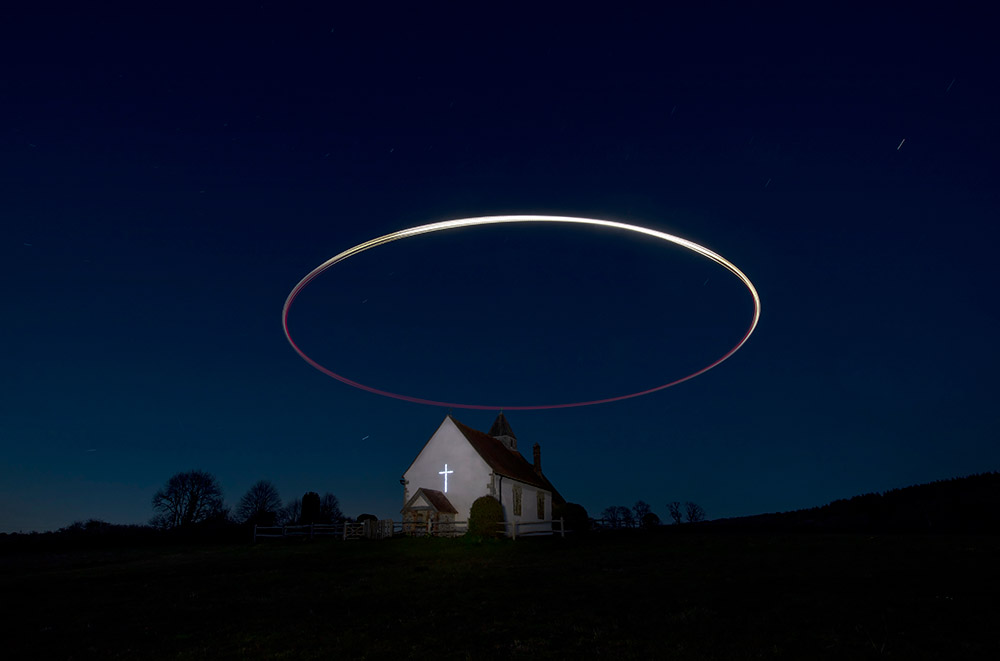
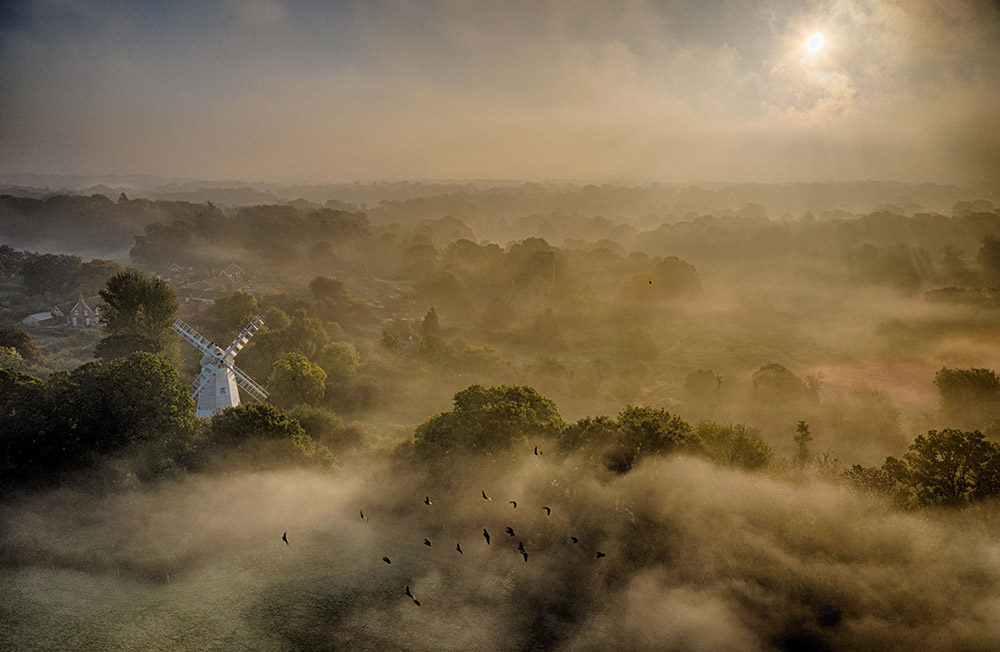
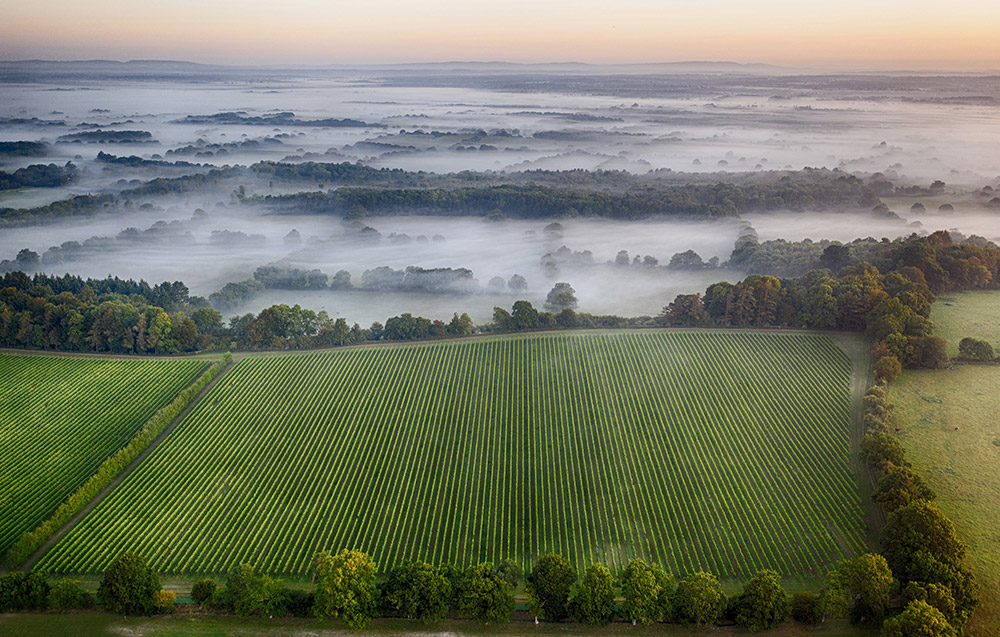
Drones have revolutionised image making but many ground-based photographers are still unsure about taking their first steps, or the legal aspects. We share our guide to drone photography, including the best drones for beginners and drone laws
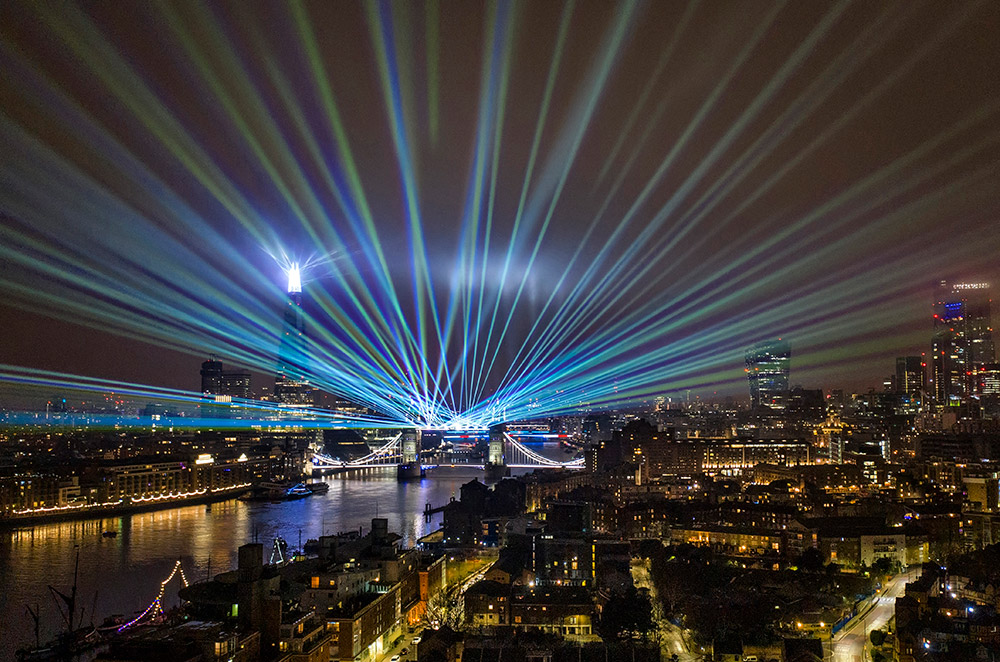
Viewing the world from above can be a magical sight. In the past, getting airborne used to mean photographers needed to hire an aircraft, but these days anybody with a modest budget can get into aerial photography. The drone market has grown rapidly, and not without controversy. But if we put aside all the issues regarding privacy and safety for a moment and focus on how wonderfully adept these new toys can be, it’s clear that this a very exciting time for image makers.
A drone enables you to capture the landscape from a fresh perspective – one that you may not have ever seen before. But these cameras are not just for landscape photography. There currently exist various types of drones to suit different needs: racing drones that come with first-person-view goggles, selfie drones for those after a quick snap, micro drones for indoor flight, stunt drones for barrel rolls and flips, and the much-hyped delivery drone that will soon be dropping online purchases in your garden.
So if you’re looking to buy a drone to take stills and perhaps video, be sure to opt for one with a decent camera. This will be no match for the camera in your kit bag, but resolution and video quality are improving all the time. Most drone cameras offer a level of control that photographers will appreciate, with adjustable exposure settings and HD video.
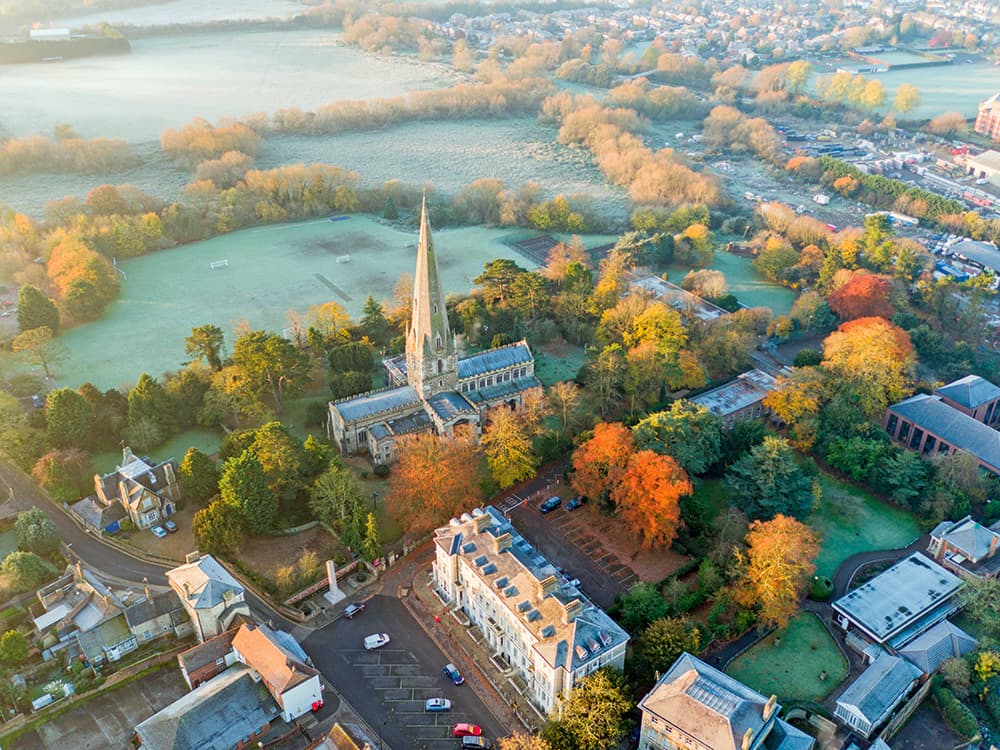
All Saints parish church, Leighton Buzzard, UK. Flyby Photography – www.flybyphotography.co.uk/Alamy stock photo
Shooting with a drone
Like any new piece of kit, a new drone will not automatically result in stunning photographs. All the principles of good landscape photography still apply when shooting with a drone. The biggest factor to take into consideration is the light. A high viewpoint can leave the land looking rather flat, like the view from an airplane window.
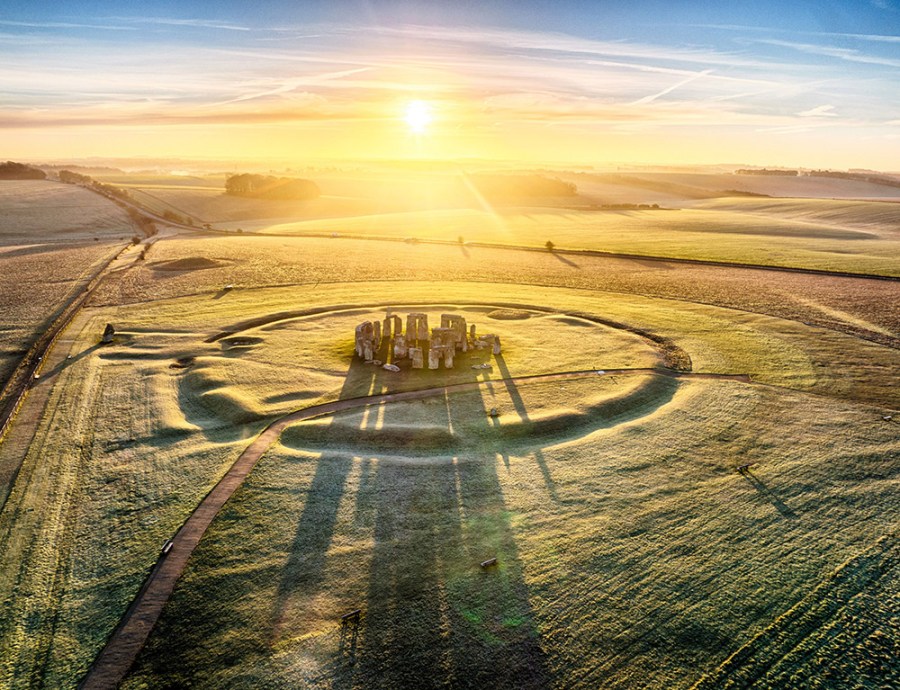
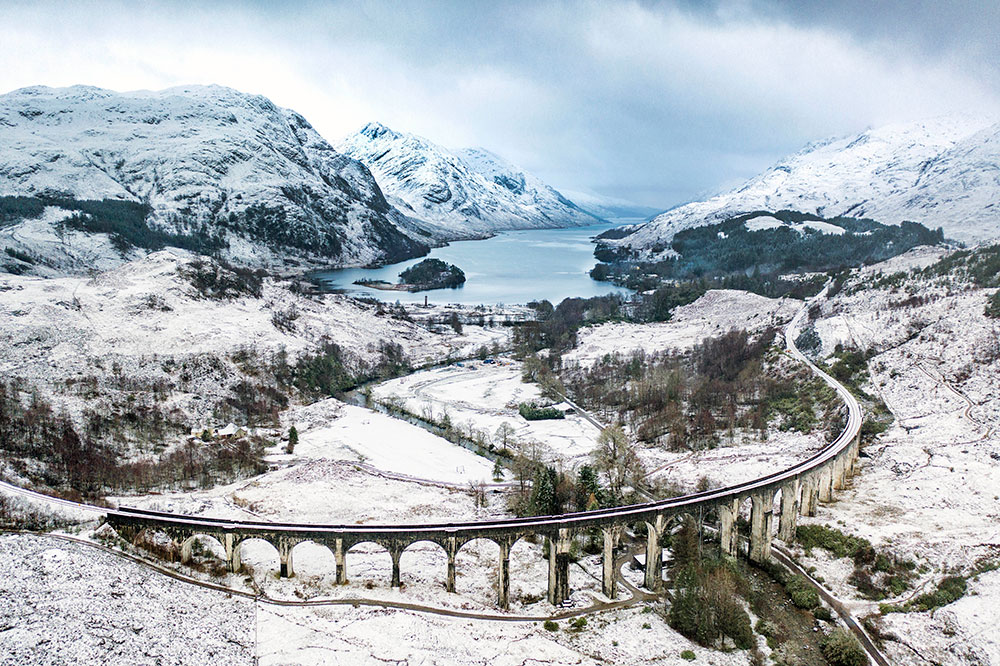
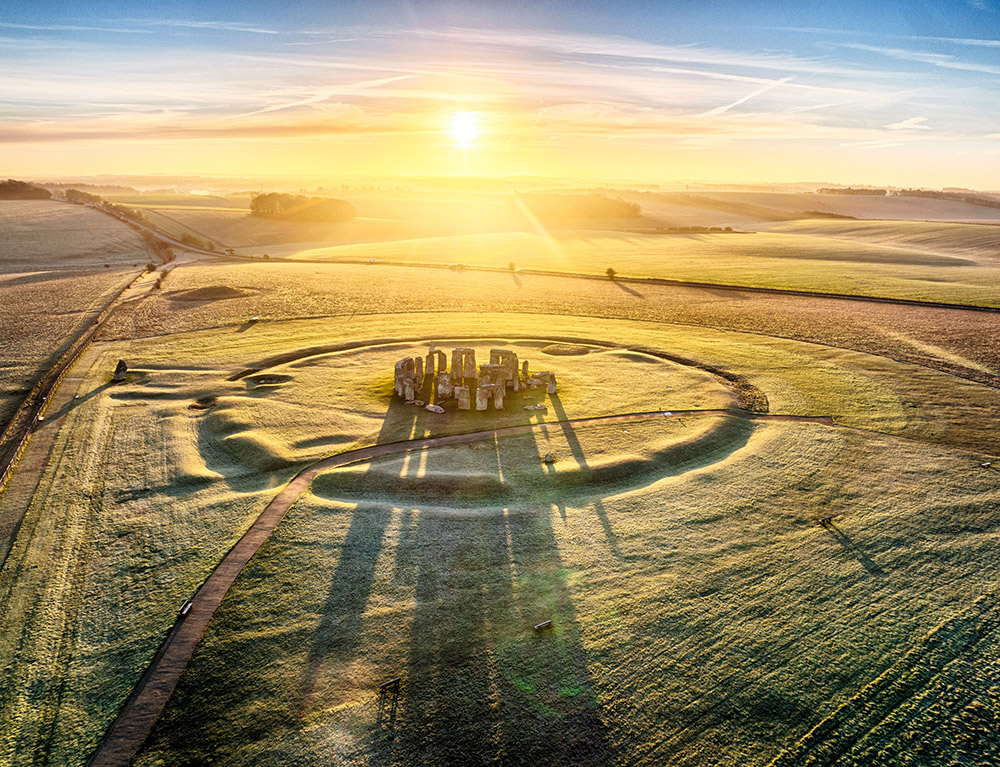
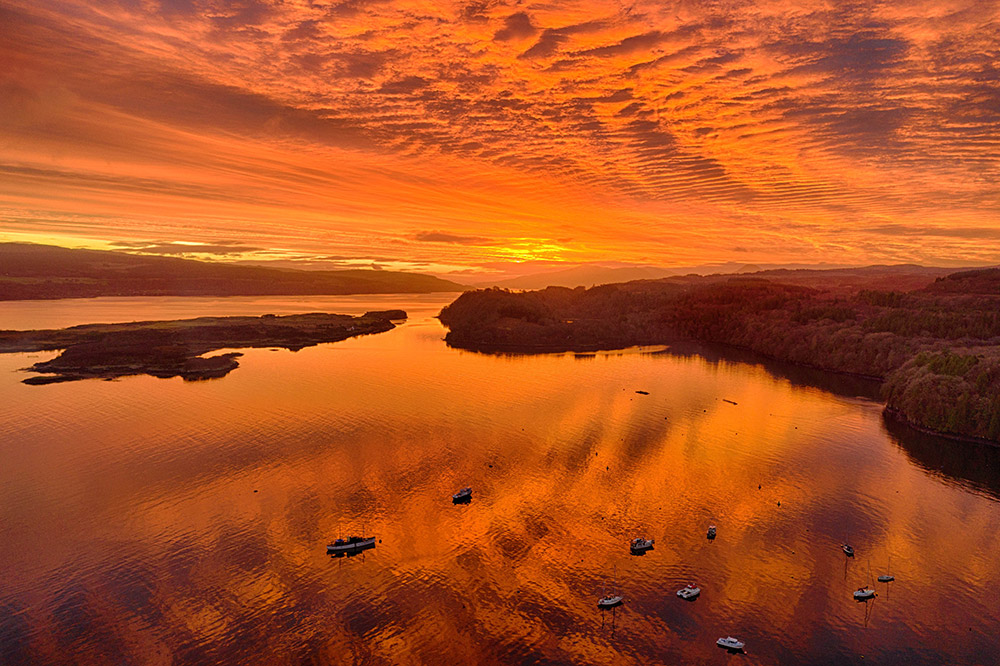
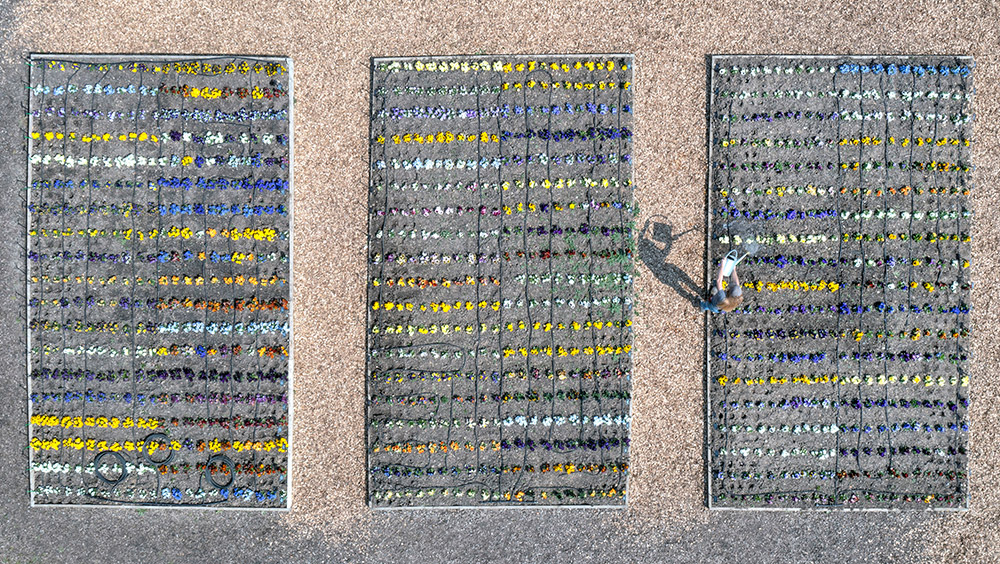
Interesting light is often at dawn or dusk when the shadows are longer and the directional light accentuates the rise and fall of the landscape. It also helps to look for patterns, strong graphic shapes and contrasting objects. Such as the lines in a ploughed field, a black road against snow-covered land or a rocky shore line with crashing waves.
Battery life is a big factor with drones. Most batteries last for 20-25 minutes before you need to recharge them, so you might want to invest in an extra battery to give you more air time when out on a shoot. It can be frustrating to have the battery run out just as the best light emerges.
Introductory text by James Paterson.
Guide to drone photography
Chris Gorman, aka The Big Ladder Photographer, shares his top tips for getting started with drone photography:
Take the test
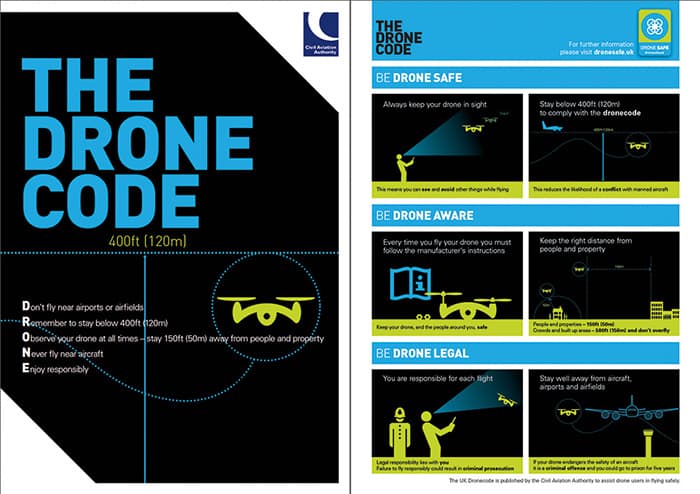
On first look, getting into drone photography can seem to be a little daunting. Beginners need to firstly register the drone with the Civil Aviation Authority (CAA). This involves a simple online test based on the ‘drone code’, but it’s not like a driving test, so don’t worry. Then you obtain an operator ID which must be attached to the drone by law. See full details at bit.ly/droneregsuk
Where can I fly?
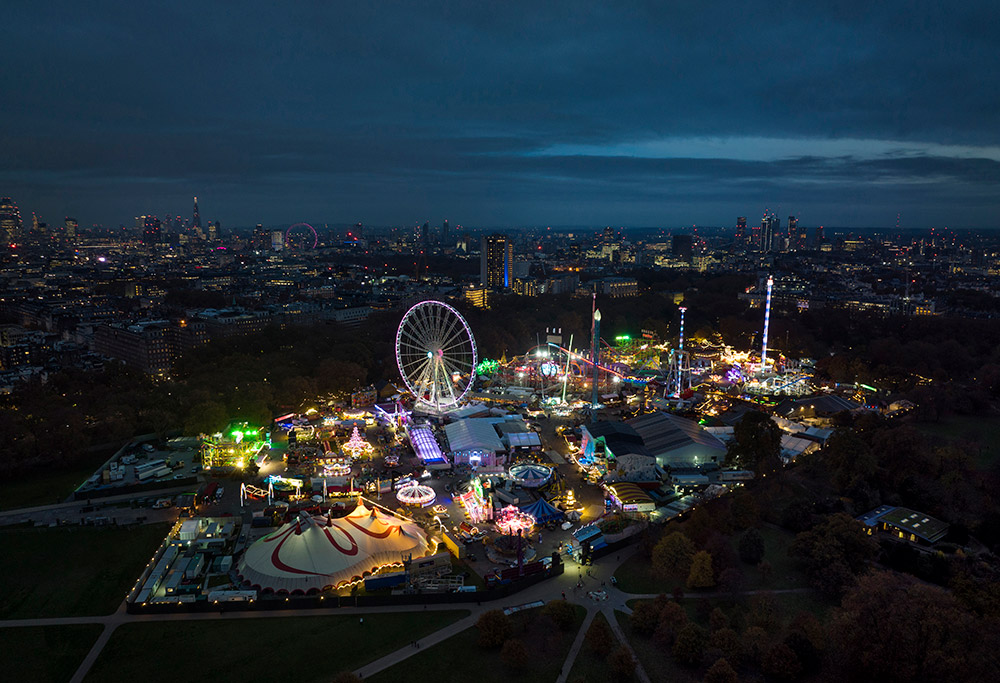
It’s highly advisable to undertake your first-ever drone flights on open private land (see if you can befriend a local farmer). You also need to make sure you can fly legally in your chosen airspace – use the Drone Assist app for Android and iOS, or the CAA drone safety map at dronesafetymap.com. It is illegal to fly within 5km of an airport and this is a very serious offence, so be sure to check before launching. Note that permission was granted for all the images used in this article.
Hey Mr DJI
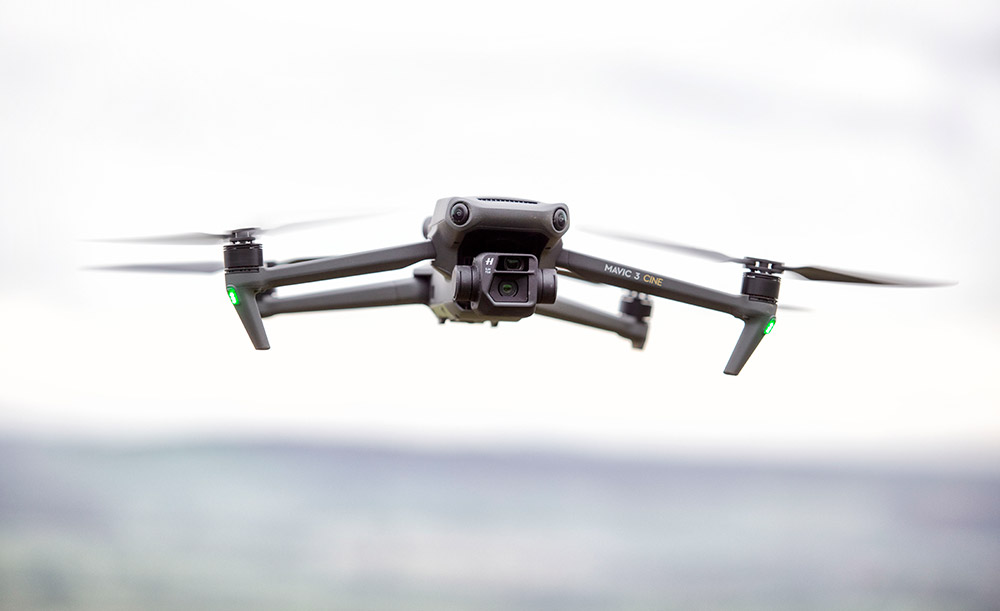
By far the most popular drones are the DJI Mavic range. This includes models such as the Mini 3, the Air2S or the high-end Mavic 3. The drone of choice for most beginners is the Mini 3 because it comes in under 250g – heavier drones require a qualification to fly in built-up areas. As a result, it has become popular with professional drone users, too.
Getting your wings
Most modern drones are fairly easy to control. Fixed by GPS, they will sit anchored in the sky, but don’t be afraid to experiment. Learn how to shoot in a cinematic style (if video is your thing), or swoop around your subject – twisting the camera down or up while in flight can add dramatic effect. It’s also important to know what to do in an emergency. Aircraft can suddenly appear, so descend out of their way or return to ground. Activate the ‘return to home’ feature so your drone doesn’t get lost.
Choosing a subject
We’d all like amazing drone images of well-known landmarks but in reality this is usually only possible with permission from the landowner. Always check the drone policy of each location/landmark before setting out. The National Trust, for example, has a blanket drone ban on all its land and property. Other organisations will allow drone use, if you enquire.
Work the angles
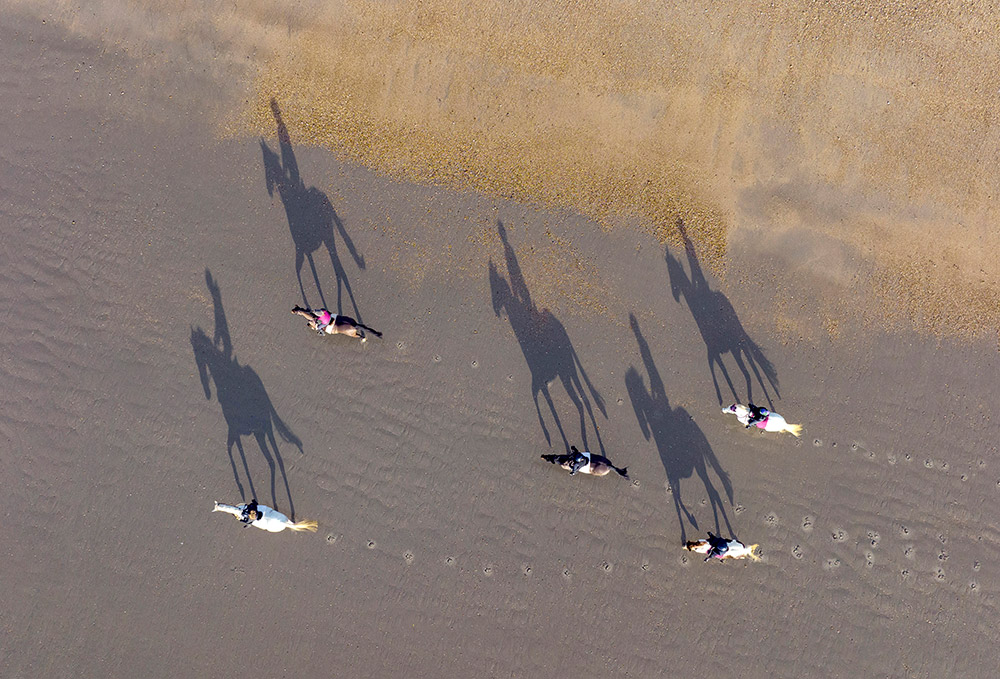
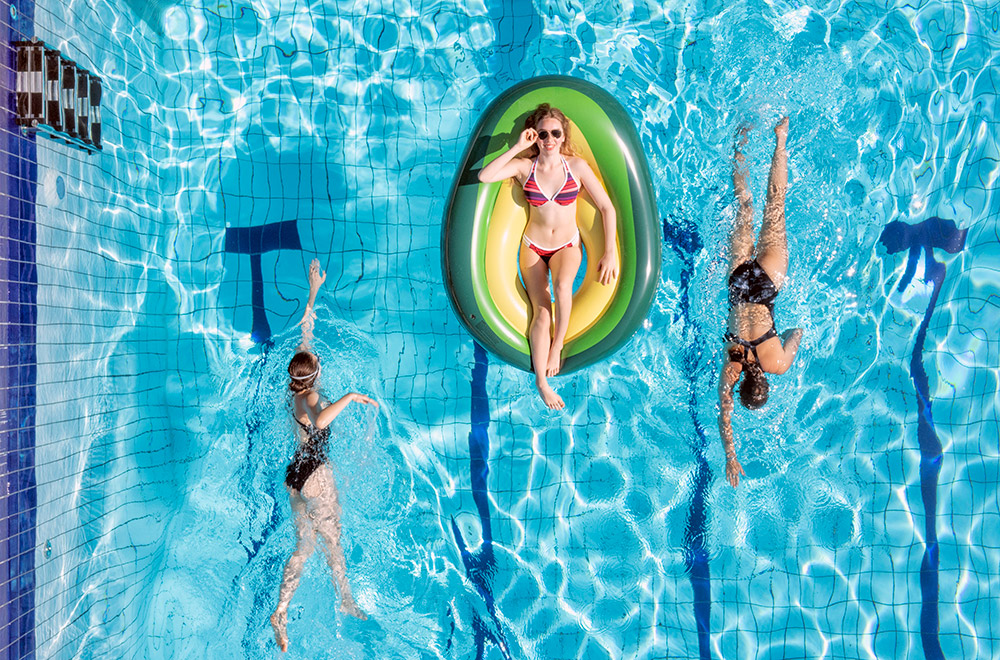
With a drone almost every angle is possible. If you have a telephoto zoom on your drone, think about using it to compress the perspective. A drone angle can make everything look quite spaced out, while the zoom can give your images more of a punch. Also think of top-down images (looking straight down), or add a person to a scene to give a sense of scale.
Make the most of the weather
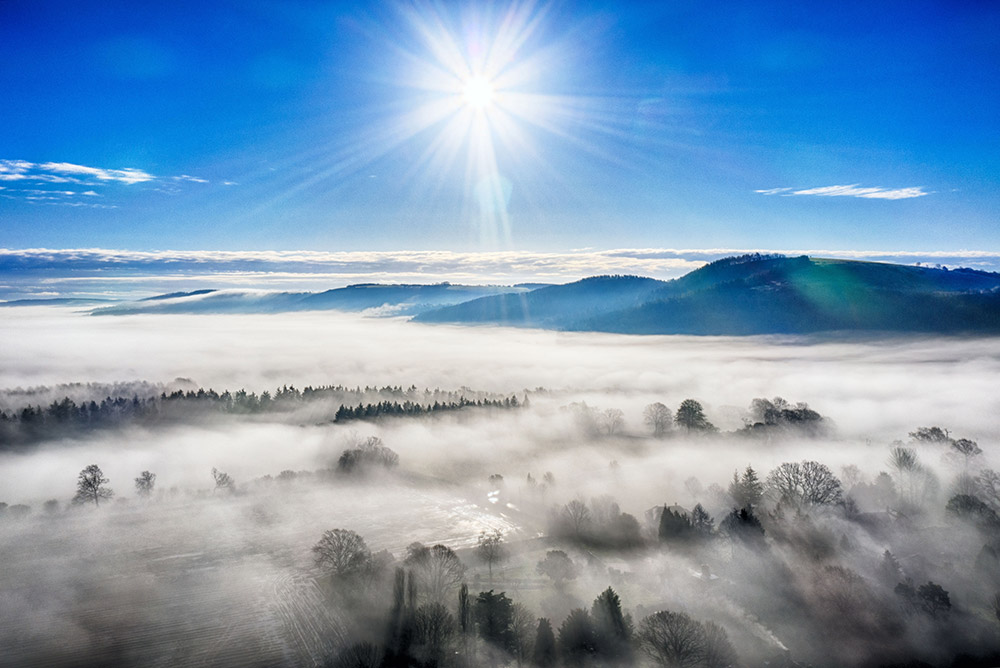
Probably the single most important ingredient for a great drone landscape is the weather. While rain is terrible for a drone flight, misty conditions or even snow are fantastic. Do remember in mist that you need to keep a visual line of sight with the drone, for obvious safety reasons. Always keep an eye on the weather forecast for those beautiful sunsets or sunrises; the golden hour before sunset is a superb time to get airborne and see how the colours and shadows ‘pop.’
Composition is key
It’s not all about going as high as you can. A common rookie error is to assume that just because the picture is taken from high-up, that’s all you need for a great picture. This is not the case. Rather, think about the drone as a conventional camera that can go where you can’t, over water for example. Look for shapes and shadows – looking down on a subject shows just how symmetrical the world is when shot from above.
A straight-down angle is definitely one to try for added impact, especially if you can find compositions with strong patterns, vibrant colours or contrasting shapes in the land below. It often helps if the sun is low, as the raking shadows can add extra depth to a line of trees or a row of buildings.
Get set up for stills
Many of the lower-end drones have a fixed aperture (usually f/2.8), partly because depth of field isn’t so vital when in the sky. If you’d like to do more creative shooting using slow shutter speeds, a variable aperture is important. This is also a big help when shooting video, so think carefully what you’re likely to need before buying your drone.
Get set up for video
Recording drone video has become extremely popular, particularly on social media. All the drones mentioned here shoot at least 4K footage. Do be aware that if video is your thing, you will need a very powerful computer. For example, only the latest Apple M1 computers will play D-Log (raw) footage from The DJI Mavic 3. You will find that 4K footage will stutter on a computer older than about five years.
Editing drone stills
As with conventional stills photography, most drone users favour Lightroom or Photoshop for editing. Remember to shoot raw at all times. Allowing the drone to compress the image to a JPEG loses vital image information that could otherwise be retrieved at the editing stage.
Intermediate and advanced drones
A good intermediate choice is the DJI Air 2S, featuring a 20MP sensor which is great for low-light images. It works particularly well in windy conditions, too. Serious drone users should consider the DJI Mavic 3, featuring a 20MP Hasselblad Four Thirds sensor with variable aperture. You also get up to 5.1K video with Apple Pro Res (Cine Version). A great all-round choice for more-ambitious users.
Use ND filters
Neutral-density (ND) filters are basically sunglasses for your drone camera, and come in useful if you are using a fixed-aperture drone on a very bright day. ND filters are essentially doing the job of a variable aperture, enabling slower shutter speeds. They are particularly important for getting the lower shutter speeds required in video.
The next step
To fly a drone commercially there are two qualifications to consider. The A2 Certificate of Competence (A2 C of C) is suitable for most landscape photography. The full qualification for professional drone users, meanwhile, is the General Visual Line of Sight Certificate (GVC). There’s a wide range of companies offering to help you get these qualifications online, such as 3iC – see the website at 3ic.co.uk.
Best drones for beginners
DJI Mavic Pro
This is one of the most popular drones and for good reason. It features a quality camera capable of 4K video and 12MP stills. Battery life is a respectable 27 minutes, plus it conveniently folds up for carrying around.
DJI Mavic 3
The Mavic 3 folds for easier transport and features not one, but two cameras, with a 12Mp 1/2-inch type camera with an effective focal length of 162mm sitting next to the 20Mp 1-inch 24mm (equivalent) main camera.
DJI Mini 2
Aside from the smaller sensor and the lack of an object avoidance system, the Mini 2 is similar to the DJI Mini 3 Pro, but it’s more affordable, making it a great choice for a first drone. It is less than 249g.
Zerotech Dobby
This is a good budget option if you’re looking to get started. It’s easy to fly and takes decent stills, although the camera is fixed, so will need tilting into position by hand before take-off.
Parrot Bebop 2
A fun starter drone capable of 14MP stills and 1,080p video, with 20 minutes flight time and a maximum range of 300m. It features a fisheye camera that offers a wide view.
Yuneec Typhoon H
This six-rotor drone offers good value for money. It’s capable of stabilised 4K video, comes with a touchscreen controller and a 3-axis gimbal, and has a flight time of 25 minutes.
See more options here: Best Drones with Cameras in 2022
Drone photography laws
You are legally responsible for your drone, so any misuse could result in criminal prosecution. There are three key things to remember when flying a drone: you must keep it in line of sight at all times, you mustn’t fly over 400ft (120m), and you should not fly within 150m (lengthways) of a built-up area or 50m (height) of a property. Stay up to date with the latest guidelines. A good place to look is caa.co.uk.
Of course, there are certain places where flying is prohibited, especially at airports and airstrips. Some drone manufacturers have developed ‘geofencing’ technology which effectively prevents drones from entering restricted airspaces including airports, prisons or large public gatherings. It’s like an invisible force field that will stop drones from going near places where they can be viewed as a problem.
Read more on drone photography laws here: Drone laws: what you need to know
Chris Gorman
Chris (The Big Ladder Photographer) works as a drone photographer for The Daily Telegraph, The Times, the RHS and many more. He also runs one-to-one drone workshops and gives talks. Visit www.bigladder.co.uk for more details. Instagram @bigladderphotographer, Twitter
@bigladderdrone, Facebook: The Big Ladder Photographer
James Paterson
James is a skilled photo editor and photographer. His work has appeared in countless magazines and books, and in 2014 he was appointed editor of Practical Photoshop magazine. Visit www.patersonphotos.com.
AP Awards 2022 – Best Cameras, Smartphone and Drone of 2022 – Amateur Photographer
How to create vertical panoramas with drones – Amateur Photographer

