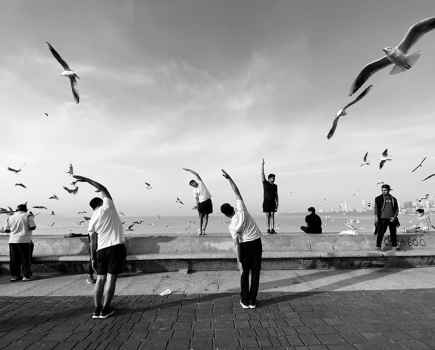
Aerial photographs are fascinating because they offer a perspective of our world we rarely get to see.
Hot-air balloons, airplanes and helicopters obviously aren’t very easy to come by, so it is only on very rare occasions that photographers have the opportunity to take pictures at high altitudes.
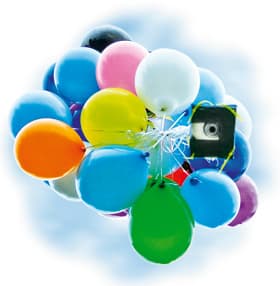
All that is about to change as the technical team here at AP, inspired by a conversation about how many helium balloons it would take to lift a camera, came up with an intriguing, though somewhat Heath Robinson, solution to taking aerial photos.
The Theory
As is well known, helium is lighter than air, which is why helium-filled balloons float upwards.
An average helium-filled party balloon can lift a weight of around 7g.
Depending on atmospheric pressure, with enough balloons it would be feasible to launch a compact camera into the air.
The camera
 The problem with picking a compact camera is finding a method of triggering it.
With a larger DSLR or micro-system camera, it is possible to use a radio remote release to trigger the shutter, but this would require a lot of balloons.
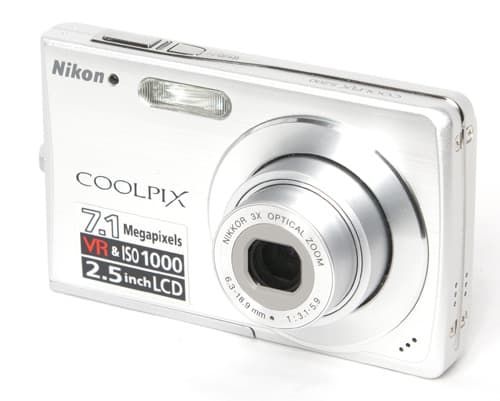
The solution was to find a compact camera with an interval timer. Although the intention was always to bring the camera back down to earth safely, we also needed a camera that wasn’t too expensive.
In the end we used a Nikon Coolpix S200, which features an interval timer mode and has the added bonus of being quite light, weighing around 165g including the battery.
Getting Airborne
 Attaching the camera to the balloons was the first problem I encountered.
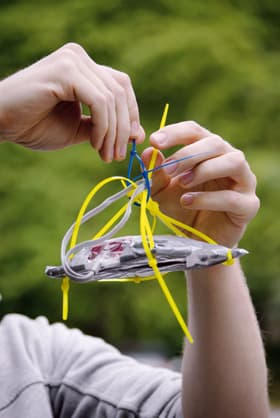
To keep the weight down I used a piece of foam board to support the camera, with a hole cut out for the lens. I then placed a clear plastic bag over the back of the camera and taped it to the foam board to hold the camera in place.
I punctured a hole in each corner of the foam board platform, through which I threaded cable ties. A fifth cable tie was then looped around the four corner ties to bring them all together. The balloon strings were tied to this central cable tie, as was the camera strap for added security, and a pair of kite strings.
It took 39 helium balloons to lift the camera off the ground – more than I had expected – due to the combined weight of the foamboard, memory card, cable ties and plastic bag, as well as the balloon and kite strings.
Setting up the Camera
The interval timer was set to its minimum time between shots, which in the case of the Nikon Coolpix S200 was 30secs.
Ideally, I’d have liked a shorter period between images as the balloons can quite quickly change direction and you find that the camera is no longer where you want it to be.
Camera shake is also a problem so it’s best to fly in bright conditions, and use the camera in landscape mode to make sure the images are correctly focused.
In Flight
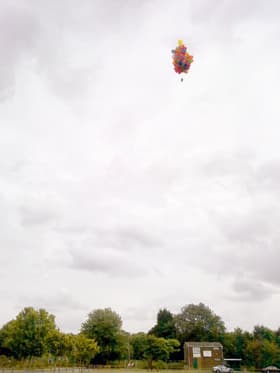 On a still, windless day, the camera and balloons rose quickly to a height of around 30m, but
on a windy day it was extremely difficult to the get the camera airborne, as the balloons just blew sideways.
Another salient issue is where to photograph. Like a kite, areas with wide, open space are best. Bear in mind, though, that if the camera is pointing directly down you’ll just be taking pictures of the ground, so tilt it slightly to photograph a larger scene.
Make sure to watch out for telephone and power lines.
Also, I’m sure you don’t need reminding that certain areas are rather sensitive and should be avoided altogether.
For instance, an airborne camera floating over the top of the dunes at a nudist beach probably won’t go down too well with the clientele.
The Results
The experiment produced some interesting results.
However, not being able to compose or frame my images, along with a difficulty in positioning the sometimes-wayward balloons, meant that the pictures were rather hit and miss in quality.
For more consistent results I’d probably need a DSLR, Wi-Fi transmitter, bigger balloons and a lot more helium!


