
Throwing the photography exposure rule book out of the window can be a fantastic way to produce some creative images. Work with your camera to under or overexpose your images deliberately in order to create a range of interesting effects. Here we’ll take a look at how you can achieve those looks.
High key
This artistic technique works well for portraits, and is characterised by an excess of bright or white areas in your image. It also works for still life shots, such as flowers and food, or even some kinds of architecture and abstract shots. This type of image is often associated with studio work, but you can also create it outdoors.
Use the opposite camera settings to what you’d use for a balanced photography exposure. That means, a slow shutter speed, a wide aperture and a low ISO. If you’re using exposure compensation, dial in 1 or 2 full stops and see how your image looks – in this case, you want the histogram to be skewed to the right.
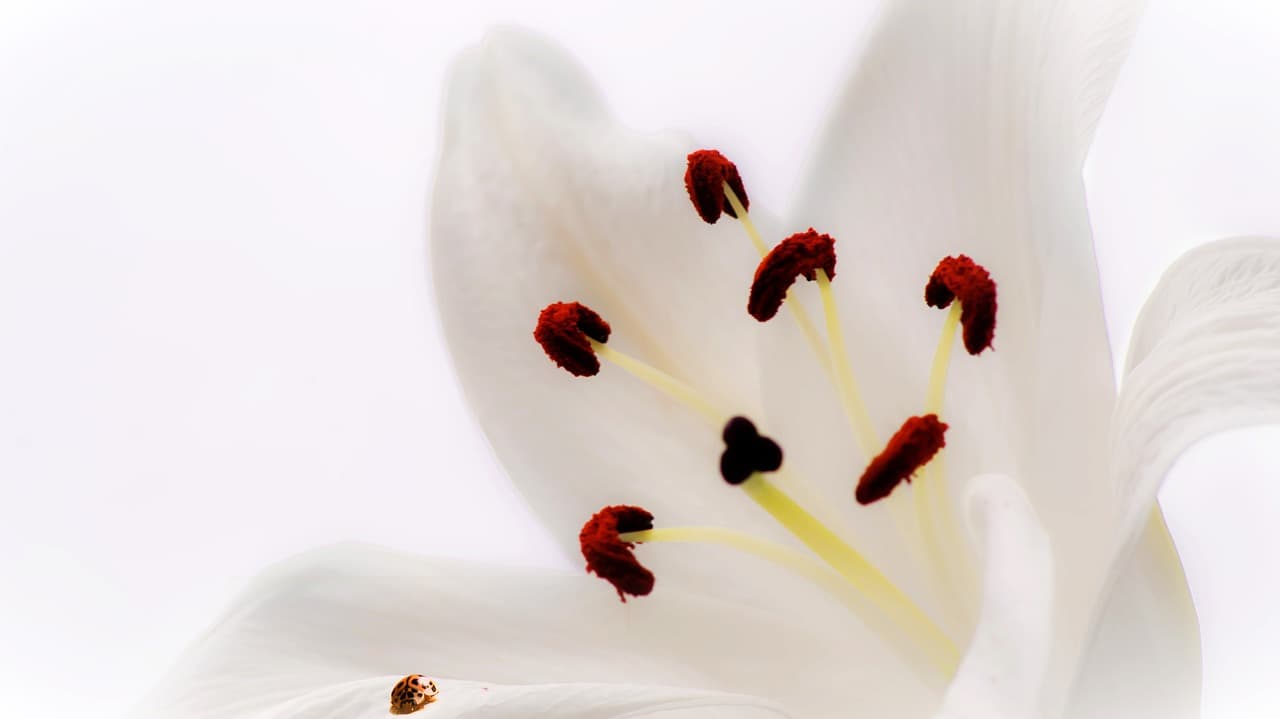
High-key images are particularly popular with flower and portrait photography
Silhouettes
A silhouette is the extreme underexposure of your main subject, used for dramatic purpose. It works well with a variety of different subjects, especially those that have a strong or distinctive outline. Some examples could include a boat sailing a horizon, a portrait framed against a dramatic sunset, or a city skyline.
In order to create the silhouette, work backwards from all the advice we’ve given you so far. Use spot or partial metering to expose for the background, throwing the subject into shadow. In terms of other camera settings, use a fast shutter speed, a narrow aperture, and if possible, a low ISO.
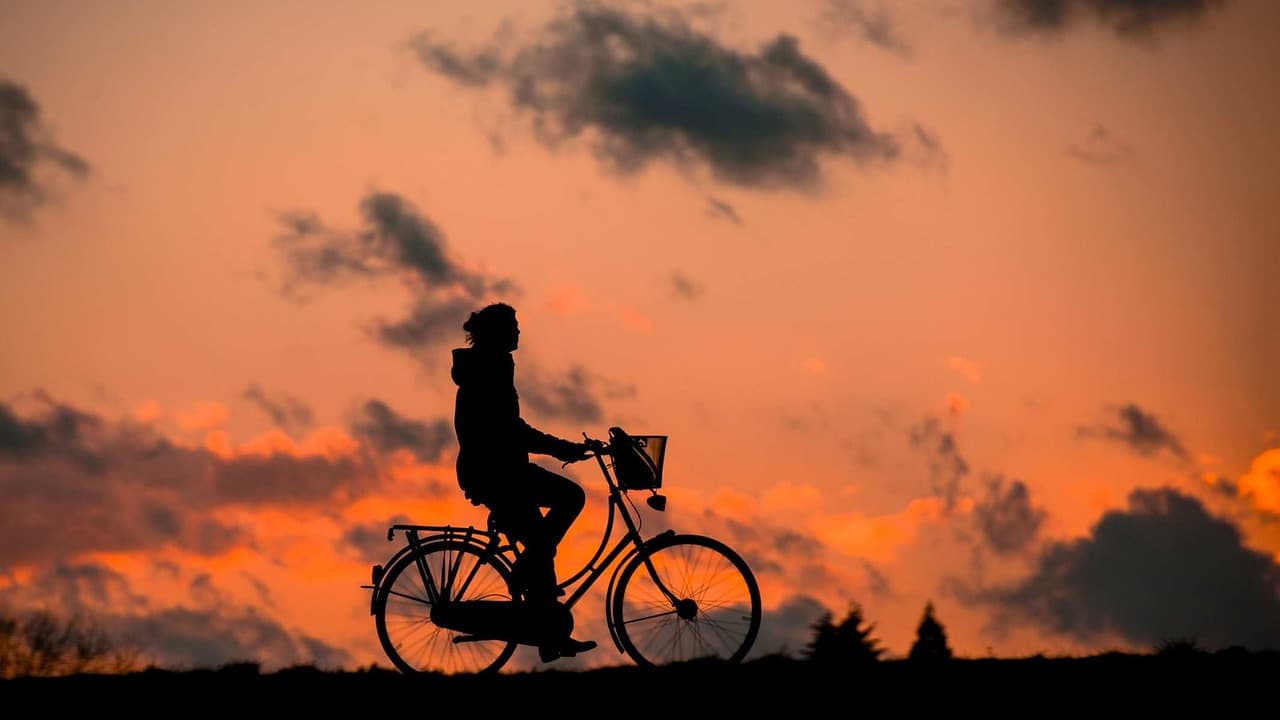
Shoot early in the morning or late in the evening for the best result
Low key
The opposite of high key is low key. These images are characterised by low contrast and dark tones, with just a few highlights. They can work well for the same kind of subjects as high key, so portraits, still life, architecture and abstract shots all work well in low key. As you would expect, follow the opposite of the high-key technique to get started – that means a fast shutter speed coupled with a narrow aperture to let in as little light as possible.
Dial down photography exposure compensation by at least one full stop, and look for your histogram to be skewed to the left. Use a low ISO to reduce the amount of noise present in your image – a tripod comes in very handy when creating low-key images.
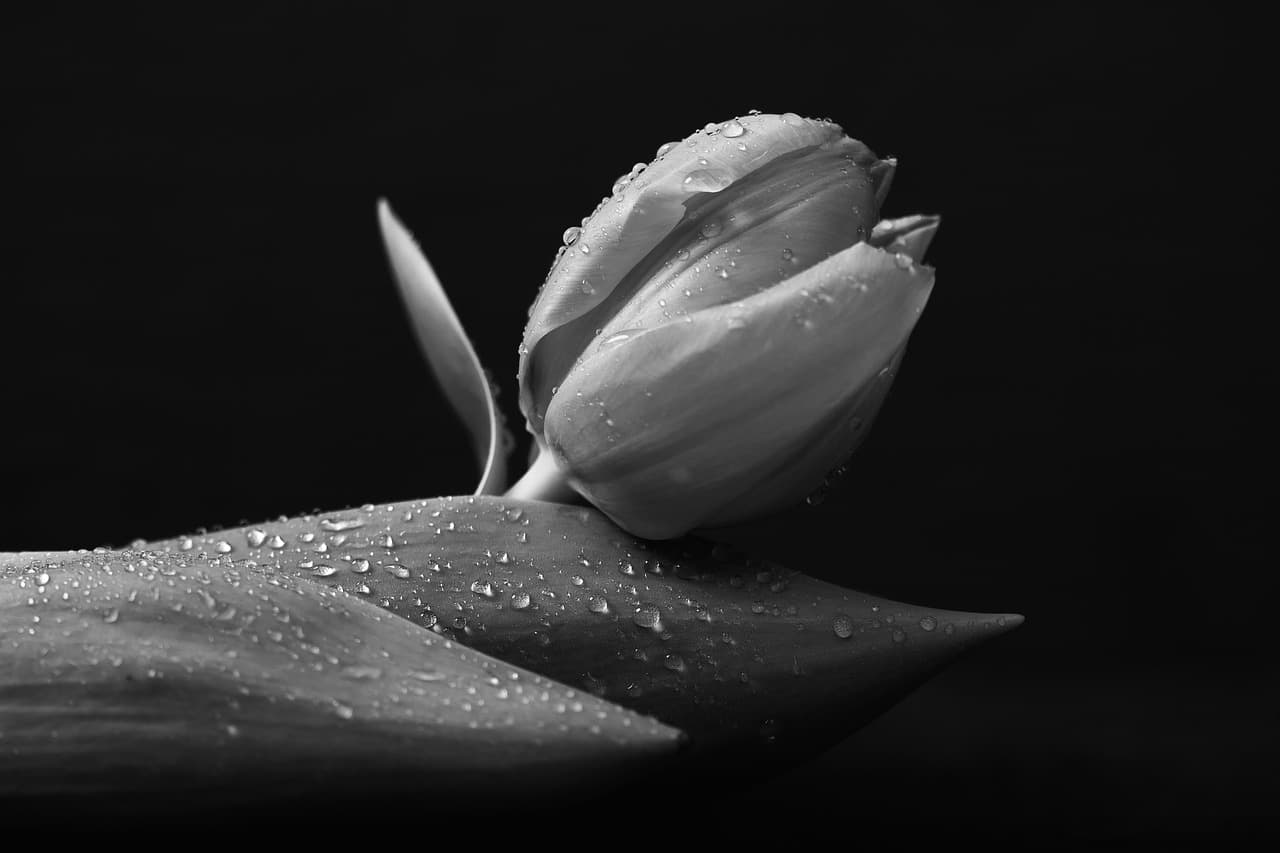
Low key is also popular with object close-ups and portrait photography
[collection name=”small”]
Extreme HDR
A stylistic choice that isn’t to everyone’s taste, extreme high dynamic range (HDR) images can work well with certain subjects. The idea is to create maximum detail in both the highlights and the shadows – it can create quite an unnatural look, but used selectively, can create quite an impact.
For this technique, you’ll need to take at least three bracketed exposures – but if you can take five or more, all the better. You’ll also want to use a tripod to make sure each photography exposure is exactly the same. You can blend your exposures together in software such as Photoshop, or look for dedicated HDR software if you’re going for the ultimate extreme look.
Extreme HDR creates maximum detail in both the highlights and shadows
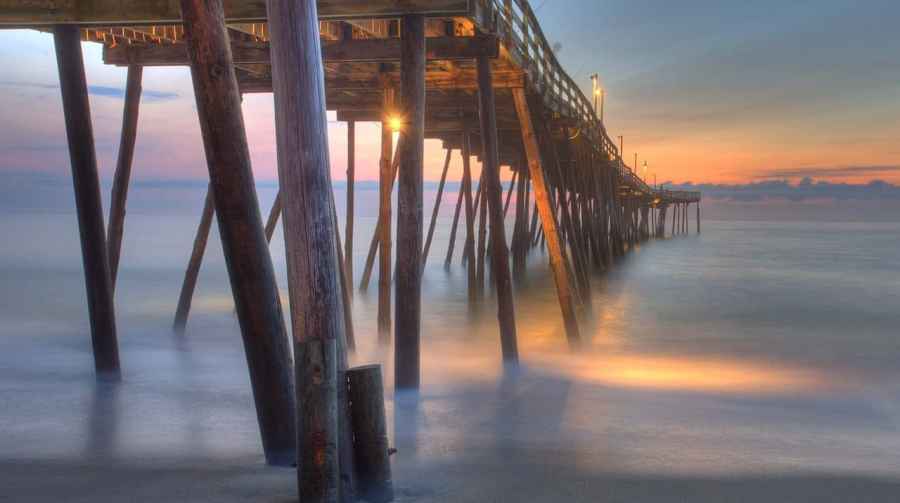
Get creative with long exposure
How you use shutter speed will determine how well (or otherwise) your shots are exposed. However, you can utilise shutter speed to do other things too – such as freezing the moment, or creating special effects.
If you use a very fast shutter speed, you’ll freeze the action, but you’ll be letting less light in. Remember therefore, that you’ll need to use a wider aperture and/or a lower ISO to get a well-balanced exposure.
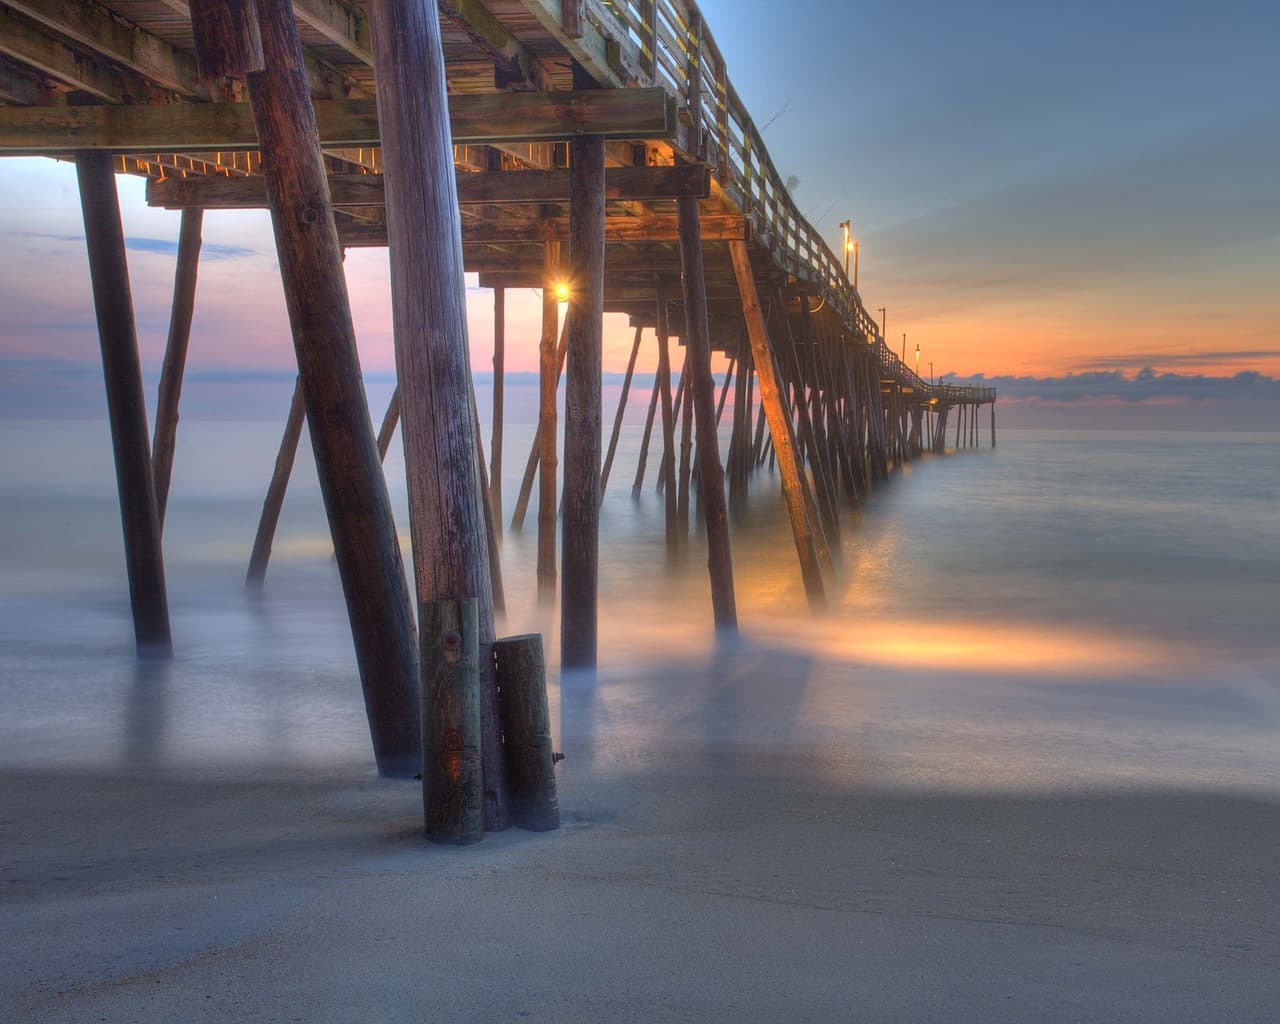
Shoot a long exposure to give a dreamy feel to seascapes
Alternatively, if you use a long shutter speed you can create beautiful effects, such as light trails from traffic, or milky water for seascapes. This time you’ll be letting in lots of light, so use a narrow aperture to make sure you don’t end up overexposing your image. An ND filter can be useful if you’re shooting very long exposures in the daytime, as it will dramatically reduce the amount of light reaching your sensor.


