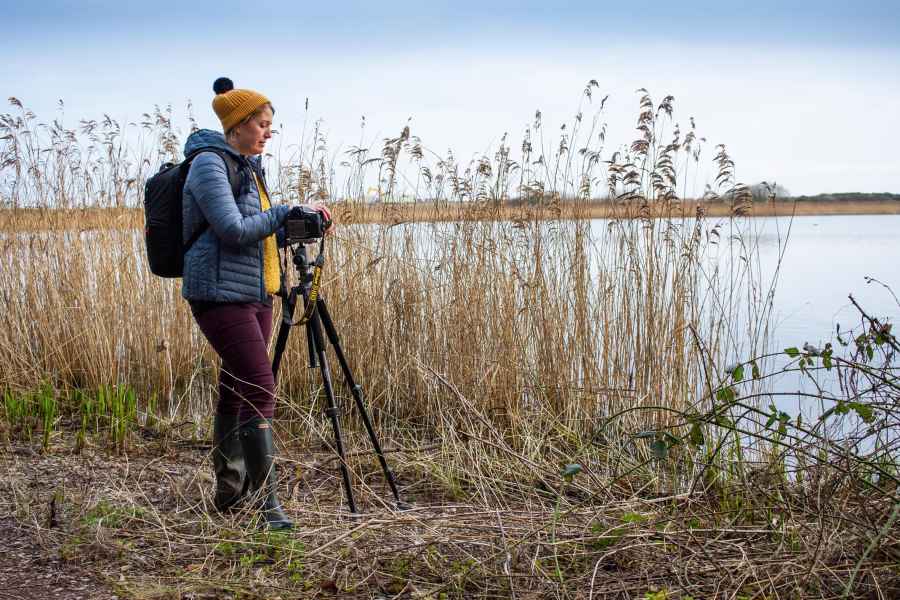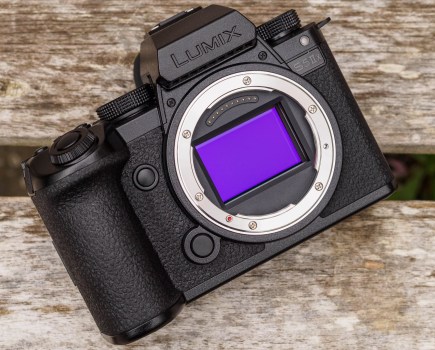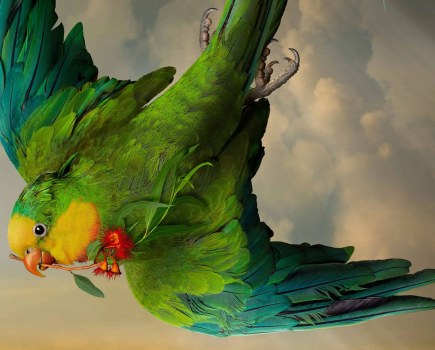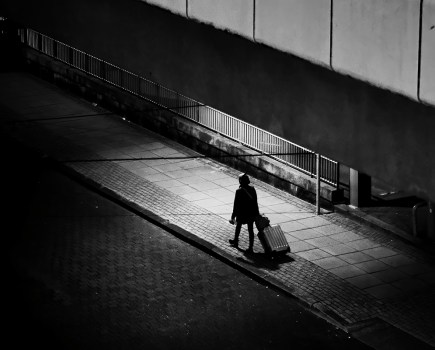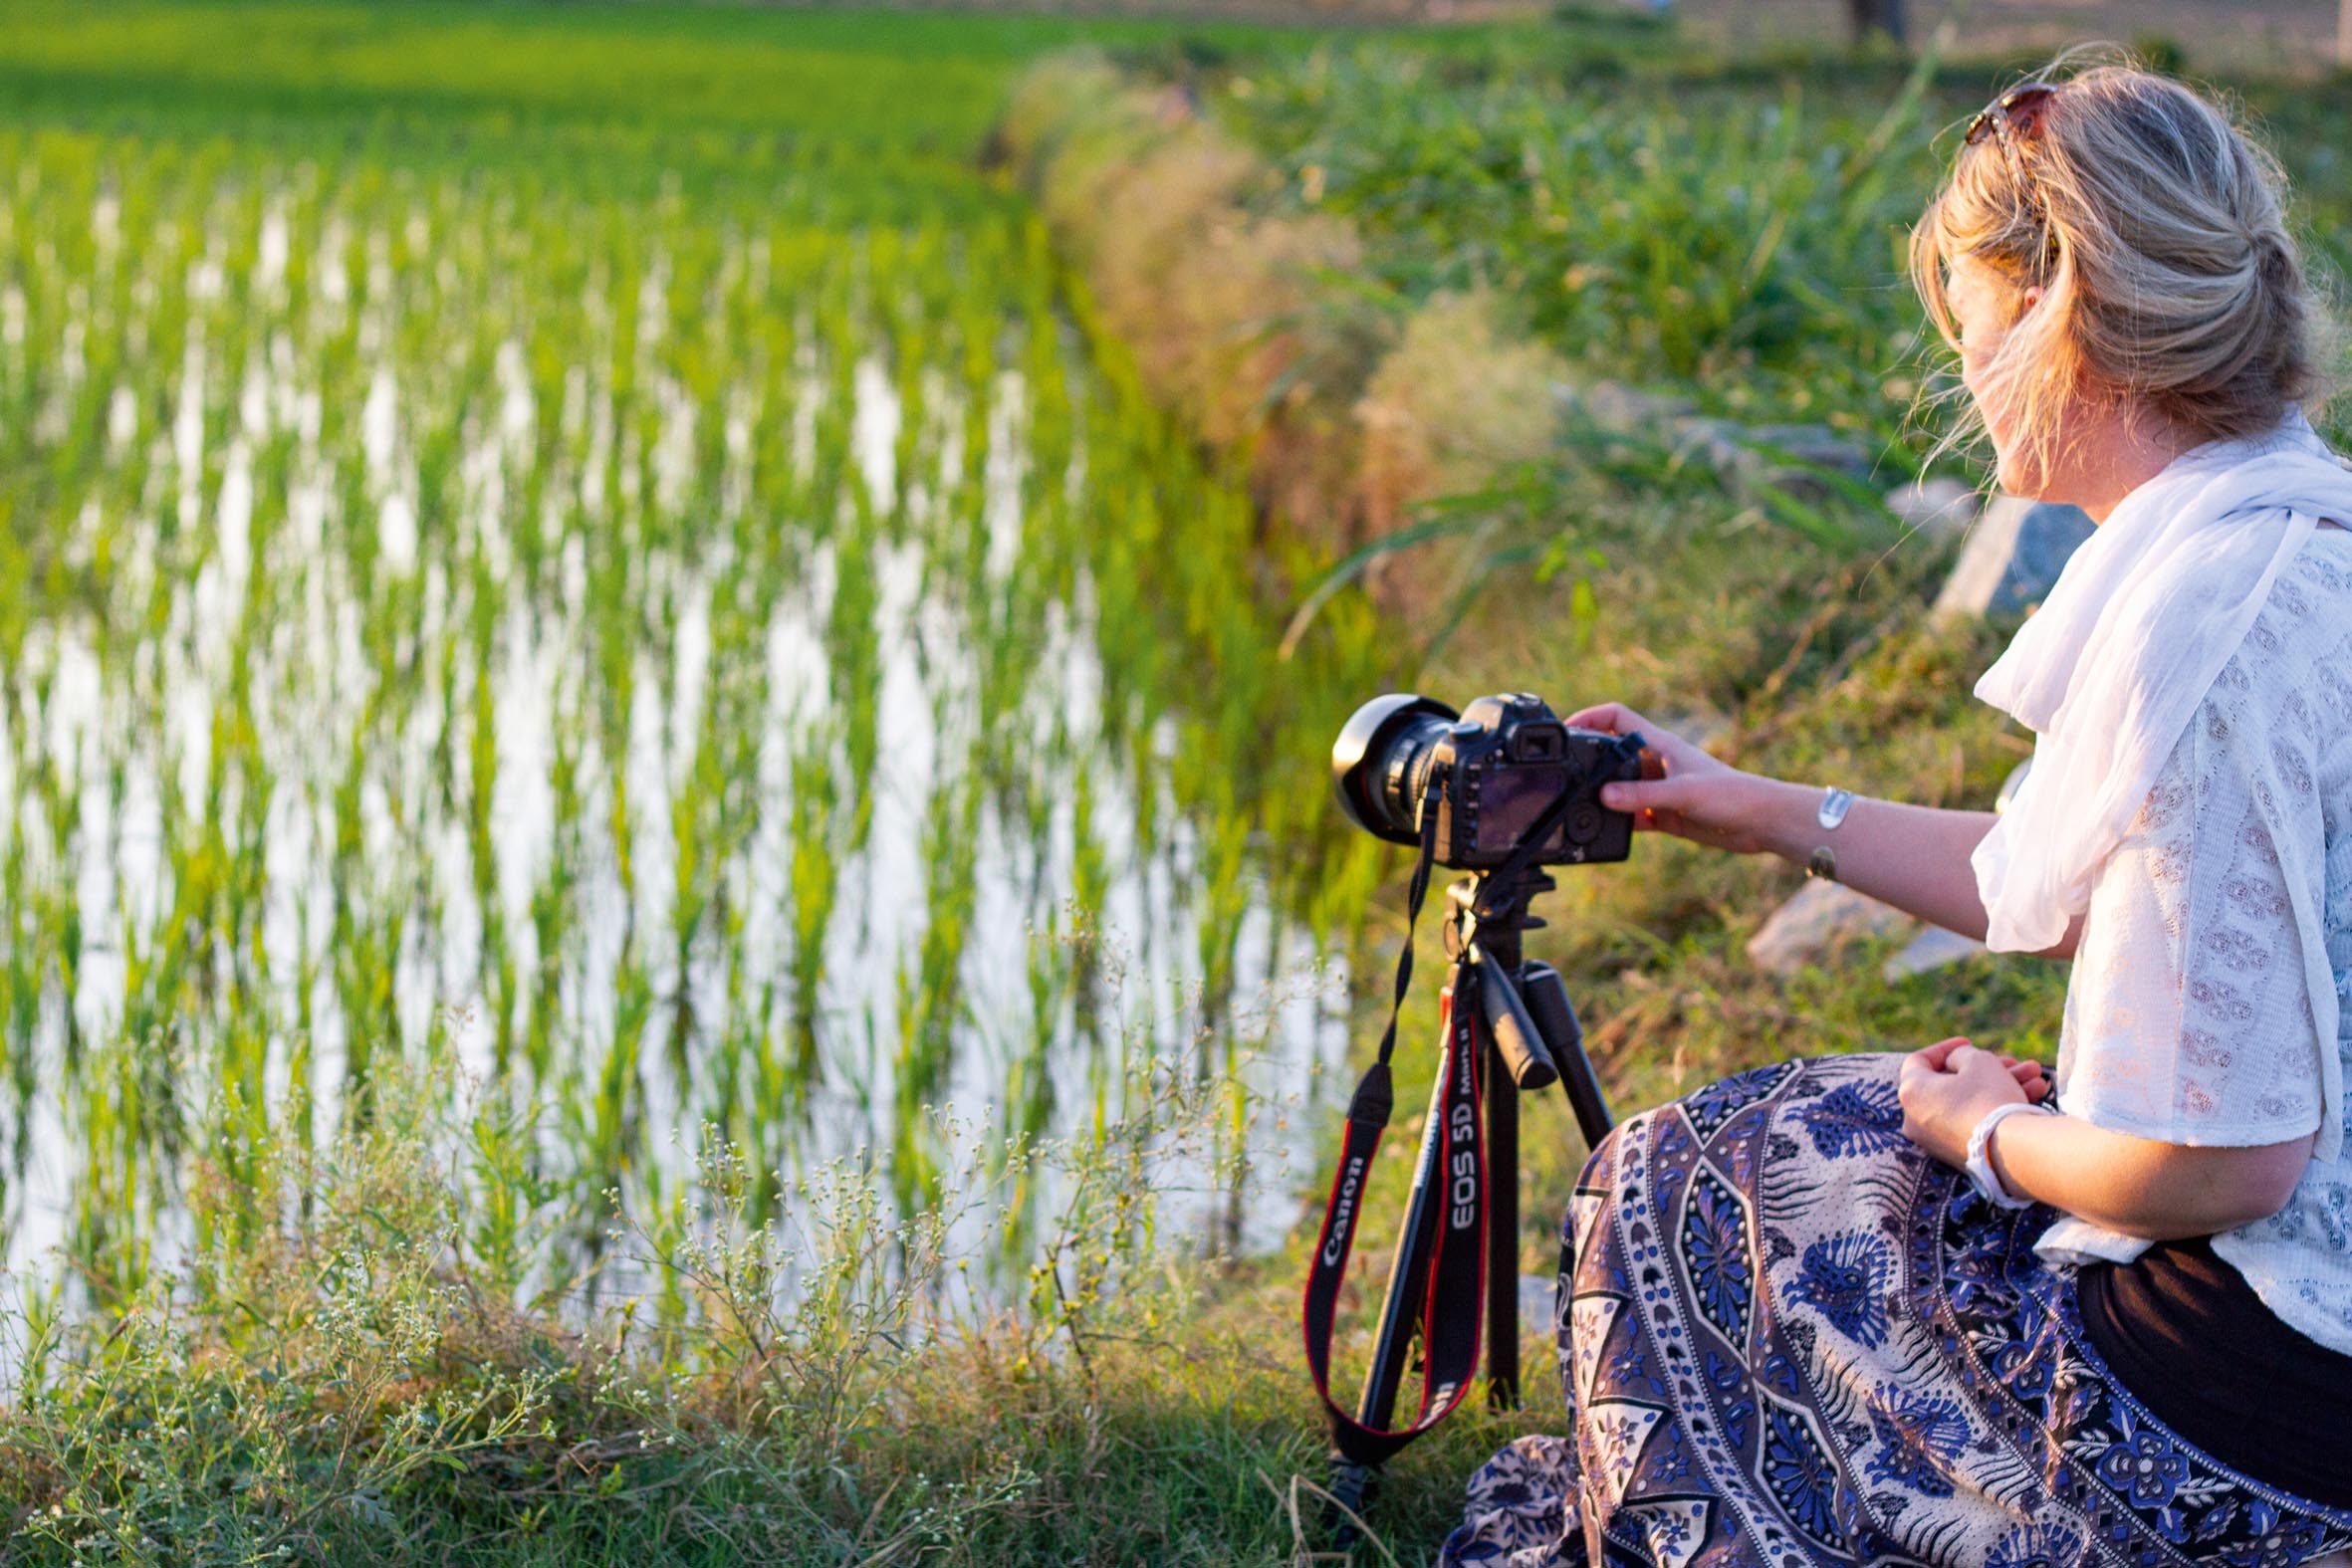
Although our cameras are clever and sometimes make correct choices they don’t always hit the nail on the head, and cannot account for creativite decisions. If you want to move your photography to the next level you need to start taking back control from your camera and learn to take charge.
By getting out of the full auto modes you can open up many different opportunities and expand your approach. For example, that slow shutter seascape you’ve been wanting to master or capturing flawless portraits is now a possibility.
It’s a good idea to think of it like this. A photographer who shoots using full auto mode is like an artist who paints by numbers. There is some creative input but you’re being guided by certain limitations. To become a Picasso or Turner of photography you need to pick up your paint brush (camera) and get back to a complete set of paints and a blank canvas. Although it feels more daunting with the increase in choice – the rewards will be sweeter.
So this year why not give yourself the final say, not your camera; and push forward with your photography skills to take more control.
Go straight into manual
If manual mode terrifies you, don’t fear! The best way to practise and understand how your camera works is to jump straight in. Yes, you may stumble at the beginning but keep practising and making note of the settings to progress. Think of aperture (controls how much light goes through the lens and affects depth of field), shutter speed (this is a mechanical part in the camera that opens and closes to a set time and controls movement in the image) and ISO (determines how sensitive your sensor is) like a three-way scale. You need just the right amount of each component balanced together to capture a perfectly exposed scene.
To get a correctly exposed image make sure the needle on the meter sits in the middle at 0. If your image is too light reduce the exposure meter to the minus side and if it’s too dark add in light and go to the plus. Although manual mode is the best place to begin it won’t suit every occasion. For example, if you’re shooting something that’s fast moving or where time is against you. You may also struggle if you have very fast-changing light. Manual mode is ideal when you have time to take your shot – for example in the landscape setting or for macro photography.
Auto ISO vs ISO
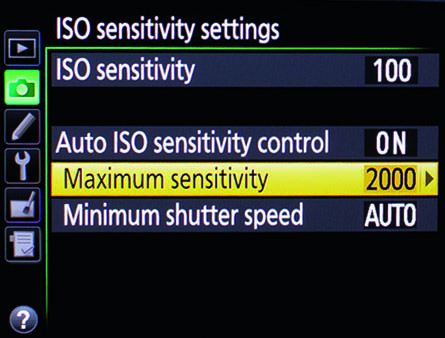
Auto ISO is a fantastic feature that enables you to be flexible with your shooting style in manual mode and set both your shutter speed and aperture to your desired settings whilst automatically adjusting the ISO. If you are worried about your image becoming too noisy you can limit your ISO setting in the main camera menu. If you have the luxury of time it can be useful to set your ISO back onto a manual setting as, like anything, although your camera will probably select the right choice 99% of the time, it’s always best to be in complete control.
Aperture and shutter speed priority
There are times when manual mode is not practical and aperture priority or shutter priority might be better. In aperture priority you select your setting and your camera balances the shutter speed and vice versa with shutter priority. Using shutter priority it’s easy to overlook if your setting has reached its maximum or minimum capacity (this is signalled by the aperture number flashing). You may under- or overexpose your scene. In aperture priority you can hear the shutter speed and with practice know when it’s too slow to handhold your camera.
Shoot in raw
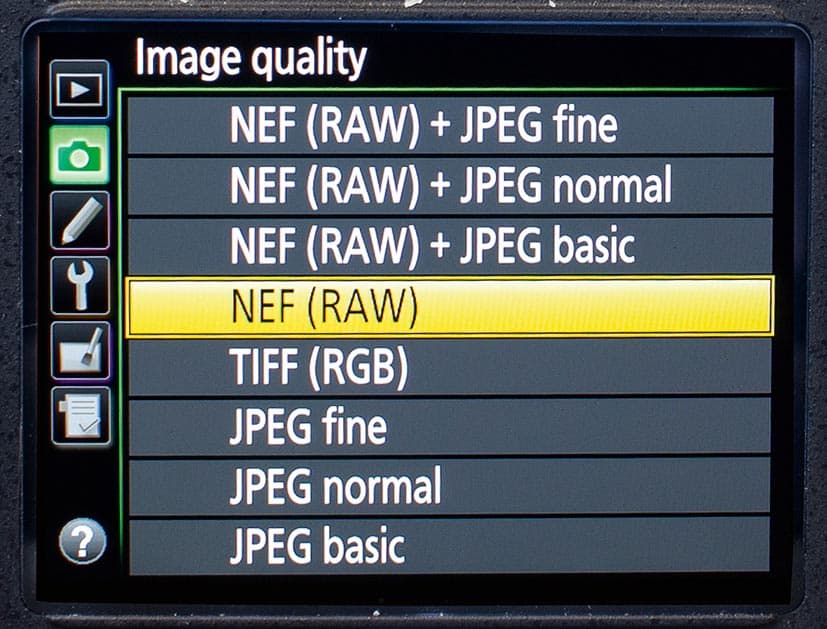
Although JPEG is a popular format amongst photographers, you will make so much more of your image if you shoot in raw. When your camera processes a JPEG file it sharpens, saturates and tweaks the result. This is great if you don’t want to process it yourself, however it is your camera making the creative decisions. A raw file is an uncompressed file which also has significantly more data than a JPEG. A raw file can look flat when it comes out of the camera, and requires editing software to make the most out of it.
White balance control
The white balance setting is the colour temperature of the image. Every light source projects a different colour cast, which our eyes automatically adjust to. This means we don’t notice it but our camera does. For example, if you’re indoors under an orangey light (tungsten light) this will read on the scales at 3200K (Kelvin).
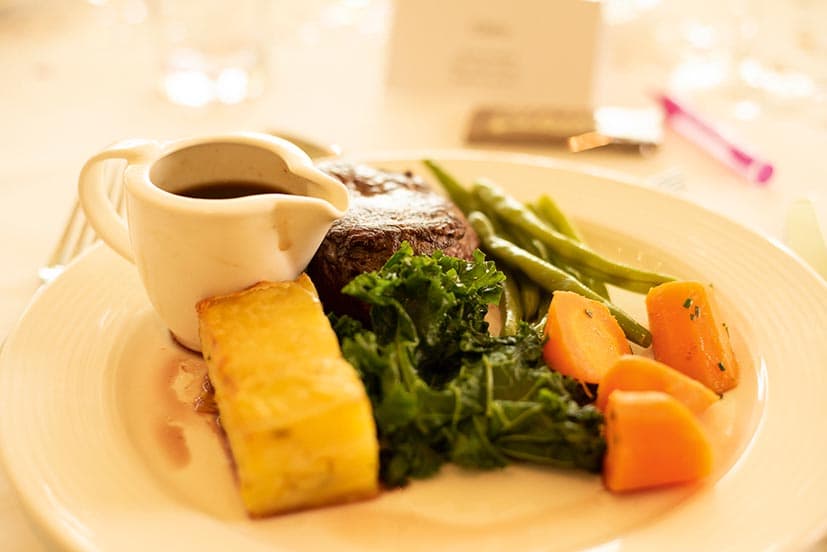
To correct the colour cast of the orange (see above) select the Tungsten white balance icon, and your camera will add in blue to compensate. On your camera you have the option to choose a preset option or a custom white balance setting. One of the benefits of shooting in raw is that you can correct the white balance setting at the editing stage. It can however be a good idea to adjust the setting as you shoot – you can get a feel for how each image is working on the review screen.
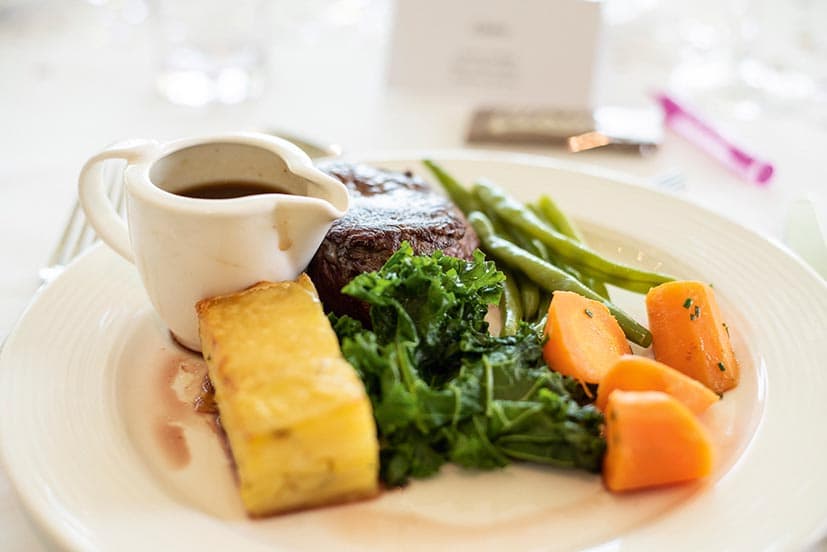
The tungsten White Balance setting corrects the yellow cast
Histogram
You know that funny-looking graph on the back of your LCD screen that you might have accidentally set up on your reviewing options? That’s called a histogram. Ok, it may seem pointless looking at it if you have no idea how to read it, however it’s actually very useful and not hard to understand. Every image is made up of pixels from very dark pixels to very bright pixels. The graph simply reveals the range of pixel data in that image. The graph on the left hand side shows how many dark pixels there are going all the way across to the right where the lightest pixels are shown. If a pixel/s has overexposed in that image and contains no data (meaning you can’t edit those pixel/s at all), the graph line will come up at the right hand side, so keep an eye out for this.
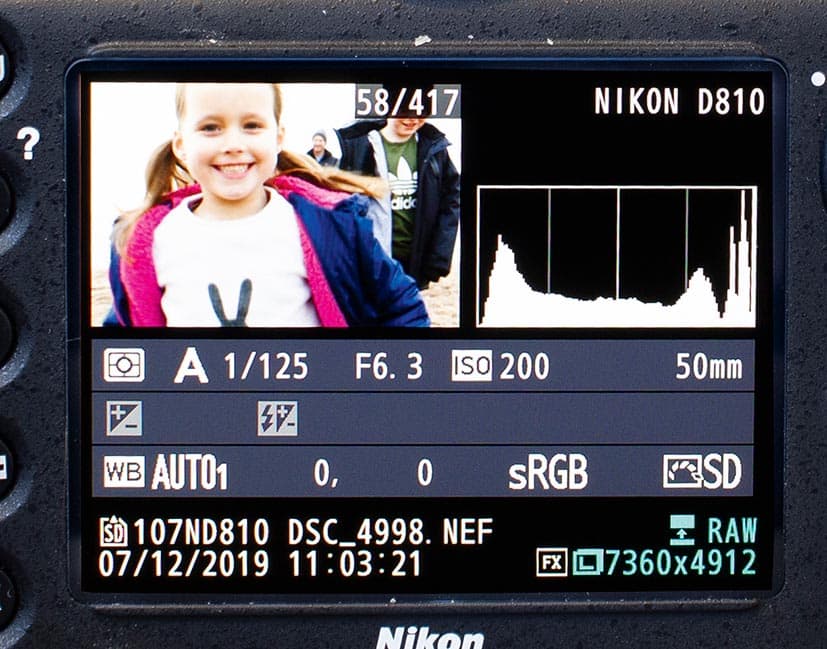
A correctly exposed image, according to the histogram
Ready, steady, go!
If capturing an action sequence is at the heart of your agenda then you will need the burst mode setting on your camera. Many cameras enable you to set the burst mode rate at which you are firing. It’s best to ensure you keep the image quality at the highest setting for best results. If action photography is your forte it’s worth investing in a memory card that can read and write at a fast speed (i.e. around 300MB/s). When shooting, remember to prefocus first and keep shooting from just before the action begins until it ends, to get the best shot.
Which metering mode?
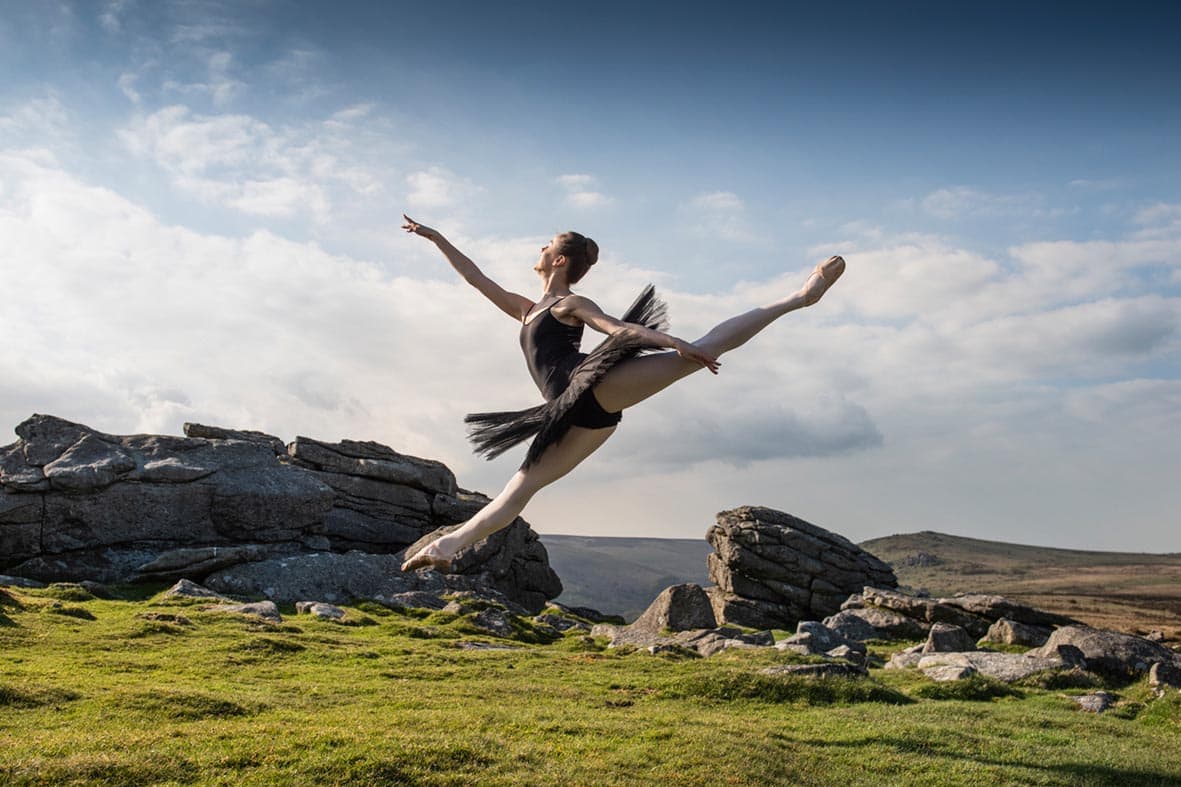
When we look at a scene in front of us every surface and object is reflecting light. To understand what exposure setting we need, our camera evaluates the light in the scene and gives us a reading. It can do this in a number of ways from matrix/evaluative metering, centre-weighted to spot metering.

The evaluative or matrix metering mode takes into account the full scene with priority to where the focus point is placed
Matrix/evaluative metering is where the camera takes an average reading of the whole scene but also takes into account where your focus point is set, giving that area priority. For the majority of the time this is the most useful setting to use and is great if the light is flat and even. Centre-weighted metering takes into account only the middle part of the frame, ignoring the surrounding edges. This is useful for example, if you’re shooting a portrait with the sun behind your subject. Spot metering only reads the light around your focus point and ignores everything else in the scene.
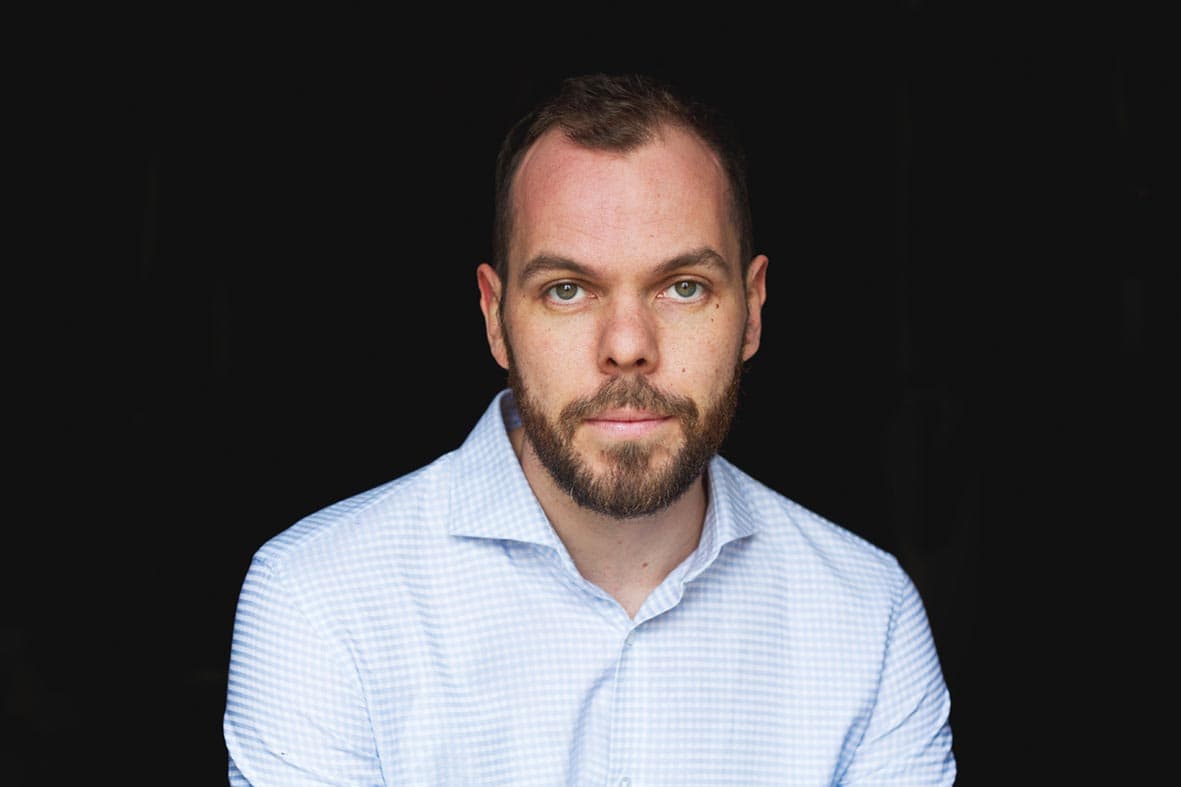
The spot metering mode focuses on a tiny 3.5% of the scene, which is useful for shots like this to darken the background
Auto focus points
For the majority of the time when it comes to focusing it’s best to use an Auto focus setting – however there are a number of options to choose from. We recommend you stick mostly to the single-point AF focus point setting and adjust it yourself manually around the frame. This will ensure your camera is pinpoint sharp at the point you want it.
If you are shooting action then you might want to consider switching to a selective auto focus area where the camera picks a point from an isolated area. Avoid the fully auto point mode around the whole of the AF grid as your camera is guessing where you want your image focused from a large area and can often be inaccurate.
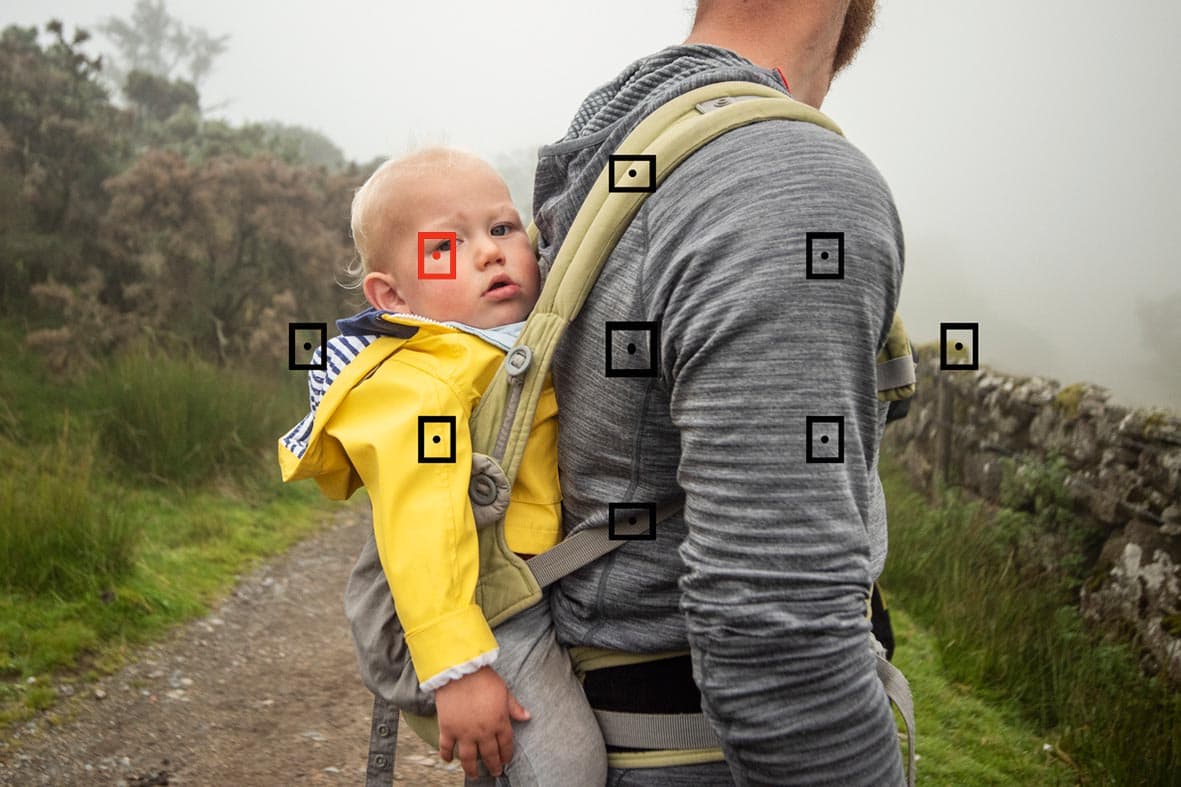
Auto focus modes
The auto focus modes are different to the point settings. The mode determines if your focus point is tracking the subject or staying still. There is a third option; an automatic option where your camera can switch between the tracking feature and single shot depending on what it thinks you need – however your camera doesn’t always get it right so it’s best to take control yourself of this aspect. For any action or movement like portraiture go to the tracking feature; for landscapes, still life and anything still go to the single shot mode.
Many photographers also prefer to set up their focusing button as the back AF/On button rather than half pressing the shutter. Refer to your manual on how to do this. By separating the focusing from the shutter button it allows you to focus much faster and have more control.
Basic studio lighting
In some circumstances introducing additional lighting will help your images pop (below) and give you that control you’ve been craving. If you are shooting with more than one light build up your lighting one light at a time. For example, start with your keylight and set the shutter speed, aperture, ISO and light strength then review. You can then work out where a second or third light might be needed, but it helps to review them one at a time.
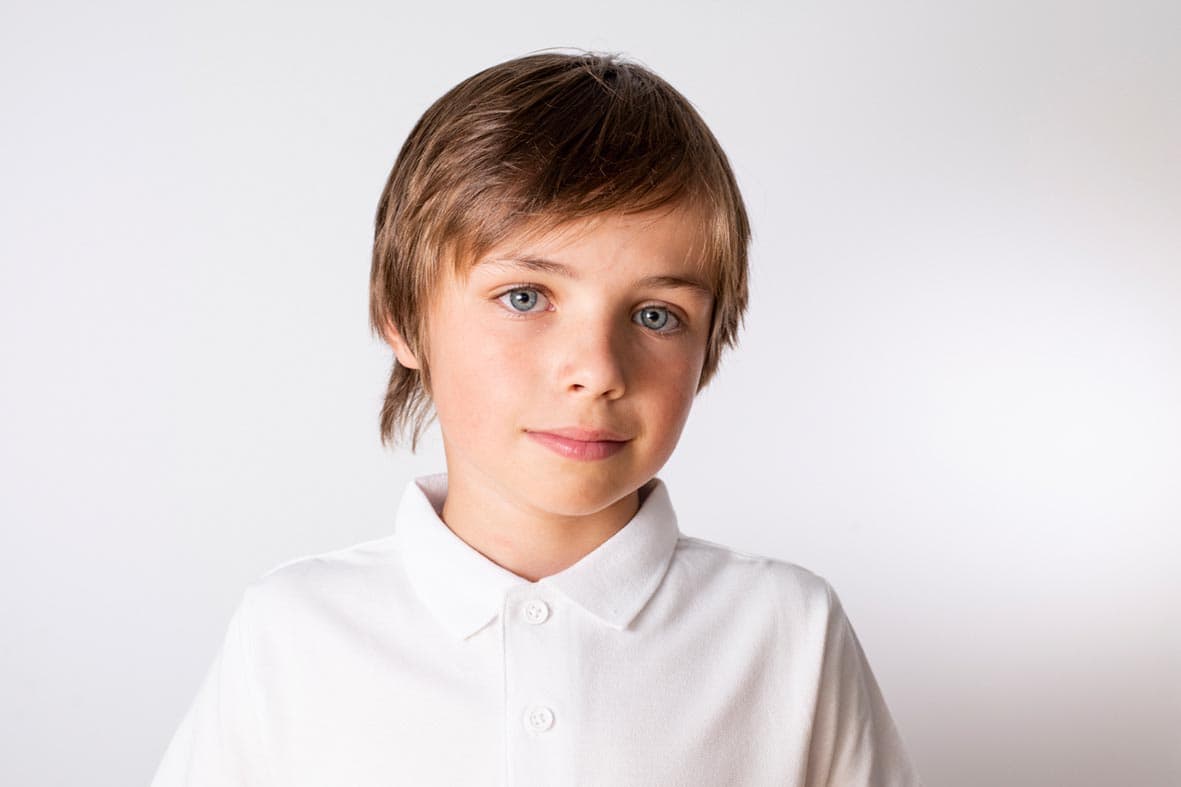
Accessories
There are many photographic accessories that will help you take back control. For example a tripod is a must-have for any slow shutter speed low-light situation, and for those who enjoy portraiture a reflector will come in handy. If landscapes are your thing then investing in a filter in a must. A filter will help you control the shutter speed by darkening down the scene. There are many options when it comes to filters, from ones that screw onto the end of your lens to expensive plates that slot into a bracket on the front of your lens.
If you are just starting out we recommend you buy a cheap variable ND filter that you can screw on (lenses have different screw thread sizes, so check yours) for your most-used lens for landscapes and see how you get on. You can then invest in more expensive kit later on. It gives you a good indication of how they work.
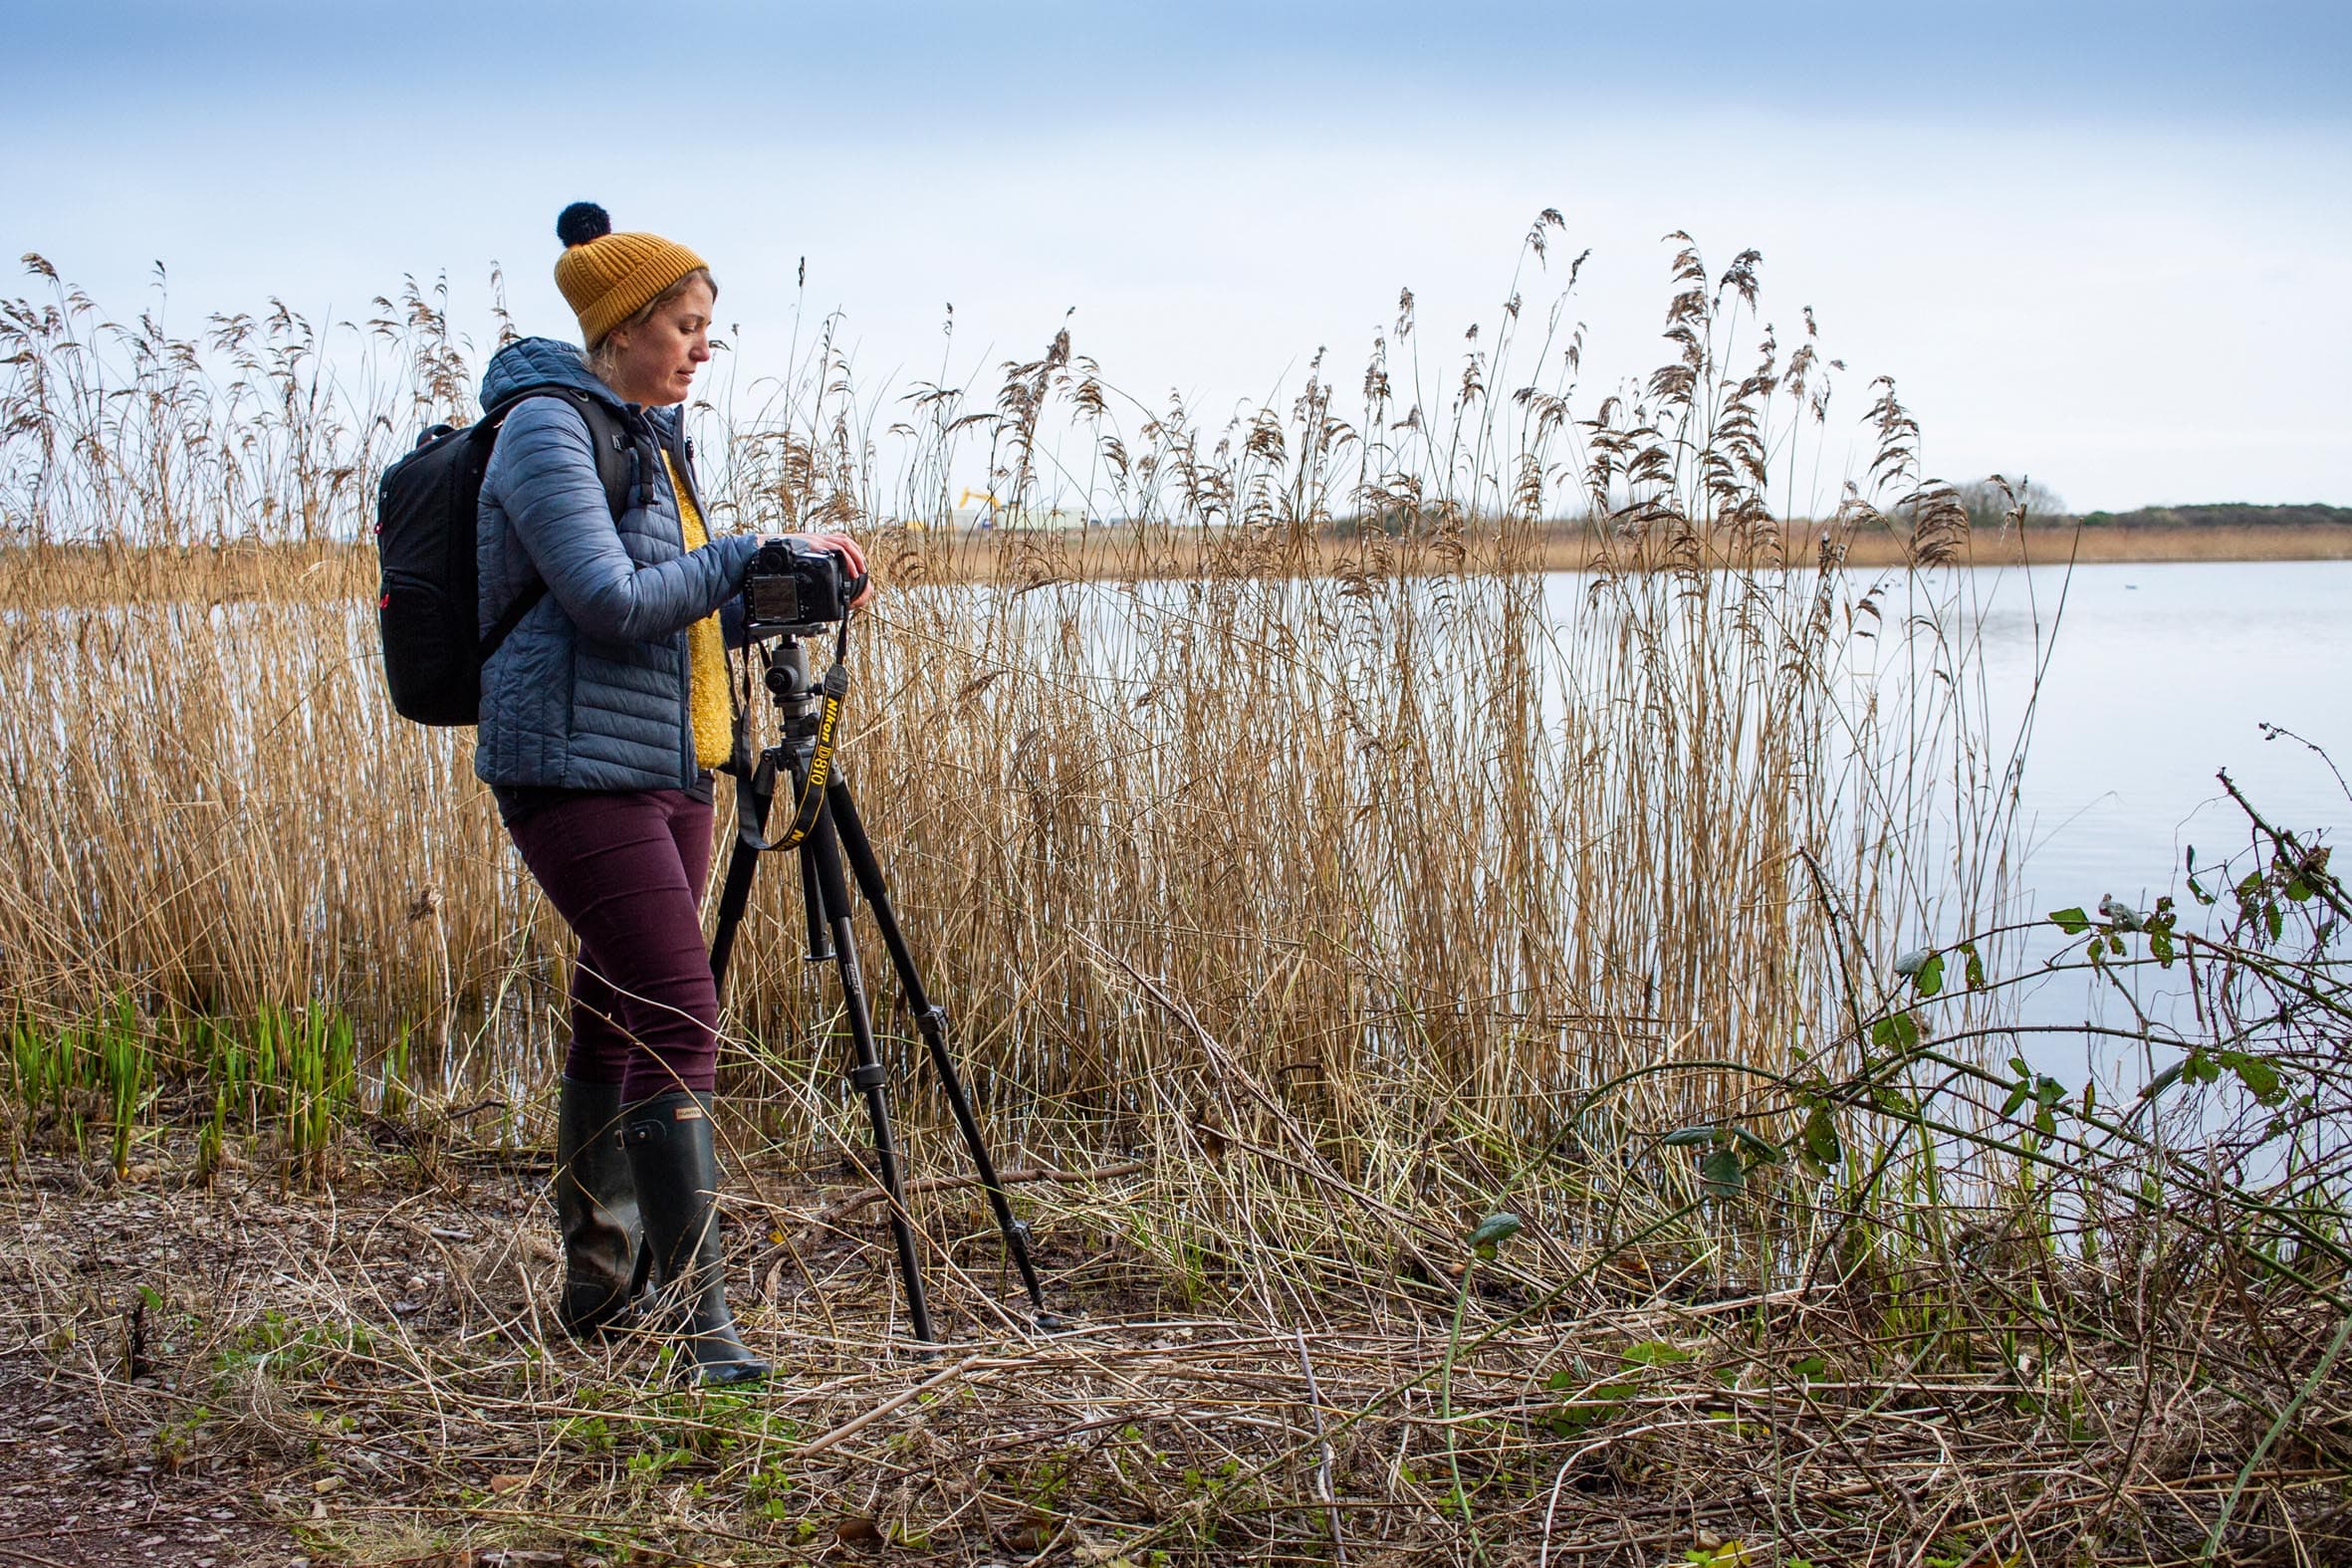
Useful accessories such as a tripod and filter enable you to take control and get the images you want
LED lights
If you don’t have access to a studio and want a simple solution, LED lights are a great option. Not only can they be used on location (below) but they are also a continuous source, which means they are easy to work with as you can see where the light is falling on your subject. Introduce one light at a time to build up your setup for optimum results.
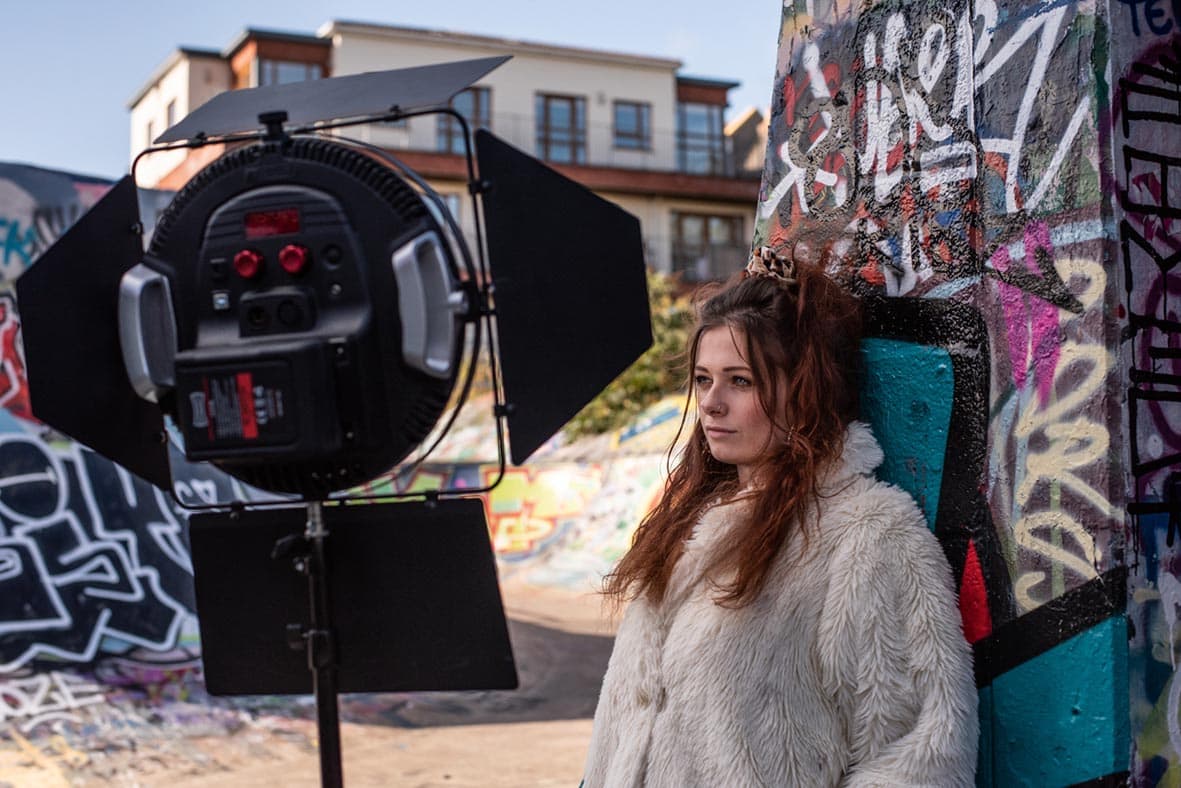
Flash power
An external flashgun is another way to bring in additional lighting as a cheap and easy solution. The benefits flash holds over LED lights is that it’s stronger, which on location is better in bright conditions. On the downside you don’t have the ‘see what you shoot’ benefit and you have to sync the shutter speed setting to the flash (1/250sec or slower unless your kit is capable of a high speed sync setting). You can also bounce flash against a wall or ceiling for an even lighting distribution over your subject. This is a simple and effective way if you are at an event where you don’t have many options.
Manual focus
For complete control manual focusing can be useful when shooting still-lifes and close-ups. Some modern cameras include a feature called Focus Peaking. Focus peaking is also useful for those using old manual film lenses; it works by highlighting the high-contrast edges showing what’s in and out of focus. To make the most of manual focusing switch your camera to live view, and zoom in on the back of the screen. Navigate to your focus point and pull the focusing ring around until that part is sharp. This only works if your camera is on a tripod.
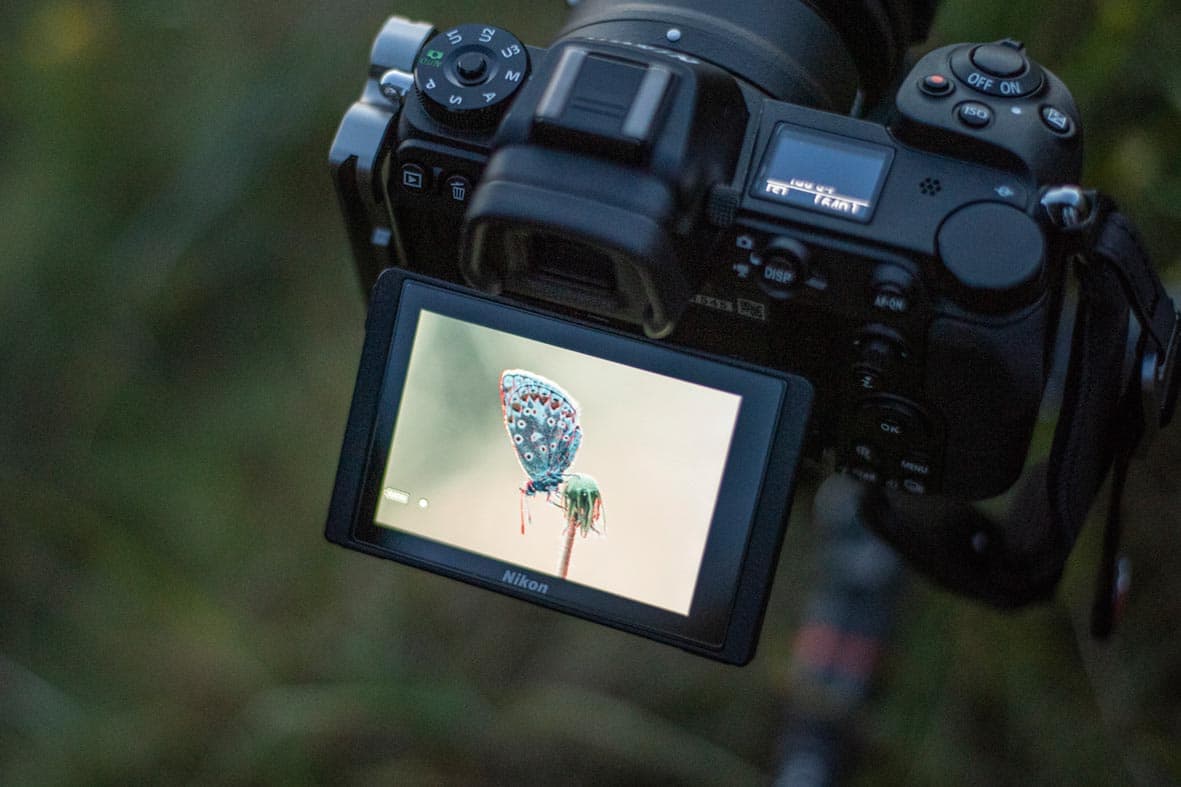
Fine-tune your focus
On many cameras you can also perform a fine-tuning procedure. Lens and cameras are made in different factories and the majority of the time they come together and work fine. But some lenses tend to back focus more and others towards the front. If you are not satisfied with the accuracy of yours you may want to perform this procedure if your camera has the tool. Have a look on YouTube or refer to your manual for guidance.
Basic raw control ACR (editing)
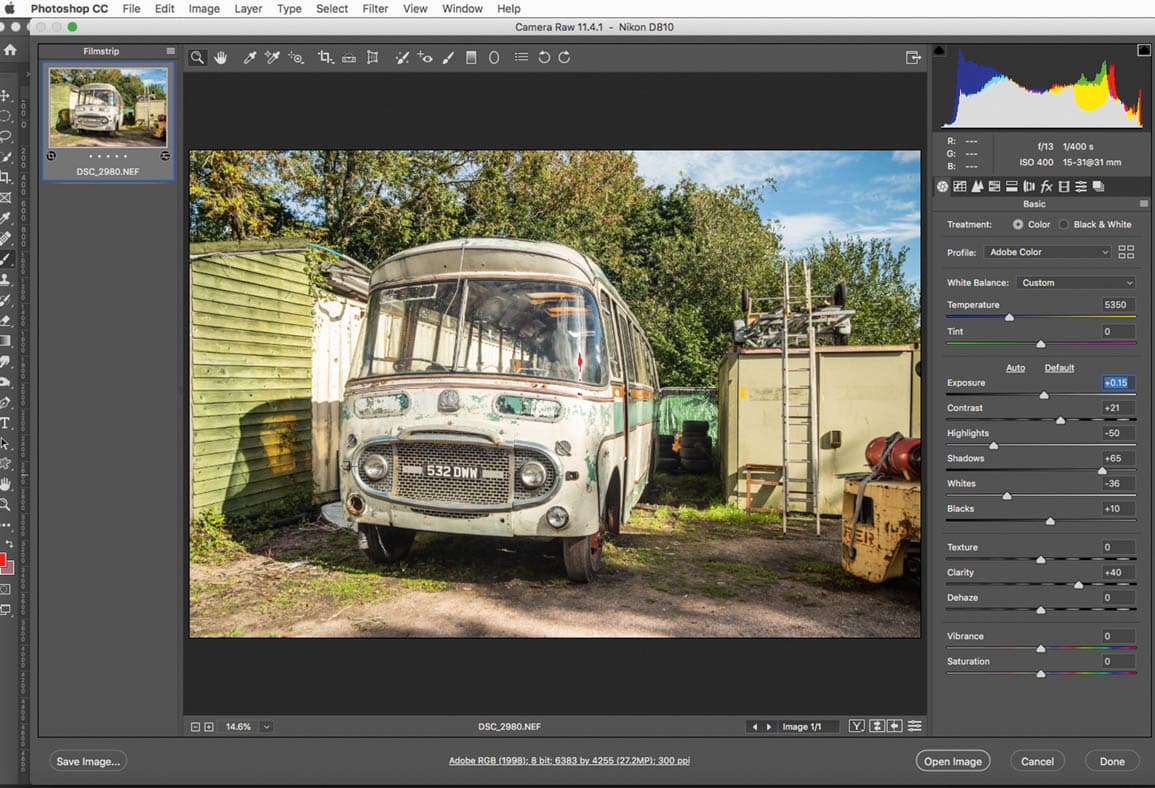
To get the most from your raw file it’s vital that you edit it. All camera companies provide free image editing software that will manage your raw file format, so if you don’t have programs such as Photoshop or Lightroom make sure you download your software. In this example we’ve shown what Adobe Camera Raw (ACR) software can achieve, however they all work in a similar fashion, just using different labels. The main tools that are useful are the White Balance sliders, the Exposure control, and the Contrast slider.
If you need to rescue highlights or bring out shadows in the image the Highlight, Shadows, Blacks and White sliders will do this. Finally the Clarity tool is useful for bringing out midtone detail but be careful not to apply it too heavily. Finally we’d recommend sharpening your image too in ACR if you are not going to apply any other effects in a main image editor, to ensure your image is crisp, and complete.
Composition control tools
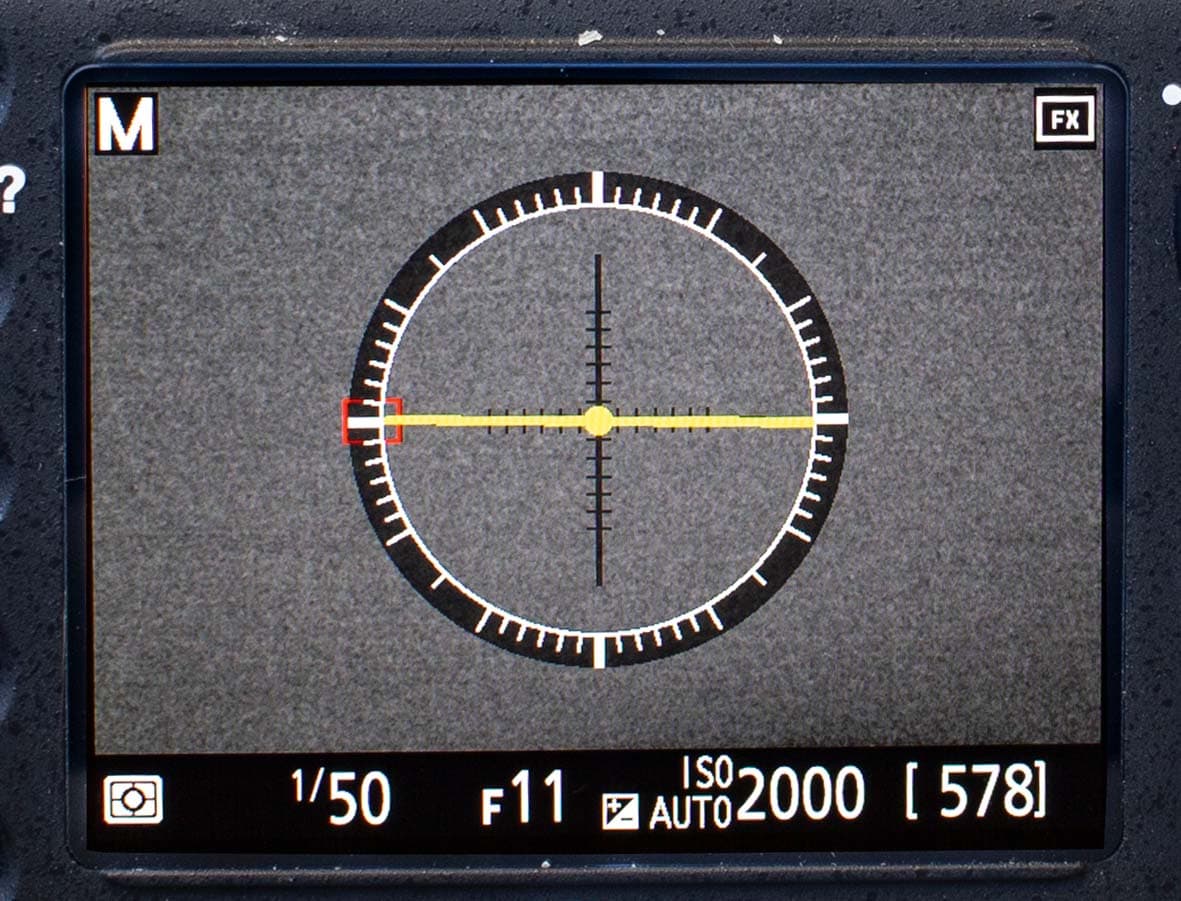
When it comes to composing your frame, there are a few basic rules and tools on your camera that can help you keep your composition tight. Many cameras include a level horizon tool (great for landscapes and seascapes) and grid feature, which is useful for shooting to the rule of thirds if you are just starting out.
Consider film
If you’re in the market for a new camera have you ever considered keeping it simple? For example, buying an old film camera so you can really learn and understand the fundamentals of photography and how exposure works. Second-hand 35mm cameras such as a Canon 500 can be picked up for £30 or under with some shopping around. If you want a more classic camera body the Olympus OM film camera bodies can be purchased second-hand for around the £200-£300 mark.
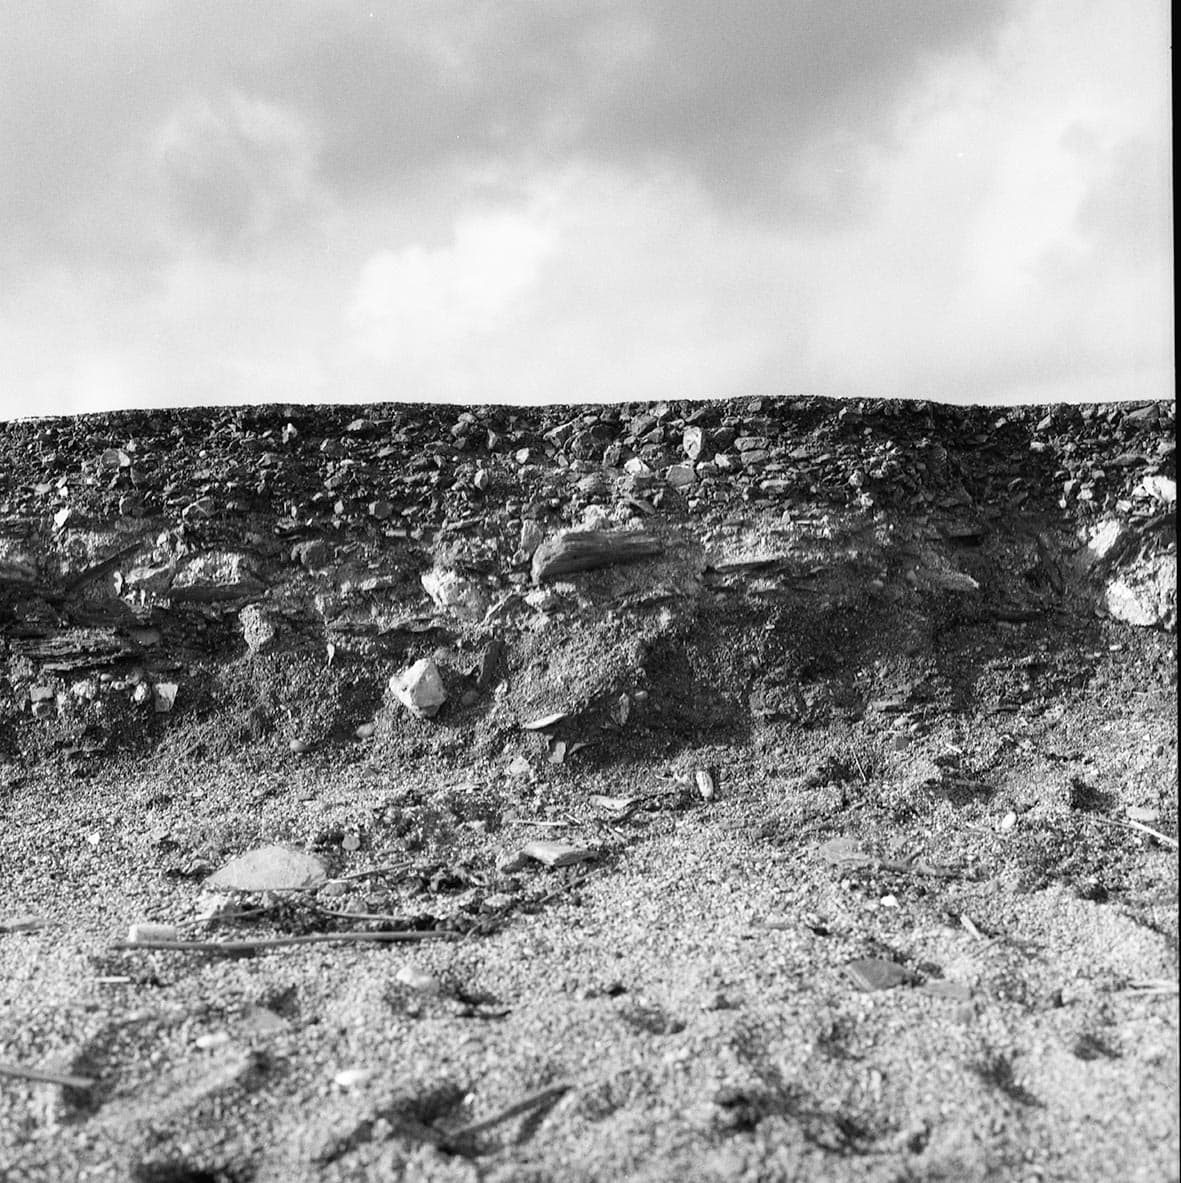
This image was taken on a medium format 6×6 Hasselblad camera on black & white film
Lens choice
Your lens makes a big difference to the end result. If you’re just starting out you may only have one lens available and that’s ok, don’t let it stop you from achieving what you want. There are many photographers that break the rules (for example wildlife photographers who shoot with wideangle lenses) so don’t feel restricted. In low light, a prime lens will come to the rescue and they are cheaper to buy compared to variable lenses with fixed aperture settings. Spending money on glass is well worth it, as ultimately the lens is the eye to your image.
Do your research
You will find you have much better control over the outcome of your image if you are fully prepared. If your shoot is on location do a recce beforehand and research where the light is going to fall. If wildlife interests you, know all you can about the animal/s before you begin. With Google at our fingertips this learning aspect has become far easier but also try to talk to experts in the field. Rather than just taking one-off great pictures, create a body of work, a project that you can enter into competitions to really push yourself forward with the medium.
Further reading
Master manual exposure, focus and flash
Expert guide to manual focus
.

