
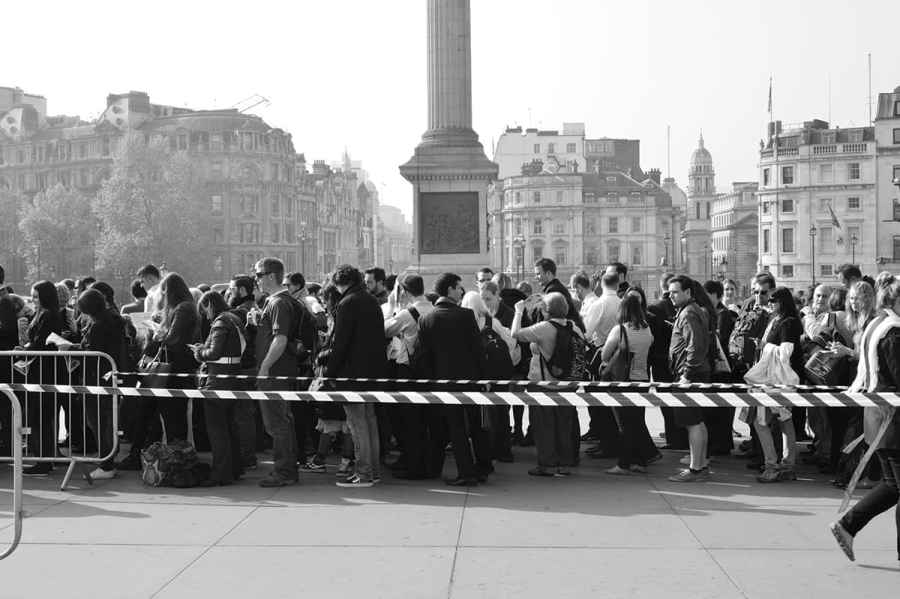
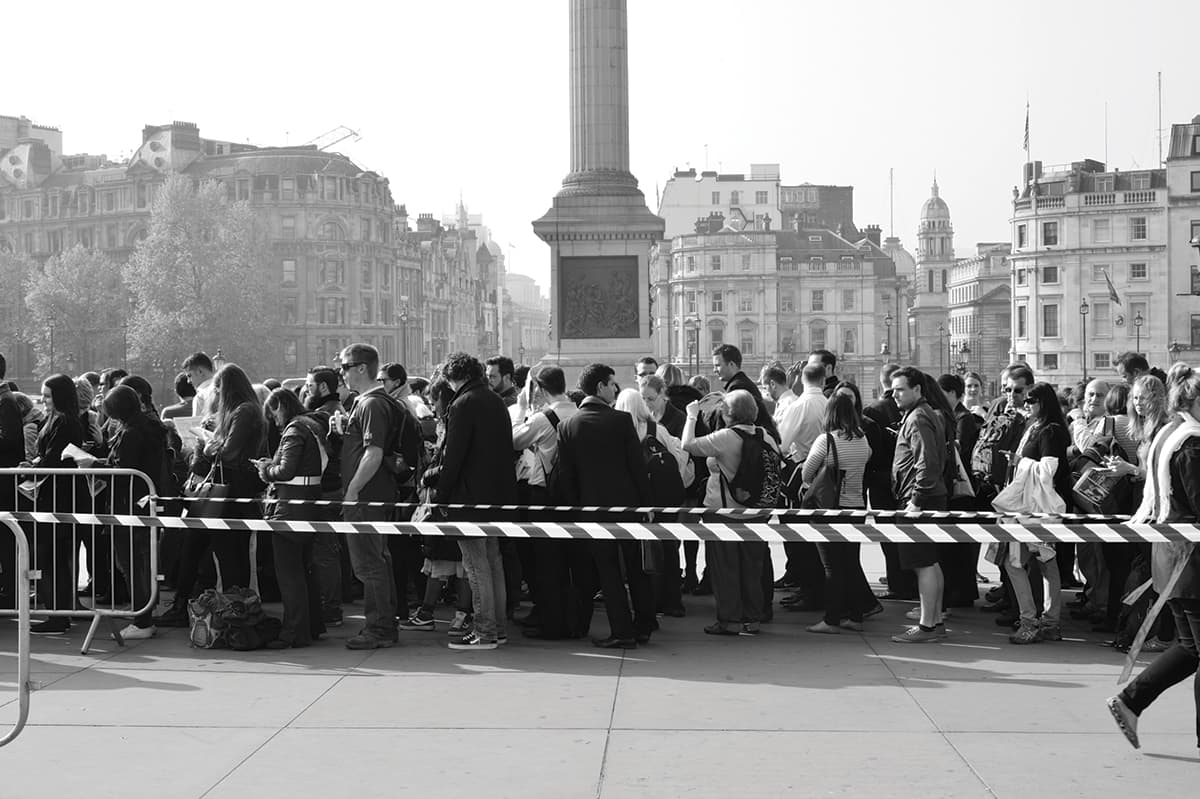
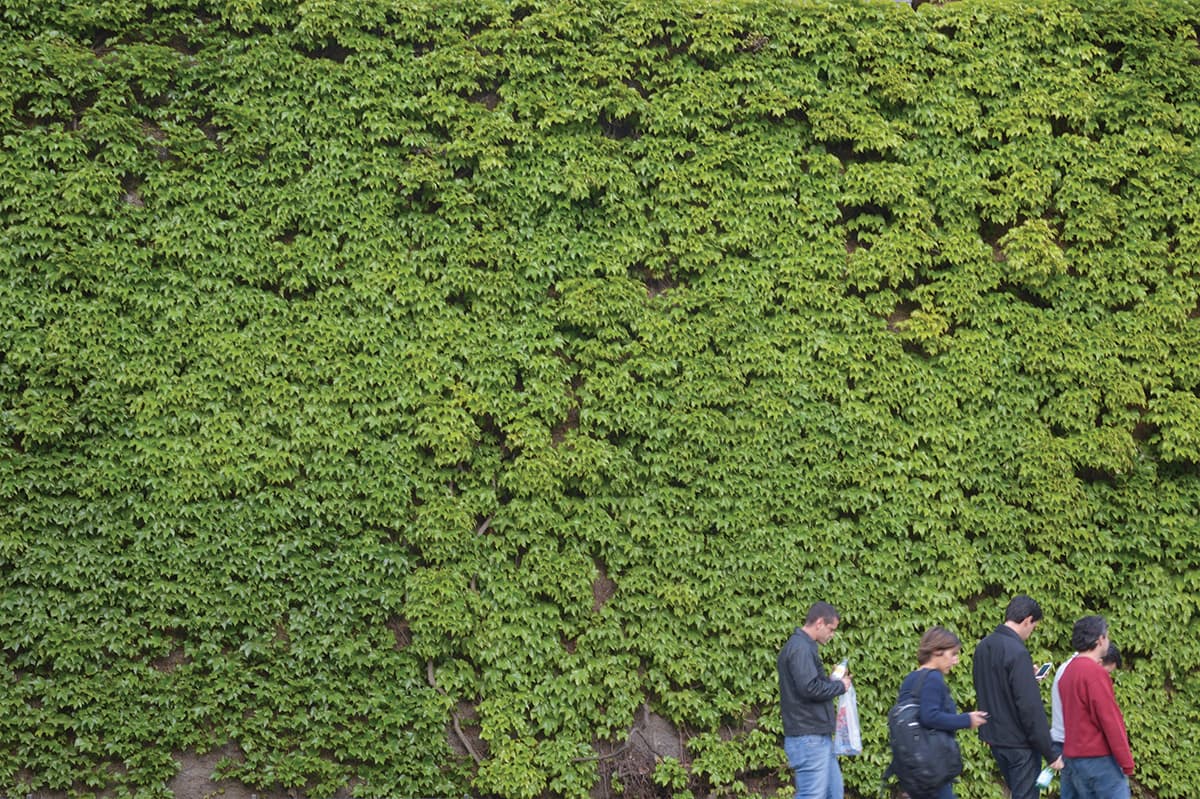
the way humans behave in public is always fascinating to observe – people walking dogs, sheltering from the rain, or even just queuing
Street photography is an all-encompassing term for candid pictures taken in public places. These pictures often, but not always, feature people, most of whom are going about their daily business. Unlike reportage, images from this genre do not have to be newsworthy, and the photographer is under no obligation to cover specific events. For street photographers small, everyday actions make for ideal lens fodder – dog walkers, shoppers standing in front of advertising billboards, buskers performing, and the like. Real life, in all its guises, is the star of the show.
This form of photography has been around for more than a century, and many experts consider Paul Martin (1864-1944) one of its greatest pioneers. Martin used a hidden camera (disguised as a paper parcel) to shoot porters working in London’s busy street markets. The images are wonderfully unselfconscious, but many of Martin’s contemporaries struggled to appreciate their artistry. These individuals considered everyday activities unworthy of the effort required to expose and process a glass plate negative. More recent practitioners include Henri Cartier-Bresson, Walker Evans, Garry Winogrand, and Tony Ray-Jones. Studying the work of these artists, and their talented peers, is a great way to determine what makes a successful street picture.
What these works have in common is a raw, sometimes slightly alarming, honesty. Winogrand’s women throw their heads back in unselfconscious mirth; Cartier-Bresson’s children acknowledge him without a hint of insecurity; Walker Evans’ subway passengers adopt a familiar middle-distance stare. Despite the natural behaviour displayed by their subjects, these photographers rarely ‘got lucky’. Their pictures were a result of confidence, focus, anticipation, quick reactions, control over their equipment, and visual artistry. What they were aiming for were standalone pictures that captured an honest, impromptu moment in an aesthetically pleasing way.
Street photography techniques
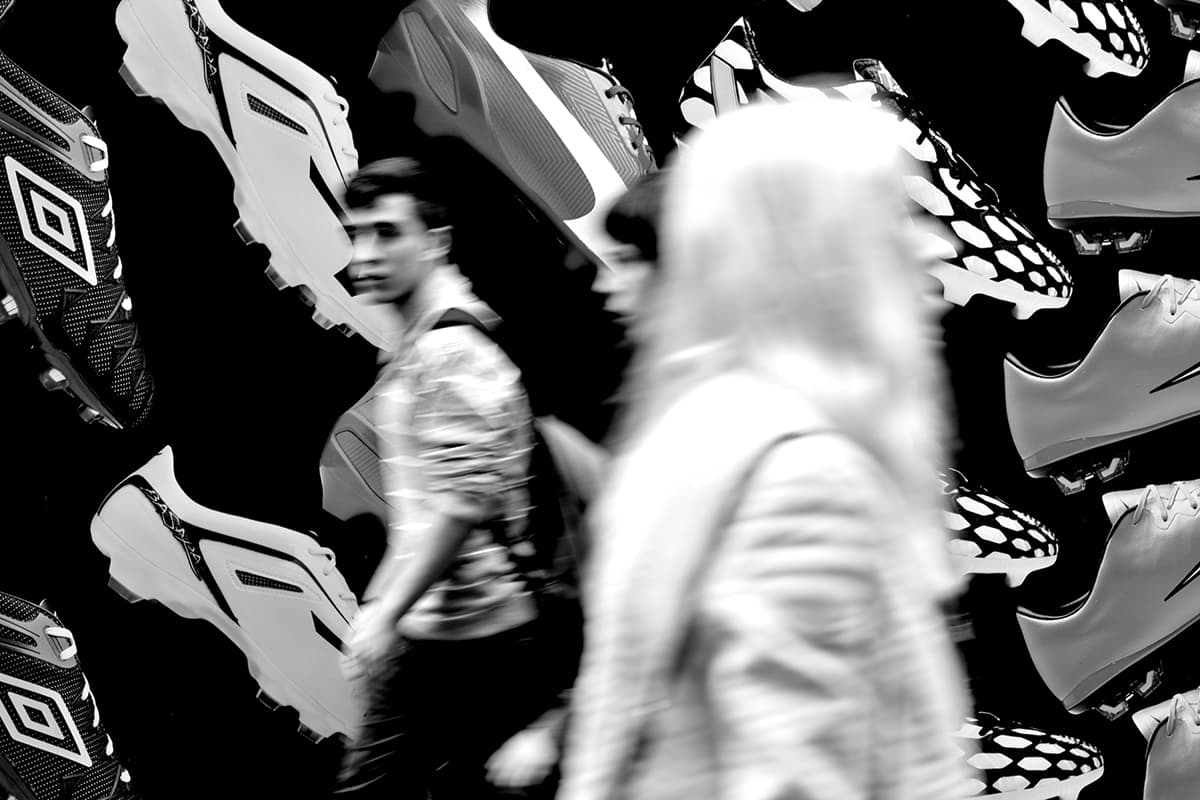
If all this sounds a little daunting, take heart – there are many ways to simplify the process. Firstly, before you head outside decide on the type of street photography you would like to focus on. Many people choose human behaviour or expressions, but alternative subject matter includes architecture (lines, shapes, shadows), humour (pets, oddly placed advertising, shop window displays), and street art (graffiti, typography, sculpture). You could even give yourself a one-line directive such as ‘look up’, and shoot what you observe while following it. If you find that specialising in one area is too limiting, choose two or three sub-genres and work on multiple projects simultaneously.
Before we look at optimal camera settings, it’s worth mentioning that the two most important tools you have for capturing memorable street scenes are your eyes. If you squint when you look at your subject you will see it as a collection of shapes, rather than becoming distracted by details – this is a great way to hone your compositional skills. However, when you look through the viewfinder it’s best to keep both eyes open if you can. This may feel uncomfortable at first, but by doing so you can stay abreast of what’s happening outside of the viewfinder, helping you to anticipate the action. Finally, it’s worth bearing in mind that your central vision accounts for a relatively small part of what you can actually see, so to increase the strength of your peripheral vision (which can help you to notice things out of the corner of your eye) try a few basic eye exercises (see YouTube).
When it comes to technique, the first thing to do is to ditch your tripod. There may be times when it’s genuinely useful (shooting buildings, graffiti etc.) but more often than not it will draw attention to your presence, and slow you down. With the tripod at home, you’ll need to adopt a steady stance and a relatively fast shutter speed (1/200sec or more) to prevent camera shake. If you want to totally blend into the background, try dressing in black, and disabling the beep on your camera. To be even less conspicuous, leave the DSLR at home and use an advanced compact, such as the Nikon DL series, or a smartphone.
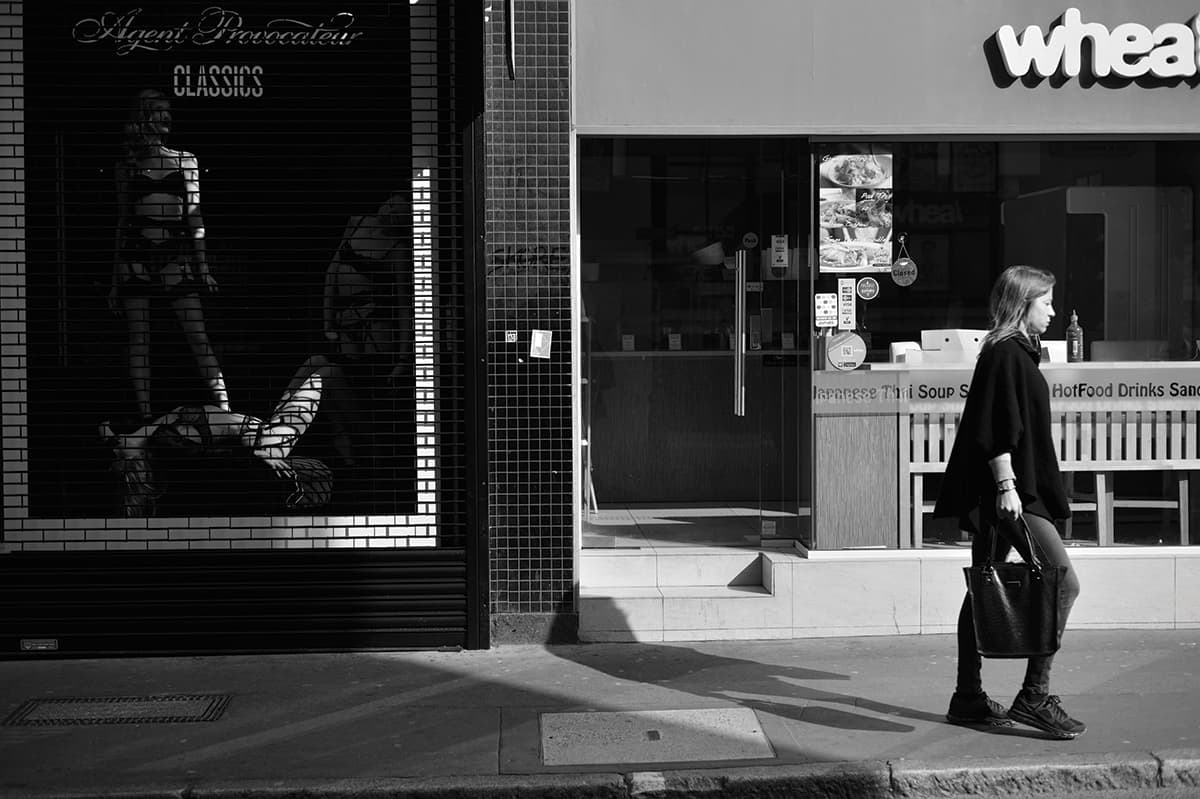
When you find a good background, stay still and wait for the right subject to enter the frame
The next consideration is image quality. For the sake of speed (both during and post-capture) you might be tempted to shoot JPEGs, but street photography is one area where the Raw format definitely has the edge. The average street is so full of colour, for example, that you might like to convert your file to black & white in order to limit the distractions. What’s more, if you’re shooting close to shop windows you could find that you’re dealing with mixed lighting (a combination of natural and artificial sources of light). On such occasions you’ll want to shoot in Raw to give you more options when it comes to tweaking white balance during the post-processing stage.
If the scene is changing rapidly, you’ll want to shoot a succession of images very quickly. To do this you’ll need to use one of the Continuous shooting modes on your camera. Most Nikon DSLRs provide two options: Continuous low speed (CL) and Continuous high speed (CH). The number of frames you can take in each mode varies between models, but if we take the Nikon D500 as an example you can shoot up to nine frames per second in CL mode (dictating exactly how many via the Custom Settings menu), and up to 10 frames per second in CH mode. If you choose to shoot the maximum number of frames in either of these modes, you may regret it when it comes to processing them later. (At this point it’s also worth mentioning that using the Continuous shooting modes will drain your battery and fill your memory cards fast, so pack plenty of spares.)
You can now turn your attention to focusing. Whether you decide to use Back-button focusing (via the AF-On button), a more traditional approach (such as using Auto Focus Continuous Servo and opting for Group Area AF), or try setting the lens to infinity and selecting a small aperture to ensure vast depth of field, is entirely up to you. Stick with what you know and you will undoubtedly increase your hit rate. The truth is, there is no magic formula: successful street photography is more about your approach than your technique, so be brave and get out there.
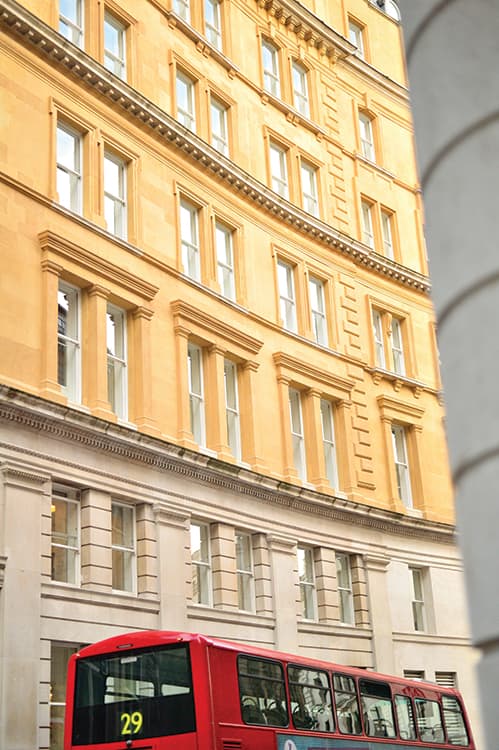
Street photography is not limited to human behaviour – architecture and transport can also make good subject matter
The 10-shot rule
To avoid coming home with mediocre pictures, observe the 10-shot rule. When you arrive at a location, pick a spot (it doesn’t have to be particularly photogenic) and stand still. Now take 10 pictures without moving your feet. You can vary the focal length of the lens, alter the aperture or shutter speed, put the camera on the ground or hold it above your head, but you must not move your feet.
When you review the pictures you’ve taken, you might be surprised by the variety of material you’ve captured. This exercise is intended to make you explore the potential of your surroundings. We can walk miles looking for photogenic subject matter, only to return home with nothing. But if we stand still and really explore what’s close by we will often come home with thought-provoking pictures.
Another good exercise is called ‘getting through the tourist barrier’. When you arrive at a location you take a series of pictures in fast succession, snapping away as though you are a tourist. With these panic shots out of the way you then select a subject, slow right down, and explore it thoroughly. Remember, your first ideas are rarely the best.
Stay street smart
With street photography, the law is complicated but the best advice is to ensure that you (and the camera) are on public property before firing the shutter: parks and shopping malls are often privately owned.
While it is legally acceptable to photograph someone in a public place (as long as the image isn’t going to be used for a commercial or defamatory purpose), use your common sense. No portrait is worth getting punched over.
Also, when you’re concentrating on taking pictures you can be an easy target for a thief. You can buy camera straps with internal slash proof wires, and movement alarms for your bags.
Step by step: Mastering street photography with your Nikon DSLR
1. Ditch the tripod. Adopt a steady stance and use a relatively fast shutter speed (1/200sec or more) to prevent camera shake.
2. Choose a focusing method that suits you. Whether you use back-button focus (via the AF-On buton), or AF-C (Auto Focus Continuous Servo) is a matter of personal preference.
3. Check the exposure. Also, bear in mind that you may be faced with mixed lighting conditions, so shoot Raw to give you more flexibility over the white balance in post production.
4. Wait for the action to unfold. If you keep still and remain aware of your surroundings you are much more likely to succeed. If possible, keep both eyes open.
5. Review your work. The average street scene is so full of colour that it might help to convert your file to black & white to reduce the distractions.
New to street photography? Check out our Beginners guide to Street Photography here.


